

Post by Smudge on Sept 12, 2012 10:20:38 GMT -5
Hi guys
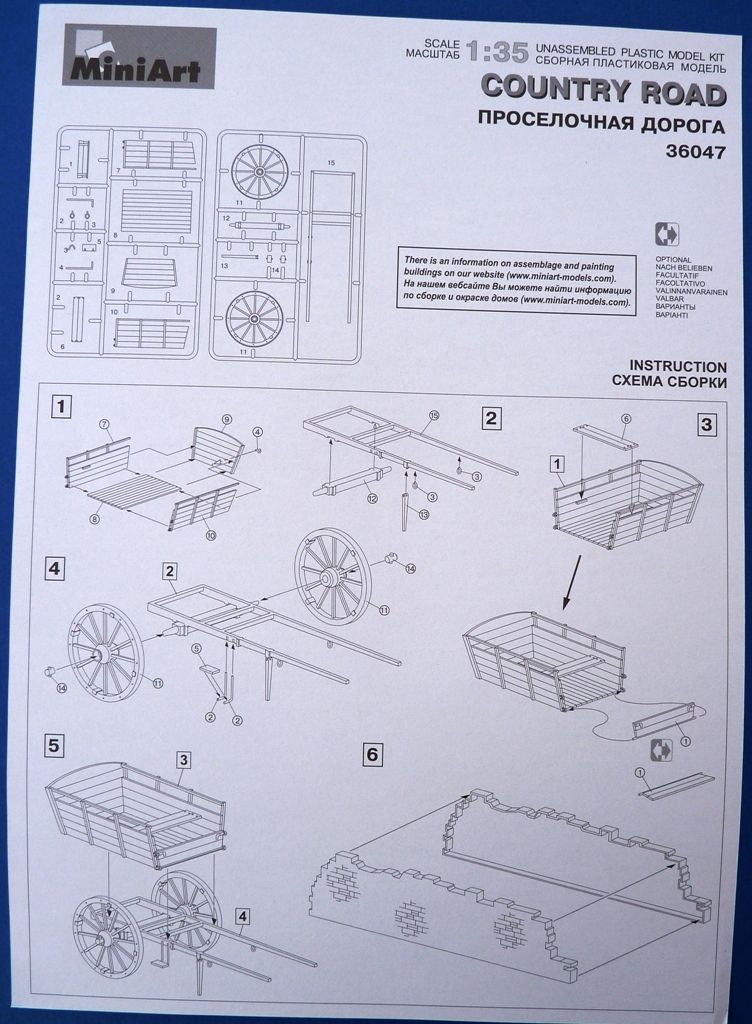
This is a quick post to show you the new diorama kit from MiniArt; kit# 36047 Country Road in their 1/35 diorama’s series.
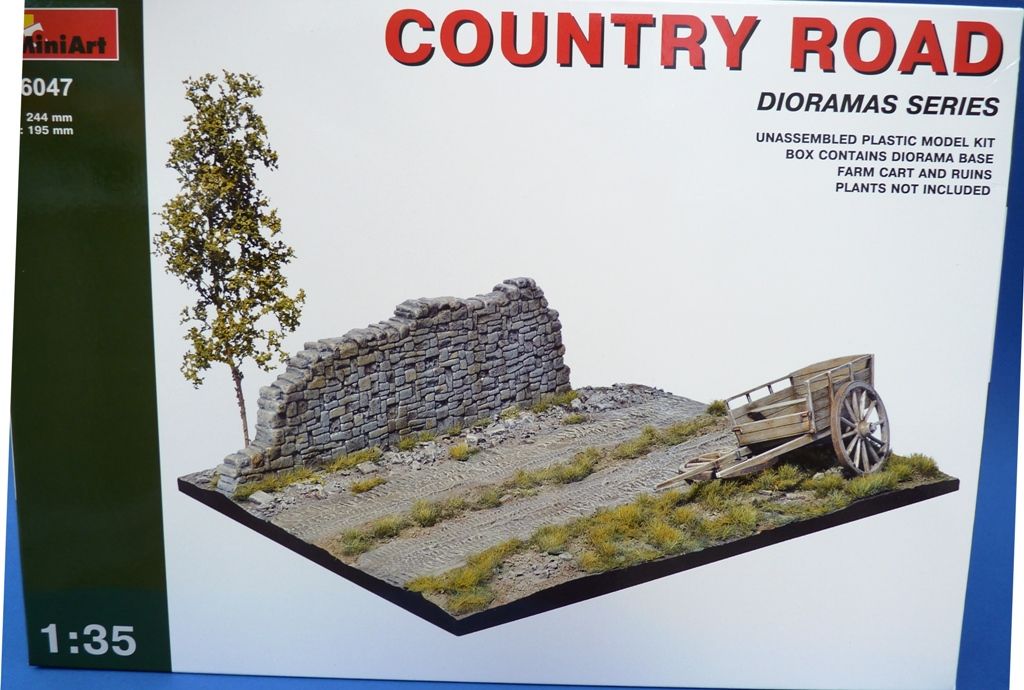
The kit consists of a base and wall on two sheets of vac formed styrene (three pieces). The base measures 244mm x 195mm.
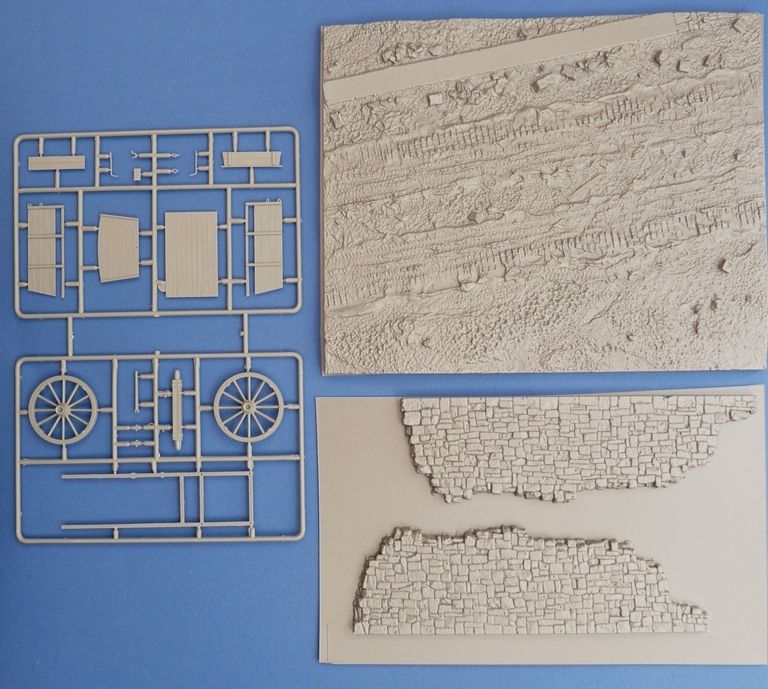
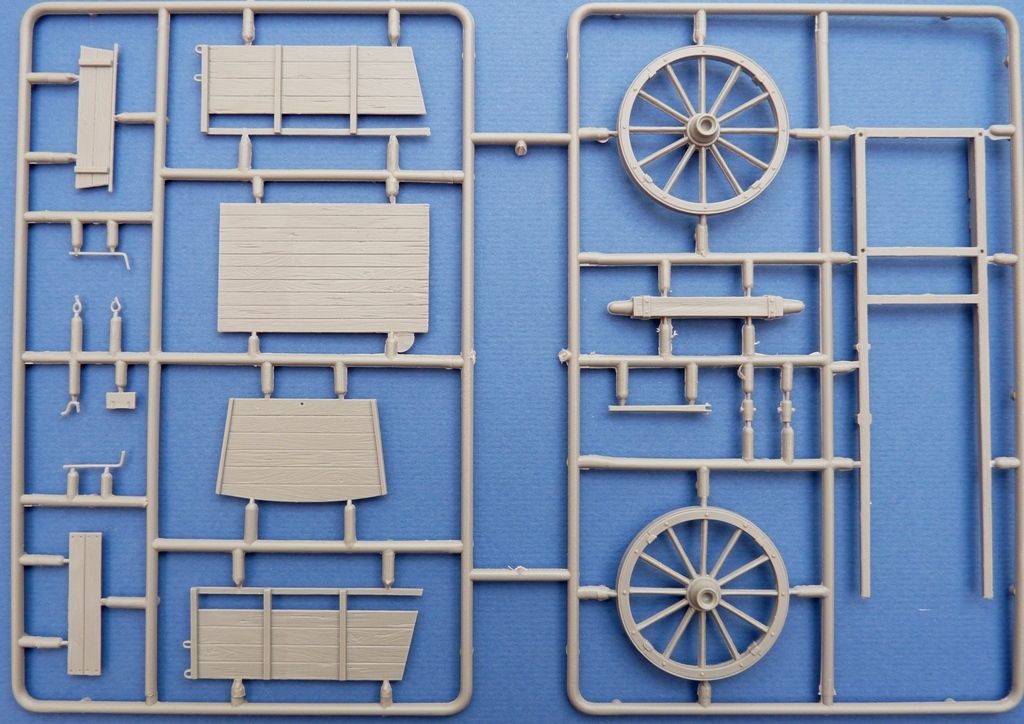
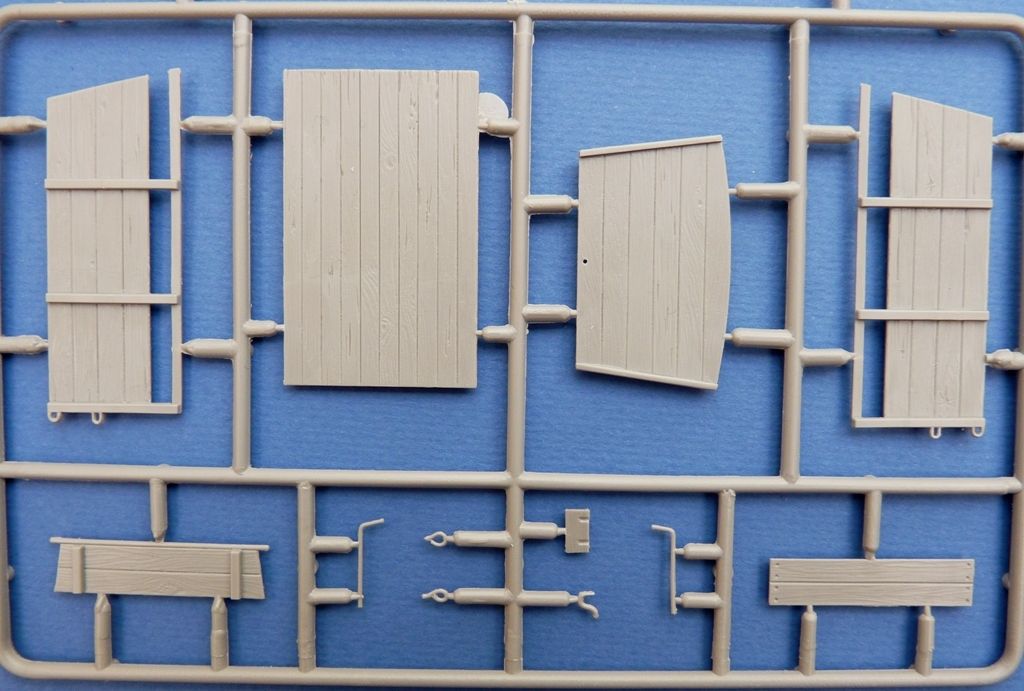
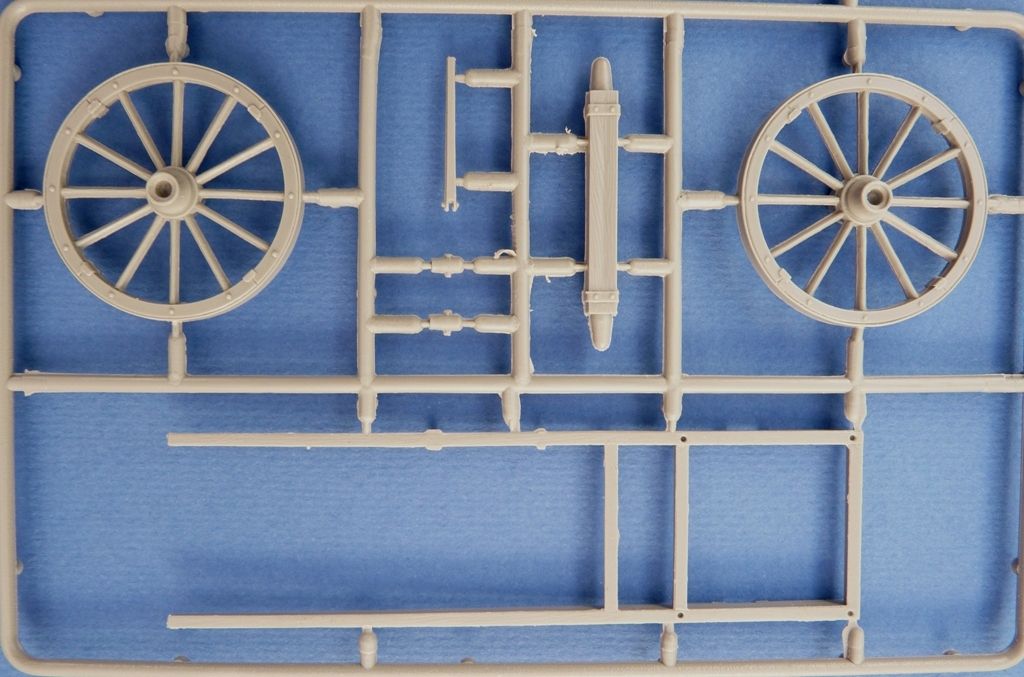
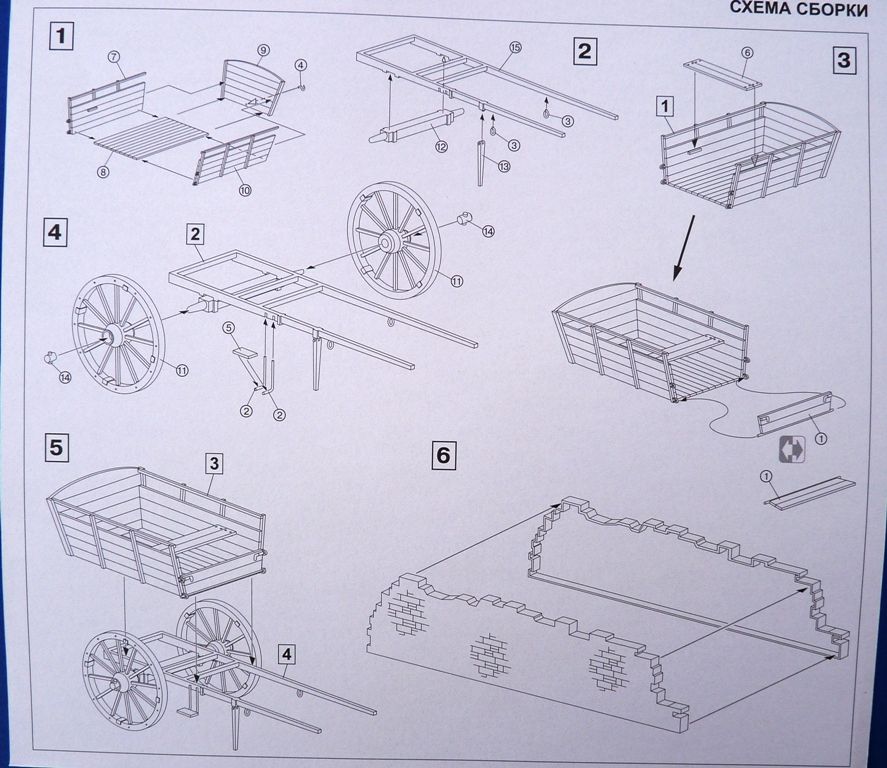
It also contains MiniArt’s Farm Cart kit# 35542 (19 pieces) which is in their usual light grey injection moulded styrene. This is a nice kit in its own right but does contribute to the overall cost of the kit. There is a little flash on the parts and some seam lines to deal with but nothing out of the ordinary.
Instructions should you need any are on a double sided A4 sheet of paper.
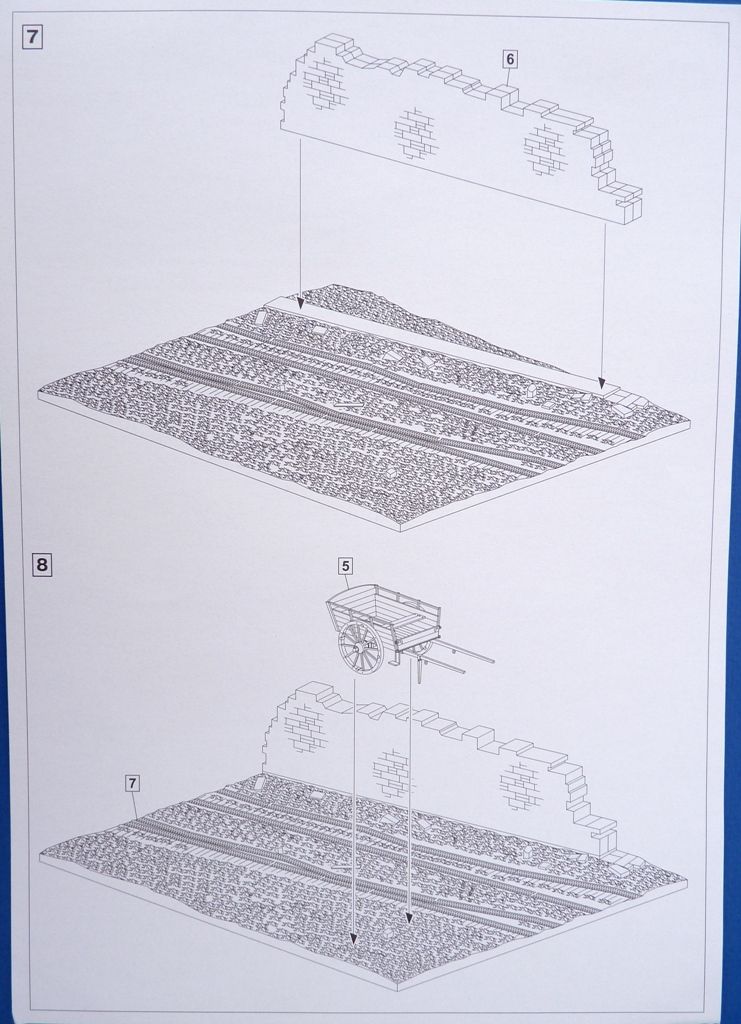
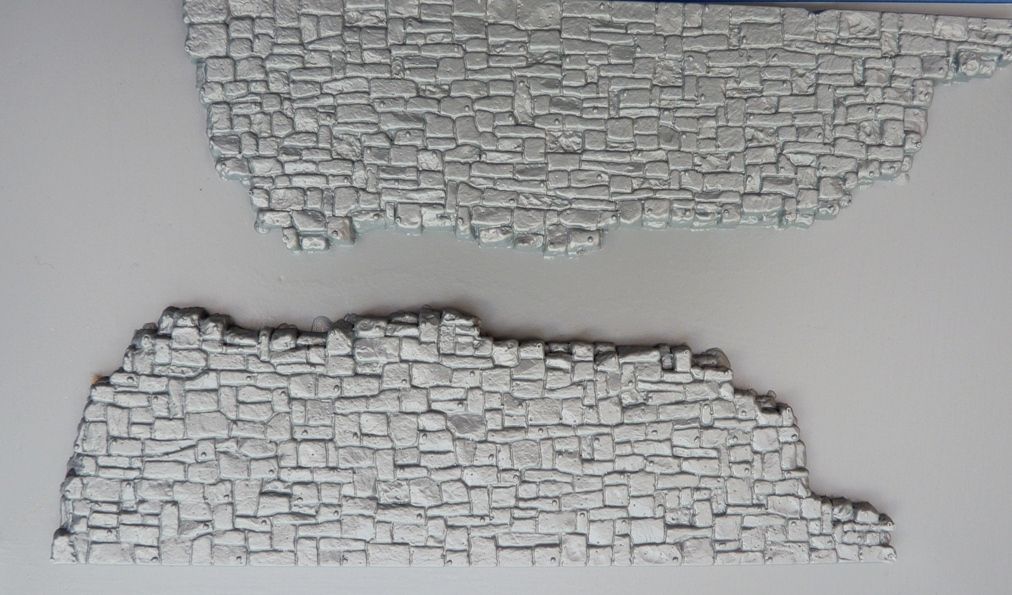
Construction of the base is simple; simply score the vac formed styrene and snap the parts off. Sand the rear to give yourself a flat edge to mate the two sides of the walls together, and glue. To help I pinned the sand paper onto a hard piece of wood which helped get straight, flat edges. Of course take normal safety precautions when sanding and keep hydrated.
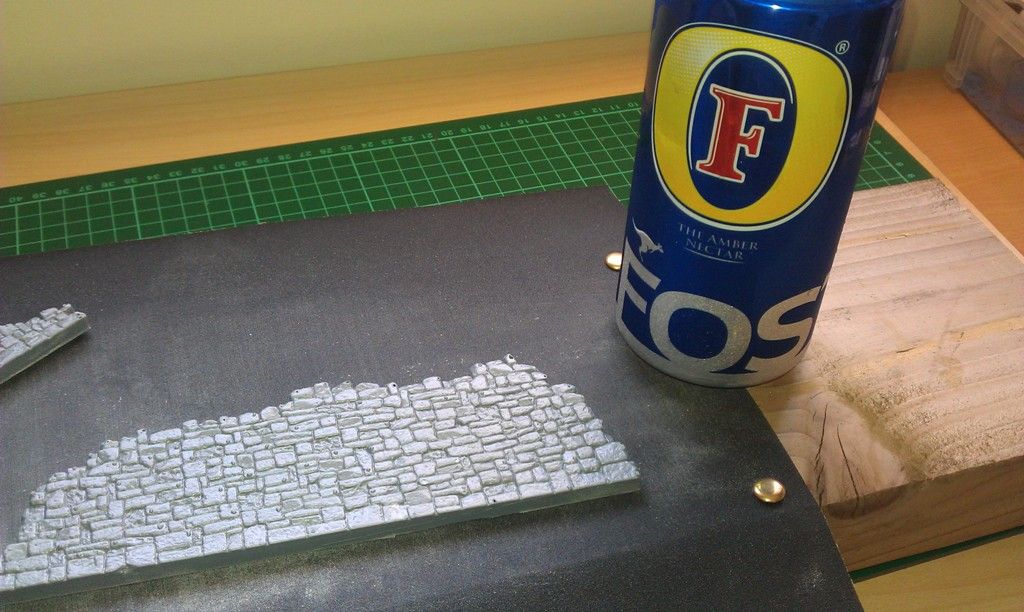
Be prepared however to get some filler out because I’ve never done this without getting some gaps to fill but on saying that it’s a broken stone wall so the result doesn’t need to be perfect like on a pristine brick wall for example. MiniArt has a great tutorial on their site miniart-models.com/Assembly/page_01.php to help with this.
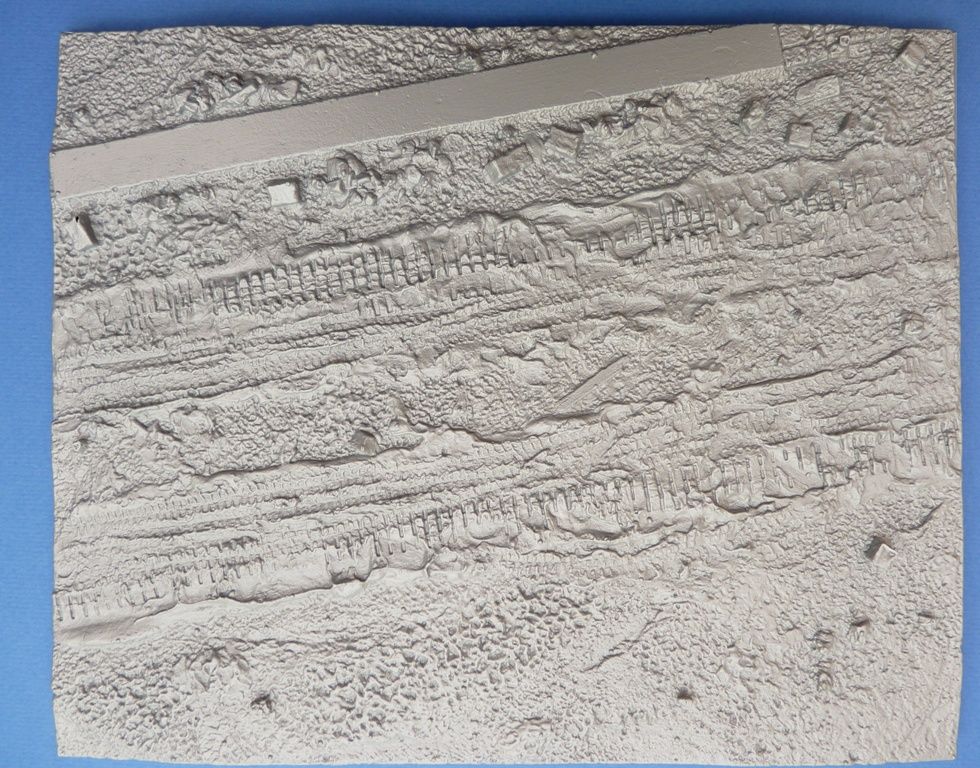
Note; there are a fair few nodules marring the surfaces of the vac formed parts which will need removing; for this I used an X-Acto light chisel blade in my knife. They slice off easily but the styrene can be thin at some (but not all) of these points and they can leave a few small holes straight through so they'll need filling. I reckon filling these areas from behind (in future) before slicing will make for a neater and simpler process. After slicing off a quick swipe with the wife’s new ‘Boot’s’ nail file and the job's just about done.
Although a pain because of the repetition the nodules are necessary. Each sunken area in a part is a raised area in the mould that can cause a pocket of air to remain, leading to soft detail. I.E those stone grooves are raised ribs in the mould. The nodules are from holes that help allow the vacuum to suck the soft plastic sheet down into all parts of the mould around those raised areas and provide a way for any trapped air to escape. So they’re needed to improve quality.
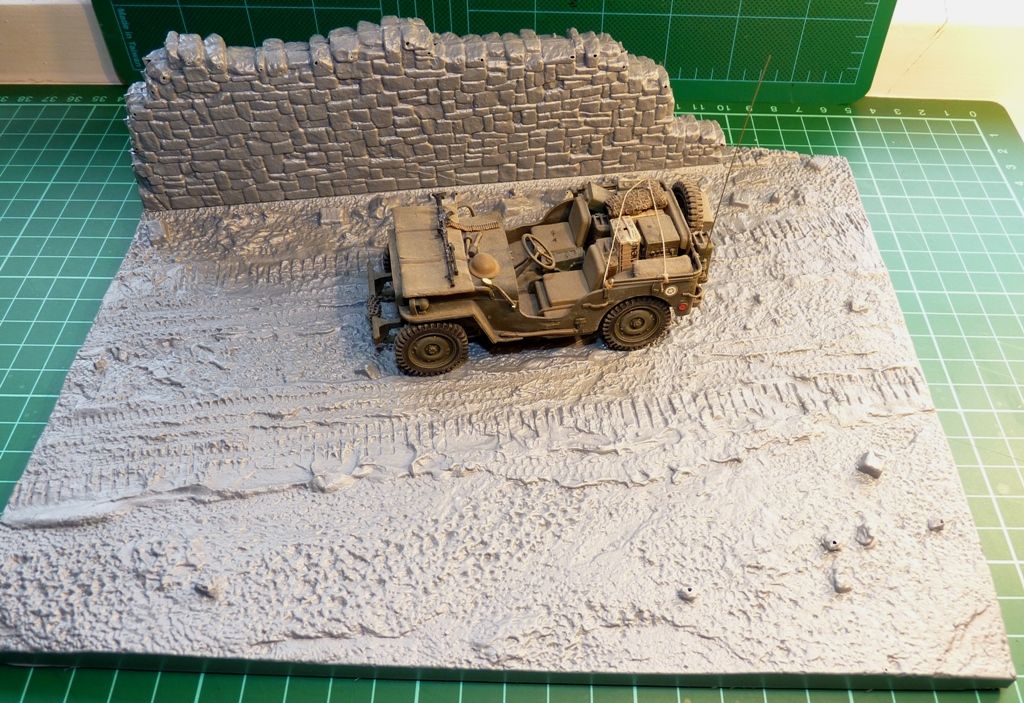
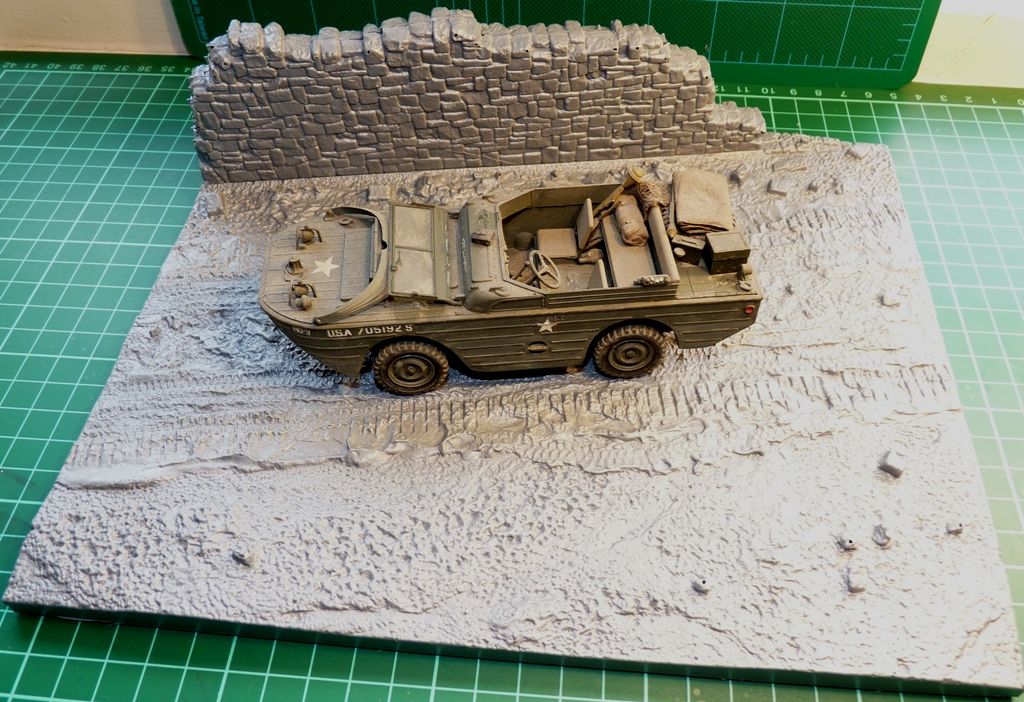
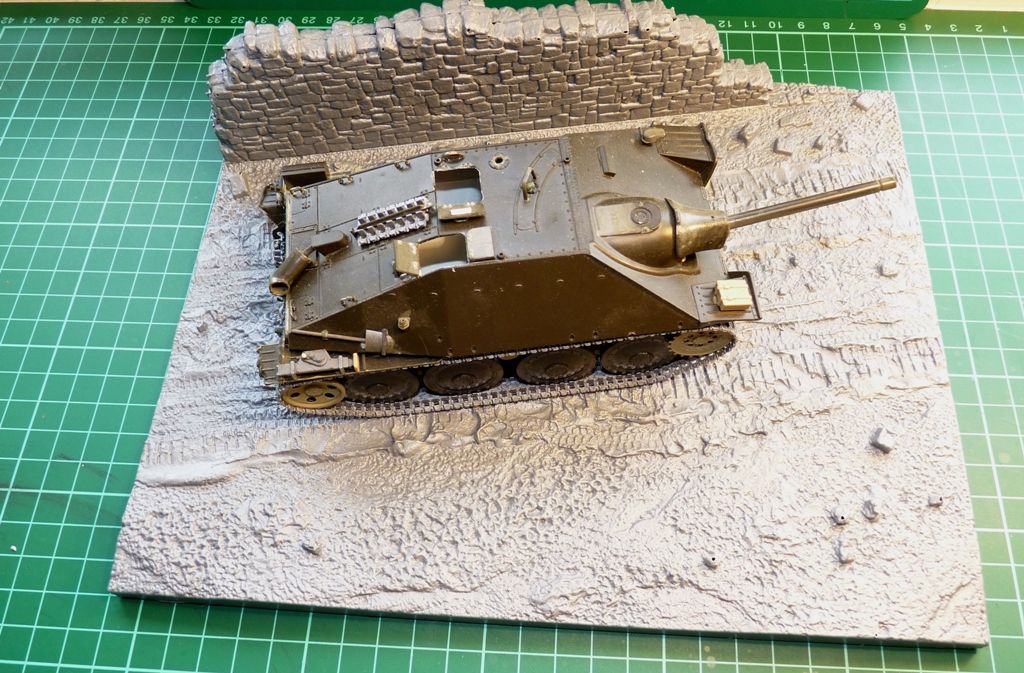
Like I said the size is 244mm x 195mm. I haven’t any large armour to hand but here is the base with vehicles added to show the size…
Jeep
Ford GPA
Hetzer
Conclusion; this is a simple aid for those challenged like me by groundwork and is a diorama ‘quick fix’. Fairly good VFM if you allow for (in the UK) the cart kit which alone sells for around £9.00? The size may restrict the use to smaller armour but still very useful. The light weight will save on shipping costs
Recommended
Thanks to MiniArt for the review sample
Smudge
This is a quick post to show you the new diorama kit from MiniArt; kit# 36047 Country Road in their 1/35 diorama’s series.
The kit consists of a base and wall on two sheets of vac formed styrene (three pieces). The base measures 244mm x 195mm.
It also contains MiniArt’s Farm Cart kit# 35542 (19 pieces) which is in their usual light grey injection moulded styrene. This is a nice kit in its own right but does contribute to the overall cost of the kit. There is a little flash on the parts and some seam lines to deal with but nothing out of the ordinary.
Instructions should you need any are on a double sided A4 sheet of paper.
Construction of the base is simple; simply score the vac formed styrene and snap the parts off. Sand the rear to give yourself a flat edge to mate the two sides of the walls together, and glue. To help I pinned the sand paper onto a hard piece of wood which helped get straight, flat edges. Of course take normal safety precautions when sanding and keep hydrated.
Be prepared however to get some filler out because I’ve never done this without getting some gaps to fill but on saying that it’s a broken stone wall so the result doesn’t need to be perfect like on a pristine brick wall for example. MiniArt has a great tutorial on their site miniart-models.com/Assembly/page_01.php to help with this.
Note; there are a fair few nodules marring the surfaces of the vac formed parts which will need removing; for this I used an X-Acto light chisel blade in my knife. They slice off easily but the styrene can be thin at some (but not all) of these points and they can leave a few small holes straight through so they'll need filling. I reckon filling these areas from behind (in future) before slicing will make for a neater and simpler process. After slicing off a quick swipe with the wife’s new ‘Boot’s’ nail file and the job's just about done.
Although a pain because of the repetition the nodules are necessary. Each sunken area in a part is a raised area in the mould that can cause a pocket of air to remain, leading to soft detail. I.E those stone grooves are raised ribs in the mould. The nodules are from holes that help allow the vacuum to suck the soft plastic sheet down into all parts of the mould around those raised areas and provide a way for any trapped air to escape. So they’re needed to improve quality.
Like I said the size is 244mm x 195mm. I haven’t any large armour to hand but here is the base with vehicles added to show the size…
Jeep
Ford GPA
Hetzer
Conclusion; this is a simple aid for those challenged like me by groundwork and is a diorama ‘quick fix’. Fairly good VFM if you allow for (in the UK) the cart kit which alone sells for around £9.00? The size may restrict the use to smaller armour but still very useful. The light weight will save on shipping costs
Recommended
Thanks to MiniArt for the review sample
Smudge


