Post by adt70hk on Dec 4, 2015 11:34:25 GMT -5
All (Sean - no need to read on, as you know what's coming  )
)
What follows isn't strictly speaking a dio but this seems the closest match - so here goes!!
As the regulars will know my modelling is limited to quickbuild 1/72 WW2 models for the war-gaming I do with my young son, and as you also know we now have a reasonable supply of models (accepting of course that there is always room for more!! ).
).
However, we have absolutely no buildings or scenery of any sort and so have to improvise a lot with books, DVD cases, childrens’ building blocks etc.
Then I came across this excellent blog link and then shortly after, this post on the Britmodeller site, so I decided to have a go at making my own scenery for the very first time.
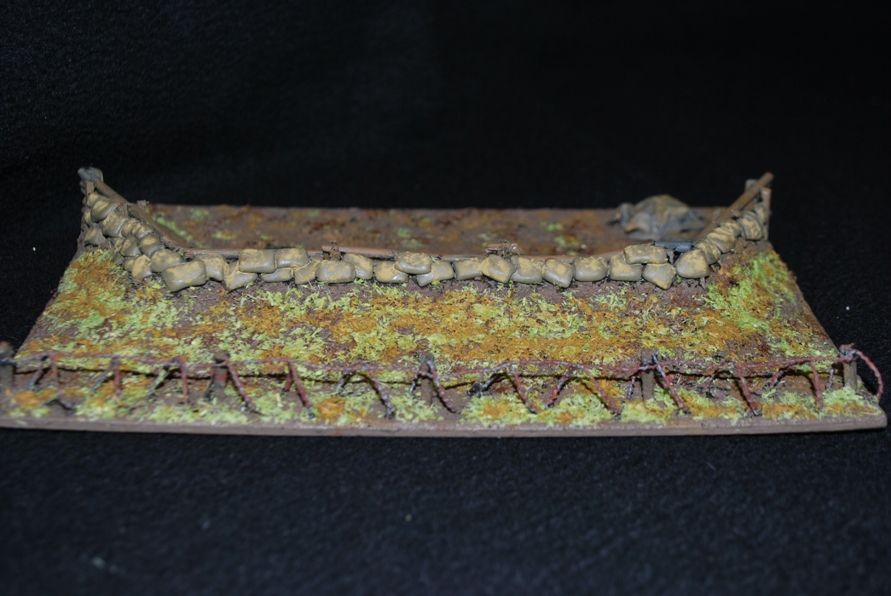
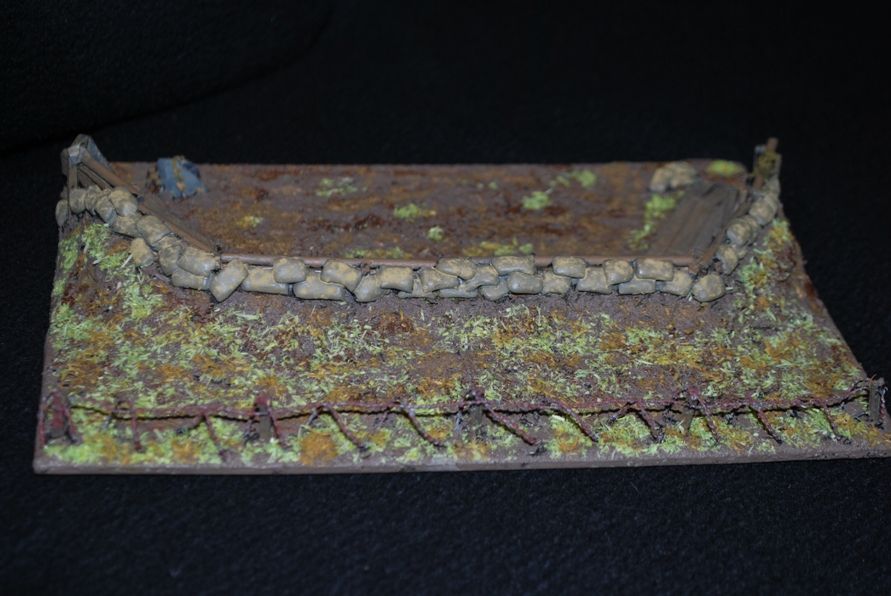
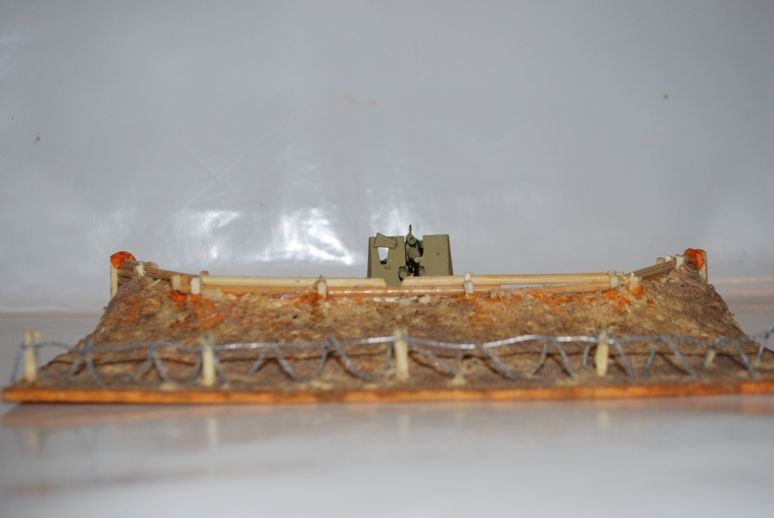
Never having made my own scenery before, I decided to keep it very simple and make two very generic sets of fieldworks, which could serve several purposes for the small scale battles we have - e.g. mortar or artillery emplacements, very oversized trenches, somewhere for my 88 to sit or even a hull down location for tanks.
As I’m on a tight budget and this was my first attempt, I used materials I found at home for the main structure, rather spend out on stuff I might never use again.
As you'll see below they're nearly finished (or at least I think they are ) save for a bit a bit of painting and some grass
As always all comments are welcome - not only in terms of finishing this off but also things I need to think about for future projects.
Thanks in advance for any advice you do have.
Kind regards
Andrew
PS the bases are about 8" by 6"
PPS Sorry for the number of pictures
PPS I realise that these are not necessarily historically accurate but I just wanted something to test out my ideas....
-----------------------------------------------------------------------
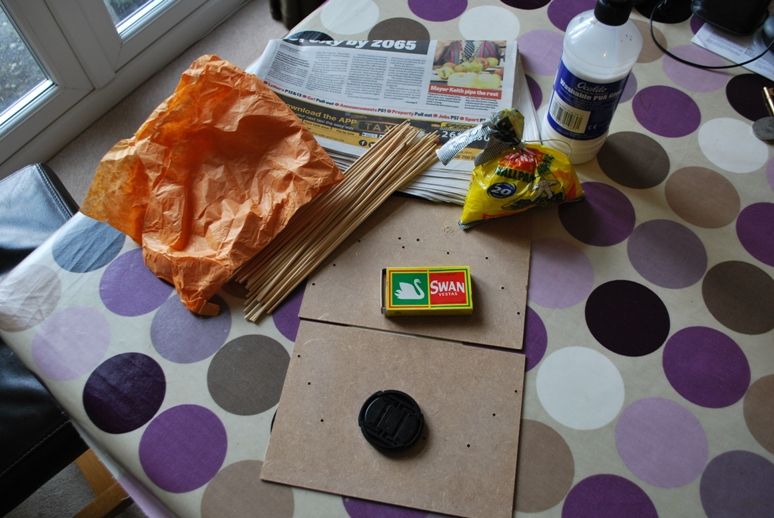
My building materials
As I said, all found at home - back of an unwanted picture frame (MDF), newspaper, matchsticks, bbq skewers, wallpaper paste and PVA glue.
------------------------------------------------------------------------
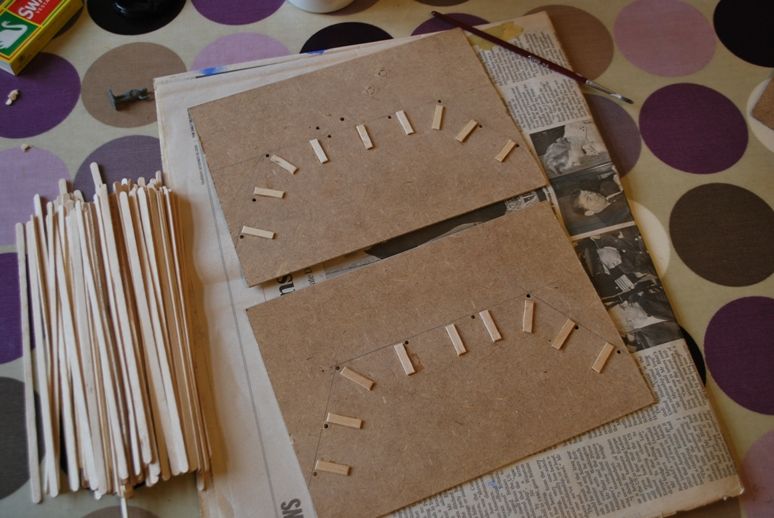
Laying out and planning the base
The idea was to get the planks off the ‘earth’ a bit.
The coffee stirrer ‘planks’ were given to me by the manager at my local coffee shop. She didn’t bat an eyelid when I asked if I could have some for modelling and promptly handed well over 100 for free.
------------------------------------------------------------------------
Finished log walls and boardwalks
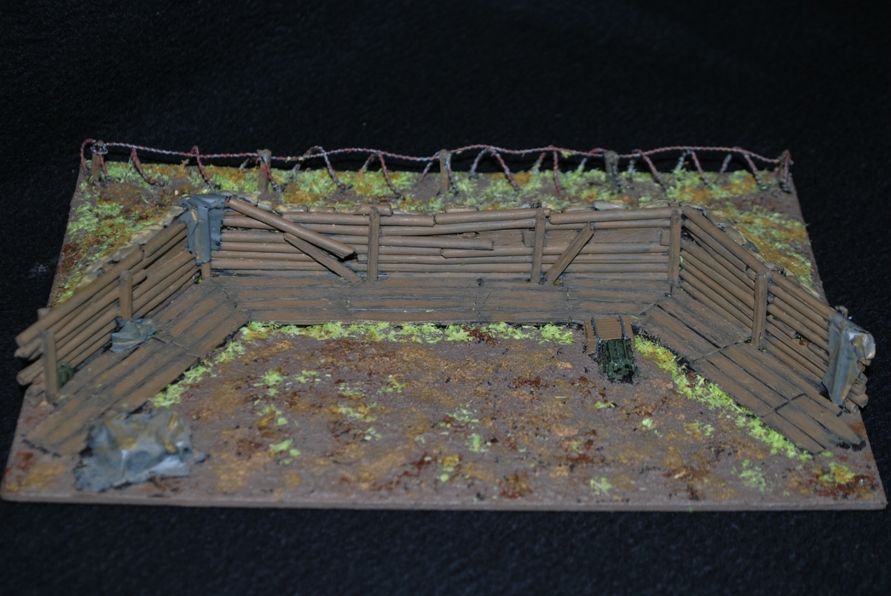
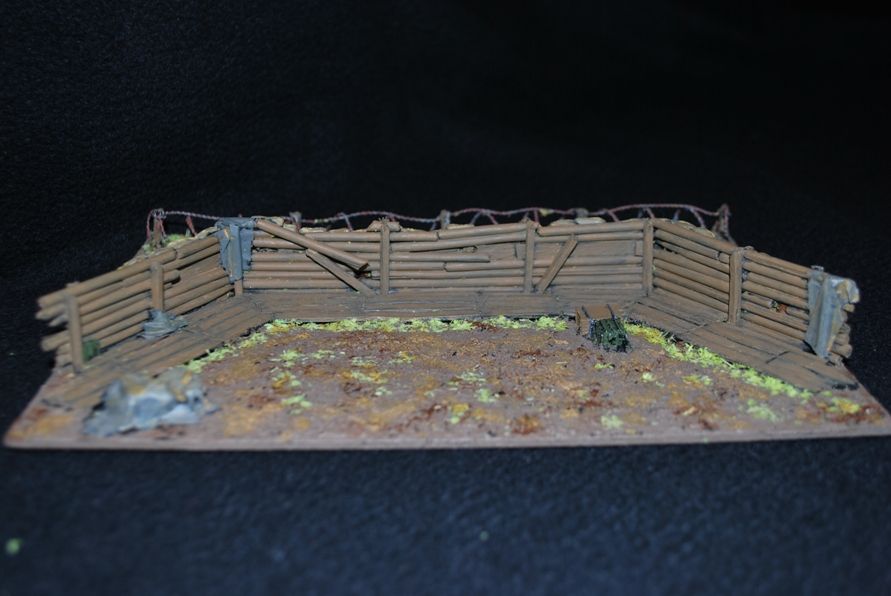
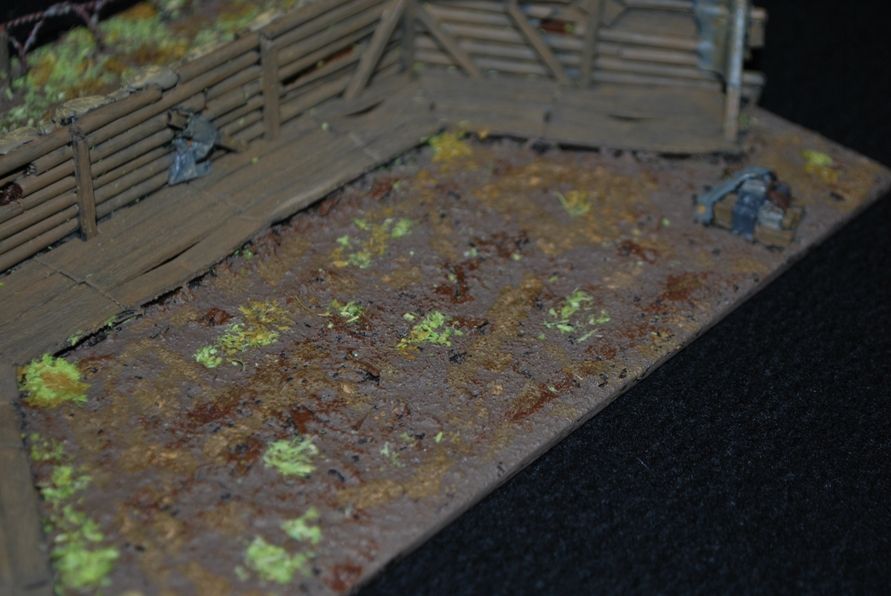
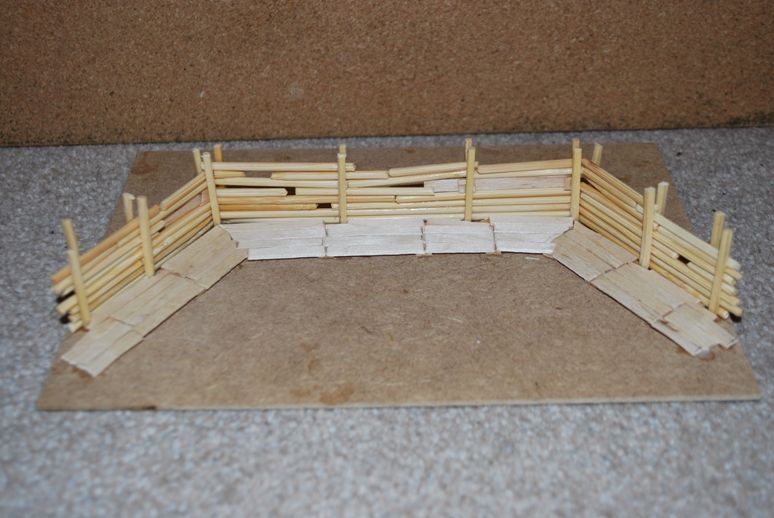
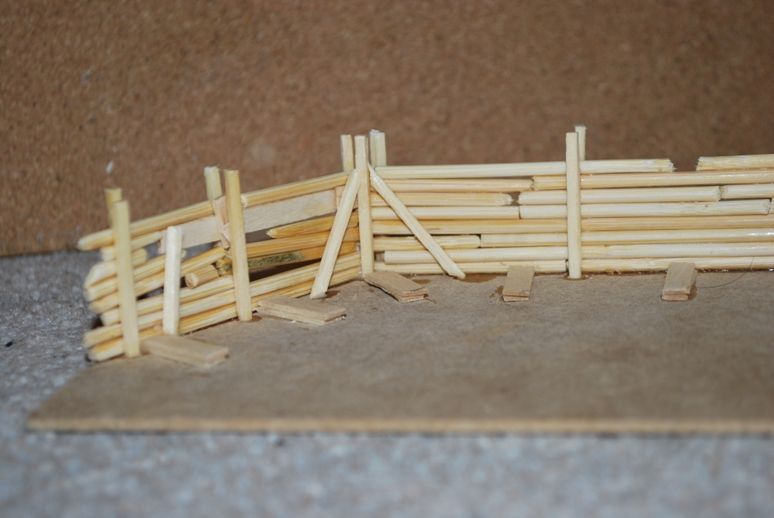
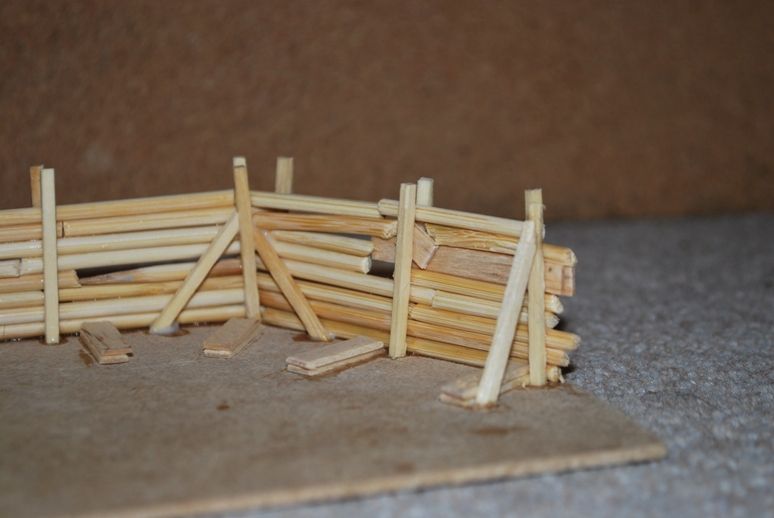
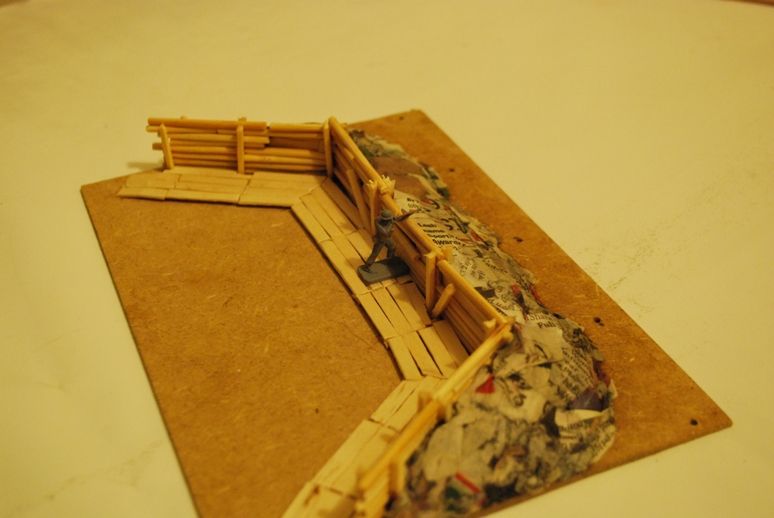
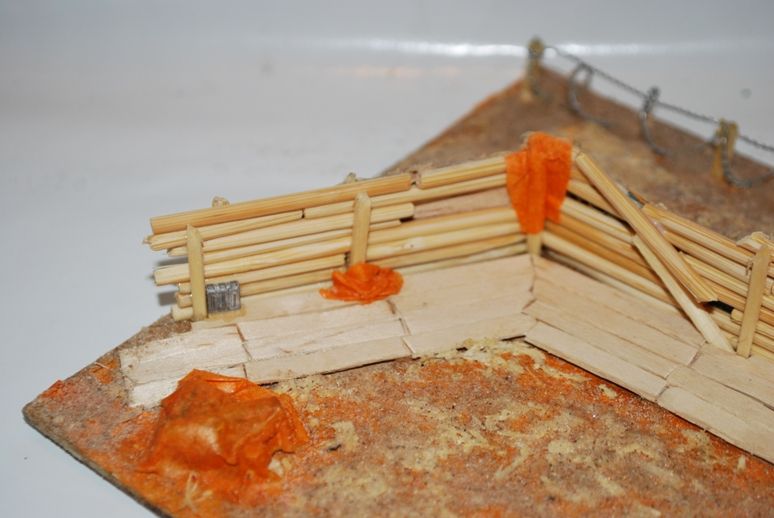
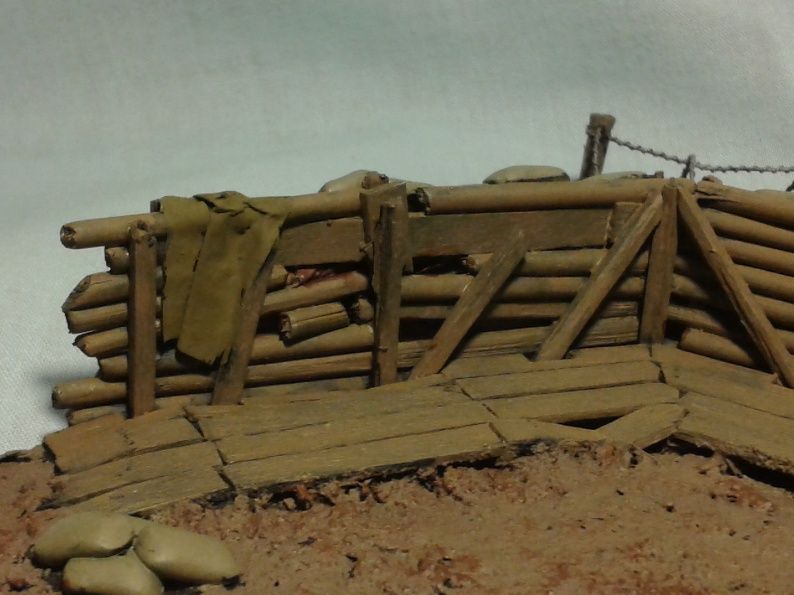
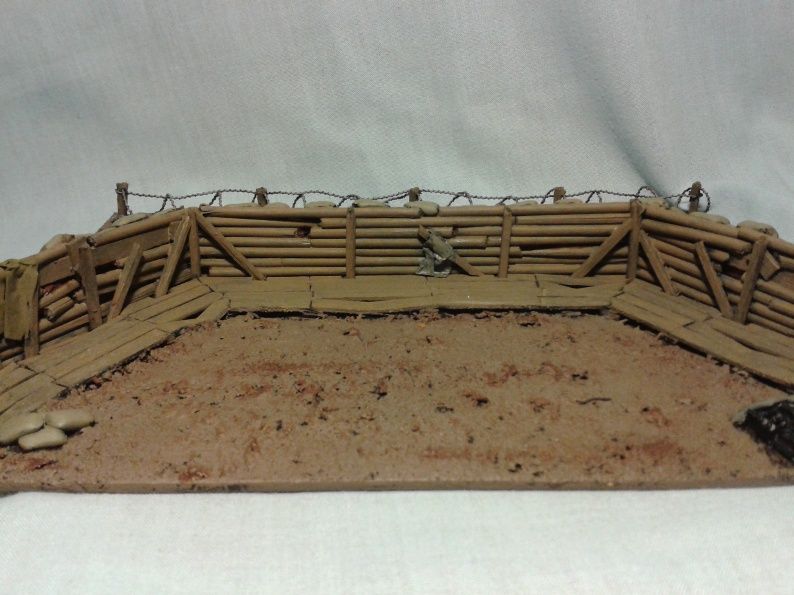
The walls are made from a combination of matchsticks, bbq skewers and coffee stirrers. The only structural supports are the upright matchsticks, everything else is ‘decorative’.
If I’d thought a bit more about it beforehand, I’d have added more supports underneath the floor board so I could make the ‘plank’ placement more random. Also the ‘planks’ are almost certainly too wide – equating to about 12” at this scale – but the thought of slicing them in half was too much just for war-gaming....
------------------------------------------------------------------------
Piled up ‘earth’
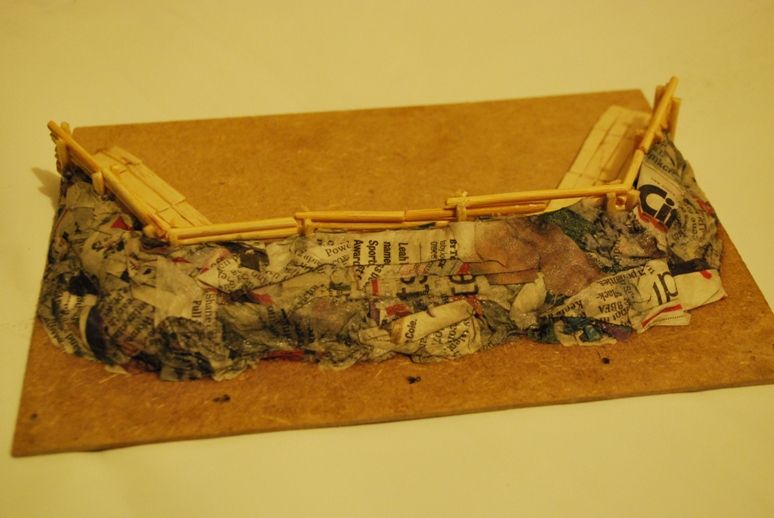
Having nothing better to use, I resorted to good old fashioned papier-mâché. I know it's probably so "last year" but I could make it at no expense.
------------------------------------------------------------------------
Applying the earth efffect and making it looked lived in
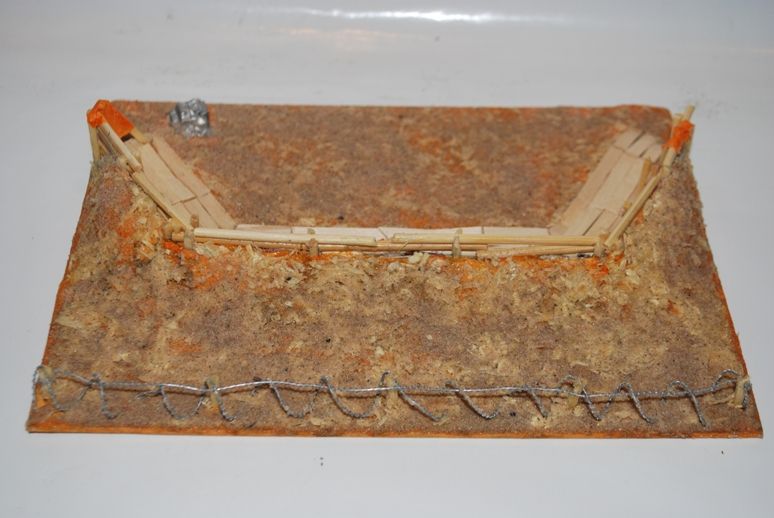
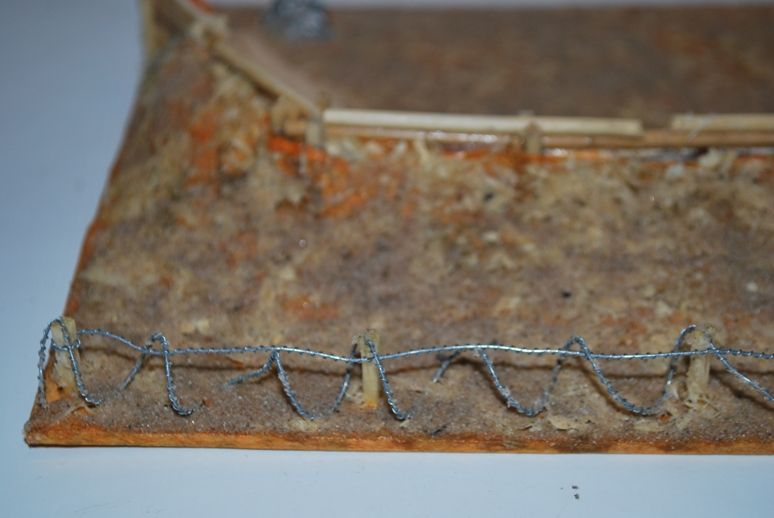
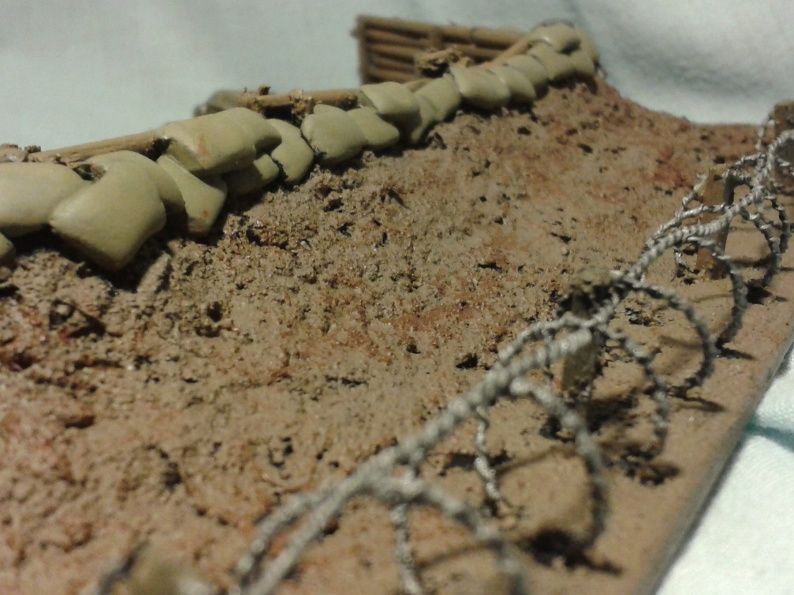
I experimented a bit following some advice I got elsewhere and ended up using a fairly sloppy mix of water, PVA, pet sawdust and sand.
It almost worked but still looked a bit too 'sawdusty' (is that a word??). So I gave it a generous layer of 50/50 PVA and water to mat it together more and then followed up with a generous sprinkling of sand.
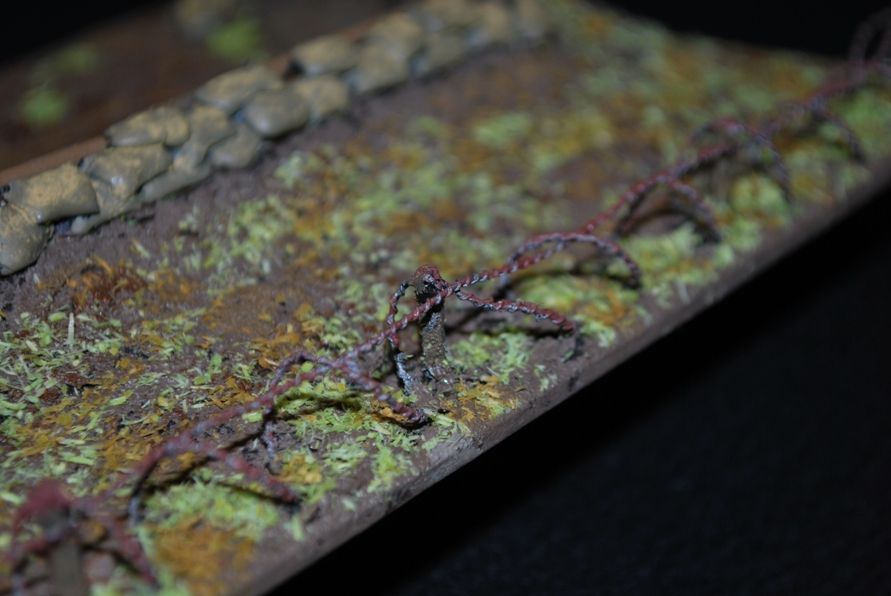
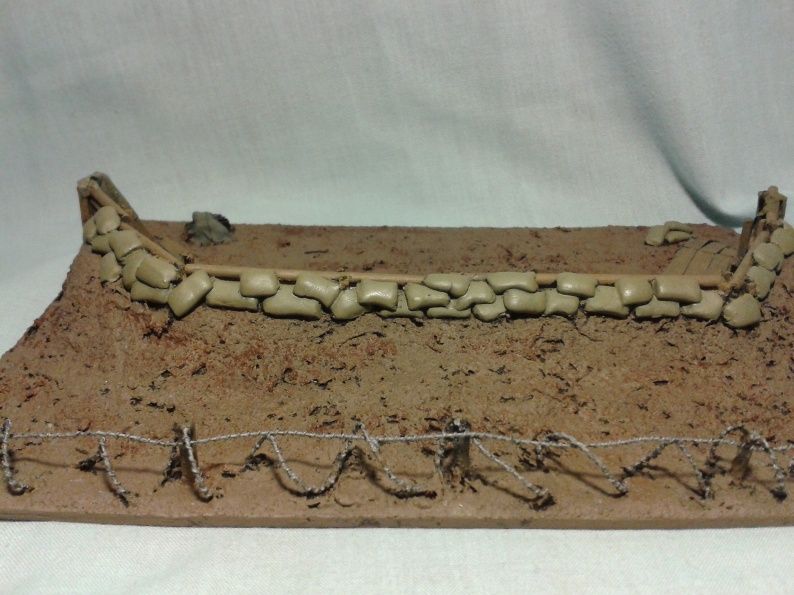
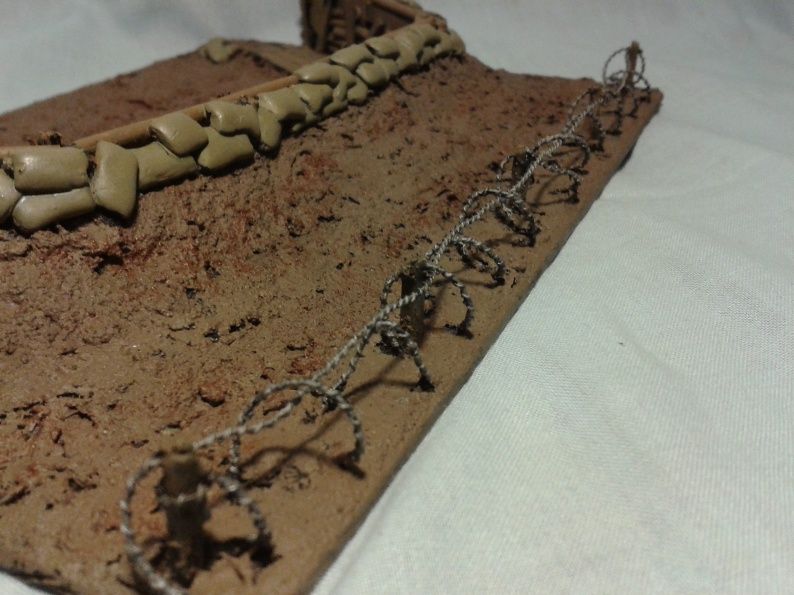
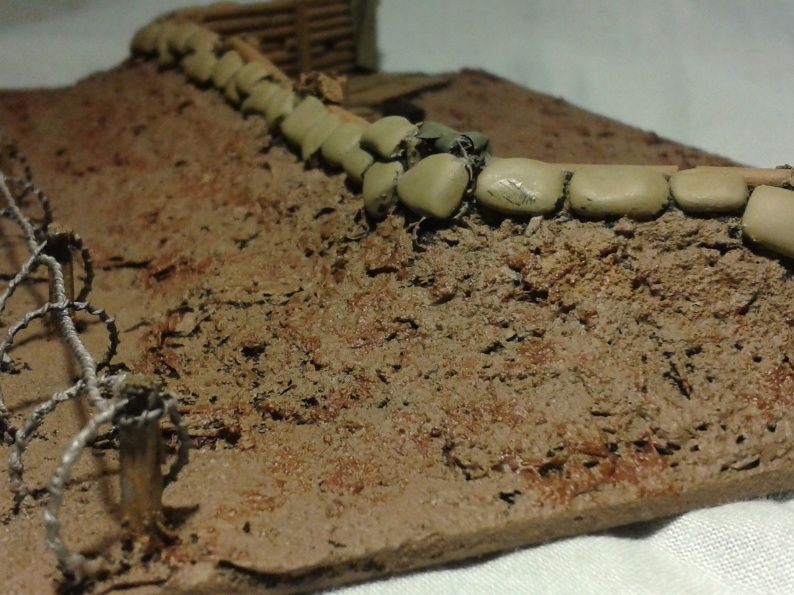
I added some barbed wire from JBARB. it's cheap, easy to work with and looks ok from a war-gaming distance. I was going to try making my own but ran out of patience in trying to find the right bits and pieces. This is how I was originally thinking of doing it gregswargamingblog.blogspot.co.uk/search/label/Barbwire
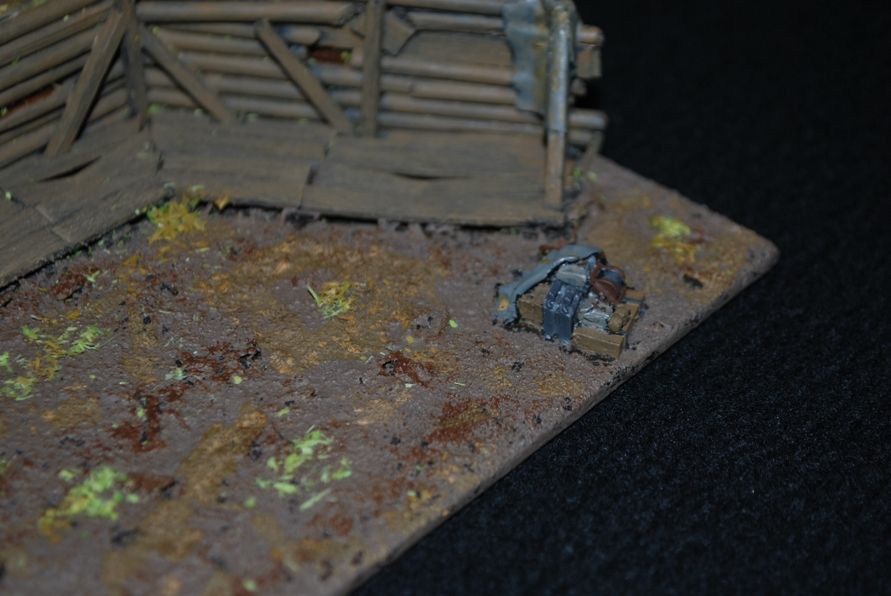
I've added some stowage and 'tissue paper' tarpaulins to give it that lived in look.
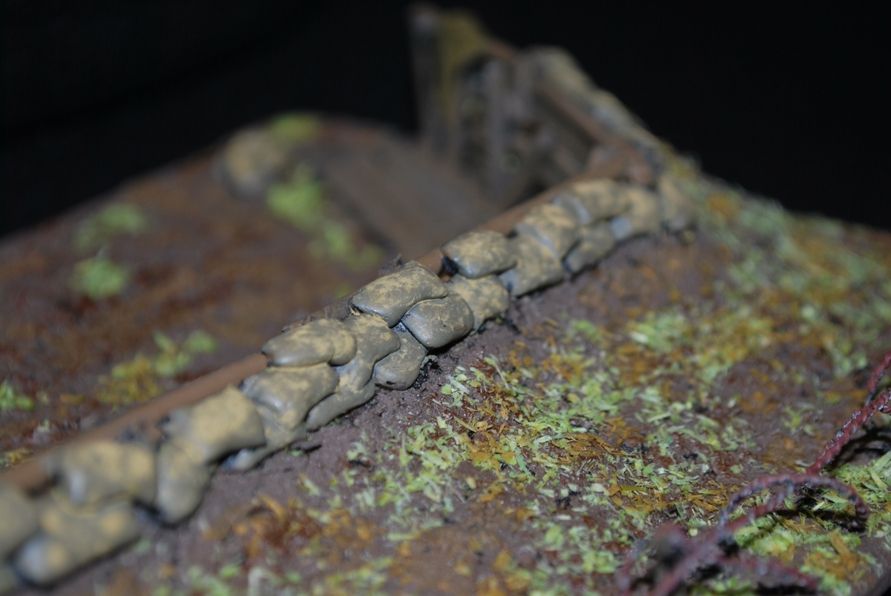
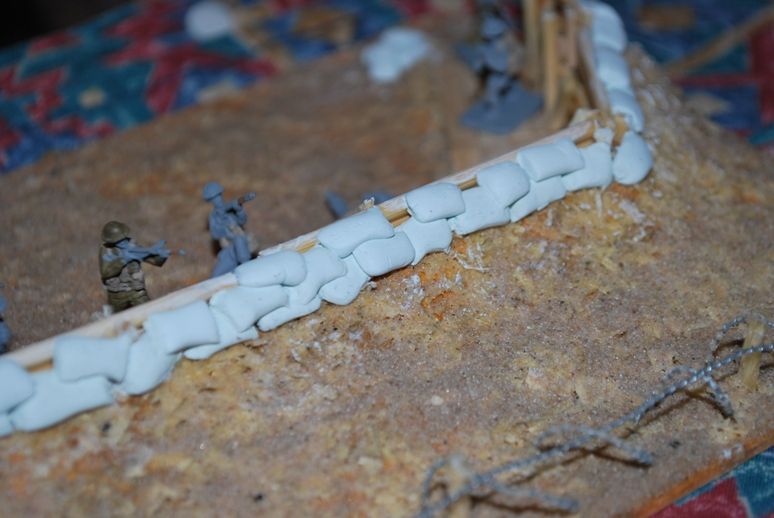
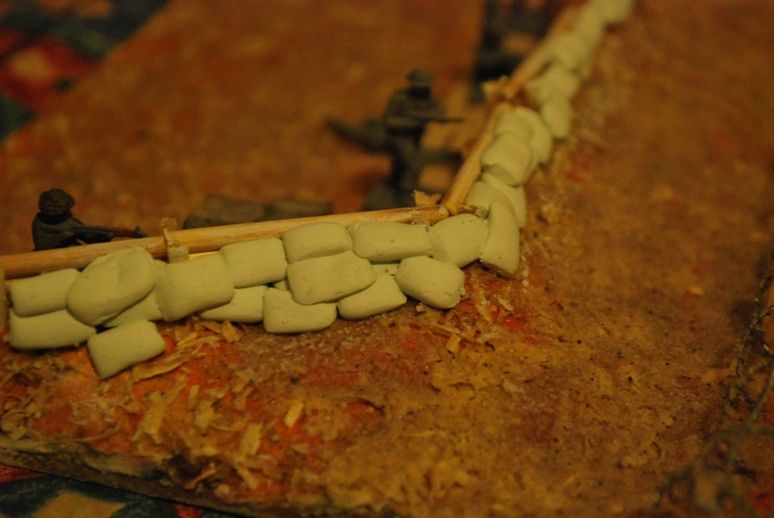
I then had a go at adding some 'sandbags' made from Milliput. Sean has advied me that mixing milliput and green stuff works very well. However, as this was my first time ever using modelling putty I decided to keep it simple and stick to milliput.
No doubt some of the bags are too big, too small, too long, too wide or have some odd marks and most are probably too regular in shape. Some are also possibly on the verge of defying gravity but on the whole I'm quite pleased with the effect considering it was first foray into the world of putty.

------------------------------------------------
Now the paint!!
The main earth colour is Humbrol dark earth, with some dry brushing of burnt umber done over the top. The wood has been painted with 2 or 3 coats of Humrol enamel 110 but the brush was dipped in thinners first, although I should have done one less coats.

 )
)What follows isn't strictly speaking a dio but this seems the closest match - so here goes!!
As the regulars will know my modelling is limited to quickbuild 1/72 WW2 models for the war-gaming I do with my young son, and as you also know we now have a reasonable supply of models (accepting of course that there is always room for more!!
 ).
).However, we have absolutely no buildings or scenery of any sort and so have to improvise a lot with books, DVD cases, childrens’ building blocks etc.
Then I came across this excellent blog link and then shortly after, this post on the Britmodeller site, so I decided to have a go at making my own scenery for the very first time.
Never having made my own scenery before, I decided to keep it very simple and make two very generic sets of fieldworks, which could serve several purposes for the small scale battles we have - e.g. mortar or artillery emplacements, very oversized trenches, somewhere for my 88 to sit or even a hull down location for tanks.
As I’m on a tight budget and this was my first attempt, I used materials I found at home for the main structure, rather spend out on stuff I might never use again.
As you'll see below they're nearly finished (or at least I think they are
 ) save for a bit a bit of painting and some grass
As always all comments are welcome - not only in terms of finishing this off but also things I need to think about for future projects.
Thanks in advance for any advice you do have.
Kind regards
Andrew
PS the bases are about 8" by 6"
PPS Sorry for the number of pictures
PPS I realise that these are not necessarily historically accurate but I just wanted something to test out my ideas....
-----------------------------------------------------------------------
My building materials
As I said, all found at home - back of an unwanted picture frame (MDF), newspaper, matchsticks, bbq skewers, wallpaper paste and PVA glue.

------------------------------------------------------------------------
Laying out and planning the base
The idea was to get the planks off the ‘earth’ a bit.
The coffee stirrer ‘planks’ were given to me by the manager at my local coffee shop. She didn’t bat an eyelid when I asked if I could have some for modelling and promptly handed well over 100 for free.

------------------------------------------------------------------------
Finished log walls and boardwalks
The walls are made from a combination of matchsticks, bbq skewers and coffee stirrers. The only structural supports are the upright matchsticks, everything else is ‘decorative’.
If I’d thought a bit more about it beforehand, I’d have added more supports underneath the floor board so I could make the ‘plank’ placement more random. Also the ‘planks’ are almost certainly too wide – equating to about 12” at this scale – but the thought of slicing them in half was too much just for war-gaming....


------------------------------------------------------------------------
Piled up ‘earth’
Having nothing better to use, I resorted to good old fashioned papier-mâché. I know it's probably so "last year" but I could make it at no expense.


------------------------------------------------------------------------
Applying the earth efffect and making it looked lived in
I experimented a bit following some advice I got elsewhere and ended up using a fairly sloppy mix of water, PVA, pet sawdust and sand.
It almost worked but still looked a bit too 'sawdusty' (is that a word??). So I gave it a generous layer of 50/50 PVA and water to mat it together more and then followed up with a generous sprinkling of sand.
I added some barbed wire from JBARB. it's cheap, easy to work with and looks ok from a war-gaming distance. I was going to try making my own but ran out of patience in trying to find the right bits and pieces. This is how I was originally thinking of doing it gregswargamingblog.blogspot.co.uk/search/label/Barbwire
I've added some stowage and 'tissue paper' tarpaulins to give it that lived in look.
I then had a go at adding some 'sandbags' made from Milliput. Sean has advied me that mixing milliput and green stuff works very well. However, as this was my first time ever using modelling putty I decided to keep it simple and stick to milliput.
No doubt some of the bags are too big, too small, too long, too wide or have some odd marks and most are probably too regular in shape. Some are also possibly on the verge of defying gravity but on the whole I'm quite pleased with the effect considering it was first foray into the world of putty.


------------------------------------------------
Now the paint!!
The main earth colour is Humbrol dark earth, with some dry brushing of burnt umber done over the top. The wood has been painted with 2 or 3 coats of Humrol enamel 110 but the brush was dipped in thinners first, although I should have done one less coats.


 .
.