pt109
Full Member

Member since: April 2013
Stop staring at me! heheheh
Posts: 491 
|
Post by pt109 on Jun 5, 2018 22:18:19 GMT -5
Cool little project, err should I say involved project! HEHEH I love these Russian tanks, especially when adding stuff.....almost anything goes (you should see my JSU II).
Will be watching....thanks for posting your progress.
Paul
|
|
|
|
Post by dierk on Jun 6, 2018 4:12:23 GMT -5
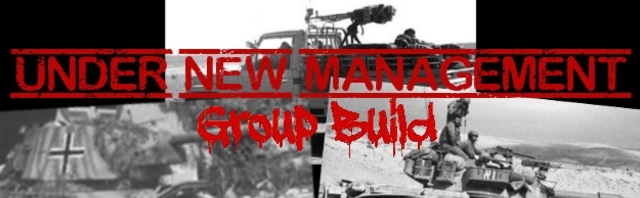
Thanks gents, glad you're liking my 'little project' We're having some really nice weather, just as well really, as the cast texture is very subdued on both the Tamiya kit and the 'A Resin' early turret, and Mr. Surfacer does pong a bit, so being able to do it outside is a bonus. 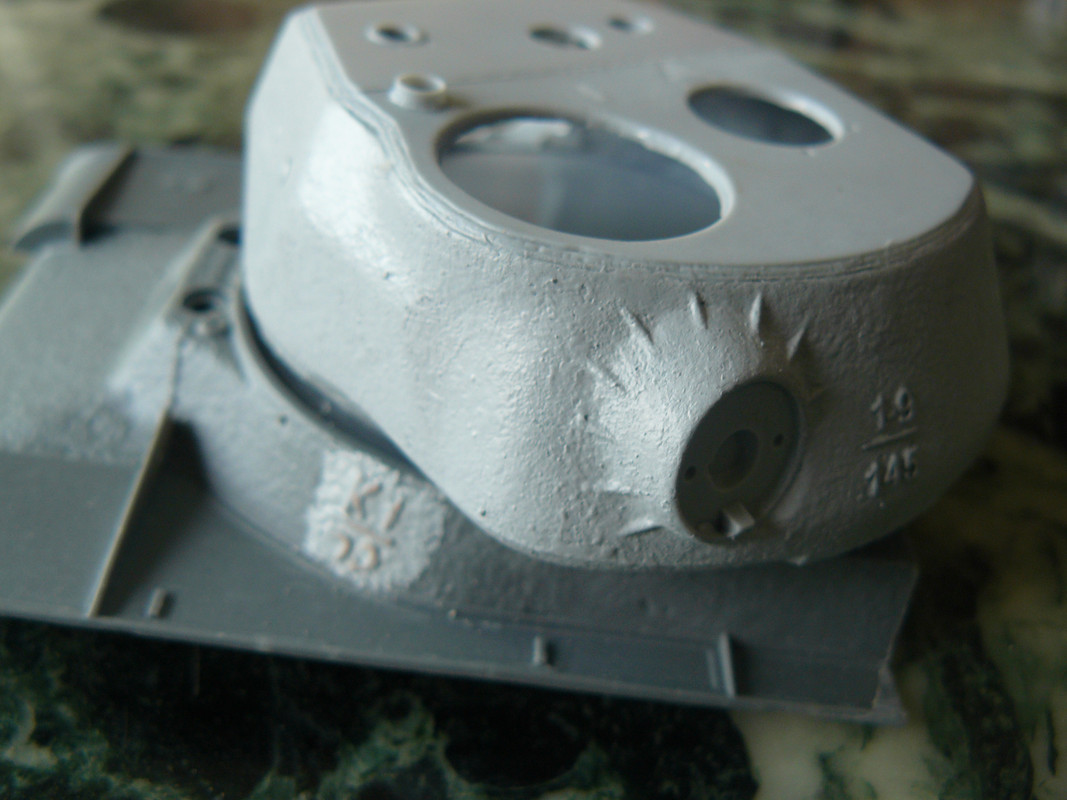 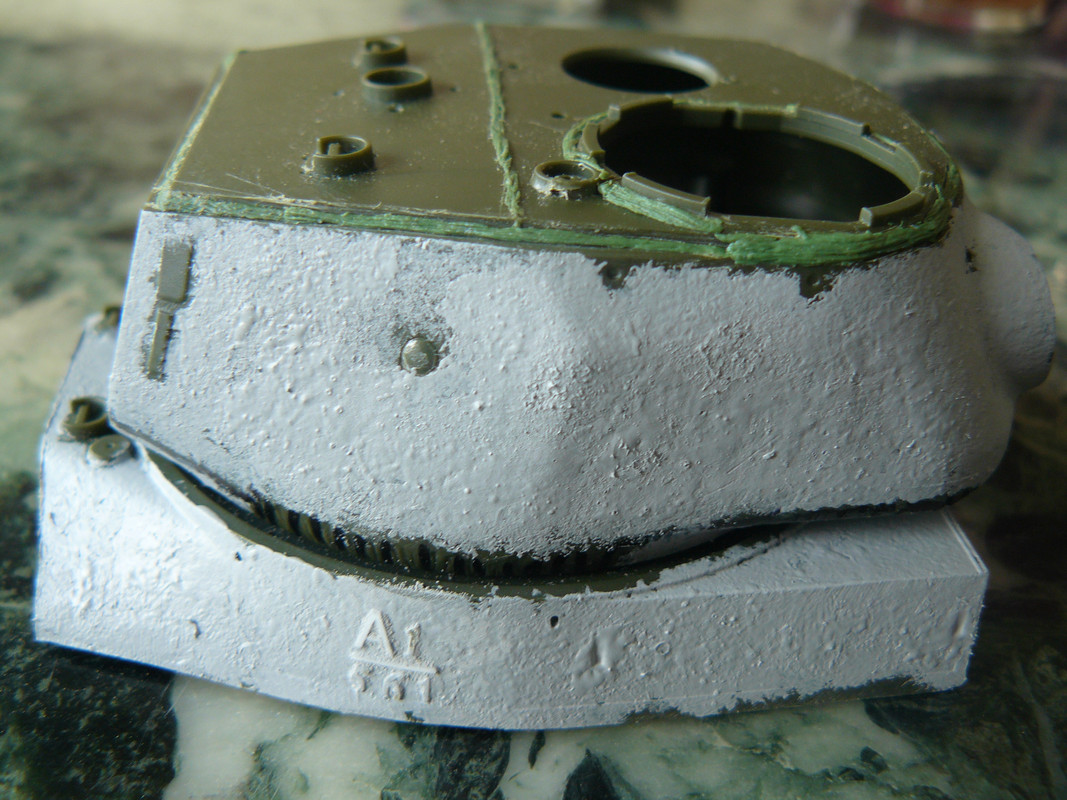  |
|
|
|
Post by dierk on Jun 7, 2018 6:48:21 GMT -5
Cool little project, err should I say involved project! HEHEH I love these Russian tanks, especially when adding stuff.....almost anything goes (you should see my JSU II). Will be watching....thanks for posting your progress. Paul Glad you're liking it, Paul. Not sure I agree with 'anything goes' - but I would like to see your JSU II Just picked up a DML Chineese Volunteer IS-2 for 11 euros as it claims to have a UZTM hull with the welded nose that I need for 432...11 euros wasted: yes, the very tip looks right, but the rest of the glacis has a heavy cast texture...meh Scratch building it is, then... |
|
pt109
Full Member
Member since: April 2013
Stop staring at me! heheheh
Posts: 491
|
Post by pt109 on Jun 9, 2018 17:58:08 GMT -5
"Glad you're liking it, Paul. Not sure I agree with 'anything goes' - but I would like to see your JSU II"
Well by ....anything goes I'm just referring to how different factories tried to make unique looking tanks like they did with the T-34s. My bad.....I think when I started the JSU 122, I sorta lost my mind (what's left of it) in trying to add crazy stuff, it's a shelf queen just to warn ya....and not complete but I'll dig out my camera and post, you can see what I mean.
Later, Paul
PS1 Love your casting marks.
PS2 Dierk, I made a thread with the JSU 122 photos...
|
|
|
|
Post by wbill76 on Jun 12, 2018 12:31:52 GMT -5
Nice work on the added texture Dierk, doesn't surprise me at all to see you engaged on this type of subject.  |
|
|
|
Post by dierk on Jun 13, 2018 1:43:21 GMT -5
Nice work on the added texture Dierk, doesn't surprise me at all to see you engaged on this type of subject. A kind way of calling me predictable  |
|
|
|
Post by dierk on Jun 18, 2018 5:01:06 GMT -5
As you may have gathered by now, this isn't a weekend build... Next step is making the Zvezda engine deck a bit more interesting. The lifting eyelets and rings are moulded on, weld beads are absent, andthe bolts are both too small and shapeless round things, not hexagonal. First off I removed the moulded on lifting eyelets with a home-made chisel that started life as a jeweller's screw driver. Followed by drilling holes with a 2mm bit, and filling them with eylets from the spares box. The rings were made by wrapping 0.3mm wire around a 1.5mm drill and cutting them with scissors. Here's the tools:  Eyelets and rings 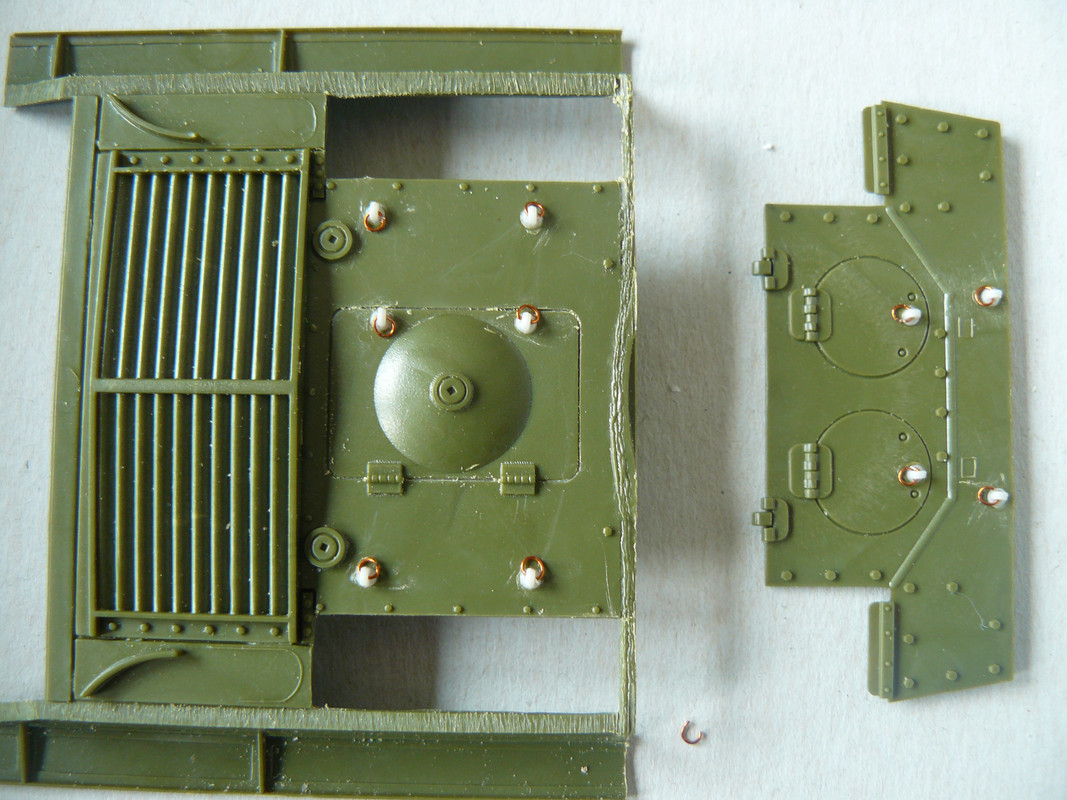 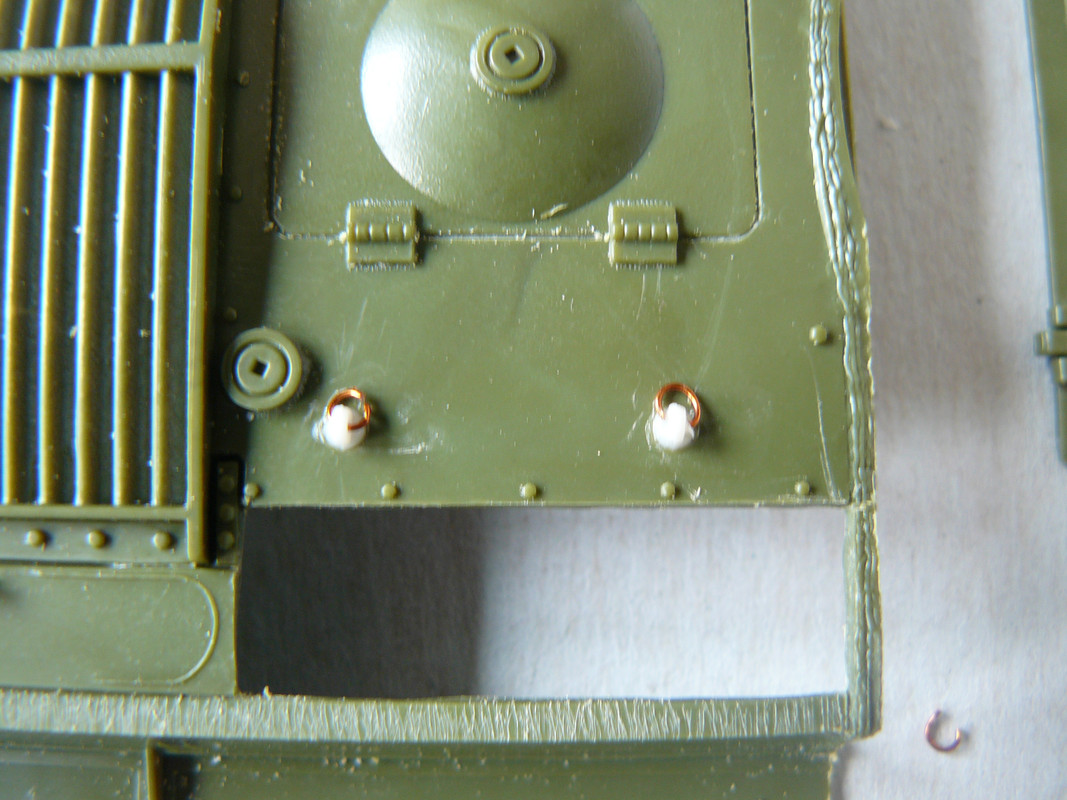 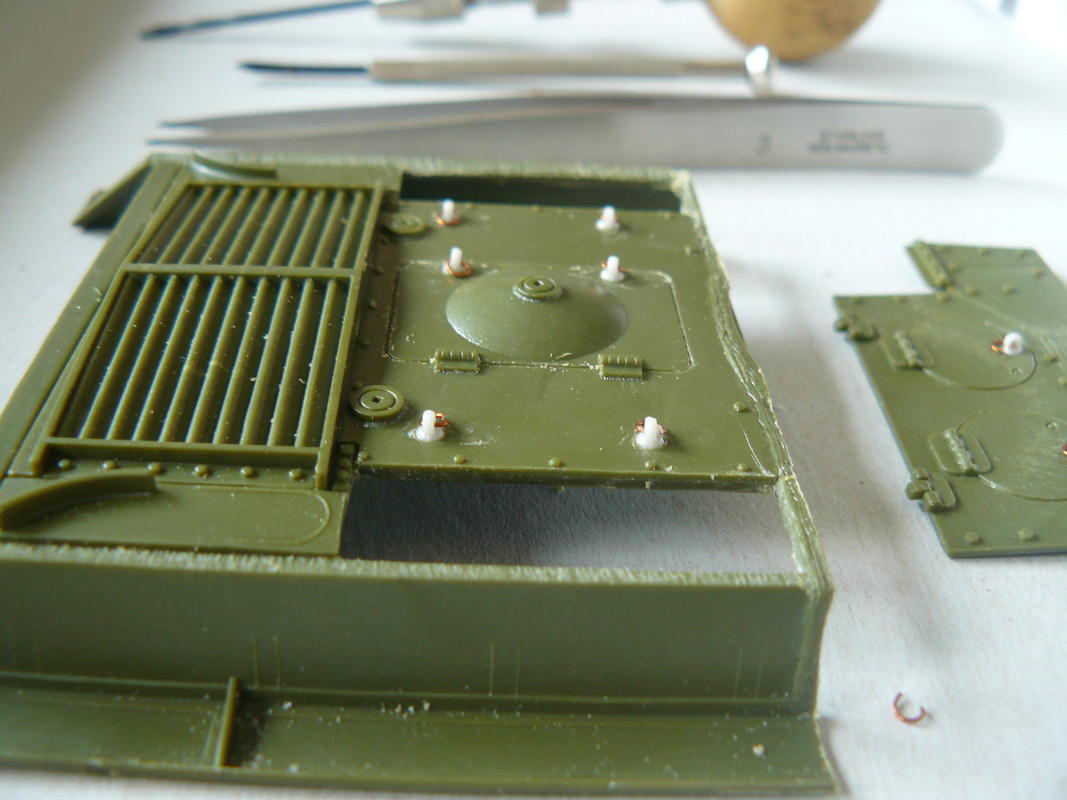 Made a start on the weld beads using 0.3mm rod 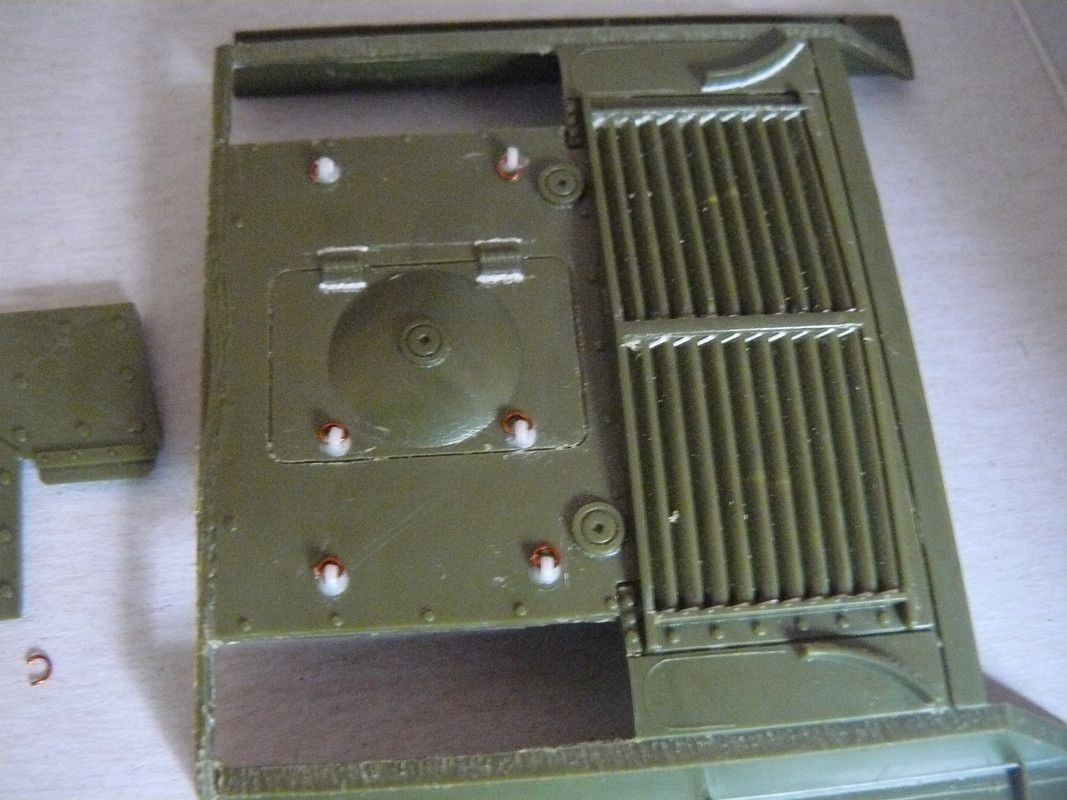 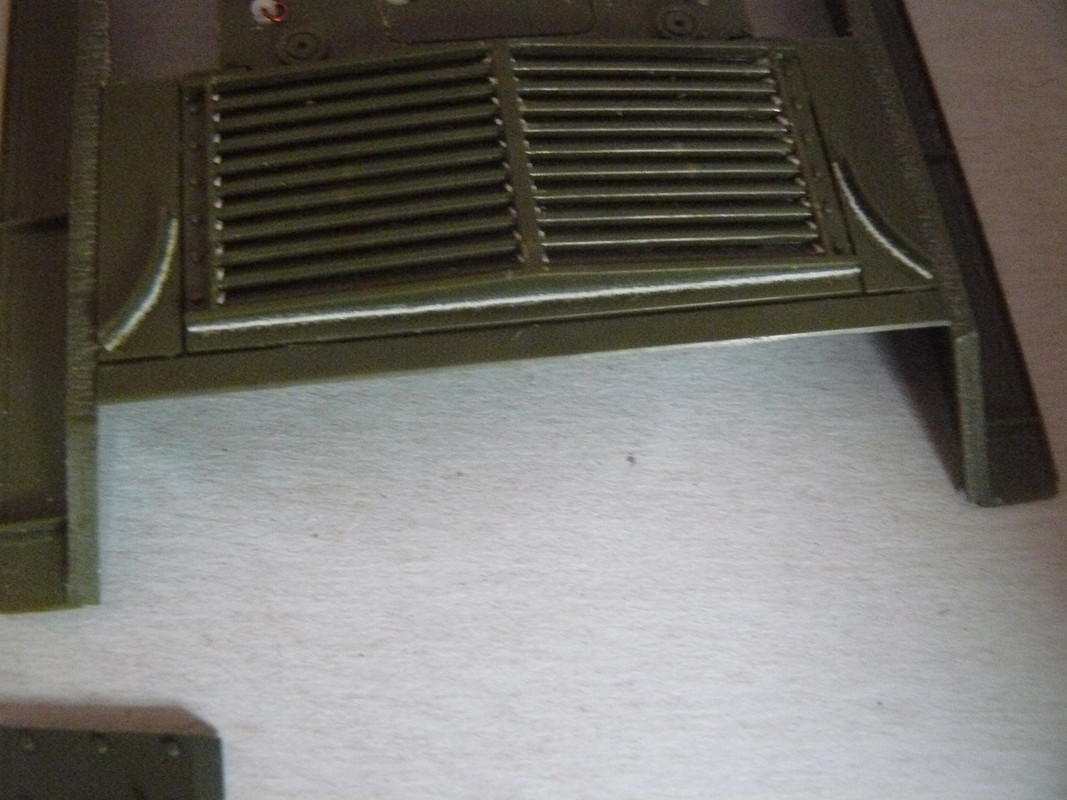 Most of the bolts will be replaced with 0.8mm Masterclub resin items. And once that's done, I get to do it all again (apart from replacing the bolts) on the Tamiya deck, which also has not much in the way of welds, and the lifting eyelets are both too small and moulded solid: 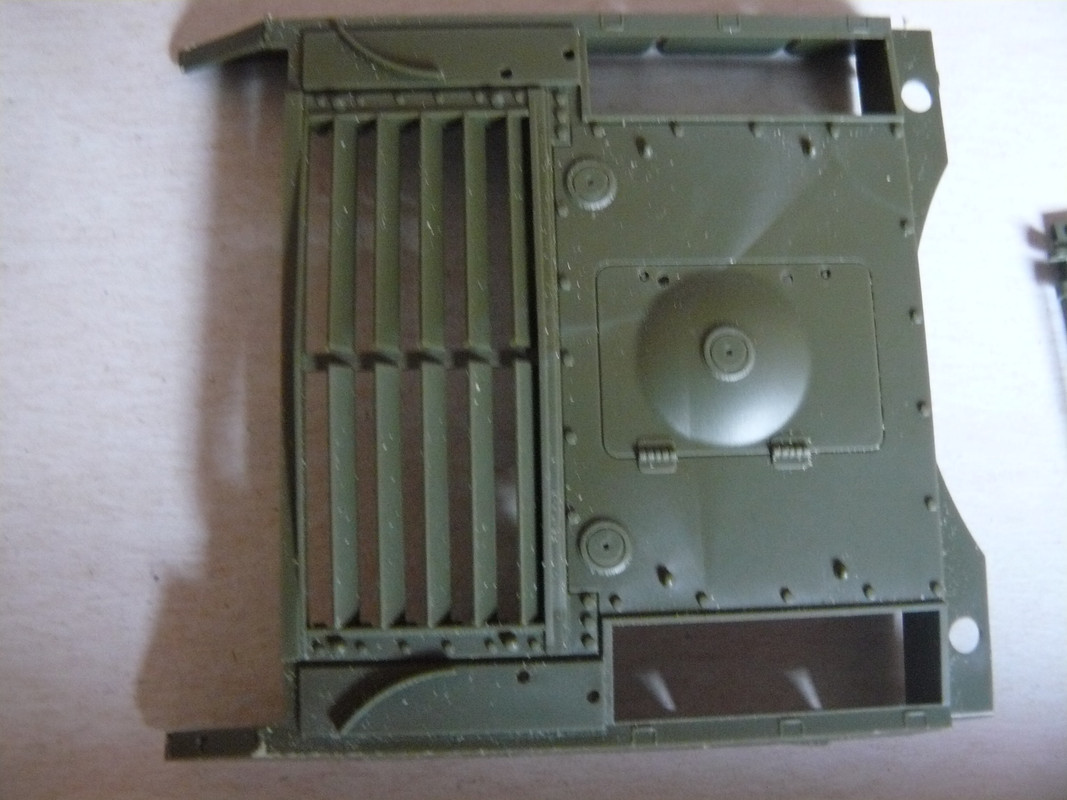 |
|
joelsmith
Full Member
Member since: July 2012
There no winners in war, only survivors.
Posts: 1,404
Jul 5, 2012 22:33:58 GMT -5
Jul 5, 2012 22:33:58 GMT -5
|
Post by joelsmith on Jun 18, 2018 12:53:50 GMT -5
Getting better and better!
|
|
|
|
Post by Leon on Jun 18, 2018 16:30:16 GMT -5
Nice work on the details Dierk!  |
|
|
|
Post by wbill76 on Jun 18, 2018 19:25:04 GMT -5
Can't wrong with repurposed tools to get the job done Dierk, additions make a difference!
|
|
|
|
Post by dupes on Jun 18, 2018 19:41:24 GMT -5
Man...VERY in depth project you've got going on here.
|
|
|
|
Post by panzerjager2 on Jun 18, 2018 20:20:46 GMT -5
Great work as always... SUPER ATTENTION to details 
PJ2
|
|
4bogreen
Full Member
Member since: January 2014
On the bench; Yak-1B, T-30, T-34 model 1940
Posts: 568
|
Post by 4bogreen on Jun 19, 2018 1:39:38 GMT -5
Wow Dierk!
Great project! i love the resin parts for the IS. Great detail with the cast front. Changes the whole vehicle.
|
|
|
|
Post by dierk on Jun 19, 2018 2:45:59 GMT -5
Getting better and better! Thanks Joel - I try... Nice work on the details Dierk! Glad you like it, Leon! Can't wrong with repurposed tools to get the job done Dierk, additions make a difference! Goes hand in hand with being tight-fisted, Bill - I'd like a set of purpose-made mini chisels, but not prepared to pay the asking price Man...VERY in depth project you've got going on here. Cheers Dupes! I blame the internet... Great work as always... SUPER ATTENTION to details
PJ2 Thanks Whitney! I hope I can maintain the momentum - and not have my gold fish like attention span side-track me to(yet another)kit Wow Dierk! Great project! i love the resin parts for the IS. Great detail with the cast front. Changes the whole vehicle. Hoi Roy! Where have you been? I got the bits from this guy. He's also involved with Yellow House Club, who do some excellent WWI stuff. The material the 'A Resin' turret is made of, is really nice to work with: doesn't smell, and is quite soft - almost like styrene. Just a shame the cast texture is so subdued, and that there is no loader's hatch. They also do the 'broken nose' front hull, but without mudguards, however, with the drain holes around the turret ring. My hull is by Hobby Planet, which I preferred because of the better cast texture (but without the drain holes) Trumpeter now do a couple of the broken nose IS-2s, but from what I've read, they're less than accurate...and expensive. Anywhoo - I'd say the engine deck is done...for now. Added the remaining welds, and replaced the bolts with Masterclub 0.8mm resin ones.  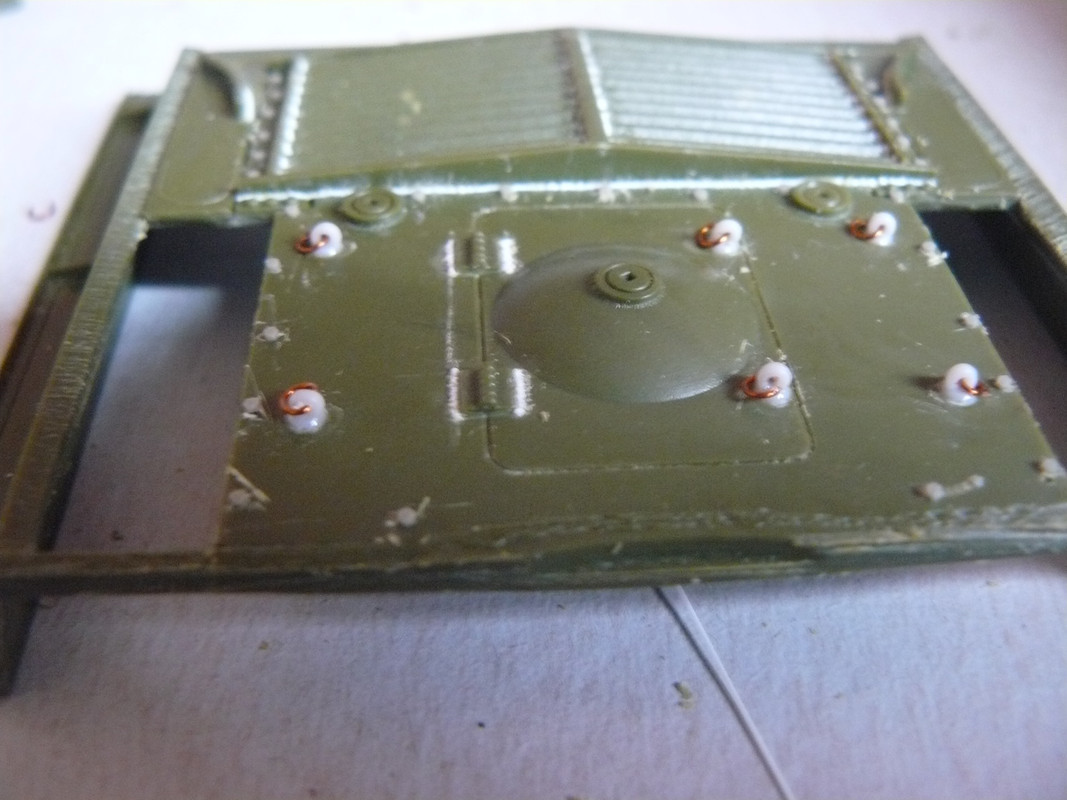  |
|
4bogreen
Full Member
Member since: January 2014
On the bench; Yak-1B, T-30, T-34 model 1940
Posts: 568
|
Post by 4bogreen on Jun 19, 2018 3:23:27 GMT -5
Exelent work on the bolts! Detail on old Zvezda kits might be a bit...meh... So its great to see you can turn this kit to the A+ level.
|
|
pt109
Full Member
Member since: April 2013
Stop staring at me! heheheh
Posts: 491
|
Post by pt109 on Jun 19, 2018 17:53:07 GMT -5
Nice detailing Dierk, you're going all out on this one!
Paul
|
|
Deleted
Member since: January 1970
Posts: 0
May 7, 2024 14:31:34 GMT -5
May 7, 2024 14:31:34 GMT -5
|
Post by Deleted on Jun 24, 2018 15:11:15 GMT -5
Outstanding work sir!
Hot you say? 105F-110F here all week. Just a tad warm.
G
|
|
|
|
Post by dierk on Jun 25, 2018 6:09:00 GMT -5
Outstanding work sir! Hot you say? 105F-110F here all week. Just a tad warm. G Thank you for the kind words. Unfortunately, when you live under the roof, the place just gets progressivly hotter as the building radiates off the heat - as it cools off outside, it heats up inside: high 80's, low 90's is not conducive to sleep... |
|
|
|
Post by rbaer on Jun 29, 2018 13:02:00 GMT -5
A/C is your buddy. Details looking fine too.
|
|
|
|
Post by Tobi on Jun 29, 2018 14:50:45 GMT -5
Wow!
Only the exhaust deflectors are a little too thick for my taste. Are they really that massive on the original machine?
|
|
|
|
Post by dierk on Jun 30, 2018 1:45:53 GMT -5
Wow! Only the exhaust deflectors are a little too thick for my taste. Are they really that massive on the original machine? Well spotted! You're quite right: they were thinner - might remove and replace them  |
|
|
|
Post by Tobi on Jun 30, 2018 2:03:46 GMT -5
Replacing them will do honor to the rest of your fine scratch work.
|
|