

Post by 406 Silverado on Jun 25, 2018 11:24:16 GMT -5
Amusing Hobby Jagdpanzer E-100
Scale: 1/35
Kit number: 35A017 (MBK-USA)
In-Box review
Scale: 1/35
Kit number: 35A017 (MBK-USA)
In-Box review
Popularity in the E-series of 'Paper Panzers' has grown a lot in the past few years, as well as the 'What -if' 1946 trend. The E-series tanks were mostly drawing board only and never actually reached production or test vehicle stages. Some however did see testing which in some cases were modifications of pre existing vehicles, or using components of of vehicles.
With the release of the E-75 and E-100 kits from manufacturers, such as Trumpeter, we had the starting point in which to model some of these cool looking E-series tanks.
The latest range of kits from Amusing Hobby has taken the 'Paper Panzers' to a whole new level. Using the base E-100 chassis Amusing Hobby has come out with tanks and JagdPanzers in different variations, and using various sized main weapons. The E-100 JagdPanzer to me is an oversized Elephant or Jagdtiger with a really big main gun, and with the addition of the curved armor track guards gives these vehicles a menacing appearance.
I will first do an in-box review of this kit, followed then by a build review of the kit and painting of the model.
The Kit:
After receiving this reviewing kit from MBK-USA I couldn't wait to crack it open and check out the sprue and parts. You know that excitement when you get a new kit, like a little kid in a toy store. First thing I noticed when lifting the top of the box was that the box is packed with sprues, bags for tracks and the large one piece upper hull. As a modelers who enjoys the painting and weathering more than the building, the upper hull with it's large superstructure plates, I instantly knew how I wanted to paint and weather the model. This is something that doesn't happen with most models I build so I knew this would not end up being a shelf queen.
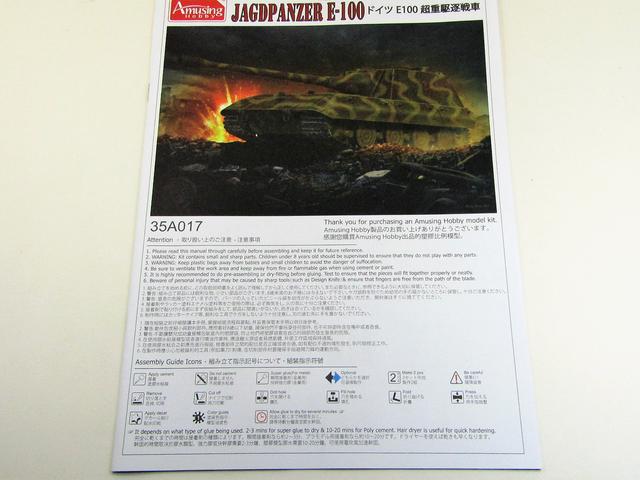
The kit instructions are straight forward with nine pages of 20 assembly steps (image 1). The first page is your typical sprue number and payout along with photo etch and decals. The rest of the instructions follow the normal build order, suspension and wheels as well as other lower hull parts. The upper and lower hulls parts are all assembled first and joined together in stage 17 after the tracks are installed. I prefer to join the upper and lower hull sections early before adding all the smaller more fragile parts, but that is my building style.
Not shown in the instructions is the assembly of the tracks, this is provided on a separate paper found in the box.
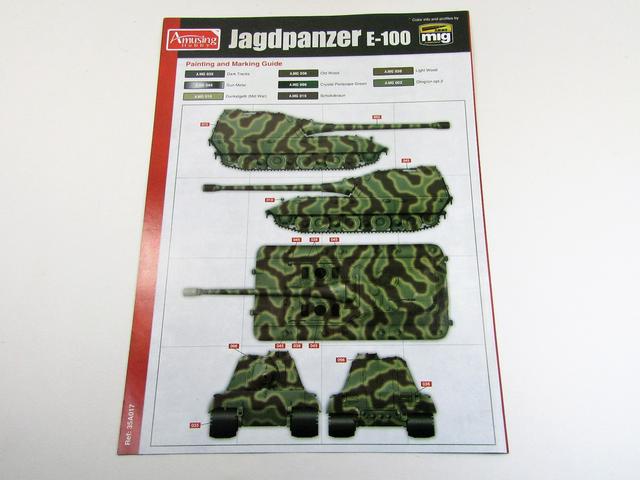
Included with the instructions is a painting guide, two different camo schemes using MIG Ammo colors (images 2&3). This double sided page are the only color schemes and markings shown but since this is a Paper Panzer you can use your imagination when it comes to color scheme and unit markings, crosses and numbers.

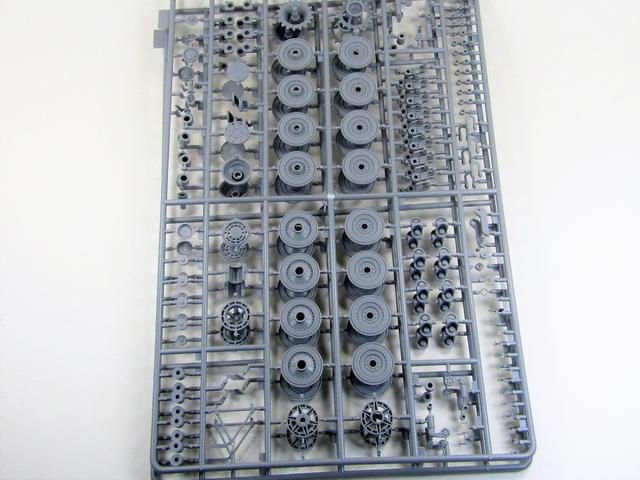
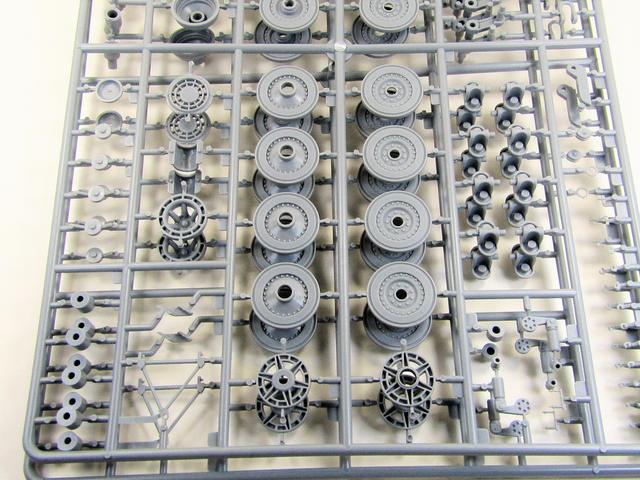
As with nearly all tank kits the wheels and suspension components are contained on one or two sprues, and this kit has two A large sprues with said parts (image 4). Taking a closer look at the sprues show clean parts with hardly any flash that I could see. The detailing looks great, crisp parts with lots of details, especially the bolts on the road wheels (image 5). These two sprues appear to be from the E-100 kit and contain some extra parts for for the exhaust for that kit and are not used on the JagdPanther.
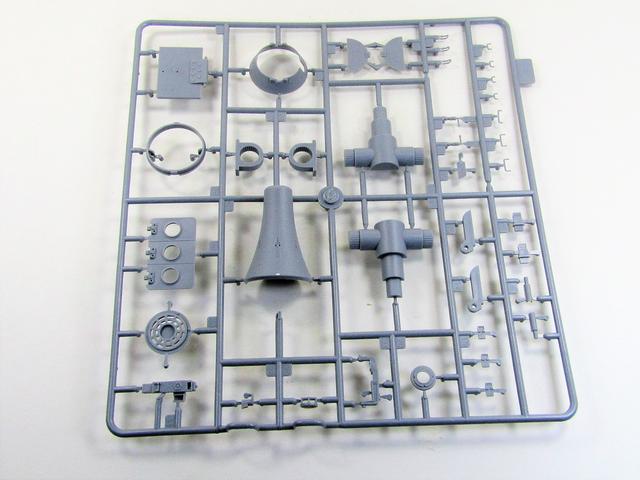
As I was curious if this model contained any interior parts or a gun breech, the next sprue answered my question (image 6). The gun mantlet is a large one piece parts with nice cast texturing. The main gun has no actual gun breech but only a pivoting mount. The person who designed this area knew that just a friction type mounting for such a large gun barrel would not be enough, which of course would make the barrel dropped if not glued in one position. This T shaped gun mount has gear type teeth that go into two circular mounts. This ratcheting system will allow the modeler to raise and lower the gun barrel, but you can just glue it in whichever position you prefer.
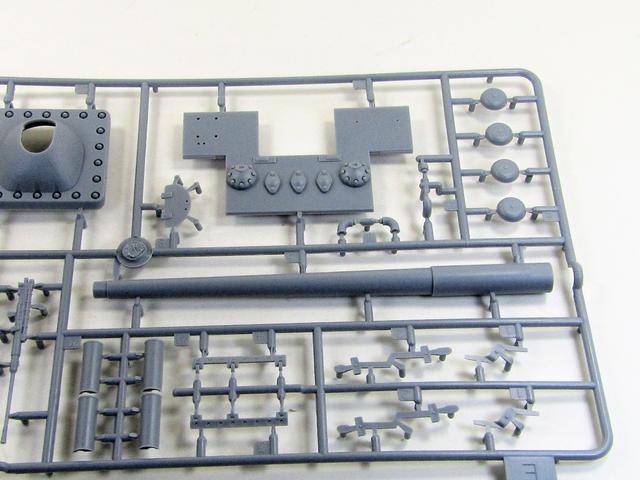
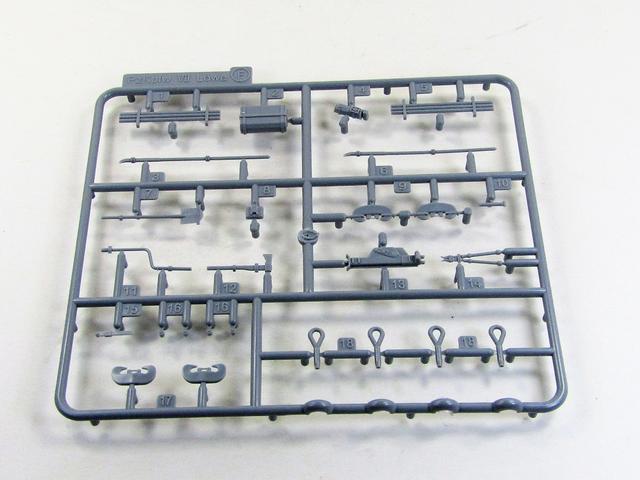
The next sprue contains the one piece barrel and a flash suppressor, the rear lower hull plate as well as smaller parts for hatches and their mounts and locking systems (image 7). The sprue also contains 20 or 37mm anti aircraft gun that is cupola mounted, in place of previously mounted machine guns.

The one piece gun barrel (image 8) is roughly 5 3/4" long and seems to look round with only the slight seem on both sides, no offset molds deforming the barrel. Cutting the sprue gates close and with some light sanding this barrel should look good, so I won't bother spending extra money on a metal barrel.
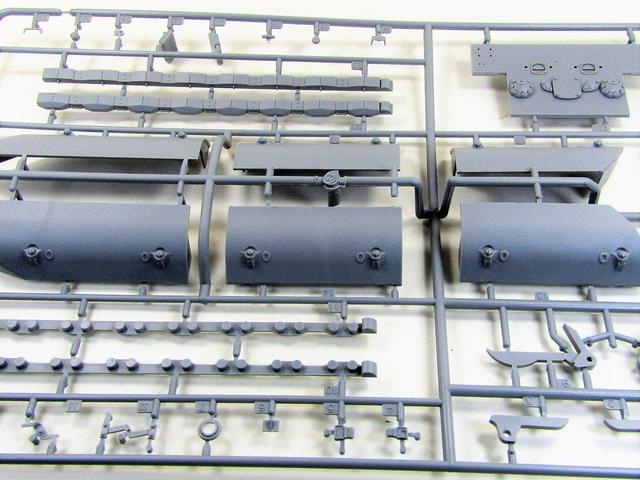
The next sprue contains more parts for the lower hull and the curved armor track guards (image9). The sprue also contains a rear lower hull plate that is not used on the JagdPanzer. This plate is for an E-100 tank with rear mounted engine, as evident here by the two openings for the exhausts.

A closer look (image 10) at the track guards show some nice bolt details but no casting texture. The texture can easily be added to these large parts using various techniques. Since the track guards are in sections this gives the modeler the option of adding all the guards or just some of them.
A small sprue (image 11) contains all of the tank tools, jack, tow cable ends etc. As with all the sprues in this kit, no flash was found on the parts and with fine details which will stand out once painted.
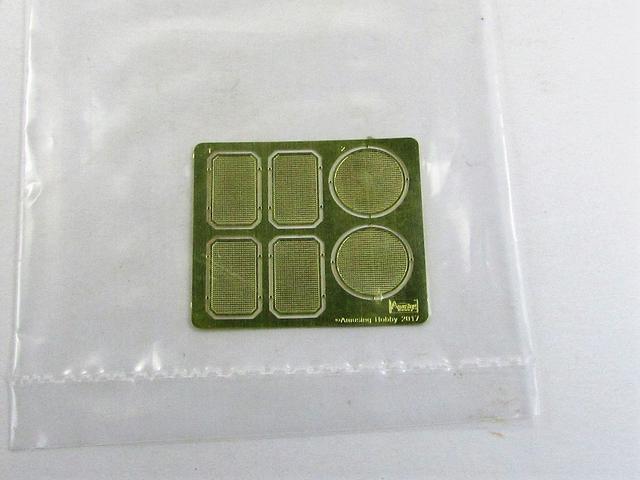
Not much for photo etch parts in this kit, which may be a good thing if you're not a big fan of photo etched parts (image 12). The fret only has six parts to it and these are the screens for the air in/out vents.
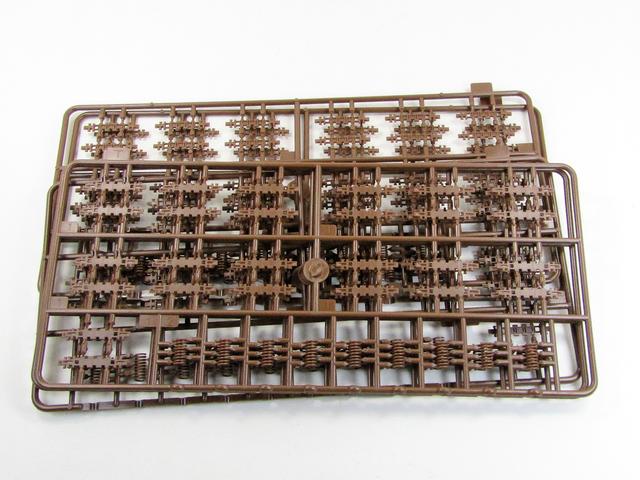
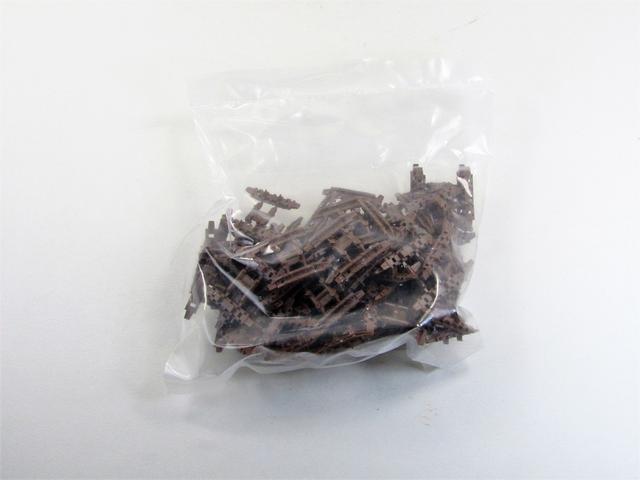
The tracks come as individual links 102 links per side and can be assembled so they articulate. Two types of links are given, one with guide horns and another flat link with no horns, similar tracks were used on the King Tiger tanks. The tracks included in the kit come as individual links in a bag, and sprues with the links (images 13 & 14). A quick count of the links needed, according the the instructions, and it looks like Amusing Hobby provides an extra sprue with links and springs. The extras may come in handy if any of the springs break while removing them from the sprues and cleaning the six small sprue gates. Also the tiny pins on the links do look very small and fragile which means some may break during assembly of the tracks.
On the track link sprues you will also find the springs used on the lower hull suspension. I carefully removed one of the springs to see if they would actually function like a spring, and surprisingly they work. The real test will be when the are mounted on the hull suspension and under the weight of the model.
The lower hull (image 15) is pretty simple with floor hatches and track sponsons molded on the tub. Not much more can be said in the area as it's your basic kit lower hull.

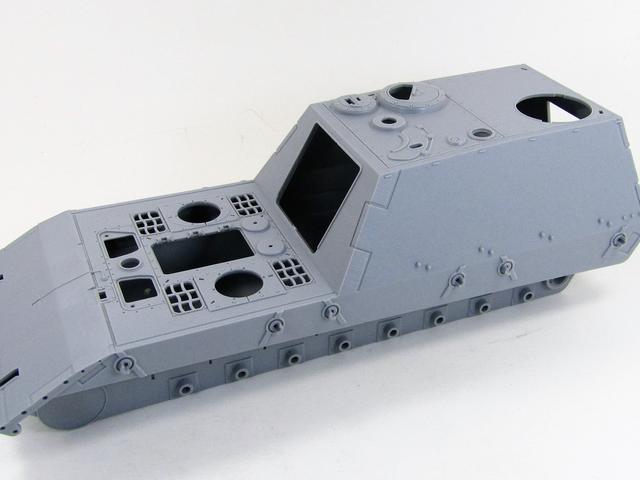
The upper hull is molded with the front glacis plate, driver/motor compartment and fighting compartment structure. Top view of the hull (image 16) showing the openings for all the hatches and periscopes/vision blocks. There are no interior parts in this kit so if you plan on adding figures in the hatches you will have to make your own seats or platforms for the crew figures to stand or sit on.

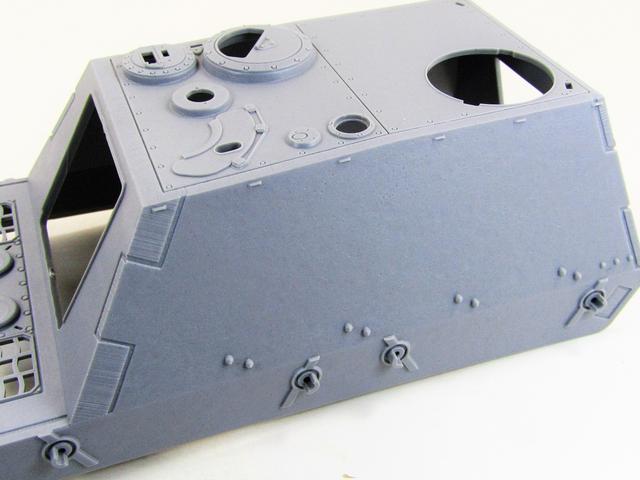
The upper hull showing the very large and thick interlocking armor plates on the superstructure (image 17), as well as the mountings on the hull sides for the track guards/schurzen. From the side the E-100 JagdPanzer has a similar profile as the Elephant.
A close up of the superstructure showing the interlocking plates with the factory torch cuts (image 18) which saves me the time of having to replicate these myself. The armor plates do have some subtle texturing seen on thick steel armor plates. I think the texture looks good so I won't anymore texturing as I would normally do on tanks with thick plates.
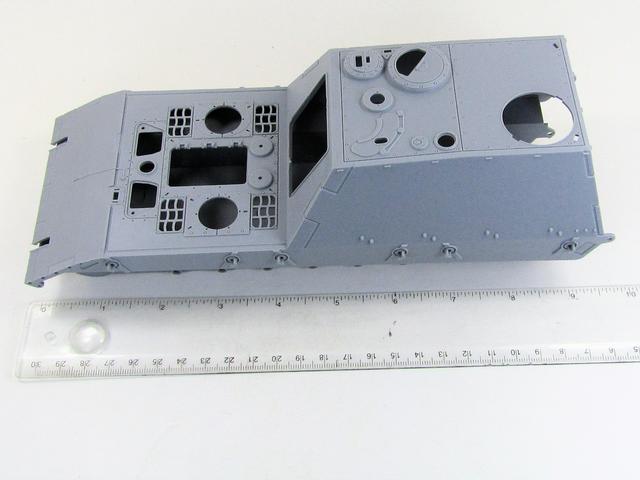
This is a big model with the upper hull measuring roughly 9 1/2 inches (image 19) without the gun barrel.
Conclusion:
Overall this looks to be a nice kit. Parts are crisply molded with next to no flash present, but does have rather large sprue gates even on some of the smaller more fragile parts so care should be taken when removing small parts.
The gun barrel is molded as a solid piece and I think will clean up nicely and I do prefer this over two piece barrels. I'm sure there are or will be metal aftermarket available if you don't want to use the kit supplied barrel. Also available is a brass flash suppressor if you want to replace the kit supplied part.
The individual workable track links look good and will hopefully build up easily and actually function, of course if you prefer you can glue the track links instead. With the articulating suspension and workable tracks the model is perfect for a diorama crossing rough terrain.
With the in-box review done I can't wait to build the model out of the box to see how it goes together and if there are any issues in regards to the instructions steps, part fit and locations.


