pt109
Full Member
  
Member since: April 2013
Stop staring at me! heheheh
Posts: 491 
|
Post by pt109 on Sept 7, 2013 20:03:09 GMT -5
Hi Guys, Here's a few photos of the Meng kit: 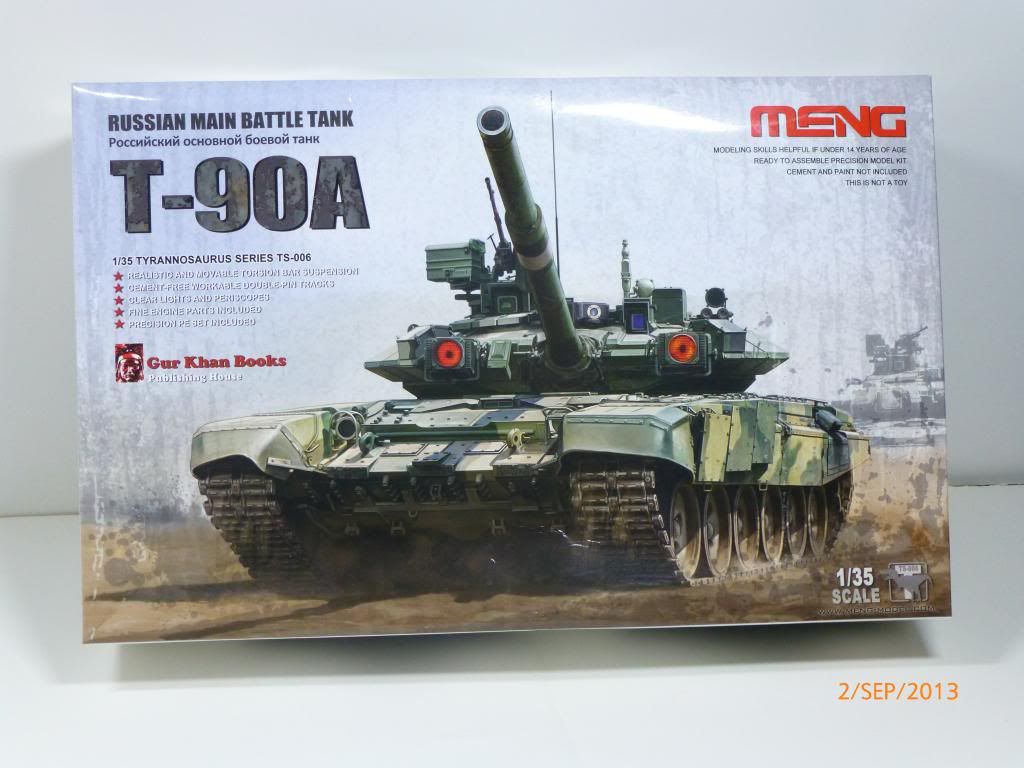 Box Art 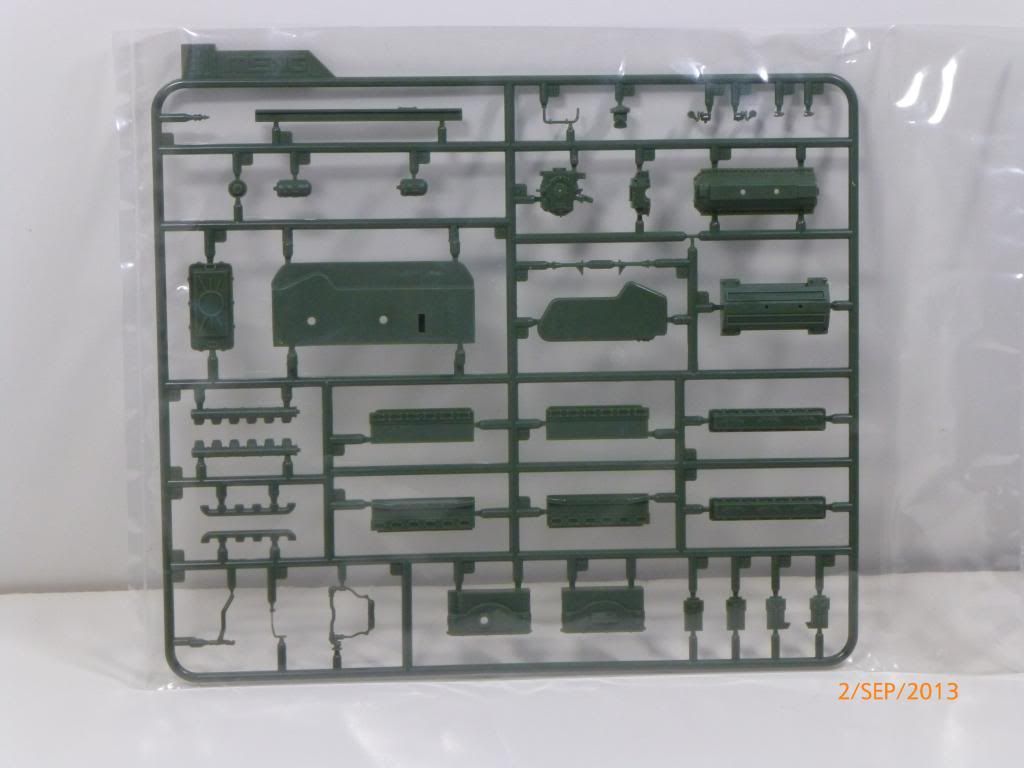 Some of the engine parts and compartment 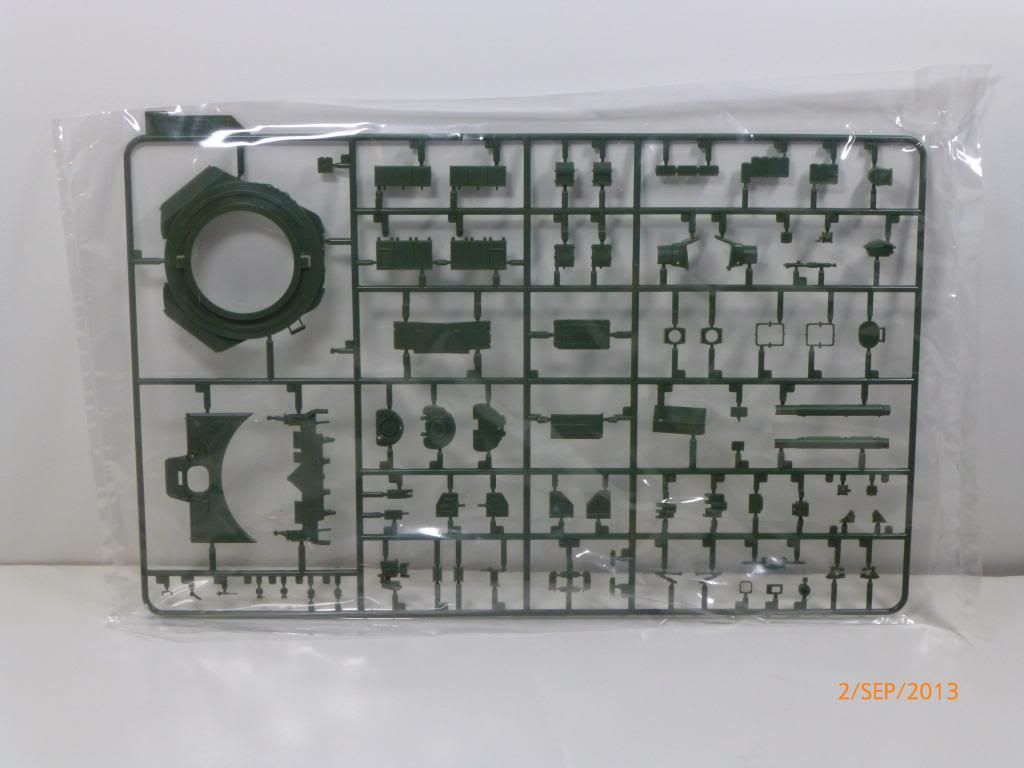 Lower turret 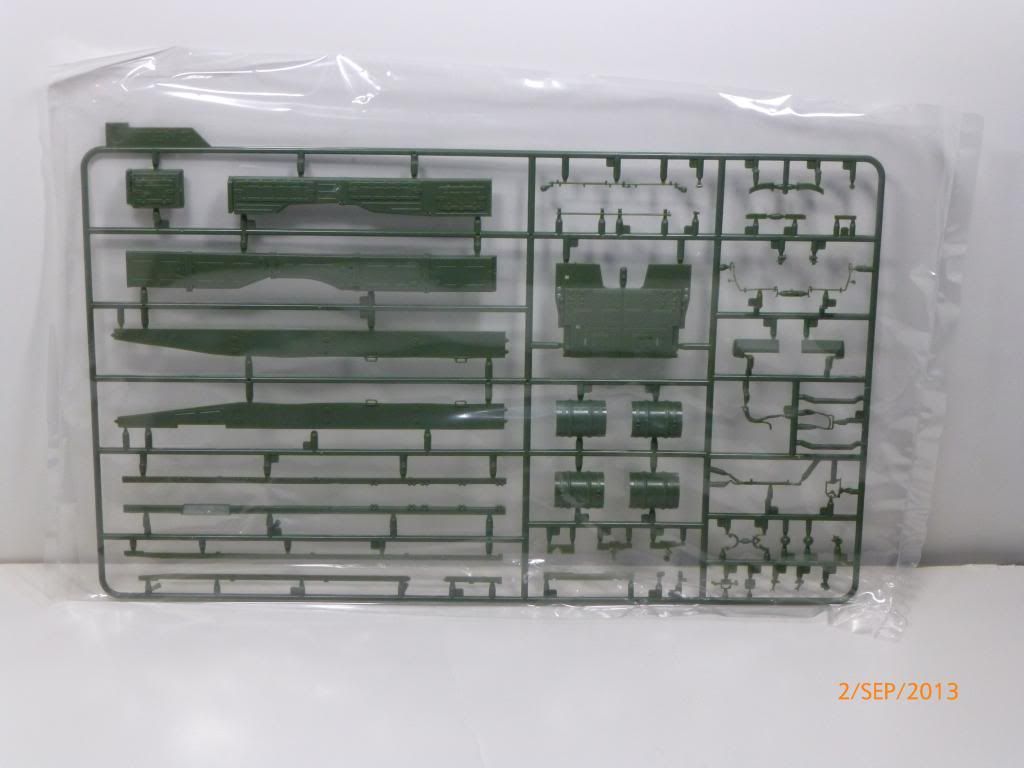 Glacis, side skirts and fuel drums... 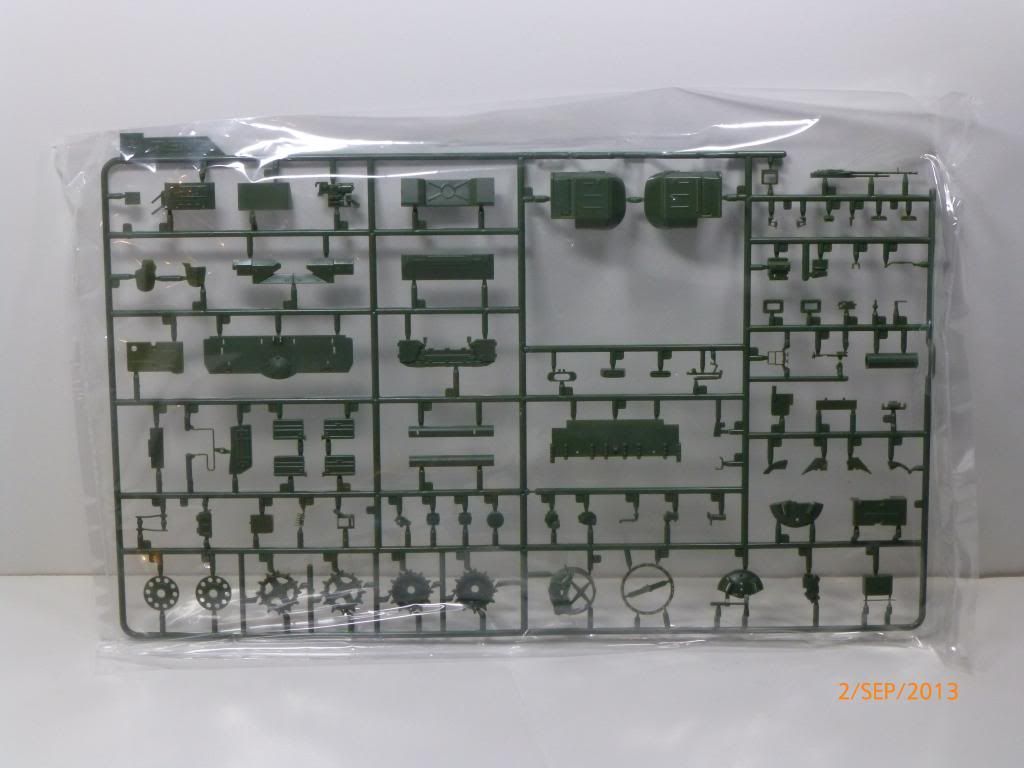 Sprocket, Idler , mud guards 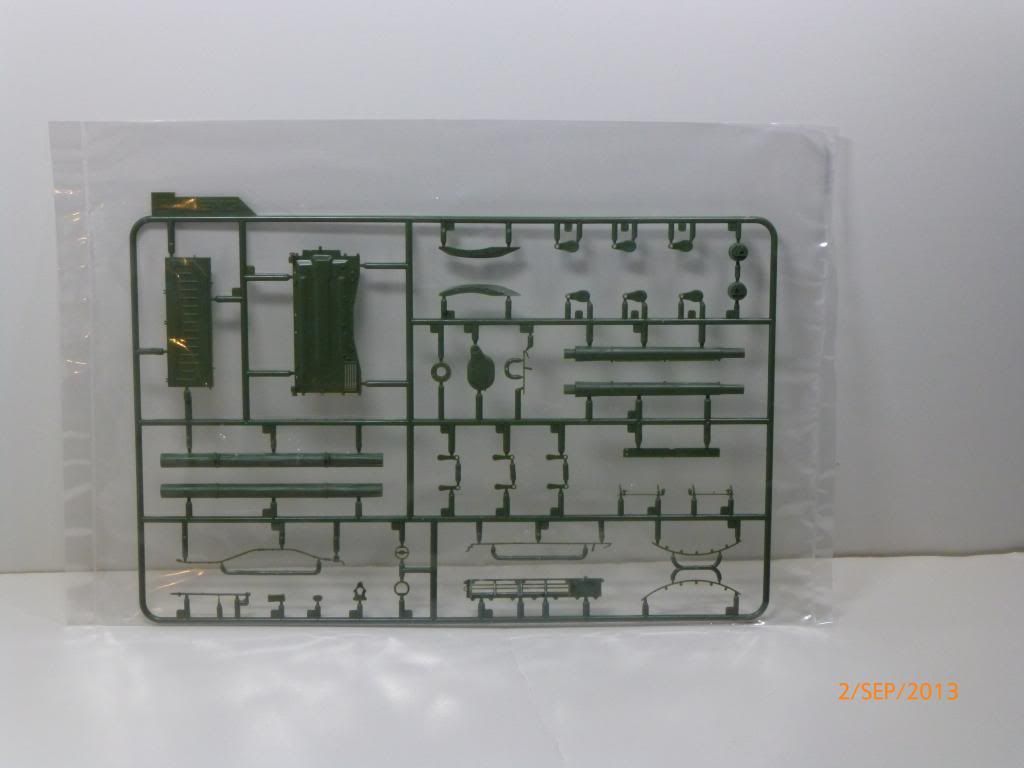 Engine deck cover 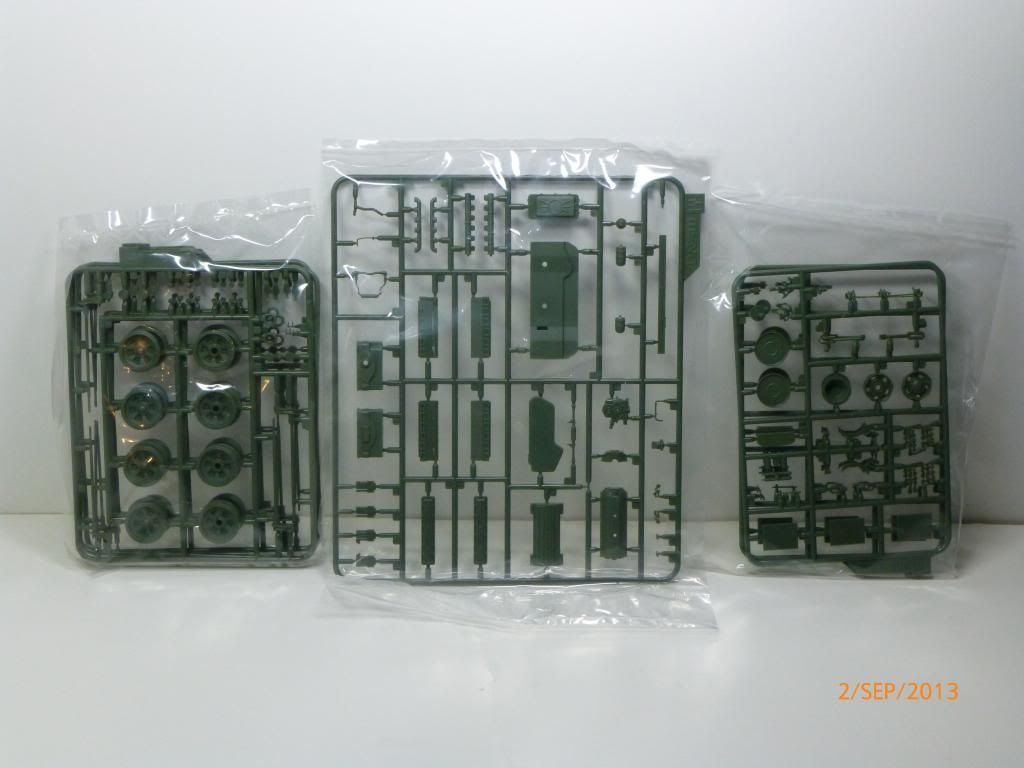 Engine parts, wheels and Idlers 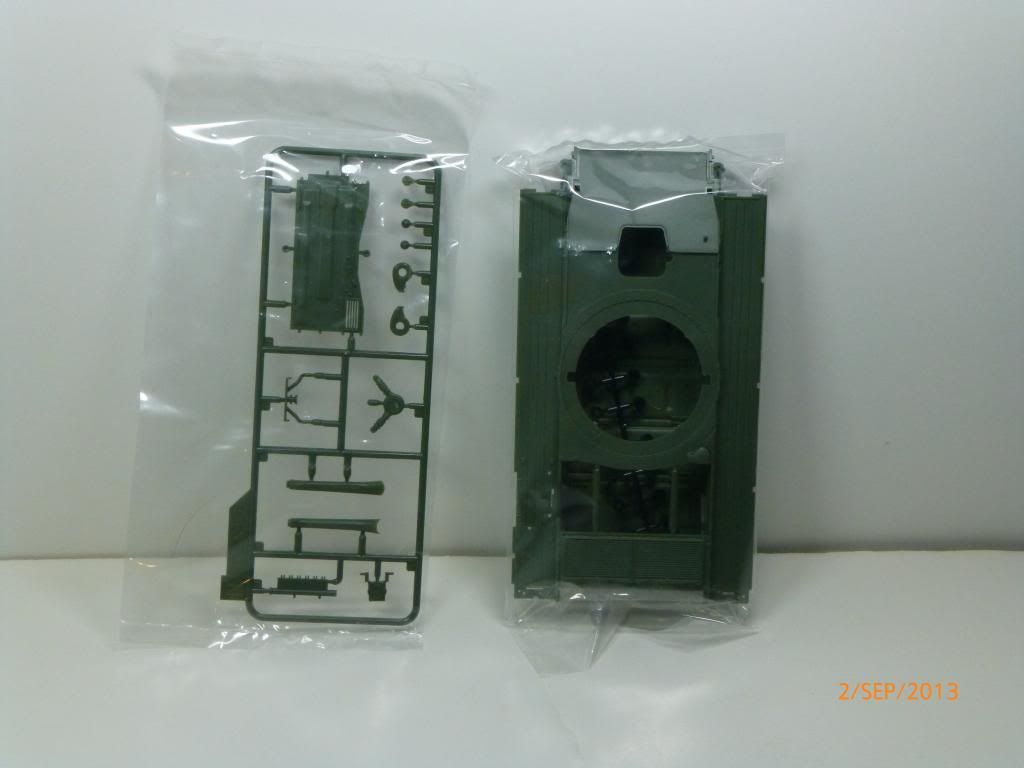 Upper, lower hull 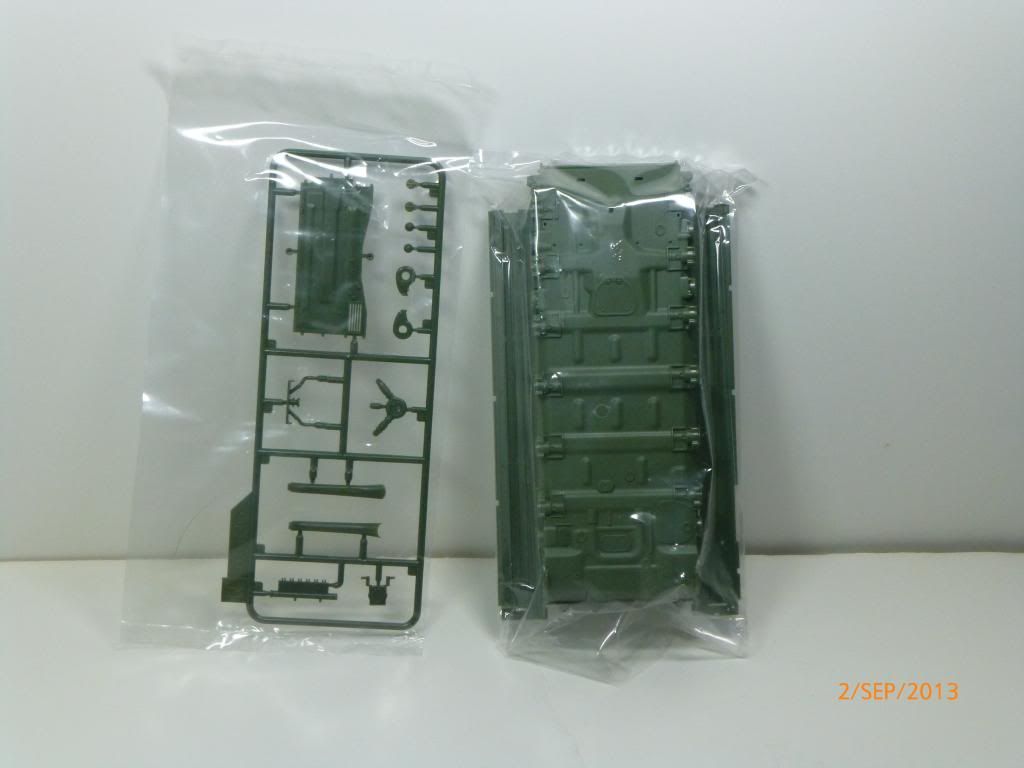 Bottom lower hull...nicely detailed 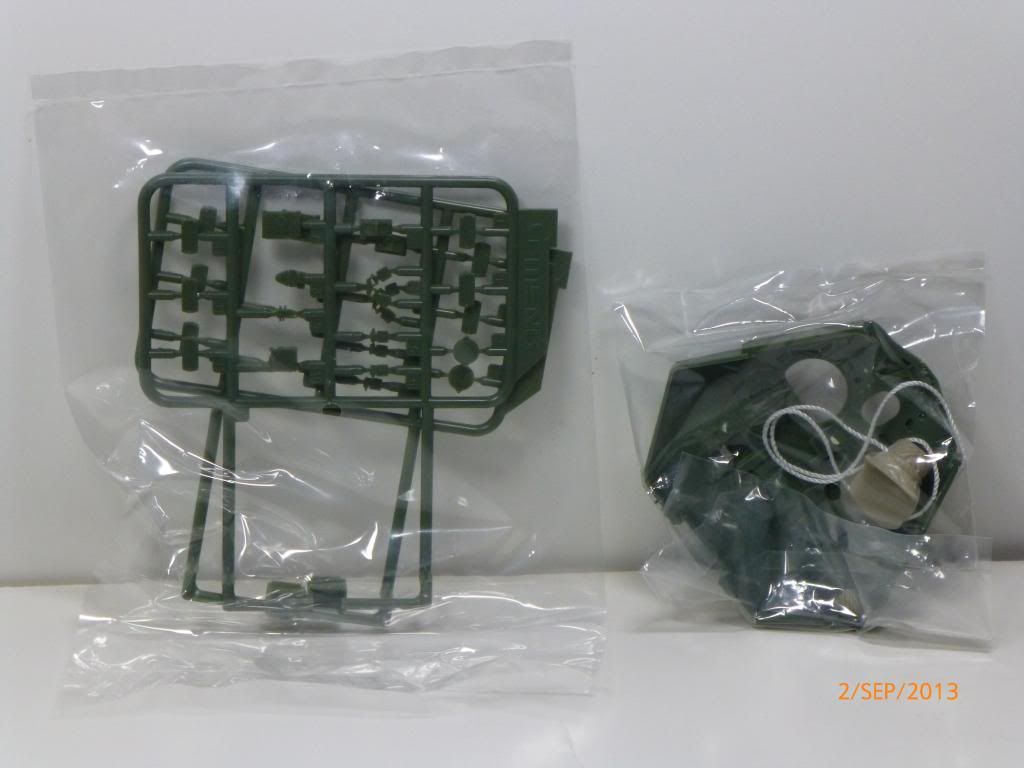 Upper turret, sighting devices parts 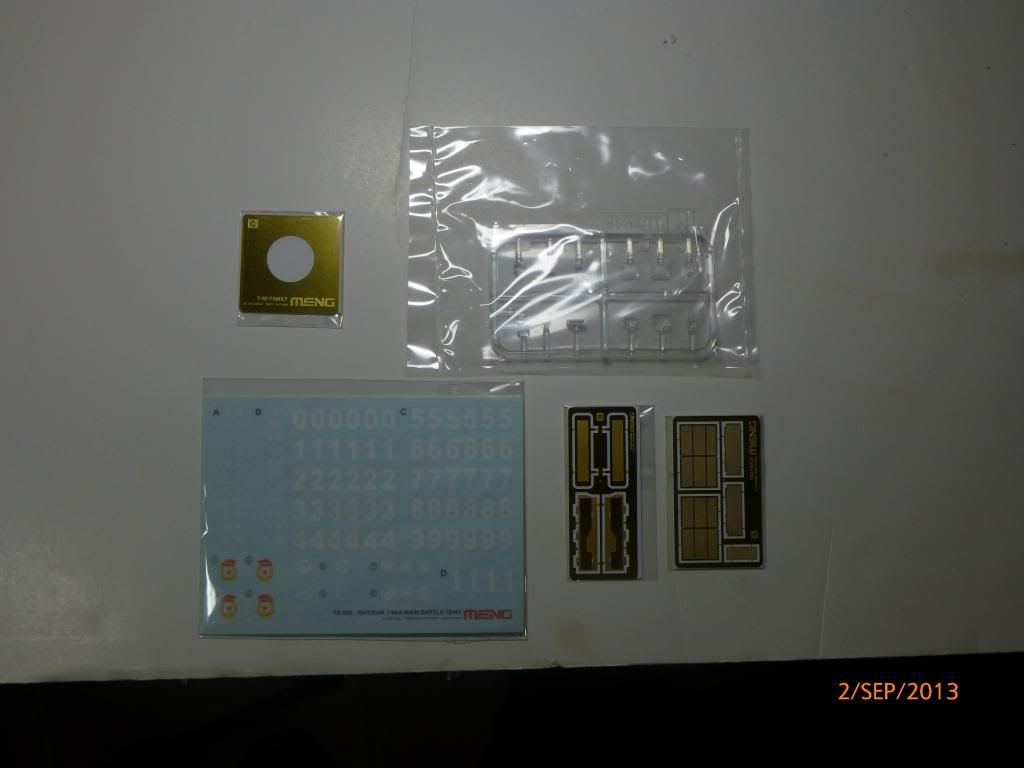 PE, decals, and clear parts 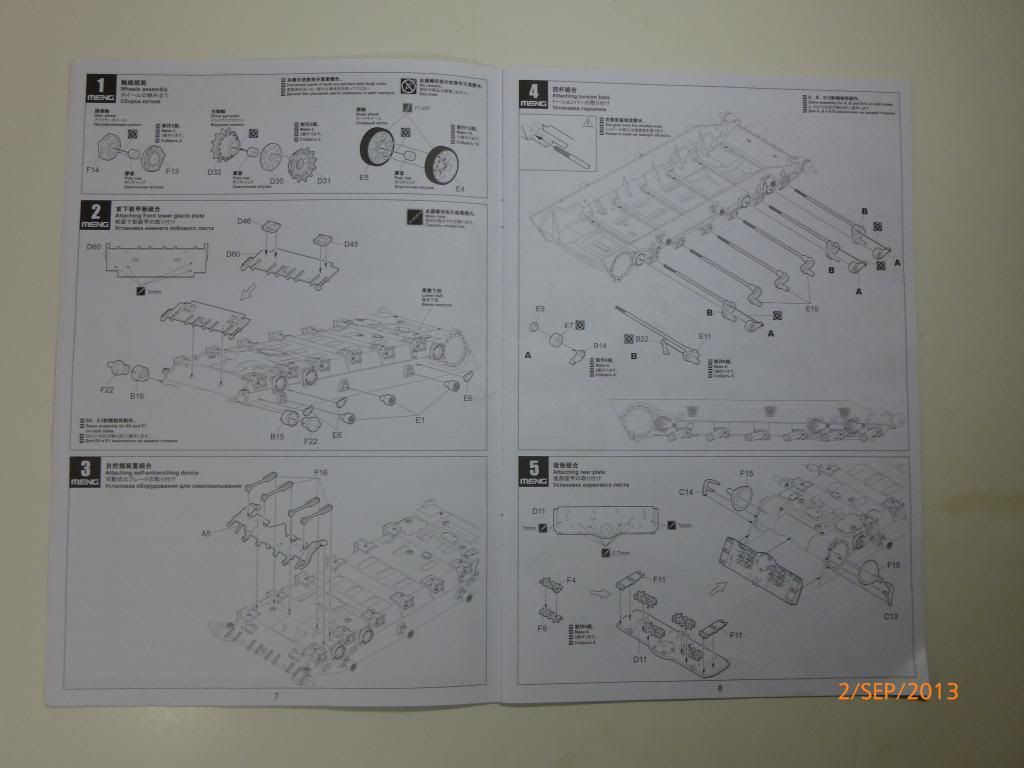 first 5 steps of instructions...nice layout and easy to follow but some views are obstructed as is generally usual with kit instructions. I will reveal my camo scheme as I get close to that step...just for some mystery...   Sorry I didn't remove the sprues from the bags because I was in a hurry but you will get the gist of how the kit detail is. The plastic reminds me a little bit of Tamiya or AFV Club plastic...hard but not brittle. I will be posting my build in this same thread so I can post better shots if anyone's interested. Nice box art. Build coming soon! Paul |
|
|
|
Post by TRM on Sept 7, 2013 20:11:28 GMT -5
Nice looking kit there Paul!!! Bring on the building!!!
|
|
|
|
Post by Leon on Sept 7, 2013 20:23:36 GMT -5
Count me in Paul.Looks like a really nice kit.
|
|
|
|
Post by Tojo72 on Sept 7, 2013 20:47:12 GMT -5
Nice,be sure to break down using that track jig,I will definitely follow your build.
|
|
pt109
Full Member
  
Member since: April 2013
Stop staring at me! heheheh
Posts: 491 
|
Post by pt109 on Sept 7, 2013 22:01:30 GMT -5
Cheers Guys...
I didn't post shots of the tracks because I couldn't get a decent one while they were in the bags....oh well.
16 sprues just for the tracks....yikes!
As tojo mentioned they come with a nice jig to build them.
|
|
danb.
Reviews member     March 2013 MoM Winner
Member since: November 2011
Posts: 2,808
Nov 17, 2011 9:22:52 GMT -5
Nov 17, 2011 9:22:52 GMT -5
|
Post by danb. on Sept 8, 2013 2:45:42 GMT -5
Great looking kit Tojo bring it on  Dan B |
|
|
|
Post by imatanker on Sept 8, 2013 4:21:30 GMT -5
Paul, this looks pretty sweet. That piece of PE with the hole in it, Wheel mask? Jeff T.
|
|
|
|
Post by Tojo72 on Sept 8, 2013 7:30:11 GMT -5
yes Jeff,wheel mask
|
|
|
|
Post by imatanker on Sept 8, 2013 7:41:24 GMT -5
Nice  |
|
Deleted
Member since: January 1970
Posts: 0
Nov 29, 2024 13:07:04 GMT -5
Nov 29, 2024 13:07:04 GMT -5
|
Post by Deleted on Sept 8, 2013 13:17:40 GMT -5
nice one, did not realise it had an engine
|
|
Deleted
Member since: January 1970
Posts: 0
Nov 29, 2024 13:07:04 GMT -5
Nov 29, 2024 13:07:04 GMT -5
|
Post by Deleted on Sept 8, 2013 16:43:46 GMT -5
That's the one thing that would have swayed me had I not had the Zvezda in the stash Pete - trouble is it's the same old story... to display the engine you have to model it in the 'standard' maintenance dio eh? It won't be visible through the engine grilles and I imagine there's no destroyed pics of these methinks? OR......You do a 'Standard' Nemo cutaway.....    |
|
pt109
Full Member
  
Member since: April 2013
Stop staring at me! heheheh
Posts: 491 
|
Post by pt109 on Sept 8, 2013 17:37:49 GMT -5
That's the one thing that would have swayed me had I not had the Zvezda in the stash Pete - trouble is it's the same old story... to display the engine you have to model it in the 'standard' maintenance dio eh? It won't be visible through the engine grilles and I imagine there's no destroyed pics of these methinks? Dickey the kit comes with 2 engine hatches....one to have the compartment closed, the other is workable to show the engine and compartment I believe. For those interested a nice build review is on track-link.com build is completed, just needs paint. www.track-link.com/forums/site_blogs/17295Paul |
|
pantherf..-Email Not Valid
Full Member
  
Member since: July 2013
"Best Job I've Ever Had"
Posts: 1,253 
|
Post by pantherf..-Email Not Valid on Sept 8, 2013 17:45:28 GMT -5
Even with the jig, track assembly looks like a separate kit all on it's own! WOW!  Jeff |
|
|
|
Post by bbd468 on Sept 8, 2013 23:21:24 GMT -5
OUTSTANDING Paul!!! Thanks so much for posting the shots.  Looks like a fine kit and has some parts tha Zvezda could have included in their kit. Cheers, Gary |
|
pt109
Full Member
  
Member since: April 2013
Stop staring at me! heheheh
Posts: 491 
|
Post by pt109 on Sept 11, 2013 9:34:51 GMT -5
OUTSTANDING Paul!!! Thanks so much for posting the shots.  Looks like a fine kit and has some parts tha Zvezda could have included in their kit. Cheers, Gary I agree Gary about the zvesda.....was kinda the reason I went with the Meng kit and from what I saw on Meng's web site it looked like a great kit. I've actually completed step 1, the roadwheels sprocket and idlers so I'll post some photos tonight just haven't had the time yet. I did them on Sunday.....  Cheers, Paul  |
|
pt109
Full Member
  
Member since: April 2013
Stop staring at me! heheheh
Posts: 491 
|
Post by pt109 on Sept 13, 2013 8:59:35 GMT -5
It's actually illegal to announce yer've made a start on a T90 kit and NOT post pics Paul - Did it on Sunday??? Right, that's it! Yer've left me no option I'm callin' the authorities......   Ooooops......... Are they gonna arrest me Dickey? Tell them I got plasticitis......it's pretty contagious so I bet they'll just quarintine me and call in Homland Security! Should be a good time tonight to post em......  Honest! Paul PS Sorry Dickey I'm always late replying to these posts......   |
|
|
|
Post by deafpanzer on Sept 13, 2013 18:08:27 GMT -5
I think I found me new best friend... casual speed builder like me!!! Please count me in... figured you need my help dealing with some guys here.  |
|
pt109
Full Member
  
Member since: April 2013
Stop staring at me! heheheh
Posts: 491 
|
Post by pt109 on Sept 13, 2013 19:14:13 GMT -5
BTW love that T-90 you built Dickey.....  Really impressive work there buddy. Leon, DF glad to have your interest guys! See if I can do this kit some justice....!! Paul |
|
pt109
Full Member
  
Member since: April 2013
Stop staring at me! heheheh
Posts: 491 
|
Post by pt109 on Sept 13, 2013 23:49:38 GMT -5
Week-end Update! Jane you ignorant sl*t! Hi guys, Some photos from tonights progress...... 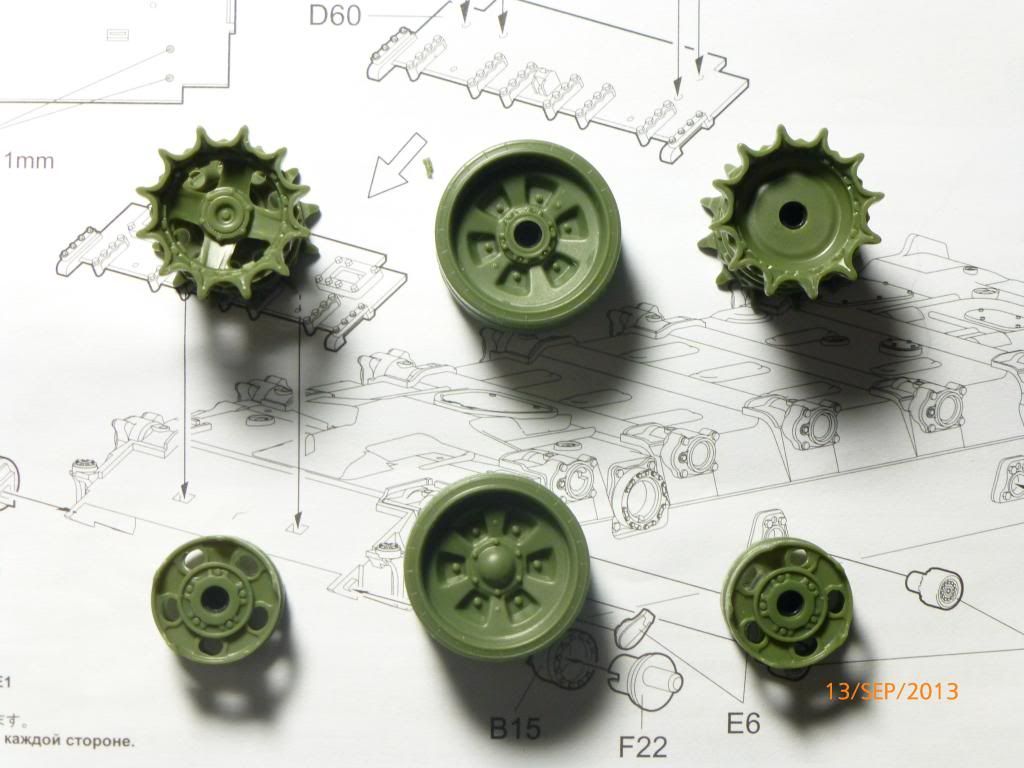 Beautiful detail in this kit, roadwheels are very accurate, 6 indentations and not nine as on Tamiya's old T-72 (early type) I forgot to turn over 1 idler wheel to see front, duh! 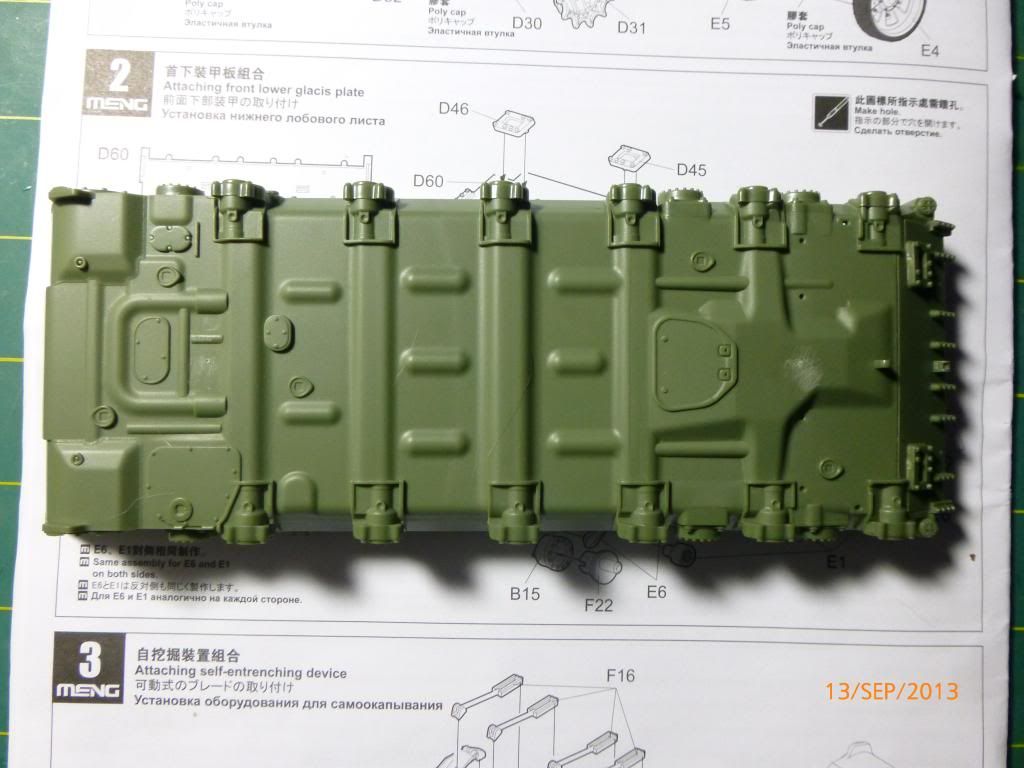 Lower hull showing nicely rendered details.... better than the Zvesda kit, I hope no one's offended hahah! (see below)  From Deaf Stug's blog (hope you don't mind me stealing the image DS?) 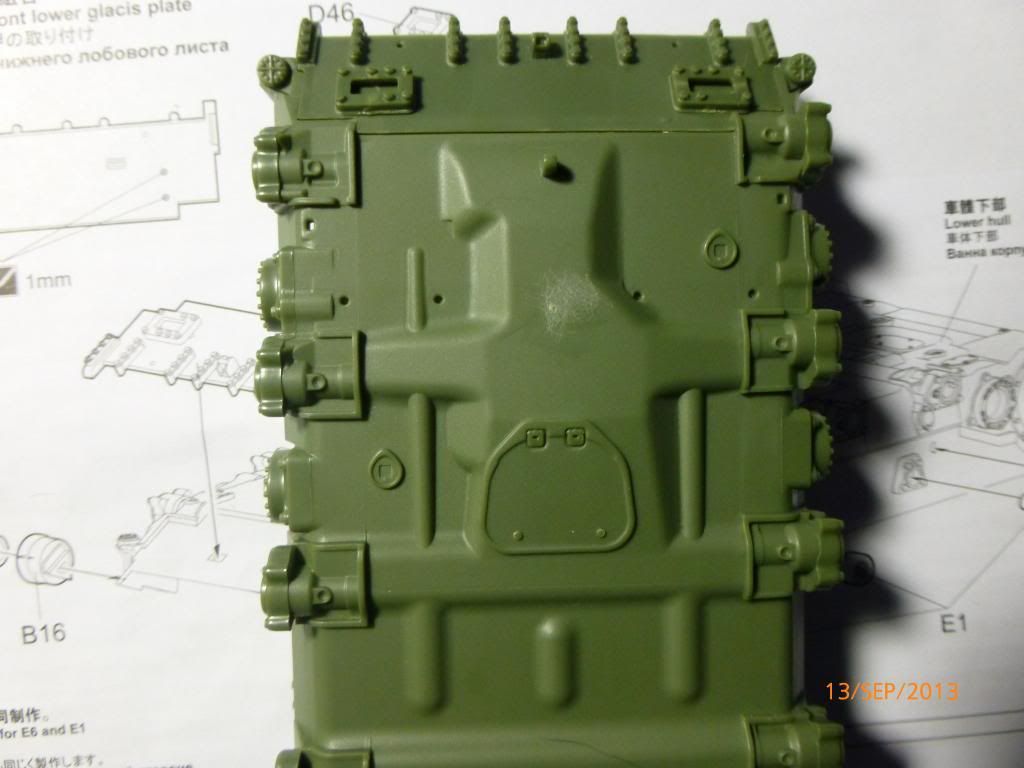 Front Glascis installed...the 2 square brackets with the bolts are for a mine plow I believe? 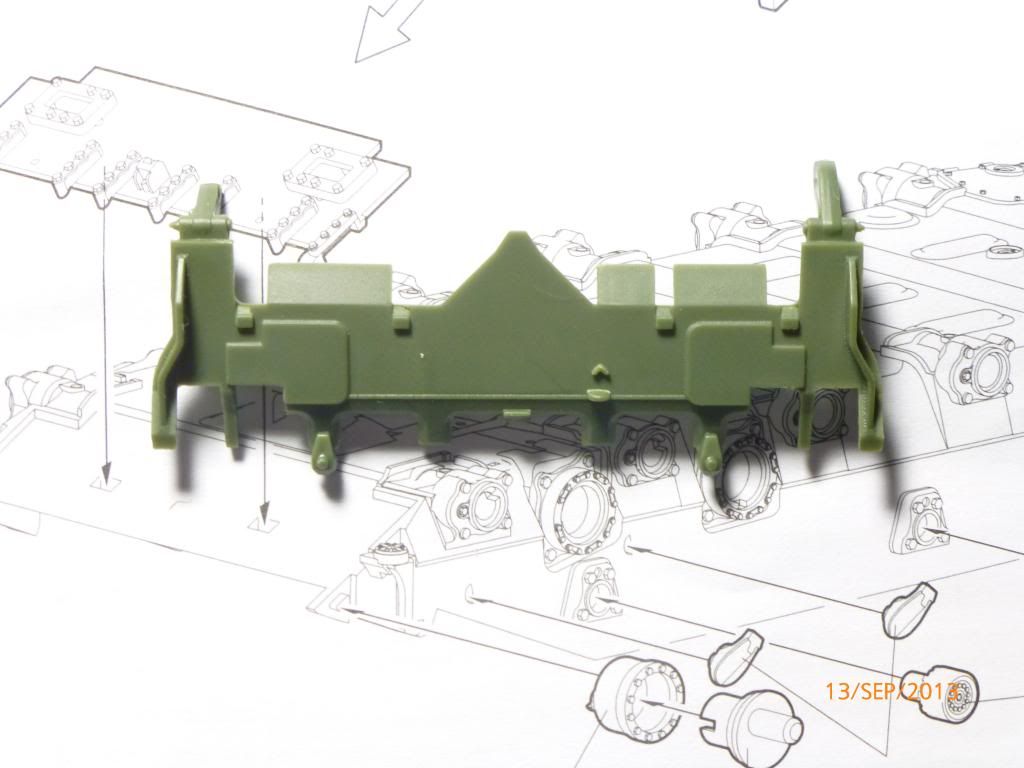 Photo of the entrenching device... 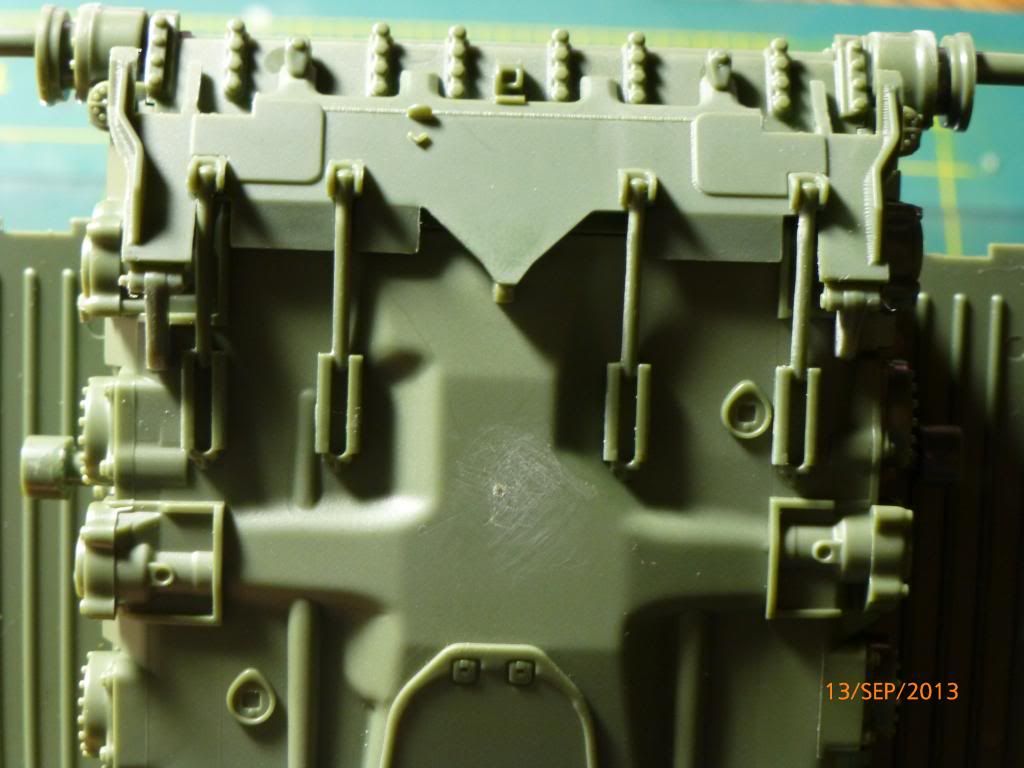 Here's where I'm at with the construction, glacis installed, entrenching tool and brackets and idler mounts. You can also see the return rollers and a few smaller pieces (I think they are to limit travel of the torsion arms etc. I'll point them out better when I take some side shots, they're not really visible in the photo.) The worst part of construction so far is the size of the sprue gates and the stubs left on the parts...a lot of clean up. this took the most time in the assembly. One great feature to me is all the welds they rendered on the hull, even welds on the entrenching tool, very impressive by Meng. there's a very long horizontal weld on the center of the entrenching device clearly visible in last photo, just below the row of vertical bolt brackets. Even the side flanges have welds (those long vertical pieces on the ends of the entrenching tool). So far assembly has been a breeze, just the clean up takes most of the time.... So, this is all I got for tonight, will continue tomorrow... Thanks for watching, adios amigos! Cheers, Paul |
|
|
|
Post by Mence on Sept 15, 2013 2:07:46 GMT -5
Looking good, nice detail.
|
|
pt109
Full Member
  
Member since: April 2013
Stop staring at me! heheheh
Posts: 491 
|
Post by pt109 on Sept 22, 2013 14:45:46 GMT -5
Small update..... photos: suspension 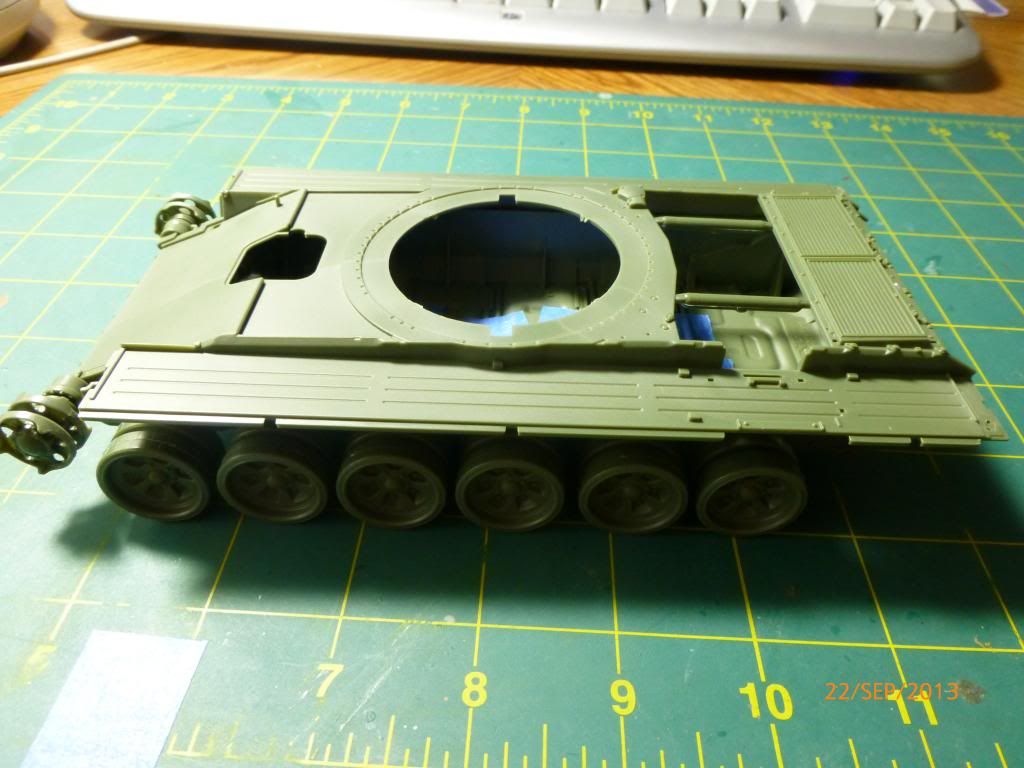 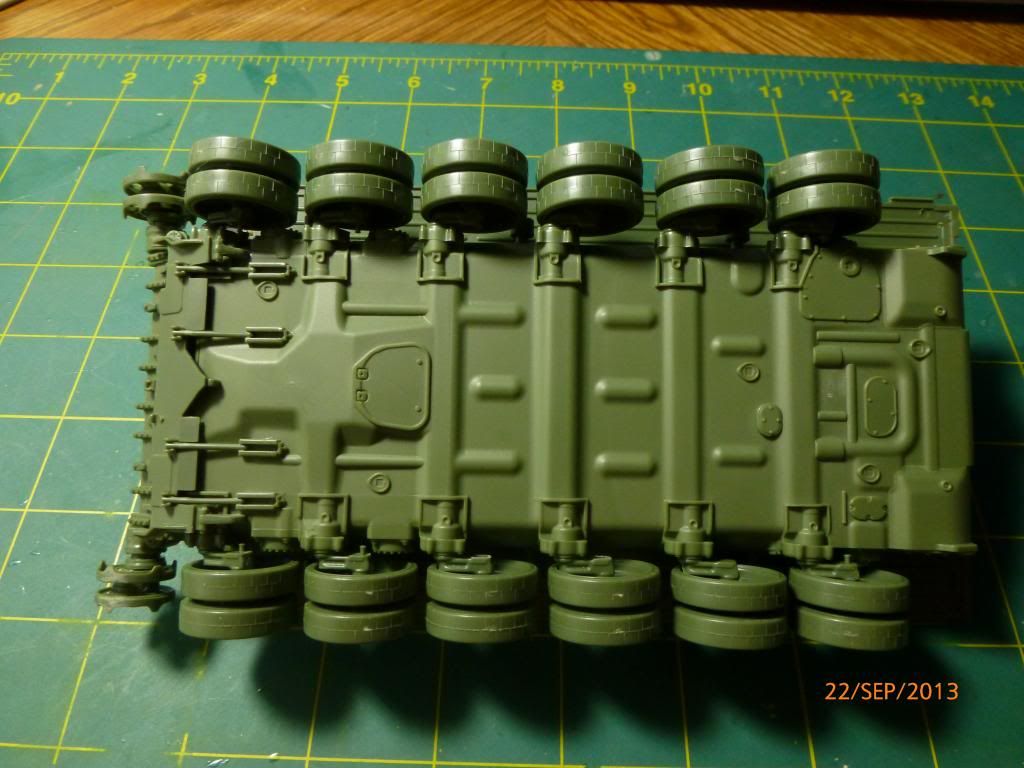 I still need to add the sprockets, some minor suspension parts (E7, E9, B14, and B22) from step four....I added one assembly to the 1st wheel pos on the left side to check the alignment... I'm not using the articulated feature so I glued all axles...not crazy about this feature. Cheers, Paul  |
|
|
|
Post by deafpanzer on Sept 22, 2013 16:44:20 GMT -5
Nice details on the wheels... more please?
|
|
|
|
Post by bbd468 on Sept 22, 2013 18:58:43 GMT -5
Man, i can see a big difference just on the bit ya done so far. The Meng wheels & Tires are WAY better than Zvezda and i like the hull better as well. Keep tha good stuff comin Paul!  |
|
pt109
Full Member
  
Member since: April 2013
Stop staring at me! heheheh
Posts: 491 
|
Post by pt109 on Sept 22, 2013 19:36:28 GMT -5
Thanks guys I'm moving anyway a few other builds are eating time away from this at the mo....I agree Gary much nicer detail wise.
it's been sitting a couple of days also because I want the suspension to dry really well before I move on (I used the Testors glue in the black bottle for this) and it dries sloooooly. OK by me tho...
Paul
|
|
DeafStuG
Full Member
  
Member since: May 2013
..
Posts: 1,283 
|
Post by DeafStuG on Sept 24, 2013 17:06:54 GMT -5
Paul, Looking good, I don`t mind you stealing from my image.
|
|
DeafStuG
Full Member
  
Member since: May 2013
..
Posts: 1,283 
|
Post by DeafStuG on Oct 1, 2013 7:03:11 GMT -5
I agree with Gary ( bbd468 ) about Meng T-90's wheels got engraved circles between of wheels trim and tires plus meng's PE mask tool temp so better than zvezda's wheels. I have to mask temp. Or jig saw temp on Zvezda's wheels give me lots of my time  My fans & favourite of green plastic - Because green plastic are joints bond strong by poly liquid cement Also if small green plastic part fell on my monster floor colour is grey so easy find to green small part. ;-) DickyF, so surprised, l didn't know about green plastic is cheapest than grey & tan plastic standard, I hope not of east far Asia big profit more than kit materials - low cost. But anyway Meng kits are very nice so parts plastic very crispy. ;-) |
|
pt109
Full Member
  
Member since: April 2013
Stop staring at me! heheheh
Posts: 491 
|
Post by pt109 on Oct 6, 2013 22:59:47 GMT -5
Small update finally! Thanks DS.... Photos: 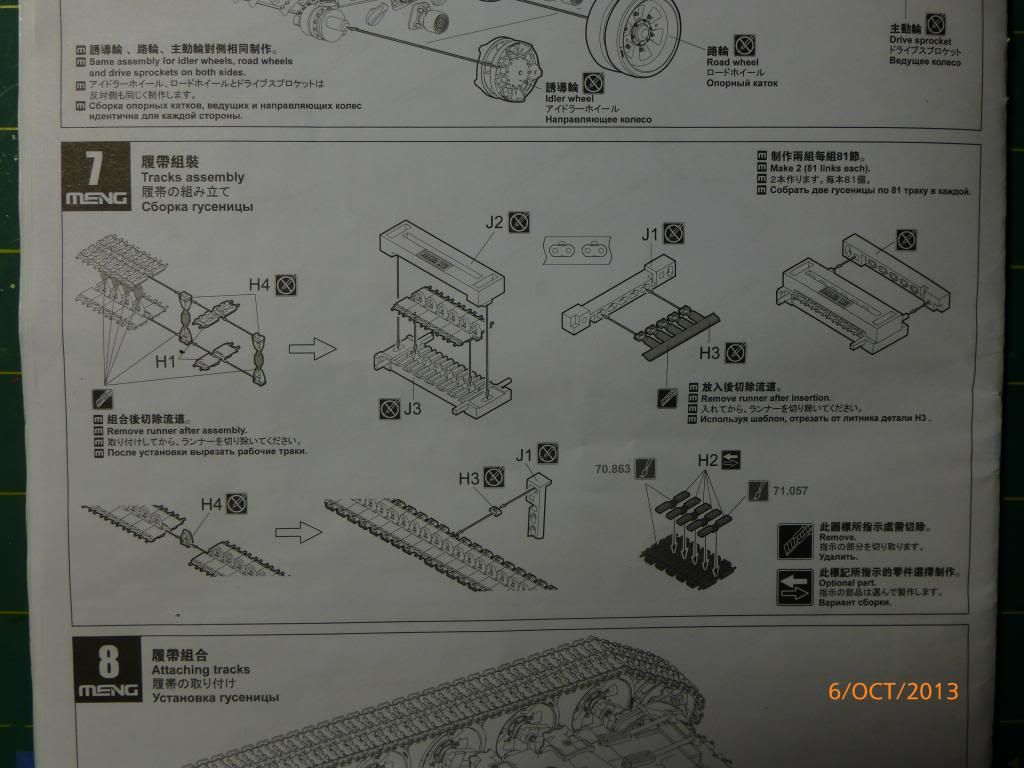 Here's step 7 which shows the track assembly..... I thought I'd do a small SBS regarding the tracks so those who are planning to build the kit will have a little heads up on the process: First off the tracks are nicely detailed and only minimal clean up is needed to assemble them. Meng includes a little assembly jig to help with the process... The track links come on 8 sprues: Along with the track guides and extra pads, which I believe are for Military Parade Ground driving. 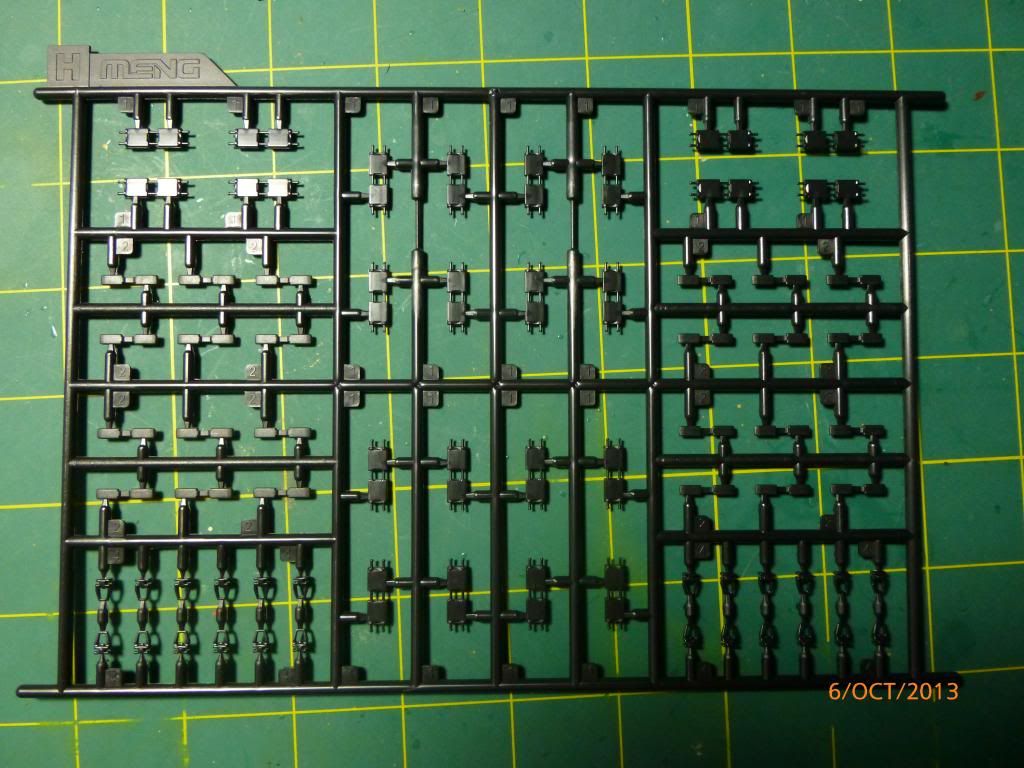 End Connectors... 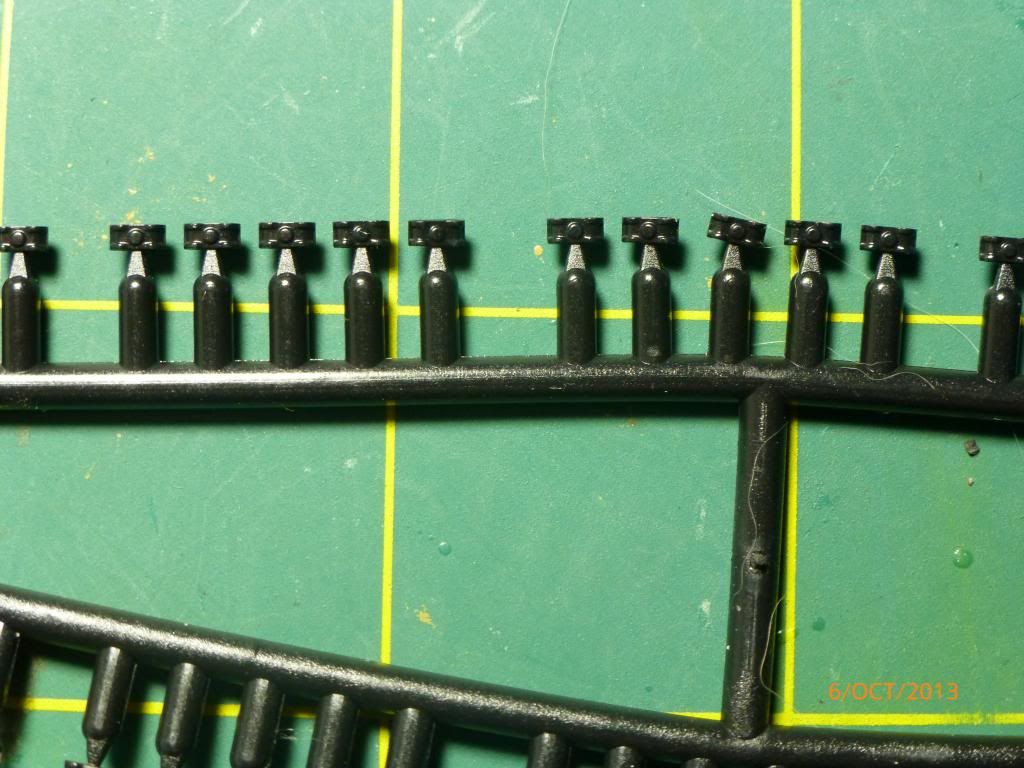 Here's a photo of the little jig: 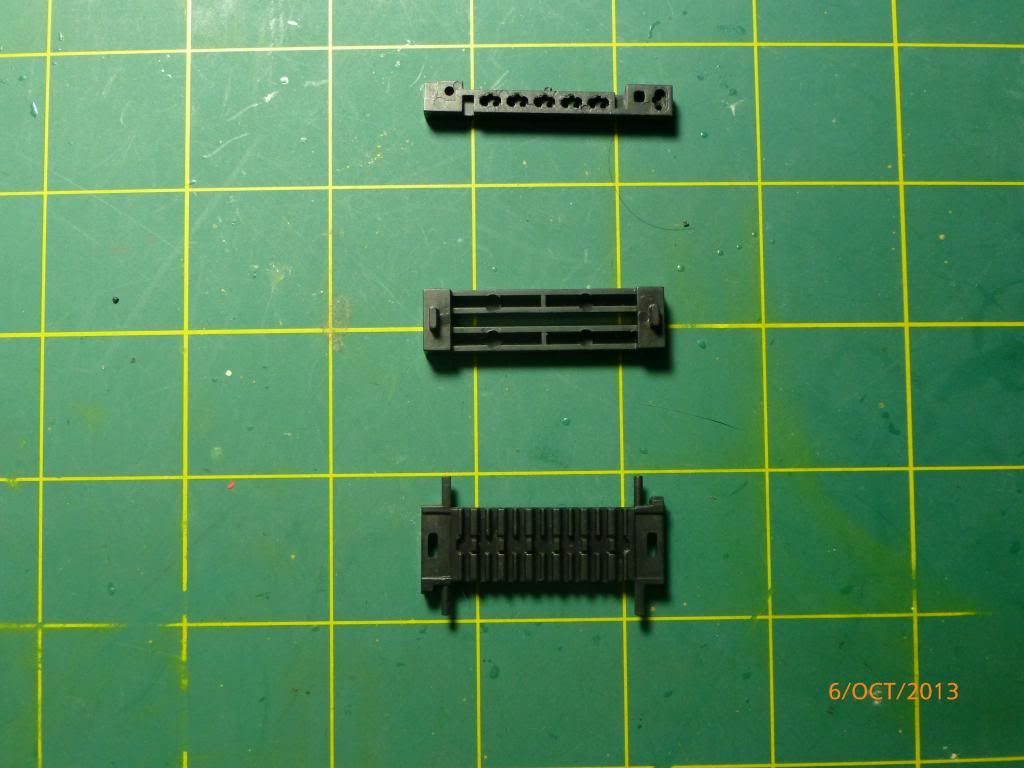 So first you grab yourself a track link (after cutting off the sprue and cleaning up) obviously...  Then you grab a guide horn.... 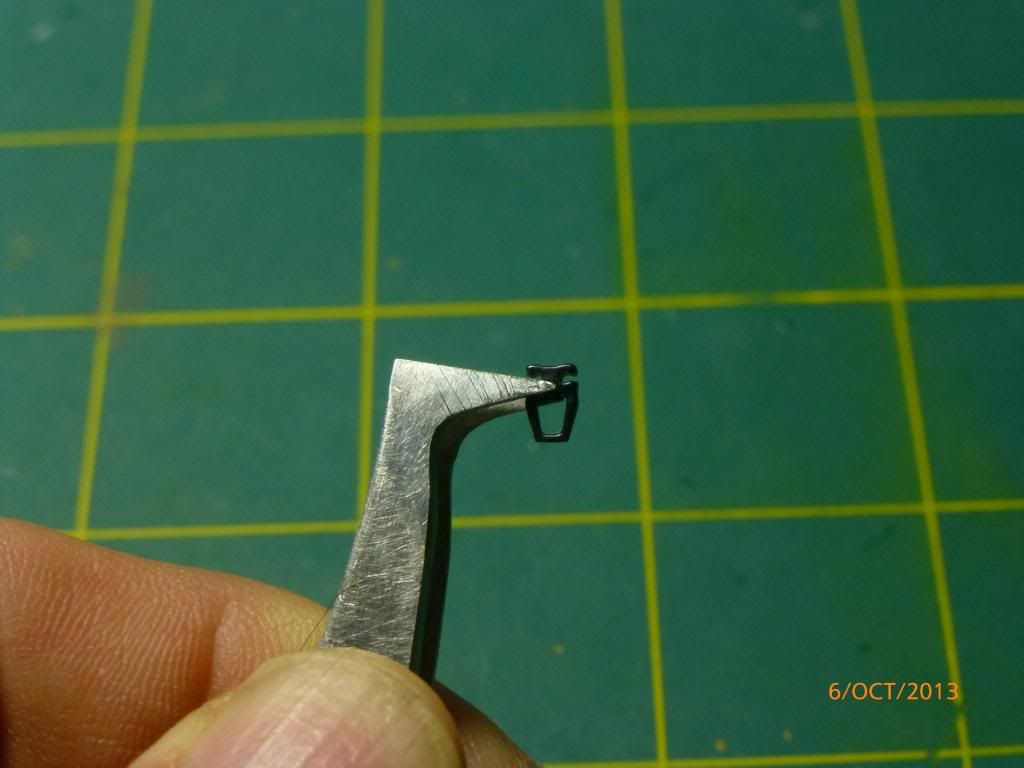 Then insert the guide horn into the edge of the track link (it just snaps in, no glue required)... 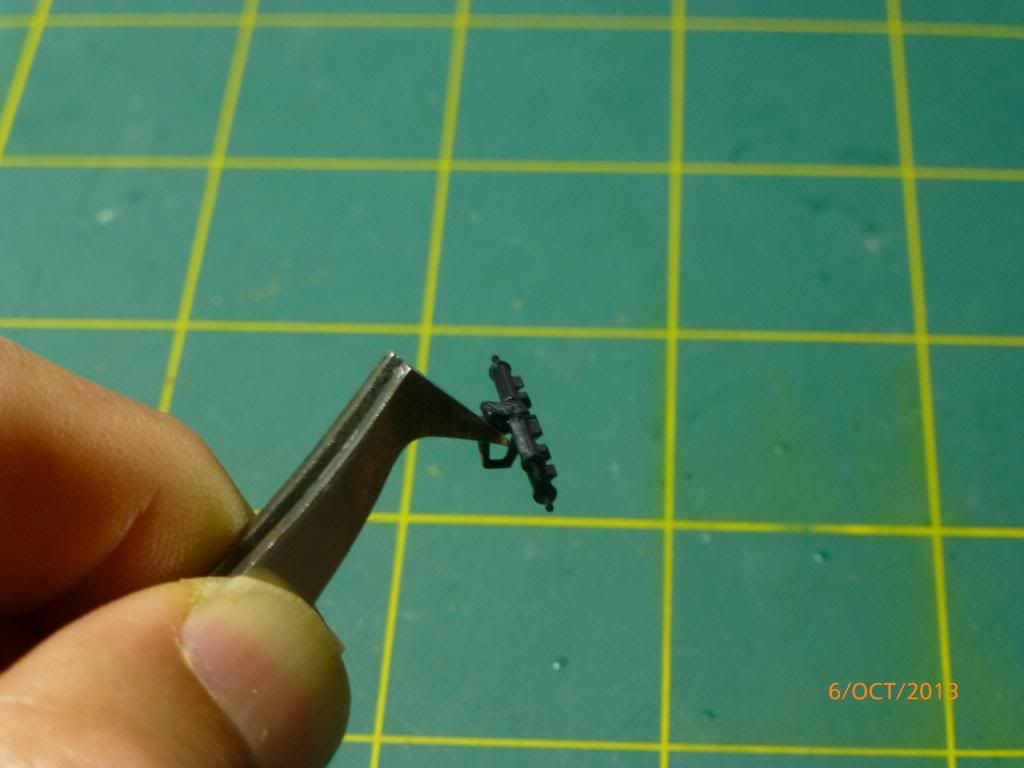 Then grab another track link and insert the other side of the guide horn in that link...and you have a track assembly minus the end connectors. 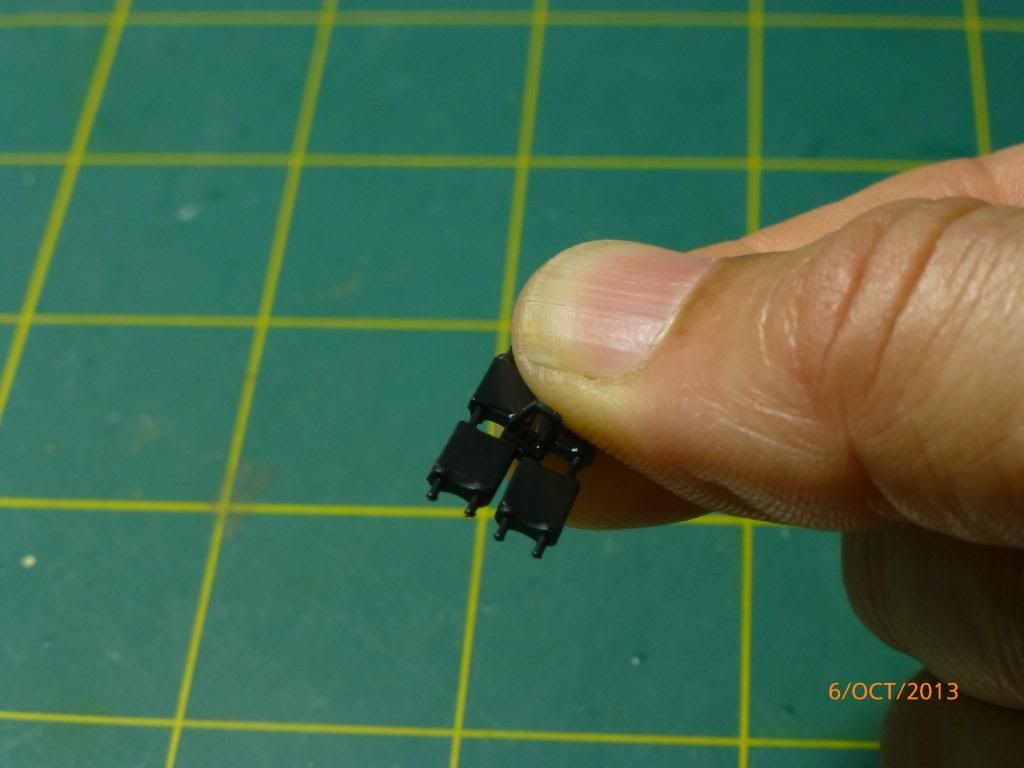 Repeat the process and you have 3 links as shown...note the fit of the guide horns is very loose to allow free articulation of the links. 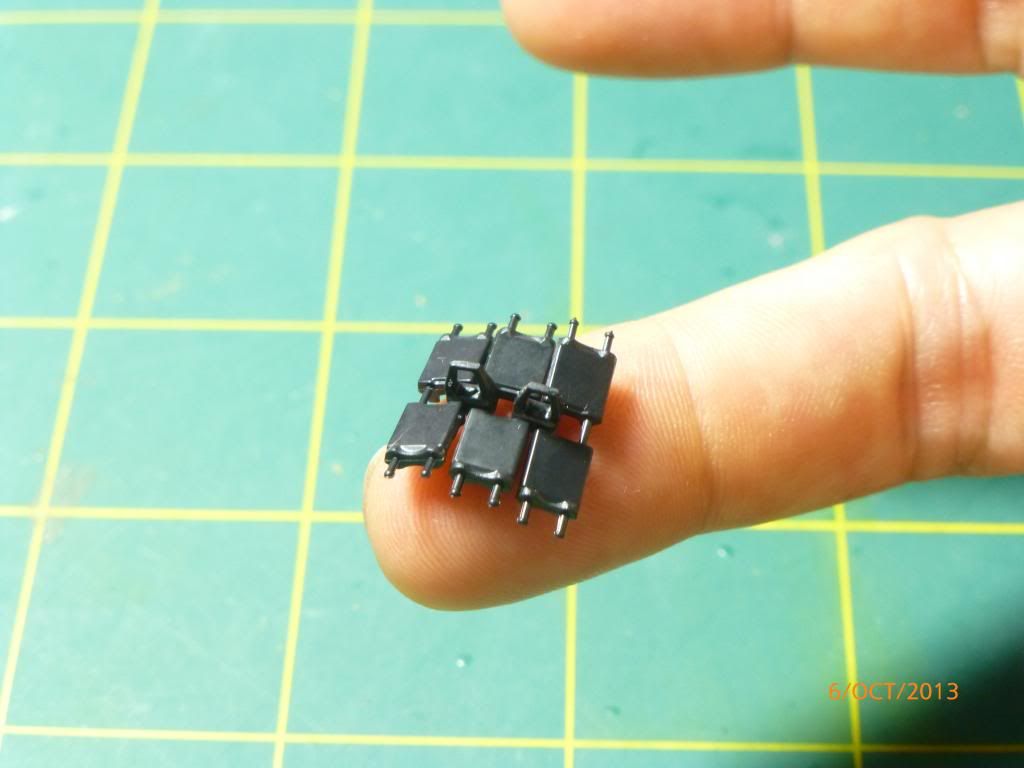 Next you grab the lower piece of the jig as shown in above photo (sorry I didn't take a pic of the jig lower part with track links installed). Then insert the links across the lower part, there are alignment pins to help the process. The link pins stick out the sides of the jig... 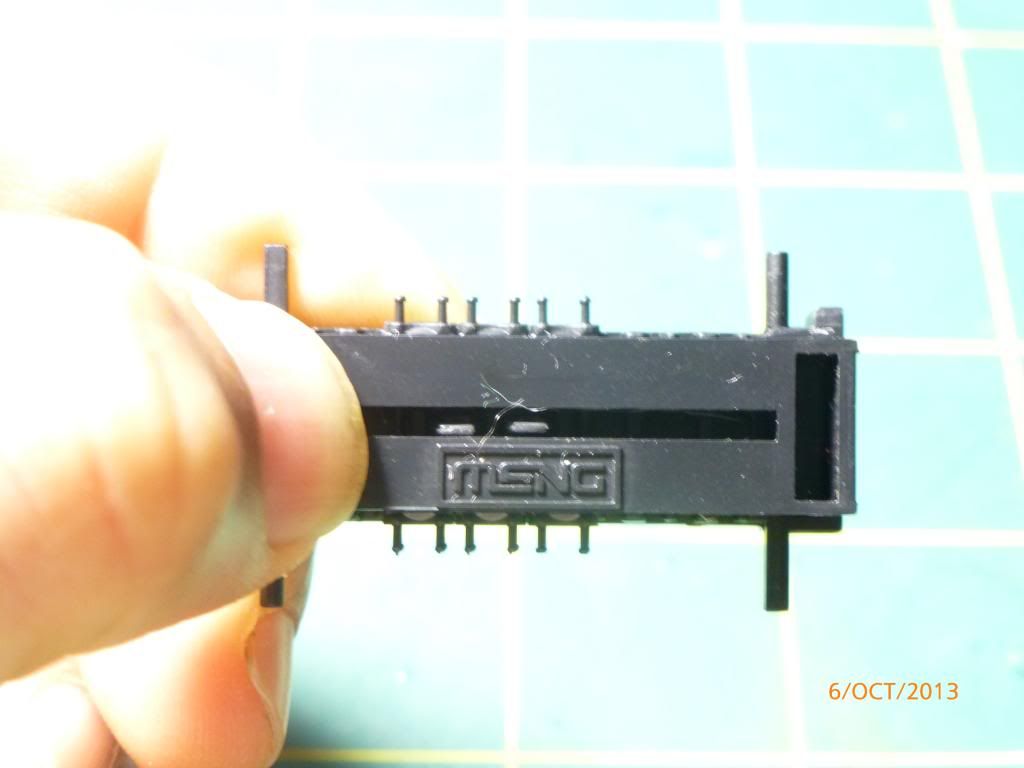 Then you take the smaller jig part and insert the end connectors that go over the link pins (there are alignment pins on the jig with the track links to align the smaller part with the end connectors (they look like sherman track connectors)... the end connectors are on sprues, once installed you have to cut the sprue gates from the end connectors, then you insert over the long pins in the jig to make the link connection. The link pins go through the end connector part. Each pair of link pins gets one end connector. 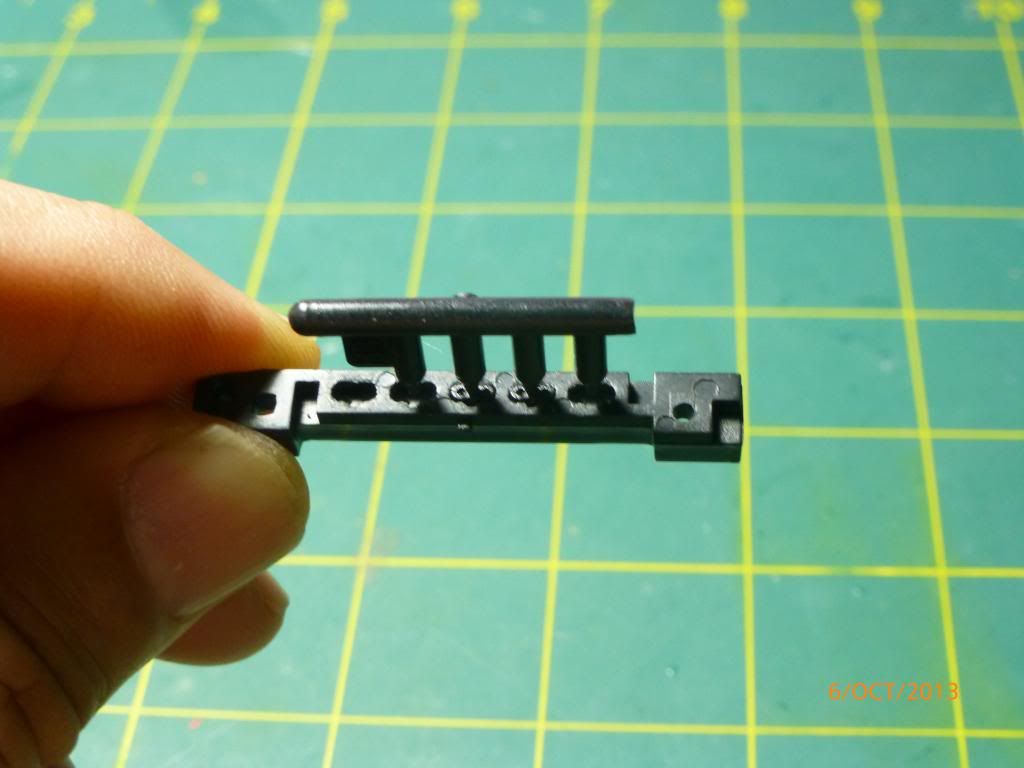 In the example below I only used 2 connectors since I had 3 track link sections...you have to place the correct side of the end connectors against the track links, pretty simple since no glue is required, you can easily correct them if you mess up. Their correct orientation is given in the instructions anyway. 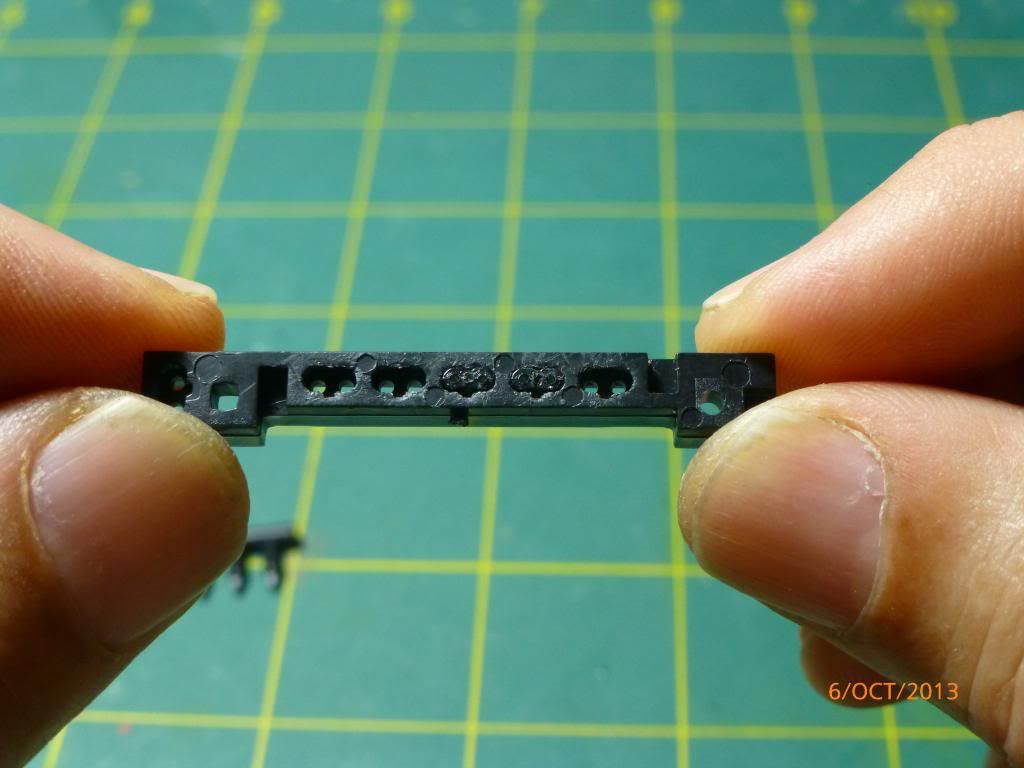 The photo below shows the correct way to place the smaller jig piece. The photo just shows the end piece on....you push it all the way against the jig to insert the connectors. You can only do one side at a time. 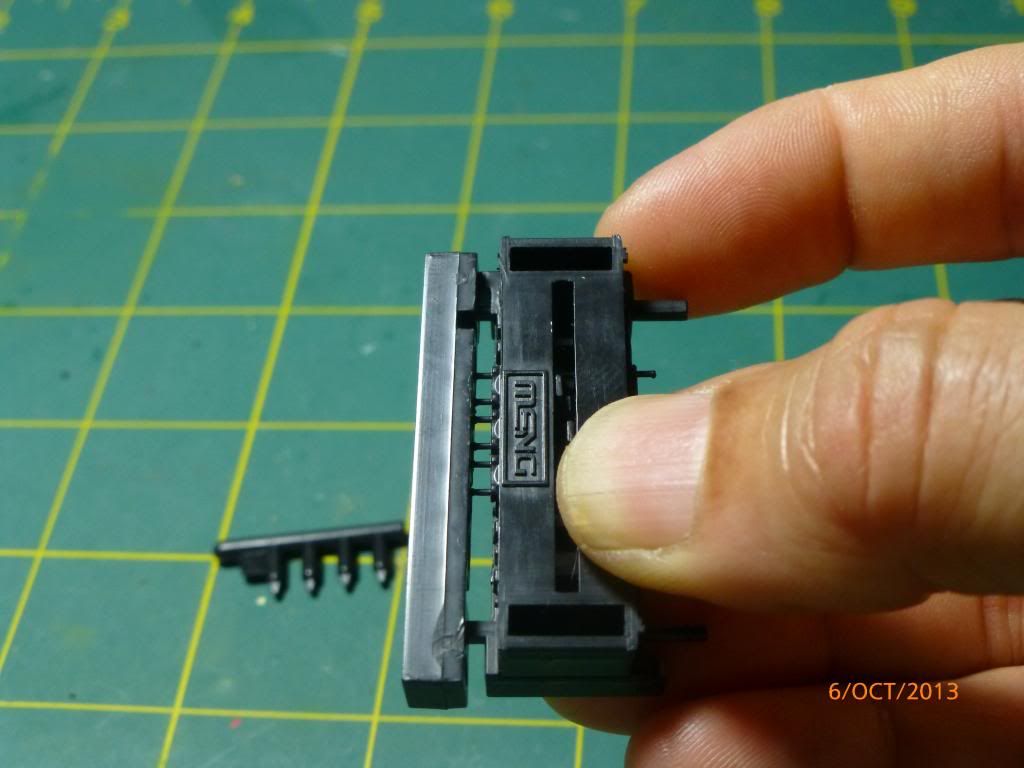 The lower photo shows the end connectors installed... 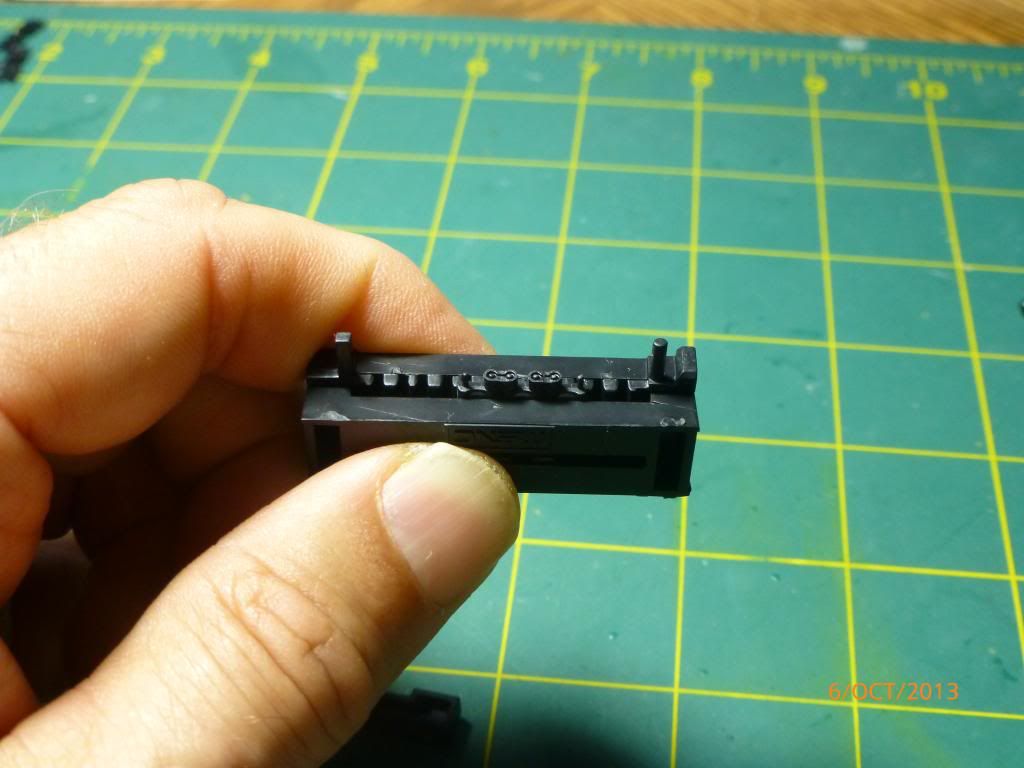 Next photo shows the end result....3 links! 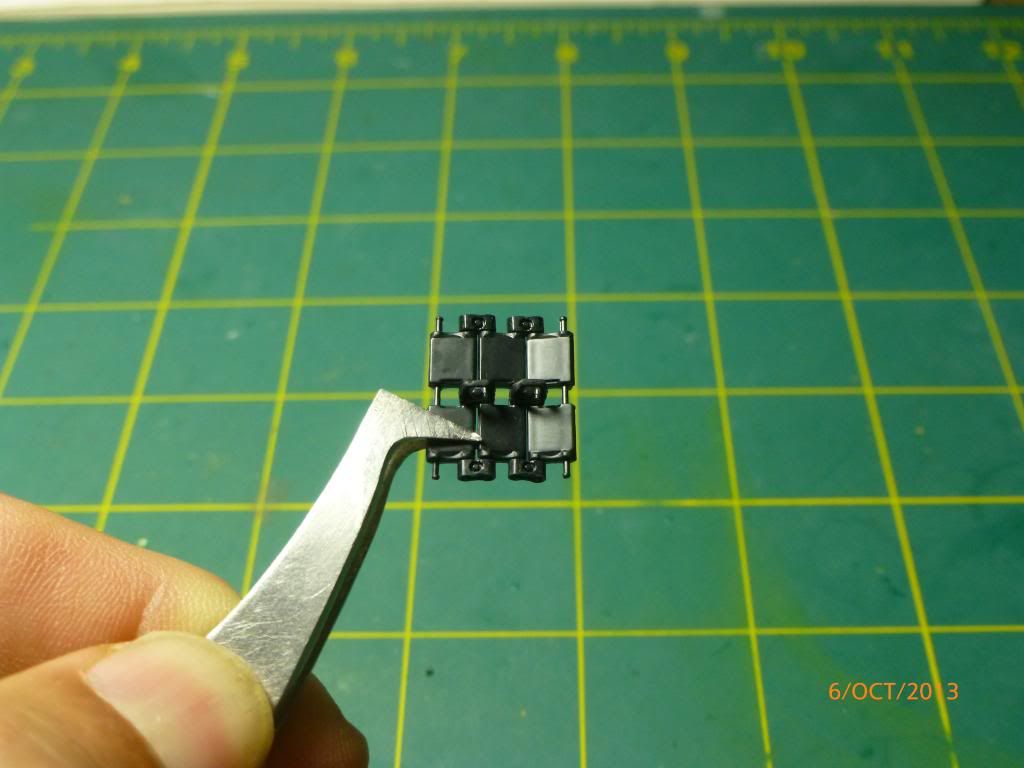 The track jig holds 6 links....next photo shows several track assemblies assembled together... 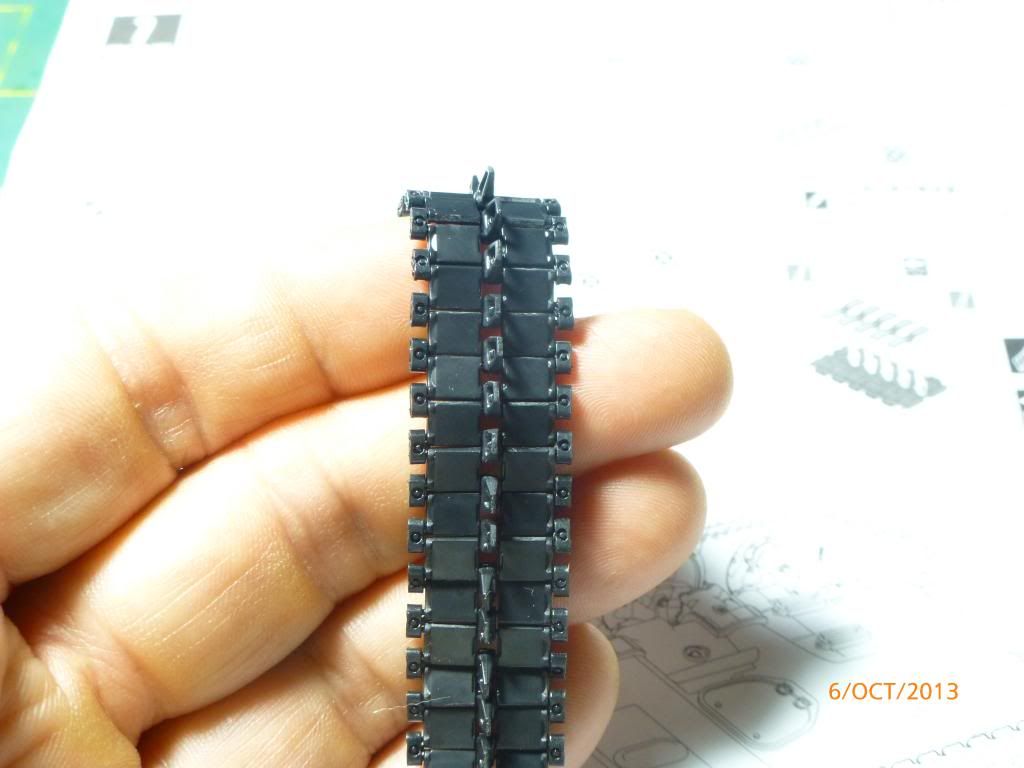 Hope you enjoyed the show! Next update in a next post... Paul |
|
pt109
Full Member
  
Member since: April 2013
Stop staring at me! heheheh
Posts: 491 
|
Post by pt109 on Oct 6, 2013 23:35:47 GMT -5
This post is small, it shows the links installed on one side and the rear plate and spare track links...I finished but forgot to post the rear photos before. Note I still have to add the welds to the sprocket guards. Nice detail... One side completed! 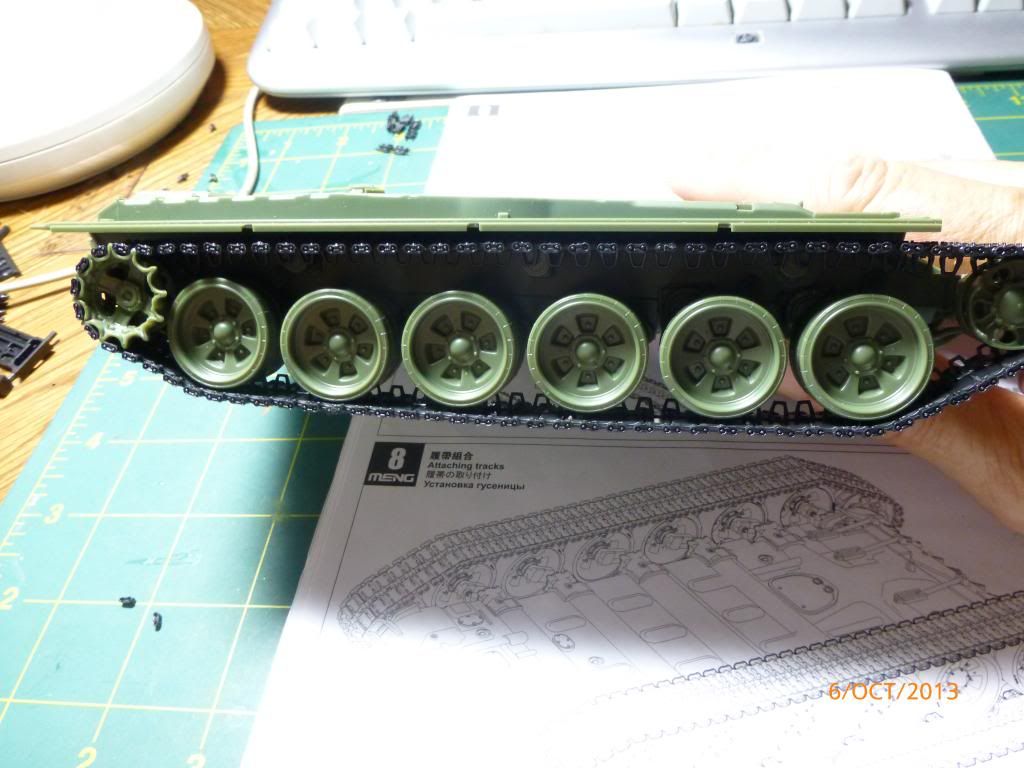 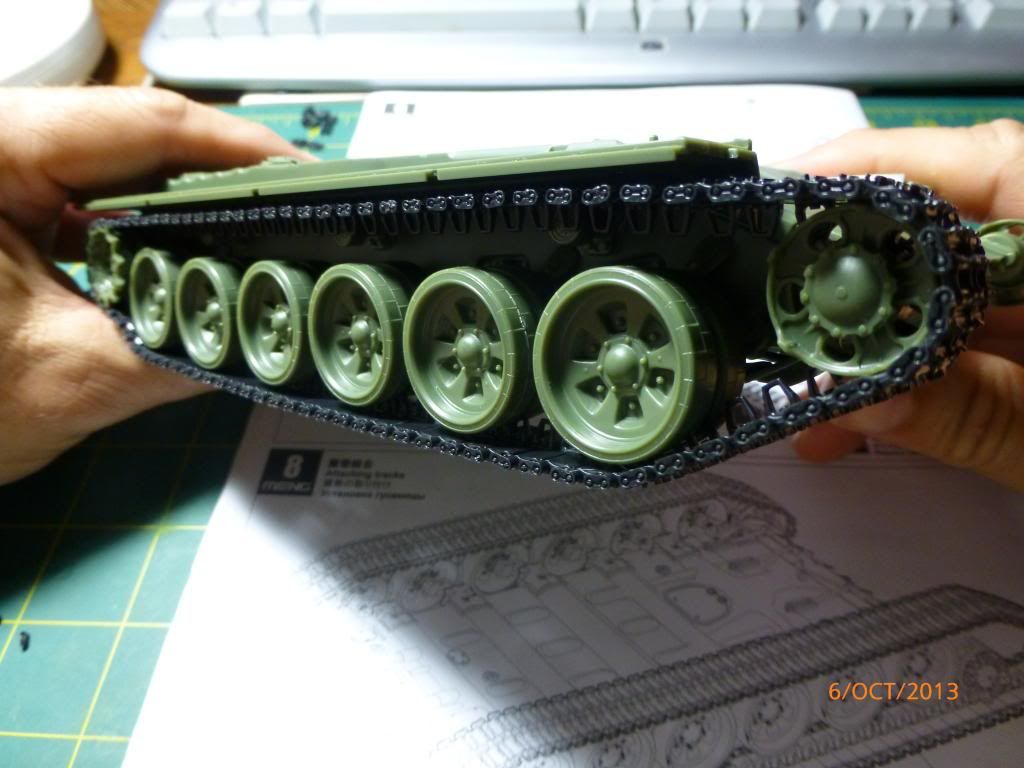 Rear plate assembly and spare tracks and sprockets installed: 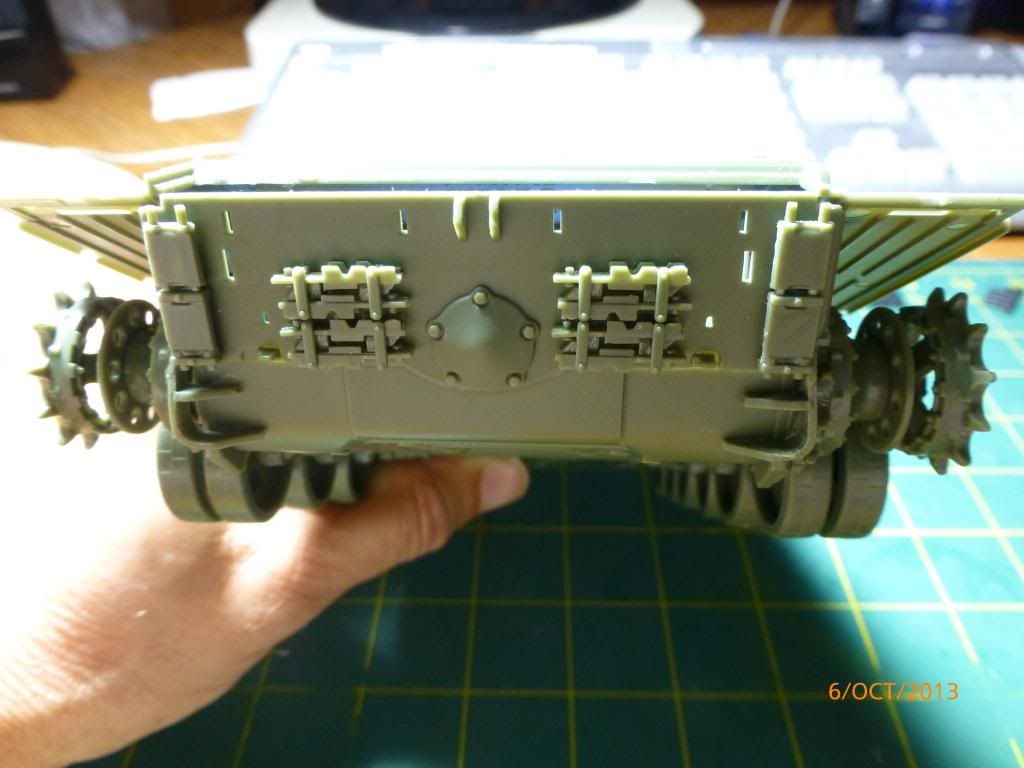 Thanks for looking and the interest... Paul |
|
|
|
Post by Leon on Oct 7, 2013 4:20:15 GMT -5
Great SBS on the track assembly Paul.
|
|
|
|
Post by Tojo72 on Oct 7, 2013 8:47:46 GMT -5
Thanks for the detailed instructions
|
|