Post by venom1 on Oct 25, 2013 2:30:53 GMT -5
Howdy folks!
Well, even though I've started my 1/32 P-51D across in the WWII props build, I couldn't help myself!!
I was having a fondle with this kit, and the fit was just superb. With no cockpit, virtually the whole thing was dry fitted together in an evening, so I thought what the hey! Let's build this sucker!!
So first up, the uninitiated among you may be asking "What the heck is a yoo ay vee?". Well good folks, a UAV is an Unmanned Aerial Vehicle. As the name implies, these babies ain't got no dude on board! Having said that, a lot of them, such as the Predator and Reaper (made famous by the conflict in the Stan) are, for the most part, still fully controlled by a human pilot, he just doesn't sit in the aircraft. Imagine if you will, a radio controlled plane like you see down the local park, just on a much more grand (and expensive!) scale.
Others, such as the rather large Global Hawk and this little chicken, are semi and, more often than not fully autonomous. Just recently, the X-47 completed carrier handling trials, where it achieved FULLY AUTONOMOUS take off and landing on a carrier. For those of you aware of the insanely difficult task of getting a large chunk of high speed metal to trap safely on a relatively small, moving, pitching piece of metal in the middle of some God-forsaken ocean, I will give you a moment for the importance of this not insubstantial moment in aviation history to sink in......
For those of you who are not aware, trust me. It's a big deal!

As you may have guessed, I'm a bit of a fan of this wee beastie, so to get this in kit form I was a bit chuffed! So 'nuff with the guff, lets get on with the good stuff!!
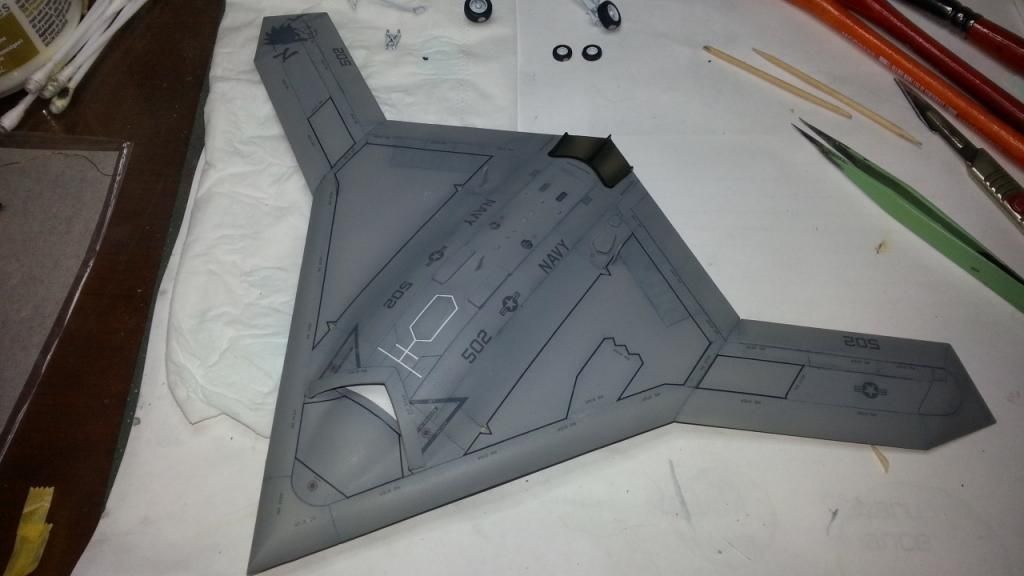
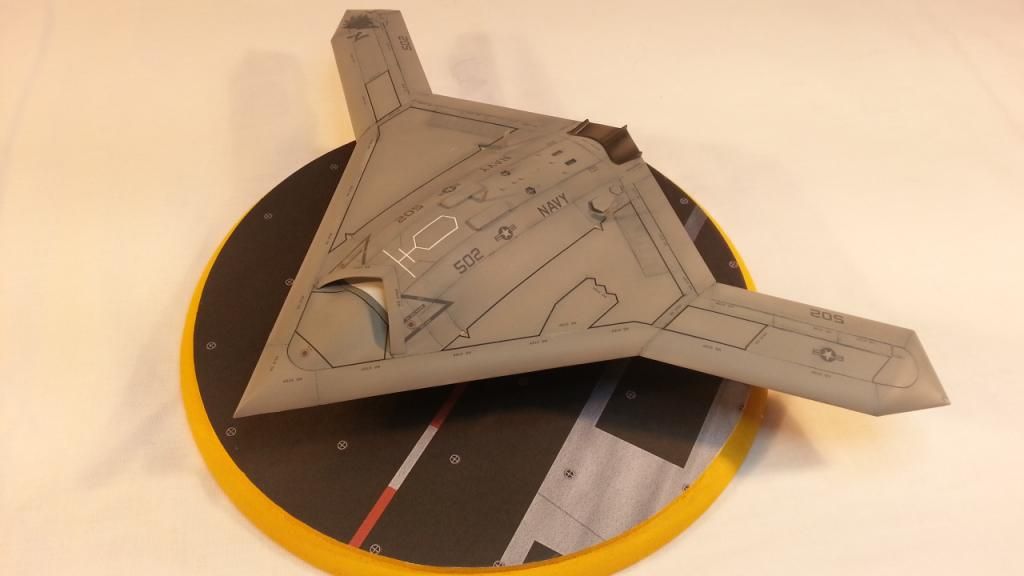
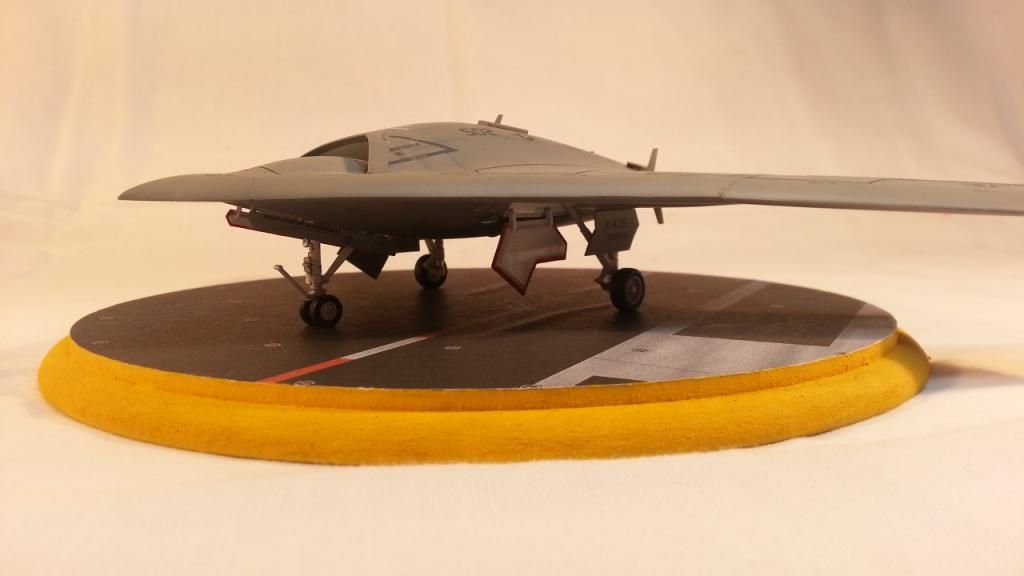
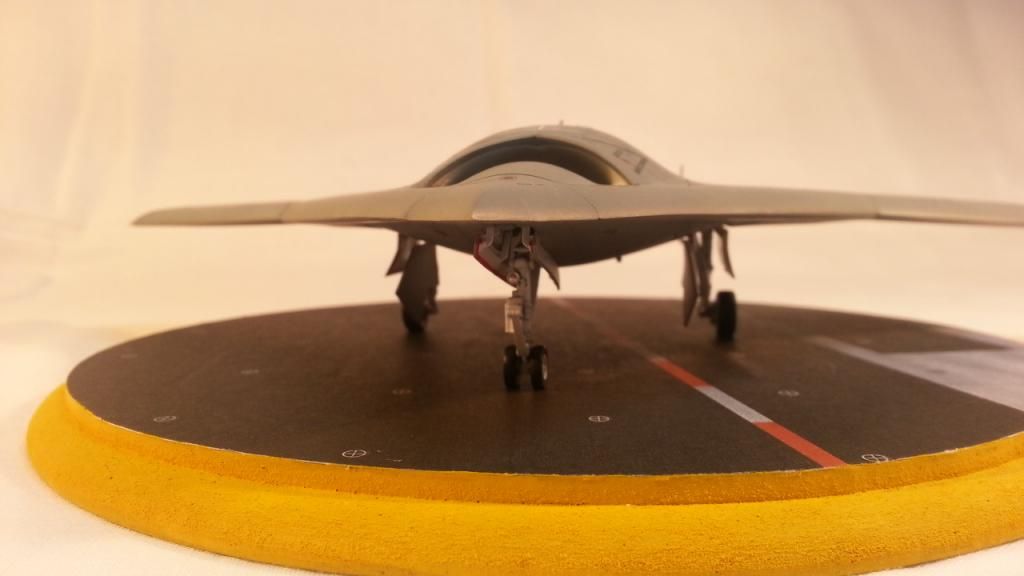
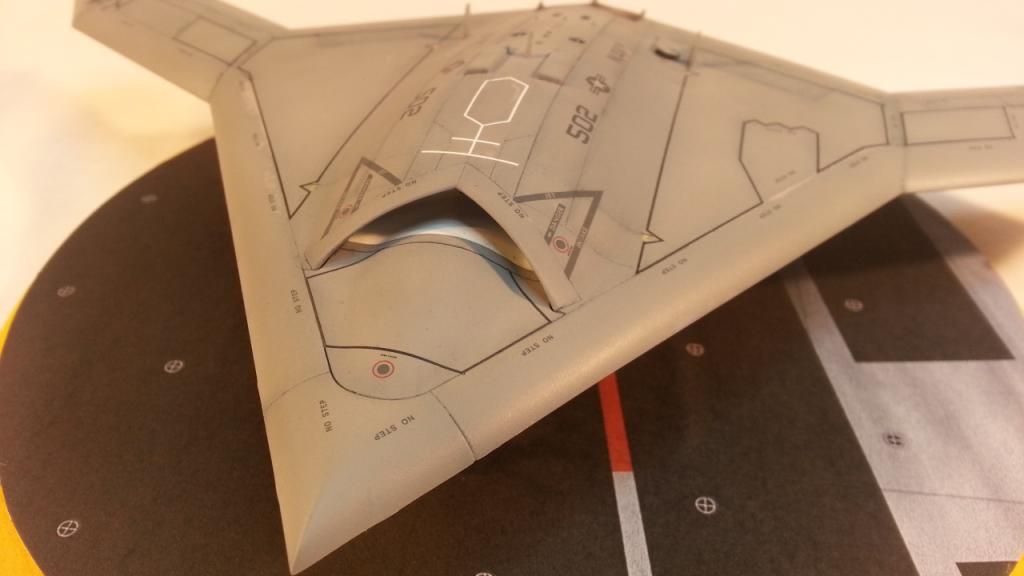
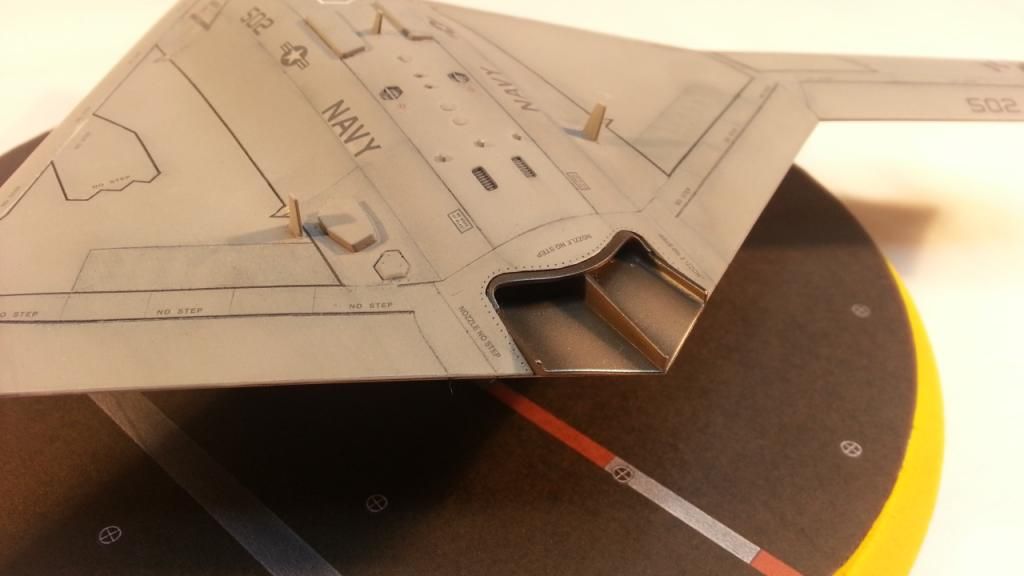
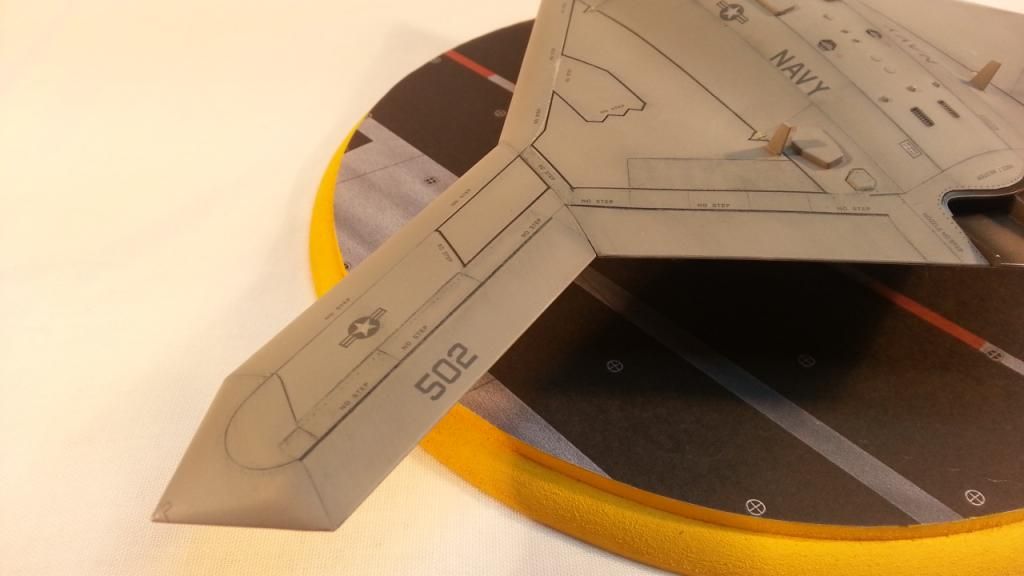
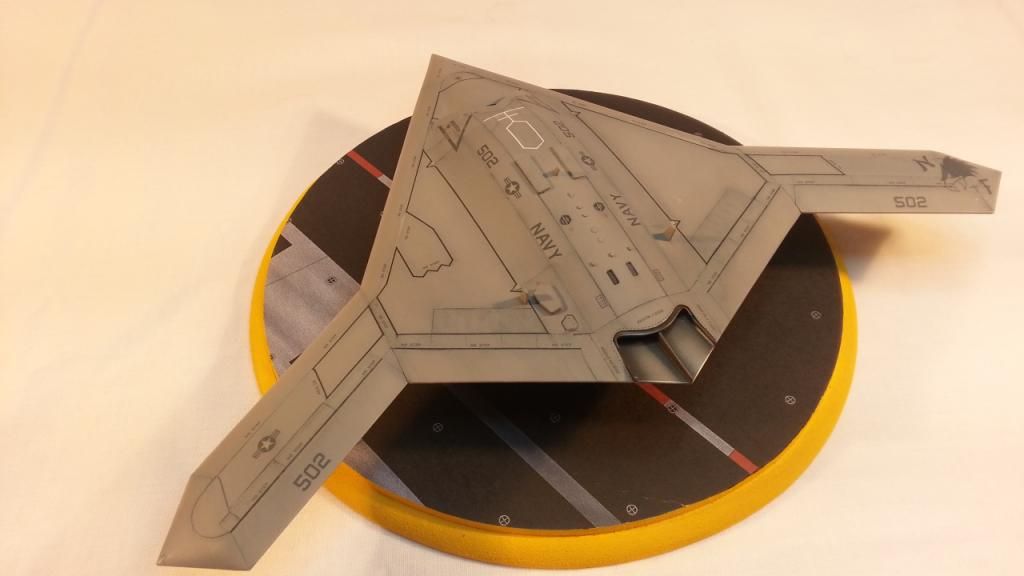
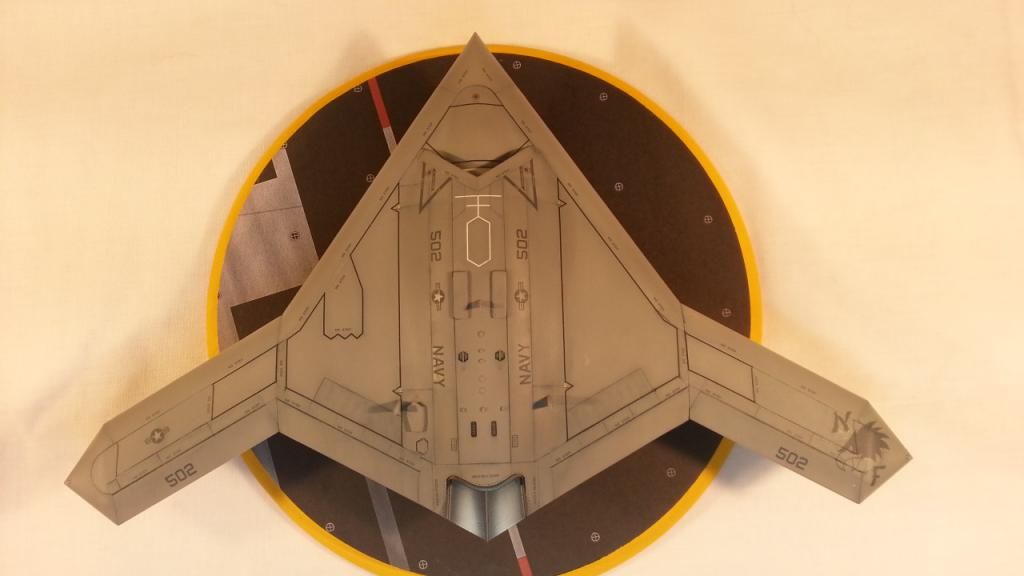
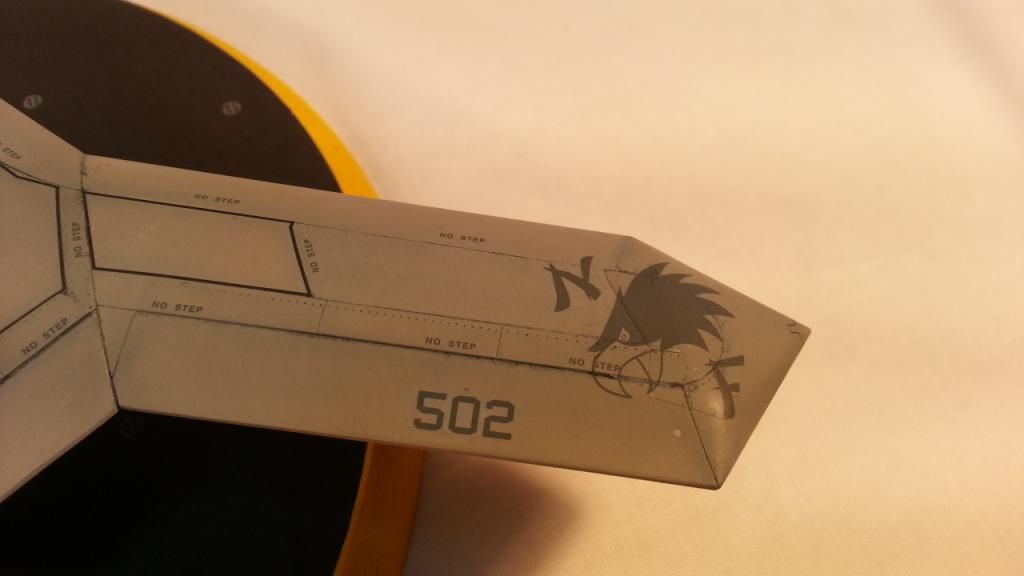
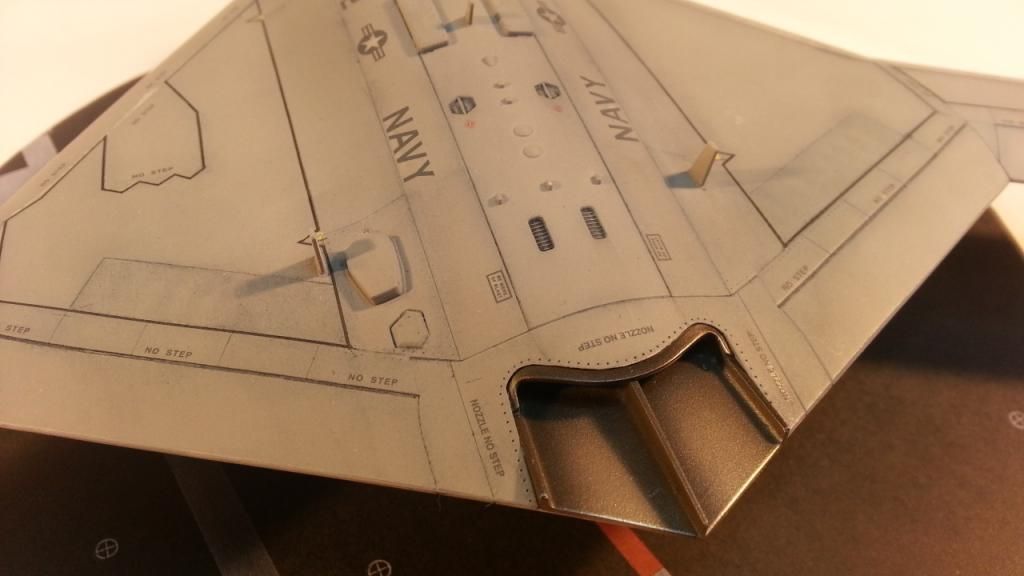
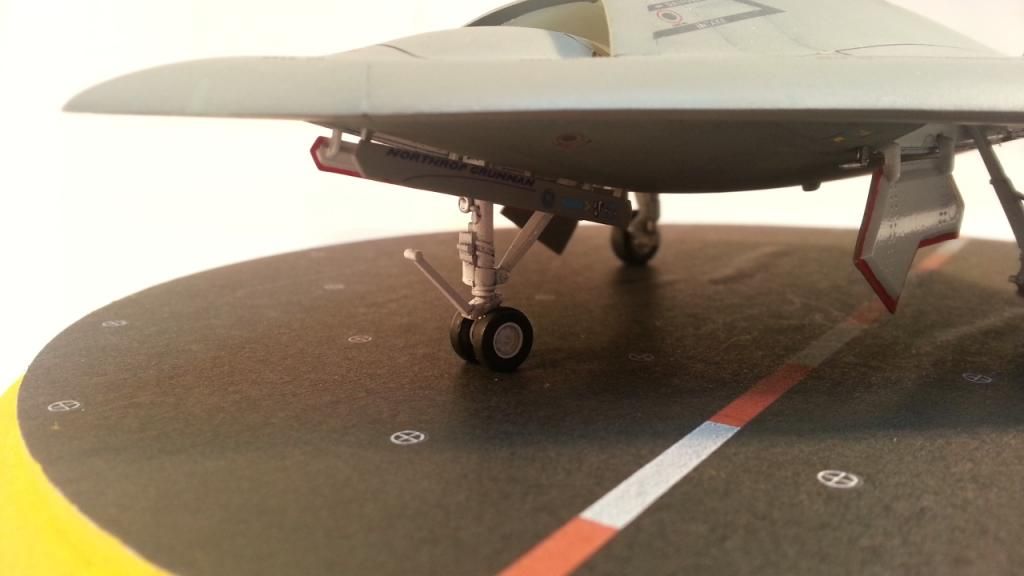
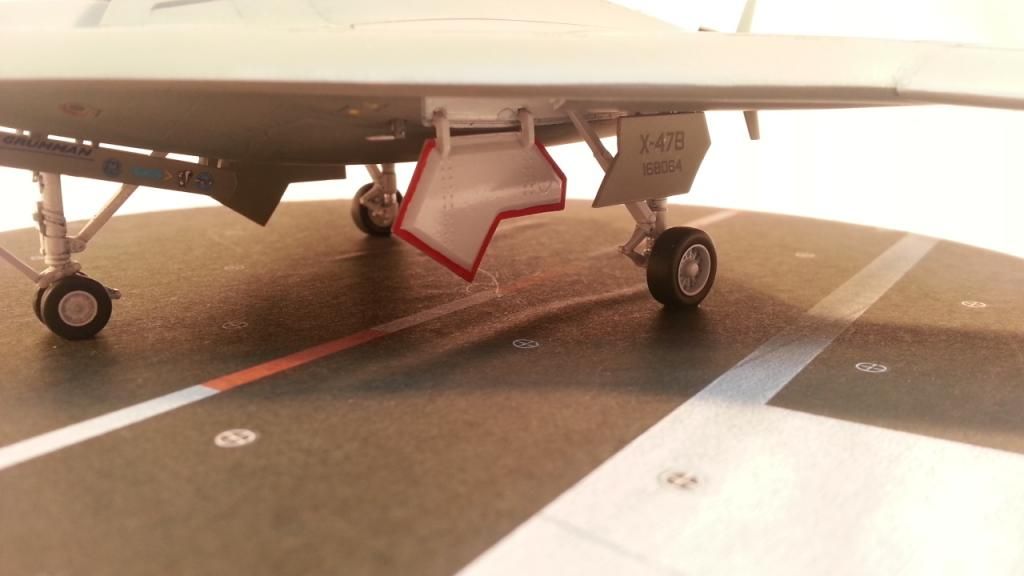
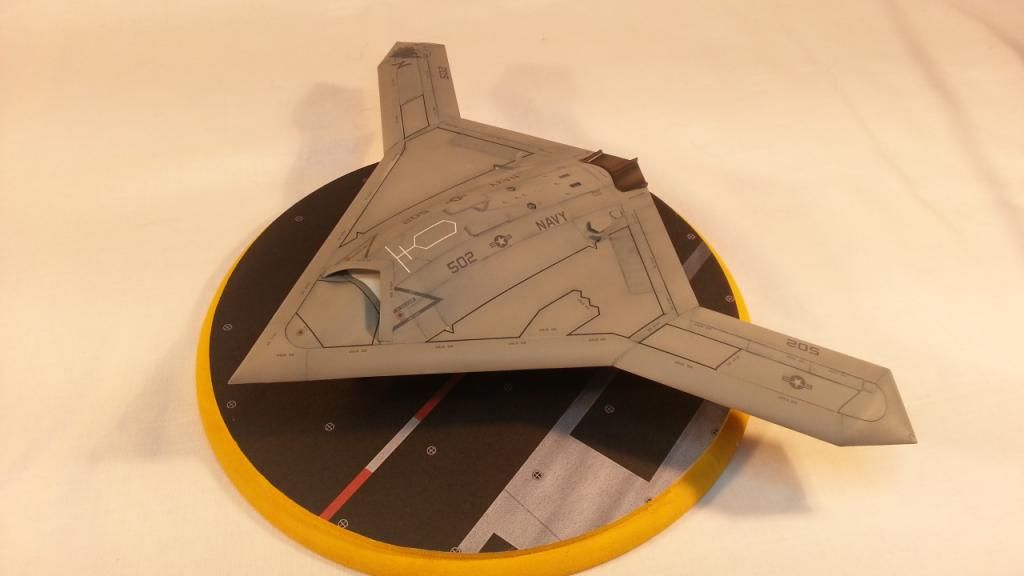
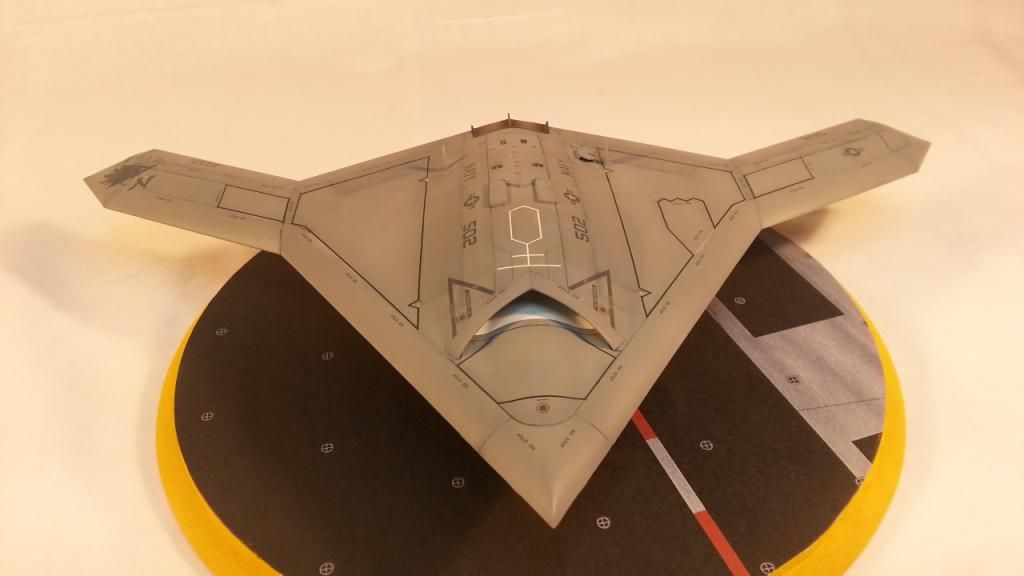
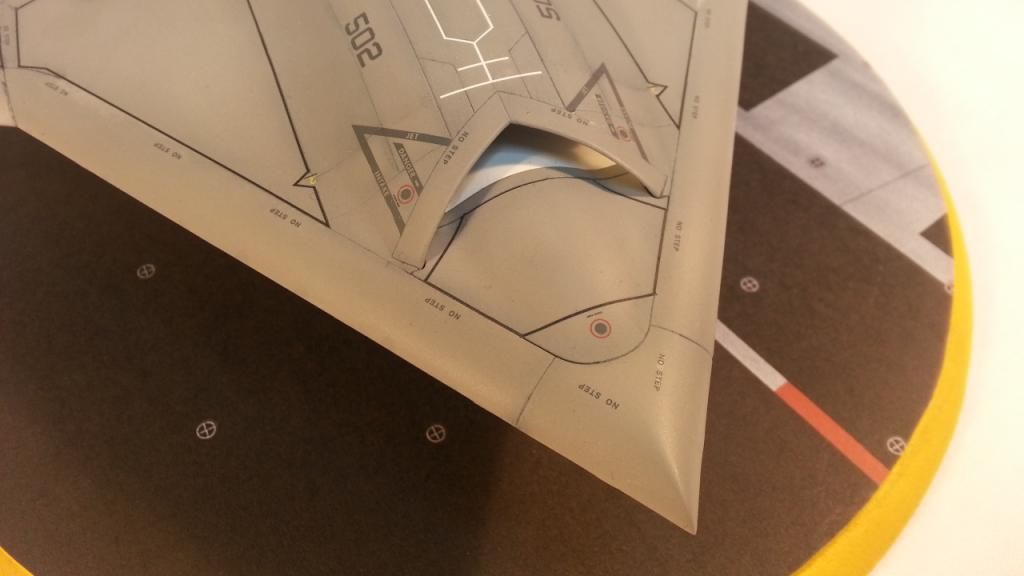
For those of you unaware, this is what the ol' girl looks like...
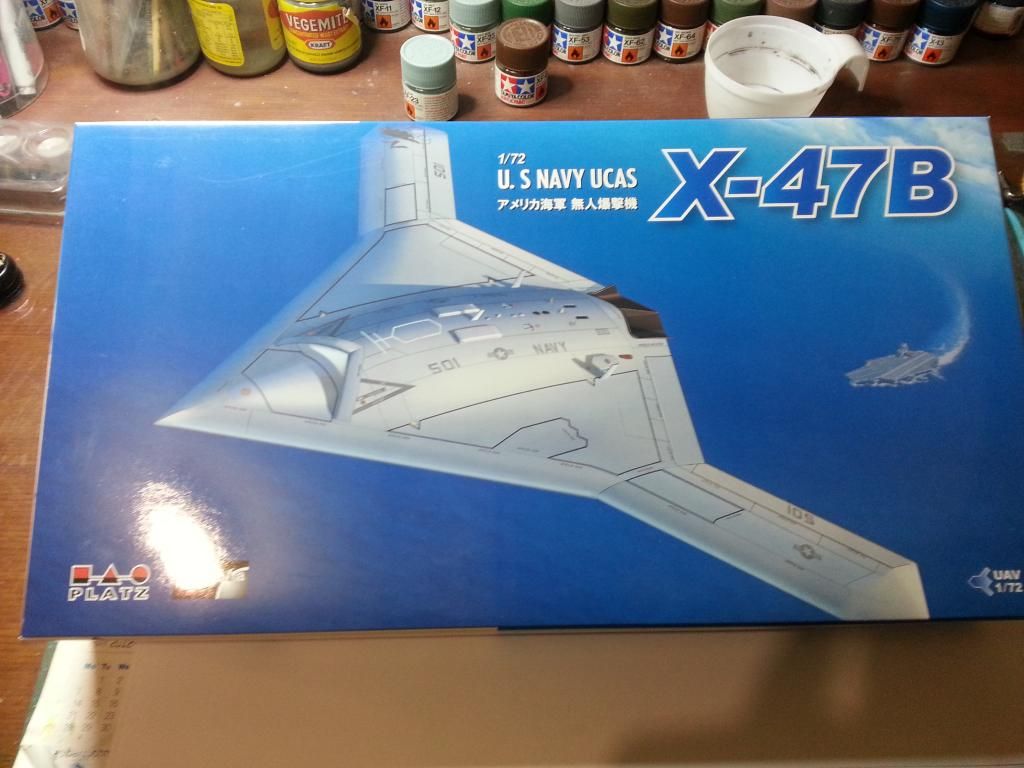
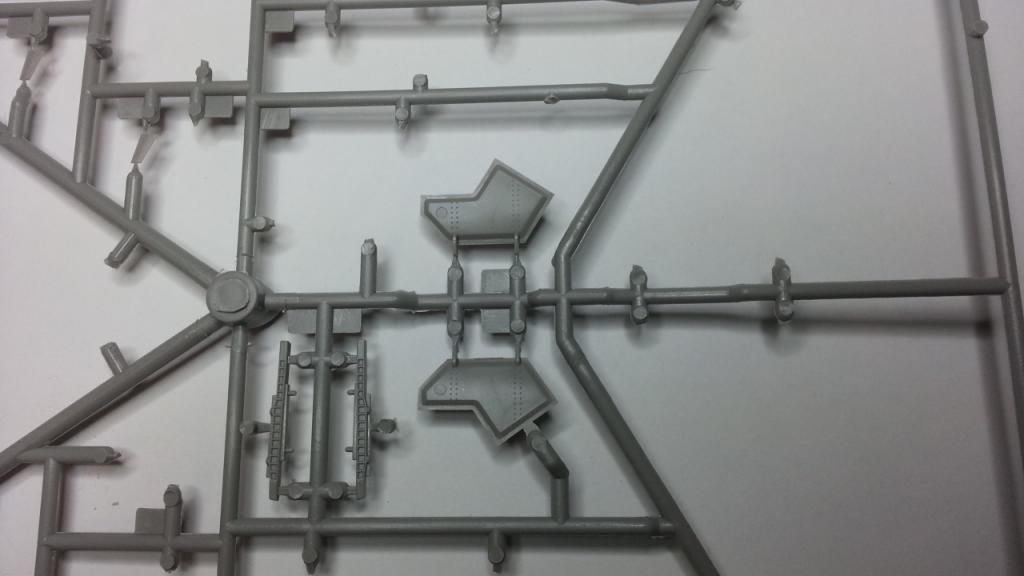
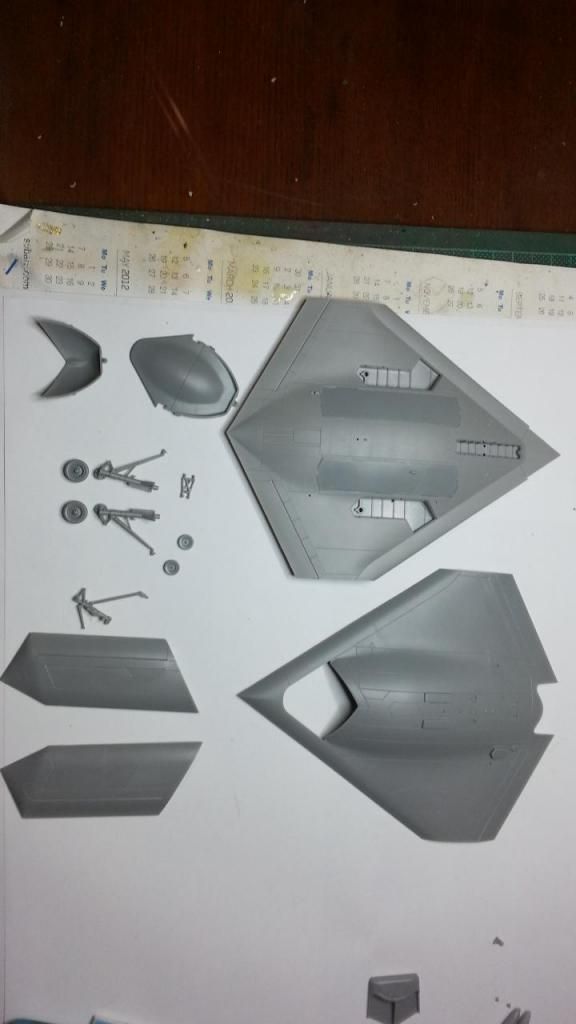
Here's a few sprue shots...
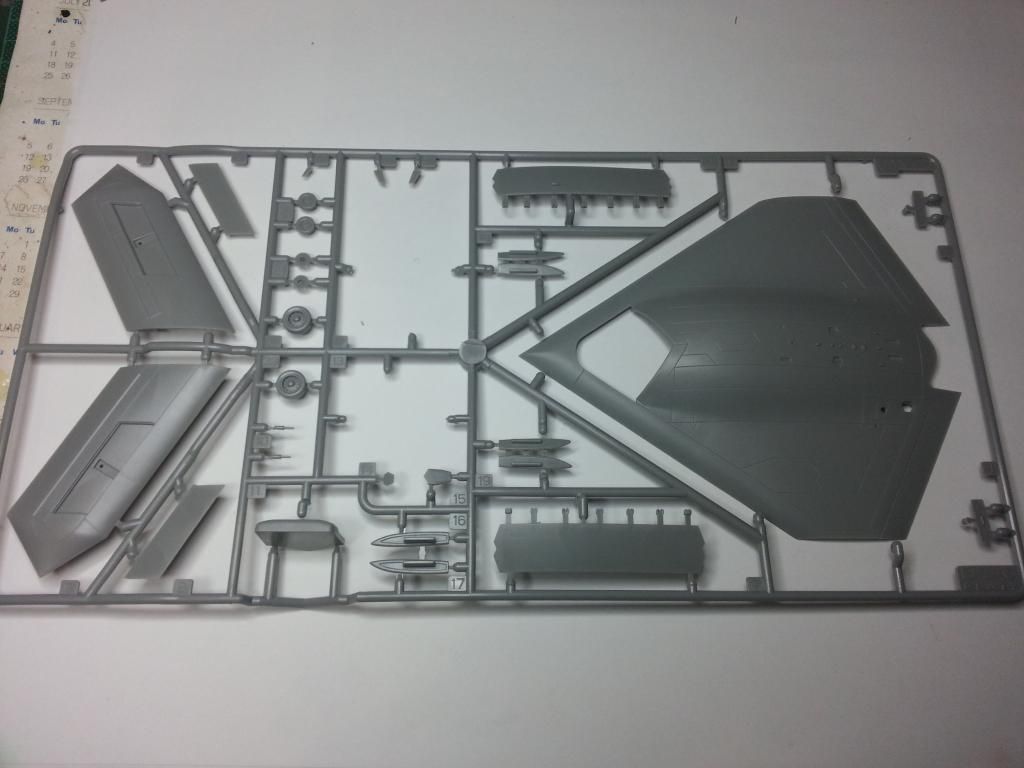
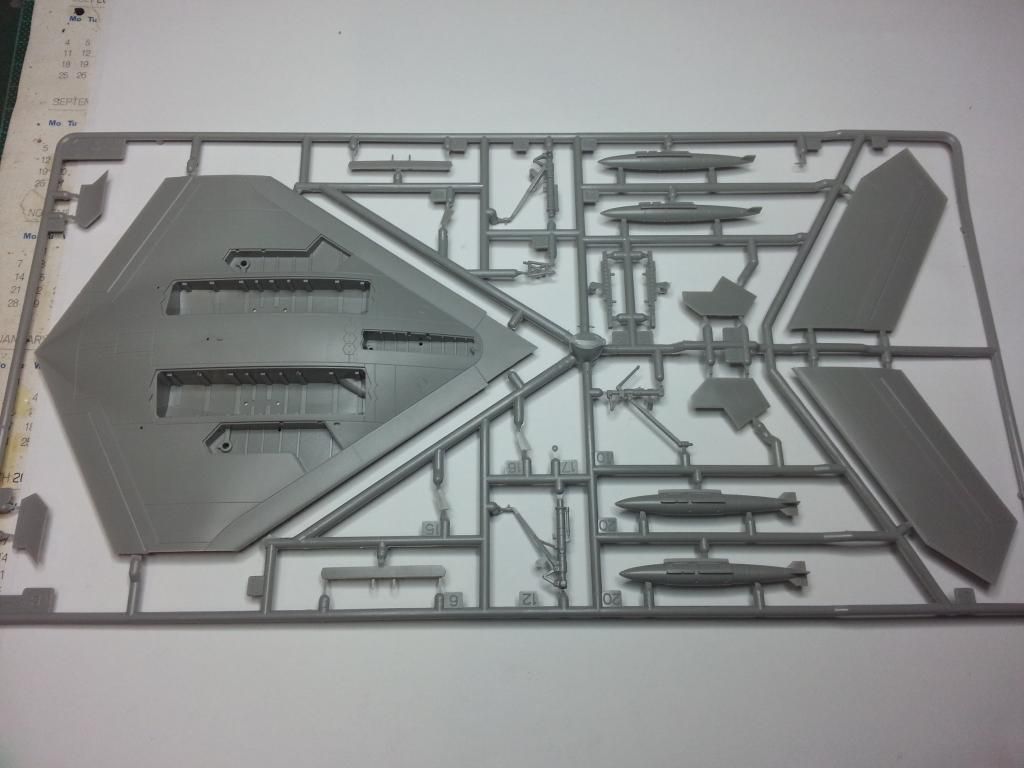
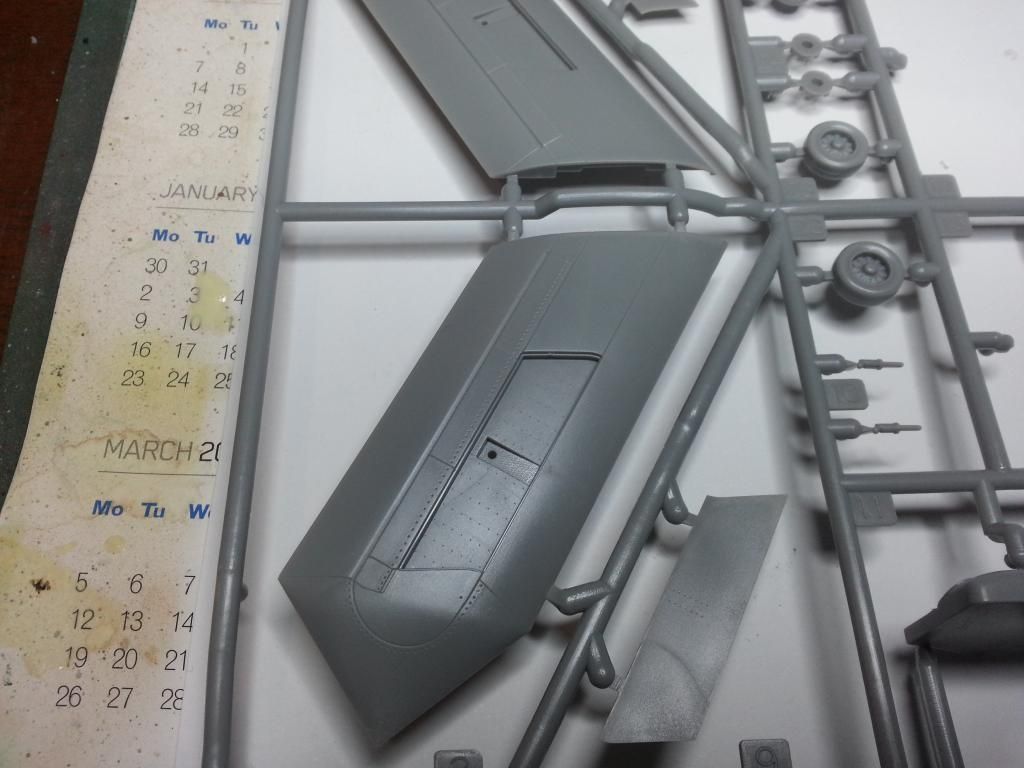
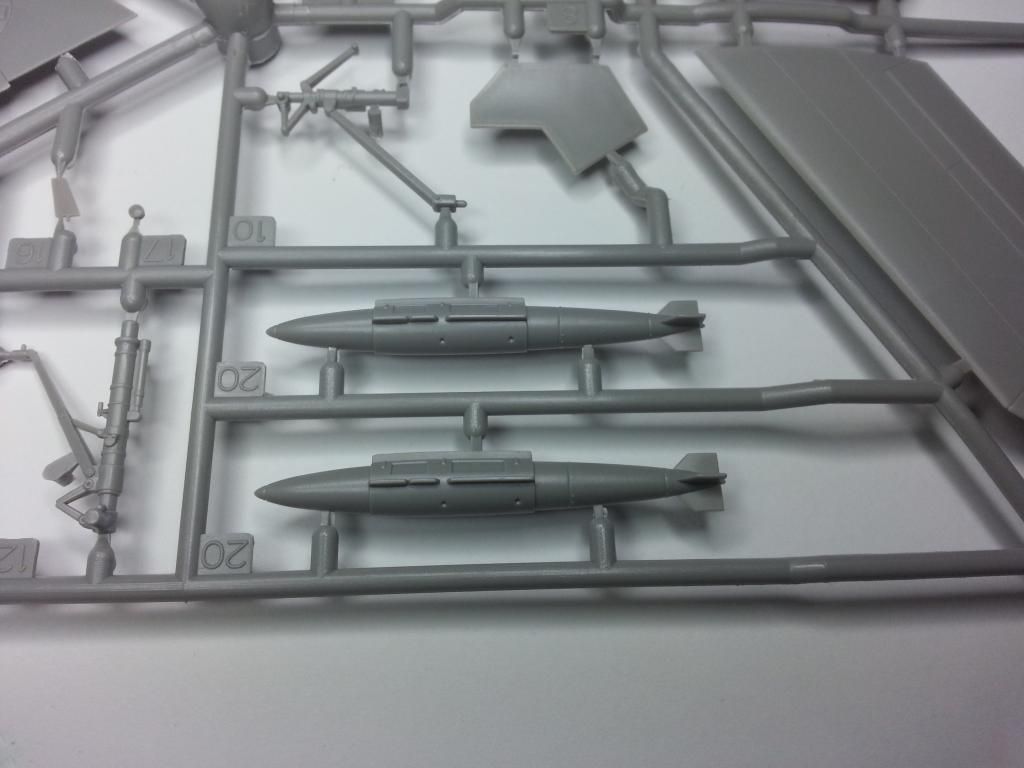
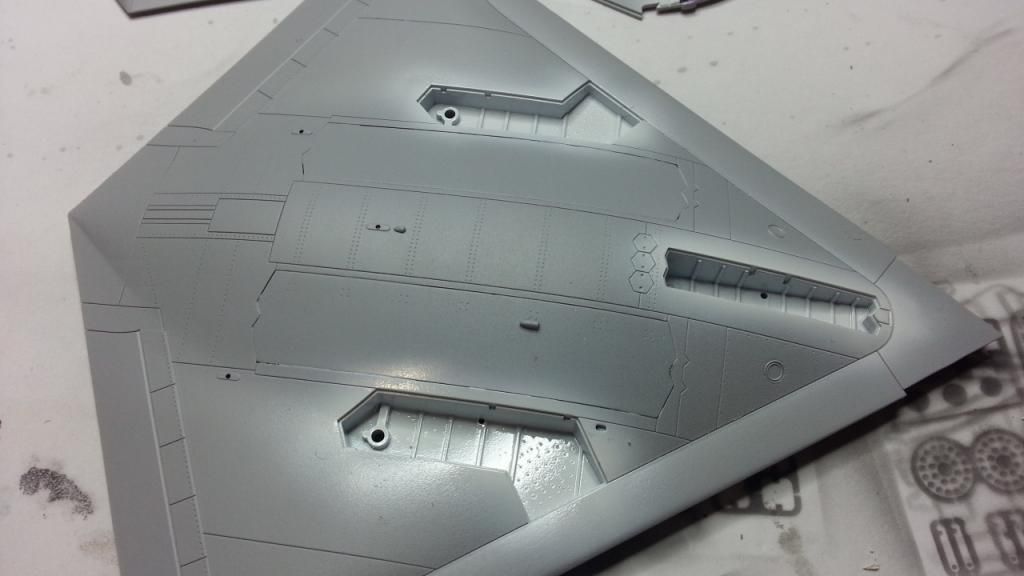
So, on with assembly. First thing I did is to trim off the upper and lower fuselage and clean them up.
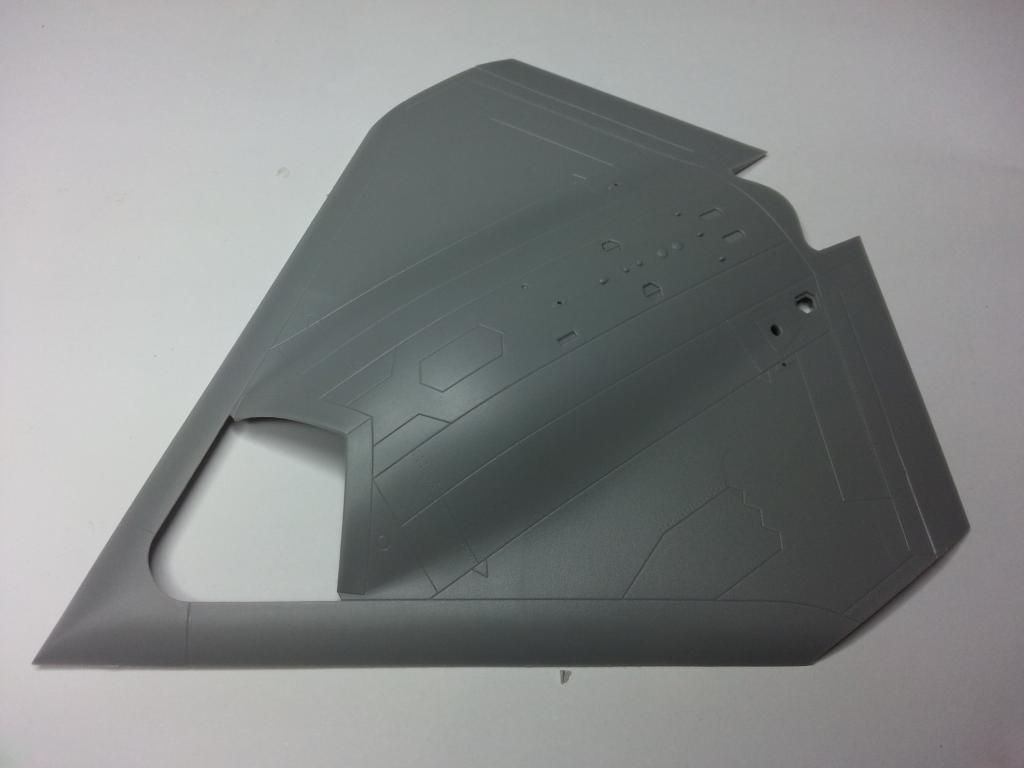
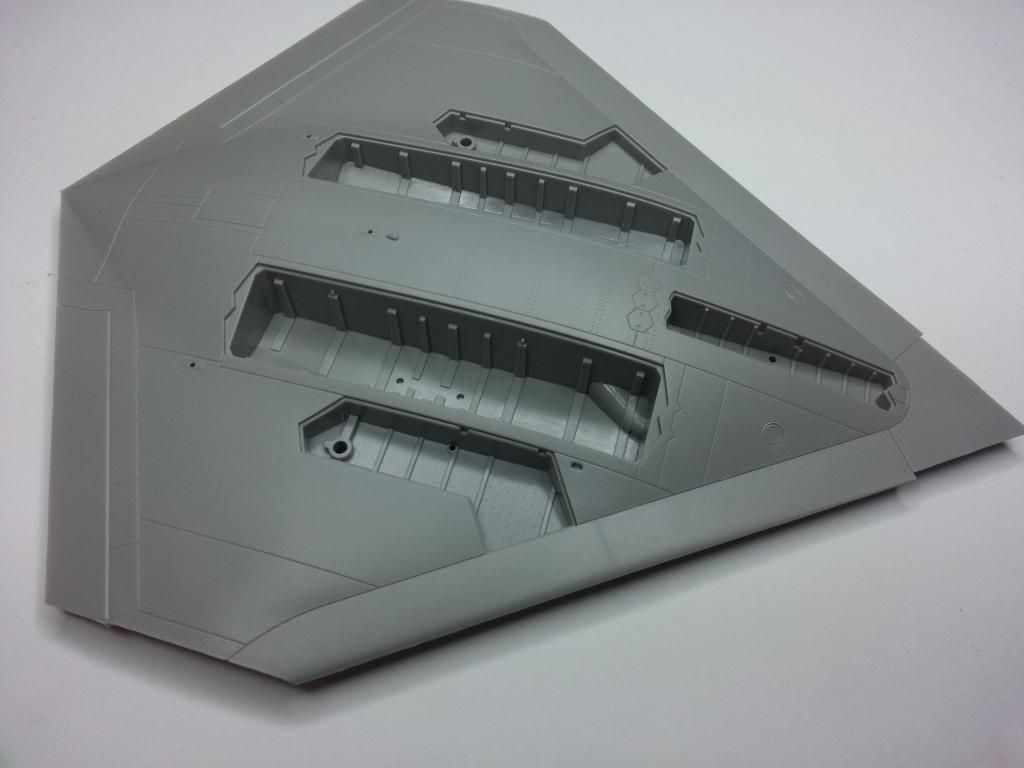
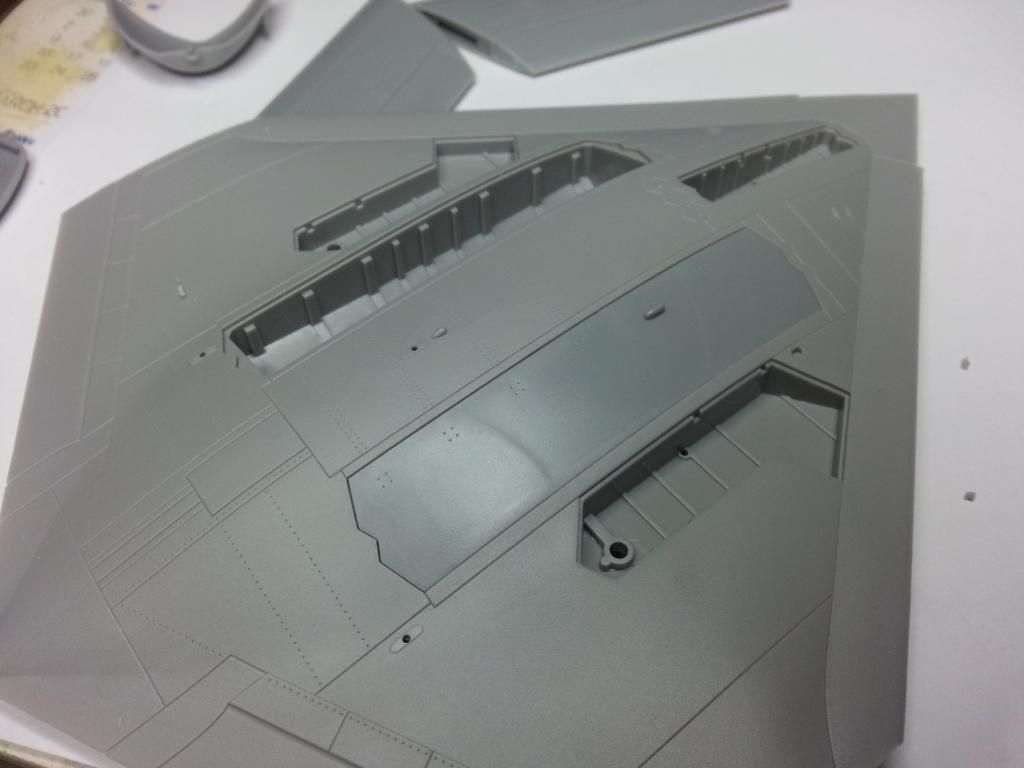
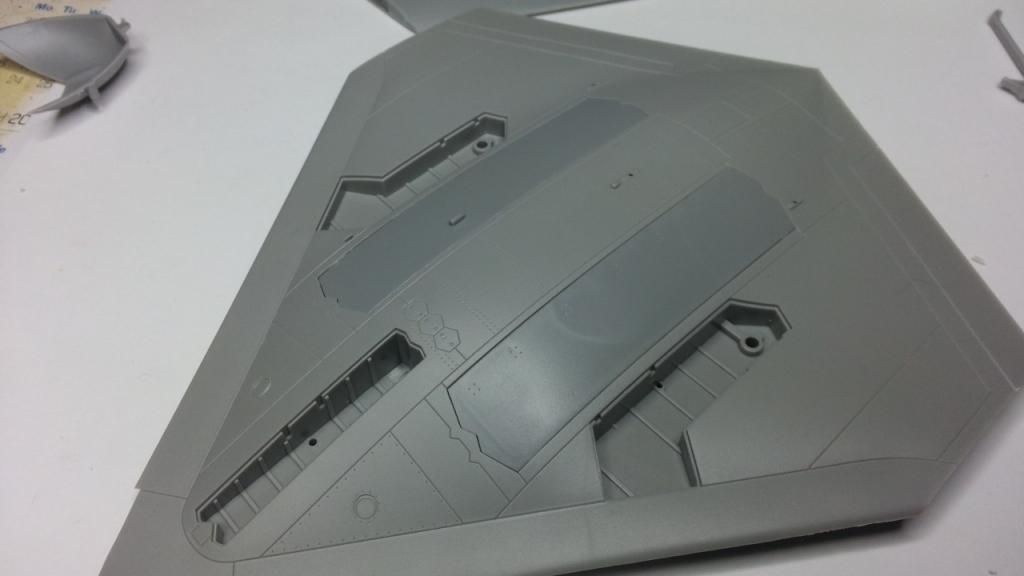
As you can see, the detail is very fine, while the undercarriage and weapons bays are fairly simplified. Not too fussed. Want to get this built up pretty quick, and I will be buttoning up the weapons bays anyway.
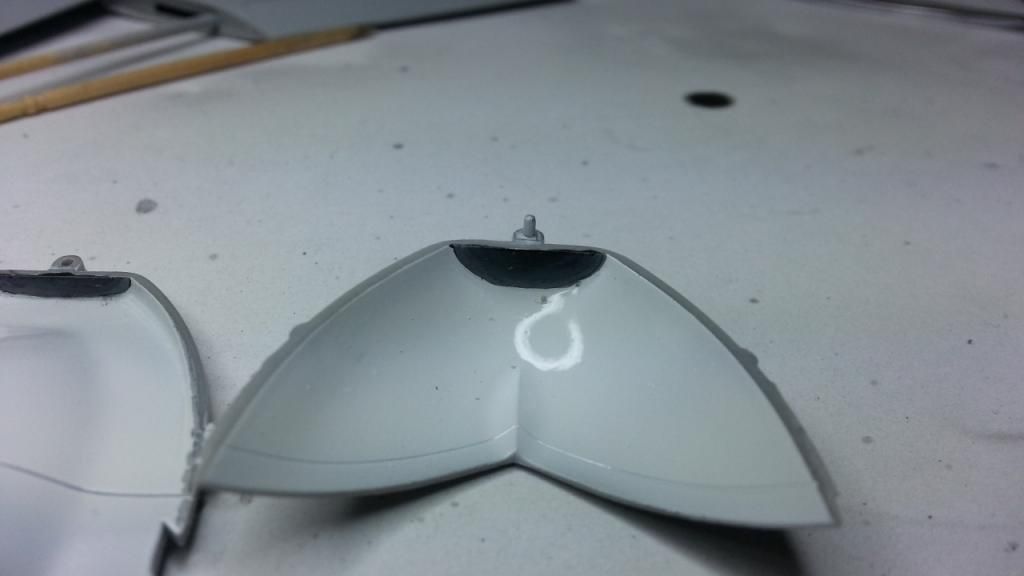
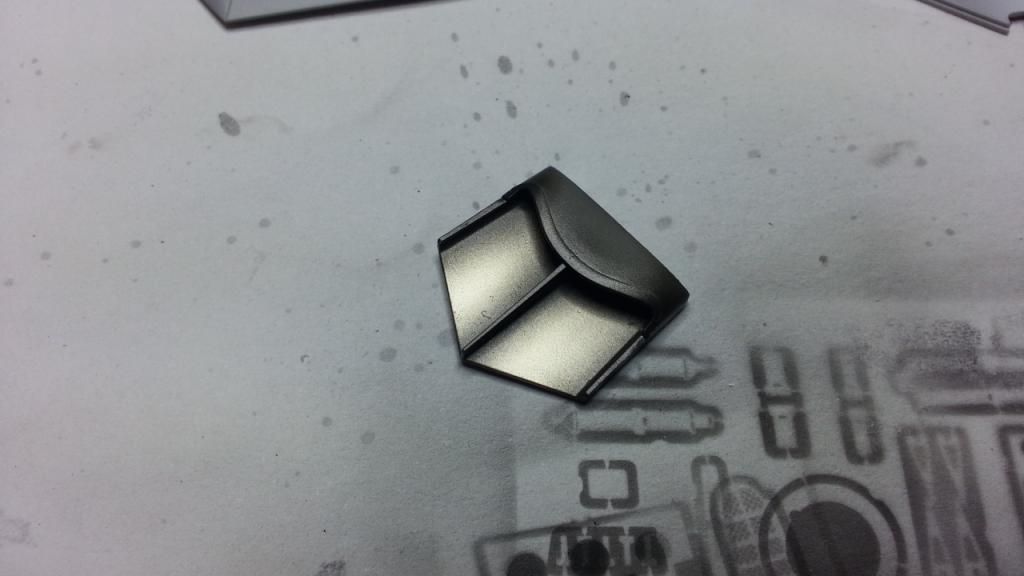
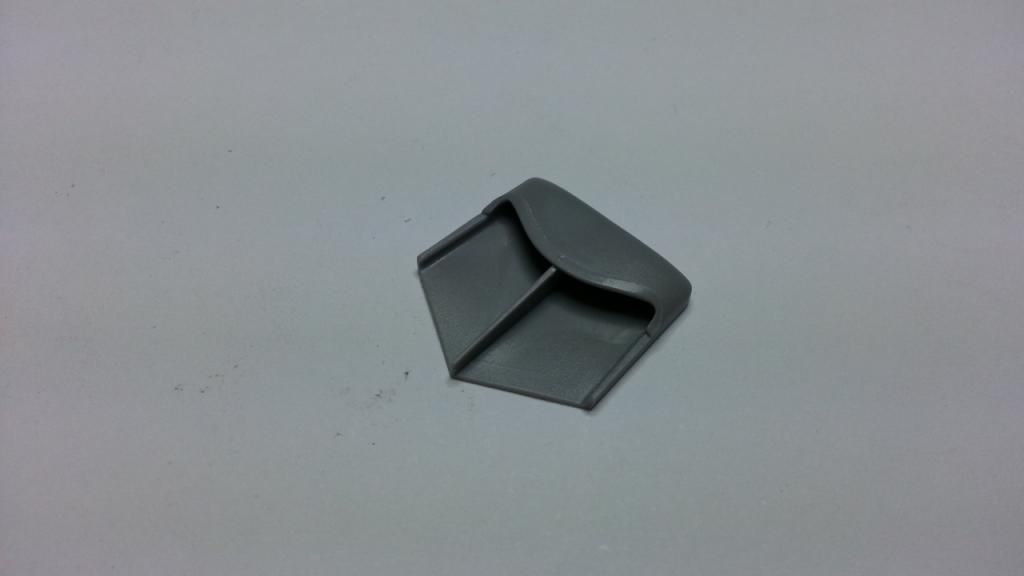
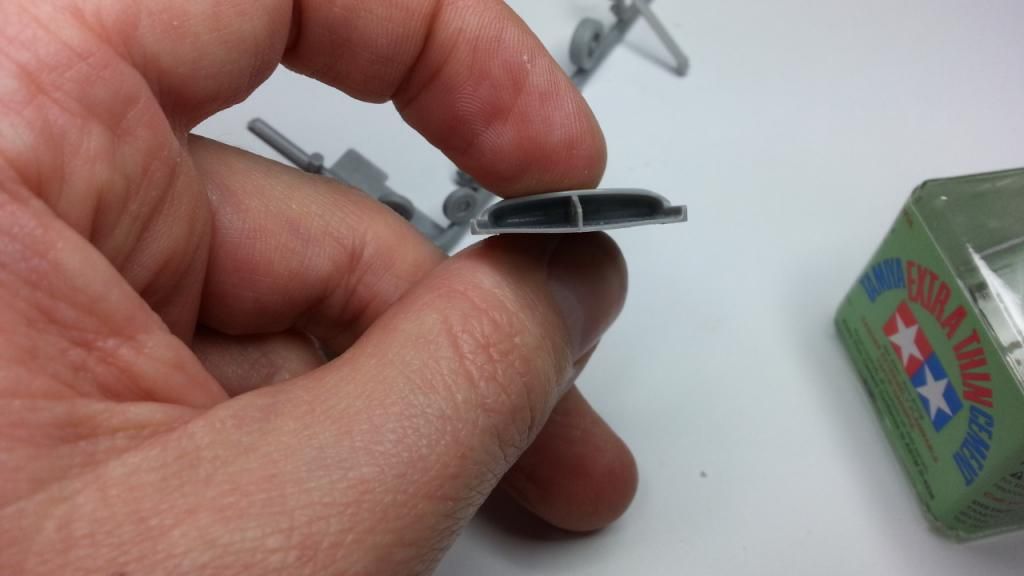
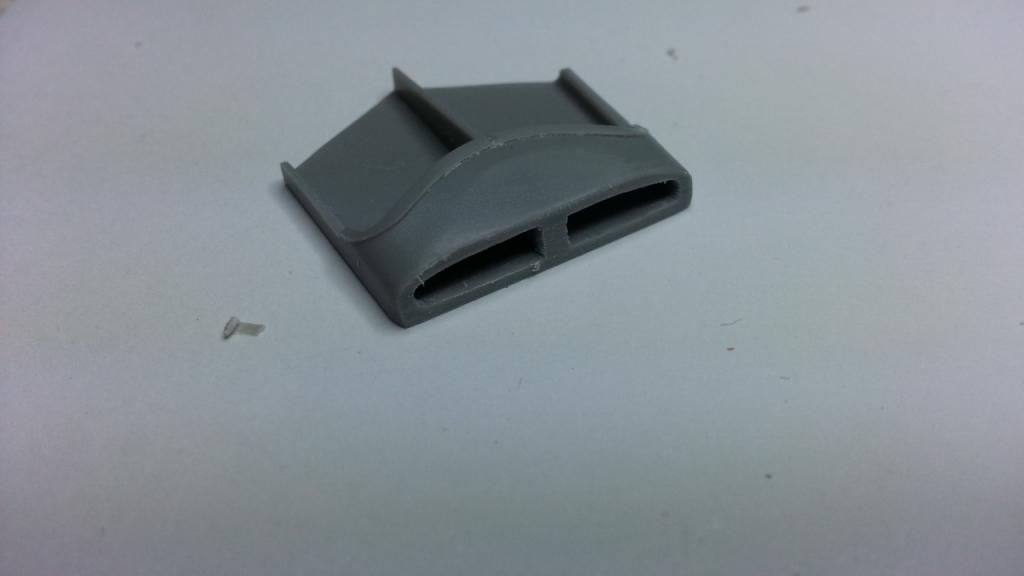
Next was to trim off and clean up the two intake halves (top and bottom), and give the intake a quick test fit.
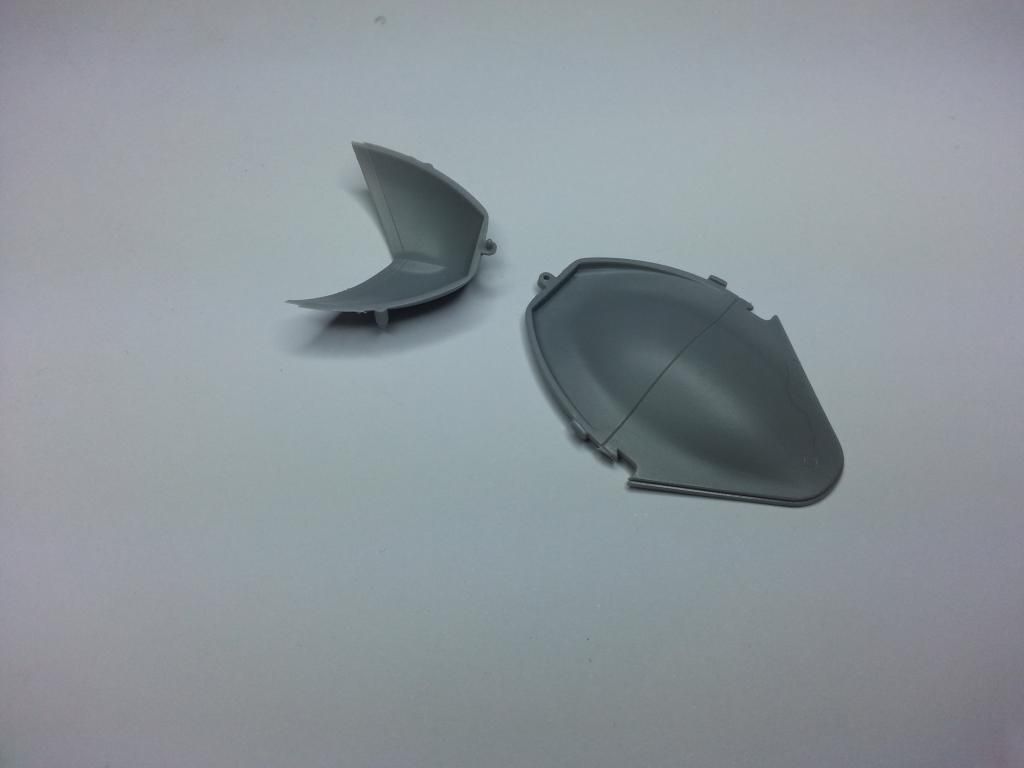
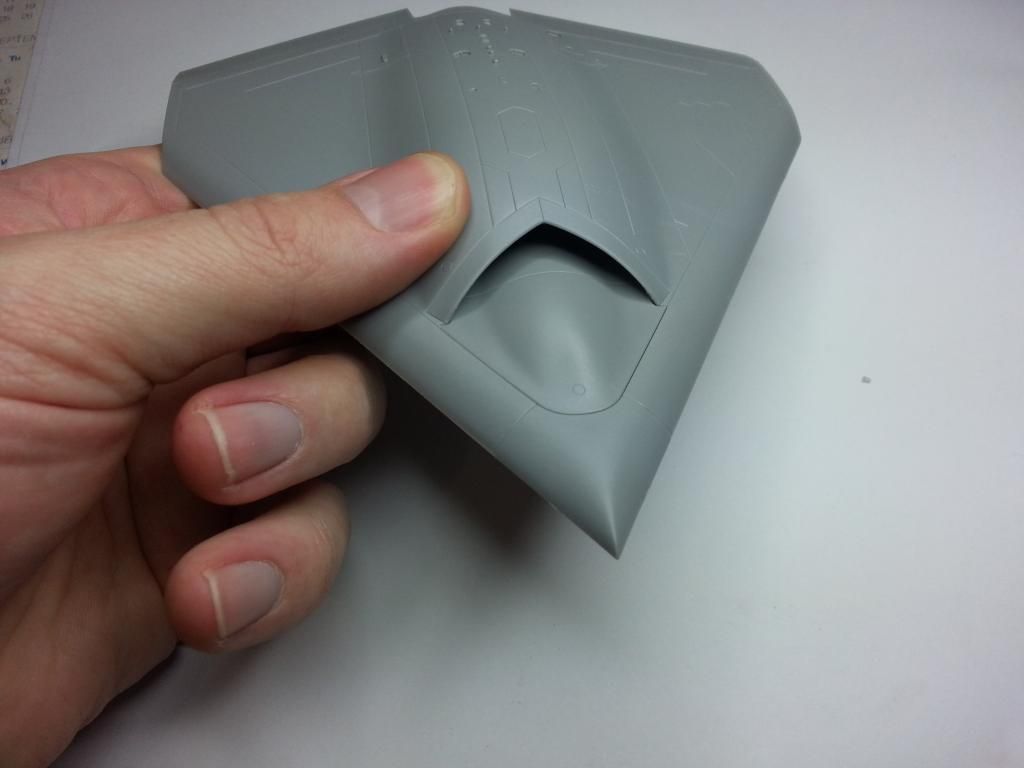
Bloody lovely!!
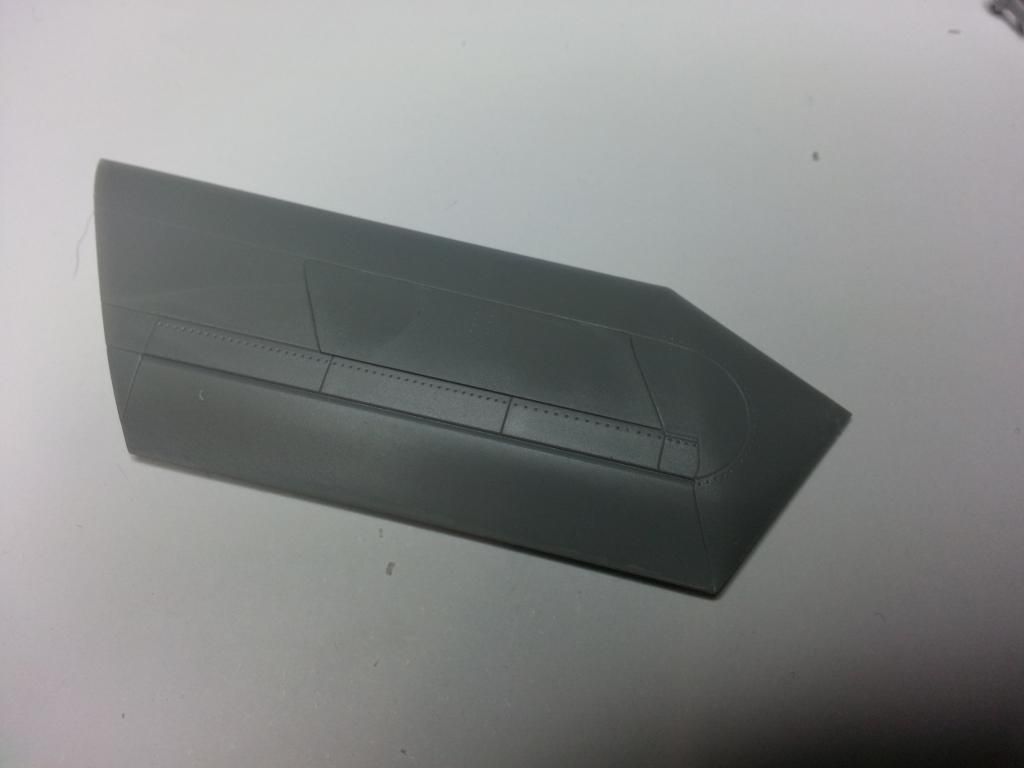
Next up was to get the wings together. The wing halves glued together with no problems at all, and after the glue sets, a gentle rub with some sandpaper removed any trace of a join line. This kit gives you the option to have the spoilers in the deployed position, however, as I am doing with the weapons bay, I elected to close these up. The fit, as you can see, is superb!
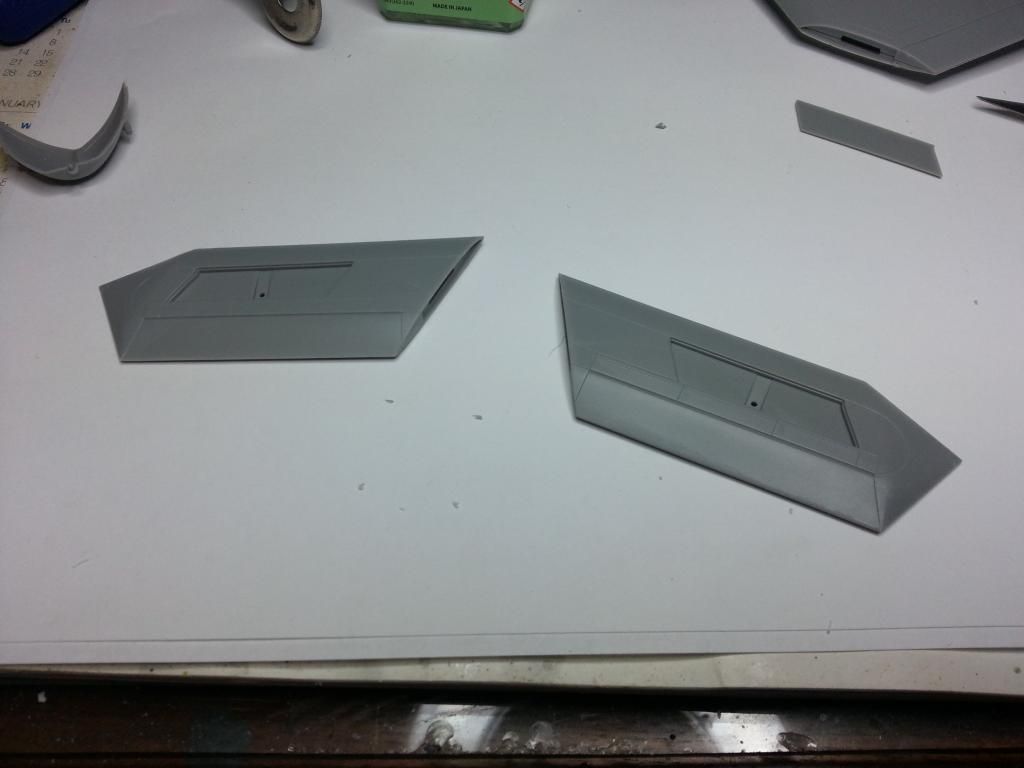
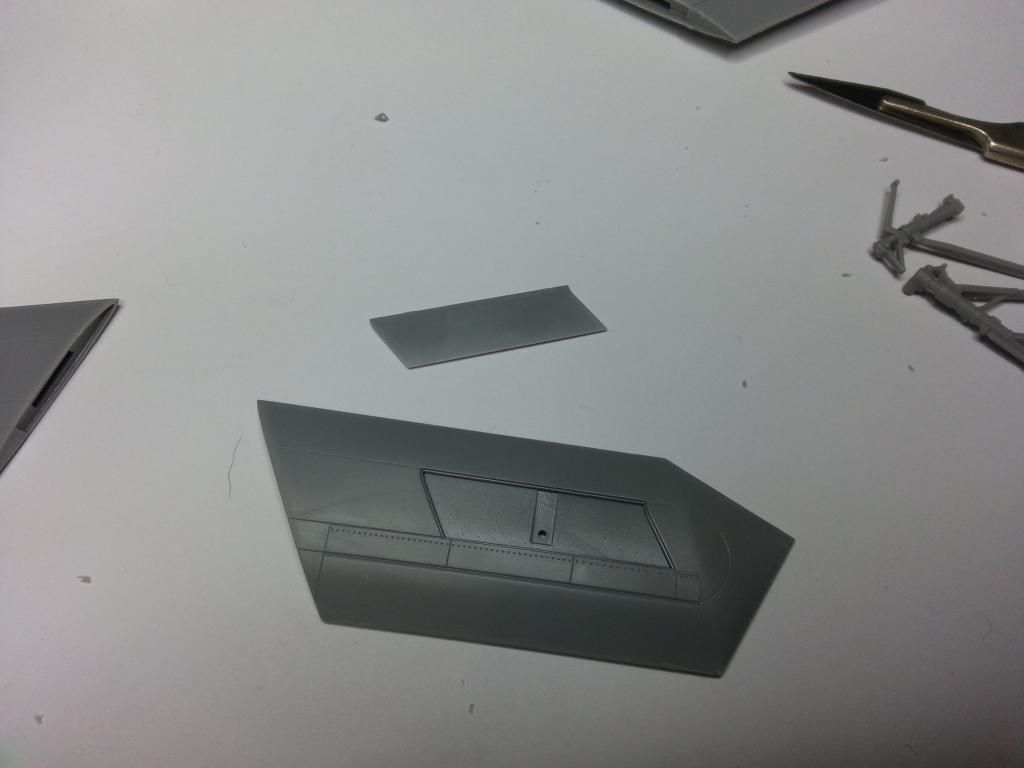
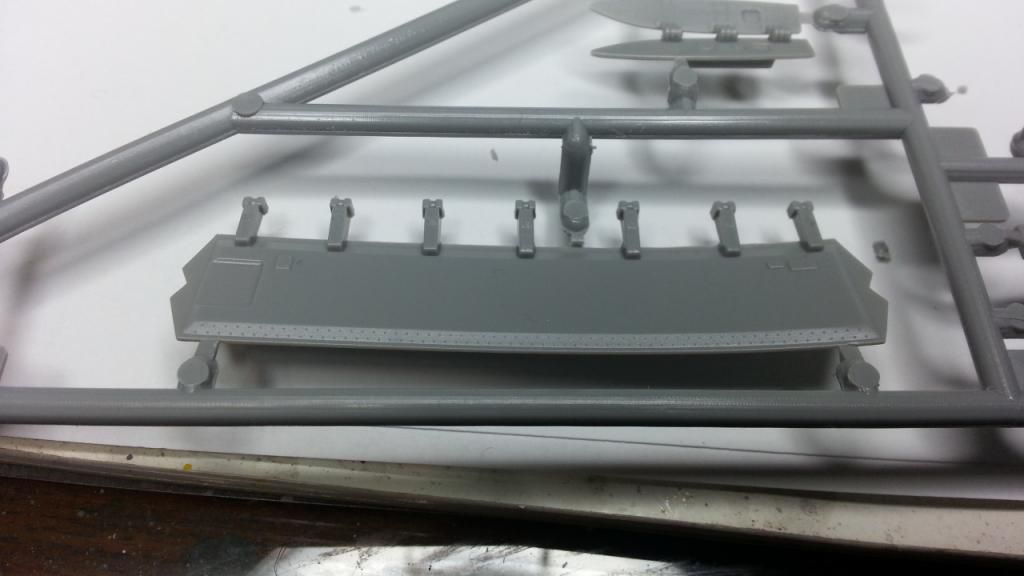
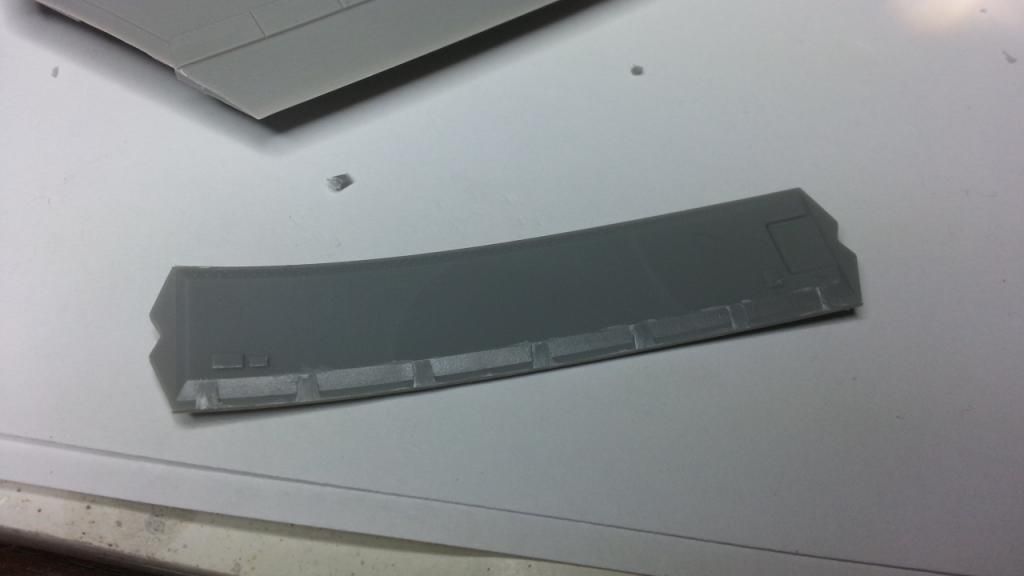
Next cab off the rank was the weapons bay doors. As the destructions don’t actually give you the option to close the doors, I was a little apprehensive as to how the fit would go, especially with those saw-tooth leading and trailing edges. I still break out in a cold sweat, years later, at the mere thought of the horror and monstrosity that was the Italeri 1/48 F-22. Those doors ain’t made to be shut, baby!!
Well, it appears my fears were ill-founded. The fit was, once again, superb. After cutting off the sprue, I trimmed away the door hinges and tidied it up ready for installation. Yet again, the fit was…… all together now… SUPERB!
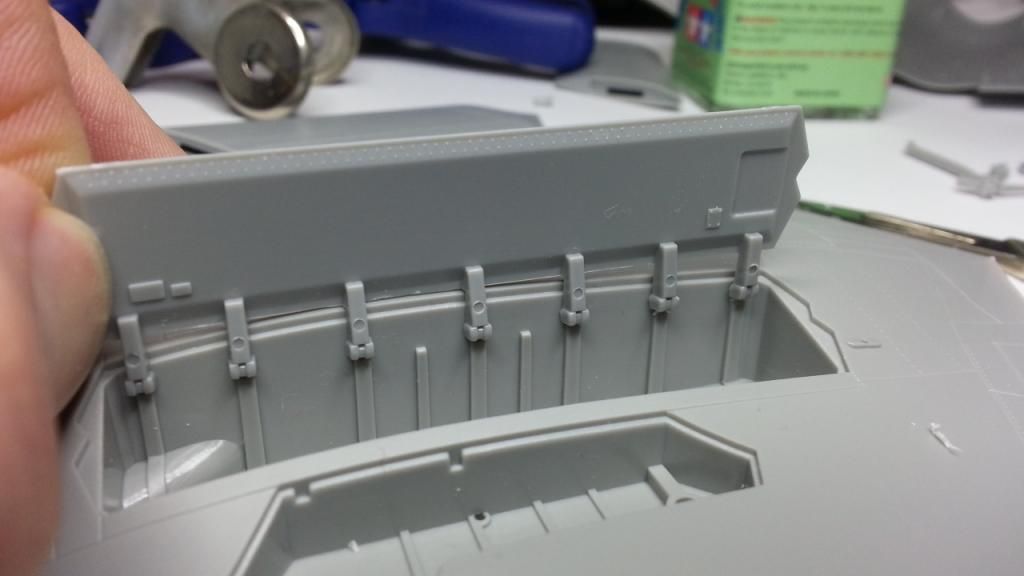
I have also included a pic of what the door will look like in the open position. As you can see there doesn’t look like there will be any issues if you wanted to go down this route.
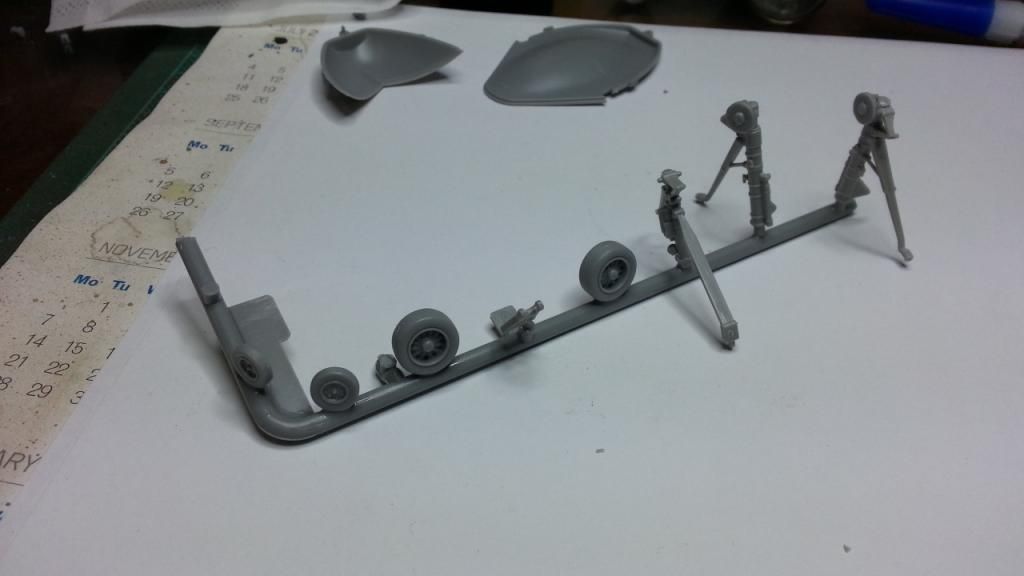
For the next step I cleaned up all the smaller parts like landing gear, in preparation for painting. I usually superglue all my landing gear stuff on a piece of sprue to aide in painting and weathering. The superglue is easy enough to break off when it is time for installation and it means I am not having to handle the individual components until that time.
For the gear doors, I leave them attached to the sprue, but only at the hinge location, trimming away any other sprue to aid with painting. There were also a few little lumps and bumps I attached to the fuselage before painting.
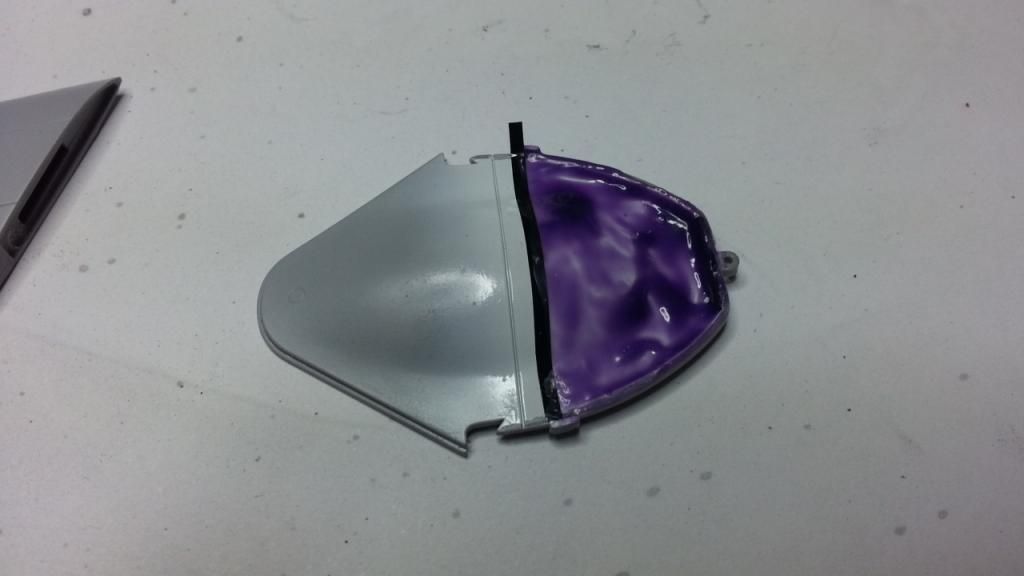
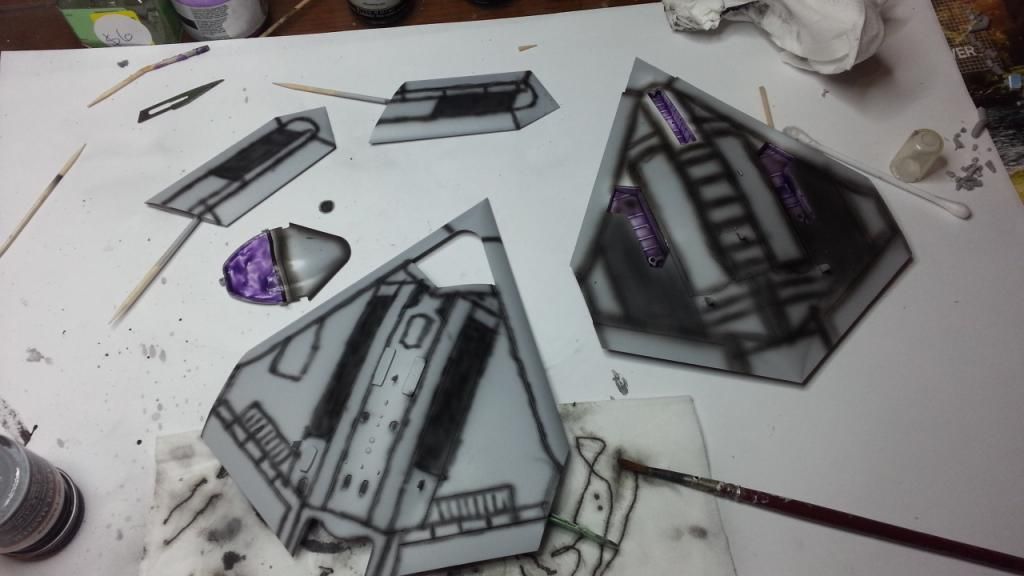
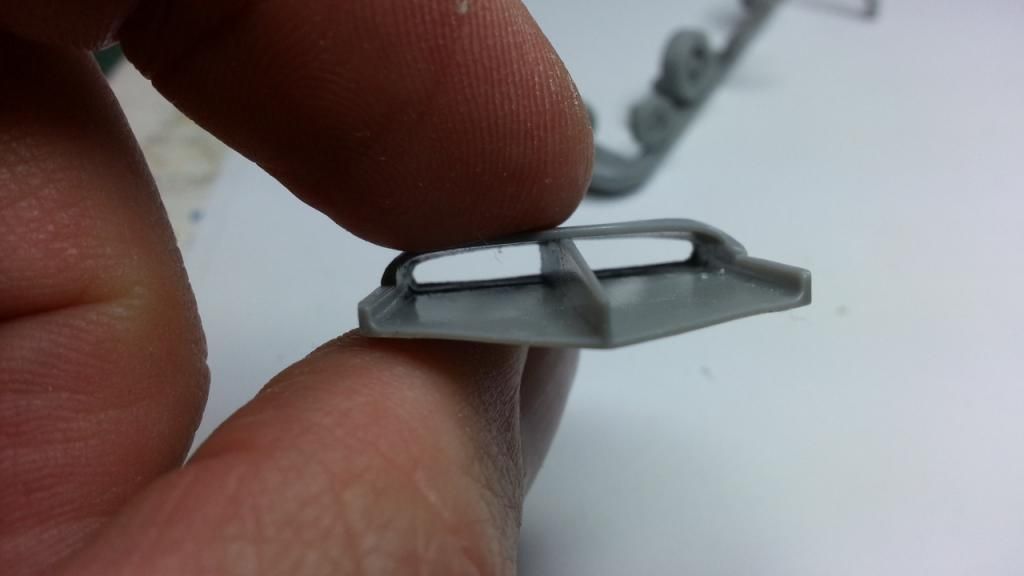
The exhaust is quite shallow and I wanted to show an illusion of depth, This would be too hard to paint evenly, so I decided to sand away the rear face of the exhaust, and replace it after the exhaust is painted with plastic card painted black. This will give some depth to it and a nice sharp demarcation. This can all be done at the end, as the exhaust slides neatly into position once the fuselage is closed up.
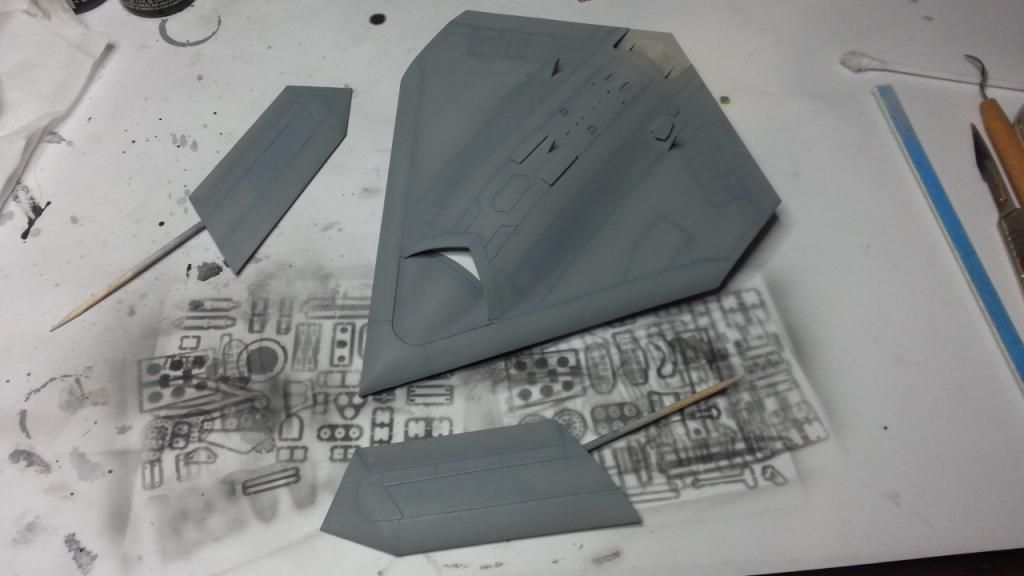
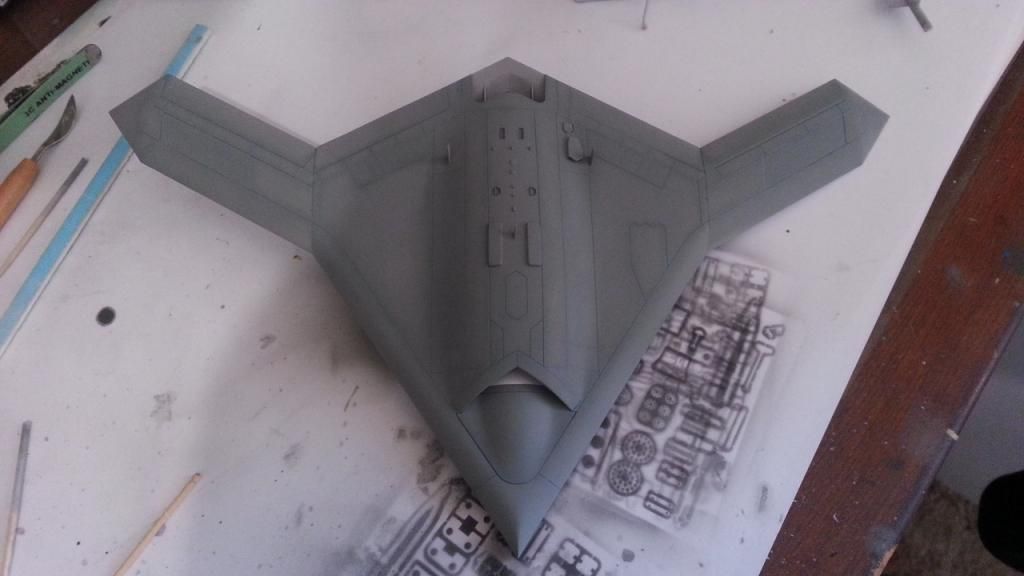
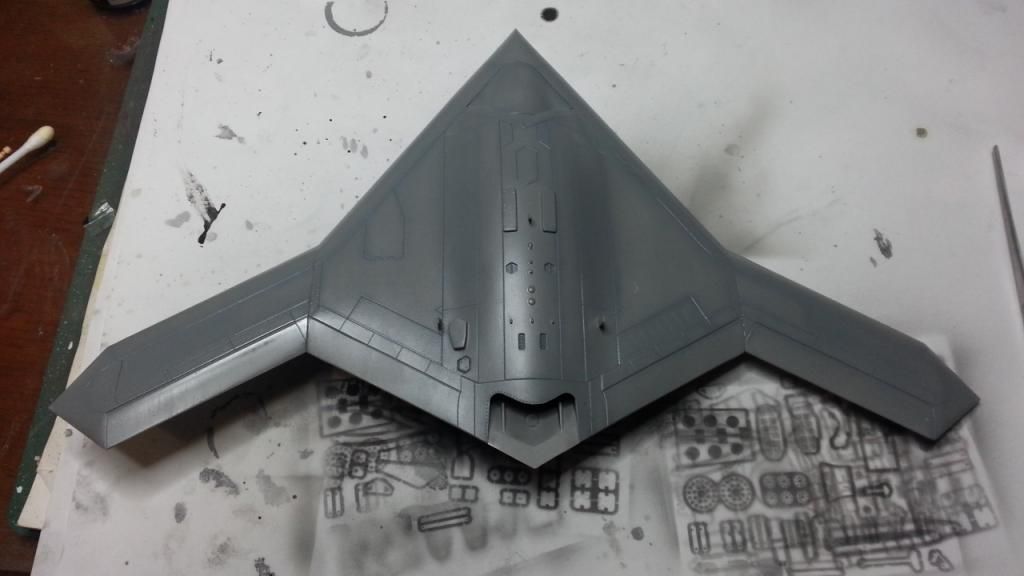
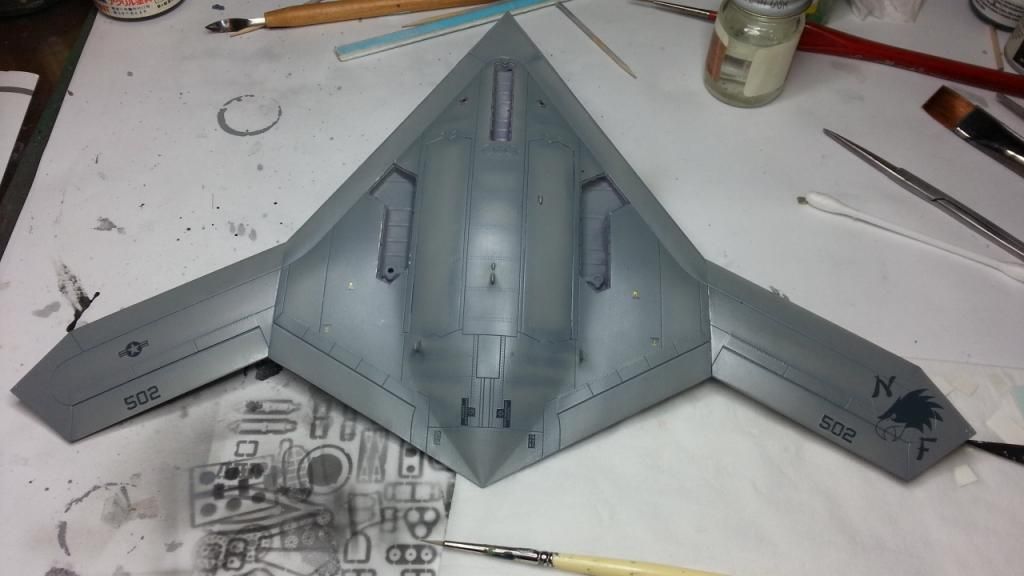
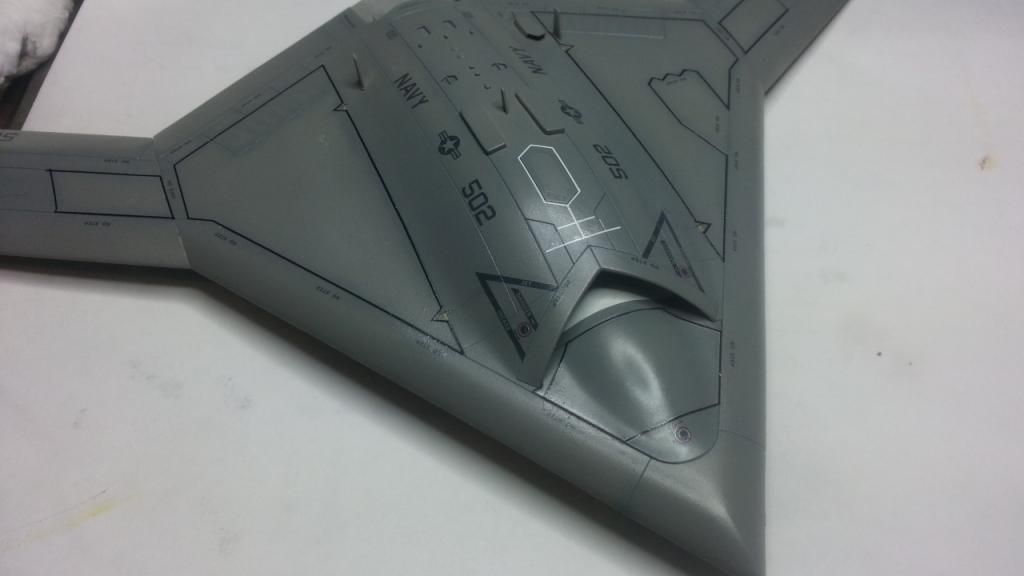
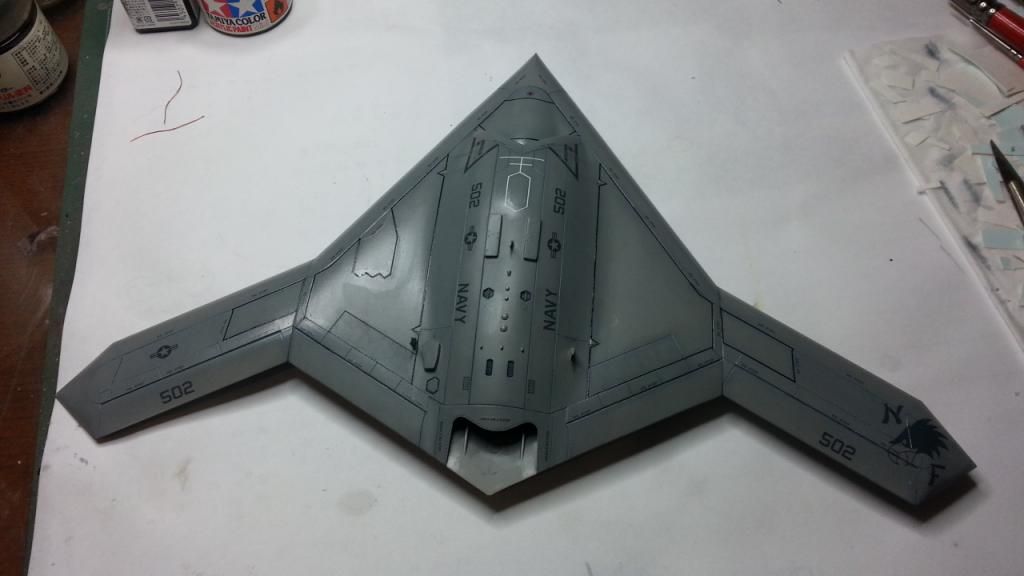
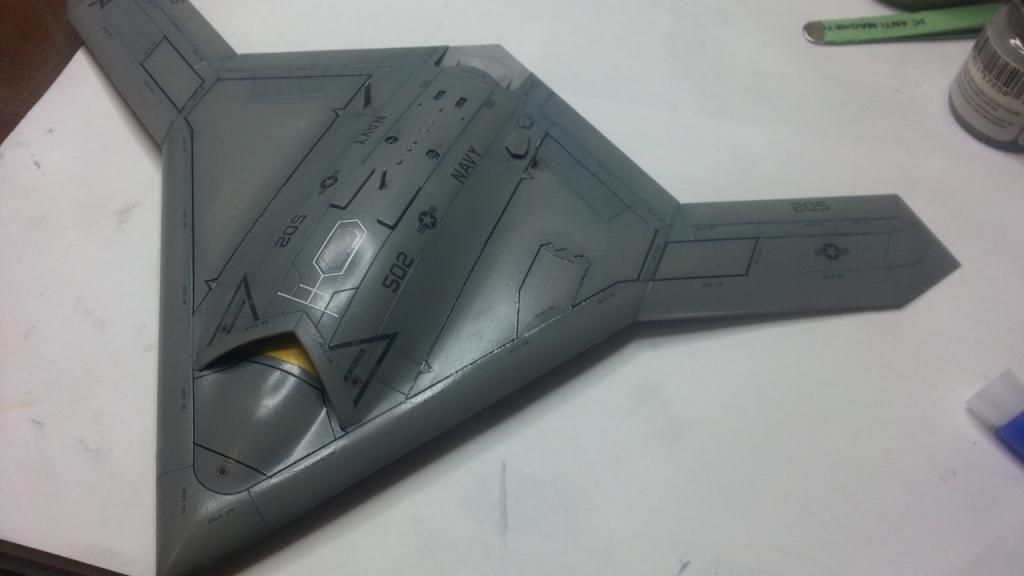
And finally, primer time! First time I think I have ever started painting on the second evening!
This is also the first time I have used Tamiya Fine Surface Primer, gotta say it definitely won’t be the last! This stuff is fantastic, sprays on nice and smooth straight from the can, and doesn’t fill up panel lines with gluggy paint! If you haven’t tried it yet, I highly recommend it!
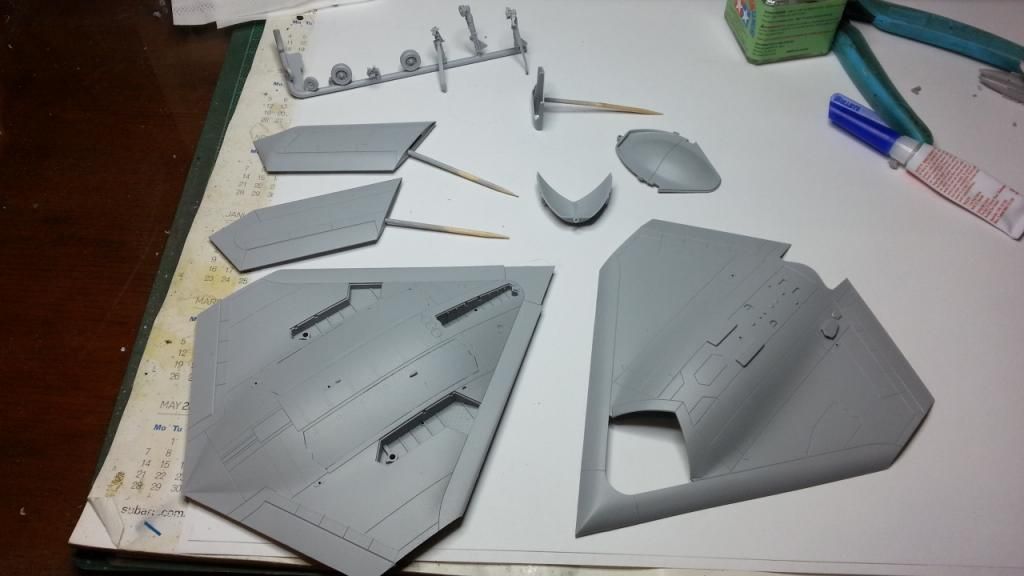
OK folks, well that’s where we are at right now. Will try and get some white down in the next week or two, but I want to stay on top of my Mustang build, so I will probably jump back and forth between the two. Ennyweigh, stay tuned for more UAV fun!
Cheers,
Sam
Well, even though I've started my 1/32 P-51D across in the WWII props build, I couldn't help myself!!

I was having a fondle with this kit, and the fit was just superb. With no cockpit, virtually the whole thing was dry fitted together in an evening, so I thought what the hey! Let's build this sucker!!

So first up, the uninitiated among you may be asking "What the heck is a yoo ay vee?". Well good folks, a UAV is an Unmanned Aerial Vehicle. As the name implies, these babies ain't got no dude on board! Having said that, a lot of them, such as the Predator and Reaper (made famous by the conflict in the Stan) are, for the most part, still fully controlled by a human pilot, he just doesn't sit in the aircraft. Imagine if you will, a radio controlled plane like you see down the local park, just on a much more grand (and expensive!) scale.
Others, such as the rather large Global Hawk and this little chicken, are semi and, more often than not fully autonomous. Just recently, the X-47 completed carrier handling trials, where it achieved FULLY AUTONOMOUS take off and landing on a carrier. For those of you aware of the insanely difficult task of getting a large chunk of high speed metal to trap safely on a relatively small, moving, pitching piece of metal in the middle of some God-forsaken ocean, I will give you a moment for the importance of this not insubstantial moment in aviation history to sink in......

For those of you who are not aware, trust me. It's a big deal!


As you may have guessed, I'm a bit of a fan of this wee beastie, so to get this in kit form I was a bit chuffed! So 'nuff with the guff, lets get on with the good stuff!!
For those of you unaware, this is what the ol' girl looks like...

Here's a few sprue shots...


So, on with assembly. First thing I did is to trim off the upper and lower fuselage and clean them up.


As you can see, the detail is very fine, while the undercarriage and weapons bays are fairly simplified. Not too fussed. Want to get this built up pretty quick, and I will be buttoning up the weapons bays anyway.
Next was to trim off and clean up the two intake halves (top and bottom), and give the intake a quick test fit.


Bloody lovely!!
Next up was to get the wings together. The wing halves glued together with no problems at all, and after the glue sets, a gentle rub with some sandpaper removed any trace of a join line. This kit gives you the option to have the spoilers in the deployed position, however, as I am doing with the weapons bay, I elected to close these up. The fit, as you can see, is superb!


Next cab off the rank was the weapons bay doors. As the destructions don’t actually give you the option to close the doors, I was a little apprehensive as to how the fit would go, especially with those saw-tooth leading and trailing edges. I still break out in a cold sweat, years later, at the mere thought of the horror and monstrosity that was the Italeri 1/48 F-22. Those doors ain’t made to be shut, baby!!
Well, it appears my fears were ill-founded. The fit was, once again, superb. After cutting off the sprue, I trimmed away the door hinges and tidied it up ready for installation. Yet again, the fit was…… all together now… SUPERB!
I have also included a pic of what the door will look like in the open position. As you can see there doesn’t look like there will be any issues if you wanted to go down this route.


For the next step I cleaned up all the smaller parts like landing gear, in preparation for painting. I usually superglue all my landing gear stuff on a piece of sprue to aide in painting and weathering. The superglue is easy enough to break off when it is time for installation and it means I am not having to handle the individual components until that time.
For the gear doors, I leave them attached to the sprue, but only at the hinge location, trimming away any other sprue to aid with painting. There were also a few little lumps and bumps I attached to the fuselage before painting.


The exhaust is quite shallow and I wanted to show an illusion of depth, This would be too hard to paint evenly, so I decided to sand away the rear face of the exhaust, and replace it after the exhaust is painted with plastic card painted black. This will give some depth to it and a nice sharp demarcation. This can all be done at the end, as the exhaust slides neatly into position once the fuselage is closed up.


And finally, primer time! First time I think I have ever started painting on the second evening!

This is also the first time I have used Tamiya Fine Surface Primer, gotta say it definitely won’t be the last! This stuff is fantastic, sprays on nice and smooth straight from the can, and doesn’t fill up panel lines with gluggy paint! If you haven’t tried it yet, I highly recommend it!

OK folks, well that’s where we are at right now. Will try and get some white down in the next week or two, but I want to stay on top of my Mustang build, so I will probably jump back and forth between the two. Ennyweigh, stay tuned for more UAV fun!
Cheers,
Sam


 Happy you could join the fun mate!


