kingpin141
Full Member

Member since: March 2013
Posts: 308 
|
Post by kingpin141 on Oct 16, 2014 17:42:23 GMT -5
Hello all. I've been commissioned to make a diorama for the Veterans in the Community charity. I've been given a budget of 150 quid. I feel like I'm rich. The dio will be of a Harrier at a FOB in the German woods in the cold war. First up we have the basic layout i attempted to draw on me puter. 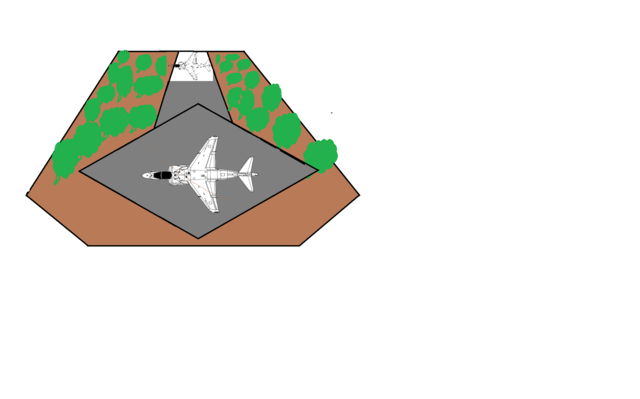 . The Harrier in the foreground is the Airfix 1/48th GR3. It will be being pushed under a cam net for maintenance. Probably by an airfix Snatch converted to a soft top 110. (1/48th Unimogs seem impossible to find). For the first time i'm going to try forced perspective so the Harrier at the back will be 1/144th scale. It will be supported by a rod coming out of the back board so it looks like its in the hover as it lands. Hasegawa's U.S. air force ground crew will be used for the figures once i've Britished them up a bit. I also have 24 trees coming ranging in height from 6 inches to 1.5 to line the edges. I'm also going to try and light the whole thing. The Landys head lights if i can. The posts that will hold up the cam netting will hopefully have LED floods lights as well. If I use a hollow rod for the second Harrier I MIGHT be able to use fibre optics for its nav and landing lights. Here is the basic layout again hand drawn to scale with the large Harrier and a WMIK standing in for the 110.  This build will be long and sporadic But it will be finished next year at some point. |
|
|
|
Post by Leon on Oct 16, 2014 18:52:31 GMT -5
WOW!!! Looks like a great plan for your dio KP.
|
|
|
|
Post by TRM on Oct 16, 2014 19:01:17 GMT -5
Very cool!! I can't wait to see you work through this one!! Congratulations in getting the commission!!
|
|
kingpin141
Full Member
Member since: March 2013
Posts: 308
|
Post by kingpin141 on Oct 18, 2014 7:45:08 GMT -5
Today this arrived  And it's tiny. Tinier than I thought it would be. I think i'm going to have to give up my dreams of lighting it. The wings are one solid piece with nowhere to route the fibre optics for the nav lights.  See how tent tiny it is. I've already started playing with it to mod it to a GR3. I've removed the LERX kit from the shoulders and started sanding, shaping and filling the nose. Before. 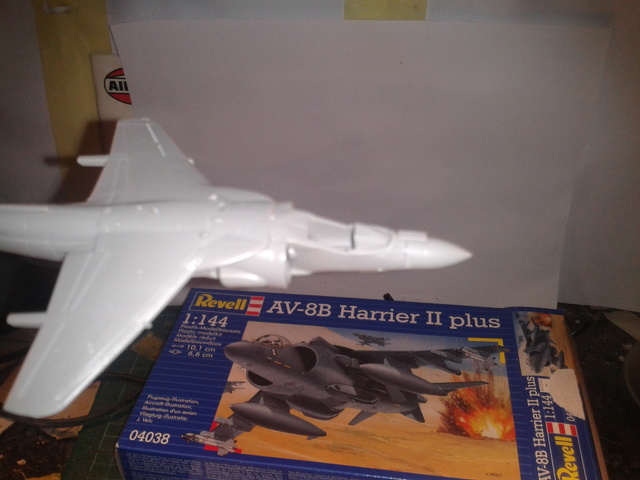 After.   I'm still debating on how to open the intake door thingies. I'm at all confident that I can cut them out without buggering everything up so plan B is to paint them matt black. |
|
kingpin141
Full Member
Member since: March 2013
Posts: 308
|
Post by kingpin141 on Oct 18, 2014 7:46:34 GMT -5
 forgot to add this one |
|
|
|
Post by dupes on Oct 18, 2014 10:18:24 GMT -5
1/144 is just a biiiit too small for me when it comes to building fighters...but it sure helps to make the size of your dios more manageable!
|
|
|
|
Post by deafpanzer on Oct 19, 2014 21:20:55 GMT -5
Sorry I am late but please count me in... it is going to be fun!
|
|
kingpin141
Full Member
Member since: March 2013
Posts: 308
|
Post by kingpin141 on Oct 20, 2014 16:20:57 GMT -5
Evenin all. Unfortunately I've no pics to post. I did have pics but for some reason me comp wipes them off when i connect them. I routed fibre optic strands in the wings for the nav lights but told hold them in place i had to use superglue as nothing else i have held them in place. I milliputed over them, smooth it all out and left it all to dry. In the meantime i made a teeny tiny milliput man for the cockpit, painted him, fitted the cockpit and glued the fuselage halves together. Then to put the wing assembly on. At which point both fibre optic strands snapped at the point where they leave to inner wing. Damn and blast. No nav lights then.
On a happier note the ground crew figures have arrived and I'm waiting for the arrival of the Heritage Aviation cockpit update set and the Aries photo etch for the big Harrier. Hopefully soon I'll be able to get some pics up.
|
|
kingpin141
Full Member
Member since: March 2013
Posts: 308
|
Post by kingpin141 on Oct 21, 2014 17:28:29 GMT -5
Yay i've managed to actually get some pics on here. Spotty dog. First up the milliput man.  . These are the figures I'll be using. I'm going to paint one in standard DPM and see how he looks. Then decide if I need to turn their shirt into smocks or if they'll look ok as is. 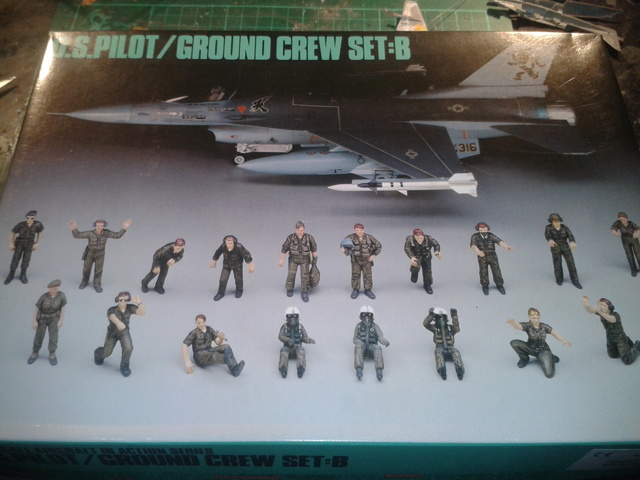 Next up is the 1/144th Harrier after its first coat of colour.  Then I had a proper look at the 1/48th Harrier. Lots of work on it. Where the wings join the fuselage it doesn't line up anywhere. 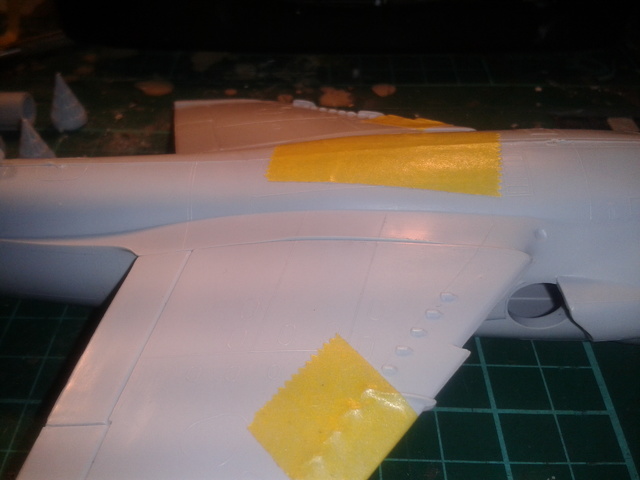 I'm not looking forward to sorting that out. The quality of the rocket pods is bloody awful. It looks like glue has been smeared over them. Airfix- you need some new molds. 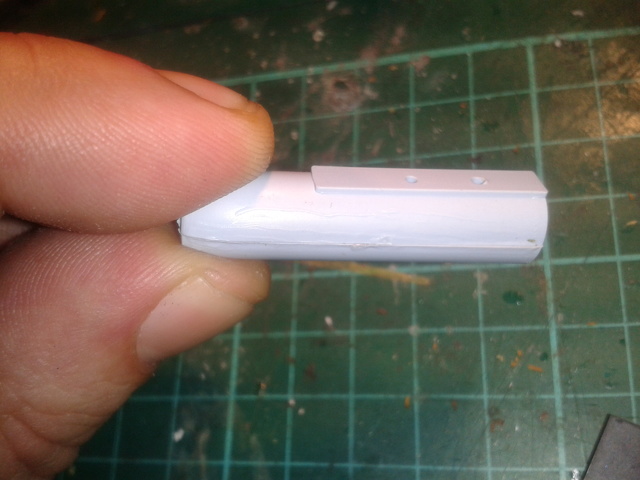 I've been tweaking the basic layout. Not a huge amount of changes. I've moved the hide slightly so that the cockpit's front and centre to show off the resin and added what I hope will be a gravel track type thing. 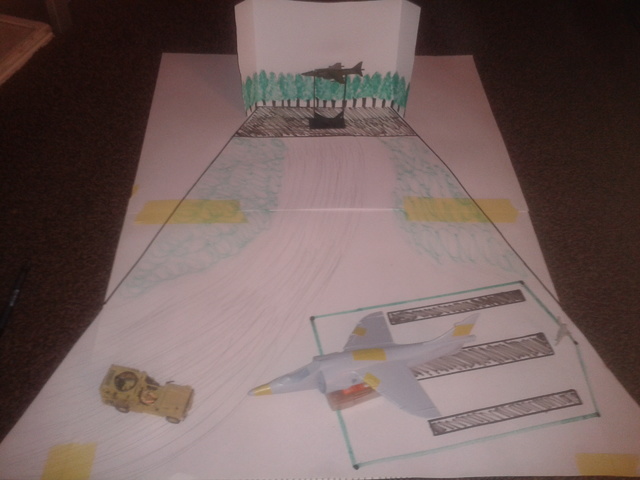 My assistant Bob decided to help at this point. This is his reaction to me politely asking him to move. 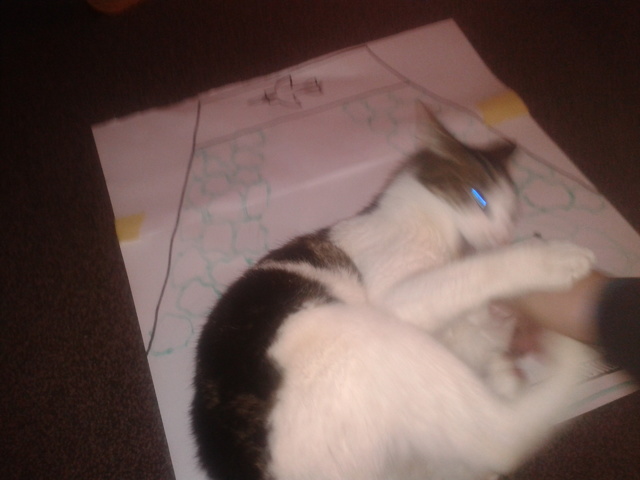 And finally a ground level pic. 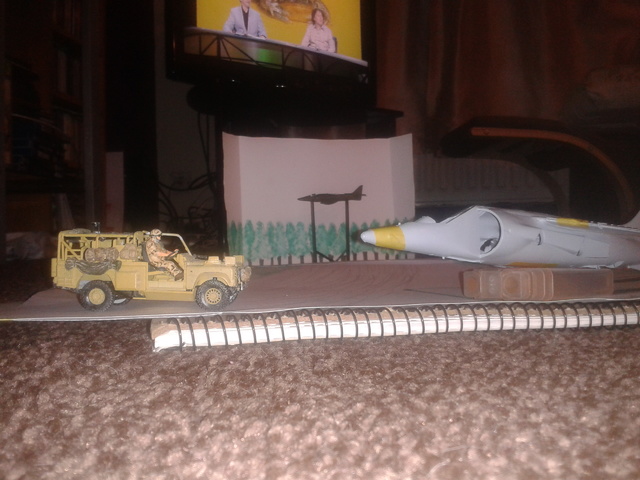 |
|
kingpin141
Full Member
Member since: March 2013
Posts: 308
|
Post by kingpin141 on Oct 23, 2014 15:51:38 GMT -5
|
|
kingpin141
Full Member
Member since: March 2013
Posts: 308
|
Post by kingpin141 on Oct 24, 2014 16:51:41 GMT -5
Happy with tonights work. The heat shields looked a tad bland. I used some really thin plasticard (slightly thinner than paper) and made copies.  Then how to do the ridges? I ended up taping four Really thin cuts of plasticard and taped them down like so.  Then i lay the new shield on it and taped it down.  I used one of me wax sculpting tools and gently pushed the plasticard down between the strips. And finished up with this effect. 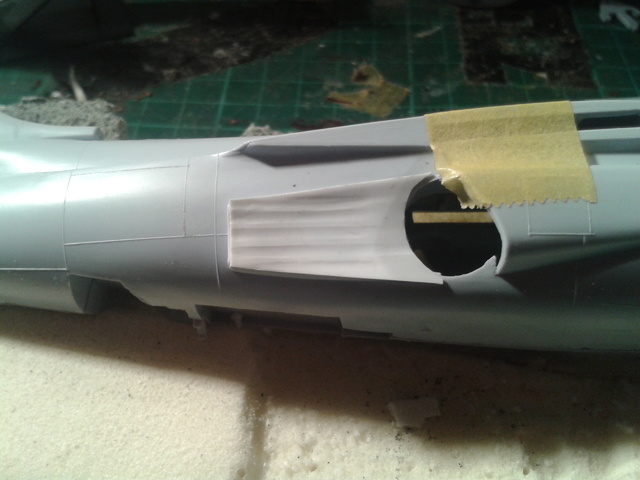  I love it when a plan comes together. |
|
|
|
Post by Leon on Oct 24, 2014 17:02:35 GMT -5
Nice scratch work KP! Looking good so far.
|
|
|
|
Post by deafpanzer on Oct 24, 2014 22:58:42 GMT -5
Nice work on the pit... wish all of my plans fall together! LOL
|
|
kingpin141
Full Member
Member since: March 2013
Posts: 308
|
Post by kingpin141 on Oct 25, 2014 15:38:48 GMT -5
Today I have learnt....... That I quite enjoy scribing. Which came as a surprise. It's far from perfect but wayyyyyyy better than I was expecting. I did the wings first as they're nearly all straight lines. The best scriber I've got is for wax sculpting so the lines are slightly canyon like. A quick once over with the wet and dry and it looks loads better than the raised panel lines. As for doing the round thingies etc. They'll have to wait until either I get a scribing stencil or leave them.    The cockpit update set arrived the other day. And being the genius that I am I ordered the wrong scale. Bum!!!.. It promptly sent and I got a refund the next day. Kudos to Kits for Cash. In it's place I've ordered Flight Paths' modern RAF equipment and Pavla's intake and exhaust set. |
|
kingpin141
Full Member
Member since: March 2013
Posts: 308
|
Post by kingpin141 on Oct 29, 2014 15:30:14 GMT -5
First up the tiny Harrier. It's had it's camo   Next up terror in a tiny packet. The Flightpath oxygen/nitrogen trolley and the RAF equipment set has arrived. The only photo etch i've used before has been added to plastic kits, never as a kit in its own right. Some of the parts are terrifyingly small. 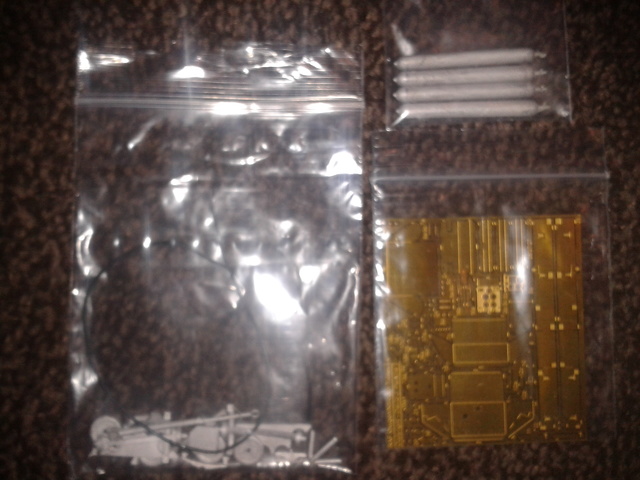 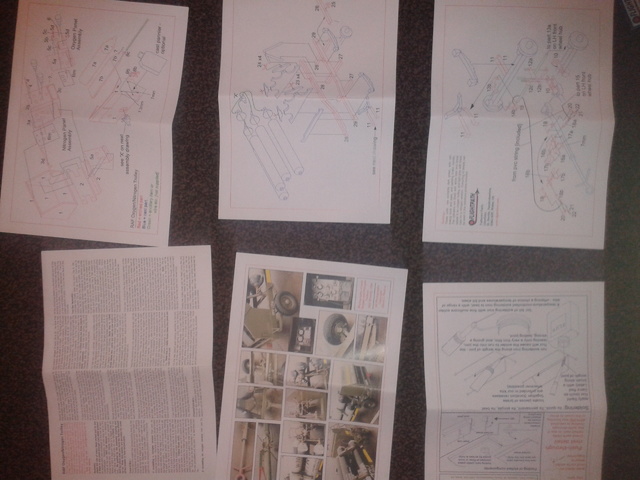 Six sides of A4 instructions per kit. Daunting is not the word.  First thing I made is the tow bars. By far the easiest thing in the bags.   I've also got the Trumpeter rivet wheel coming. I am having soooo much fun doing all this. I love it. |
|
|
|
Post by Leon on Oct 29, 2014 16:30:56 GMT -5
Making really good progress KP and glad to head your having fun doing it  .That's what the hobby is all about.  |
|
kingpin141
Full Member
Member since: March 2013
Posts: 308
|
Post by kingpin141 on Oct 30, 2014 20:13:45 GMT -5
Today the postie has been my favourite person (even if he didn't arrive till 1pm). The Pavla intake/exhaust resin set and me rivet roller. 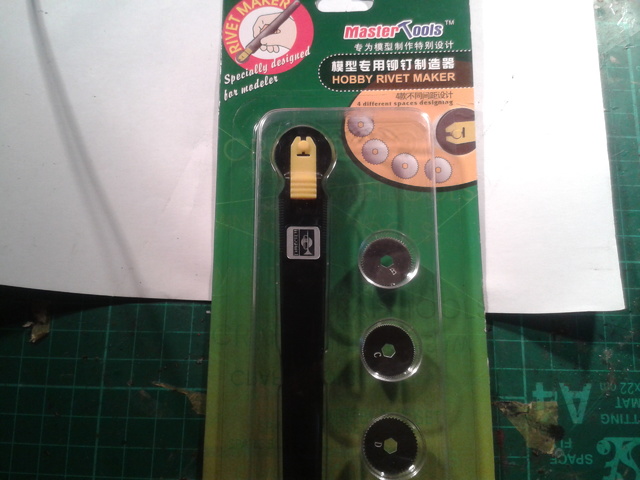 The riveter is awesome, if a little temperamental. Holding it at the right angle is key. I've a few scars that need to be sorted where the roller locked. Having said that it makes the model look so much better. I took no end of pics. Here is the one pic where you can actually see the effects. 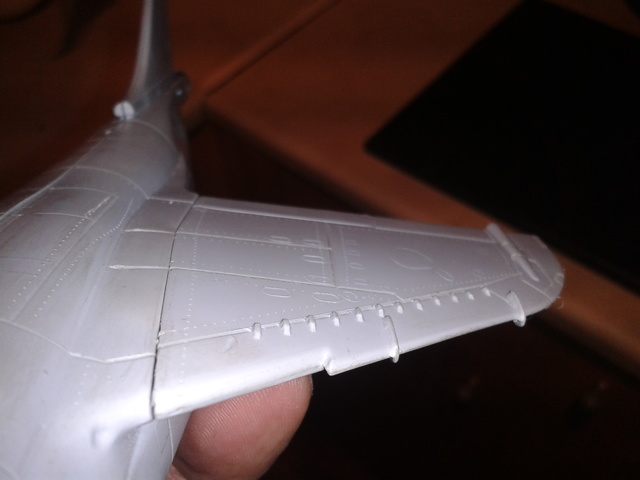 . You can also see where I went a little off course. Not sure what to do with those bits yet. This is the resin set next to the original parts. The difference in quality is instantly obvious. 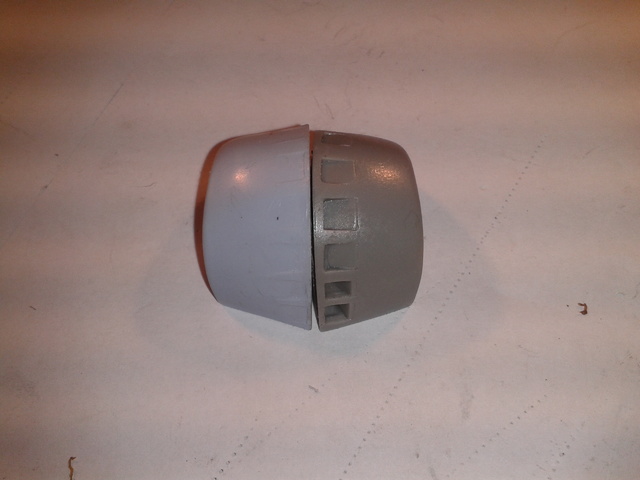  |
|
|
|
Post by deafpanzer on Oct 31, 2014 14:09:54 GMT -5
You are making great process... that tool looks like something I need!  |
|
kingpin141
Full Member
Member since: March 2013
Posts: 308
|
Post by kingpin141 on Oct 31, 2014 14:46:19 GMT -5
You are making great process... that tool looks like something I need! It was 5 quid from the Scale Model Shop. And worth every penny |
|
|
|
Post by TRM on Oct 31, 2014 15:01:40 GMT -5
Nice work so far KP!! Pile of shinny stiff to go!! |
|
kingpin141
Full Member
Member since: March 2013
Posts: 308
|
Post by kingpin141 on Nov 1, 2014 6:21:12 GMT -5
Looking good mate,at this rate it will be ready before chrimbo. At least you didn't say which year. |
|
kingpin141
Full Member
Member since: March 2013
Posts: 308
|
Post by kingpin141 on Nov 1, 2014 19:11:31 GMT -5
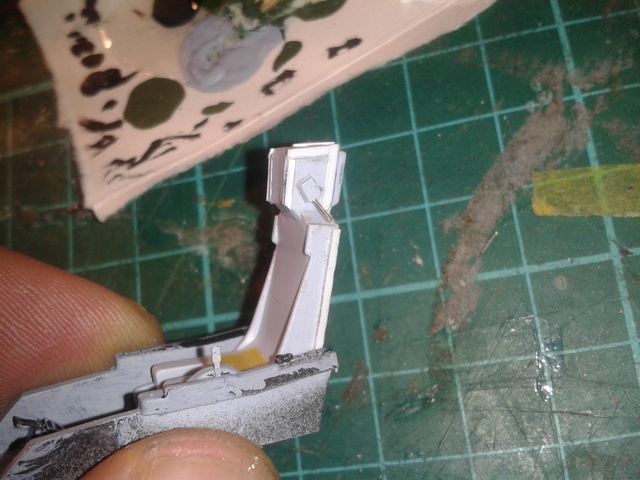
I think I've finished modding the pilot. As he's being towed I want him looking quite chilled, so one arm in his lap, the other on the canopy rail and him looking about . 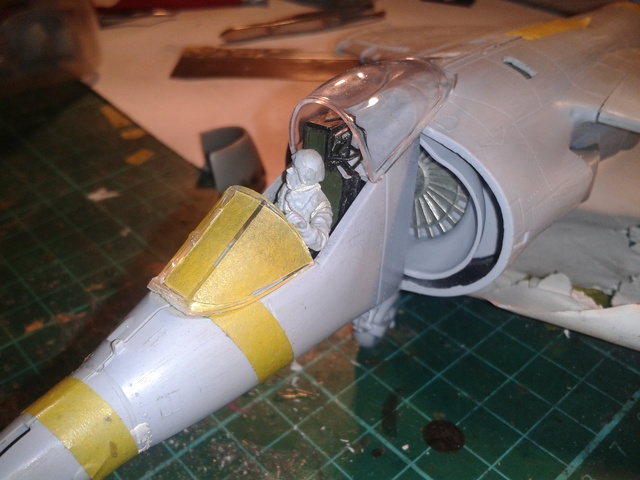 I've also started on the wedge in the intake. Still trying to get the fit just right. 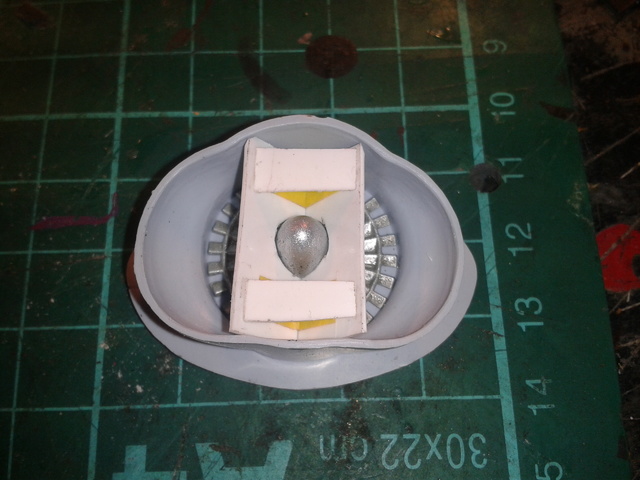  And because I couldn't resist.. 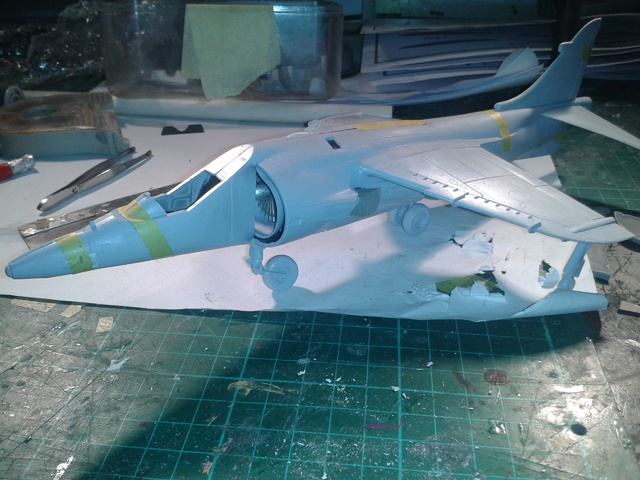 While she was stood up I cut some Redeprene into strips. Voila..perfect steel planking once it's painted. Happy wi' that. 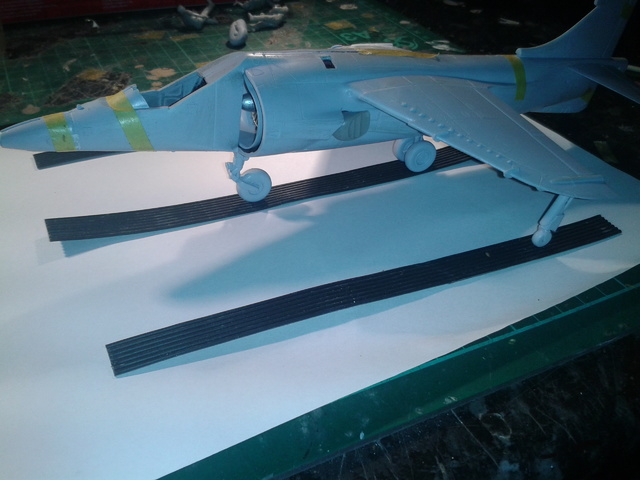  |
|
|
|
Post by deafpanzer on Nov 2, 2014 9:09:55 GMT -5
Looking good...
|
|
kingpin141
Full Member
Member since: March 2013
Posts: 308
|
Post by kingpin141 on Nov 2, 2014 19:10:11 GMT -5
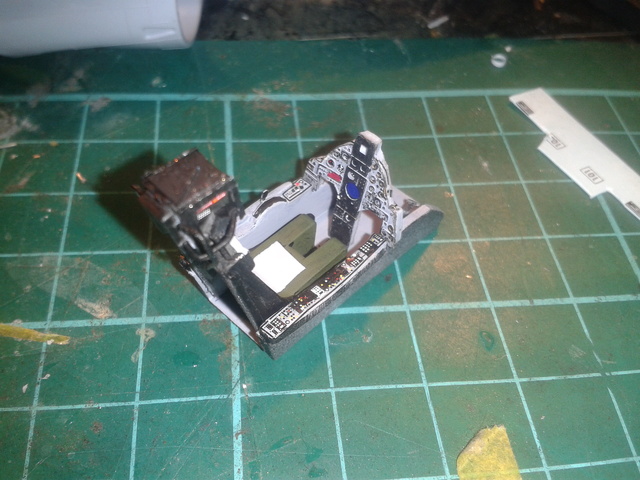
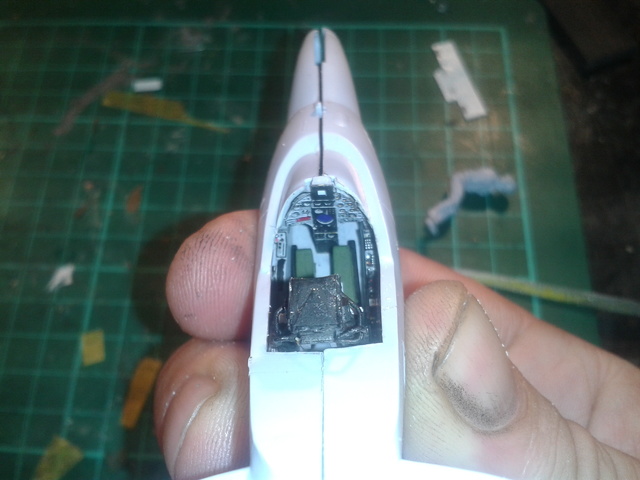
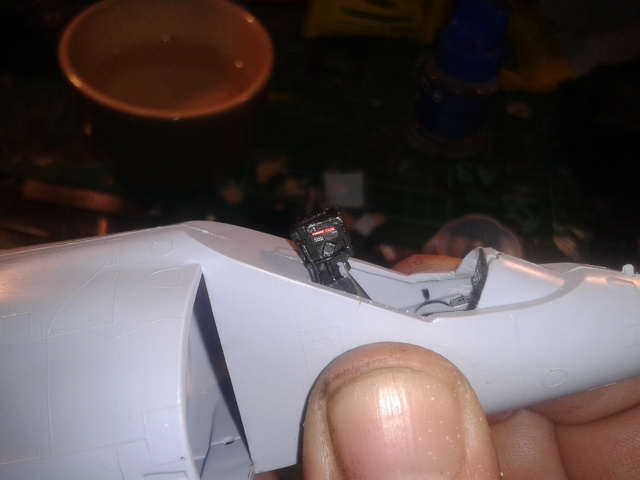
The first big milestone has been reached. The fuselage is glued. I didn't want the the backing plate of the exhausts coming loose later, as they'll be fitted once the fuselage is painted. I cut up some spare plastic piping I had lying about to make bracers.  Due to poor fit, the photoetch and my lack of talent the office doesn't sit exactly as it should. This means I had to cut the rear bulkhead in half to get it to fit. When the chairs in you can't see there anyways.  I got the fit if the intake wedge spot on, on one side anyway, almost there on the other. 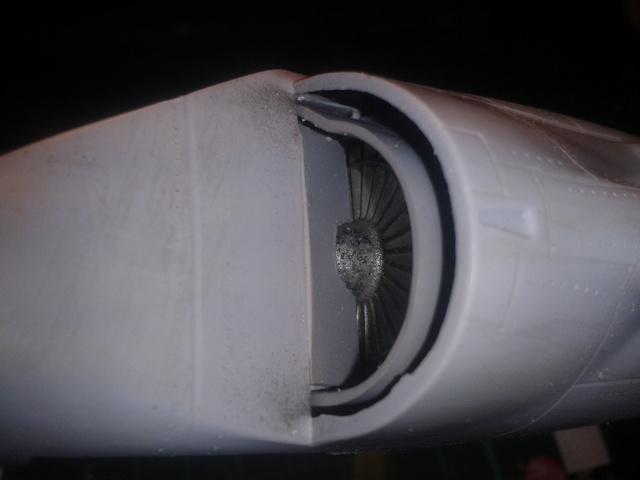 I gave one wing a light coat of primer to see how it looks.  I am chuffed. |
|
|
|
Post by Leon on Nov 2, 2014 19:52:14 GMT -5
Making good progress KP! Intakes look good.
|
|
kingpin141
Full Member
Member since: March 2013
Posts: 308
|
Post by kingpin141 on Nov 3, 2014 16:30:26 GMT -5
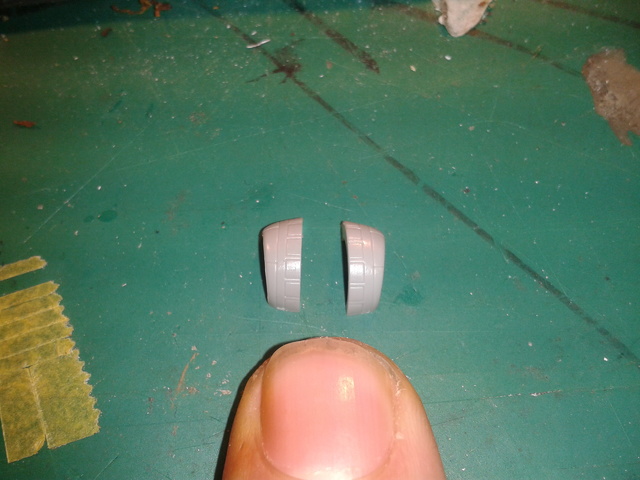
Not much to show for a lot of work. I have to say, getting the surface of armour right is much much easier than aircraft. All day just to sort the join in the fuselage.  Unfortunately I managed to catch one of the photo etch grills that was glued from the inside. Bum! The wheels.  Finally the various stages of surface prep 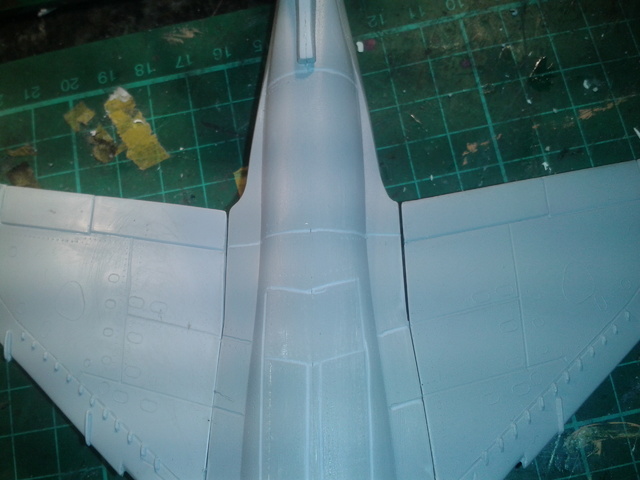 |
|
kingpin141
Full Member
Member since: March 2013
Posts: 308
|
Post by kingpin141 on Nov 4, 2014 19:24:04 GMT -5
A good evening in me shed tonight. My PE bender has arrived and been christened. First up one of the stowage bins. 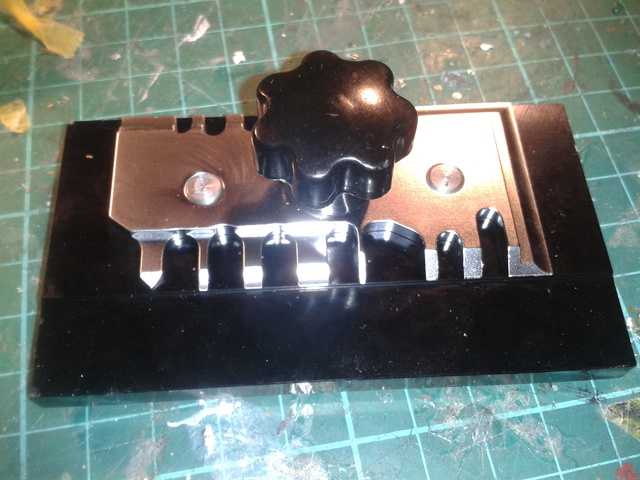   . It all went together really nicely. The other week I shopping in Aldi and saw this soldering iron. 6 quid. So I did my first soldering today.  . This is the first side I did. Needless to say this side will be hidden. 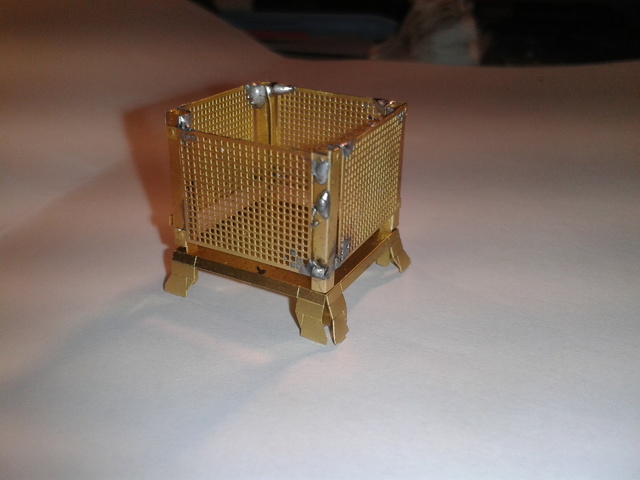 The beauty side  And finally with the feet correctly splayed  |
|
|
|
Post by Leon on Nov 4, 2014 19:32:42 GMT -5
Nice work on on the PE bin and soldering KP.
|
|
|
|
Post by deafpanzer on Nov 4, 2014 19:46:46 GMT -5
Love that PE bender... I have smaller version so yours is what I want next.
Excellent PE work there!
|
|
kingpin141
Full Member
Member since: March 2013
Posts: 308
|
Post by kingpin141 on Nov 4, 2014 19:51:58 GMT -5
Is it wrong that precision engineering excites me. Especially as it's titanium.
|
|


 .That's what the hobby is all about.
