|
|
Post by tiking on Oct 5, 2015 16:57:27 GMT -5
This build was inspired from a 3D artist drawing of a wasteland hover bike, I found on the net. The 3D drawing gave me the fuel to build something similar. But as always, I kind of like to tweak things to give it my personal design. The build is a mixture of 60% kitbashing and 40% scratch building. So here is my Wasteland hover bike, the fourth(and last. For now at least of hover crafts I have completed over period of time),: I will then jump back to renovating a truck build, I'd been planning for some time. Unfortunately, I decided to take pics of this build, whilst I was in the middle of it. So the actual beginning stages are not shown( things like me cutting the roof and chassis of the outer shell of the bike) But you can pretty much see how it was done. So the wip photos are at a minimum. So do not expect part-for-part photos of everything I used. Sorry. It will be rather quick. To get the various angle I just sparsely cut the different section plastic card into 3 sections then bend each sections carefully to get the angle I needed. I used several kits, varying from Italeri M977 to Tamiya bike kit(of course). A MAN kit part was also used in the making. Everything from small house materials to tiny kit parts with different dimensions. The parts that I could not find, I just scratch built. So, I hope you like the build. It is 95% completed. -------------------- 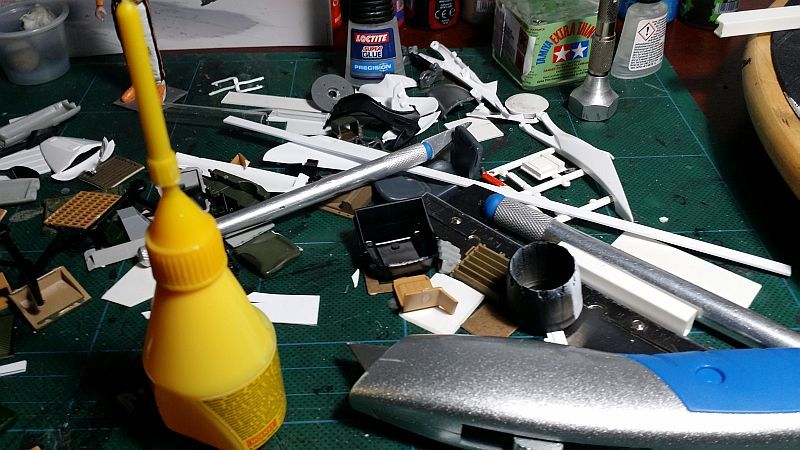 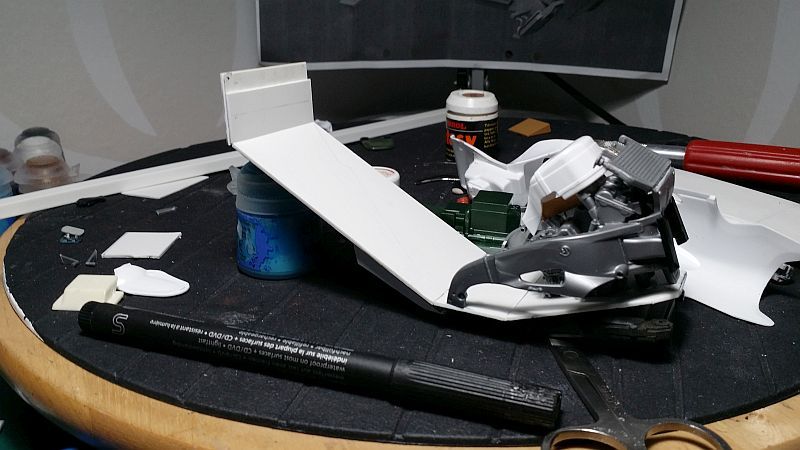 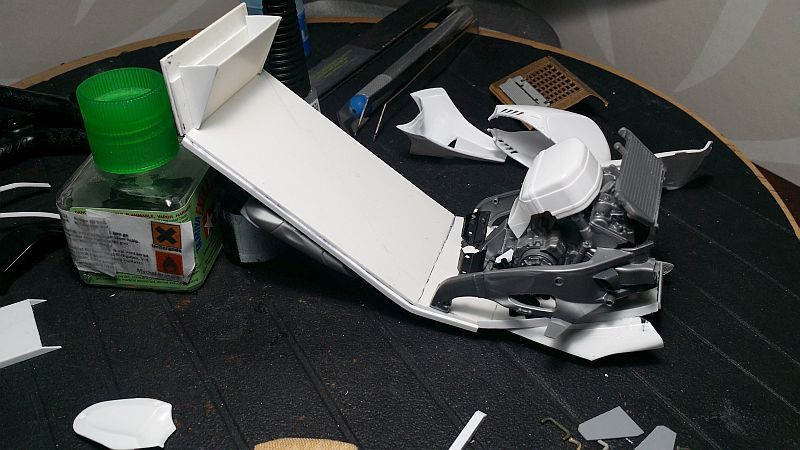 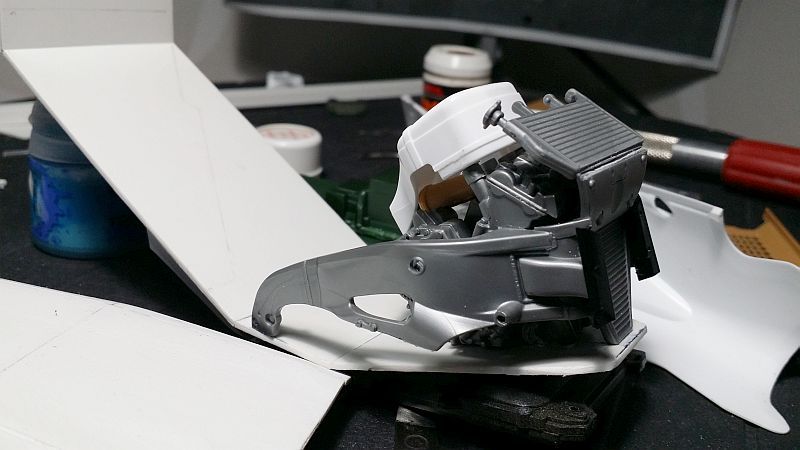 |
|
|
|
Post by tiking on Oct 5, 2015 17:13:28 GMT -5
The 3-section roof made by making incisions at two locations, in order for the roof to be angled: 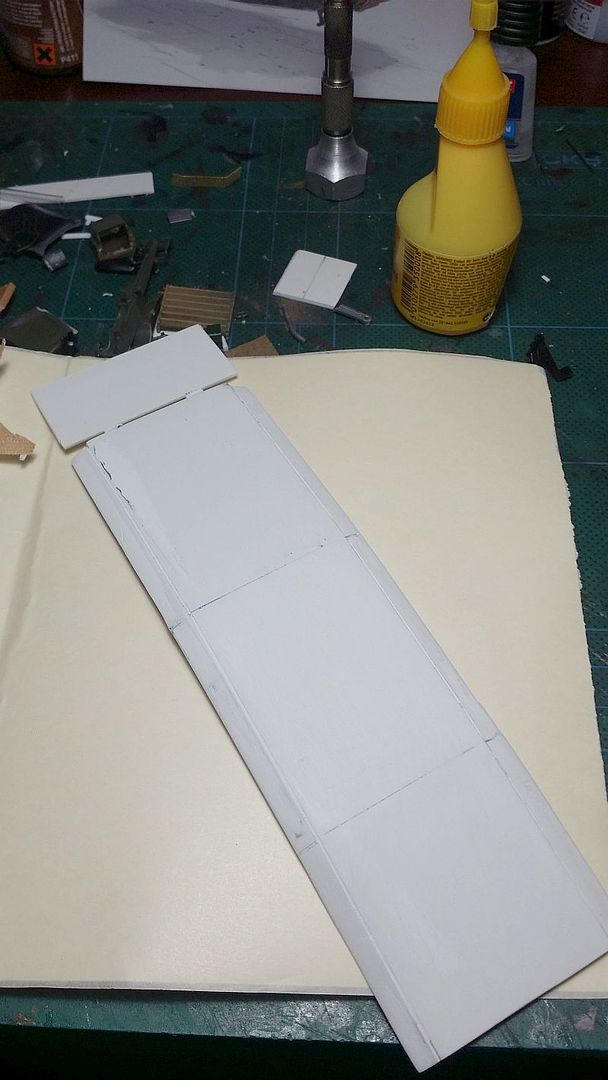 ------------------------------- 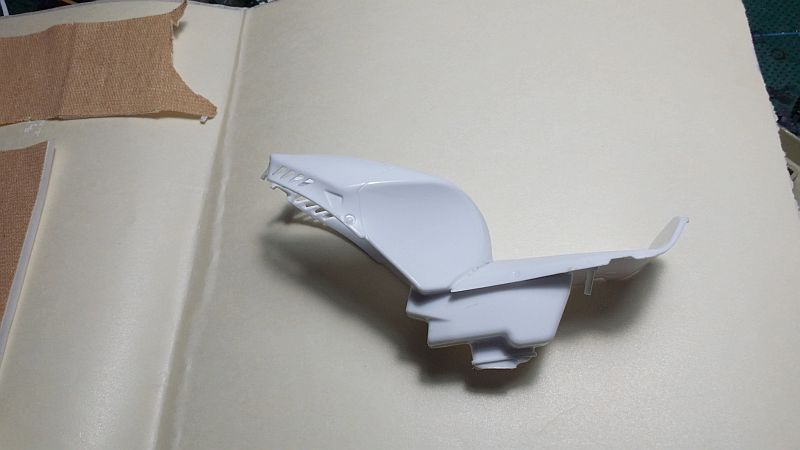 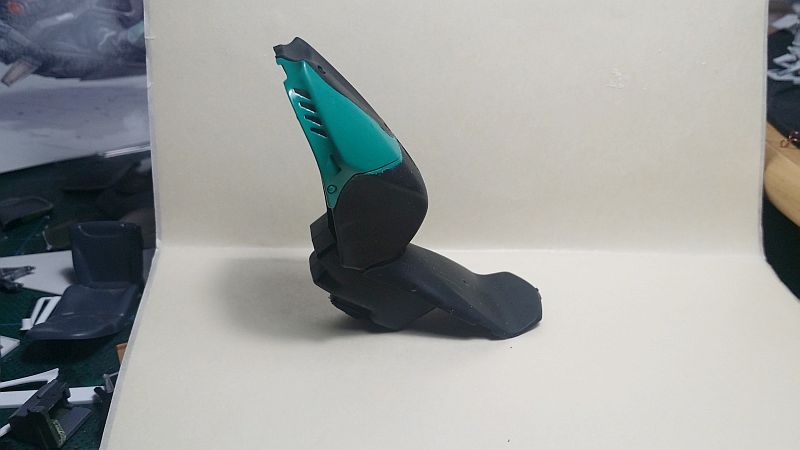 |
|
|
|
Post by tiking on Oct 5, 2015 17:16:06 GMT -5
|
|
|
|
Post by tiking on Oct 5, 2015 17:18:53 GMT -5
|
|
|
|
Post by tiking on Oct 5, 2015 17:20:04 GMT -5
Upper side Spoilers: 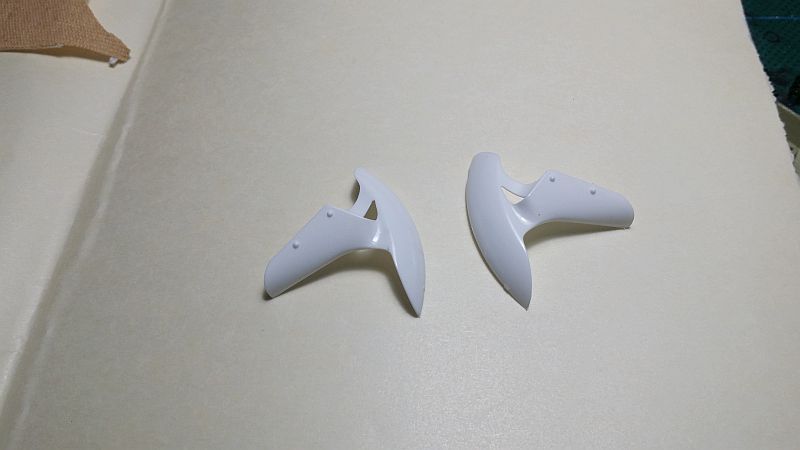 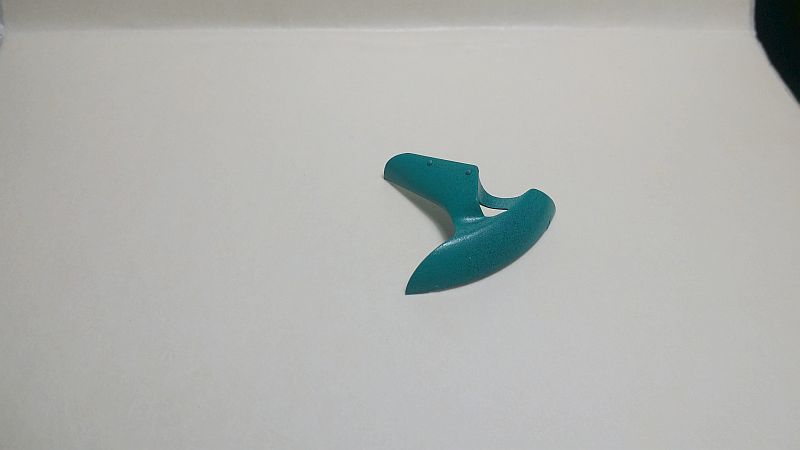 |
|
|
|
Post by tiking on Oct 5, 2015 17:21:22 GMT -5
|
|
|
|
Post by tiking on Oct 5, 2015 17:23:46 GMT -5
|
|
|
|
Post by tiking on Oct 5, 2015 17:26:53 GMT -5
The main burner stack tubes for the back: 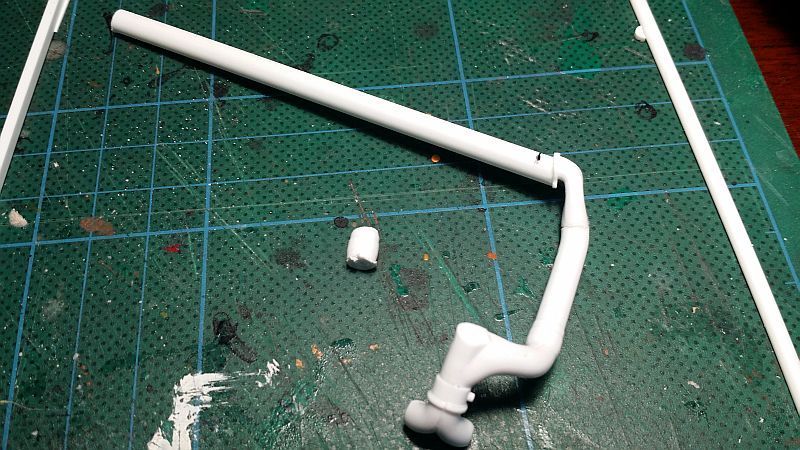 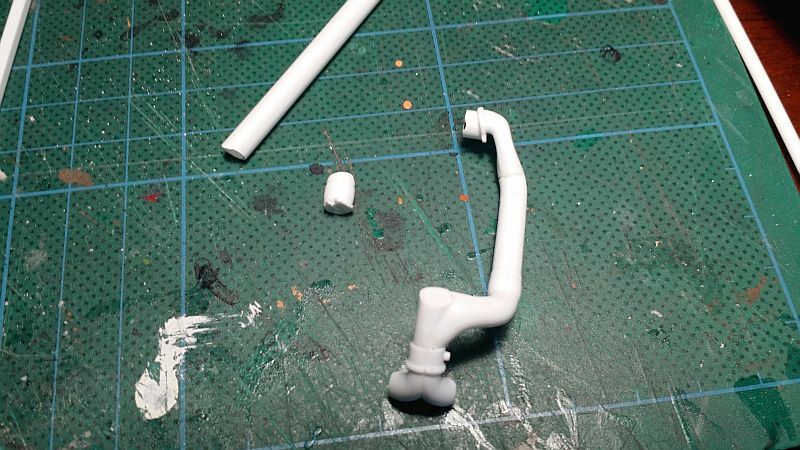 |
|
|
|
Post by tiking on Oct 5, 2015 17:27:53 GMT -5
Extra computer gadgets for the inner roof of the bike.  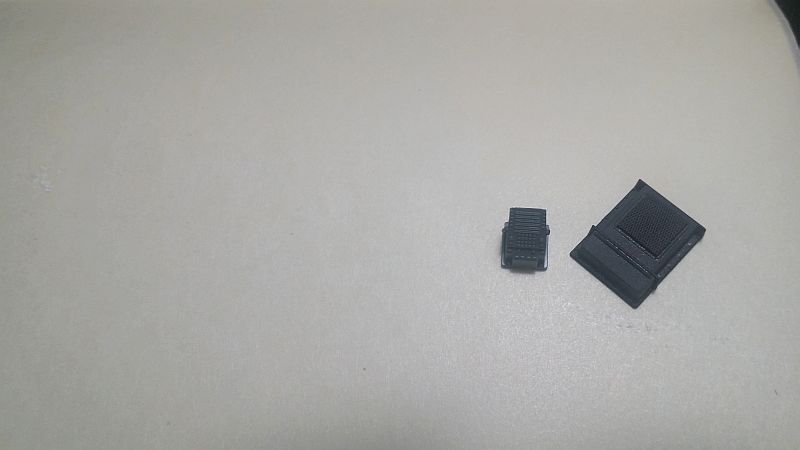 |
|
|
|
Post by tiking on Oct 5, 2015 17:35:13 GMT -5
This part is going to be the monitor, which the driver can see what is in front of him: 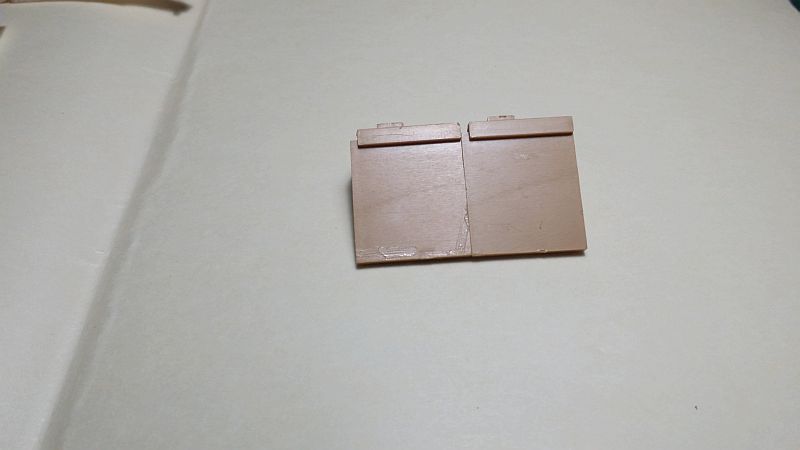 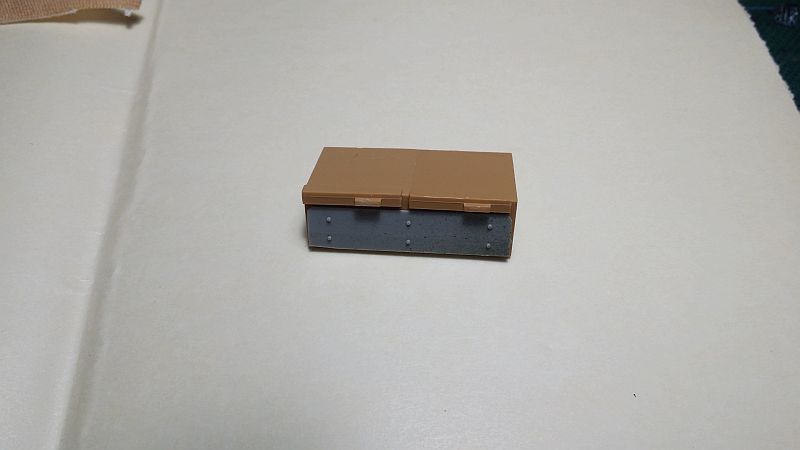 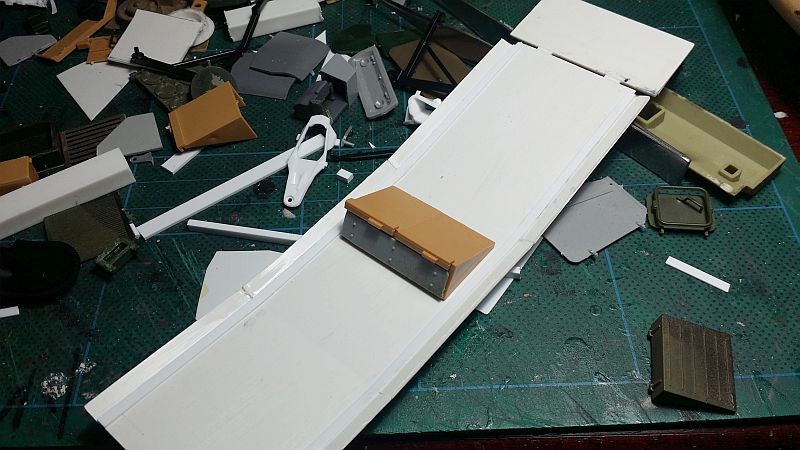 ---------------------------- Added the actual monitor background: 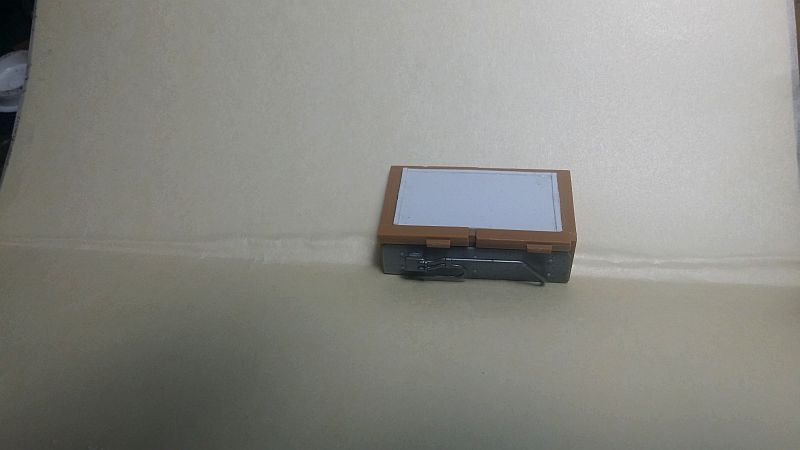 |
|
|
|
Post by tiking on Oct 5, 2015 17:49:24 GMT -5
|
|
|
|
Post by tiking on Oct 5, 2015 17:49:52 GMT -5
The monitor painted. I will need to add a wire from the simulated brake grip to the monitor: 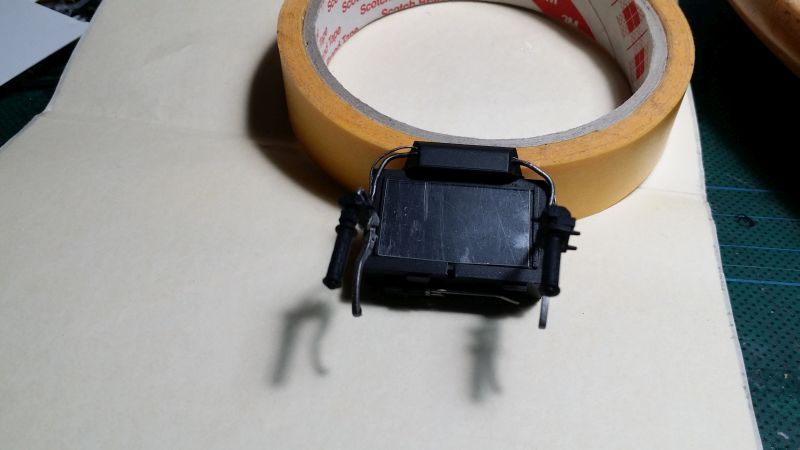 |
|
|
|
Post by tiking on Oct 5, 2015 17:52:45 GMT -5
The rear mechanics of the entire vehicle. you can see the various parts I used: 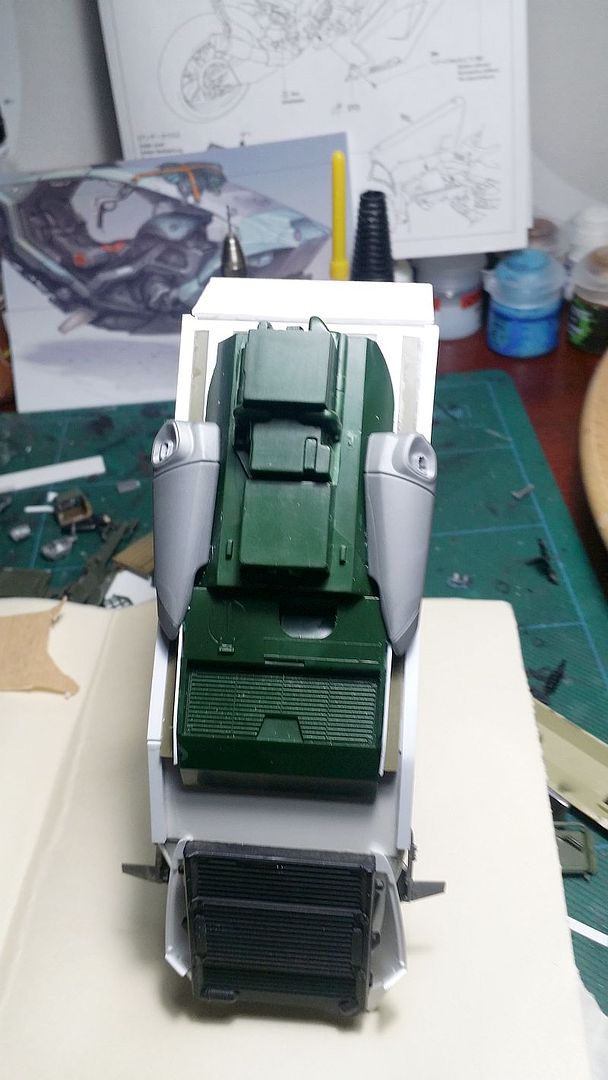 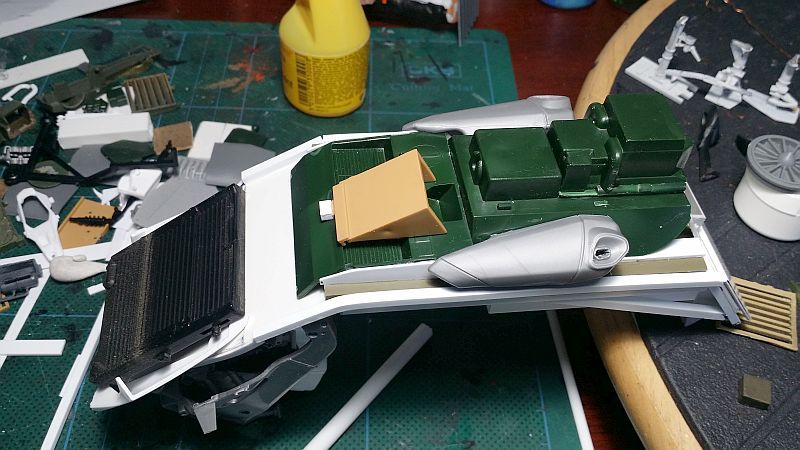 |
|
|
|
Post by tiking on Oct 5, 2015 17:55:07 GMT -5
|
|
|
|
Post by tiking on Oct 5, 2015 17:56:59 GMT -5
The different components pre-mounted inside the roof. Gonna add decals and do some paint touch-ups. 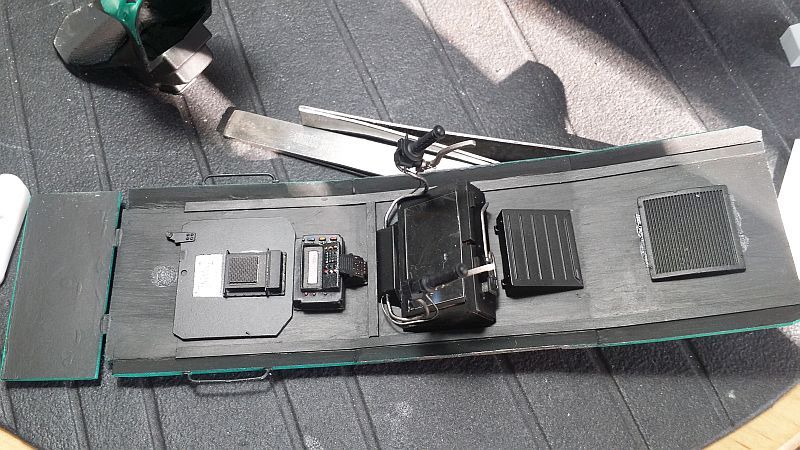 |
|
|
|
Post by Leon on Oct 5, 2015 18:39:50 GMT -5
WOW.....That is some awesome work Tiking! I like it.   |
|
|
|
Post by tiking on Oct 5, 2015 18:49:09 GMT -5
WOW.....That is some awesome work Tiking! I like it.   Thanks. Glad you like it.  |
|
|
|
Post by tiking on Oct 5, 2015 19:15:50 GMT -5
Not sure about these but I will test them out to see if they might fit in: 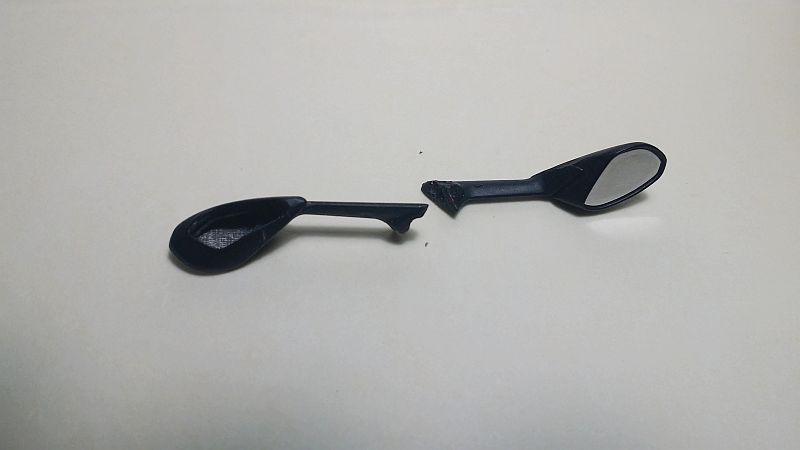 ----------------------- The side jet maneuvers are in place. So far, so good. The whole thing is starting to look awesome. 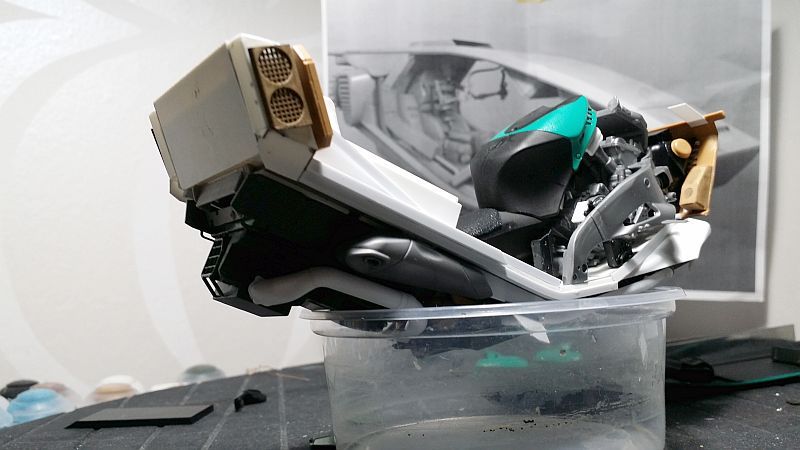 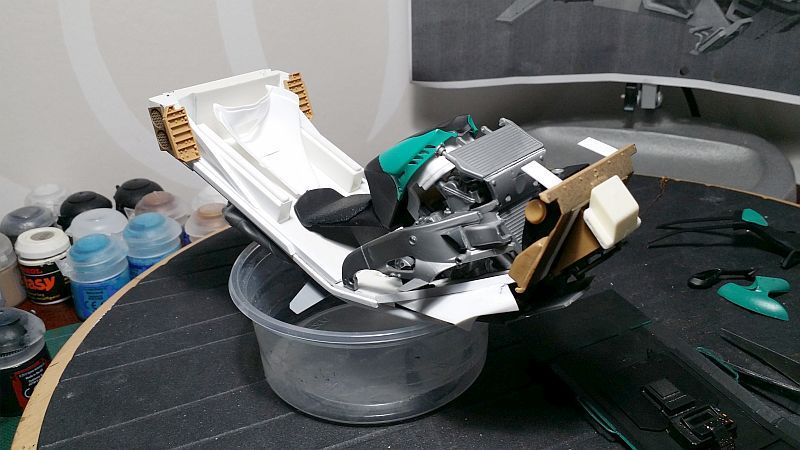 |
|
|
|
Post by tiking on Oct 5, 2015 19:18:55 GMT -5
The under circular protective grid for the hover engine: 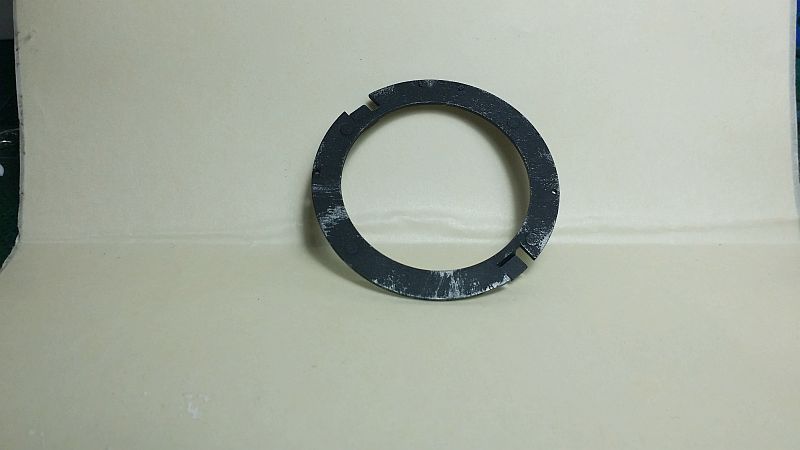 ----------------------- The leather material I am using for the back seat rest. 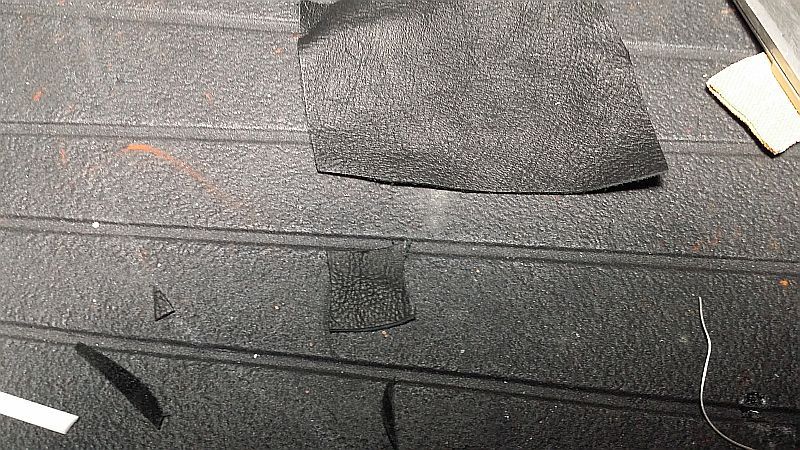 ----------------------- More plaster used has the back padding for the seat: 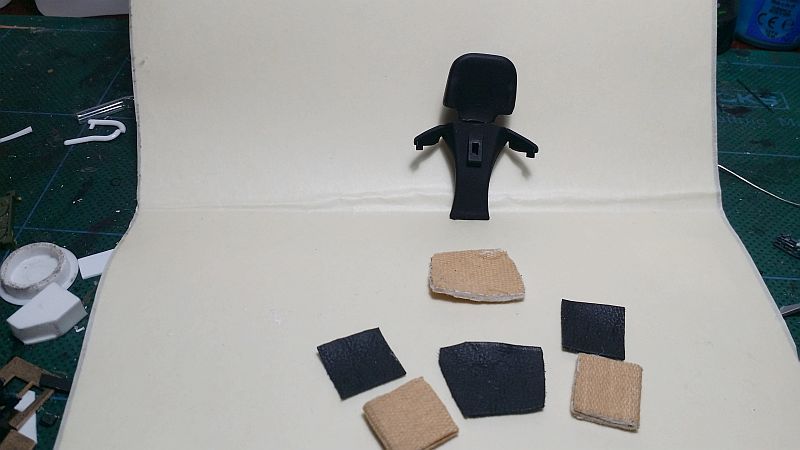 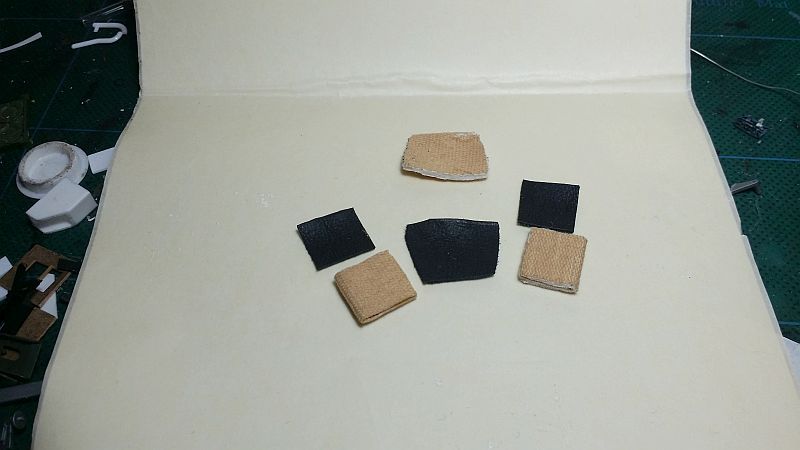 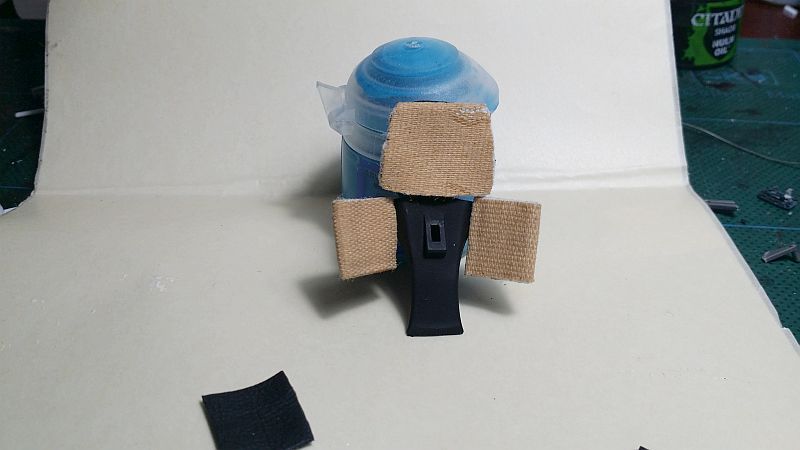 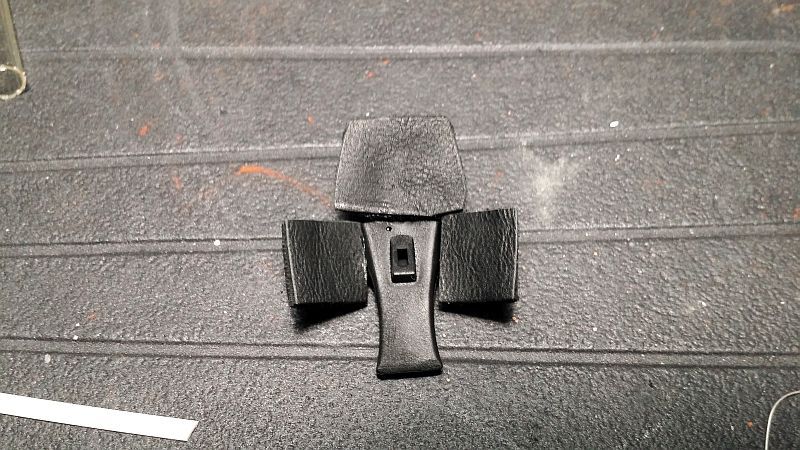 |
|
|
|
Post by dupes on Oct 5, 2015 19:39:21 GMT -5
Oh yes. Very cool! Dig this concept a lot.
|
|
Ray Dunakin
Full Member
  
Member since: February 2013
Posts: 409 
|
Post by Ray Dunakin on Oct 5, 2015 20:45:02 GMT -5
Cool! Very interesting and unusual project!
|
|
|
|
Post by tiking on Oct 5, 2015 23:12:20 GMT -5
Oh yes. Very cool! Dig this concept a lot. Thanks. Me too.  ? |
|
|
|
Post by tiking on Oct 5, 2015 23:12:50 GMT -5
Cool! Very interesting and unusual project! Thanks. Afterall, unusual is my middle name.  ? |
|
|
|
Post by tiking on Oct 6, 2015 10:55:19 GMT -5
Almost done with this build. This is how it looks so far before weathering: 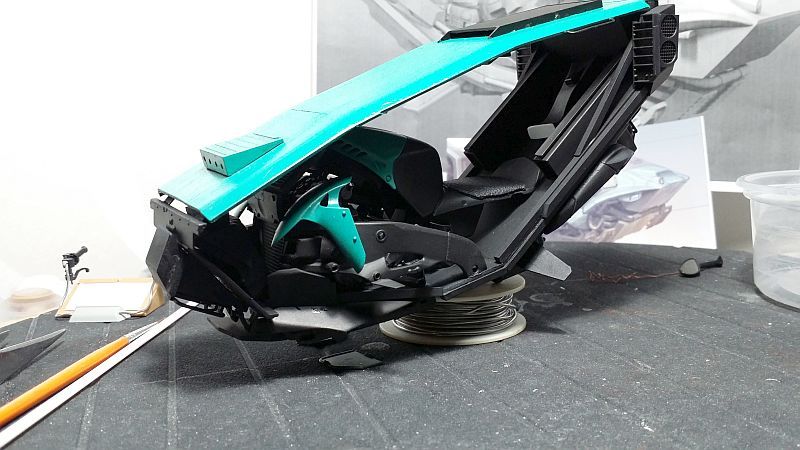 |
|
|
|
Post by tiking on Oct 6, 2015 11:02:23 GMT -5
|
|
|
|
Post by Leon on Oct 6, 2015 11:05:45 GMT -5
Great job Tiking! That looks really cool.
|
|
|
|
Post by deafpanzer on Oct 6, 2015 11:21:56 GMT -5
HLL YEAH! Count me in too!
|
|
|
|
Post by tiking on Oct 6, 2015 11:38:25 GMT -5
Thanks to the both of you. Glad you guys like the result.
|
|
|
|
Post by wbill76 on Oct 6, 2015 13:54:39 GMT -5
Now that's got a neat futuristic look to it, nice!
|
|
|
|
Post by tiking on Oct 6, 2015 14:50:31 GMT -5
Thanks.
|
|