John Everett
Full Member

Member since: January 2012
July, 2016 MoM Winner
Posts: 1,278
Jan 17, 2012 0:53:48 GMT -5
Jan 17, 2012 0:53:48 GMT -5
|
Post by John Everett on Jan 14, 2016 2:43:20 GMT -5
If Dragon won't tell us when their AT-AT (presumably with figures included) will be released, then I guess it's up to us to make our own.  Just the beginning here. I need to trim down the lower "jawline". This will be done after the putty hardens.  More to follow as I progress with the rest of the figure. I'm hoping to be able to make a mold from this one and produce loads of copies...At least until Dragon get busy. |
|
|
|
Post by Leon on Jan 14, 2016 4:24:55 GMT -5
WOW...Nice start on the Stormtrooper John! Going to interesting to follow.  |
|
|
|
Post by kaytermarram on Jan 14, 2016 4:54:44 GMT -5
Great idea! The hardest part is the helmet of which I have thought to do it only with sculpting, but that would not work. So be sure I follow with the biggest possible interest. MAYBE one idea: When you will make copies, why not trying to do the sculpt as a Multiple Pose kit, do some arms and legs, like the Preiser Adam and Eve series so you can create tons of different poses. Many different weapons aren´t needed, and with a speperate head it will be a fest!!
Btw, is this a sculpted helmet on the head or a plastic part??
Frank (hell, where is my popcorn and coke??)
|
|
k1w1
Full Member
Member since: February 2015
Posts: 873
Feb 18, 2015 8:07:41 GMT -5
Feb 18, 2015 8:07:41 GMT -5
|
Post by k1w1 on Jan 14, 2016 6:34:25 GMT -5
Great stuff. I don't know what it is about Stormtroopers but they have a special appeal for some reason. I think they are great but none of the other Star Wars characters hold any interest for me. |
|
adt70hk
Forum Moderator 
Member since: November 2015
Currently attempting to build something decent!!! ;)
Posts: 2,476 
MSC Staff
|
Post by adt70hk on Jan 14, 2016 7:37:30 GMT -5
WOW! Quite a project!!!
Good luck!!
|
|
kiwibelg
Full Member
Member since: December 2014
Posts: 613
|
Post by kiwibelg on Jan 14, 2016 12:21:25 GMT -5
You certainly don't mess around John! This looks like a mammoth project, I will be bookmarking this one.
Have to disagree with you though kiwi, as much as I like stormtroopers I'm more partial towards ewoks and wookies!
|
|
|
|
Post by deafpanzer on Jan 14, 2016 13:16:27 GMT -5
You are definitely going to make all Stormtroopers proud...  Count me in too! |
|
|
|
Post by wbill76 on Jan 14, 2016 14:52:35 GMT -5
Pulling up a chair and hope you can pull it off without too much hassle John!
|
|
John Everett
Full Member
Member since: January 2012
July, 2016 MoM Winner
Posts: 1,278
Jan 17, 2012 0:53:48 GMT -5
Jan 17, 2012 0:53:48 GMT -5
|
Post by John Everett on Jan 14, 2016 18:19:53 GMT -5
hope you can pull it off without too much hassle.. Me too! Crappy old Tamiya Panzer commander, a good foundation. 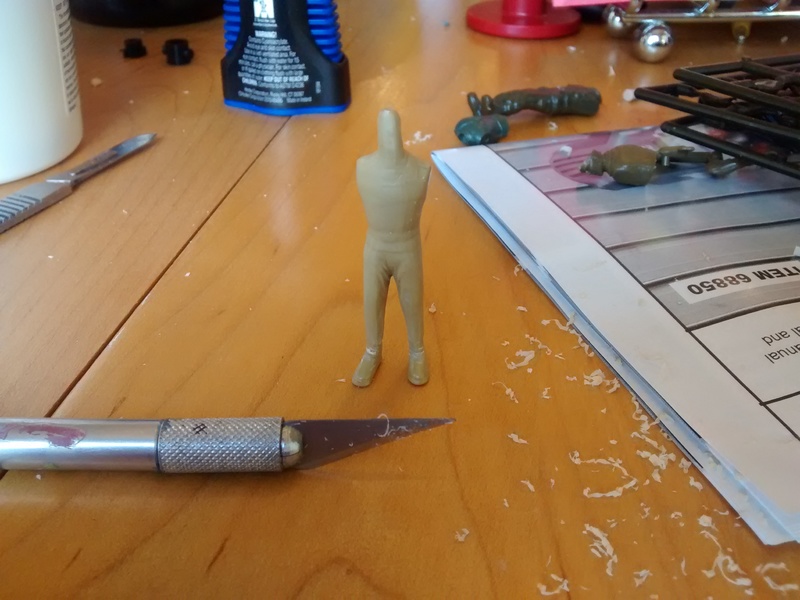
Still needs tweaking. But getting there. 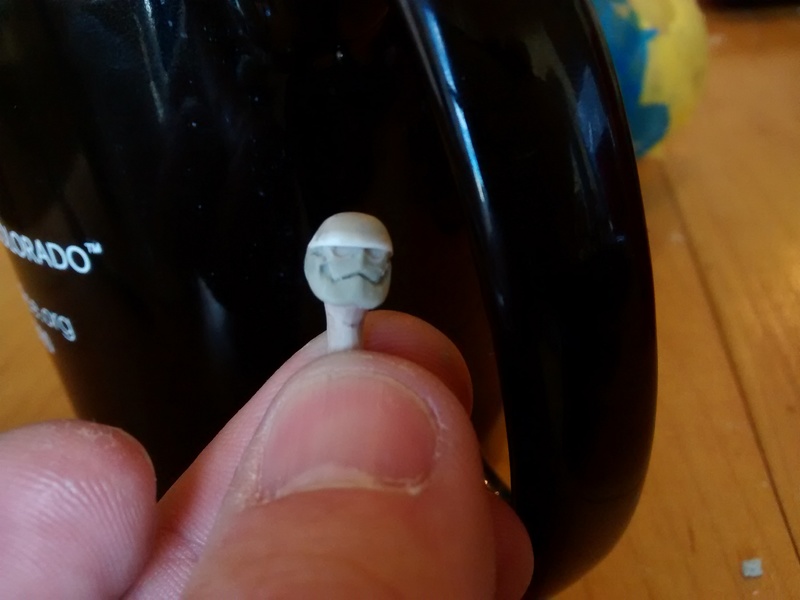
One word! Codpiece! 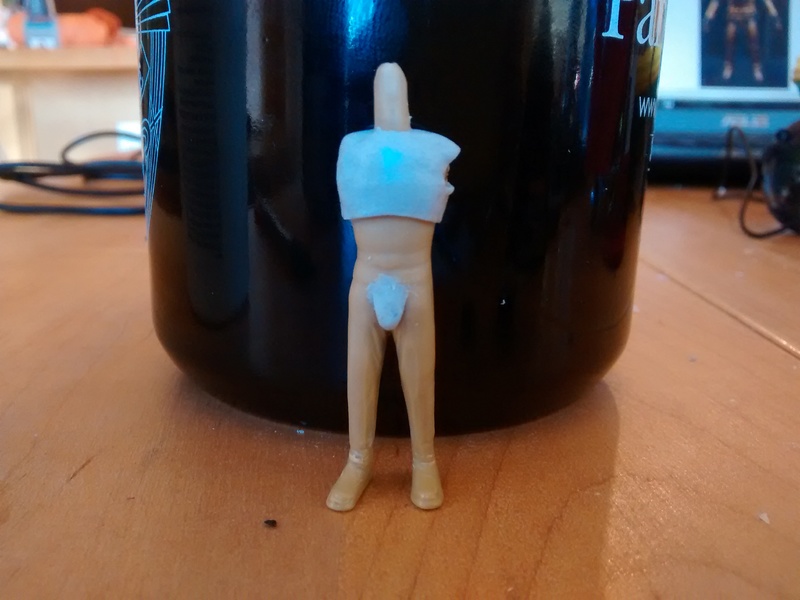 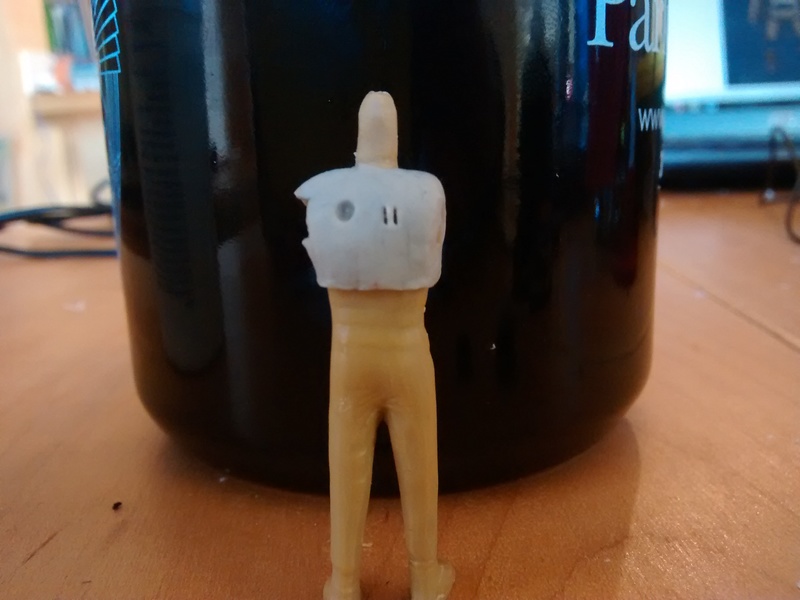
Let this harden and then another layer to go....maybe tonight?  |
|
k1w1
Full Member
Member since: February 2015
Posts: 873
Feb 18, 2015 8:07:41 GMT -5
Feb 18, 2015 8:07:41 GMT -5
|
Post by k1w1 on Jan 14, 2016 23:29:34 GMT -5
Whoops ..... Forgot about the Ewoks !
|
|
|
|
Post by tigrazor on Jan 15, 2016 7:00:03 GMT -5
What a project. Im following too.  |
|
John Everett
Full Member
Member since: January 2012
July, 2016 MoM Winner
Posts: 1,278
Jan 17, 2012 0:53:48 GMT -5
Jan 17, 2012 0:53:48 GMT -5
|
Post by John Everett on Jan 17, 2016 2:15:27 GMT -5
Moving ahead....s-l-o-w-l-y.  The helmet is far from perfect. But it's a good as I'm going to get it The figure will still need a lot of smoothing as well as a set of arms. 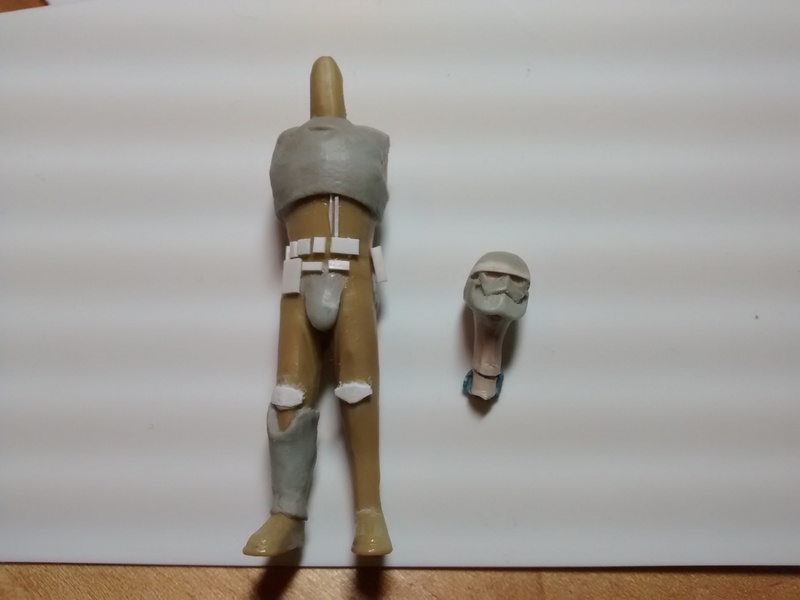 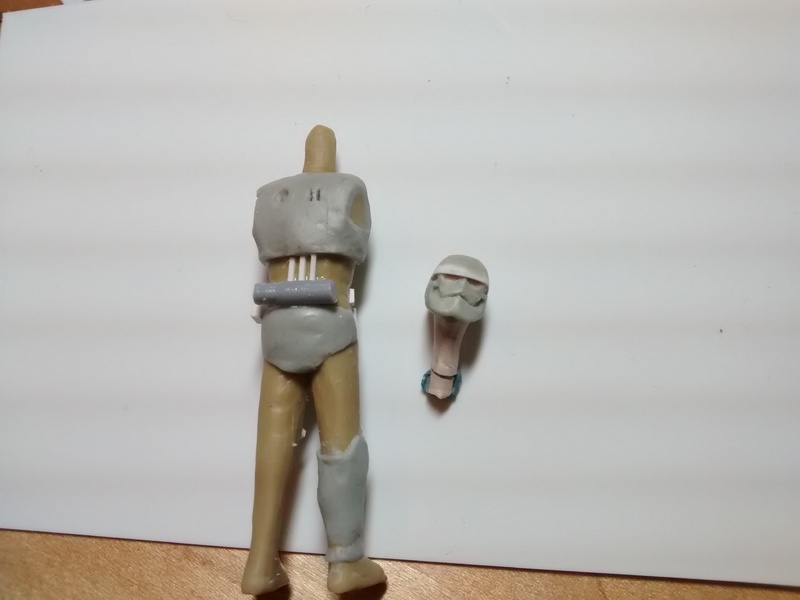 |
|
|
|
Post by Leon on Jan 17, 2016 5:33:29 GMT -5
Making good progress John! |
|
|
|
Post by wbill76 on Jan 18, 2016 16:23:55 GMT -5
Stormtroopers are deceptive in their complexity, particularly their gear. Looks like you've got this one headed in the right direction John.
|
|
adt70hk
Forum Moderator
Member since: November 2015
Currently attempting to build something decent!!! ;)
Posts: 2,476
MSC Staff
|
Post by adt70hk on Jan 19, 2016 2:05:20 GMT -5
Looking like some good progress john z
Andrew
|
|
John Everett
Full Member
Member since: January 2012
July, 2016 MoM Winner
Posts: 1,278
Jan 17, 2012 0:53:48 GMT -5
Jan 17, 2012 0:53:48 GMT -5
|
Post by John Everett on Feb 21, 2016 17:32:22 GMT -5
It's been a month. But I've finally got the trooper ready for rubber and resin. There was a request from a couple of members about the need for a thread covering the basics of resin casting. I'll put this series of photos in here. But if Todd or other admins want to make a whole dedicated section, just let me know. It would be easy enough.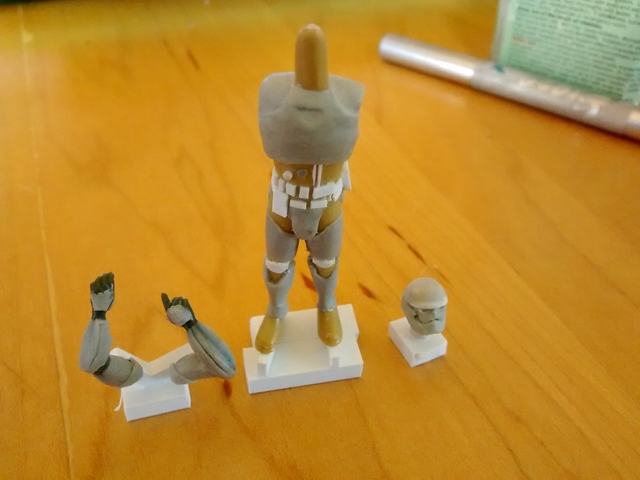
When casting, it's important to consider how best to design the sprue gates to allow the liquid resin to flow easily and avoid trapped air bubbles. (Arms and hands are the most difficult parts of any figure cast.) 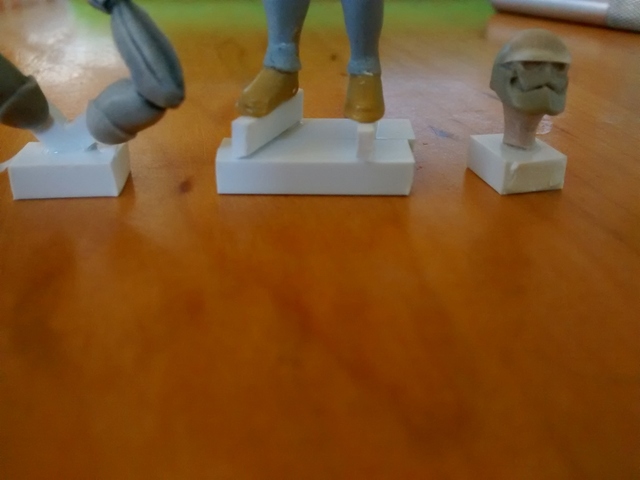
The use of Lego blocks is convenient, but not required. Any stiff material can be used as a mold container. 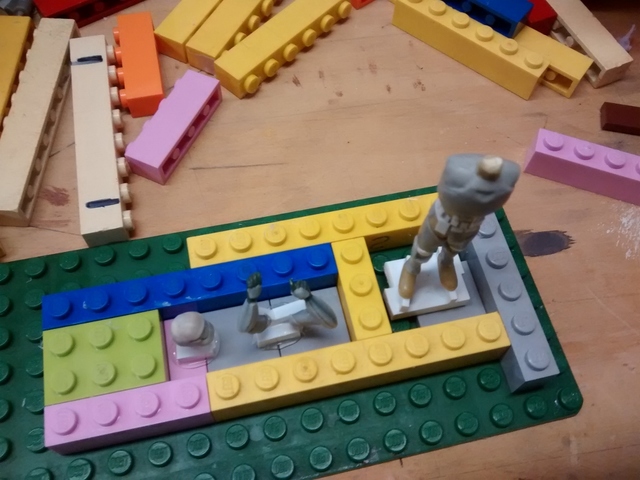
Where they sell resin and rubber they will also sell something like this. It allows the masters (patterns) to be more easily pulled free from the cured rubber mold. 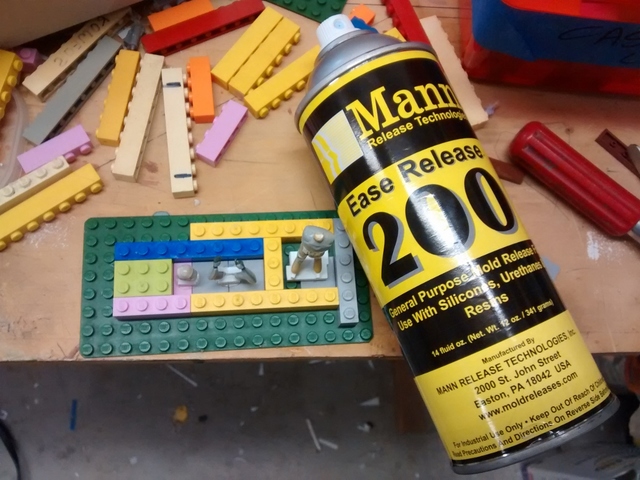 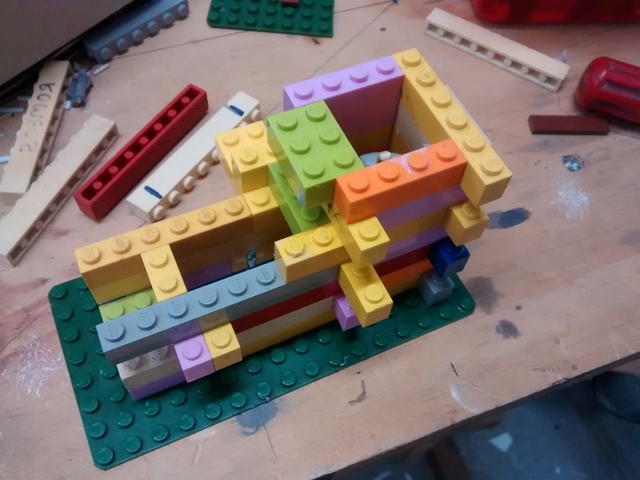
I'm using this stuff. It's a good all-around mold rubber. There are dozens of formulations with an equal number of subtly different characteristics. But it all works pretty much the same. 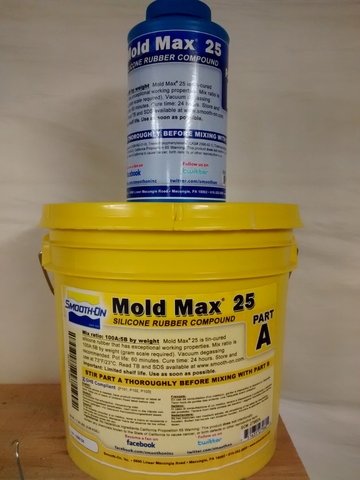
The rubber is just a sticky goo as it comes out of the bucket. 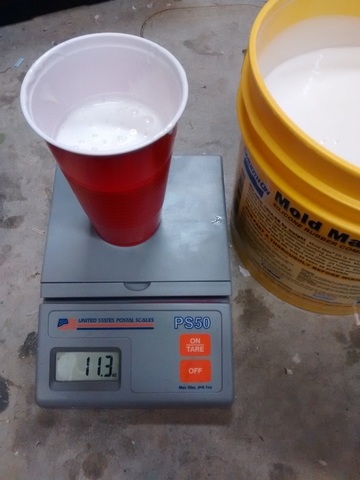
This particular brand requires a ratio of 20:1 rubber to catalyst. (My scale only does US units. A gram scale would be better.) 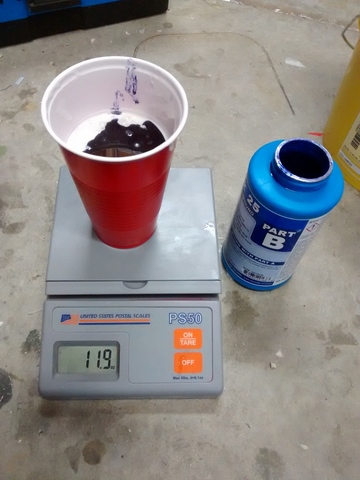
It's puuurrrplllle! I should vacuum degas the liquid rubber. But a vacuum pot is expensive. Instead, you can crush most of the smaller air bubbles by applying pressure during the 24 hour cure. 
Pour it in slowly to avoid trapping air bubbles. 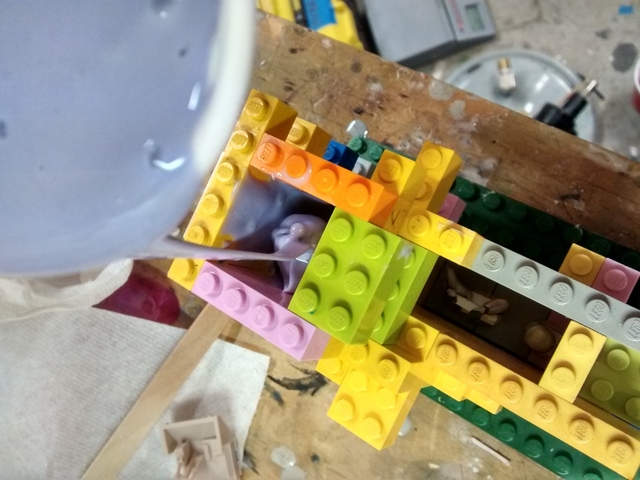 Engine master in its mold box. I allowed about 40 minutes for the air to find it's way out before topping up the remainder of the mold. 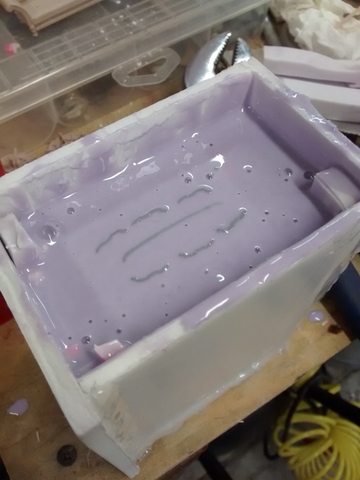
In the pressure pot awaiting "the big squeeze". The use of a pressure pot is optional but will improve to quality of both the rubber mold and the castings which are produced in that mold. 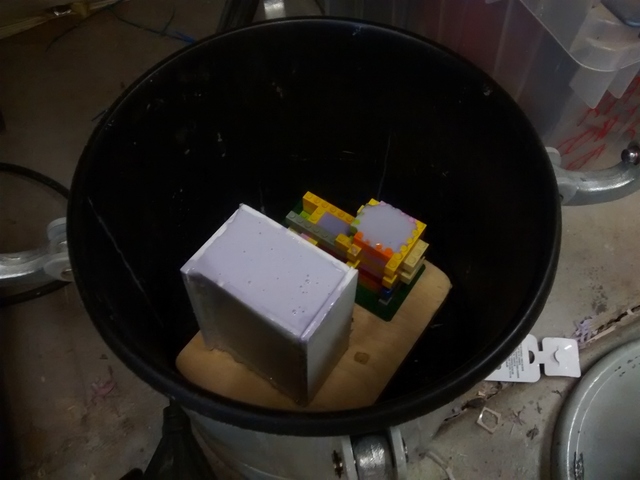
50 PSI 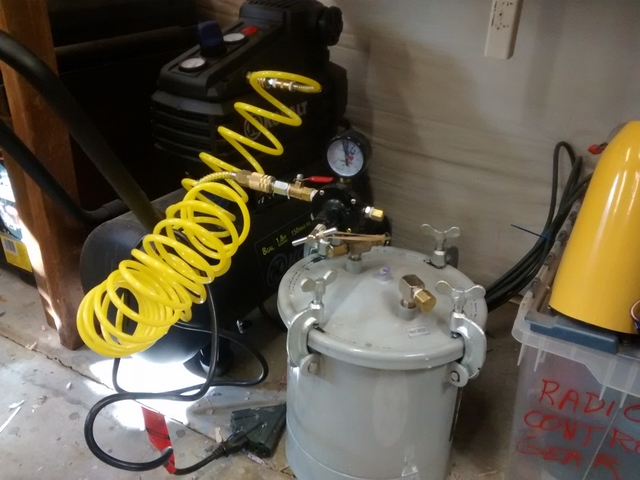 The pot will gradually leak off pressure. The compressor regulator insures that the rubber will be held under pressure for the full 24 hour cure time. 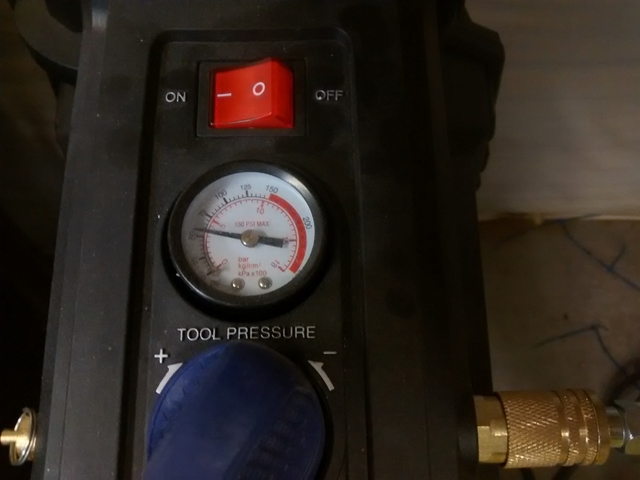 Check back in 24 hours! |
|
k1w1
Full Member
Member since: February 2015
Posts: 873
Feb 18, 2015 8:07:41 GMT -5
Feb 18, 2015 8:07:41 GMT -5
|
Post by k1w1 on Feb 21, 2016 23:08:54 GMT -5
Thanks for showing us the moulding process. This is something I want to try in the future.
|
|
|
|
Post by dierk on Feb 22, 2016 5:03:11 GMT -5
Watching with bated breath!
|
|
|
|
Post by Leon on Feb 22, 2016 5:49:42 GMT -5
Fingers crossed John! |
|
|
|
Post by kaytermarram on Feb 22, 2016 7:16:06 GMT -5
Perfect! We should seperate this and pack it in an extra thread for further adventures. Direct one question: would it be wise to "paint" the figure fist with the silicon stuff and pour it in AFTER or does this paining end up with even more bubbles??
Frank
|
|
adt70hk
Forum Moderator
Member since: November 2015
Currently attempting to build something decent!!! ;)
Posts: 2,476
MSC Staff
|
Post by adt70hk on Feb 22, 2016 7:45:15 GMT -5
John
Thanks for the info!!
Andrew
|
|
Deleted
Member since: January 1970
Posts: 0
Apr 18, 2024 22:30:41 GMT -5
Apr 18, 2024 22:30:41 GMT -5
|
Post by Deleted on Feb 22, 2016 10:09:14 GMT -5
|
|
John Everett
Full Member
Member since: January 2012
July, 2016 MoM Winner
Posts: 1,278
Jan 17, 2012 0:53:48 GMT -5
Jan 17, 2012 0:53:48 GMT -5
|
Post by John Everett on Feb 22, 2016 20:15:06 GMT -5
Would it be wise to "paint" the figure fist with the silicon stuff and pour it in AFTER or does this paining end up with even more bubbles?? Frank Correct. The silicone mold release is sprayed on the pattern (master) prior to the liquid rubber being poured. This helps the pattern to slide out of the finished mold more easily. 24 hours and the rubber has hardened. 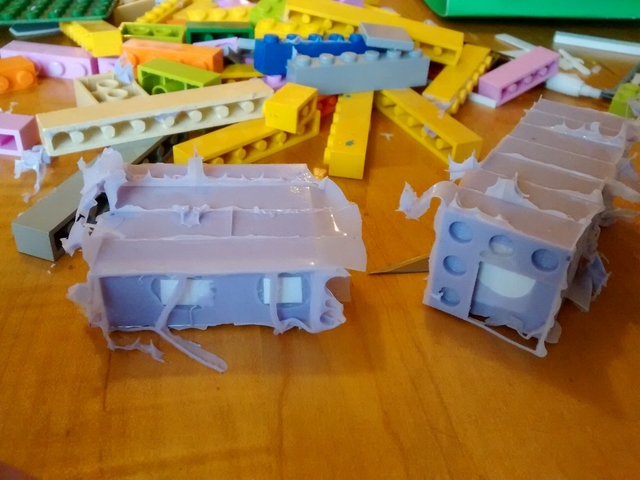
You will often need to cut the rubber to be able to remove the pattern. The trick is to cut the rubber as little as possible. The fewer cuts, the more accurate the copy. Damage to the patterns is an unfortunately common occurrence. You can see here how the hand broke off as the arm was pulled free. 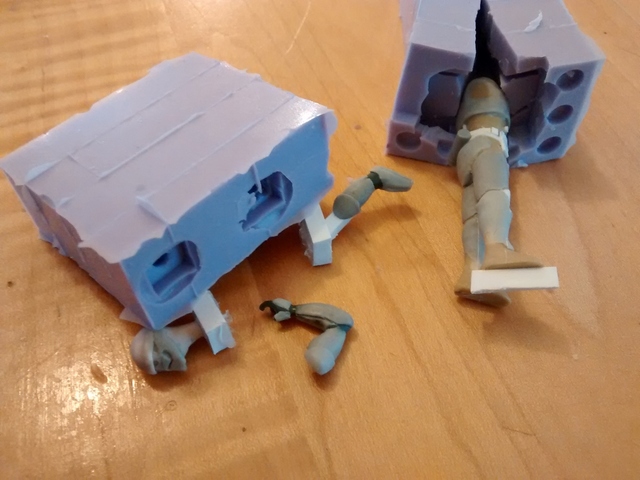
There are various types of resin. This is one of the more popular brands and provides "pot life" of about 5 minutes before it begins to stiffen. 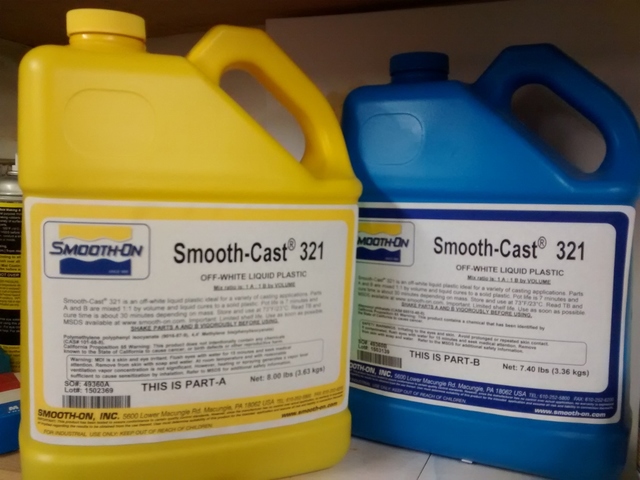
Easy ratio, unlike the rubber. 
Molds filled and placed into pressure pot. 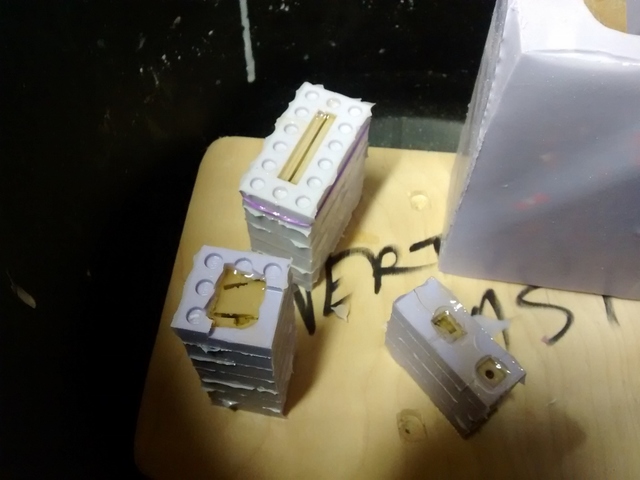
2 hours later, resin has hardened and molds are pulled from the pot. You can see here how 50PSI has left a concave surface in the hardened resin. 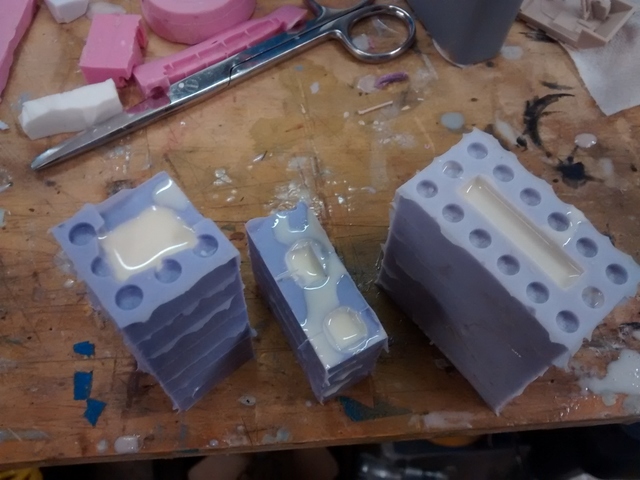 Fist copy! His hand is missing due to an air bubble trapped in the mold, not the fact that the hand was broken when the pattern was removed from the rubber. Casting defects like these are common in the first few copies and will diminish as the mold becomes fully cured and you learn to tweak the resin while still liquid. 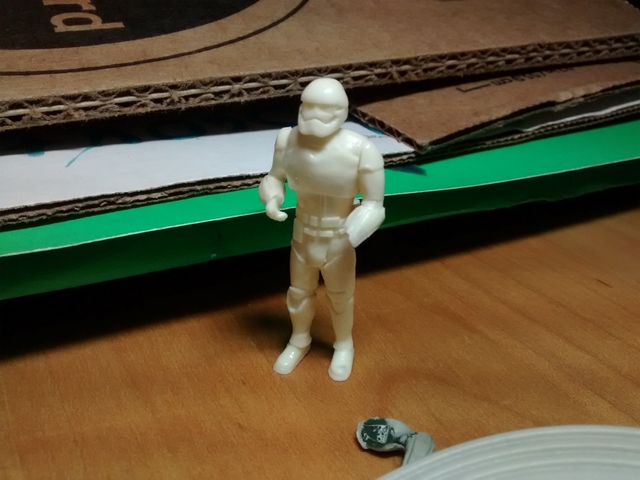
Not exactly a Ban-Dai level stormtropper, but it's as good as I'm going to be able to produce until Dragon finally begins to release their 1/35 kits. Some of the odd shapes at the arms can be fixed with a little careful sanding. This is just a rough fit straight from the mold.  Hope you enjoyed it. I'll need three or four of these guys to stand outside the landing craft. |
|
|
|
Post by Leon on Feb 22, 2016 20:32:42 GMT -5
WOW....Awesome job on the casting John despite the hand issue! I really enjoyed your SBS process. |
|
|
|
Post by kaytermarram on Feb 23, 2016 9:30:27 GMT -5
Yap, very informative and cool! Love this stuff and we must have many more of those articles! Great work so far and hell, I should start this ASAP!!
Frank
|
|
Deleted
Member since: January 1970
Posts: 0
Apr 18, 2024 22:30:41 GMT -5
Apr 18, 2024 22:30:41 GMT -5
|
Post by Deleted on Feb 23, 2016 11:29:39 GMT -5
Awesome Tutorial! Thanks!
|
|
|
|
Post by deafpanzer on Feb 23, 2016 13:10:01 GMT -5
G-R-E-A-T work casting!
|
|
|
|
Post by tobias5555 on Feb 23, 2016 13:21:02 GMT -5
Cool
|
|
|
|
Post by wbill76 on Feb 23, 2016 14:58:19 GMT -5
On your way to getting the lazy gang standing around that you need for the lander!
|
|