Wes
Full Member
  
Member since: November 2011
Posts: 686
Nov 16, 2011 9:34:50 GMT -5
Nov 16, 2011 9:34:50 GMT -5
|
Post by Wes on Jan 15, 2016 10:15:51 GMT -5
Hey all. Picked this up recently and it looked fairly basic for a first wingy build so here it goes. It will be straight up OOB. As always Im keen to hear all comments. Hope to get started this evening. 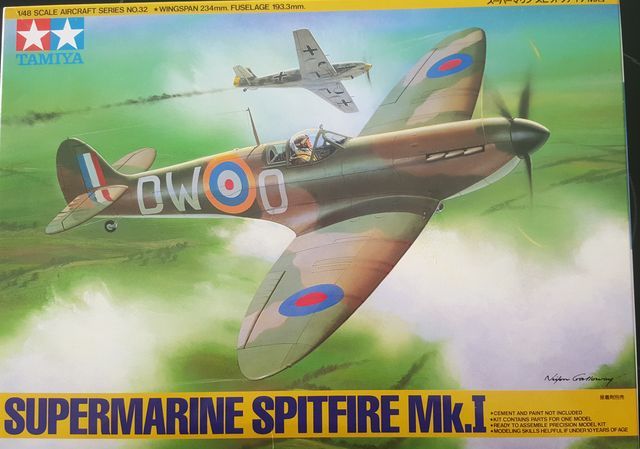 |
|
|
|
Post by Tojo72 on Jan 15, 2016 10:31:59 GMT -5
Nice,good solid Tamiya kit.
|
|
|
|
Post by wbill76 on Jan 15, 2016 14:29:55 GMT -5
Seems like we've got a wave of Spitfire builds to mirror the wave of Tiger builds going on over in the Armor section. Nice!
|
|
|
|
Post by dupes on Jan 15, 2016 14:33:28 GMT -5
First aircraft EVER? Sweet! Have fun!
Great kit, btw. Should go together reaaaaal easy.
|
|
Wes
Full Member
  
Member since: November 2011
Posts: 686
Nov 16, 2011 9:34:50 GMT -5
Nov 16, 2011 9:34:50 GMT -5
|
Post by Wes on Jan 16, 2016 15:49:30 GMT -5
Hello gents. Thanks for the support. Started on the cockpit lastnight. Been a fun ride so far.
|
|
|
|
Post by wing_nut on Jan 16, 2016 17:12:35 GMT -5
Good first aircraft. Keep it coming.
|
|
Wes
Full Member
  
Member since: November 2011
Posts: 686
Nov 16, 2011 9:34:50 GMT -5
Nov 16, 2011 9:34:50 GMT -5
|
Post by Wes on Jan 28, 2016 14:15:02 GMT -5
Hi guys
Got the cockpit painted and the 2 fuselage pieces glued together.
Whats the best way to sand and get rid of the join lines where the 2 parts meet?
|
|
Rick
Full Member
  
Member since: March 2013
what to build, what to build . . . Ok THAT one!
Posts: 854 
|
Post by Rick on Jan 28, 2016 21:56:13 GMT -5
Nice choice for your first wing thing Wes. Starting with a good kit will make it easy. There are different ways to hide the join lines. Me, I try to start with clean crisp edges to minimize gaps. Then use liquid cement (Tamiya) lightly on the edges to be joined. Press and hold. Cement will melt the two parts together. Once dry a light sanding to smooth the join if needed. Should a gap still occur, use a minimal amount of Liquid filler to fill the gap. Let dry at least over night. Remove excess with a damp q-tip. Sand lightly if needed.
Others may have their process as well. Try different ways and find a way that works for you.
Rick
|
|
Wes
Full Member
  
Member since: November 2011
Posts: 686
Nov 16, 2011 9:34:50 GMT -5
Nov 16, 2011 9:34:50 GMT -5
|
Post by Wes on Feb 2, 2016 7:24:54 GMT -5
So lastnight I was wondering about how to paint this thing and happened to come across the blog site of resident MSC plane expert Doogsatx. Here he discusses his method of Black basing and ive decided to give it a whirl. The results seem to be really good. So here she is in her black primer, ready for the next course of action. 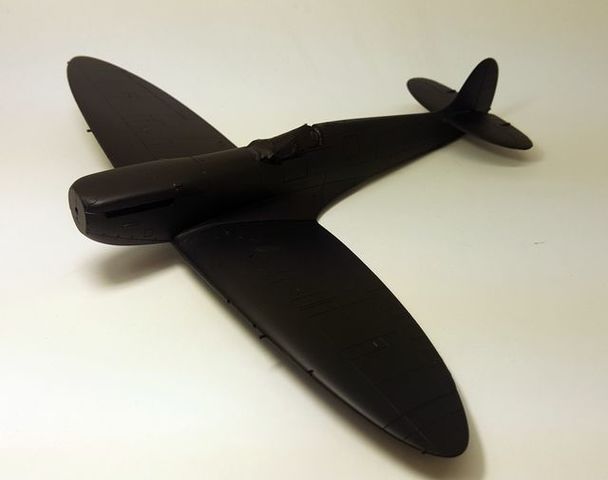 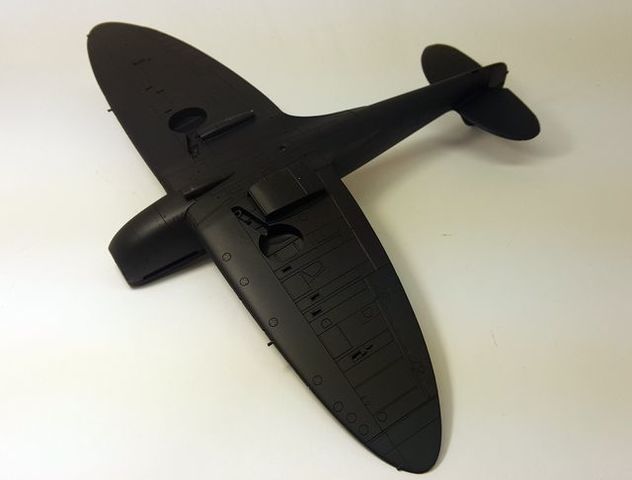 |
|
Wes
Full Member
  
Member since: November 2011
Posts: 686
Nov 16, 2011 9:34:50 GMT -5
Nov 16, 2011 9:34:50 GMT -5
|
Post by Wes on Feb 11, 2016 6:28:35 GMT -5
Hi all Got the 2 layers of cammo down. Damn it was a real pain in the but to mask. Happy with the results though. Colours are tamiya and the masking was done by layering masking tape over the scale diagram in the instructions, cutting out the shapes and then transferring to the model. Let me know your thoughts. 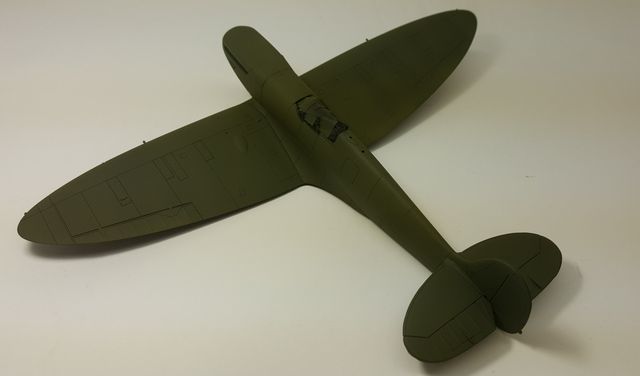 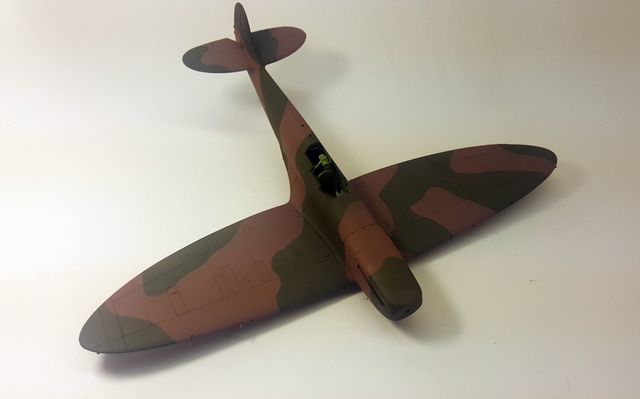 |
|
|
|
Post by Leon on Feb 11, 2016 8:05:15 GMT -5
Nice work on the camo Wes!
|
|
|
|
Post by dupes on Feb 11, 2016 9:16:51 GMT -5
Looks like a Spitfire to me! This is when aircraft builds get fun...camo and decals.  |
|
Wes
Full Member
  
Member since: November 2011
Posts: 686
Nov 16, 2011 9:34:50 GMT -5
Nov 16, 2011 9:34:50 GMT -5
|
Post by Wes on Feb 12, 2016 0:57:21 GMT -5
Leon amd Dupes, thanks for the kind words.
Yeah there is a fair amount of decals on this 1 for sure. Way more than any tank build ive done. Hope to get going on it after work today. Just need to paint the underside first.
|
|
Rick
Full Member
  
Member since: March 2013
what to build, what to build . . . Ok THAT one!
Posts: 854 
|
Post by Rick on Feb 14, 2016 12:42:08 GMT -5
Nice job with your camo Wes. Looking sweet.
Rick
|
|