Haggis
Junior Member
  March 2016 MoM Winner
Member since: March 2012
Posts: 65
Mar 8, 2012 3:18:06 GMT -5
Mar 8, 2012 3:18:06 GMT -5
|
Post by Haggis on Jan 15, 2016 17:26:18 GMT -5
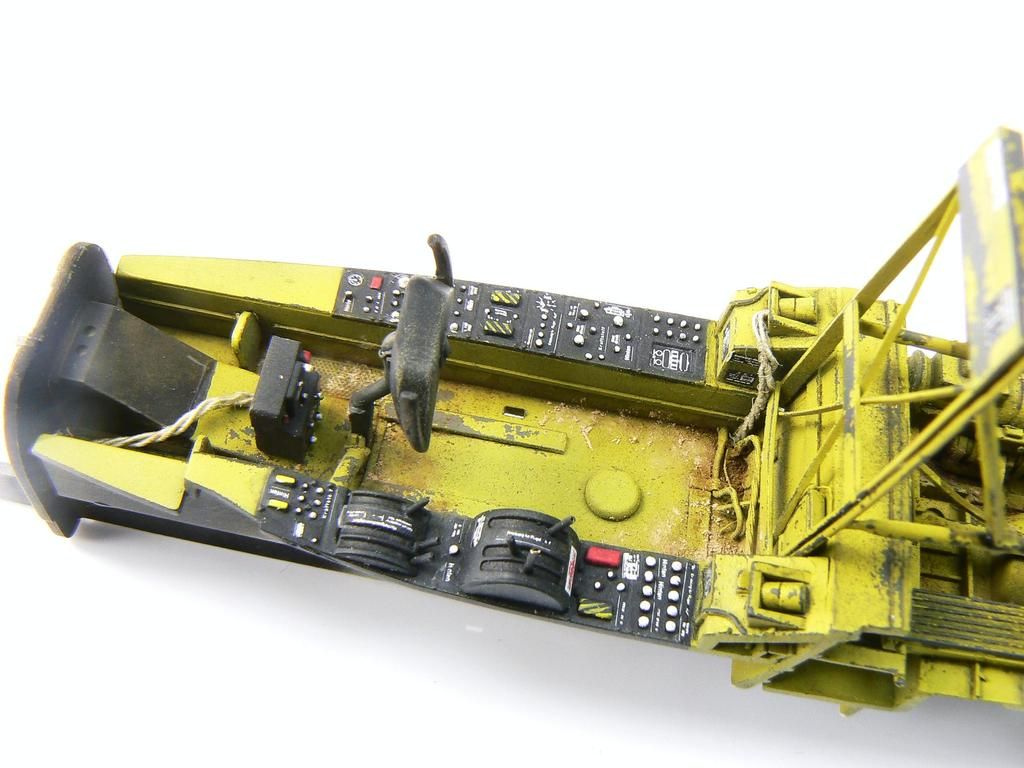
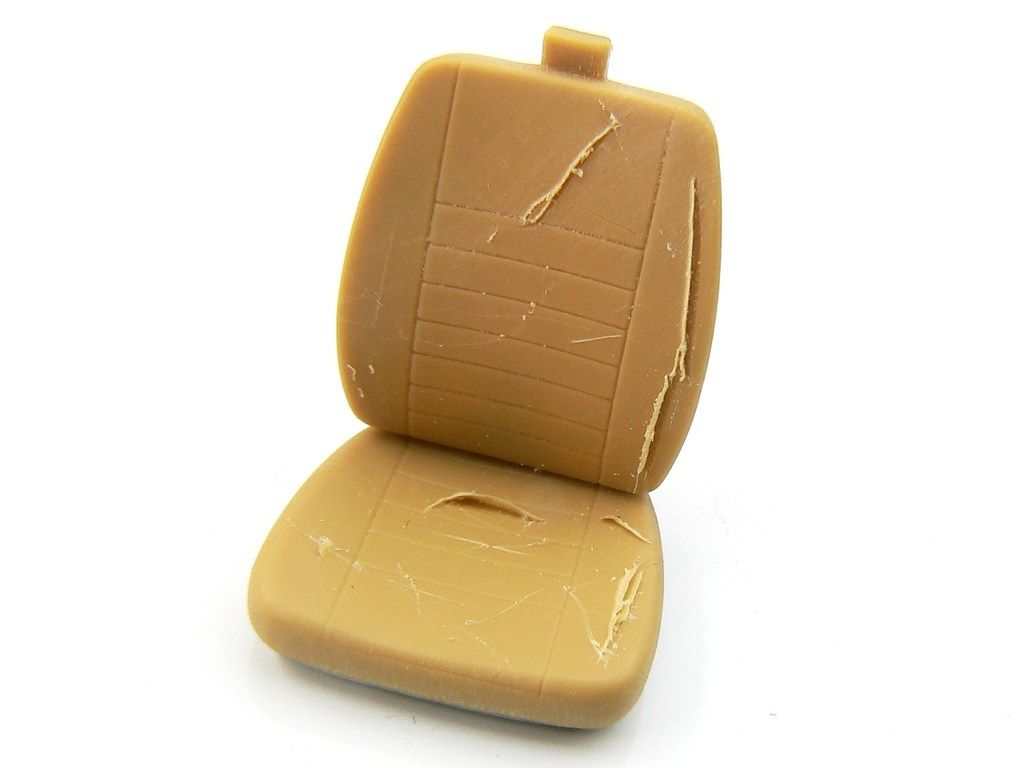
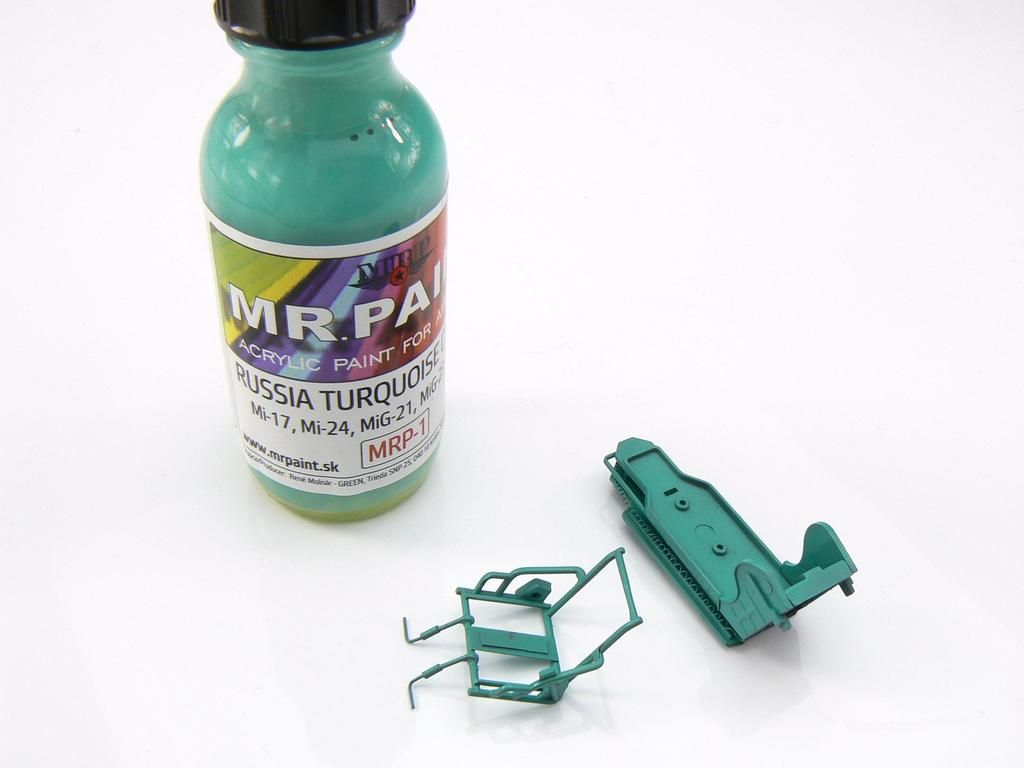
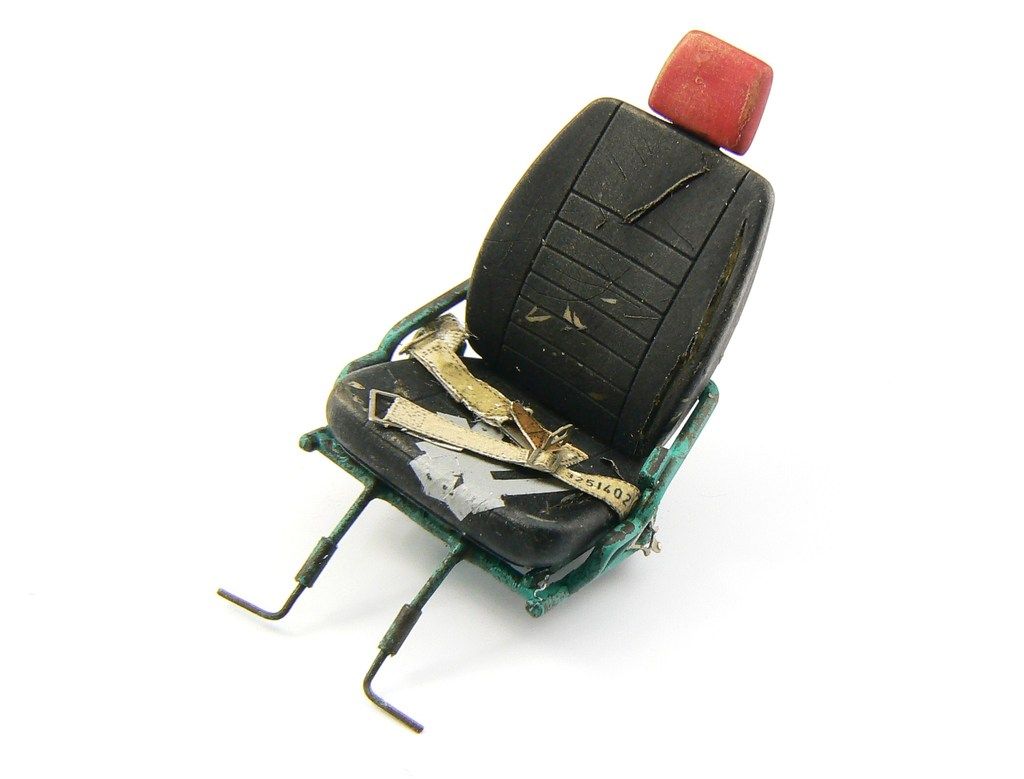
The year is 2039 and the collapse in the Middle East oil reserves following the 3rd Gulf War has plunged the world into a world war. Nuclear fall out preceded drought and famine. Now the few remaining humans eke out a dangerous hunter gatherer living, trading scarce resources for food. Materials are abundant, abandoned in the old times, food and expertise are not. Neither is fuel, that precious commodity now replaces money and gold as man's treasure. By far the safest mode of transporting goods is by air. The few remaining aircraft are cannibalised and adapted to keep flying, and their crews brave the airborne pirates who own the marauding skies. To survive a crew must relay on guile, cunning and superior flying skills to live. Many are pilots who survived the old wars, but then so are the pirates! Here are just a few of the goodies that I will be using in this model. Hang on you may be thinking, what are the Zero engines in there for, and the Live Resin Wrangler Humvee wheels, and what the hell are those resin skulls......? What I haven't taken a picture of is the Hobby Boss WMIK in 1:35. I'm going to be using parts from this too......?!?!?!?!?! Well, this is going to be a very special project, a very unique model........ 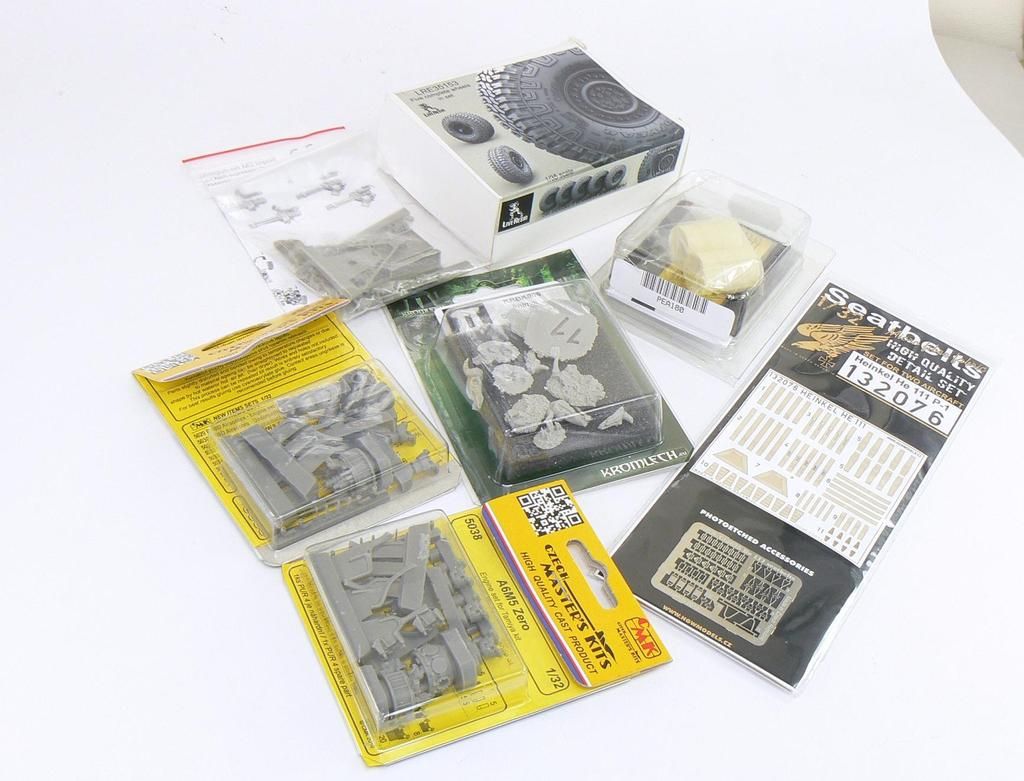 Work started in the cockpit as is usual. I wanted to replace the fighter style grip so mounted the cut down WMIK steering wheel onto some wire core plastic rod and added some cabling. 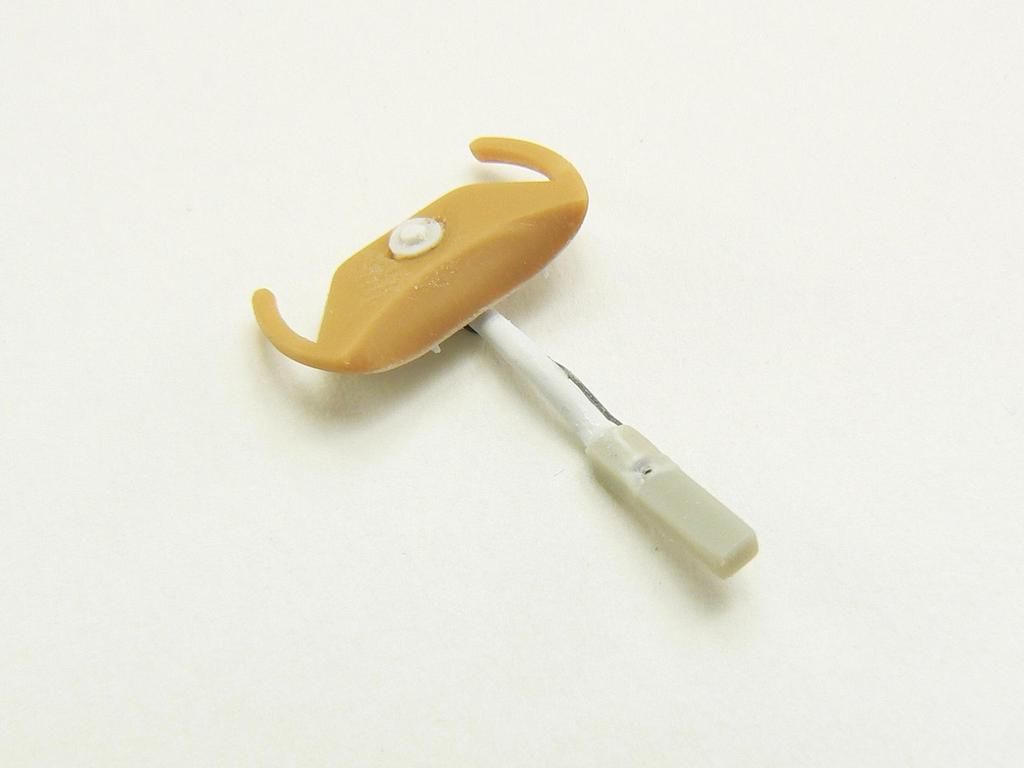 Next up is the pilot's seat. I've added some detail from plastic rod and strip. I need to add some piping and cabling yet. You'll note there are no cushions, they'll be painted separately before the harness is added. 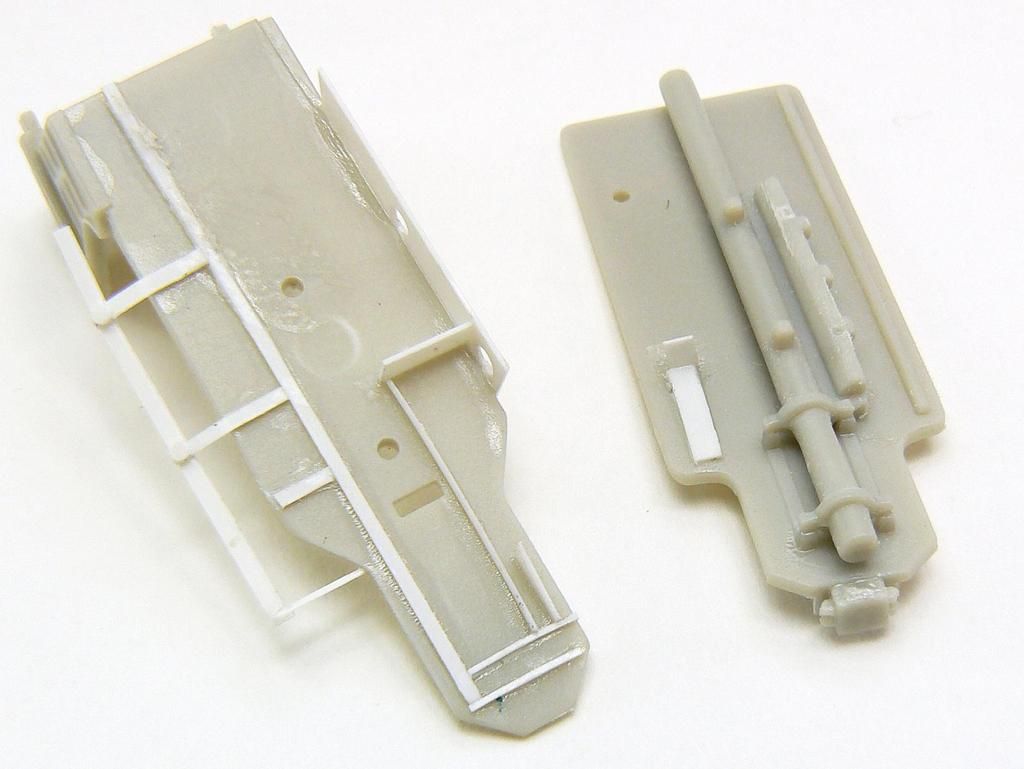 I'm going for a really detailed cockpit, all fiction of course. This is just the start. 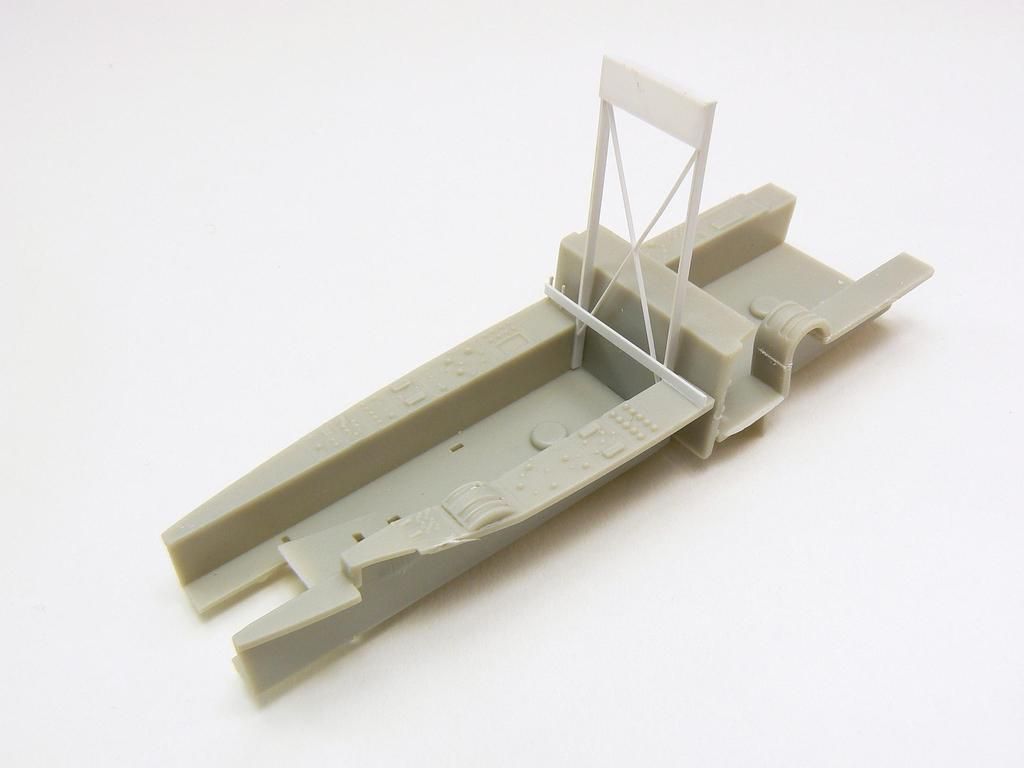 This model is going to have "different" engines which will require more cockpit levers. I cut off the rear cockpit throttle quadrant, blanked it off, removed some of the moulded console detail and mounted it in the front. The hole in the rear was blanked off with plastic card. 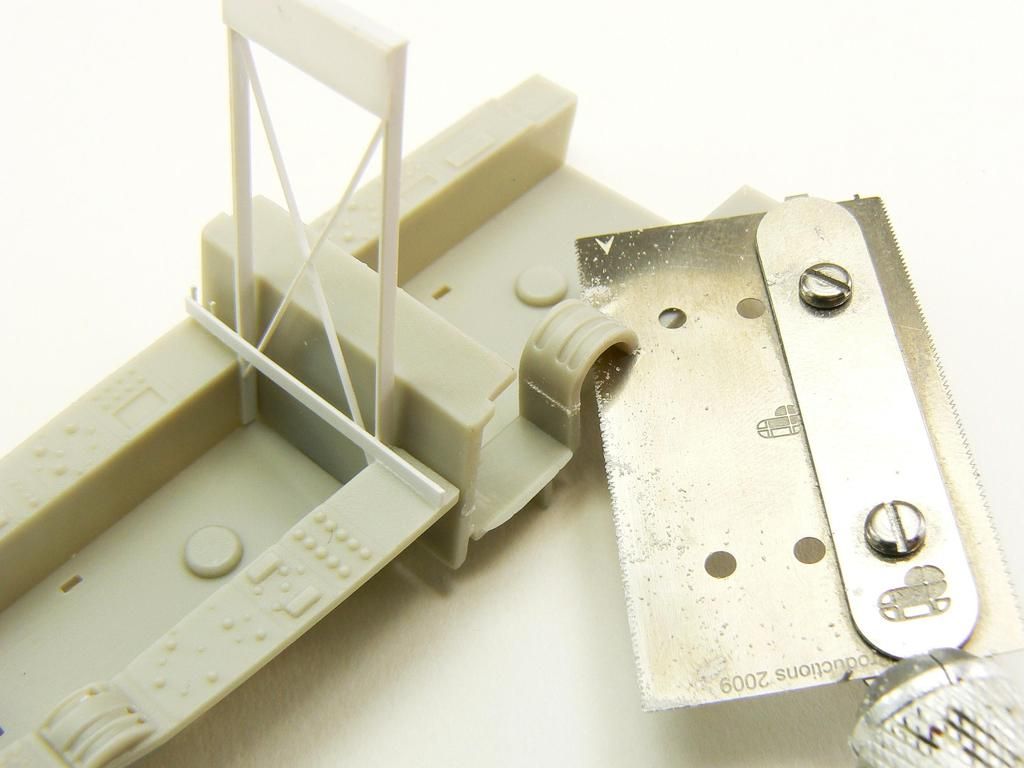 The cockpit floor was detailed with plastic strip. That grey blob is half a 1:48 F-14 Tomcat Vulcan cannon! The sandy part is part of the WMIK V8 engine block! 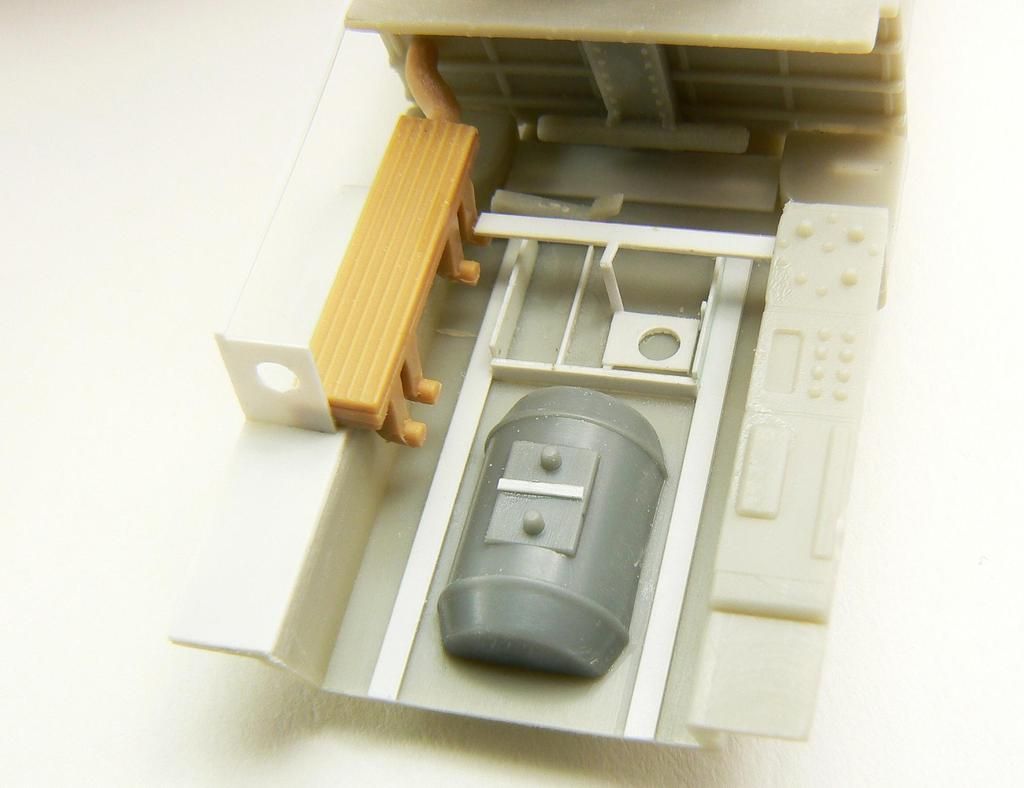 And this is where I am up to so far. There is going to be loads more detail to come in both cockpits, this is just the start! 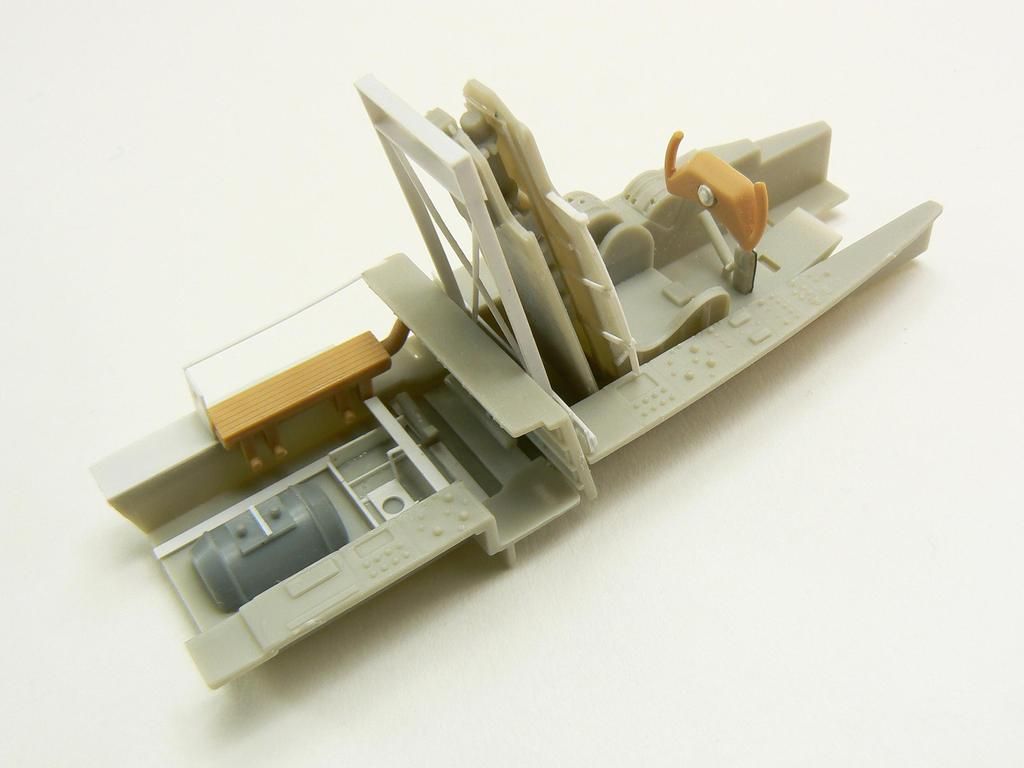 |
|
|
|
Post by Leon on Jan 15, 2016 17:46:19 GMT -5
Off to a great start and some fine looking scratch work in the cockpit!  |
|
adt70hk
Forum Moderator      November '24 Showcased Model Awarded
Member since: November 2015
Currently attempting to build something decent!!! ;)
Posts: 2,837 
MSC Staff
|
Post by adt70hk on Jan 15, 2016 18:07:41 GMT -5
A simply BRILLIANT idea! I wish I had your sort of imagination!
Bookmarking this one!
andrew
|
|
|
|
Post by wing_nut on Jan 15, 2016 18:36:56 GMT -5
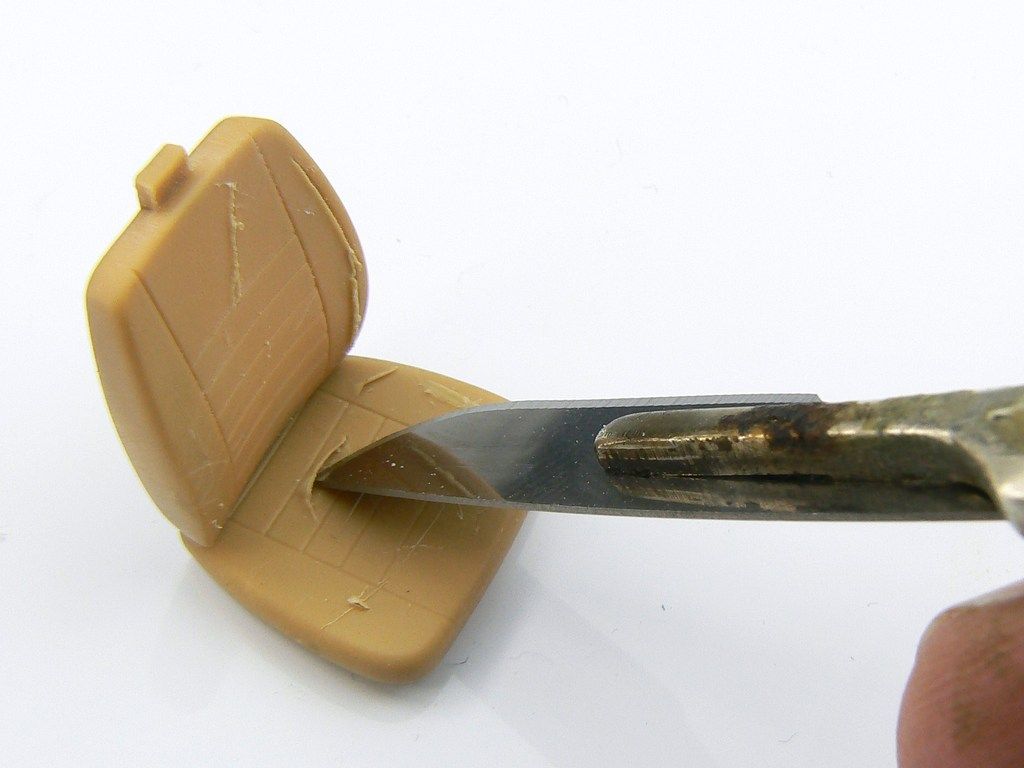
Nice details and scratch work. What's that saw?  |
|
Haggis
Junior Member
  March 2016 MoM Winner
Member since: March 2012
Posts: 65
Mar 8, 2012 3:18:06 GMT -5
Mar 8, 2012 3:18:06 GMT -5
|
Post by Haggis on Jan 15, 2016 19:35:02 GMT -5
Thanks chaps.
The saw is an RB productions steel photo etched saw, it's brilliant!
|
|
|
|
Post by dierk on Jan 16, 2016 6:38:08 GMT -5
Love the idea! That alone deserves a karma point. Some nice work going on in your cockpit! I'll be sure to pop by occasionally.
Judging by your name I'm guessing you're from Deano's neck of the woods?
|
|
Haggis
Junior Member
  March 2016 MoM Winner
Member since: March 2012
Posts: 65
Mar 8, 2012 3:18:06 GMT -5
Mar 8, 2012 3:18:06 GMT -5
|
Post by Haggis on Jan 16, 2016 6:42:49 GMT -5
Hi Dierk.
Actually I was born in Essex but grew up in Somerset! My surname is Haggo and I picked up the nick name in the military when I started flying! Although my Grandfather is Scottish and he traced our routes to the Norwegian Vikings!
|
|
|
|
Post by dierk on Jan 16, 2016 10:52:13 GMT -5
Ah, OK - I saw a conclusion and jumped at it  |
|
|
|
Post by TRM on Jan 17, 2016 9:04:30 GMT -5
Awesome stuff there Jamie!! Looking forward to seeing this one unfold!! Enjoy the freedom of the build!!  |
|
Rick
Full Member
  
Member since: March 2013
what to build, what to build . . . Ok THAT one!
Posts: 854 
|
Post by Rick on Jan 17, 2016 21:53:48 GMT -5
Like the theme you're going with on this build Jamie. Quite the combination of equipment you've gathered too. Been really thinking hard about picking up this Bronco so will be quite interesting to see how your theme comes together.
Rick.
|
|
Deleted
Member since: January 1970
Posts: 0
Nov 29, 2024 6:10:57 GMT -5
Nov 29, 2024 6:10:57 GMT -5
|
Post by Deleted on Jan 18, 2016 13:47:43 GMT -5
Don't do any more till I get back with my bag of Pop Corn:)
|
|
adt70hk
Forum Moderator      November '24 Showcased Model Awarded
Member since: November 2015
Currently attempting to build something decent!!! ;)
Posts: 2,837 
MSC Staff
|
Post by adt70hk on Jan 19, 2016 2:09:40 GMT -5
Hi haggis
As I said before this is a brilliant idea - sort of reminded me a bit of Mad Max.
How much was the saw? It looks great idea.
Thanks again for sharing.
Andrew
|
|
Wes
Full Member
  
Member since: November 2011
Posts: 686
Nov 16, 2011 9:34:50 GMT -5
Nov 16, 2011 9:34:50 GMT -5
|
Post by Wes on Jan 21, 2016 3:01:29 GMT -5
Love the story, love the work so far.
Looking forward to more
|
|
|
|
Post by deafpanzer on Jan 22, 2016 12:05:00 GMT -5
Hell yeah!!! Great start... count me in too!
|
|
Haggis
Junior Member
  March 2016 MoM Winner
Member since: March 2012
Posts: 65
Mar 8, 2012 3:18:06 GMT -5
Mar 8, 2012 3:18:06 GMT -5
|
Post by Haggis on Jan 30, 2016 6:25:48 GMT -5
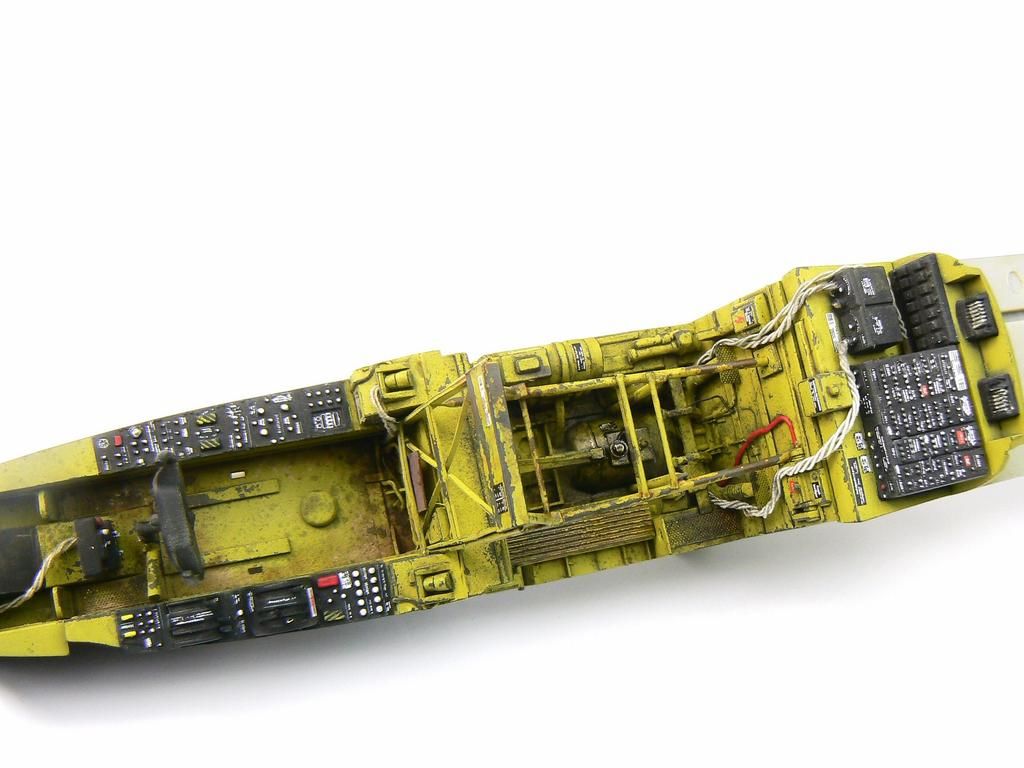
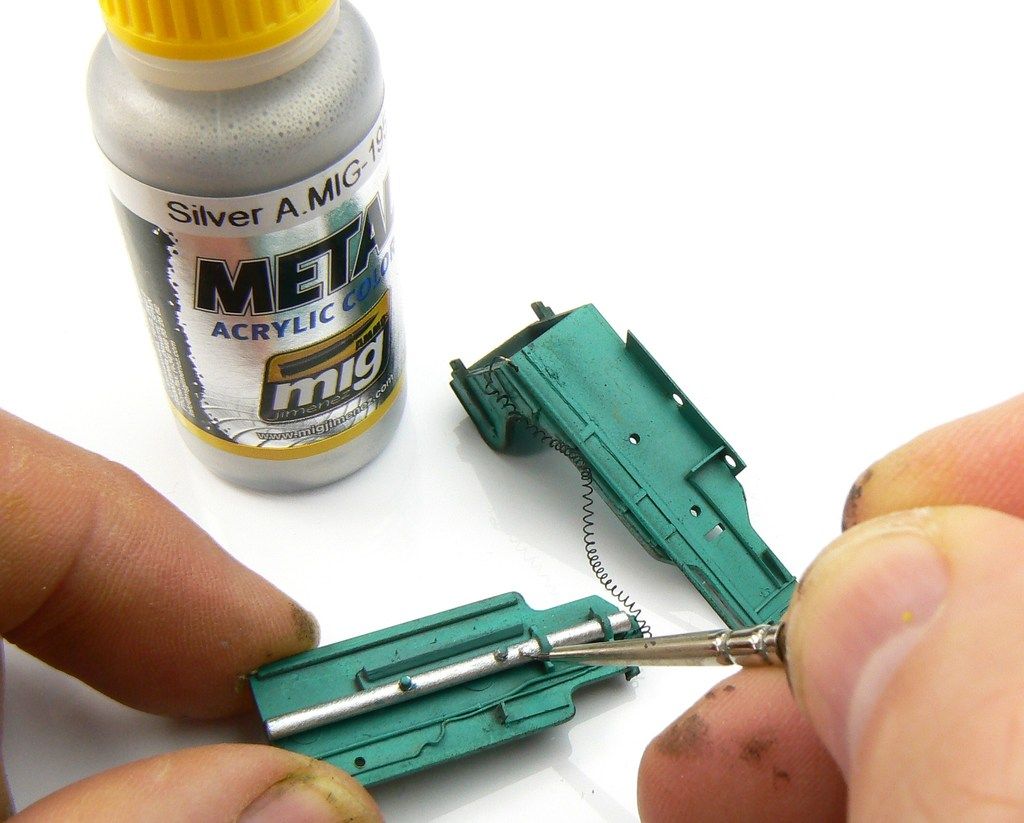
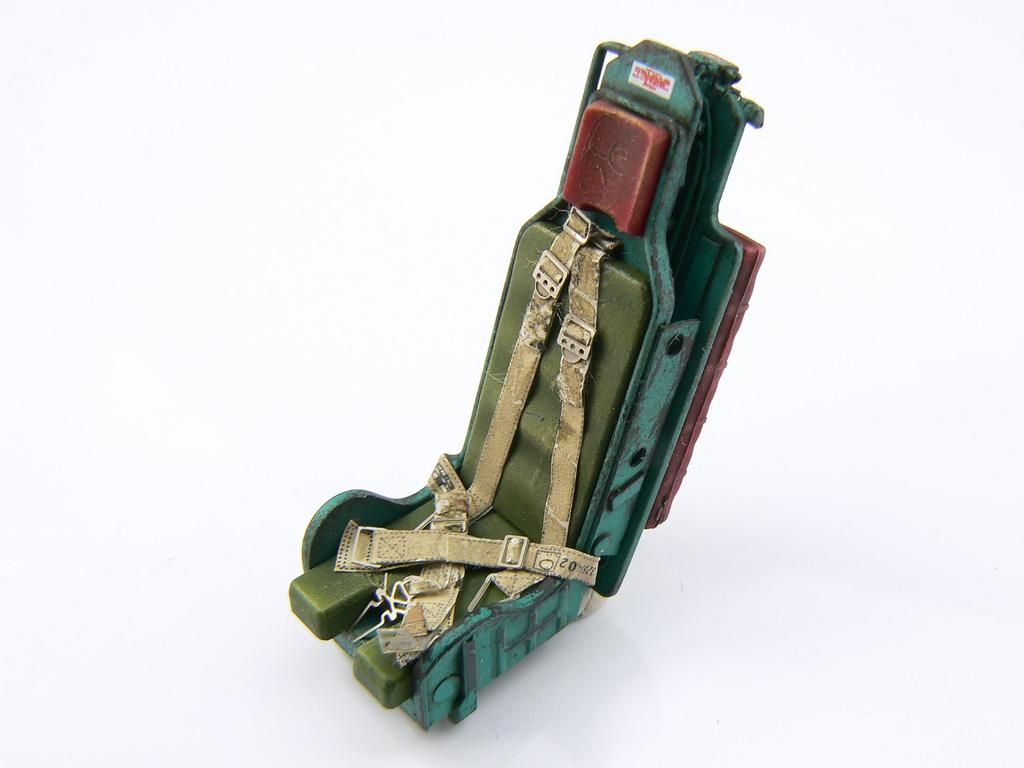
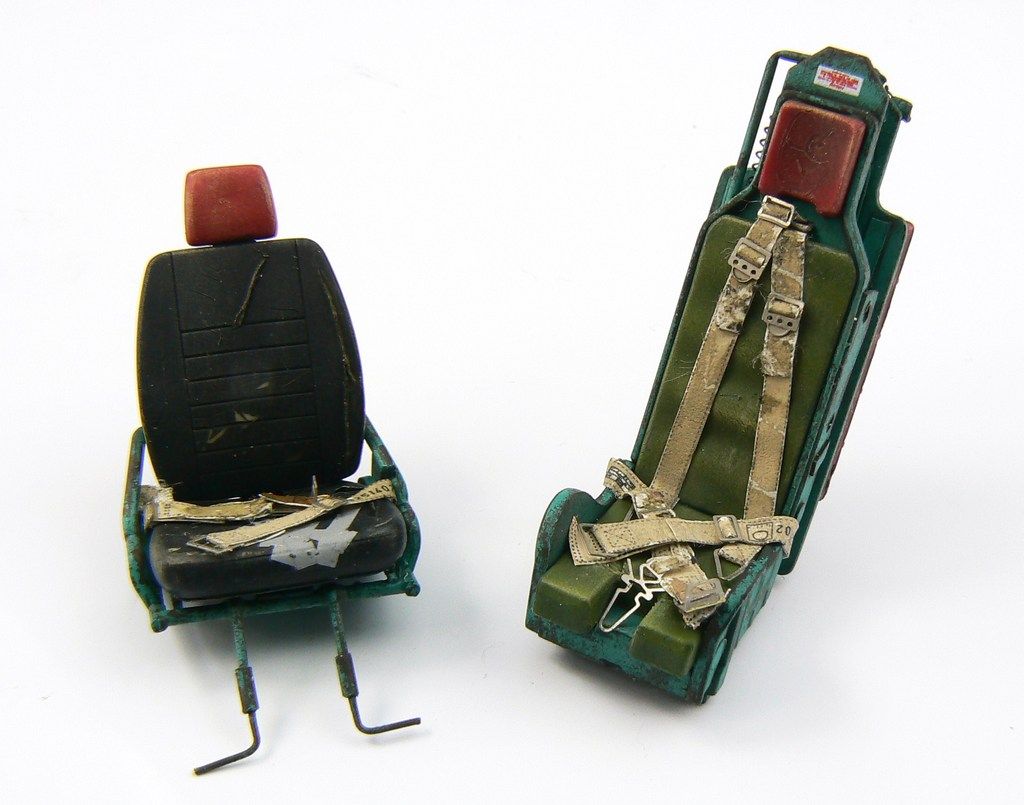
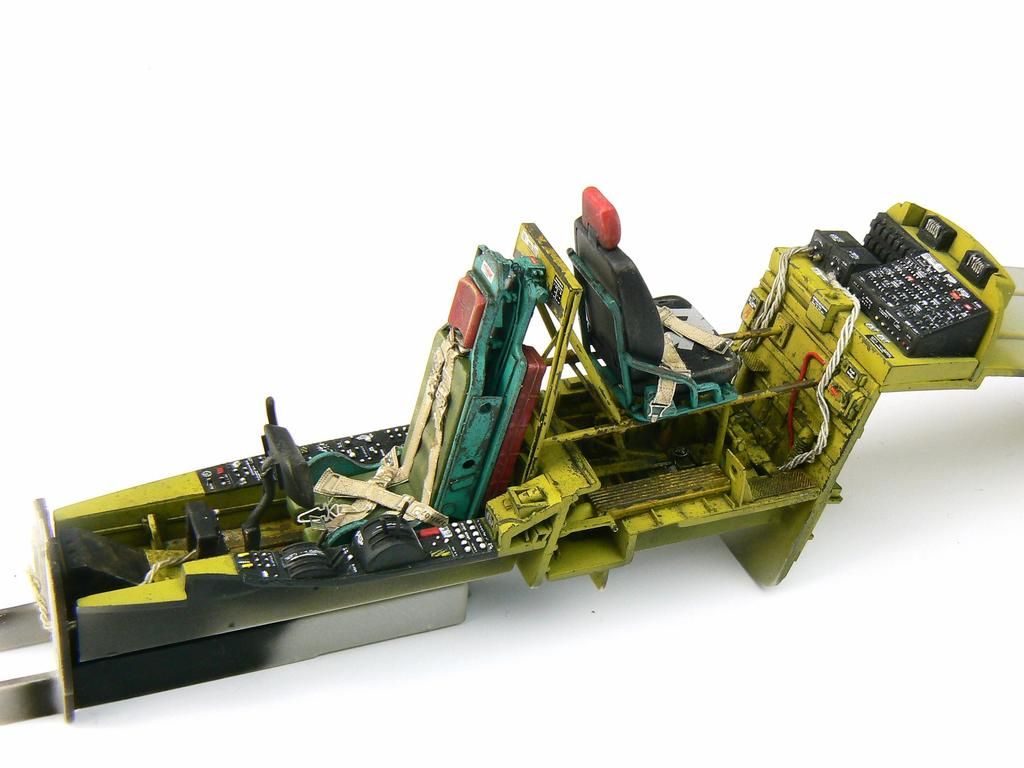
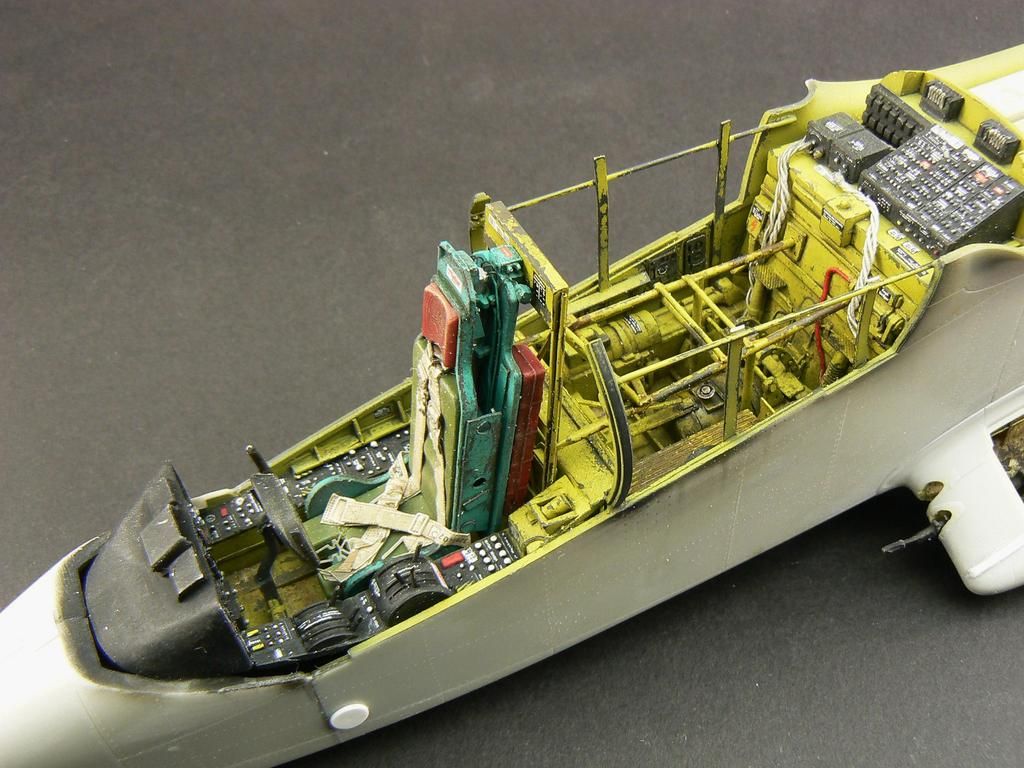
The saw was quite cheap, around 6 Euros I think. But you'll need a handle, they're cheap and RB Productions stock them. The cockpit was finally finished. To be honest I just let the imagination run away and I just kept adding more and more so in the end it looks really very busy. Its all plastic card, bits of that 1:48 F-14 and 1:35 WMIK, lead wire, brass wire and Albion Alloys tubing. 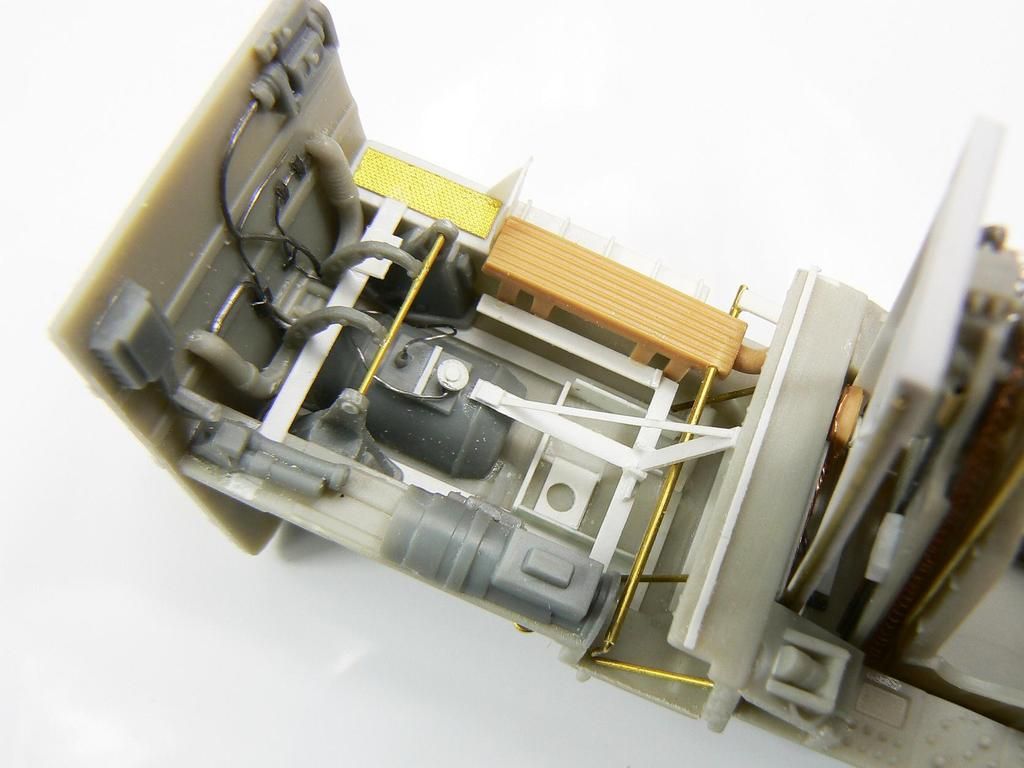 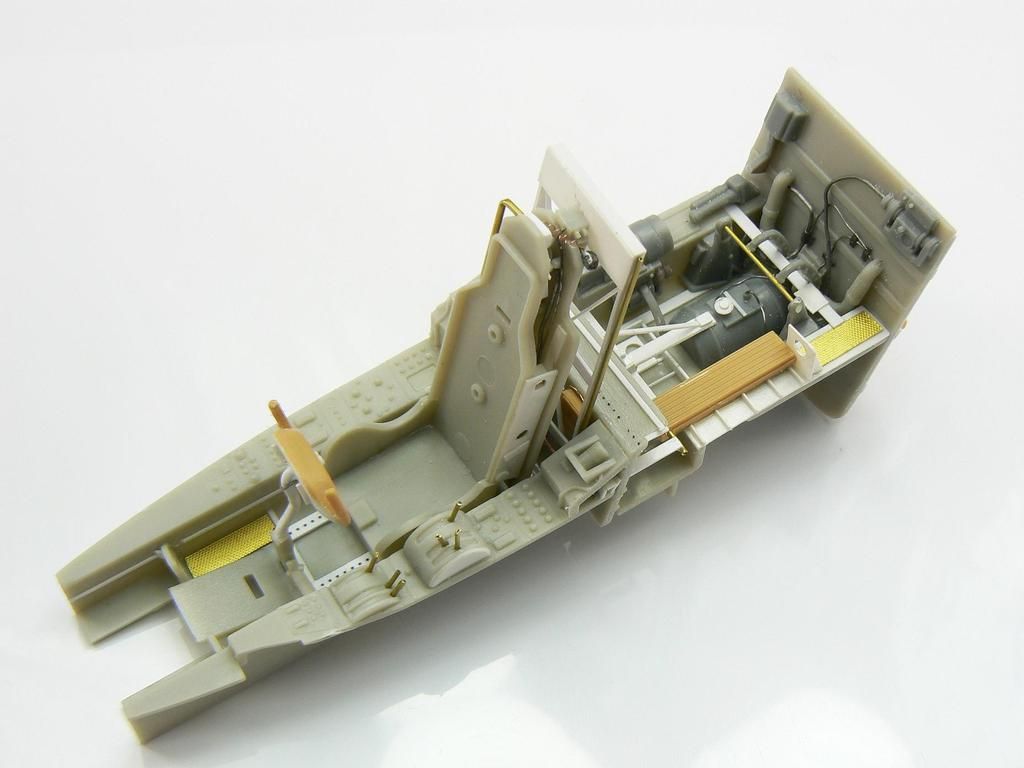 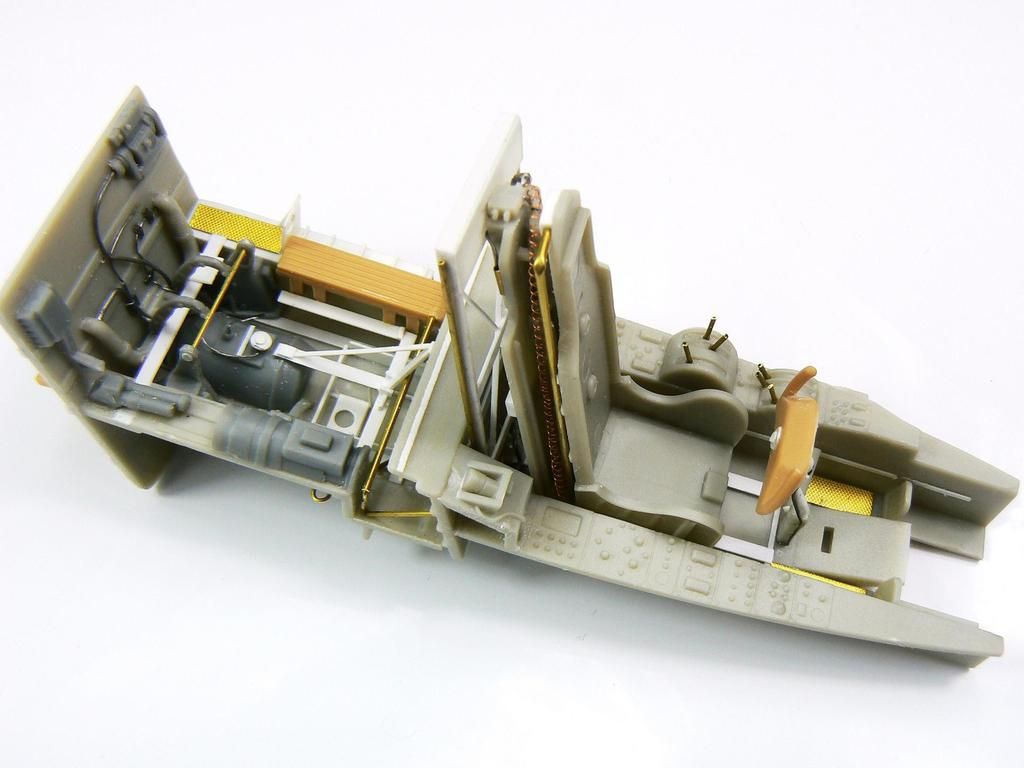 That row of black dots are HGW rivets, decals in fact! Note also the home made spring in the pilot's seat, inspired by the real thing but I think that's part of the comms. I did this because I think it looked cool! 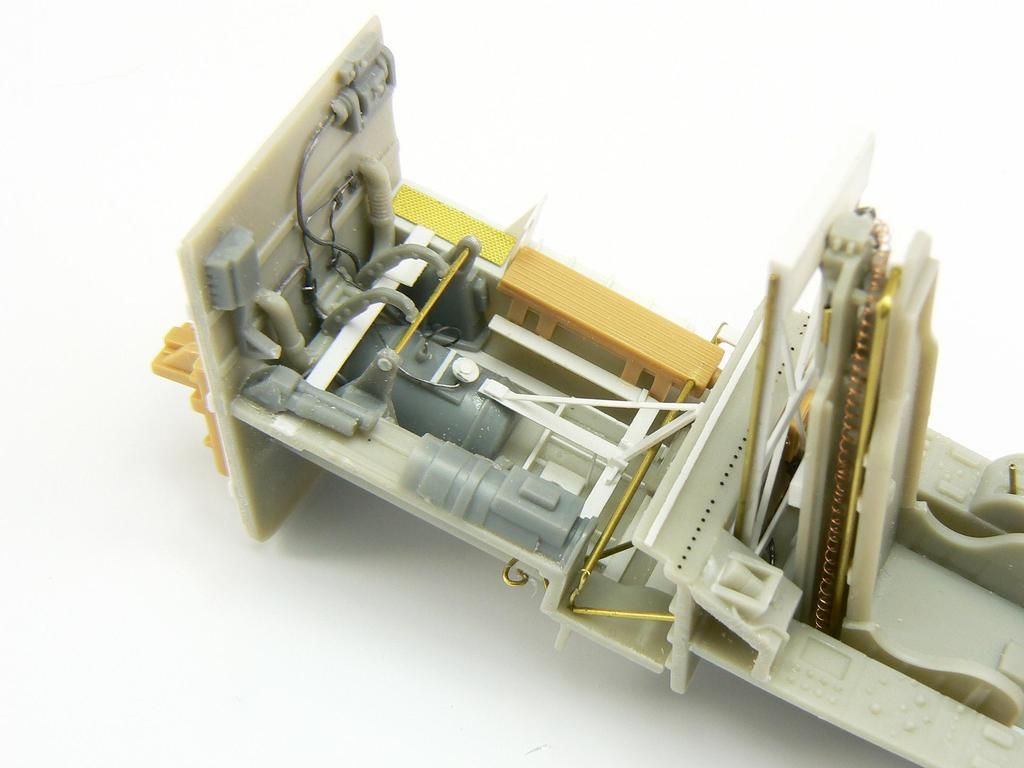 To glue the brass rod, I squashed the ends to give a larger surface area for gluing. 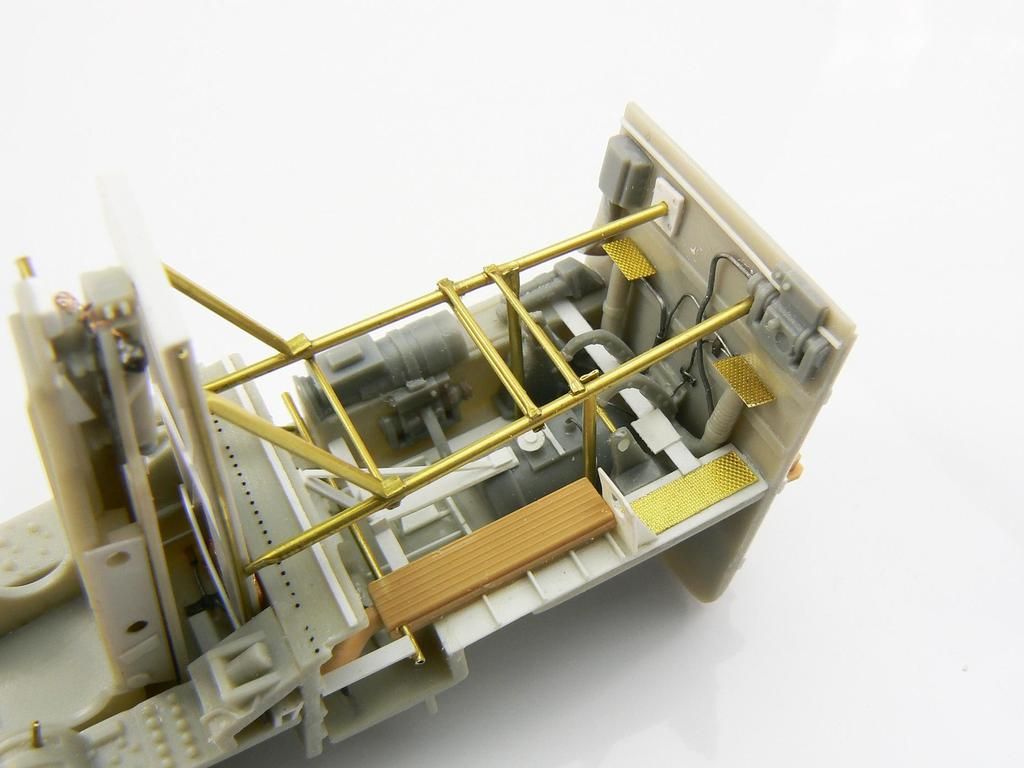 Here is the finished gunner's cockpit. That seat is from the WMIK! 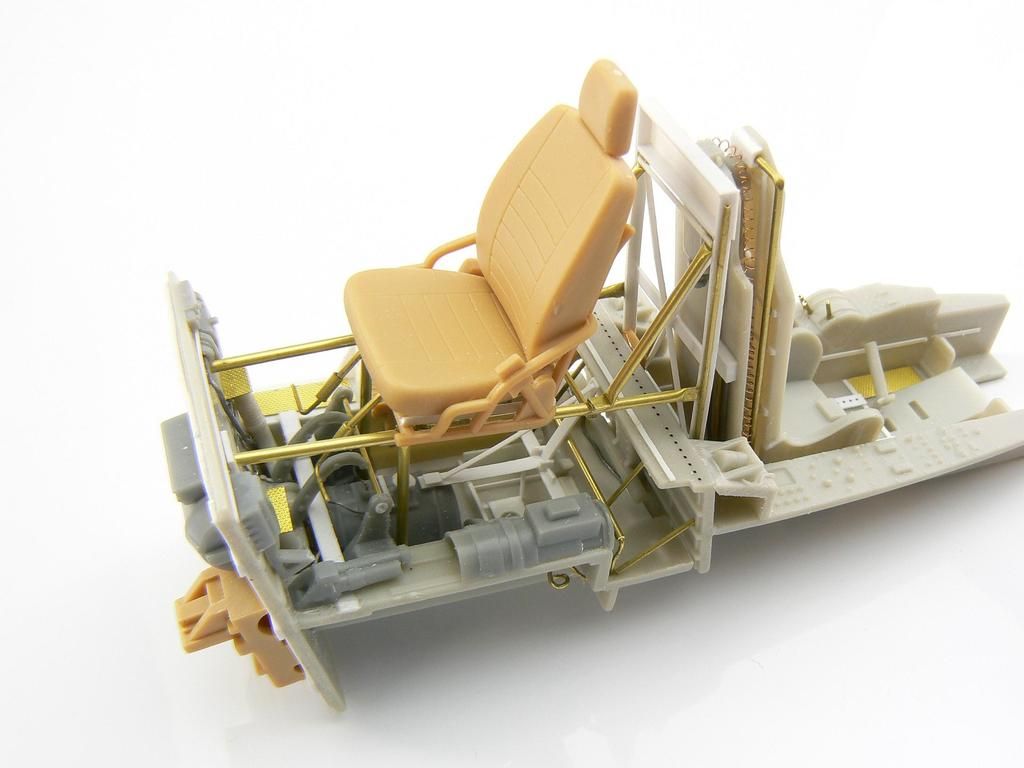 The pilot's office wasn't neglected. As well as plastic strip and Albion Alloys tubing, I also added a WMIK thingamajig and some Airscale photo etch bits. 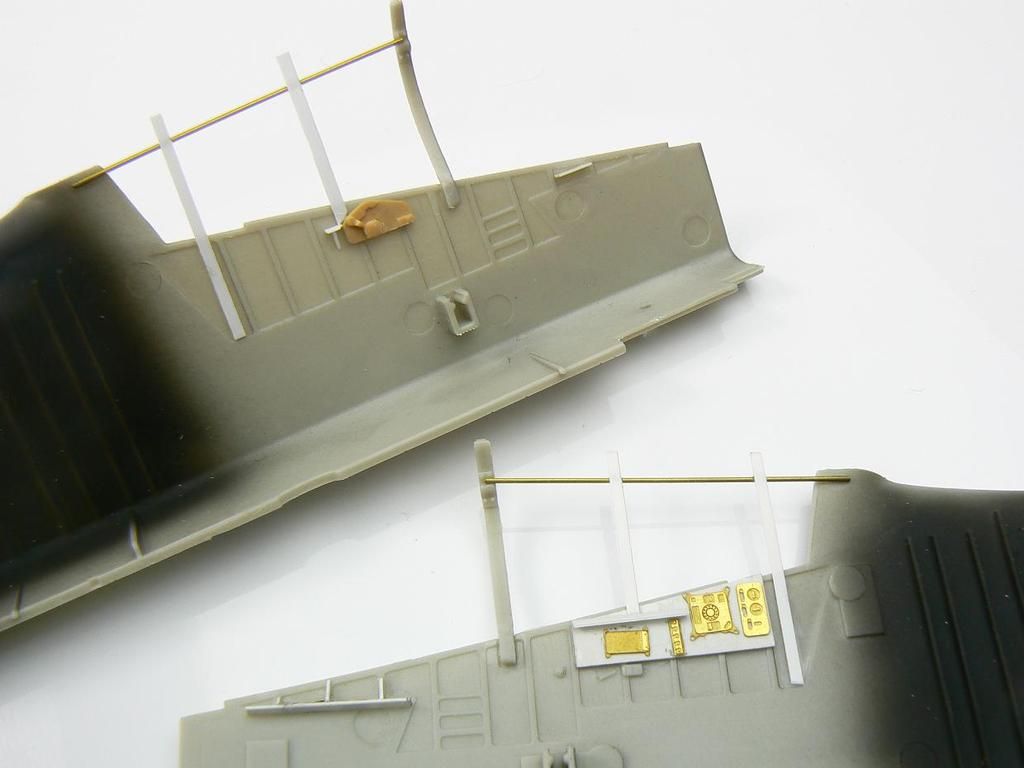 |
|
|
|
Post by Leon on Jan 30, 2016 6:35:17 GMT -5
WOW.....Really great detail work on the cockpit Jamie!   |
|
Haggis
Junior Member
  March 2016 MoM Winner
Member since: March 2012
Posts: 65
Mar 8, 2012 3:18:06 GMT -5
Mar 8, 2012 3:18:06 GMT -5
|
Post by Haggis on Jan 30, 2016 6:44:17 GMT -5
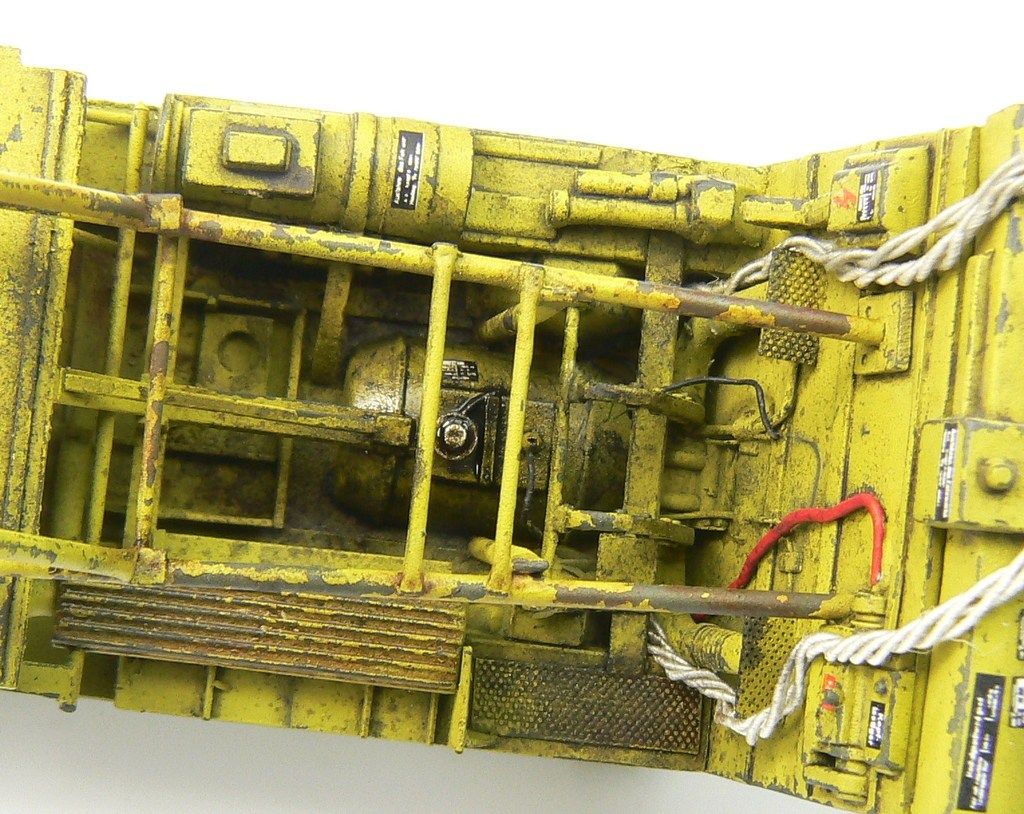
Now time for paint, first up, Alclad black primer. This is highly recommended owing to all the different materials, plus it will help with shading. 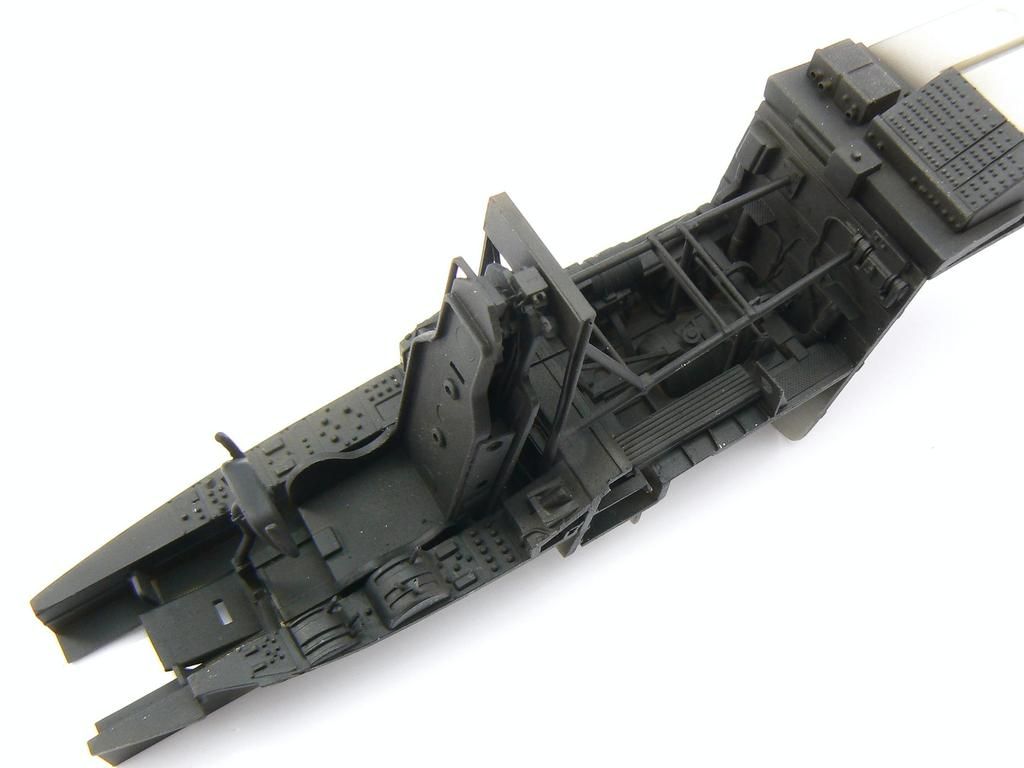 Next up was a layer of undercoat of a weathered steel colour; namely a mix of black, buff, red and Medium Sea Grey. On top was a layer of Ammo of Mig's Scratch Effects chipping fluid. When dry I sprayed the top coat, Tamiya XF-4 Yellow/Green which is a great Zinc Chromate primer colour. Note the subtle shading from the undercoat. 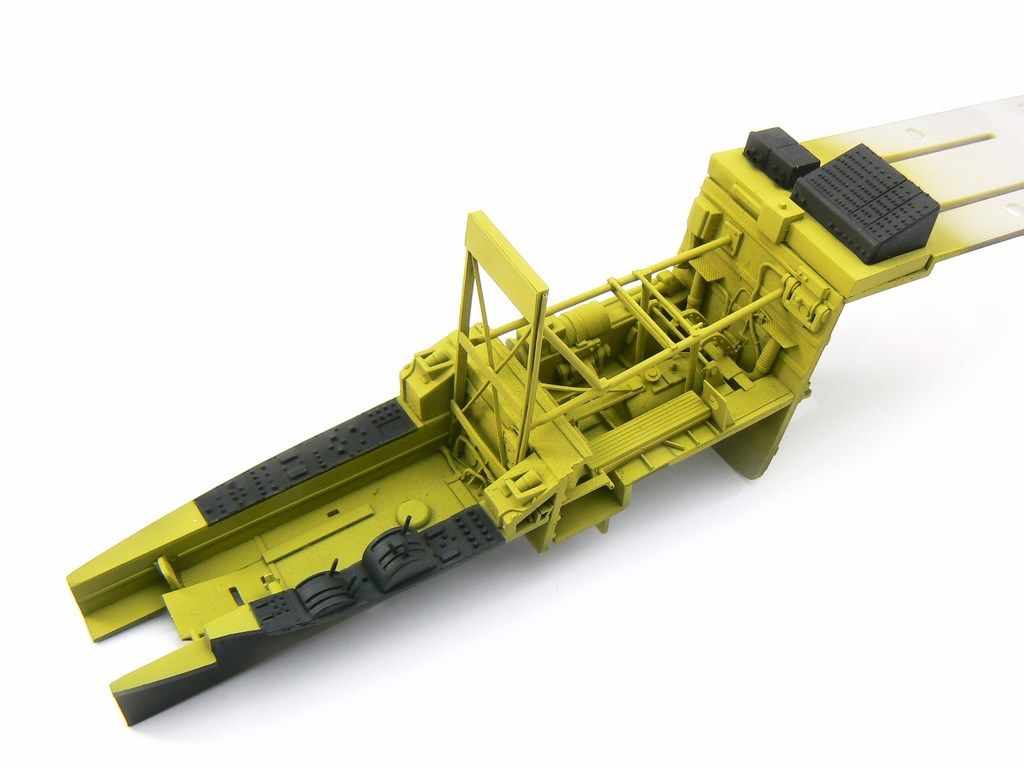 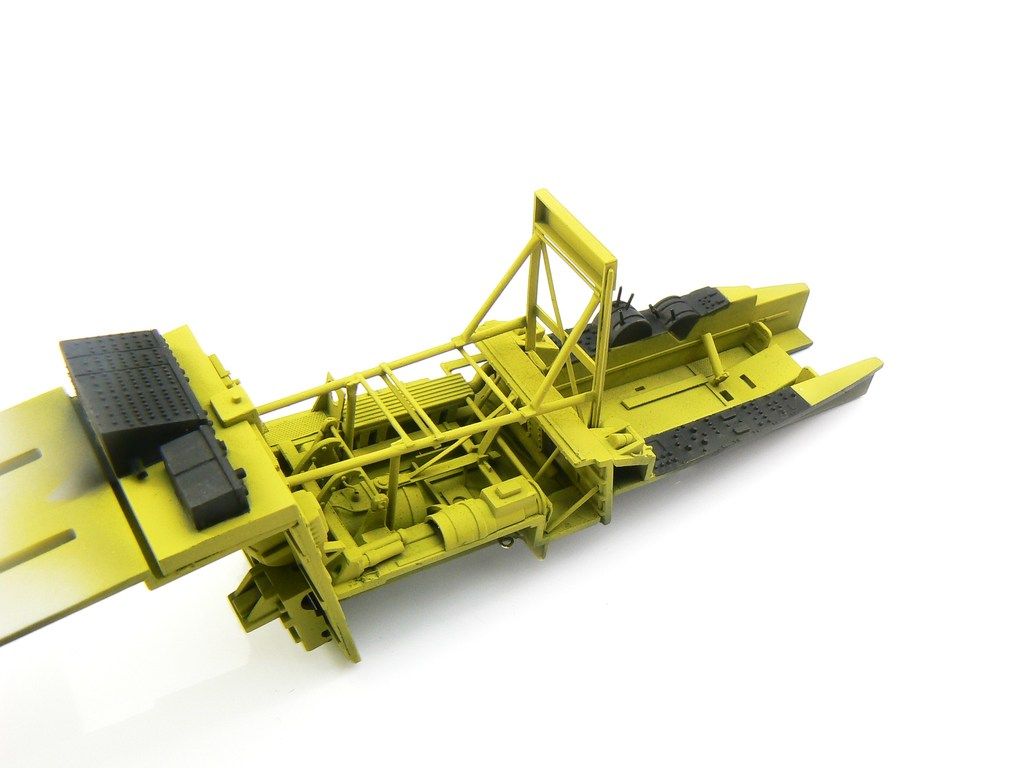 Now the fun part. Keeping the area wet I scrubbed the areas of wear with a brush, eventually the water will soak through and dissolve the chipping fluid (you can use hairspray but its a bit of a sledgehammer and can be unpredictable) and lift off the dry paint in realistic chipping patterns. 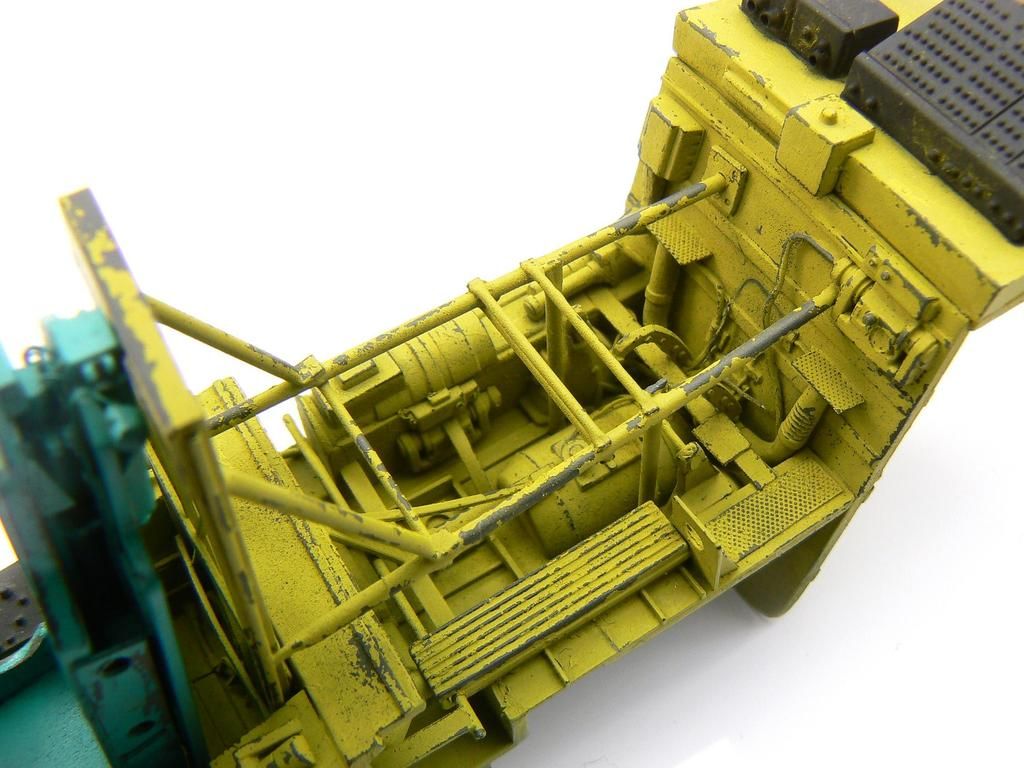 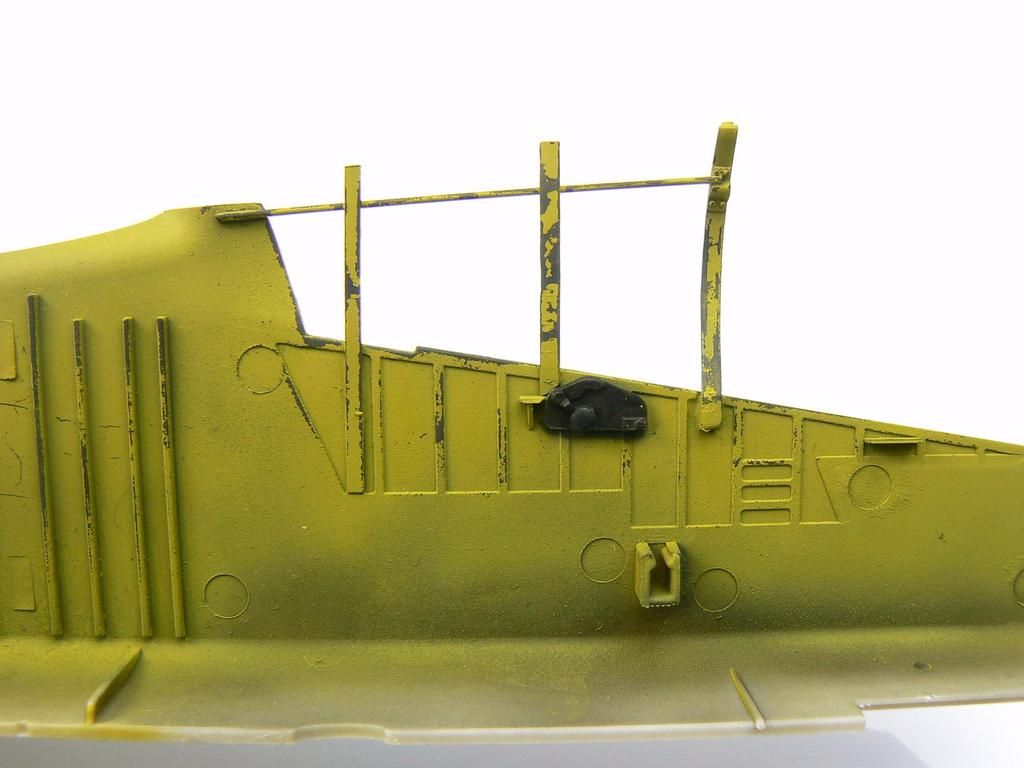 Next was the pin wash. I used a mix of tones from Ammo of Mig's Panel Line Wash (PLW) series and a new product from Alclad called Hogwash (brilliant by the way). I recieved a sample to test out so I'm not sure where you can get it, if it's even released yet. The wash was dabbed into the area then when dry removed with a soft moist brush. 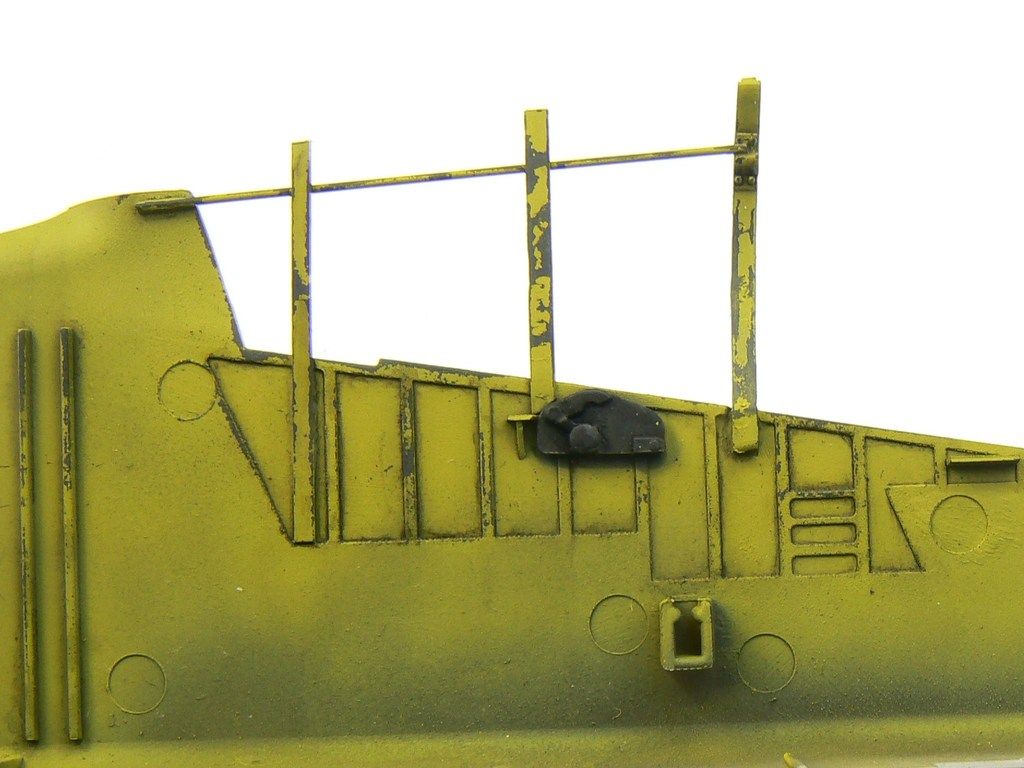 Time for some detail painting. The switches were picked out with a fine brush and acrylic paint. I "wet" dry-brushed the rear CB panel, the detail was too small to accurately paint and dry brushing is not opaque enough and would affect the edges of the box. By just removing the worst of the excess of the brush you get a much stronger finish. 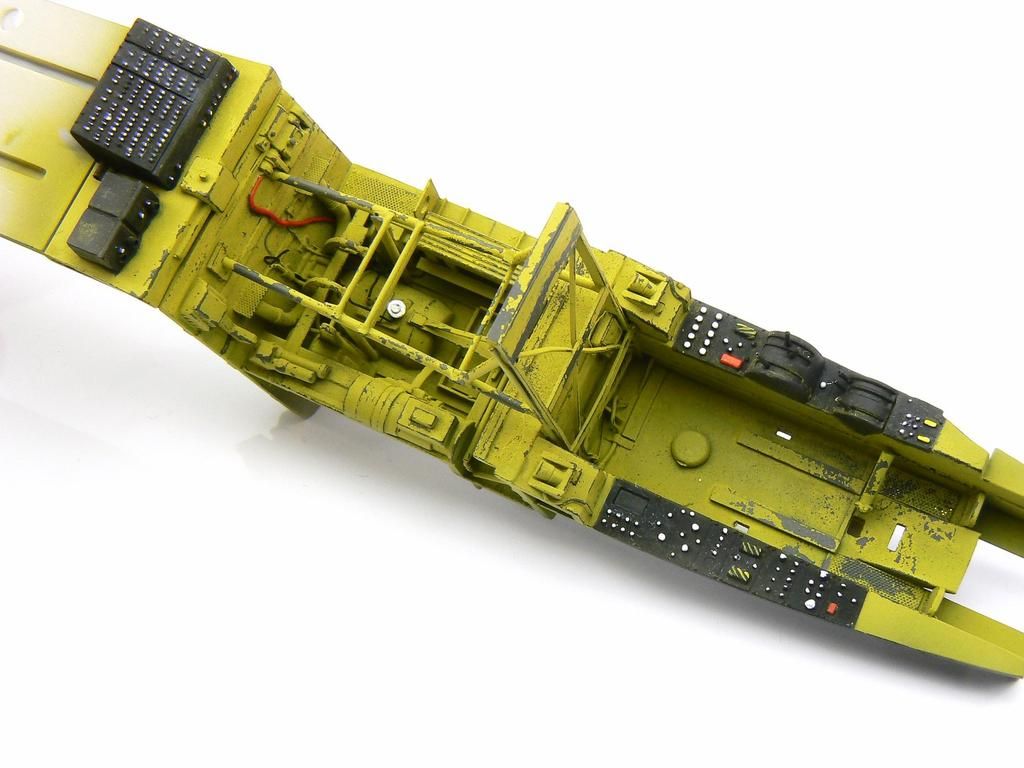 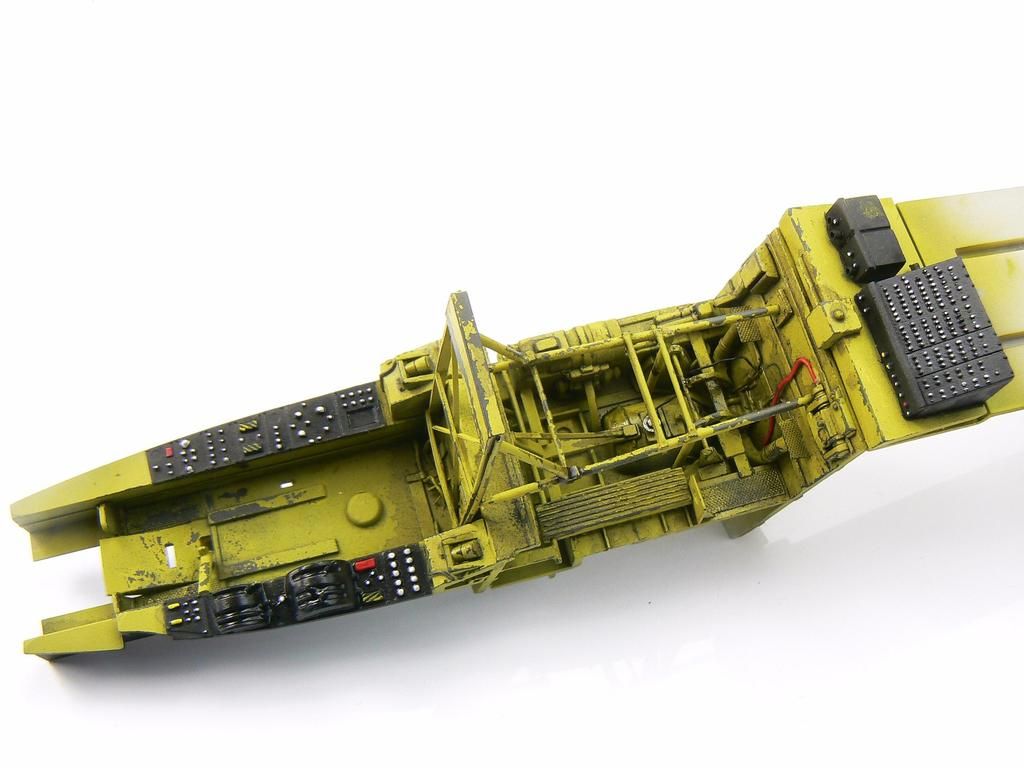 If stencils give you nightmares then look away now. Using Airscale's superb placard decals I dressed up the cockpit, the CB panel has over 40 decals on it alone! I also added some wiring looms, these are cotton covered wire from Little Cars. 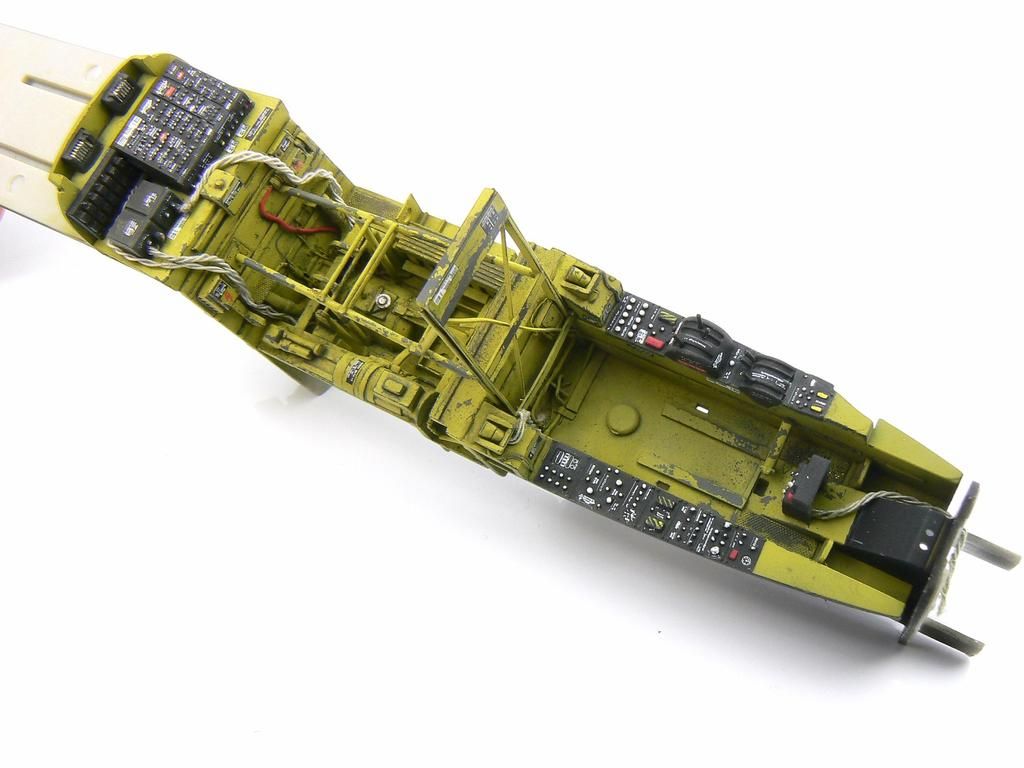 The instrument panel was a mix of Airscale decals and kit supplied decal chopped up. Note I got the Turn and Slip upside-down! 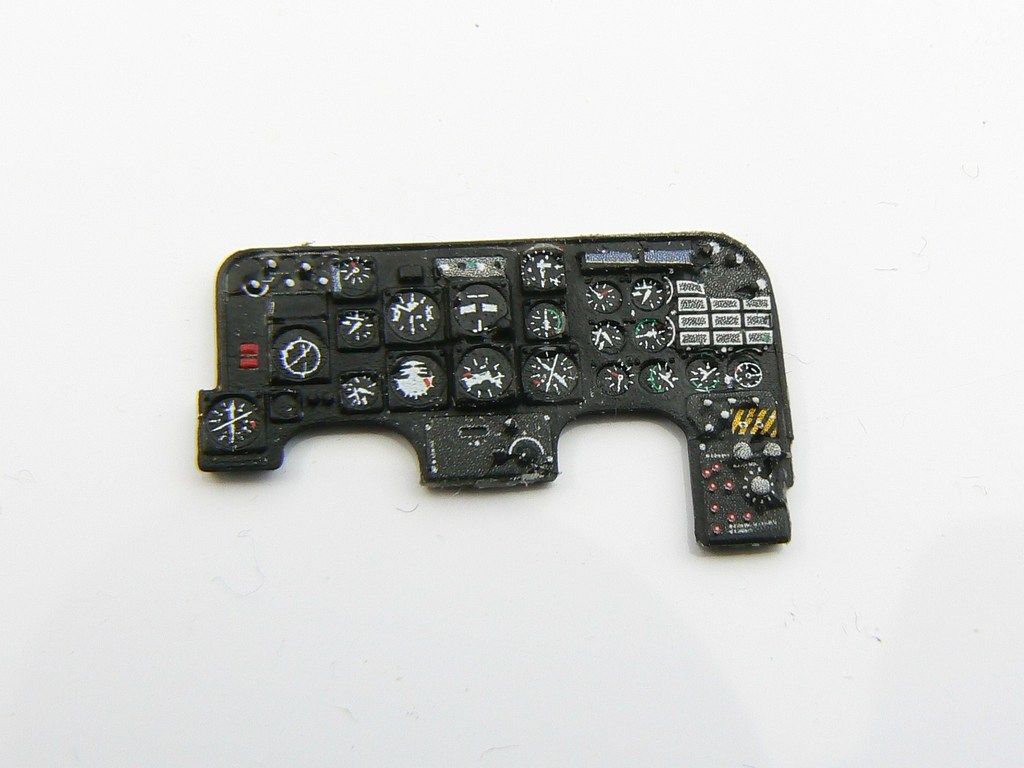 |
|
Haggis
Junior Member
  March 2016 MoM Winner
Member since: March 2012
Posts: 65
Mar 8, 2012 3:18:06 GMT -5
Mar 8, 2012 3:18:06 GMT -5
|
Post by Haggis on Jan 30, 2016 6:57:31 GMT -5
|
|
|
|
Post by dierk on Jan 30, 2016 7:27:44 GMT -5
Stunning result Haggis! Certainly no onset of boredom at this end! Loving the gaffa-taped seat!
|
|
John Everett
Full Member
  
Member since: January 2012
July, 2016 MoM Winner
Posts: 1,278
Jan 17, 2012 0:53:48 GMT -5
Jan 17, 2012 0:53:48 GMT -5
|
Post by John Everett on Jan 30, 2016 11:29:14 GMT -5
I used to fly a crop duster which had a car seat in it. In fact, that old Callair looked a lot like your interior here.
|
|
|
|
Post by Leon on Jan 30, 2016 12:28:13 GMT -5
WOW...Excellent work on the cockpit Jamie!  Nothing boring about this project!  Lookin forward to seeing your next update.  |
|
chris0423
Full Member
   Aug 2014 MoM Winner
Member since: February 2012
Posts: 528
Feb 23, 2012 17:08:25 GMT -5
Feb 23, 2012 17:08:25 GMT -5
|
Post by chris0423 on Jan 30, 2016 13:57:22 GMT -5
Brilliant, absolutely brilliant Haggis, a stunning detail and finish on the pit!
Chris.
|
|
adt70hk
Forum Moderator      November '24 Showcased Model Awarded
Member since: November 2015
Currently attempting to build something decent!!! ;)
Posts: 2,837 
MSC Staff
|
Post by adt70hk on Jan 30, 2016 14:16:33 GMT -5
I couldn't agree more with the above comments! It looks amazing on my phone - can't wait to see what it looks like on a proper screen!
Andrew
|
|
|
|
Post by dupes on Jan 30, 2016 17:28:00 GMT -5
Wow. Doesn't look much like an OV-10 anymore, does it? Excellent scratch and weathering work!
|
|
Haggis
Junior Member
  March 2016 MoM Winner
Member since: March 2012
Posts: 65
Mar 8, 2012 3:18:06 GMT -5
Mar 8, 2012 3:18:06 GMT -5
|
Post by Haggis on Jan 31, 2016 5:12:30 GMT -5
Thanks chaps. Here is the next update chaps. First off, the cargo cabin. The rear bulkhead was was detailed up, I didn't go made as it's going to be dark back there! 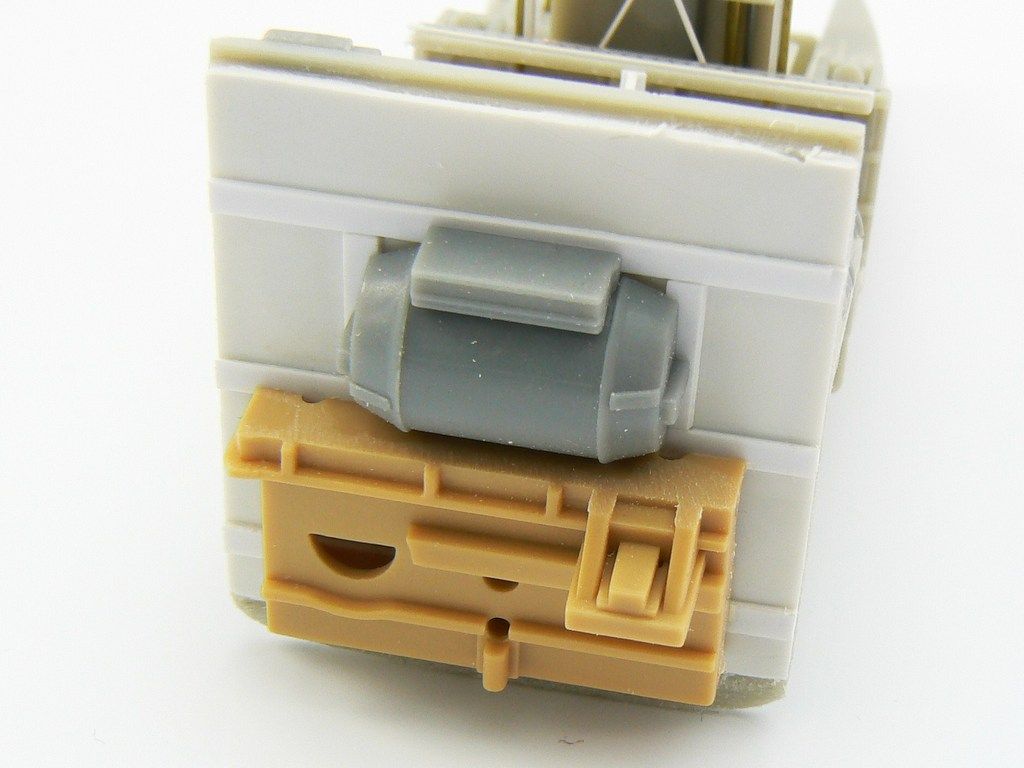 The floor plate was detailed with etched tread plate, plastic strip and HGW rivet decals. The basket is from the WMIK kit but the floor became the lid, a new floor was made with plastic card, the back blanked with photo etch mesh and various details added such as clasps, hinges etc. 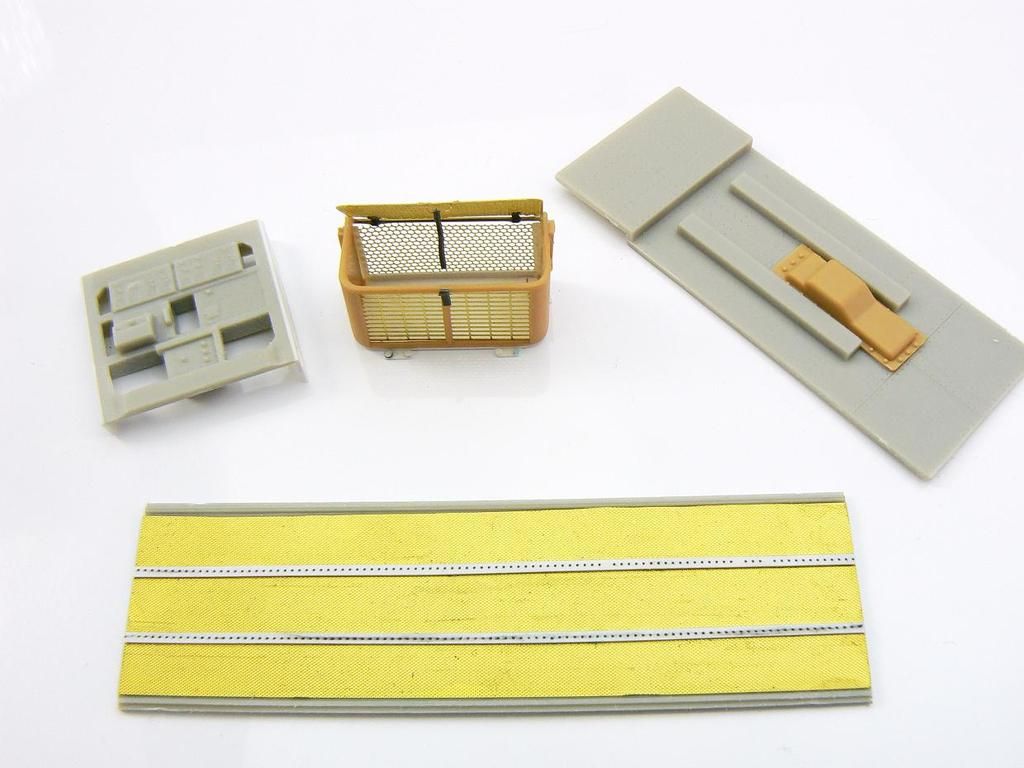 The bits were primed with Alclad black micro primer. 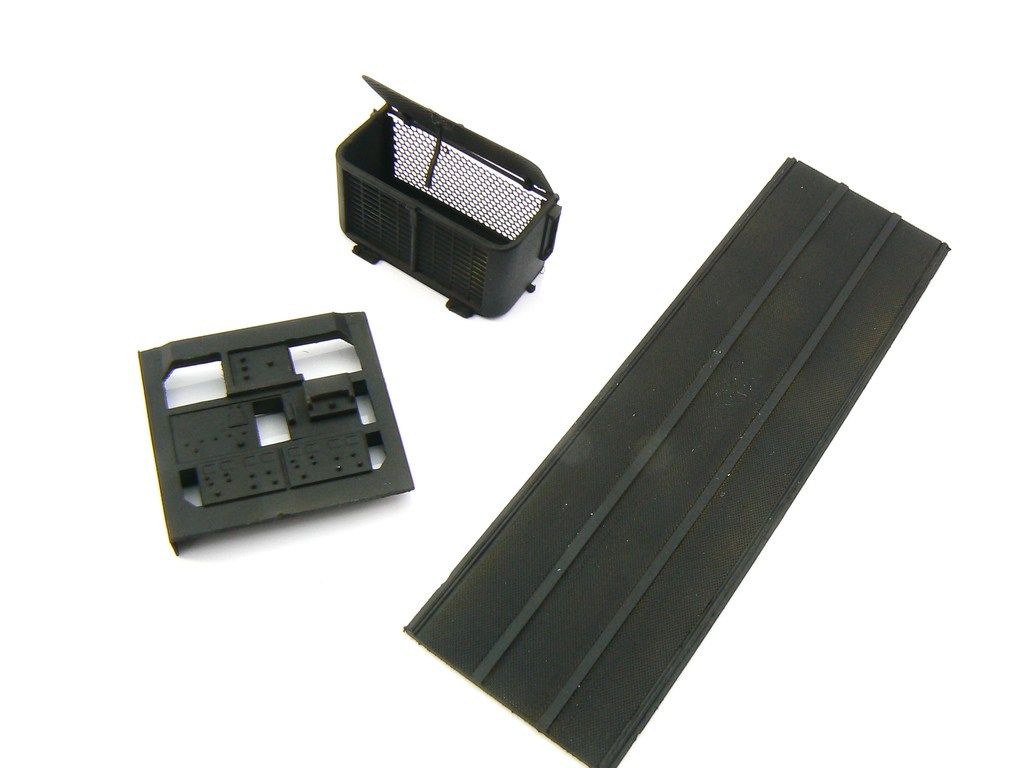 The various bits were painted and chipped as per the cockpit. 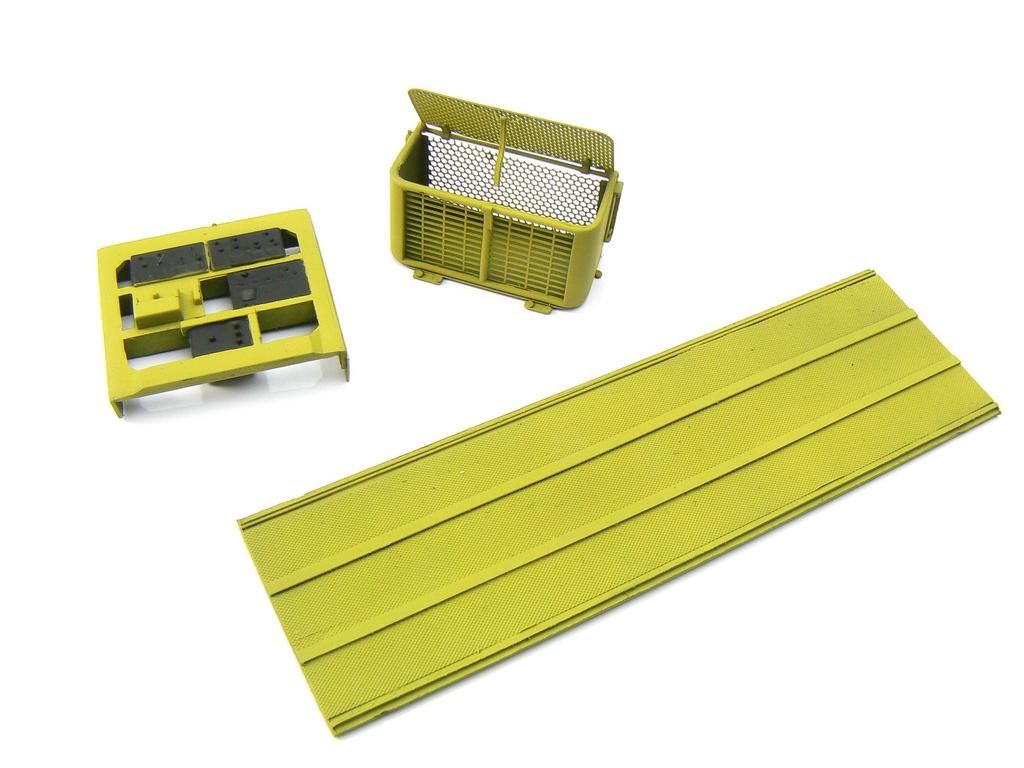 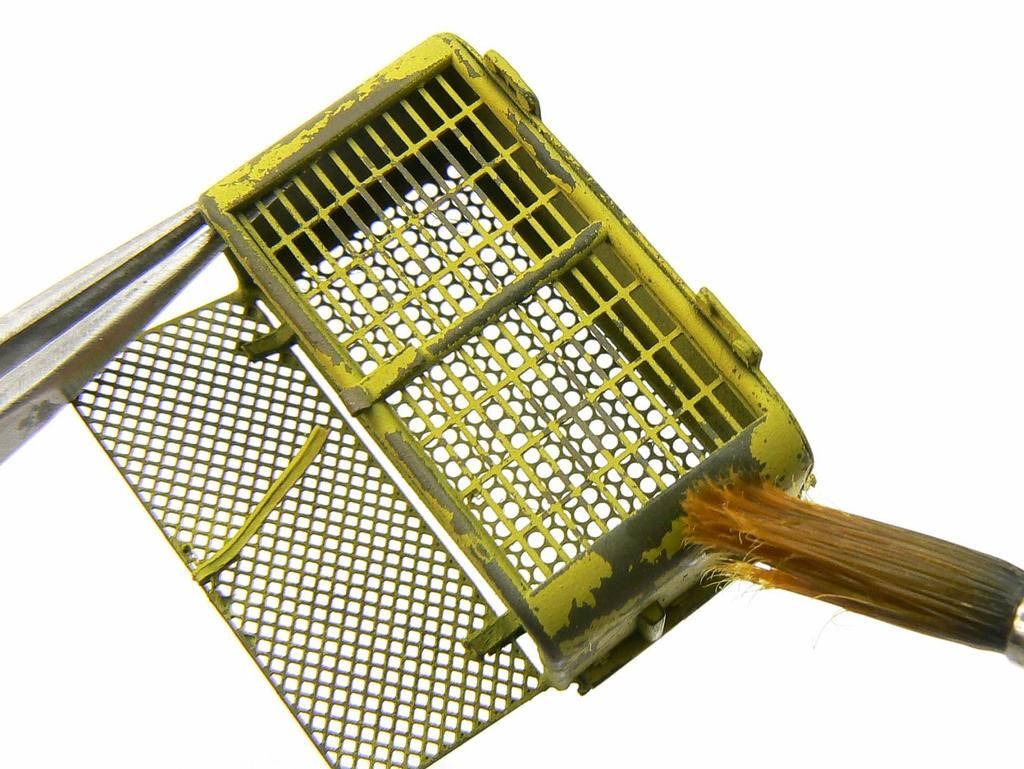 The tread plate didn't chip too well so it was enhanced by dry brushing. 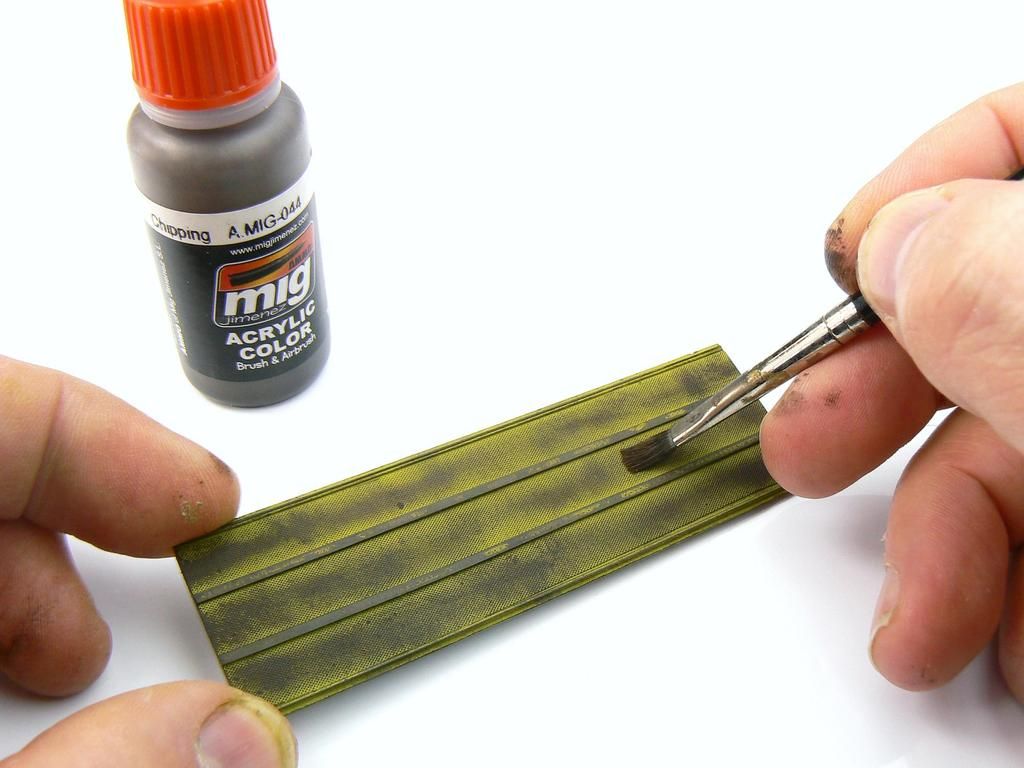 Rust was simulated by applying Ammo of Mig's Rust Streaking effects. When dry it was blended with a moist brush. 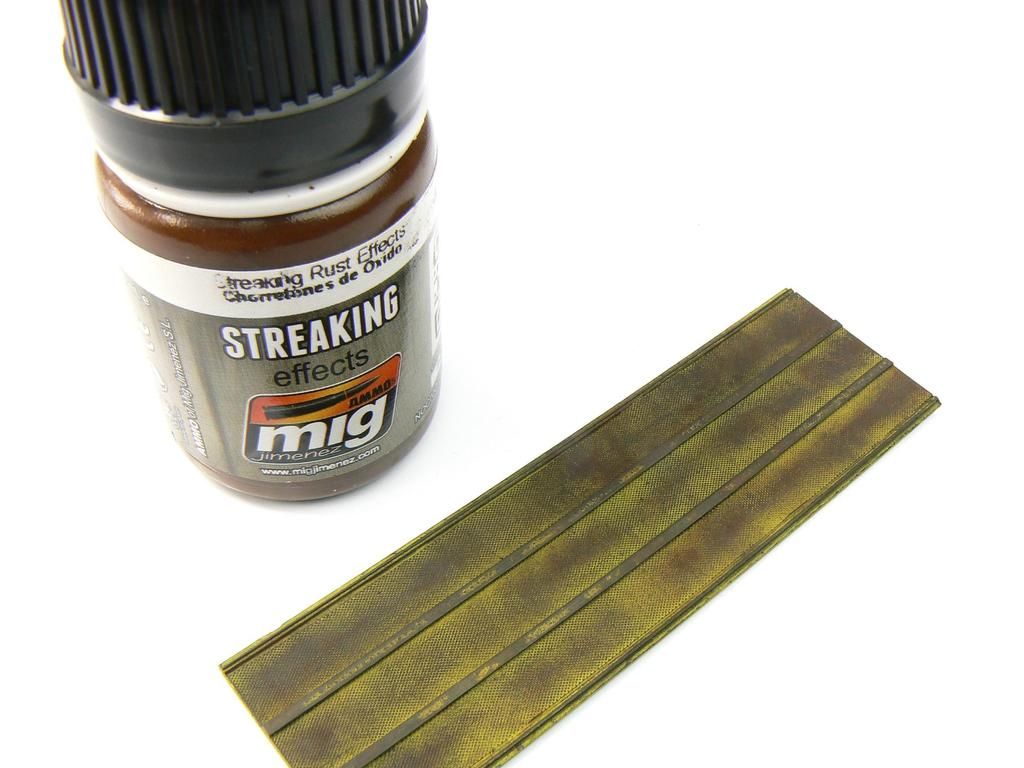 Ammo of Mig's Airfield Dust and Earth pigments were applied and fixed with white spirit. 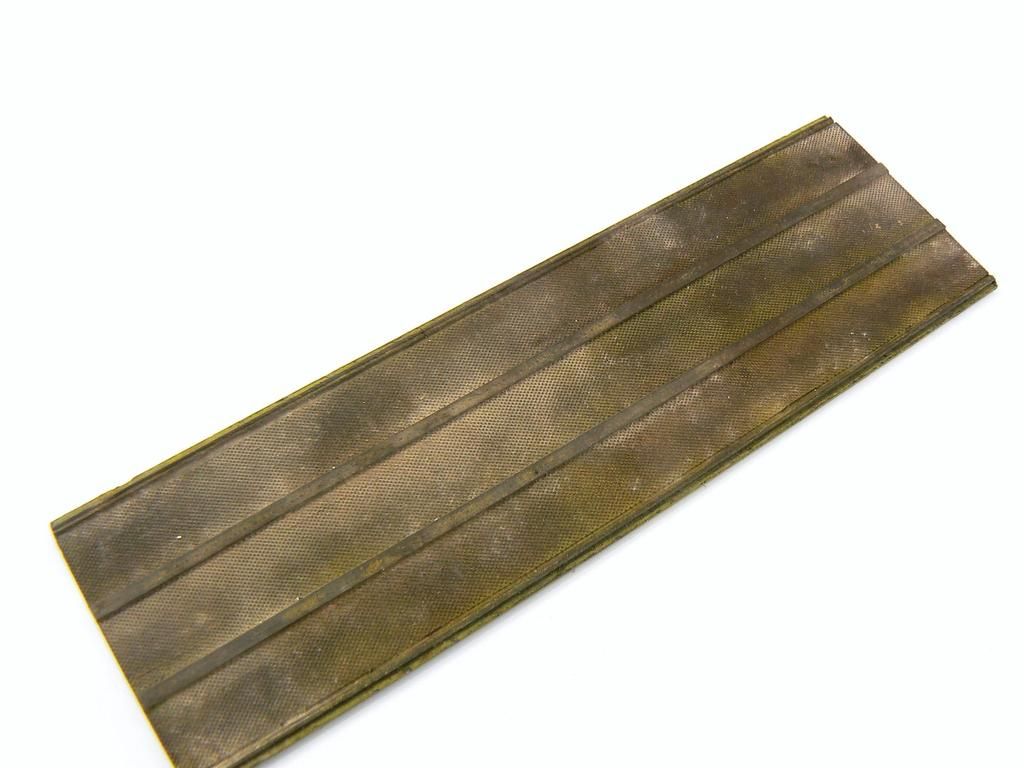 A thinned mix of Ammo of Mig Fresh Engine Oil, Engine Grime and Black pigment was applied to simulate old oil stains. 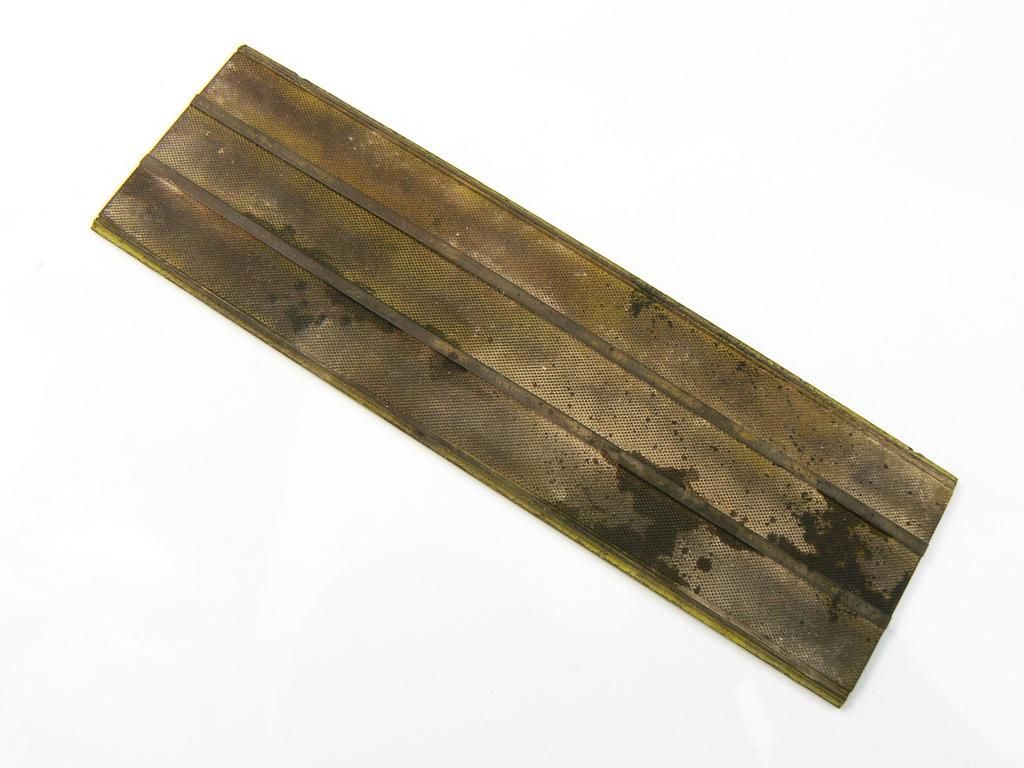 |
|
|
|
Post by dierk on Jan 31, 2016 6:33:04 GMT -5
Another excellent update! Metaphorically speaking, I'm on the edge of my seat (I like my comfort too much to do it in RL)
|
|
Rick
Full Member
  
Member since: March 2013
what to build, what to build . . . Ok THAT one!
Posts: 854 
|
Post by Rick on Jan 31, 2016 6:46:55 GMT -5
Great work Haggis. Pretty much an SBS of how to make a beautiful mess of a cockpit. Appreciate you sharing the details. Looking forward to more.
Rick
|
|
|
|
Post by Leon on Jan 31, 2016 6:58:18 GMT -5
Great update Jamie!  This just keeps getting better and better.  |
|
Deleted
Member since: January 1970
Posts: 0
Nov 29, 2024 6:10:57 GMT -5
Nov 29, 2024 6:10:57 GMT -5
|
Post by Deleted on Feb 1, 2016 11:08:47 GMT -5
Wow! That is some incredible detail work!
|
|
Haggis
Junior Member
  March 2016 MoM Winner
Member since: March 2012
Posts: 65
Mar 8, 2012 3:18:06 GMT -5
Mar 8, 2012 3:18:06 GMT -5
|
Post by Haggis on Feb 6, 2016 4:30:12 GMT -5
Thanks guys, I really appreciate the comments. Now for the gun pods. The structural bits were painted on the sprue with Mr. Paint's Lemon Yellow Russian primer. Look how smooth that is, it's wonderful paint, the best ever. 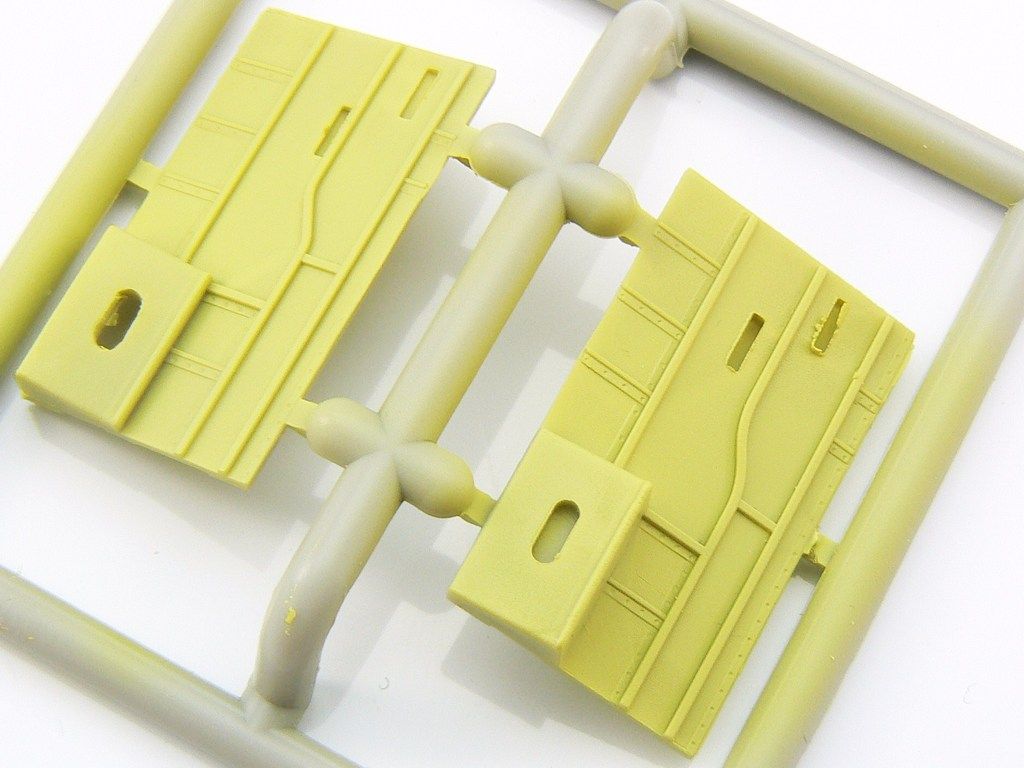 I used Warpigs thinner for the pin wash, it's great stuff. 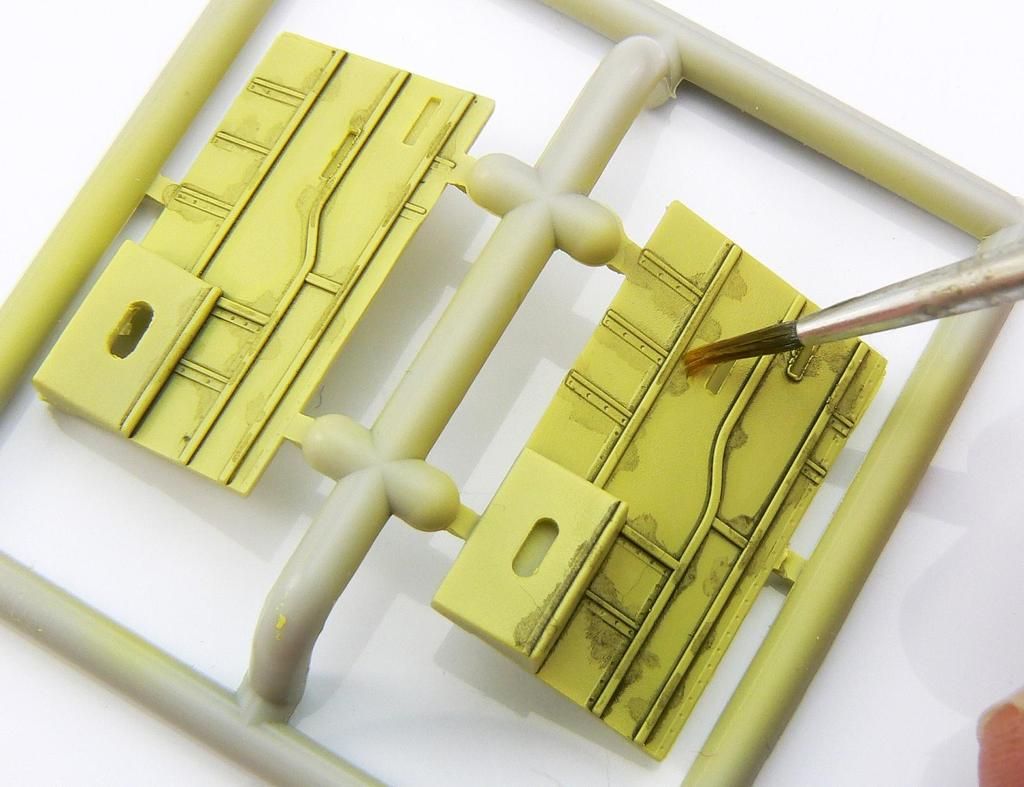 The was was cleaned up with a moist (enamel thinner) brush. 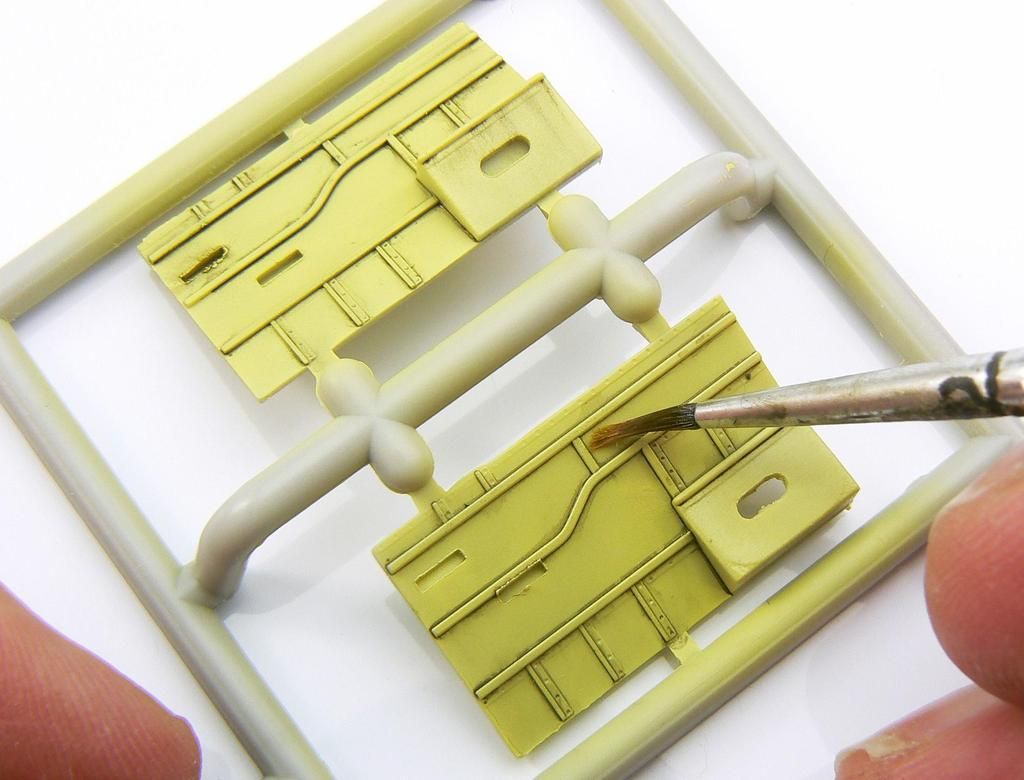 In order to simulate streaking grime, the was was drawn downwards and blended. 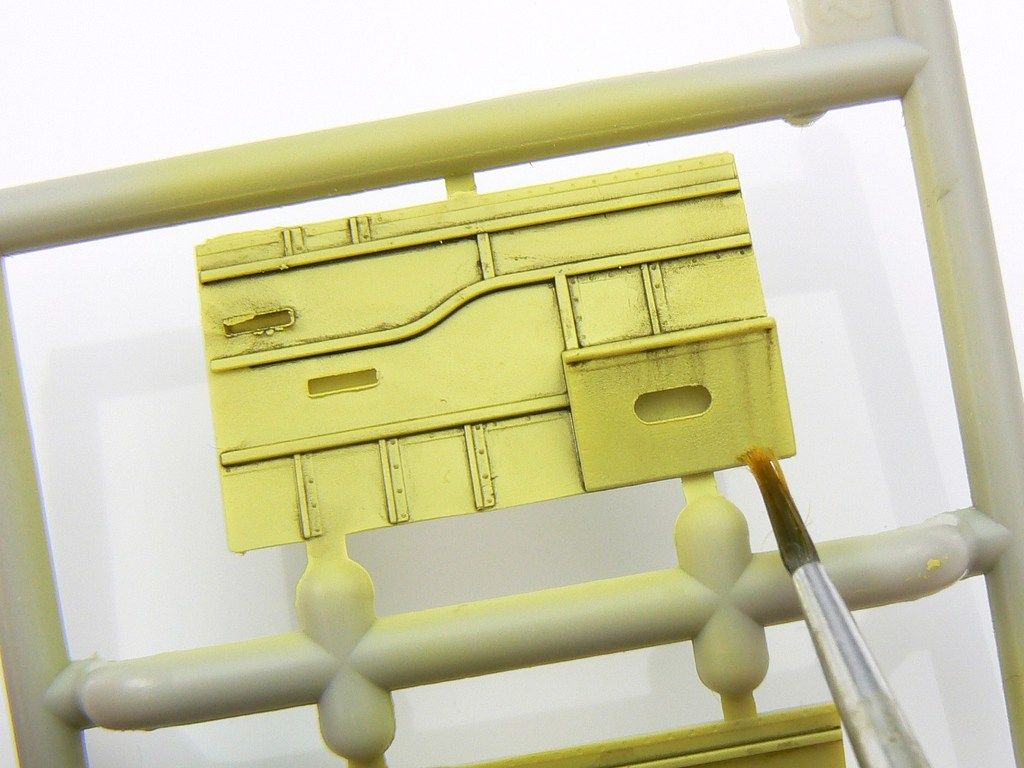 Who knew, dry brushing pigment over Tamiya matt black works a treat! These are the M60s which need to go in during the construction. 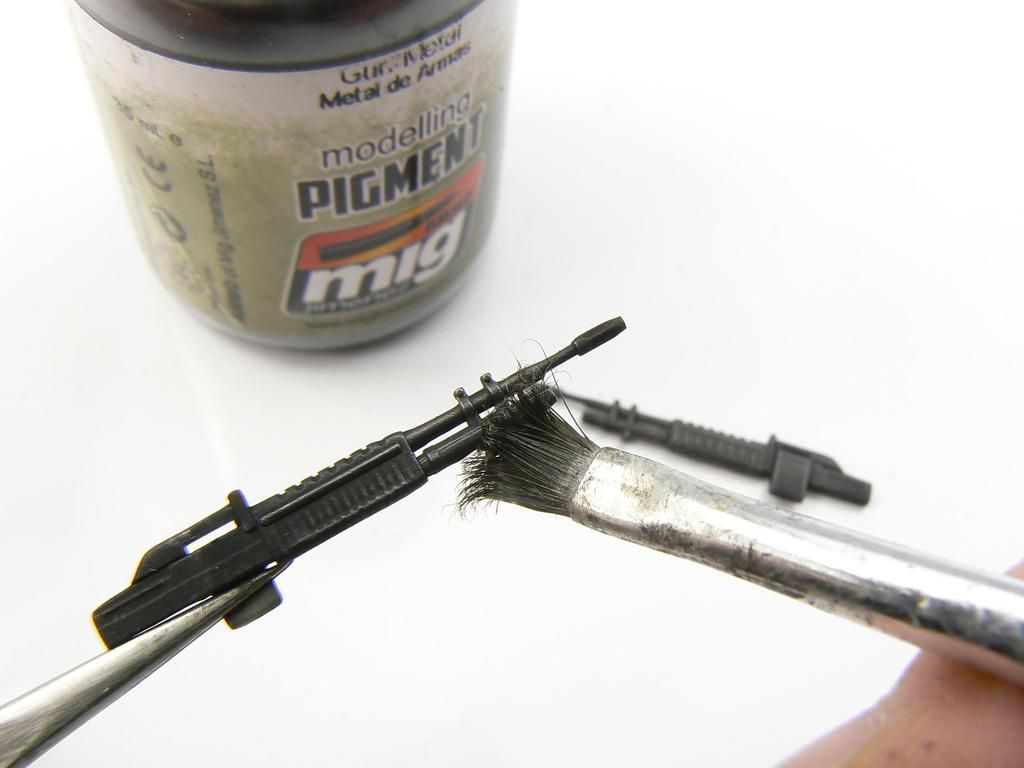 After the dusty pigments, Ammo of Mig's Engine Oil was thinned slightly and flicked onto the parts to look like splashes. 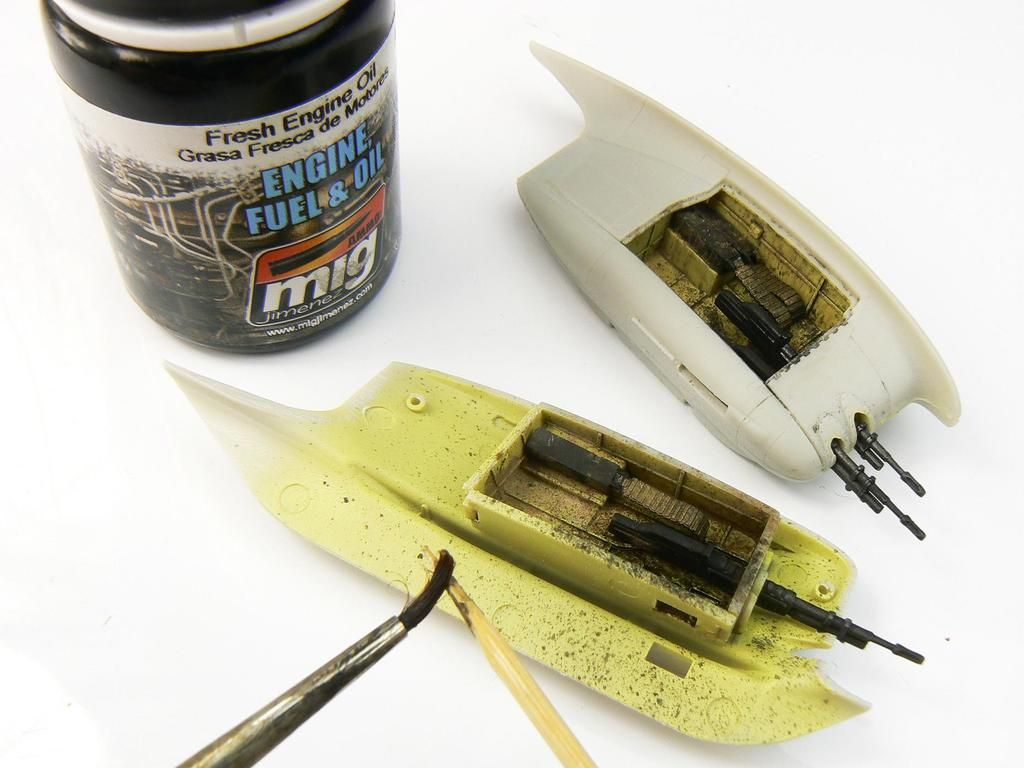 More oil was added near the guns themselves. 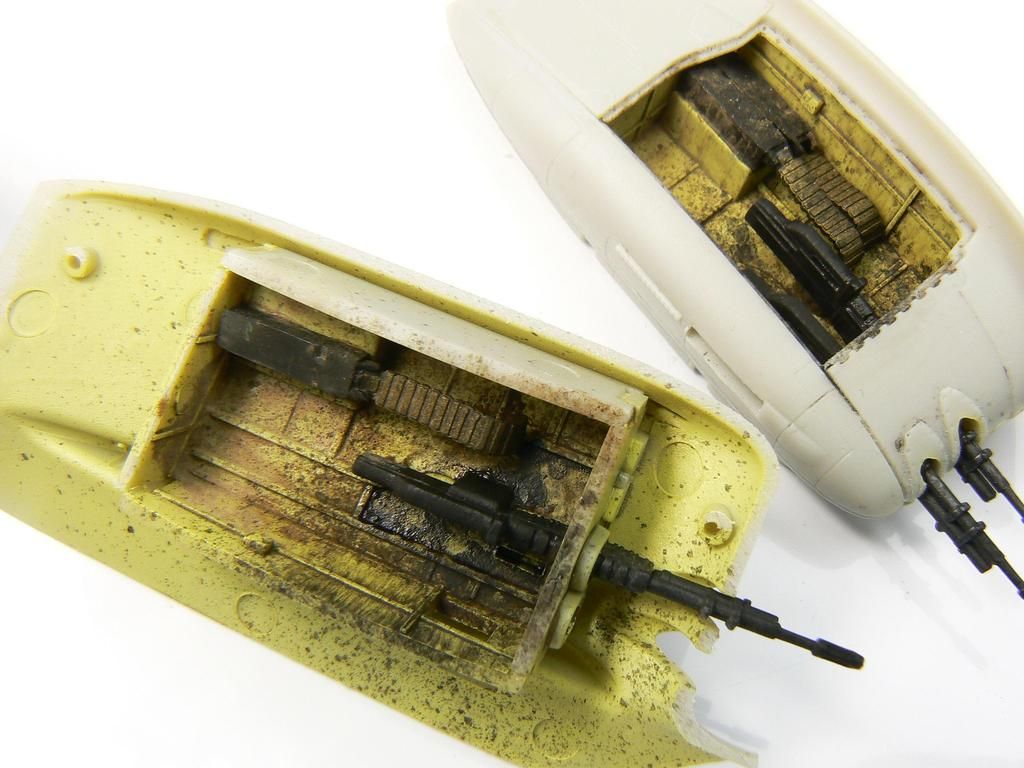 |
|


