|
|
Post by Leon on Feb 6, 2016 4:43:48 GMT -5
Gun pods and weathering look fantastic Jamie!  |
|
|
|
Post by deafpanzer on Feb 9, 2016 23:21:29 GMT -5
Looking STUNNING already... great touch with the duct tapes to the seat!
|
|
adt70hk
Forum Moderator      November '24 Showcased Model Awarded
Member since: November 2015
Currently attempting to build something decent!!! ;)
Posts: 2,837 
MSC Staff
|
Post by adt70hk on Feb 10, 2016 7:48:54 GMT -5
Jamie Stunning, simply stunning!!  Andrew |
|
|
|
Post by panzerjager2 on Feb 10, 2016 8:16:01 GMT -5
That's some of the finest detail work I've seen. This is one AWESOME build
|
|
|
|
Post by dierk on Feb 10, 2016 10:44:10 GMT -5
Just like the slogan for MR Kipling's finest: Exceedingly good!  |
|
Haggis
Junior Member
  March 2016 MoM Winner
Member since: March 2012
Posts: 65
Mar 8, 2012 3:18:06 GMT -5
Mar 8, 2012 3:18:06 GMT -5
|
Post by Haggis on Feb 10, 2016 19:56:45 GMT -5
Thanks guys, I really do appreciate all the comments. Finally I could close up the fuselage. The seam is long and flat, a recipe for an awkward join, that's Tamiya filler! 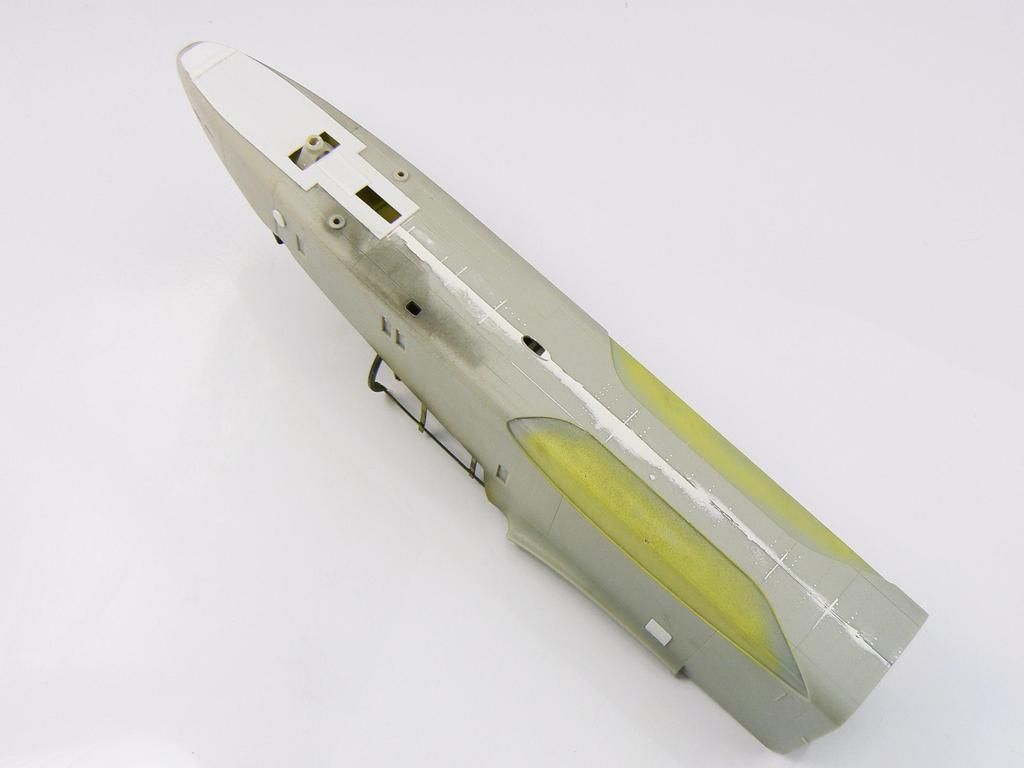 It's going to have fixed undercarriage so the nose wheel was blanked off using thin "steel" plates, simulated by plastic card. 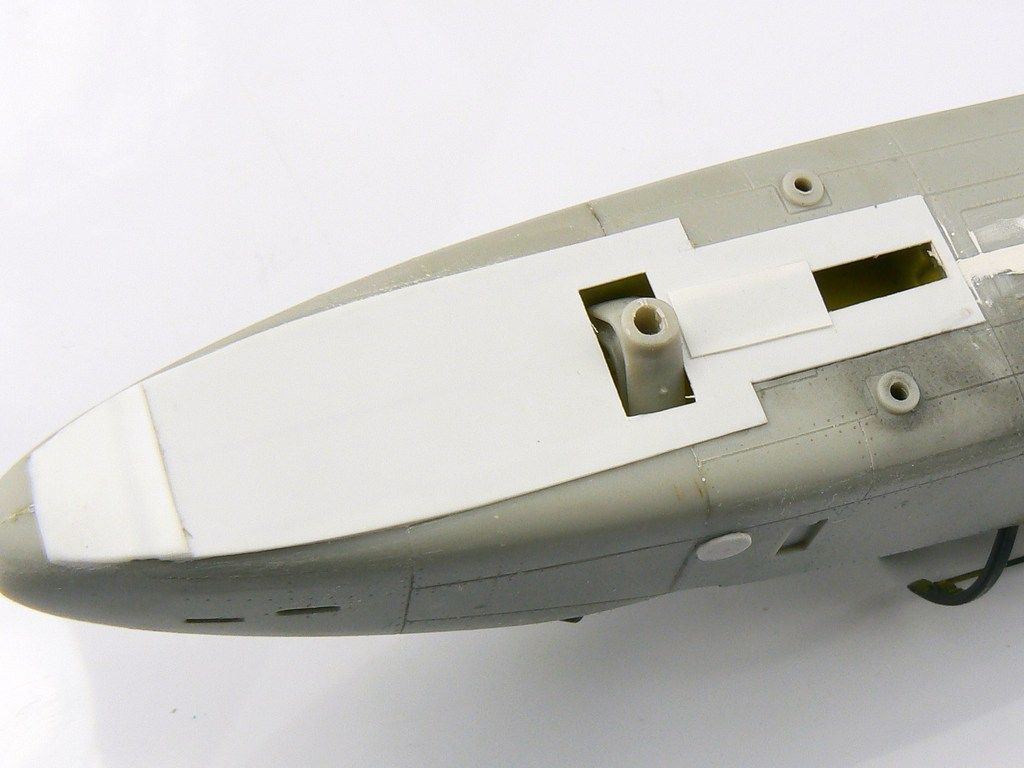 Space for smuggling as much as possible is at a premium, so a Jerry can rack was made from Albion Alloys tubing, spare bits and some photo etch. 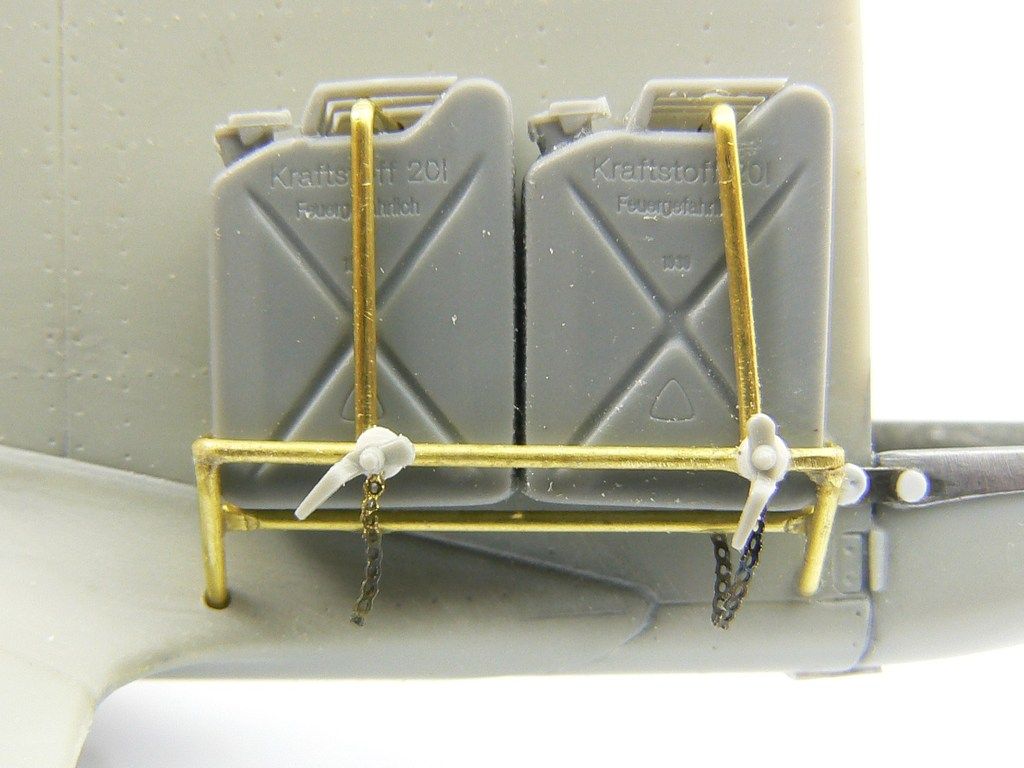 Right, lots going on here. An auxiliary ventral tank covers up the worst of that seam. This is going to be the new undercarriage mount, it's going to take a lot of pounding so needed strengthening hence the Albion Alloys tubing. Those WMIK bits on the outside are part of the suspension system. 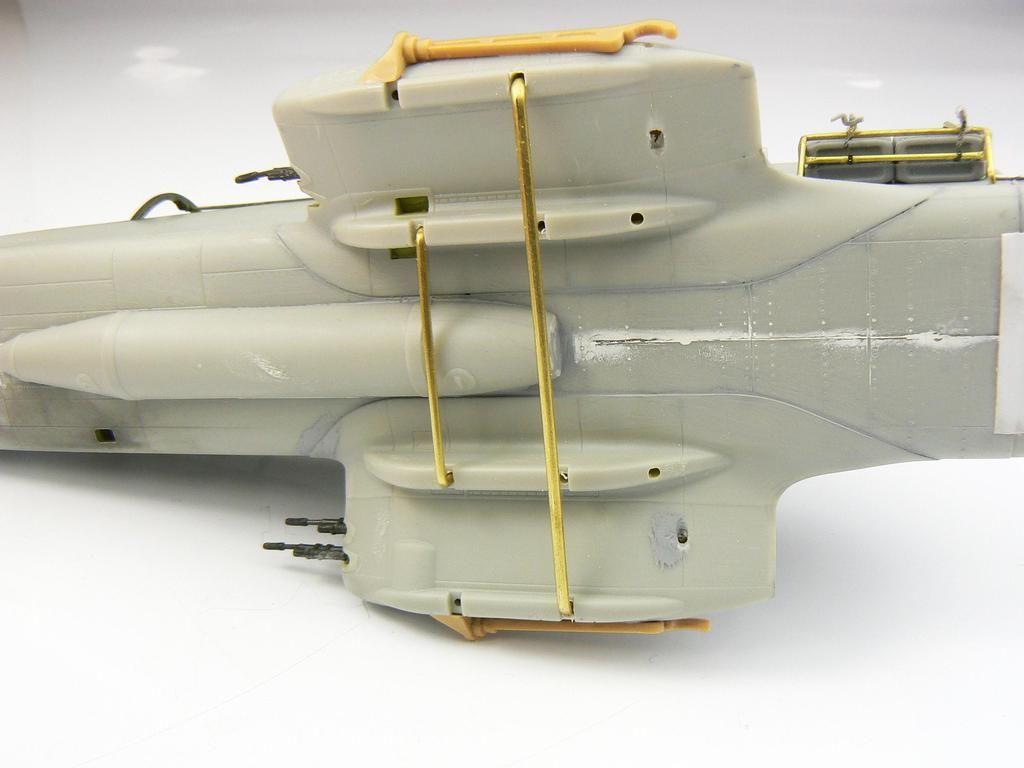 |
|
|
|
Post by Leon on Feb 10, 2016 20:18:48 GMT -5
Nice progress and scratch work Jamie!  Coming along nicely.  |
|
|
|
Post by dupes on Feb 11, 2016 9:23:15 GMT -5
Indeed! Not going to look much like an OV-10 by the time you're done!
|
|
Haggis
Junior Member
  March 2016 MoM Winner
Member since: March 2012
Posts: 65
Mar 8, 2012 3:18:06 GMT -5
Mar 8, 2012 3:18:06 GMT -5
|
Post by Haggis on Feb 12, 2016 11:07:16 GMT -5
Thanks chaps, much appreciated. Now attention turned to the rest of the airframe and first up the tail booms. The fit was OK but the inserts needed a bit of filler. After a good rub down and re-scribe the rivets were added with RB Productions' rivet wheel. 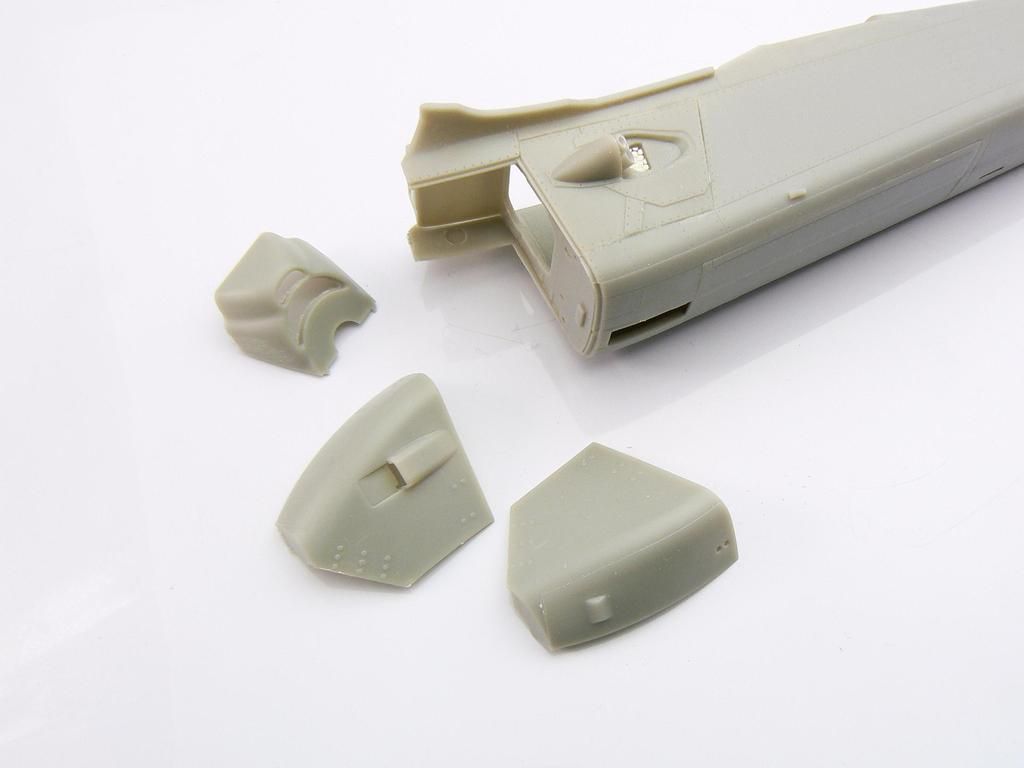 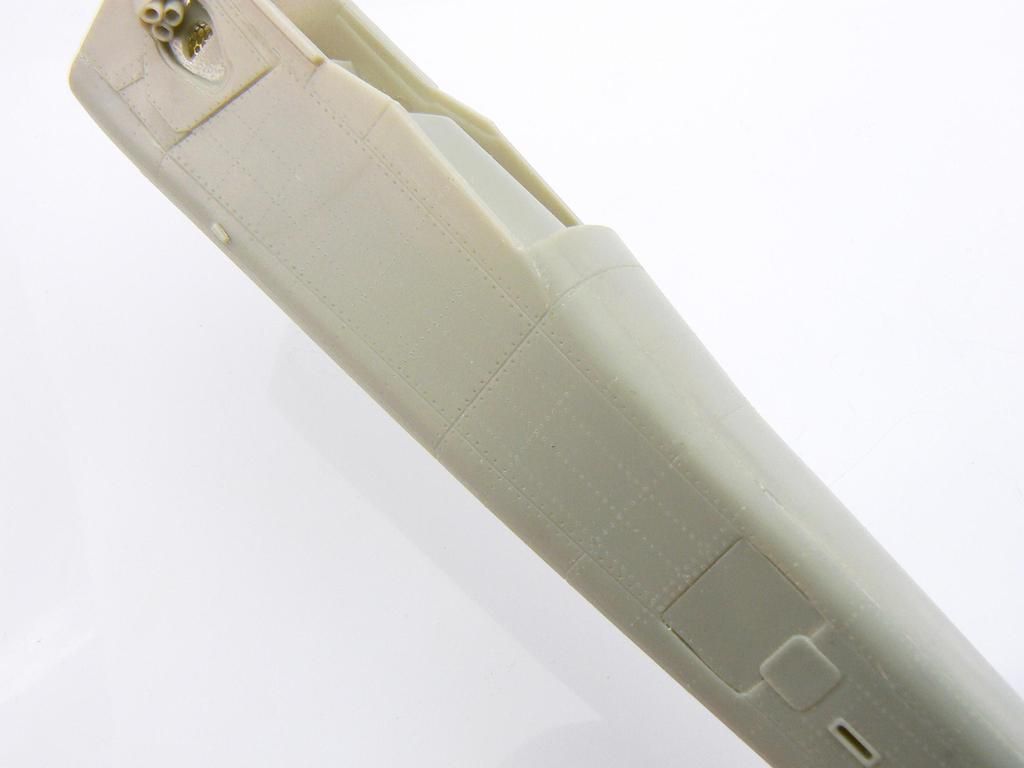 The exhausts were added from plastic tube plus the open area blanked off with mesh. 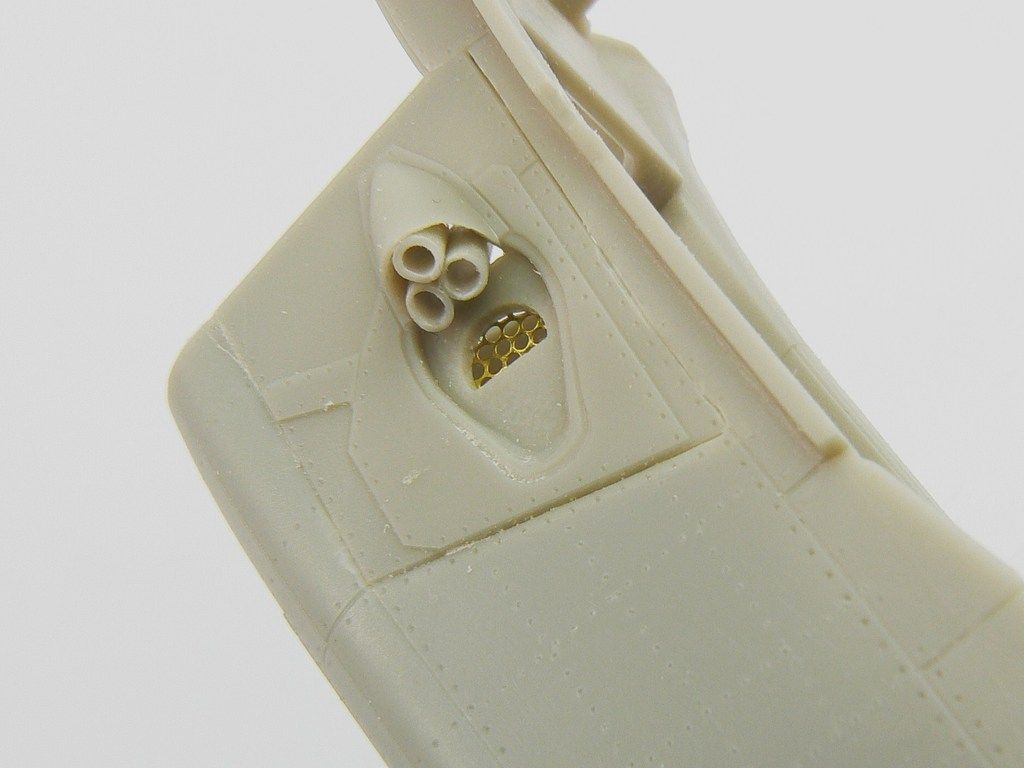 The wing to boom join needed filler too. For speed and more importantly non-shrinkage I used superglue mixed with talc. 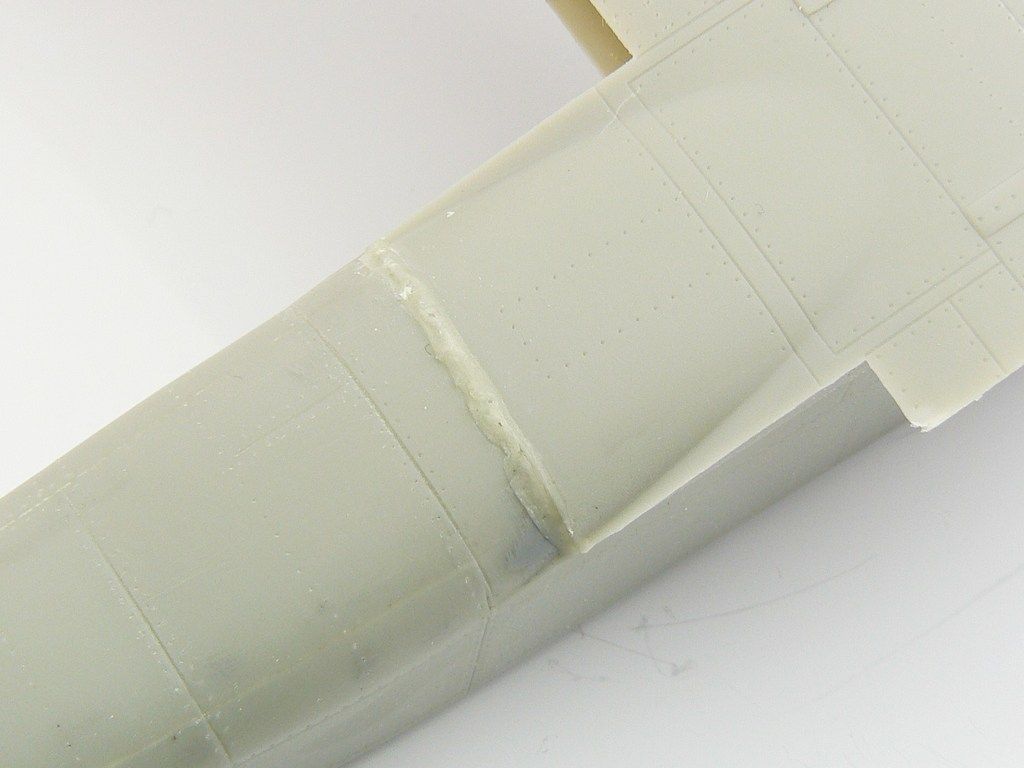 Skinny sticks come into their own here. 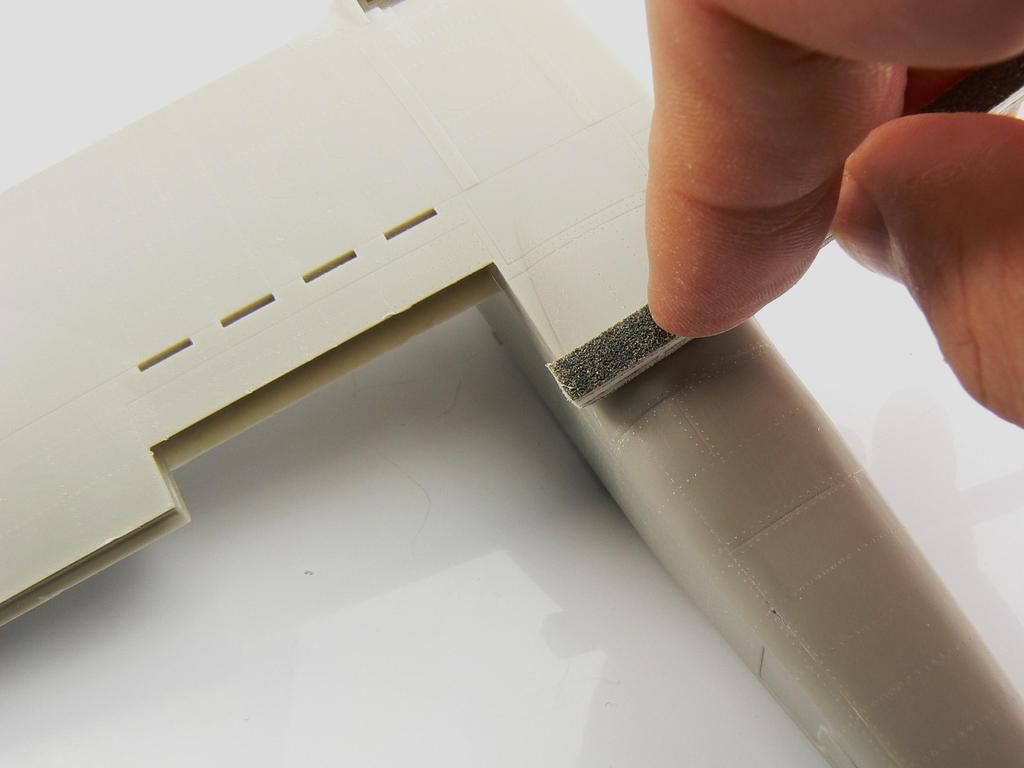 And after a polish the rivets were added. 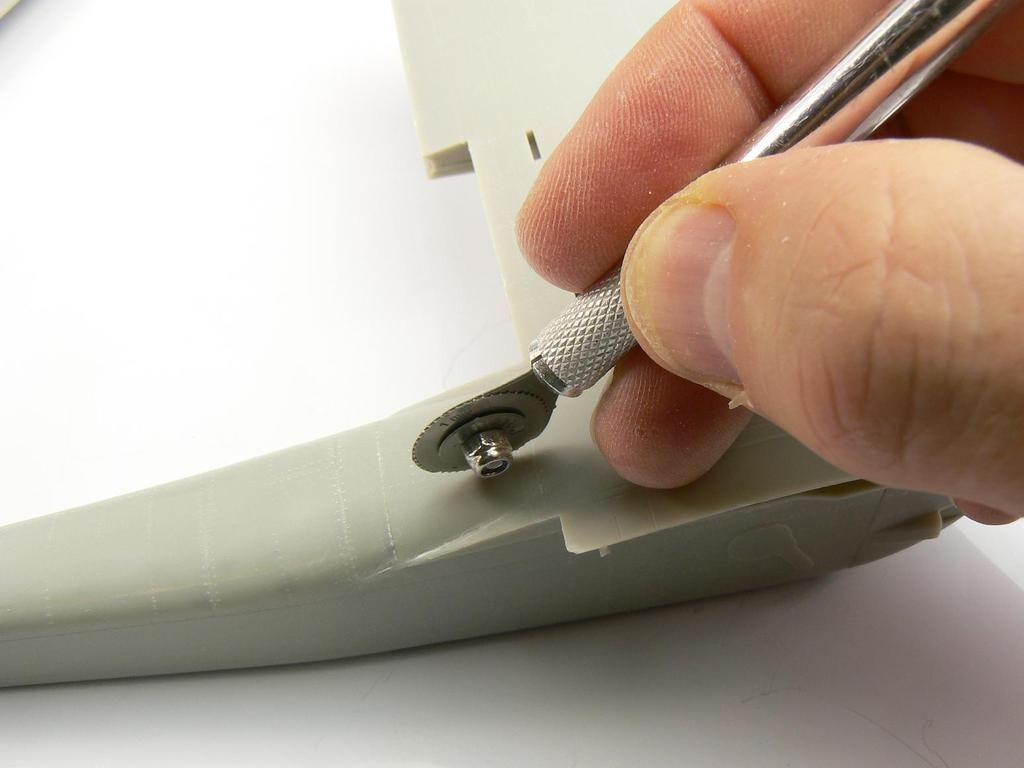 Underneath the wheel wells were blanked off with lead sheet. 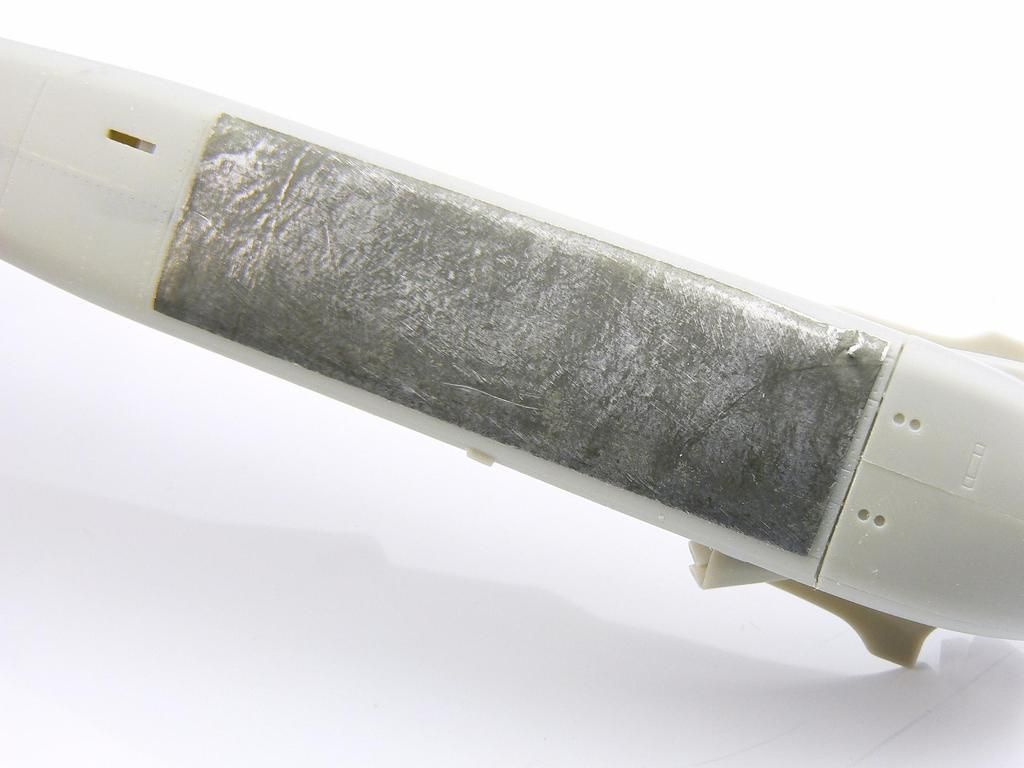 The engine fronts were blacked off with plastic card. You'll see why later! 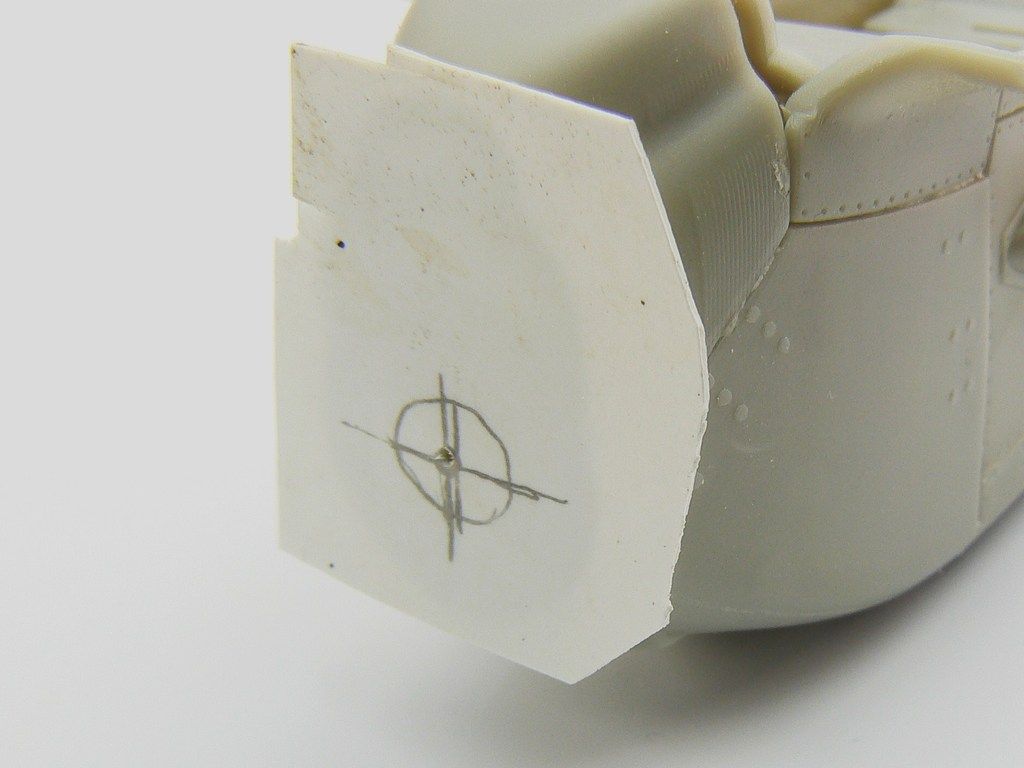 The contact area available for gluing is small therefore some brass rod was glued in place to act as wing spars. 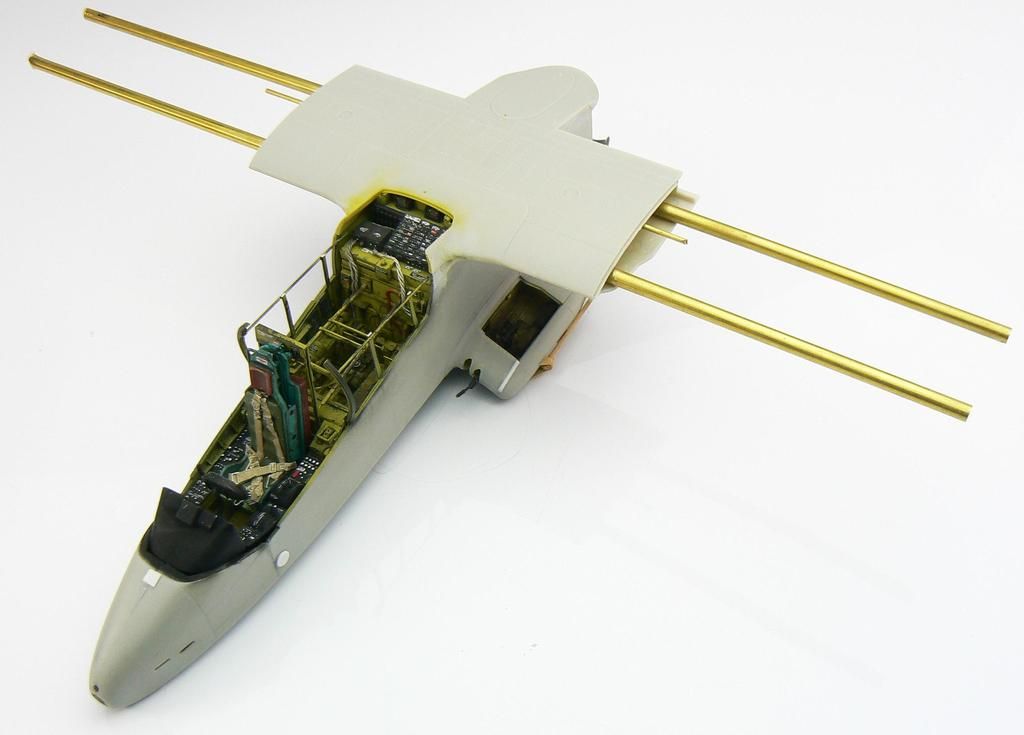 |
|
Haggis
Junior Member
  March 2016 MoM Winner
Member since: March 2012
Posts: 65
Mar 8, 2012 3:18:06 GMT -5
Mar 8, 2012 3:18:06 GMT -5
|
Post by Haggis on Feb 12, 2016 11:25:15 GMT -5
|
|
|
|
Post by dierk on Feb 12, 2016 11:34:04 GMT -5
Once again, and excellent update Haggis! And I finally found something I'm less than delighted with: the flat PE chains on the fuel-rack  Other than that though: I'm totally in awe and impressed by your high standard of work, and if my back wasn't so knackered I'd bow down. |
|
Haggis
Junior Member
  March 2016 MoM Winner
Member since: March 2012
Posts: 65
Mar 8, 2012 3:18:06 GMT -5
Mar 8, 2012 3:18:06 GMT -5
|
Post by Haggis on Feb 12, 2016 11:40:07 GMT -5
I thought it would be cool do add a patch on the wing. 5 though plastic card was glued in place then Archer raised rivet decals applied. There are gaps, these were repaired. 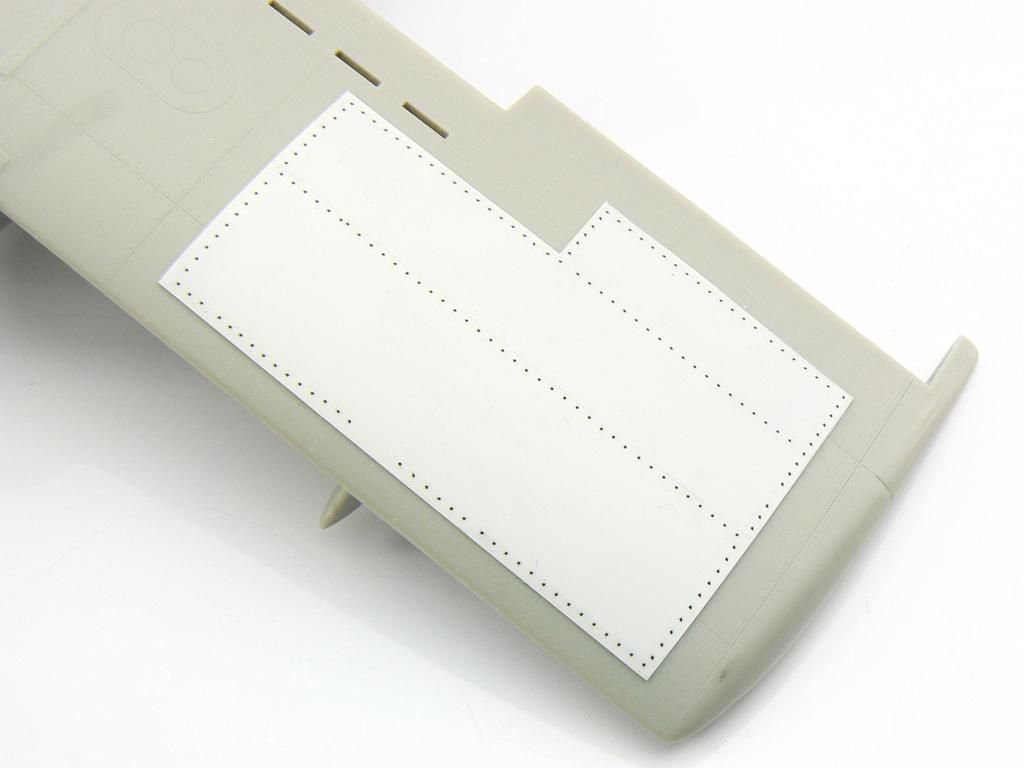 These were sealed with Mr Metal primer then Alclad grey. It will be masked and I don't want the rivets to come off. 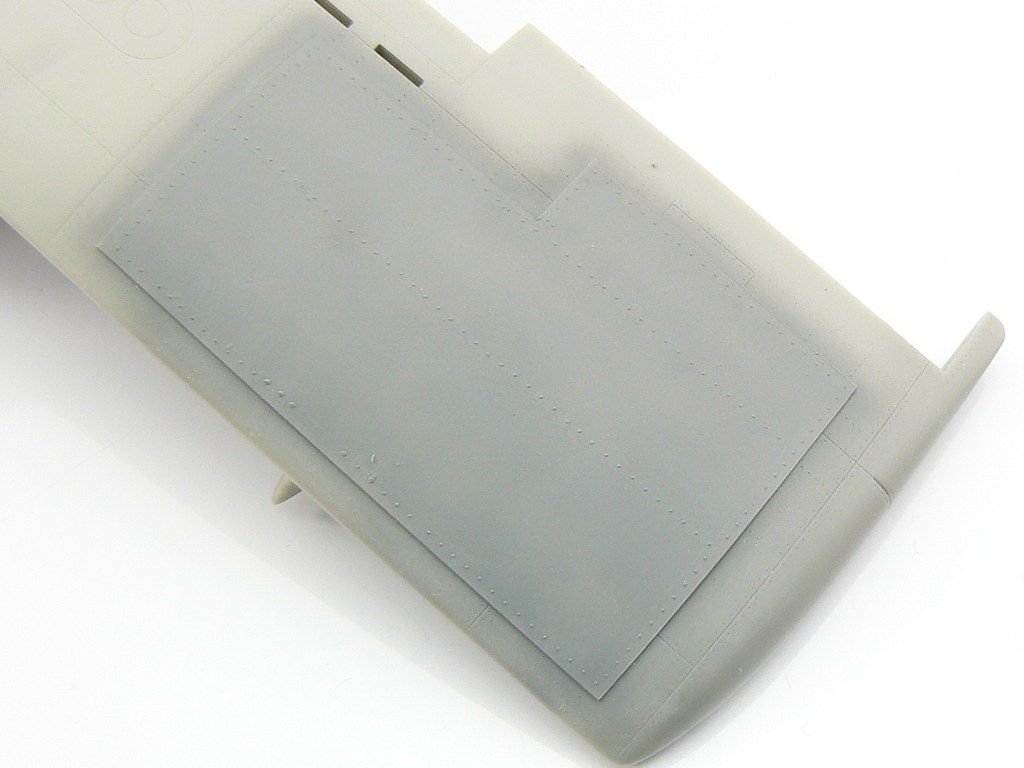 More random WMIK bits! 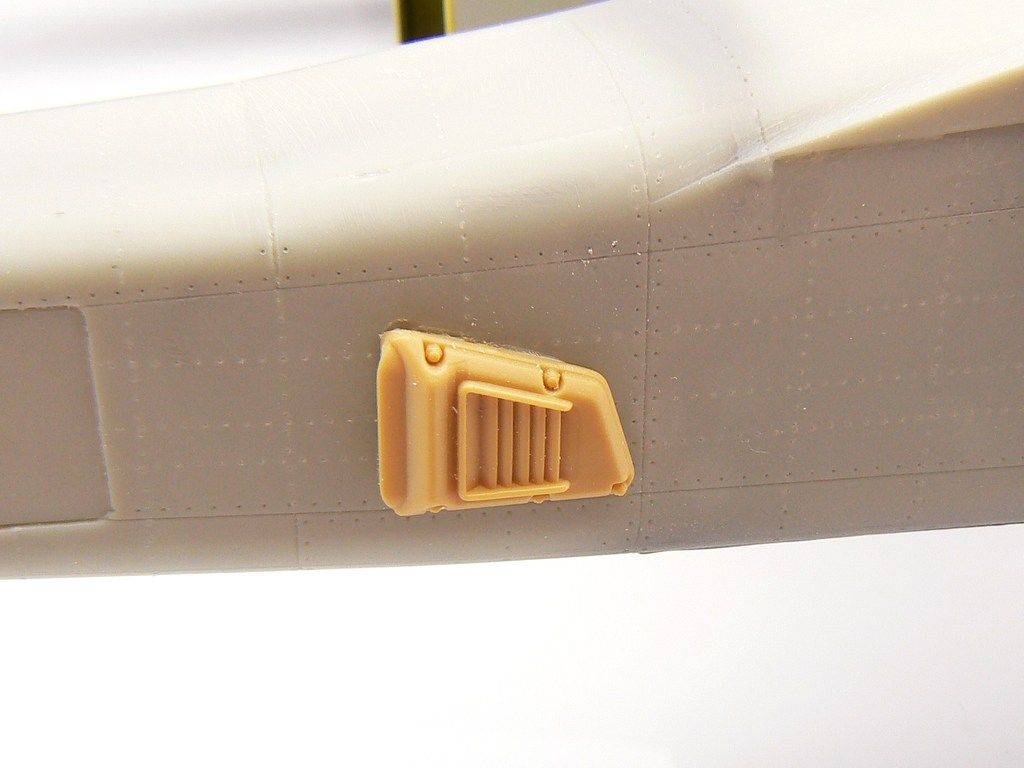 Various grab handles and the like were added as well as tread plate and supports to the foot rests. That big Albion Alloys tube is part of the gunner seat support. More on that later too! 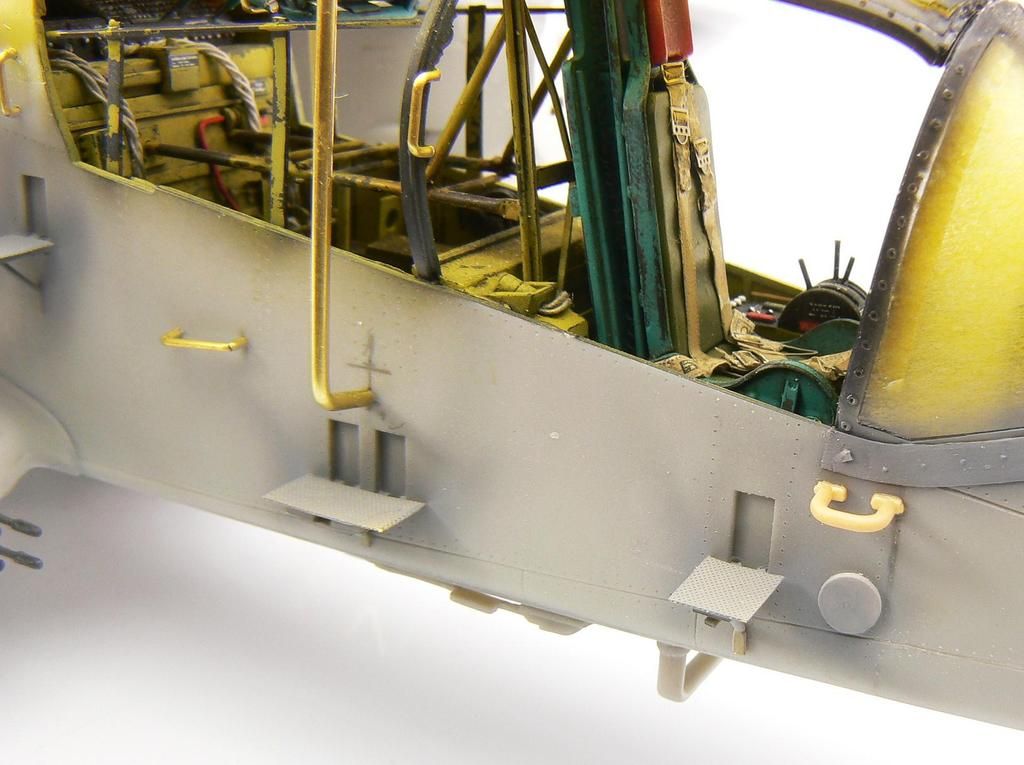 Time for some colour! One of the spinners was painted up from yellow through orange to red. 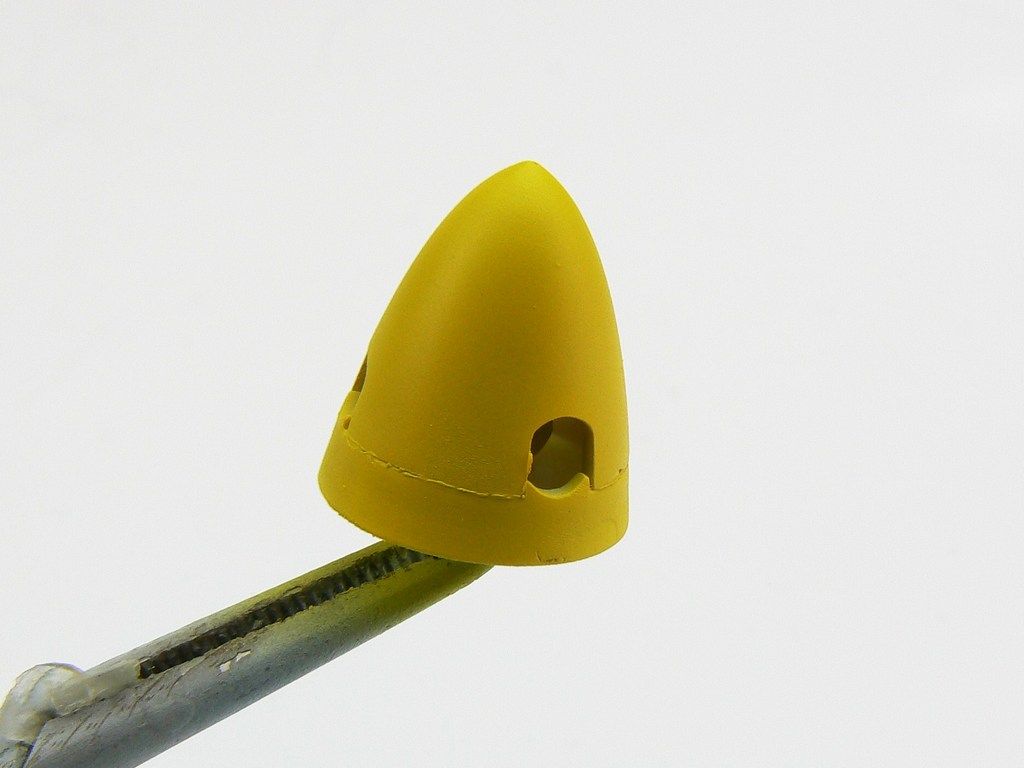 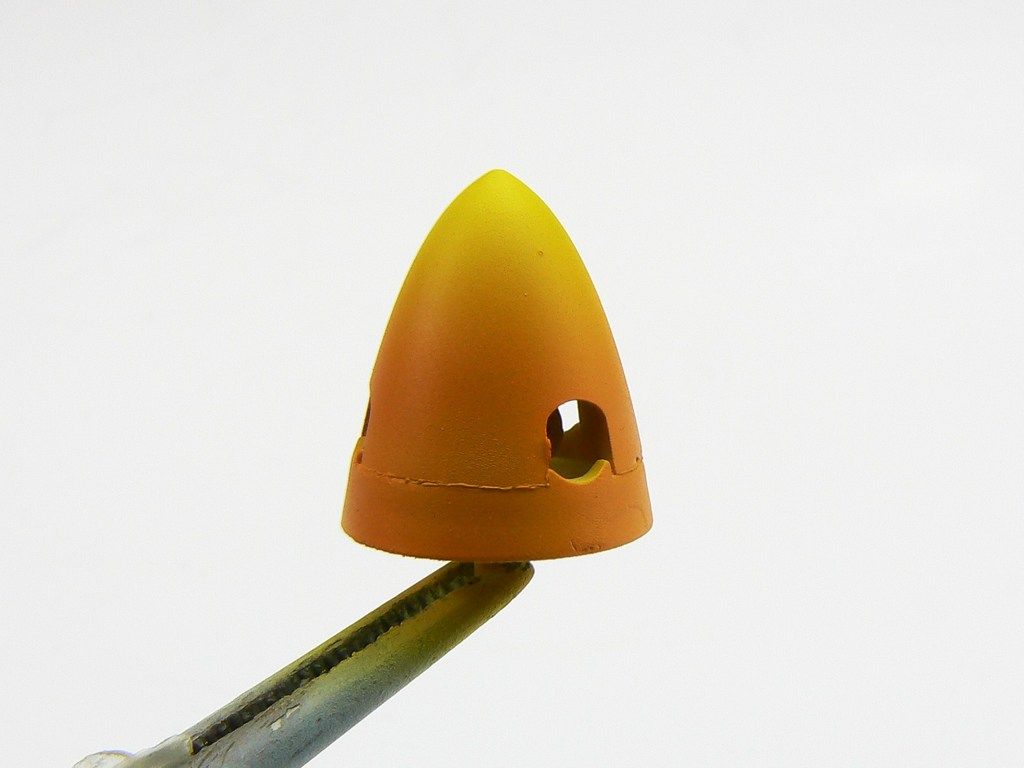 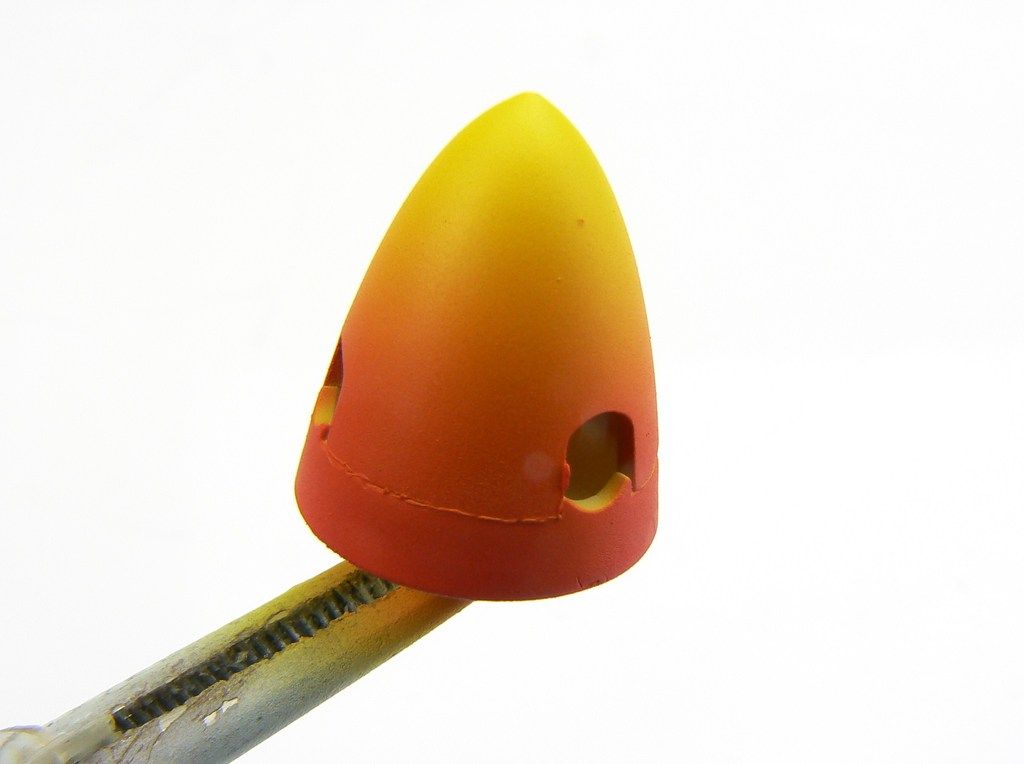 It was masked using that new Tamiya bendy stuff before painting black. 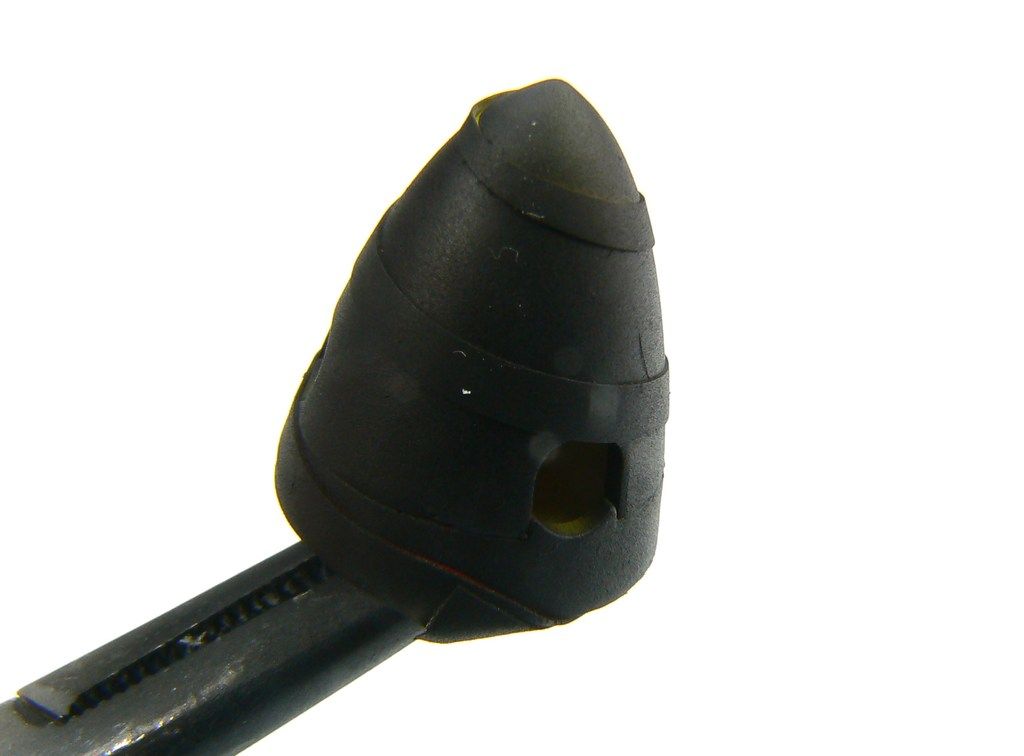 And here is the finished spinner... 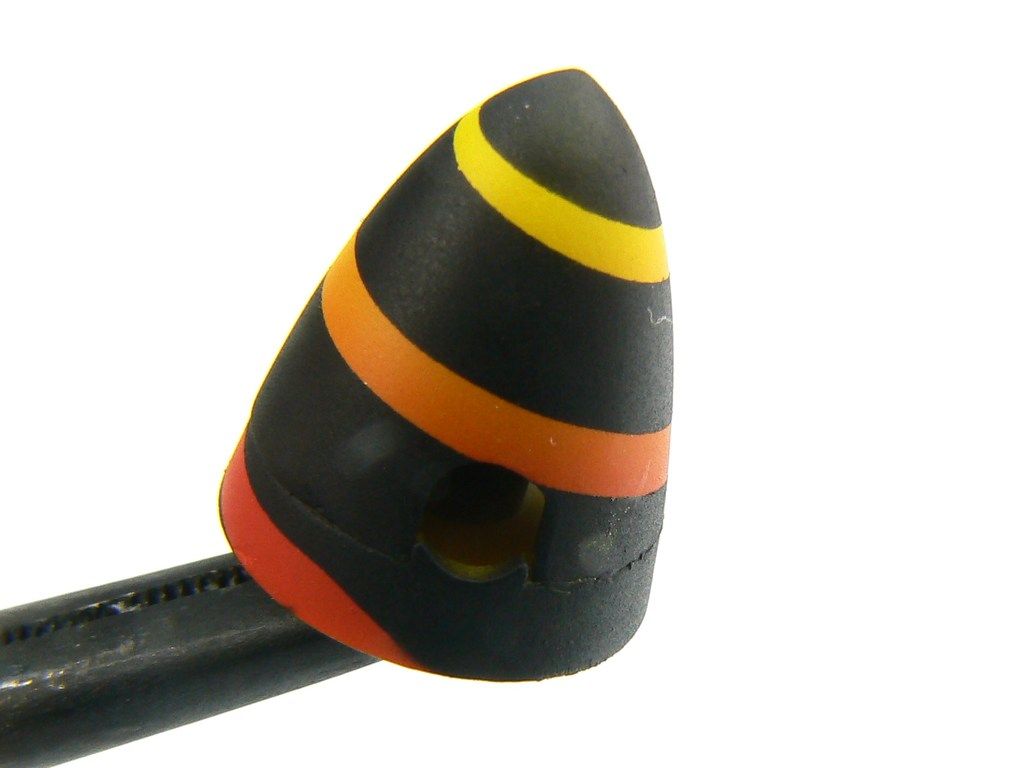 The 50 cal was drilled out then painted in matt black, pigment was used to get the right metallic tone. The barrel sleeve will be darkened with burnishing fluid later. 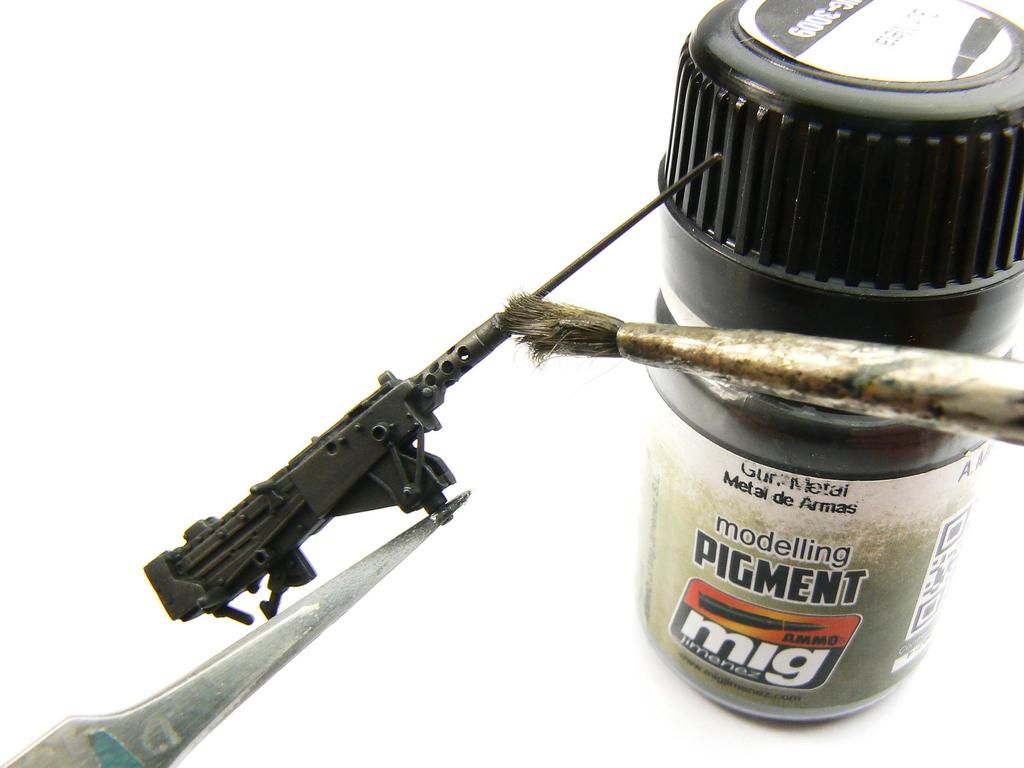 |
|
Haggis
Junior Member
  March 2016 MoM Winner
Member since: March 2012
Posts: 65
Mar 8, 2012 3:18:06 GMT -5
Mar 8, 2012 3:18:06 GMT -5
|
Post by Haggis on Feb 12, 2016 11:50:00 GMT -5
Once again, and excellent update Haggis! And I finally found something I'm less than delighted with: the flat PE chains on the fuel-rack  Other than that though: I'm totally in awe and impressed by your high standard of work, and if my back wasn't so knackered I'd bow down. Those chains won't be too visible where they are and this is an extreme close up so they look better in real life. But anyway, I've knocked them off!  |
|
|
|
Post by Leon on Feb 12, 2016 12:11:41 GMT -5
This is really looking fantastic Jamie! Awesome work on the details.
|
|
|
|
Post by dierk on Feb 12, 2016 12:47:57 GMT -5
"I've knocked them off!" D'you want some fine 3D (actual) chains to replace them with? Got some if you want it, just PM me your address. I'd be honoured to contribute to your excellent build.
|
|
|
|
Post by wbill76 on Feb 12, 2016 12:57:56 GMT -5
Now it's really starting to come alive. Got to love the look of that spinner!
|
|
adt70hk
Forum Moderator      November '24 Showcased Model Awarded
Member since: November 2015
Currently attempting to build something decent!!! ;)
Posts: 2,837 
MSC Staff
|
Post by adt70hk on Feb 12, 2016 16:58:54 GMT -5
Mindblowing stuff jamie!
|
|
|
|
Post by deafpanzer on Feb 14, 2016 12:11:16 GMT -5
Stunning work as usual!
|
|
Rick
Full Member
  
Member since: March 2013
what to build, what to build . . . Ok THAT one!
Posts: 854 
|
Post by Rick on Feb 14, 2016 12:46:38 GMT -5
Awesome!
Rick
|
|
chris0423
Full Member
   Aug 2014 MoM Winner
Member since: February 2012
Posts: 528
Feb 23, 2012 17:08:25 GMT -5
Feb 23, 2012 17:08:25 GMT -5
|
Post by chris0423 on Feb 21, 2016 5:40:36 GMT -5
Good morning Haggis, fantastic build and a great what-if subject. I really like the pit.
Can I ask, where did you get the Mr. Paint's Soviet Interior paint?
Chris.
|
|
nicely11b
Full Member
  
Member since: January 2016
Posts: 128 
|
Post by nicely11b on Feb 23, 2016 19:57:03 GMT -5
This is looking great, Jamie!
|
|
|
|
Post by panzerjager2 on Feb 23, 2016 21:08:30 GMT -5
Once again all I can humbly add is.....WOW
|
|
thechaos
Full Member
   June '24 Showcased Model Awarded
Member since: May 2015
Posts: 1,164 
|
Post by thechaos on Feb 24, 2016 6:48:47 GMT -5
Gread Work so far.  |
|
Deleted
Member since: January 1970
Posts: 0
Nov 29, 2024 3:53:55 GMT -5
Nov 29, 2024 3:53:55 GMT -5
|
Post by Deleted on Feb 24, 2016 11:07:52 GMT -5
|
|
John Everett
Full Member
  
Member since: January 2012
July, 2016 MoM Winner
Posts: 1,278
Jan 17, 2012 0:53:48 GMT -5
Jan 17, 2012 0:53:48 GMT -5
|
Post by John Everett on Feb 24, 2016 11:12:39 GMT -5
I love the idea of adding the brass as wing spars. How did they attach to the wing panels? Did you drill a shaft down each panel or were there already void spaces in the wings?
|
|
Deleted
Member since: January 1970
Posts: 0
Nov 29, 2024 3:53:55 GMT -5
Nov 29, 2024 3:53:55 GMT -5
|
Post by Deleted on Feb 24, 2016 12:39:09 GMT -5
I bookmarked this bad boy !
|
|
Haggis
Junior Member
  March 2016 MoM Winner
Member since: March 2012
Posts: 65
Mar 8, 2012 3:18:06 GMT -5
Mar 8, 2012 3:18:06 GMT -5
|
Post by Haggis on Mar 6, 2016 18:02:58 GMT -5
Hi Chris, I get the Mr. Paint direct from the manufacturer. Google Mr. Paint and you'll find it. Hi John, the wings are empty so no drilling required mate. OK, I know its slightly out of order but here is some more WIP in the Bronco. First up, I got the nose wheel out of the way. this had some light chipping done with a sponge (but later I went a bit crazy and did a load more)! The wash is Alclad's new Hogwash (brilliant by the way). 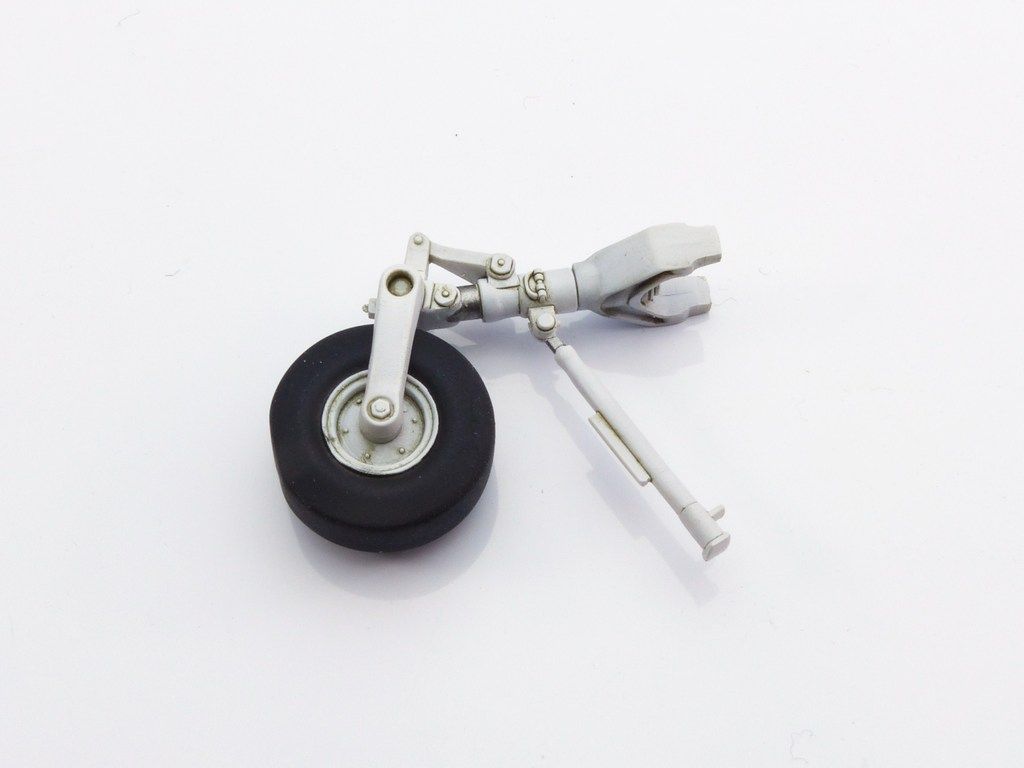 Ready for paint! But I wanted to get some of the ancillary's out of the way first... 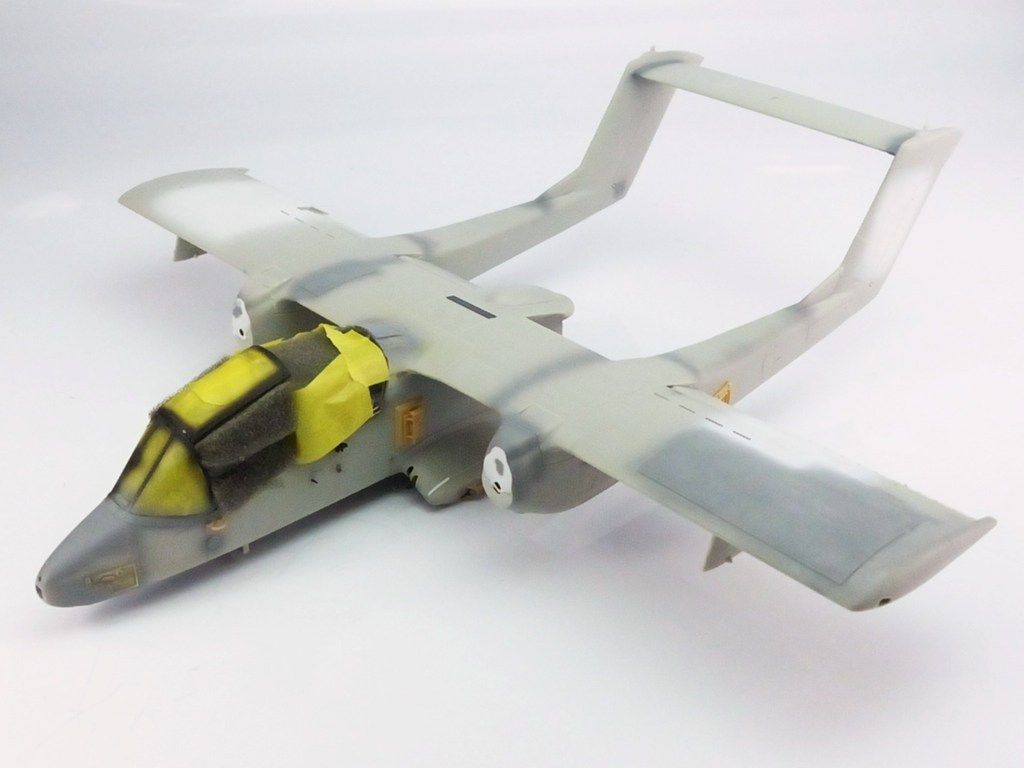 Next up was the top gunner's rig. This was primarily from the WMIK kit but I wanted a rusted look for the gun mount but also wanted it to look like the gun deck thing had been taken from a ground vehicle. So, first up the parts had a coat of Tamiya Red Brown mixed with a touch of black. 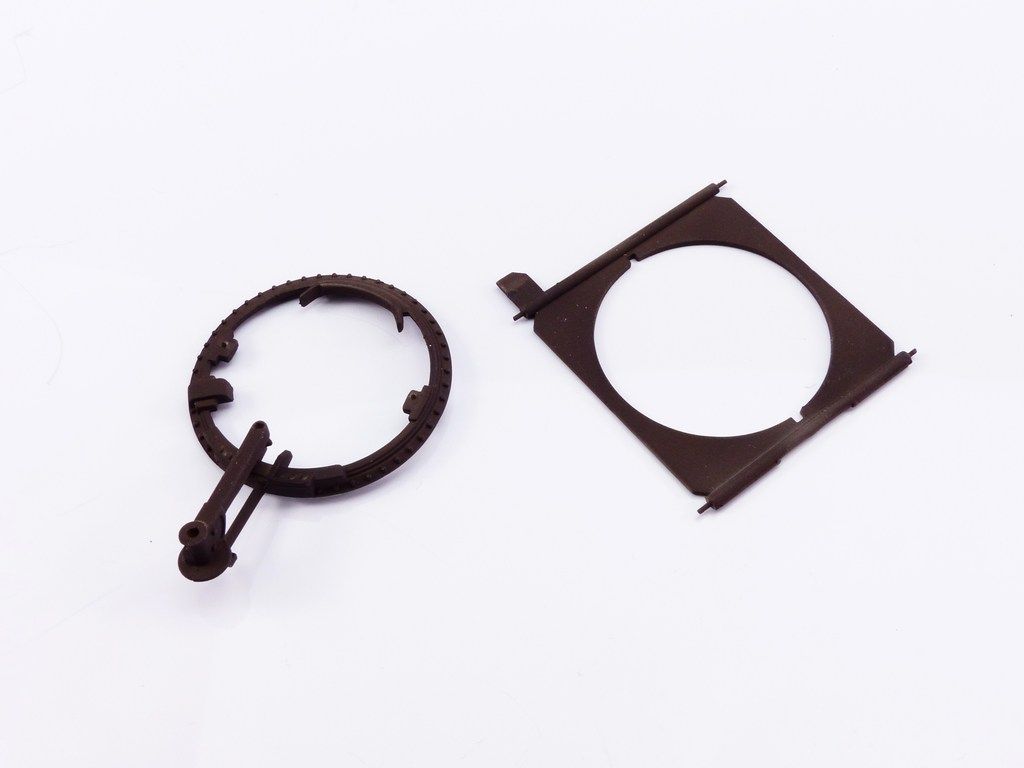 Next up a few light coats of Ammo of Mig Scratch Effects 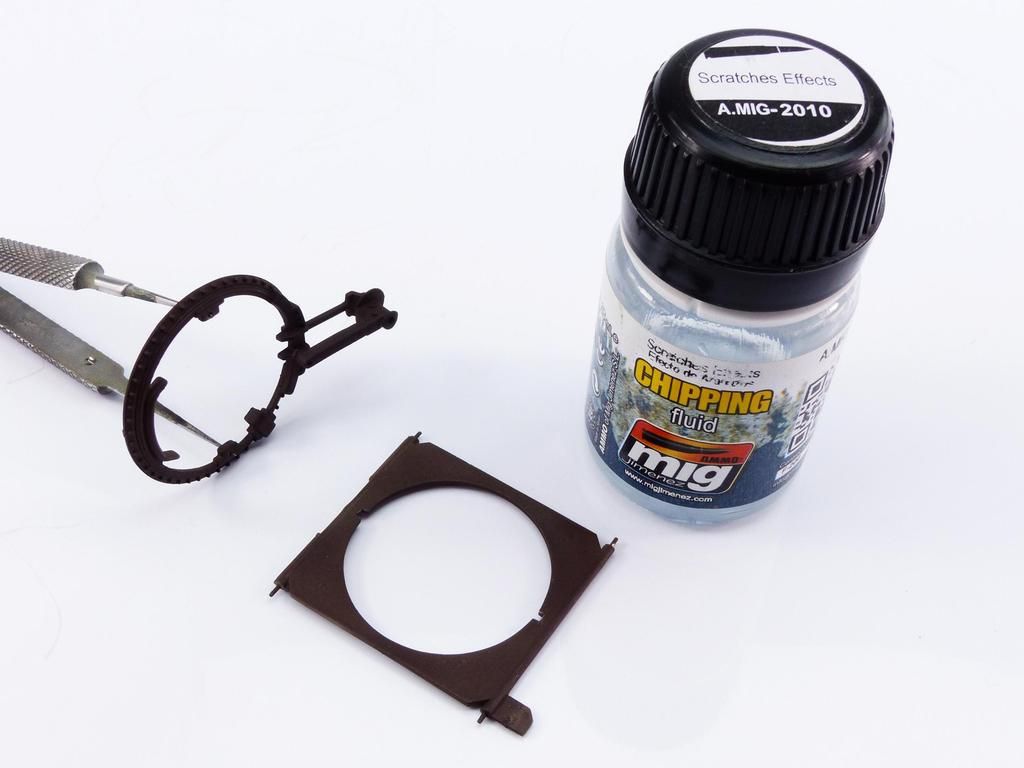 Dealing with the turret ring first, some RLM 75 was sprayed on then chipped. 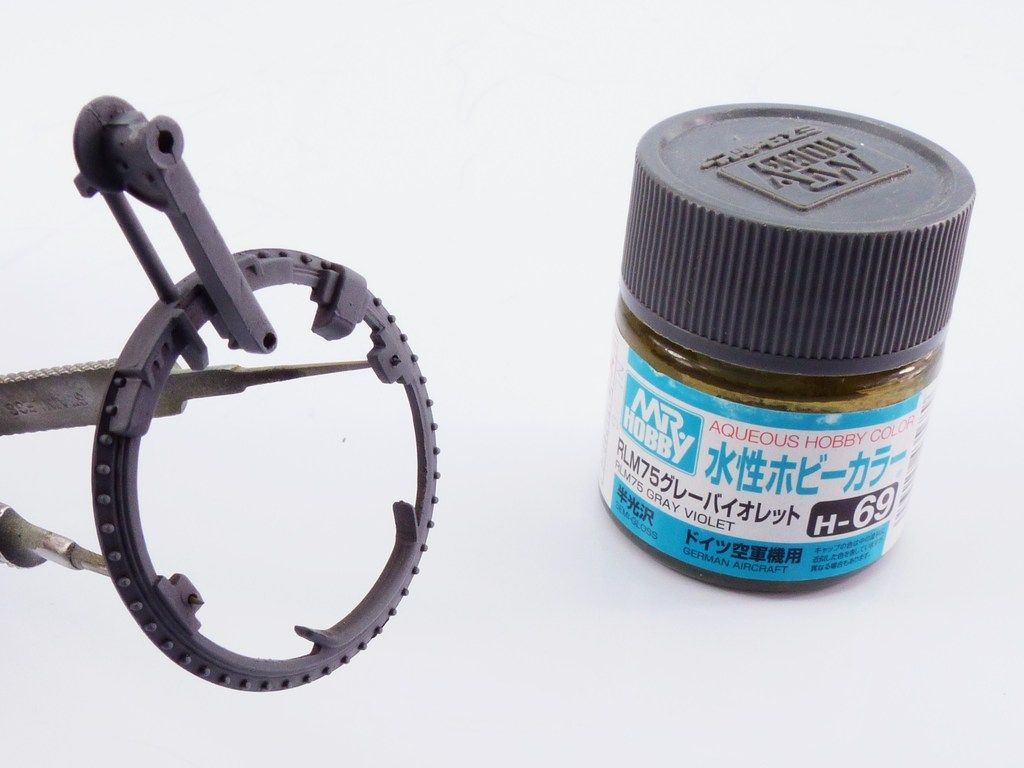 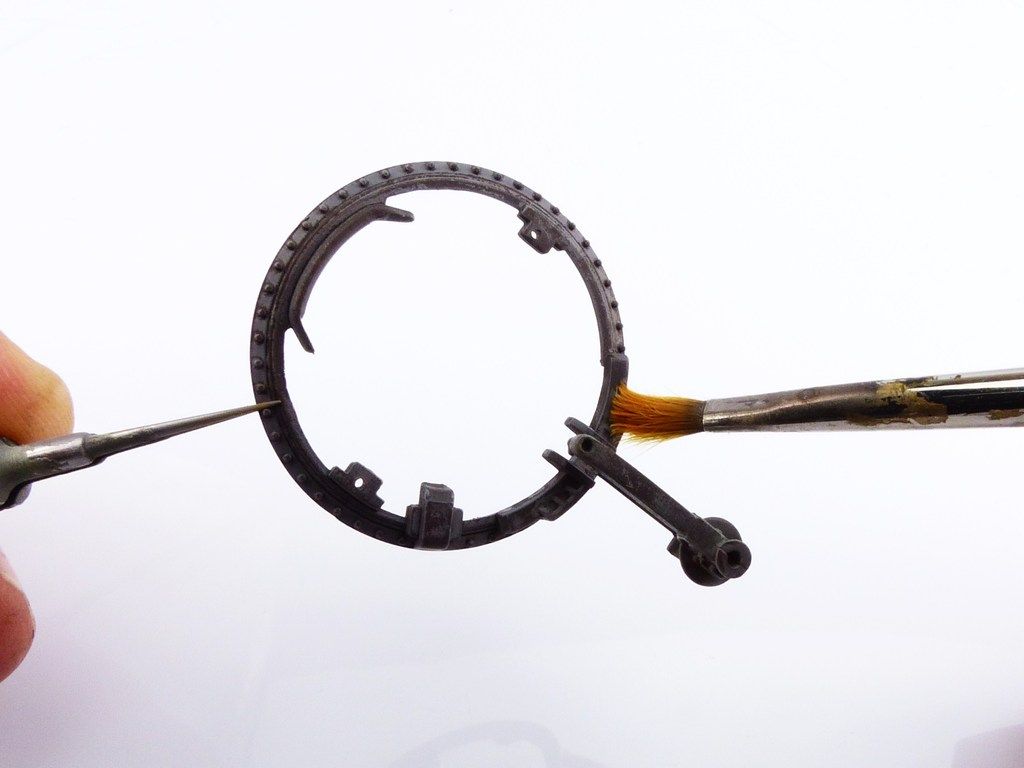 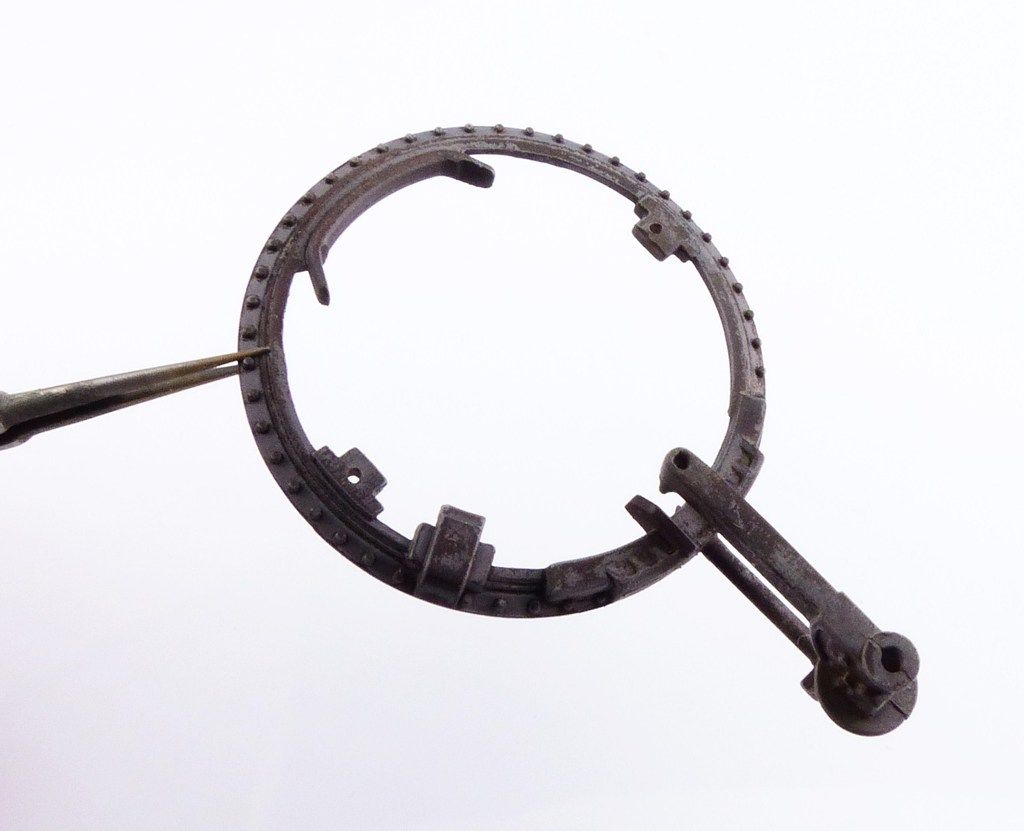 Chipping was enhanced using the sponge technique. 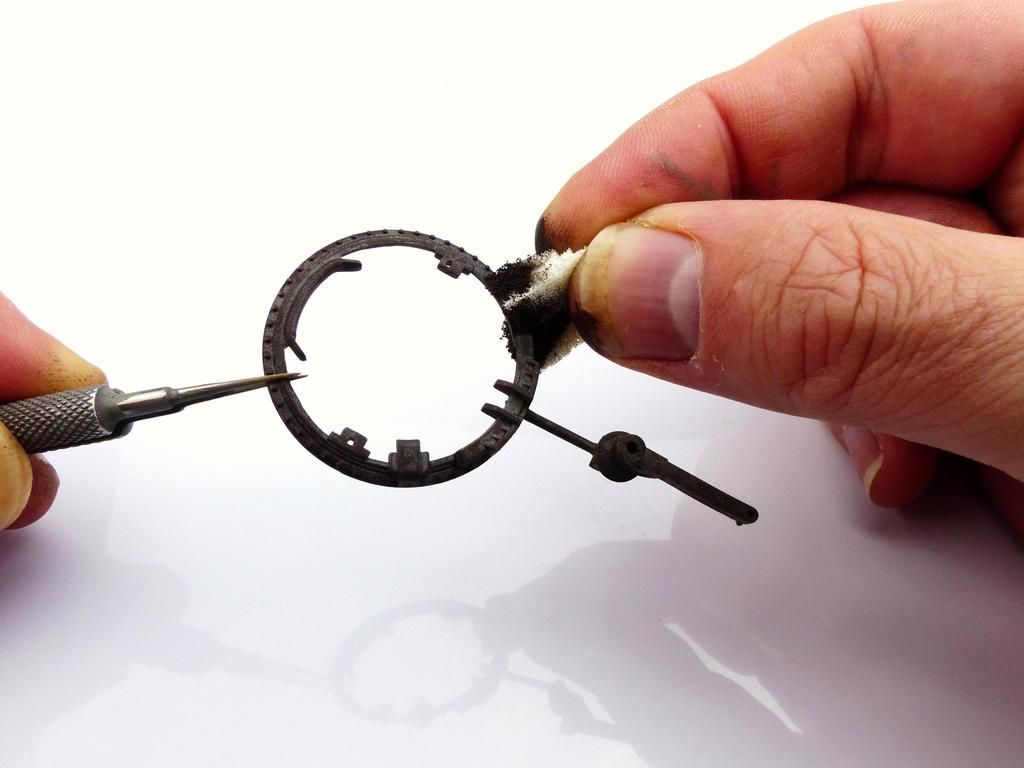 Yet more chipping fluid, XF-64 (a more rusty tone) and chips! 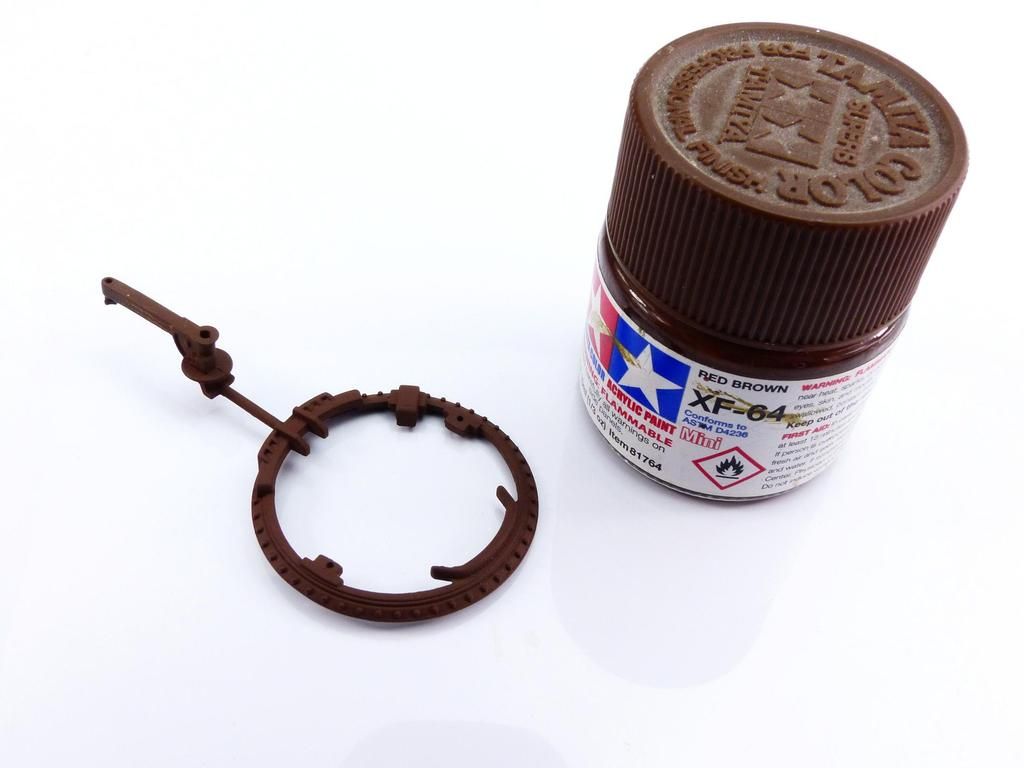 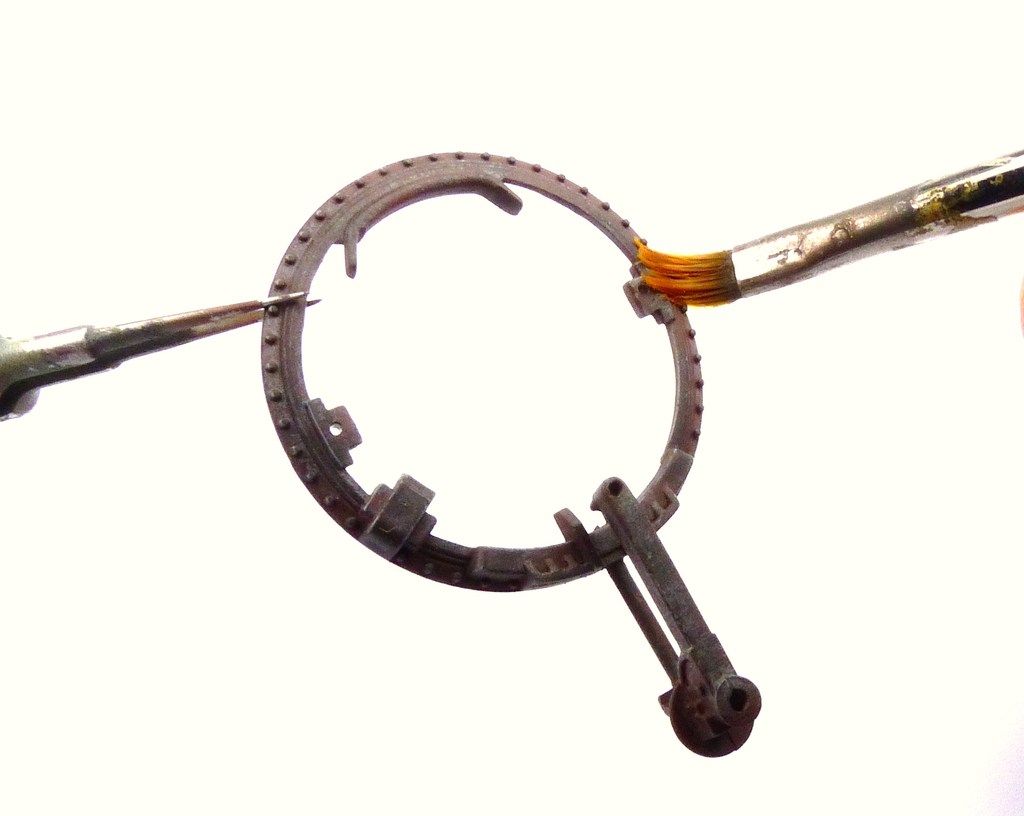 Now a mix of Rust Effects and Pigments was flicked onto the parts. 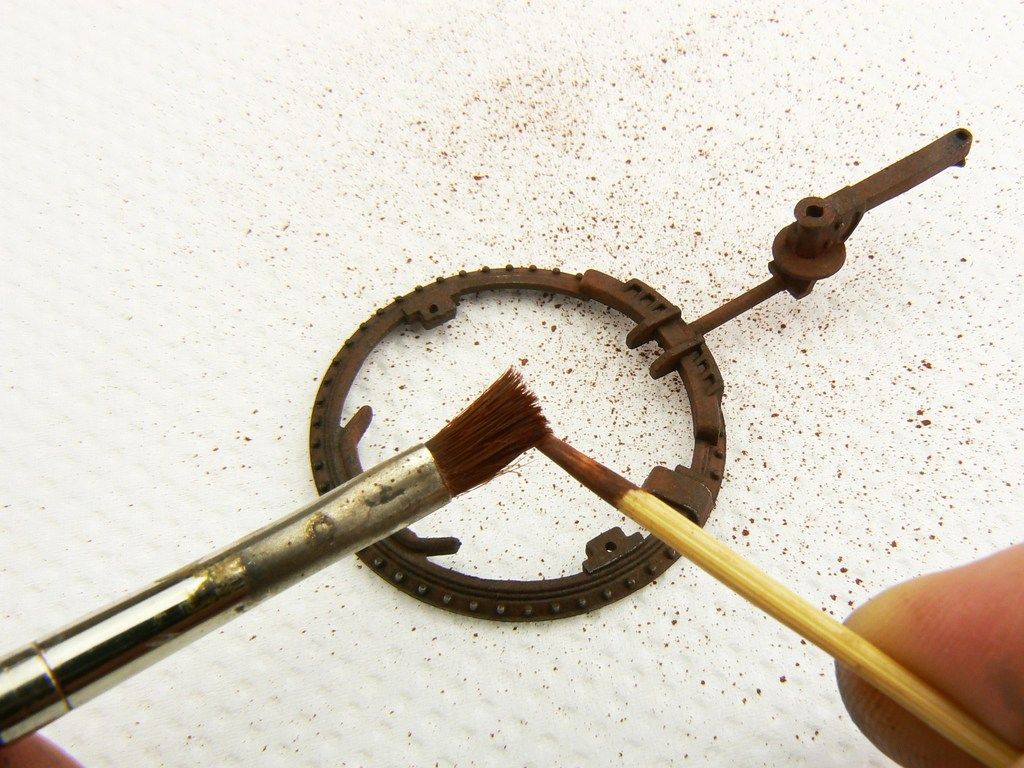 Then a pin wash, in this case Ammo of Mig's Track Wash. [URL=h 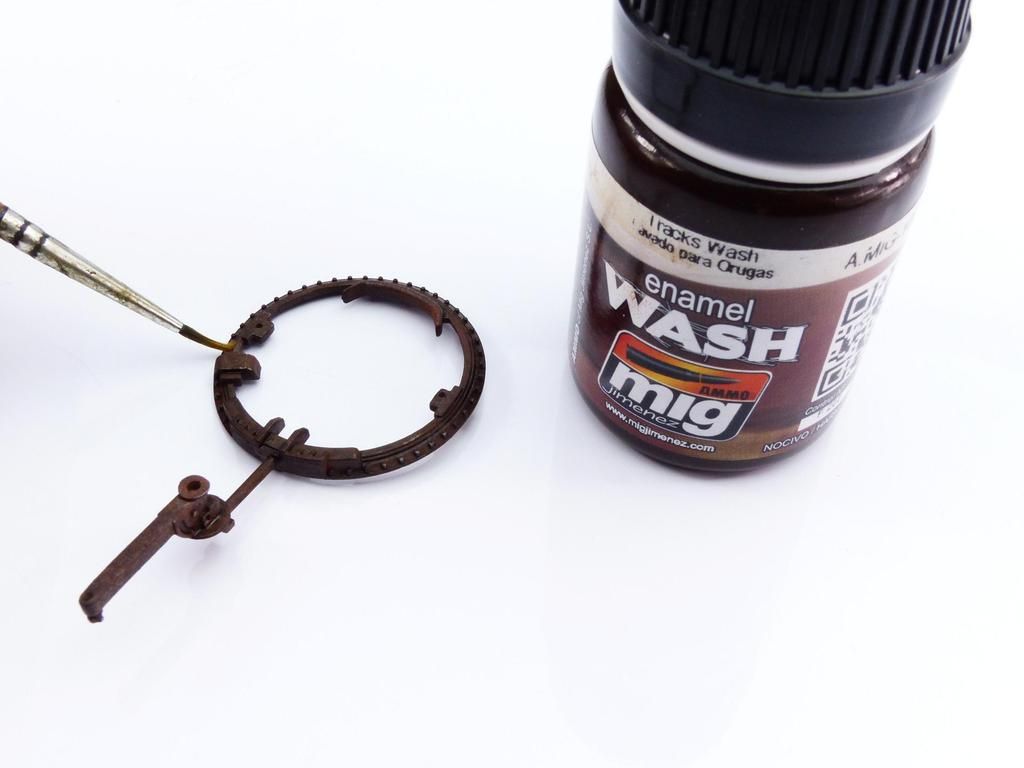 The finished turret ring. 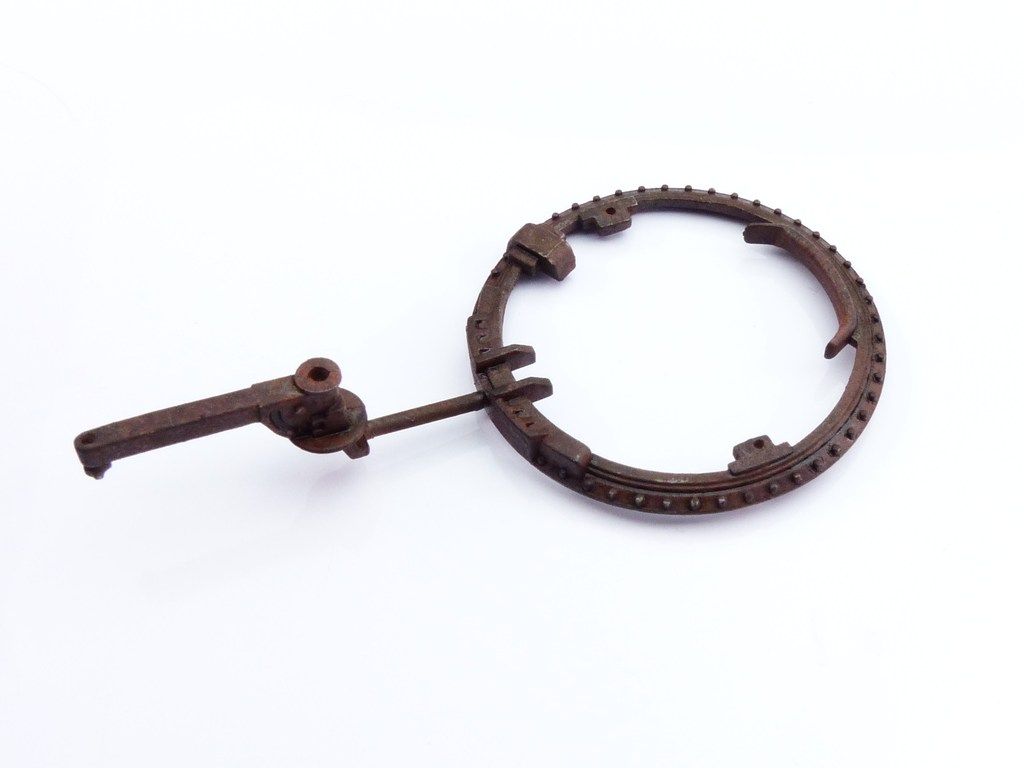 The base had the same treatment but the base colour was Tamiya Sand. This has had the Scratch Effects and Sponge chipping. 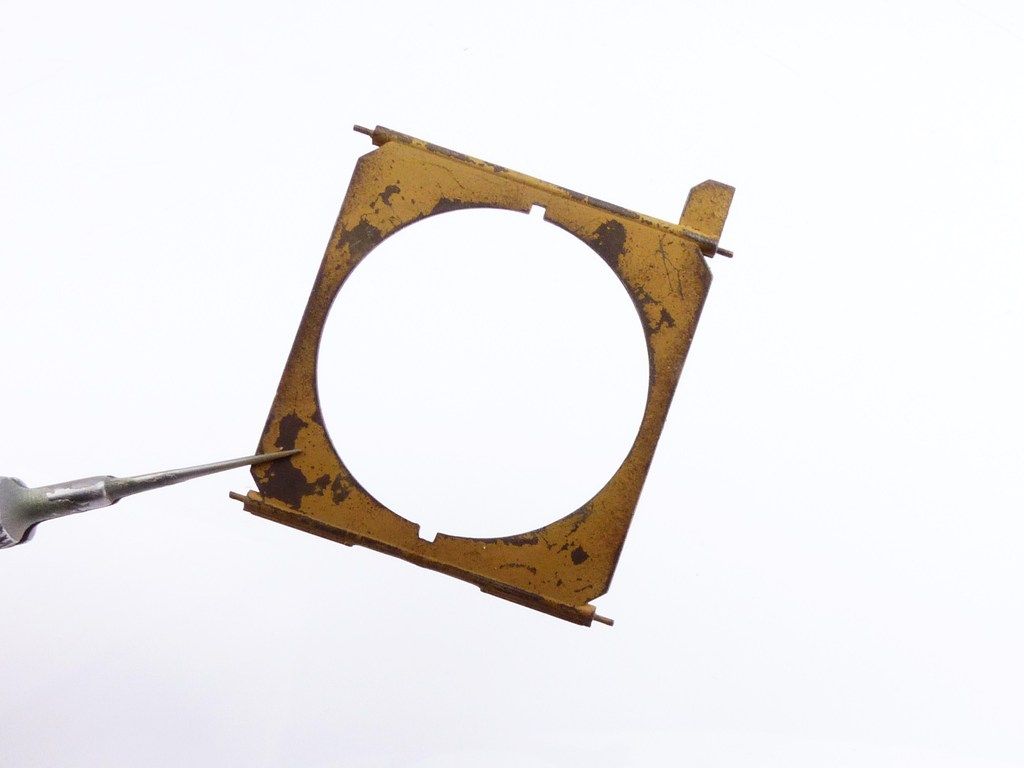 To finish off, some graphite was rubbed onto the exposed metal parts and some dusty pigments applied. 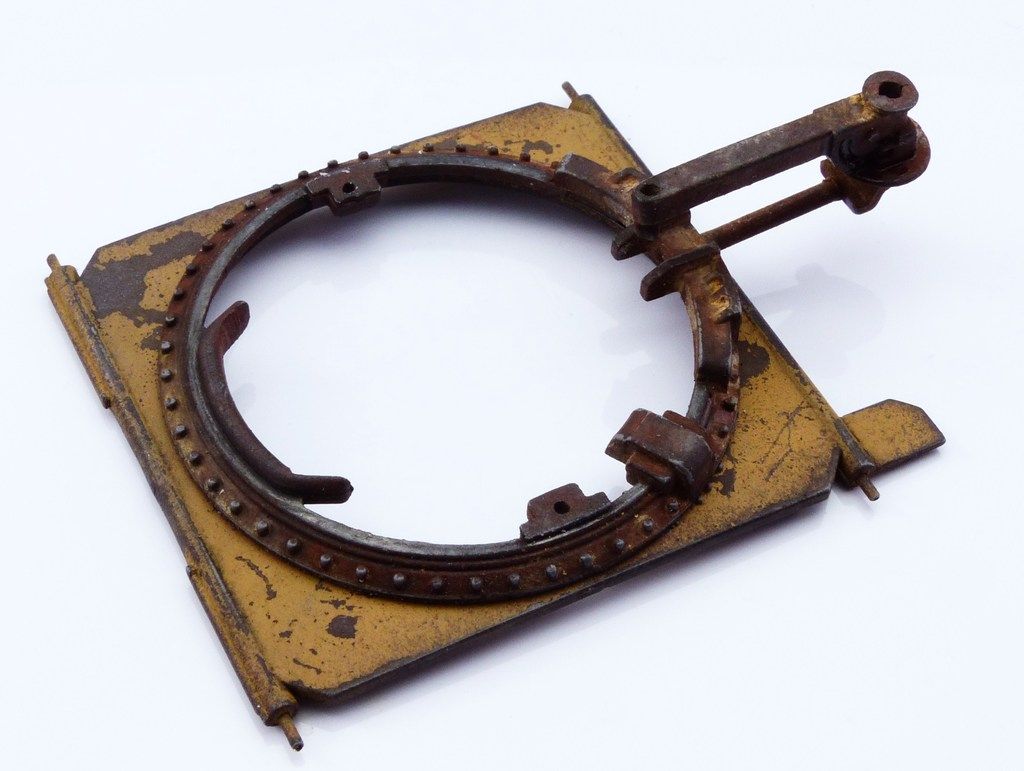 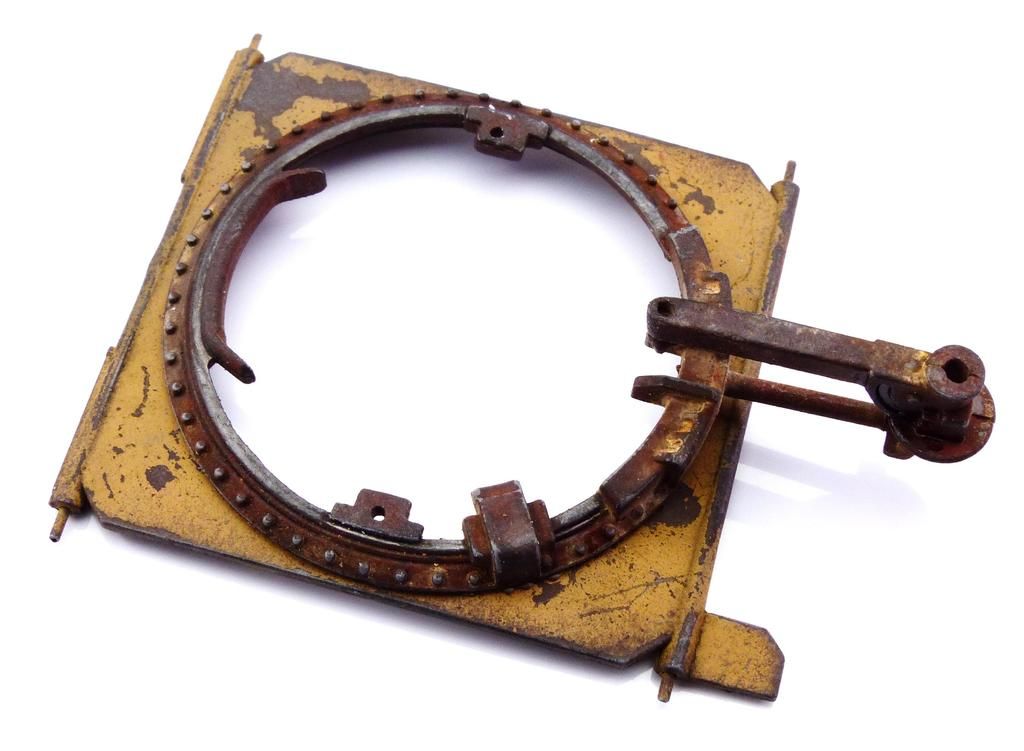 That's it for now. Next time I'll show you how I did this! 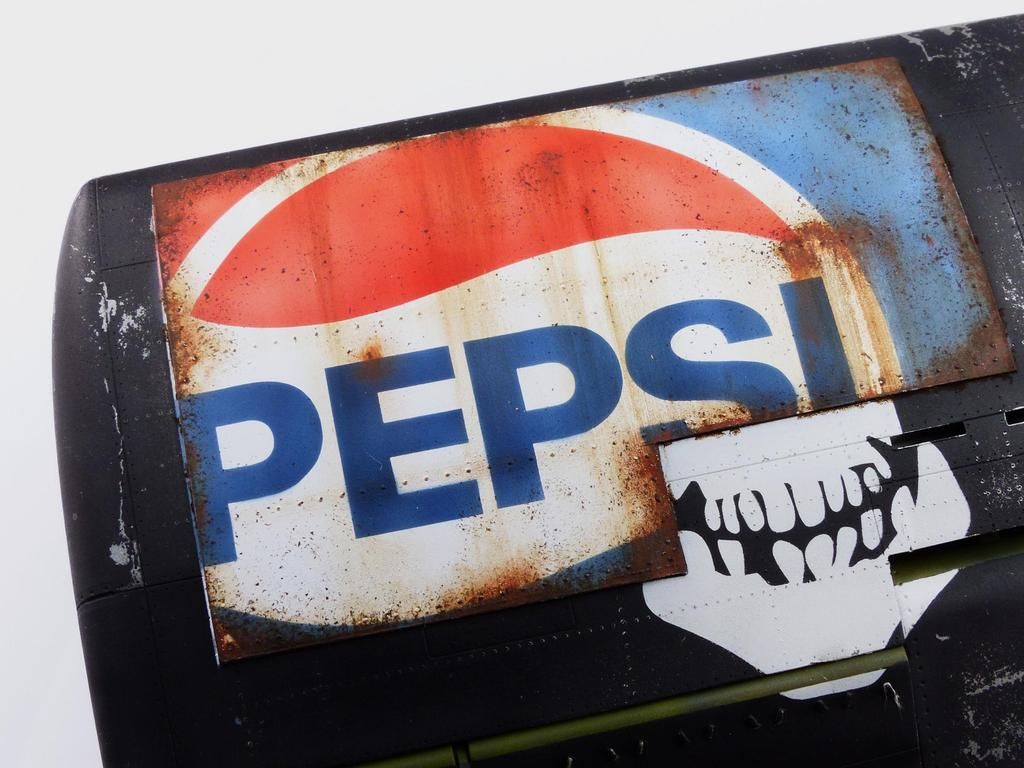 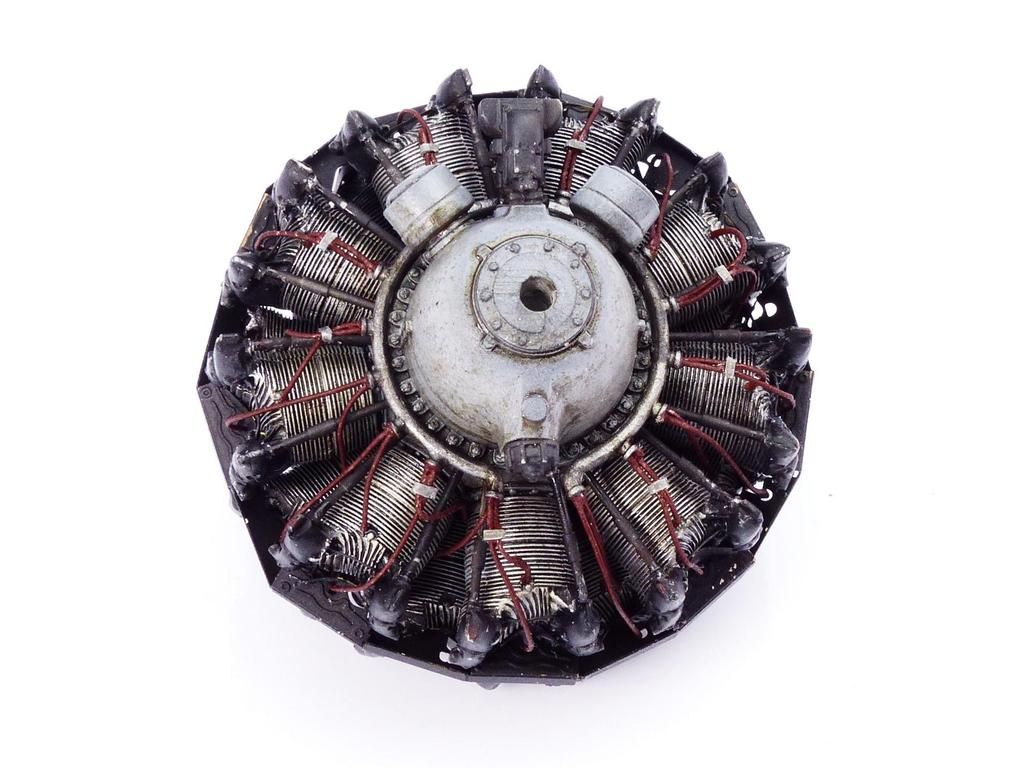 |
|
|
|
Post by Leon on Mar 6, 2016 18:25:14 GMT -5
Awesome work on the chipping and rust effects Jamie!  Patiancely waiting for your next update.  |
|
Deleted
Member since: January 1970
Posts: 0
Nov 29, 2024 3:53:55 GMT -5
Nov 29, 2024 3:53:55 GMT -5
|
Post by Deleted on Mar 8, 2016 0:11:22 GMT -5
So friggin cool .
|
|
|
|
Post by dierk on Mar 8, 2016 5:03:57 GMT -5
Another cool update. I too am waiting for the next one, but unlike Leon, not patiently - after all: patience is a virgin  |
|