Post by cploverby. on Mar 1, 2016 4:49:50 GMT -5
VK 72.01 (K) WoT in 1/72
Well.....
I wanted one of these real bad.....
and when the possibility
of a kit coming out showed it self......
I was genuinely excited......
but that was soon dashed......
so.... in stead of dwelling on it......
I took action.
First I looked real hard at my Lowe turret.....
I needed the round base for the turret....
so I took a plastic Solo cup
and poured 3/4 inch of resin in that.
after it cured, I popped it out, rounded it out,
and took some of the "thickness" off of it.
For the hull......
I made a box of Tongue Depressers and poured resin in that.
When that cured... I popped it out and started dry fitting.
(I guess you'd like to see pic's)
here is the first "test fit" where I drew on some of the details
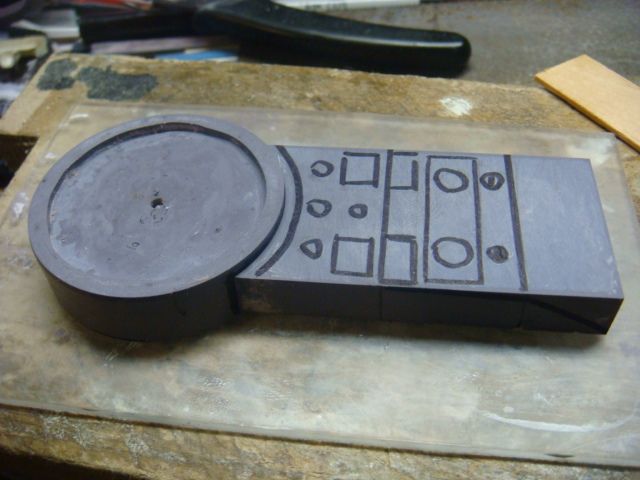
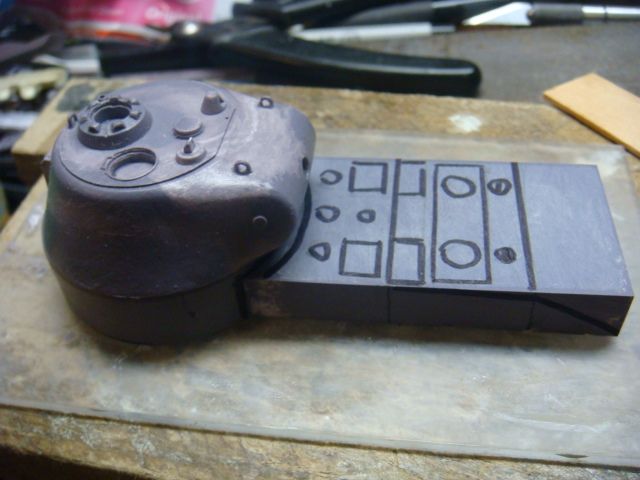
then I remembered
that there was a "step" where the hull meets the Turret ring.
so....I took my razor saw cut a section out.
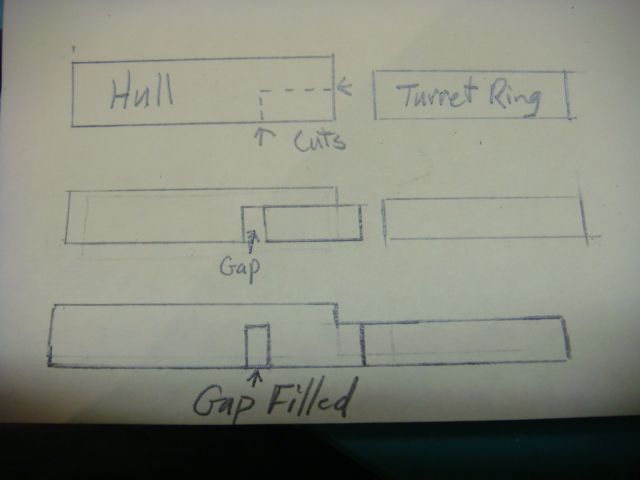
and it came out like this.
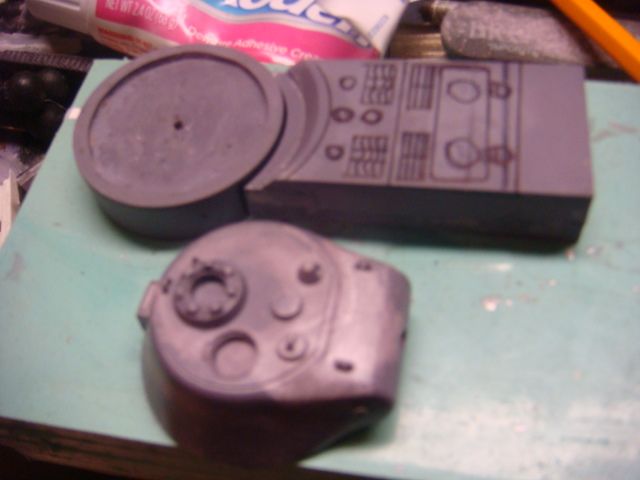
I then had to get the angles done on the upper surfaces of the hull.
so I place it in a vice and started filing away with a super course
double cut file.
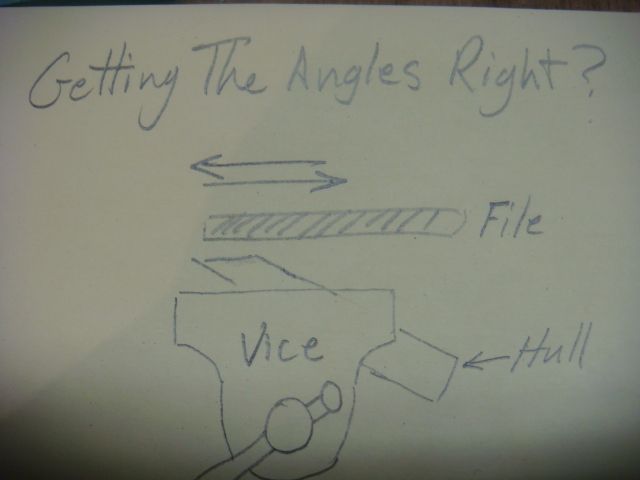
All the while.... I kept drawing and redrawing the surface details....
just to keep tract of their locations.
Trying different parts for this and that,
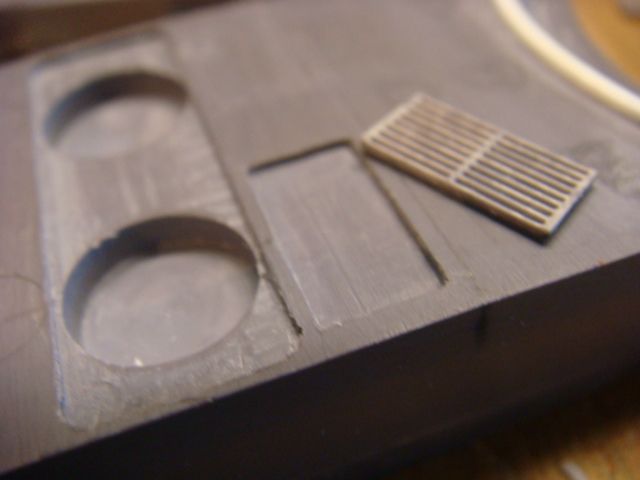
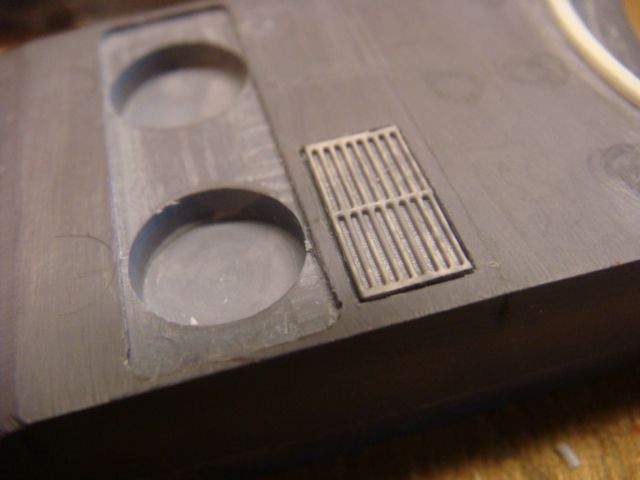
and "Burring out" the location for the front hatches.
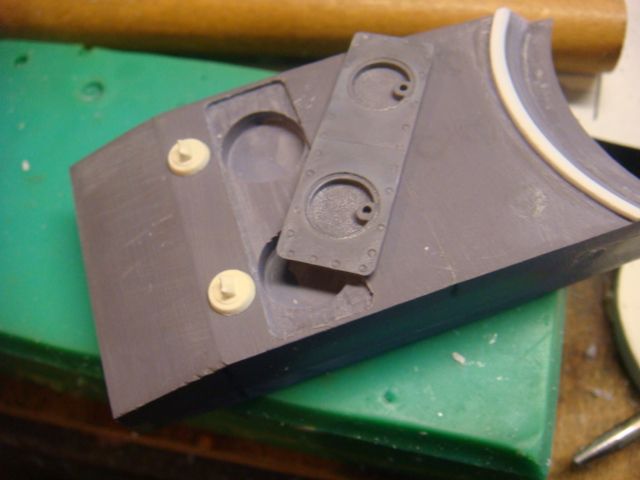
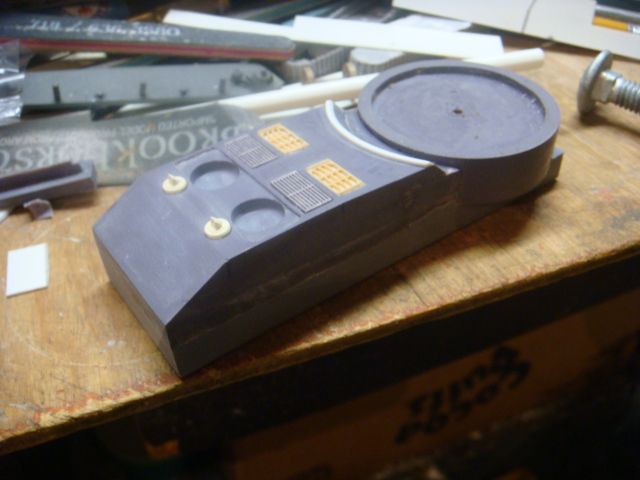
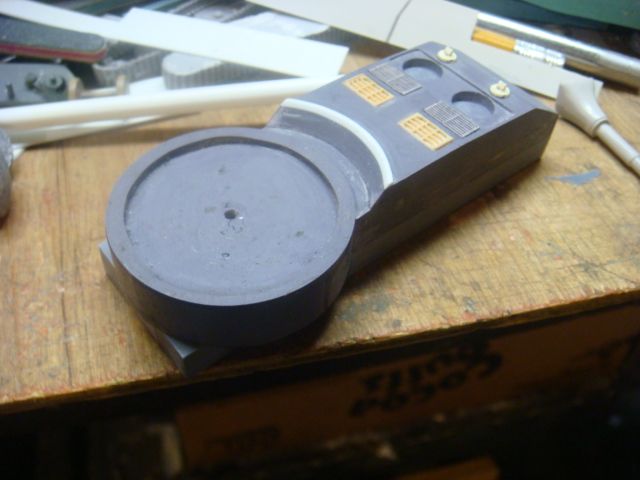
Then I started laying the grills in place to be sure of their fit.
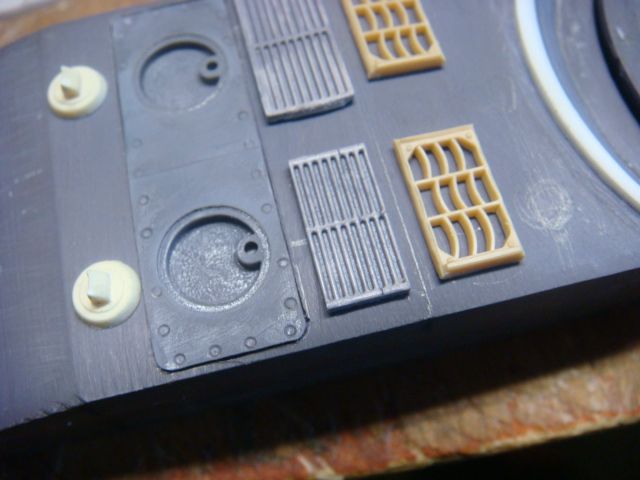
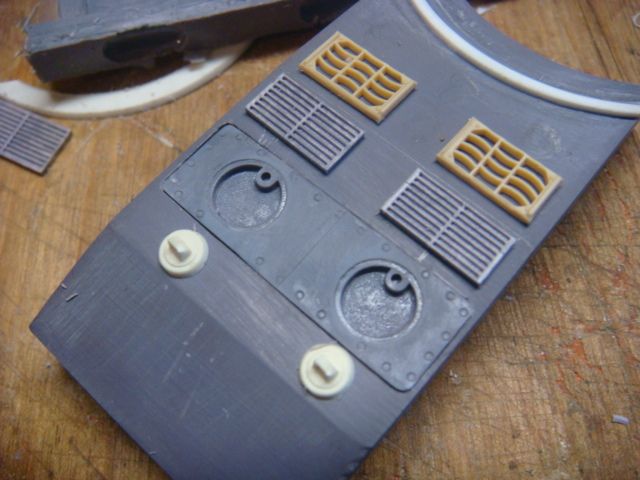
Once I decided on the parts, I took a wood carving chisel,
carve out the location of each part and set it in place.
Then using pic's found on the net of the 1/35 model as a reference,
I started mocking out the fenders.
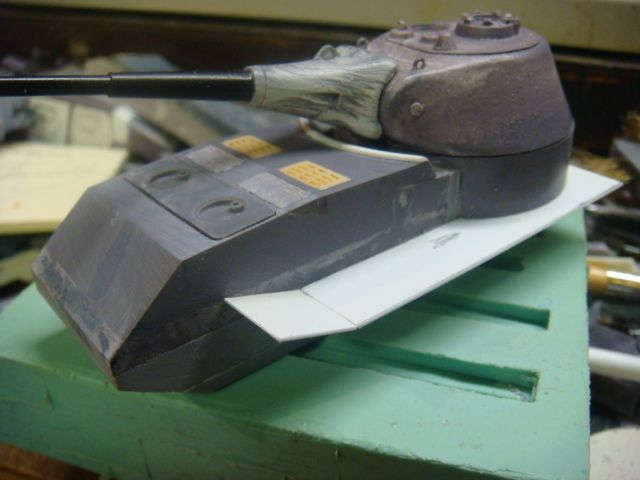
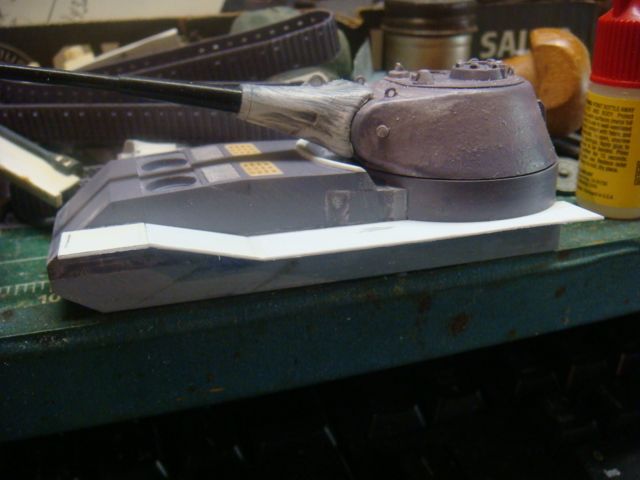
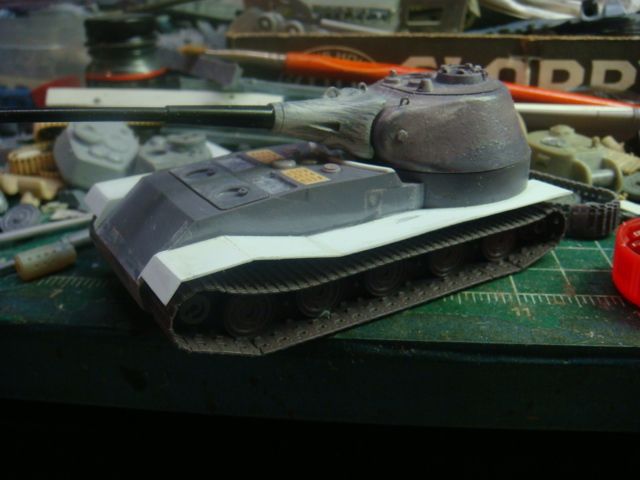
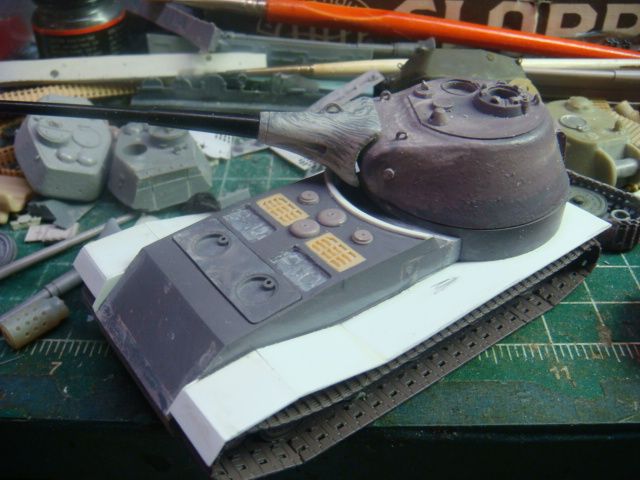
Taking a break from the fenders.....
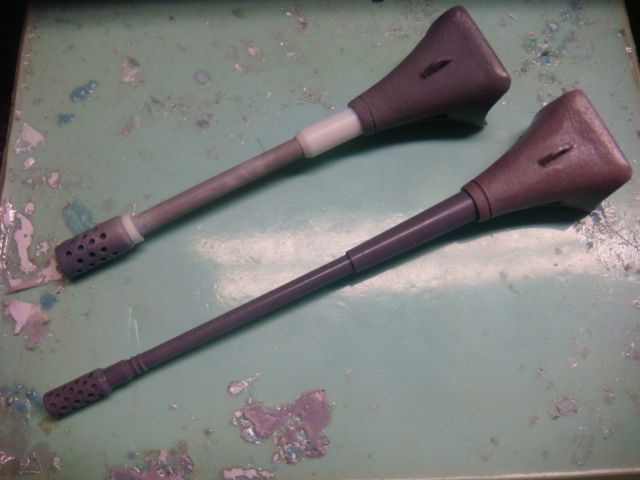
I decided that I wanted a choice of gun.
So I did these.
then there was the "hump" covering the join of the hull and the turret ring.
as seen here in a pic from WoT.
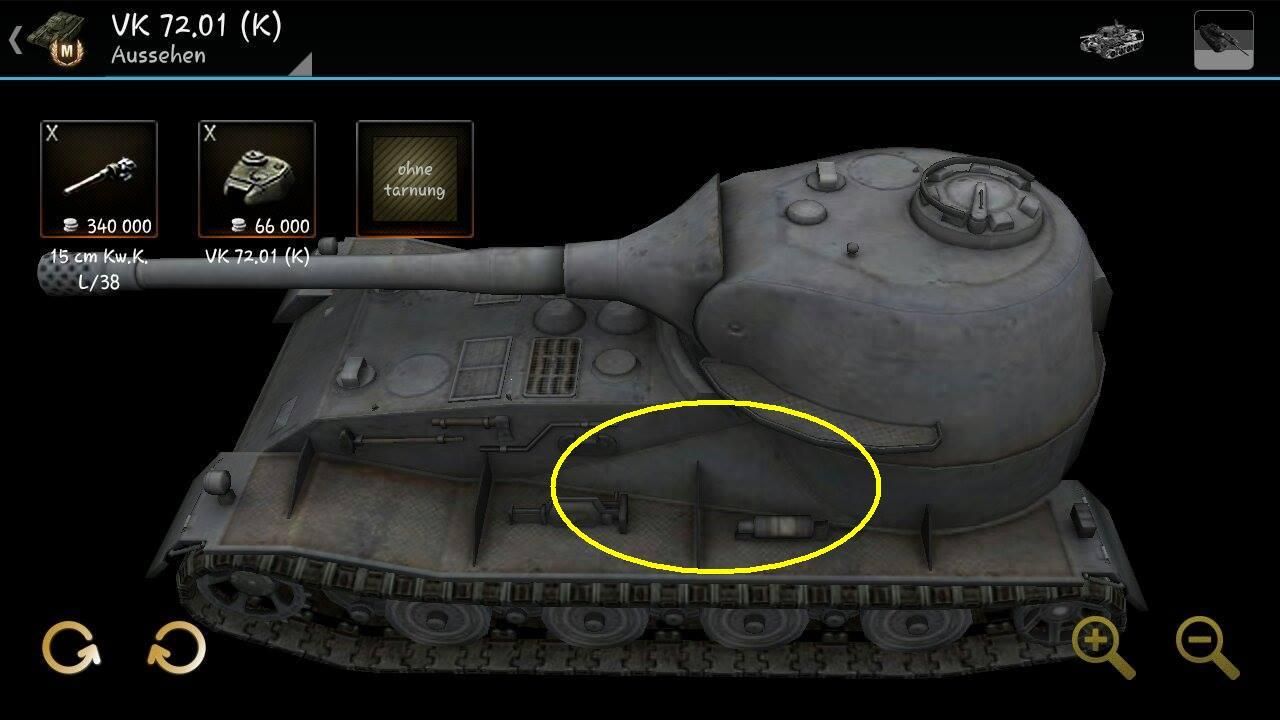
so I took Miliput and fashioned them out.
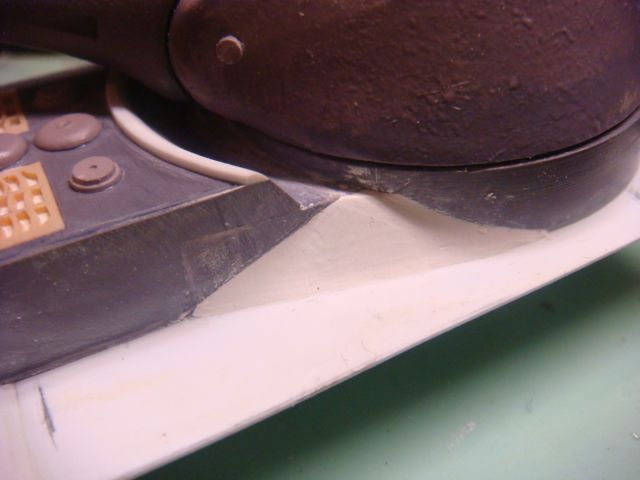
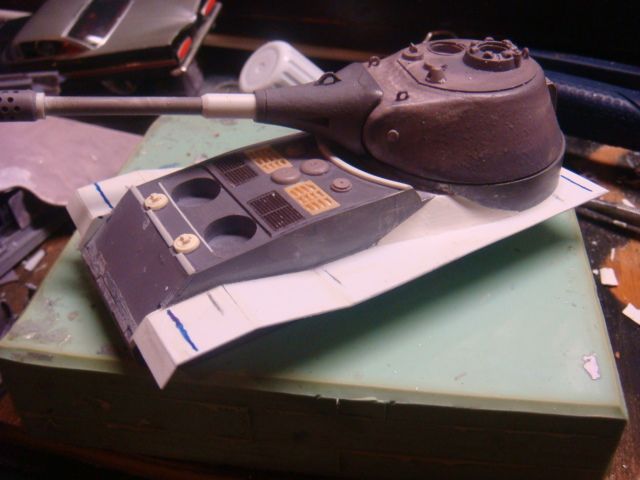
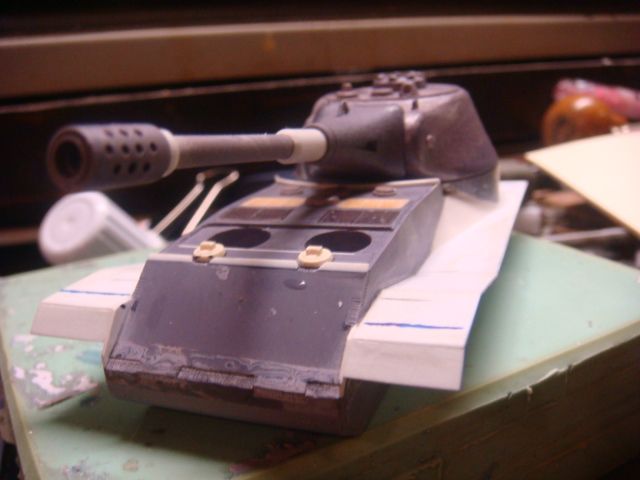
Now that being done to both sides......
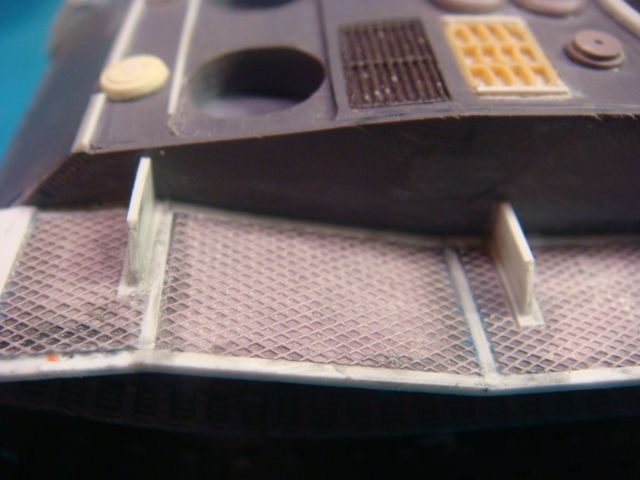
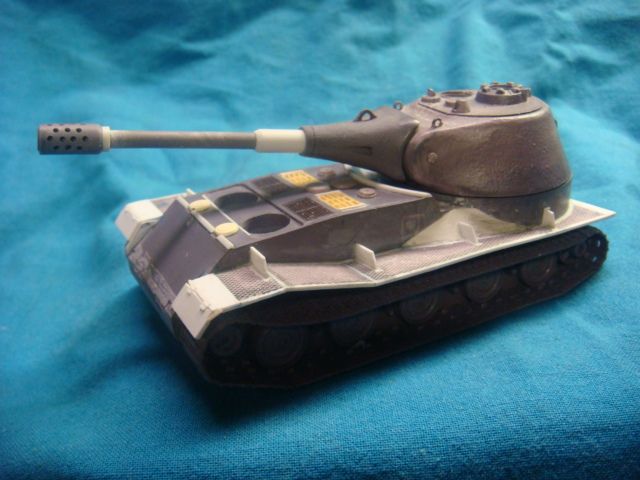
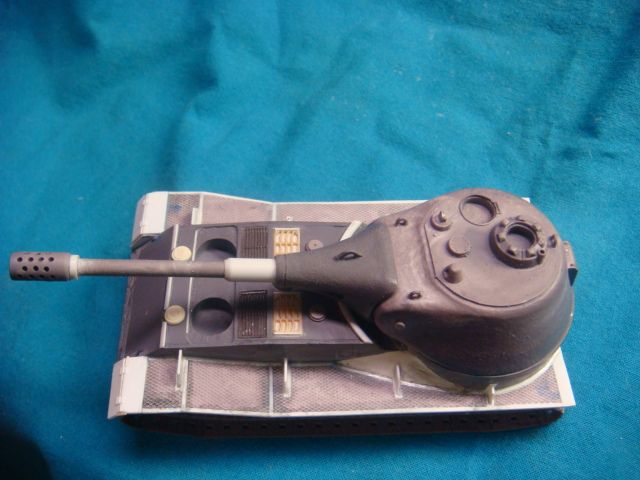
I started with the "Diamond Plate" for the fenders.
I have a mold for a 3X5 card of it,
but when poured it is far too thick.....
so I spent 45 min to an Hour sanding it thin.....
cutting it to size and gluing it on.....
I "framed" it with strip Styrene, and added the fender supports.
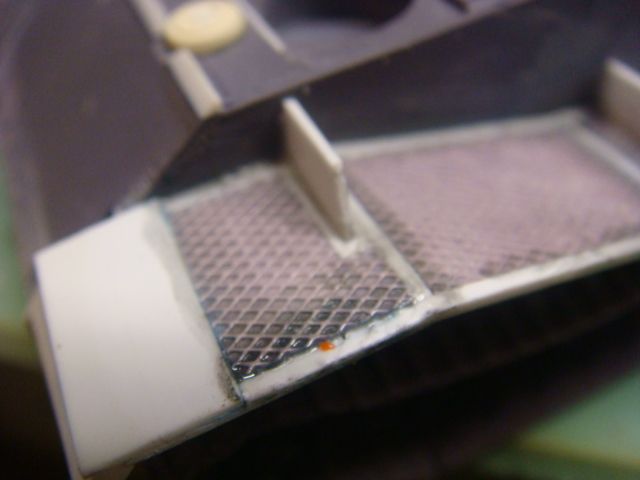
Now... Both WoT and Amusing Hooby
failed to to show an Exhaust system for this.
So.... I am offering two choices for this.
you as the builder can choose either one, or none at all (if you so choose)
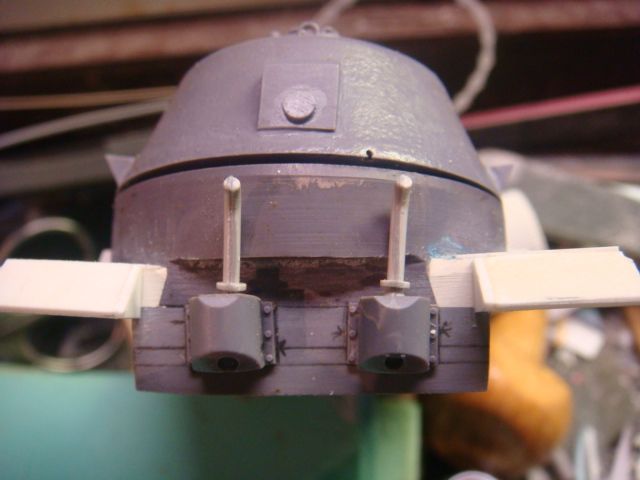
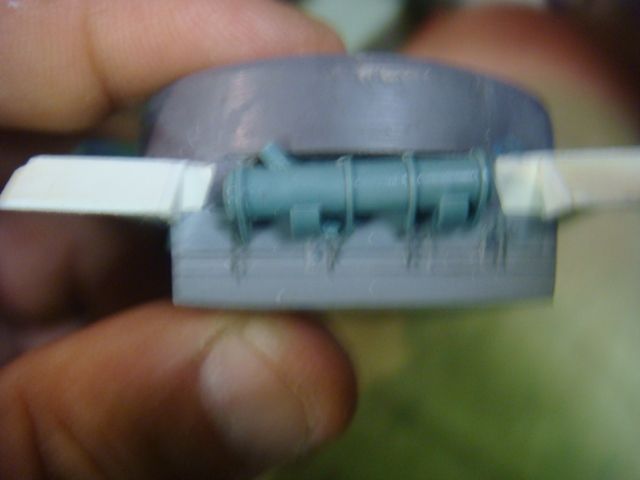
Here I am trying the tool (and fender) stowage.
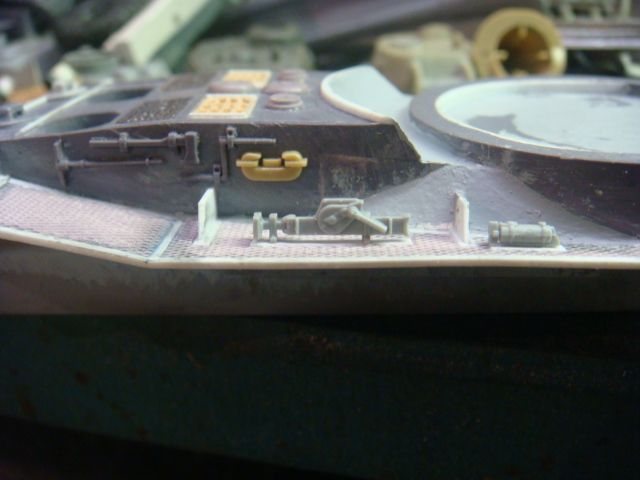
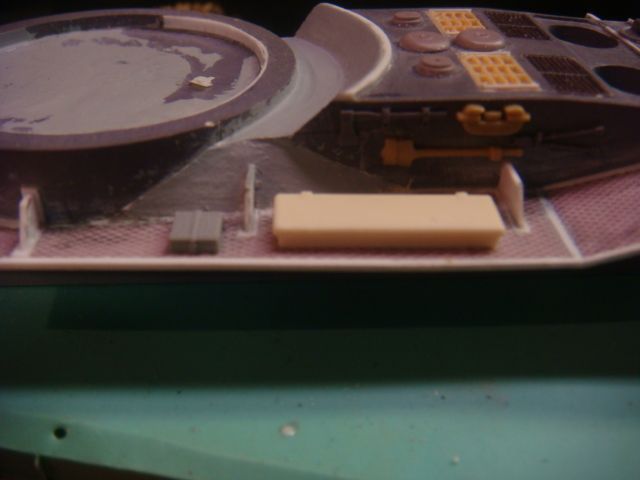
So, aside from a couple more tweeks here and there.....
it's done.... and will be in rubber soon.
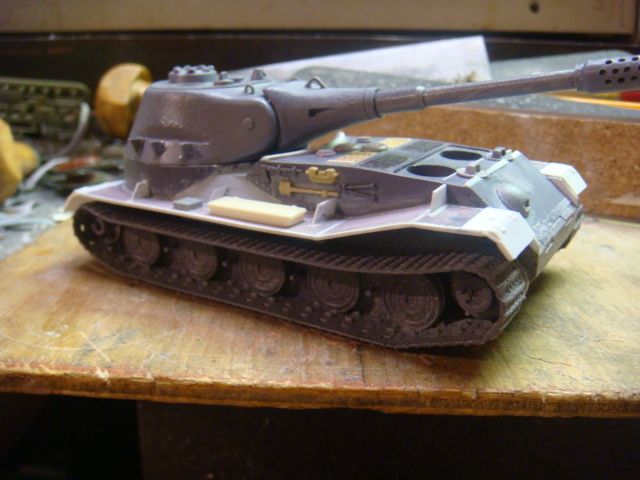
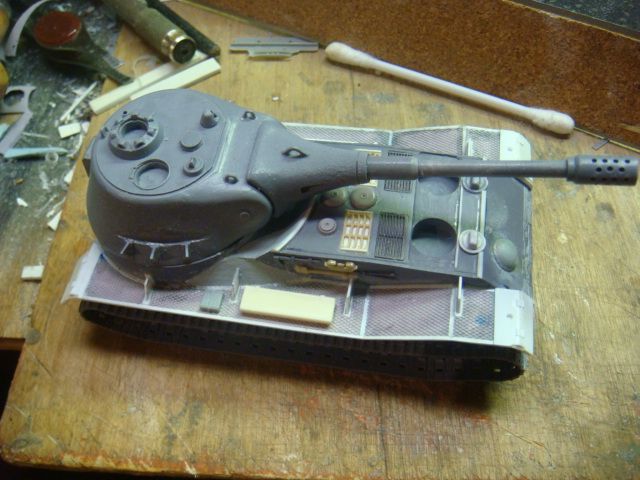
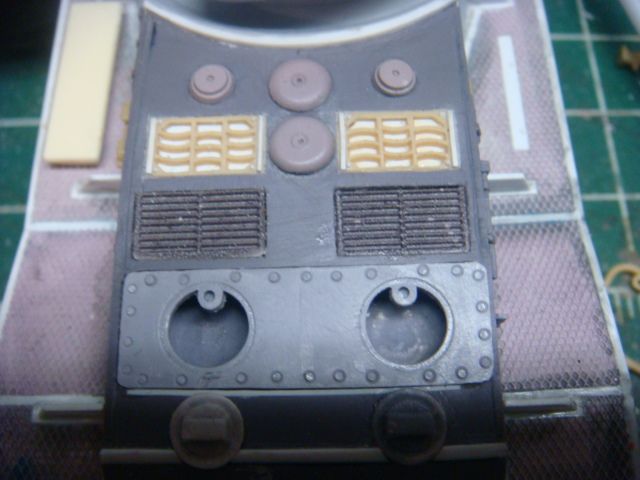
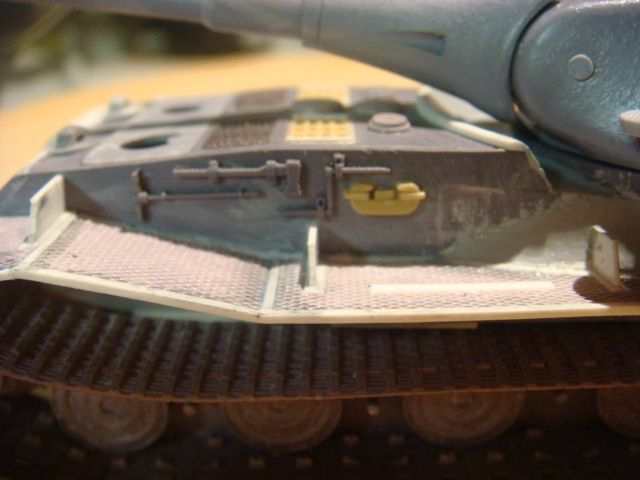
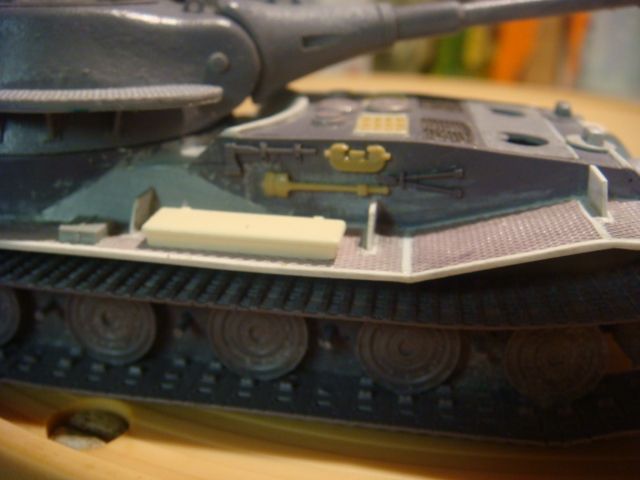
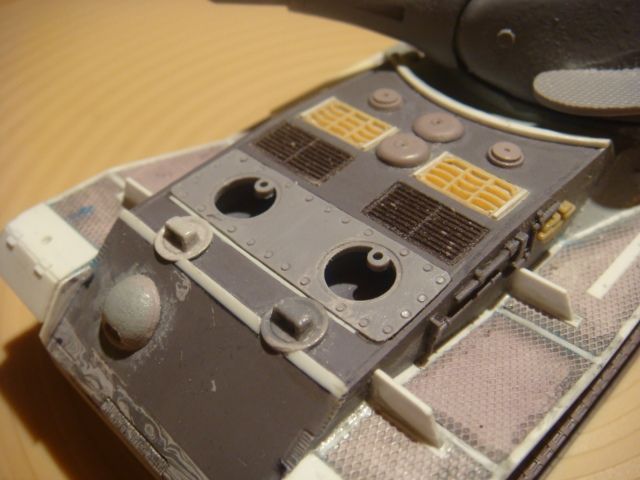
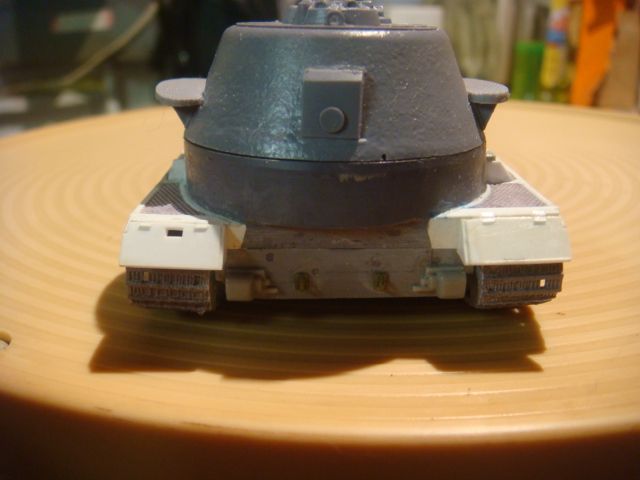
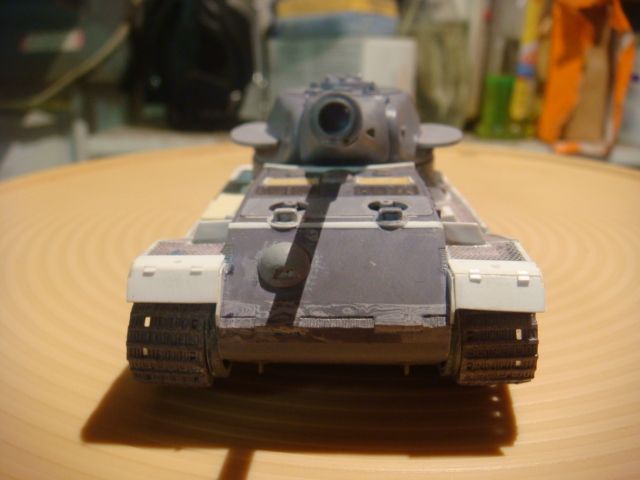
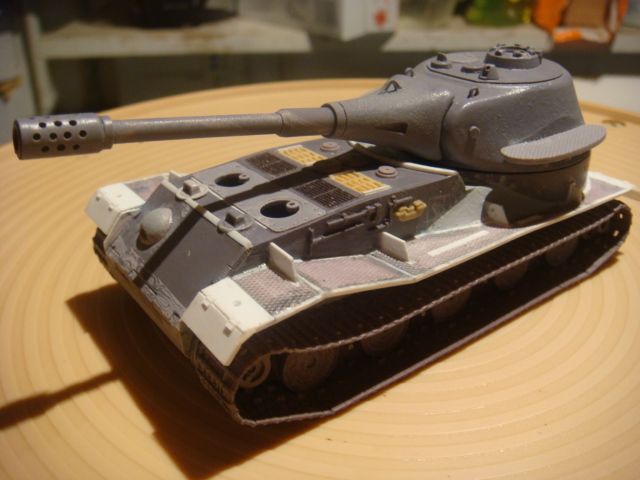
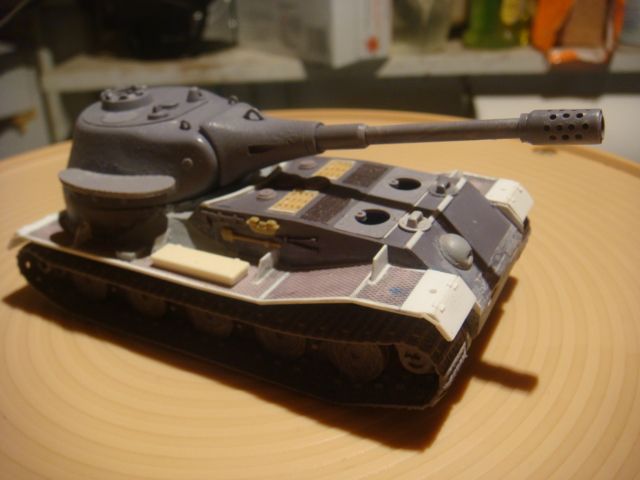
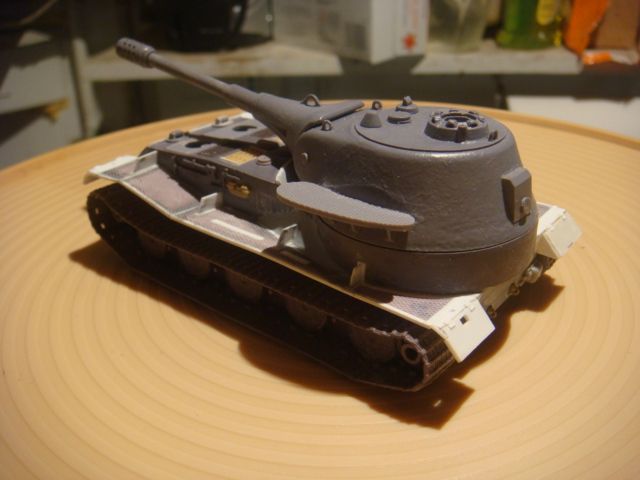
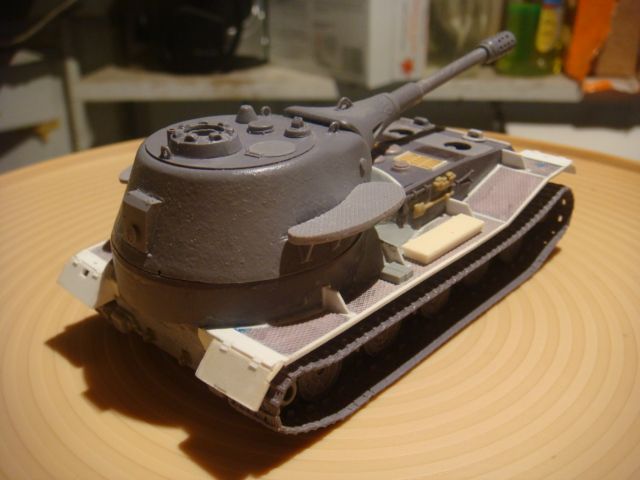
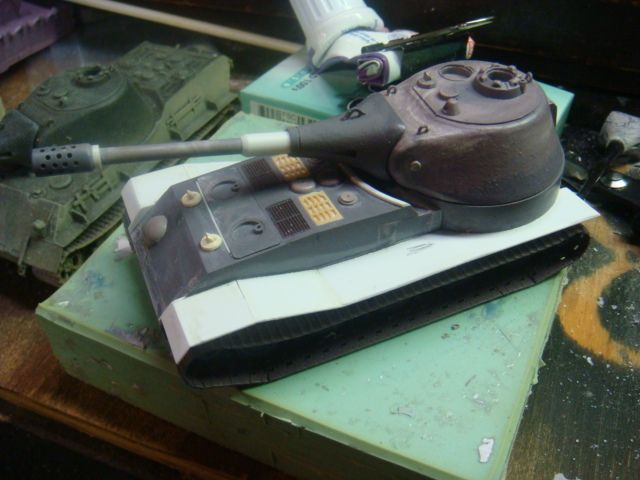
The first cast has been assembled and painted.
Here it is assembled
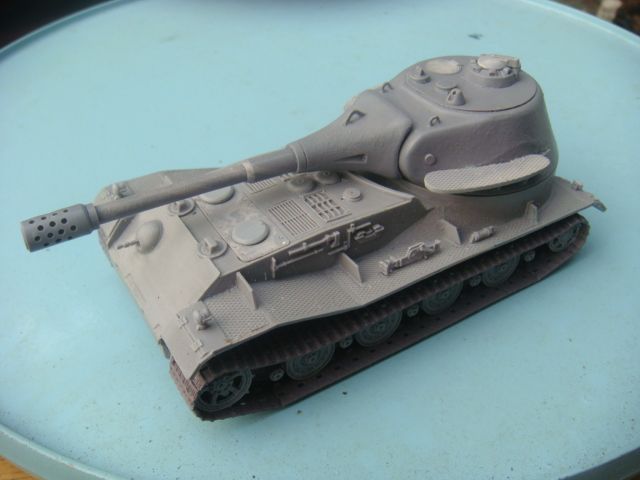
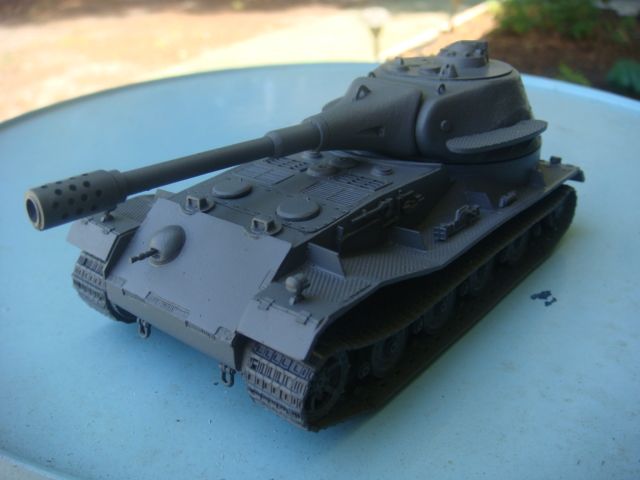
here is the base coat of Tamiya (Rattle can) German Grey (TS-4)
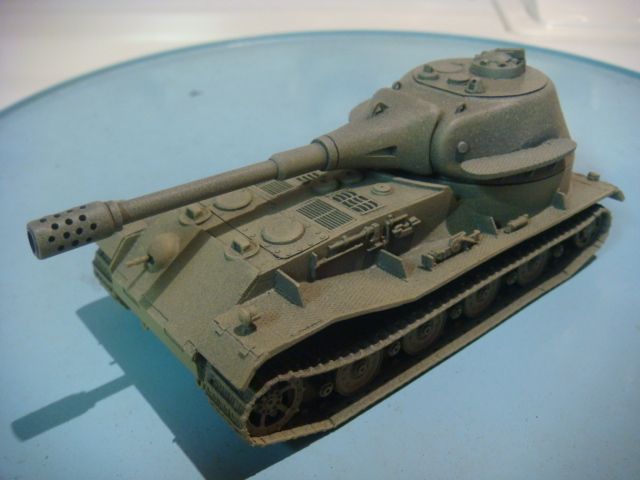
here is a "dusting" of Rust-Oleum Khaki (also a Rattle Can)
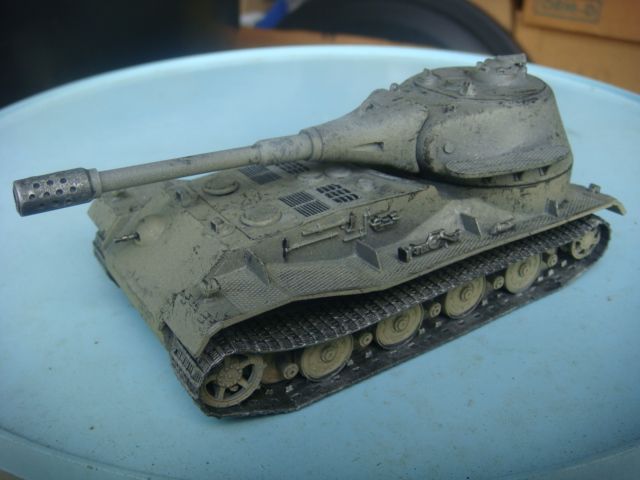
And here I "picked out the parts with Gunmetal,
Highlighted with Silver, dry-brushed with a light grey,
and a rough Dry-Brush of Gunmetal.
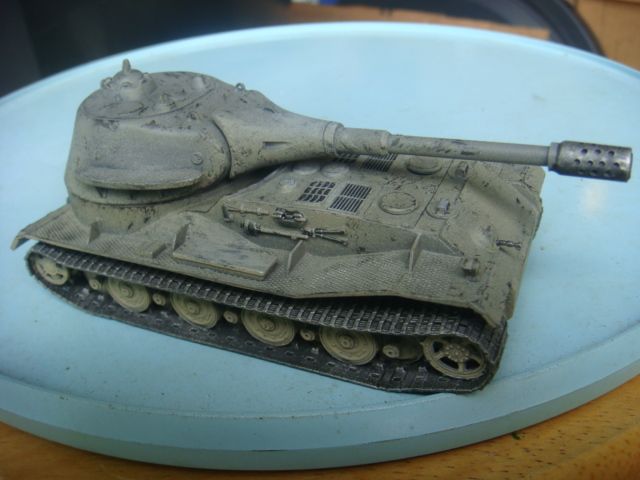
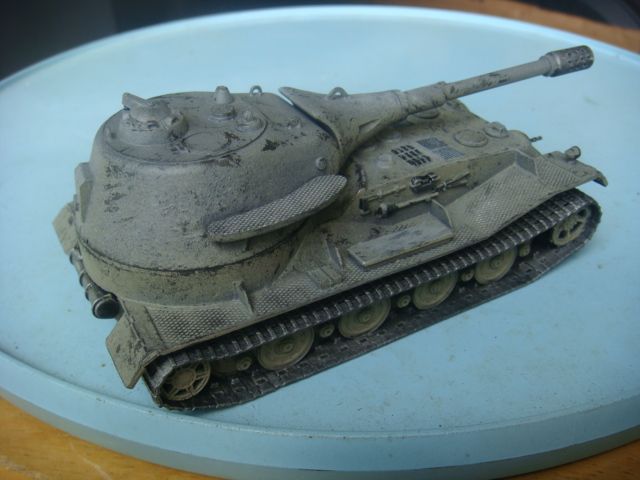
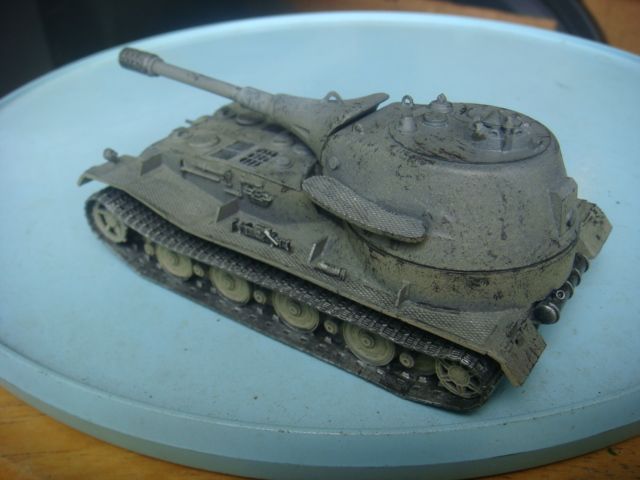
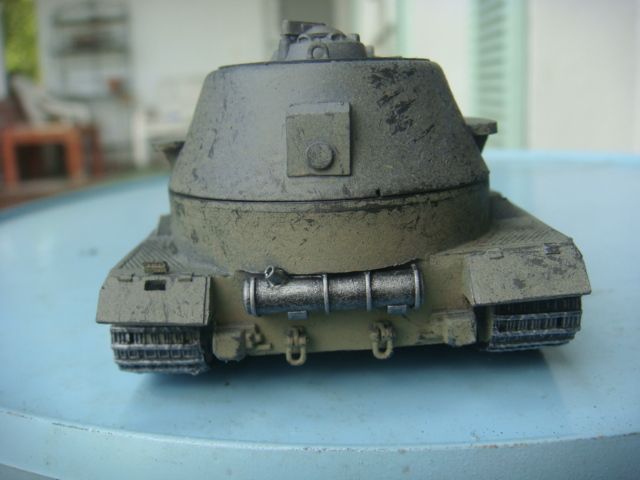
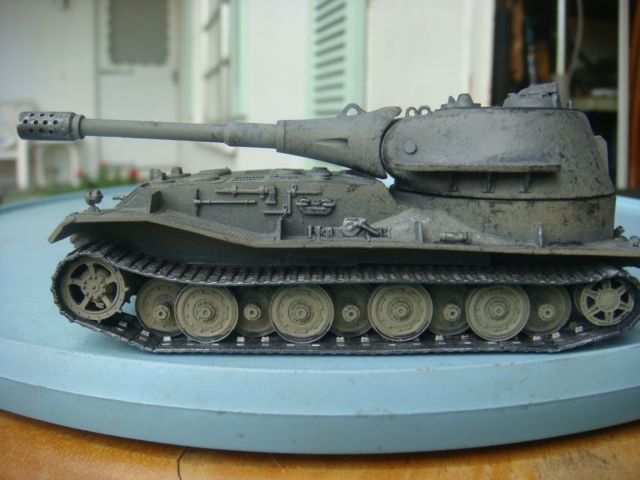
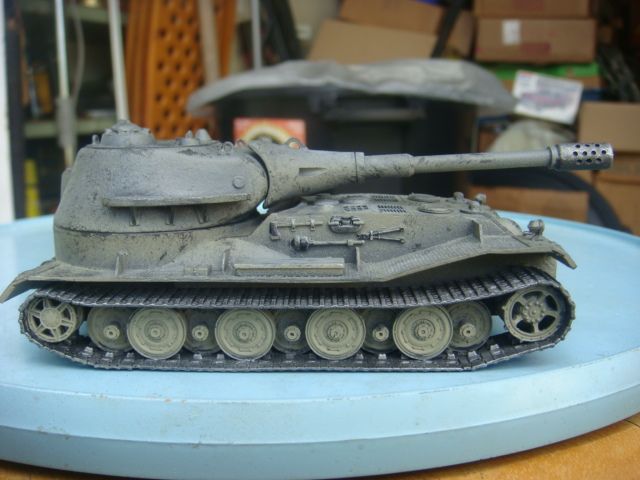
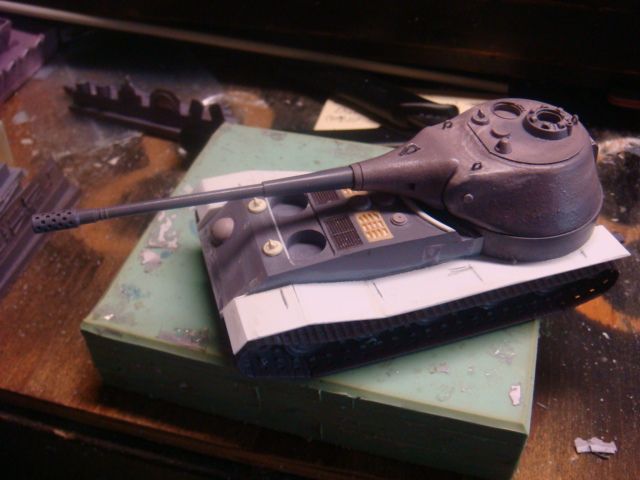
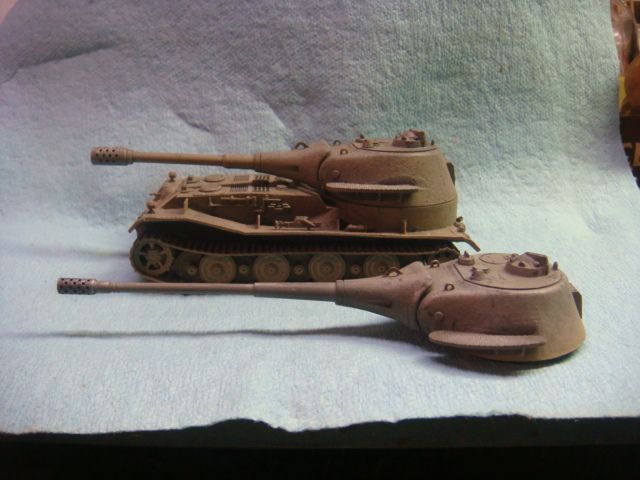
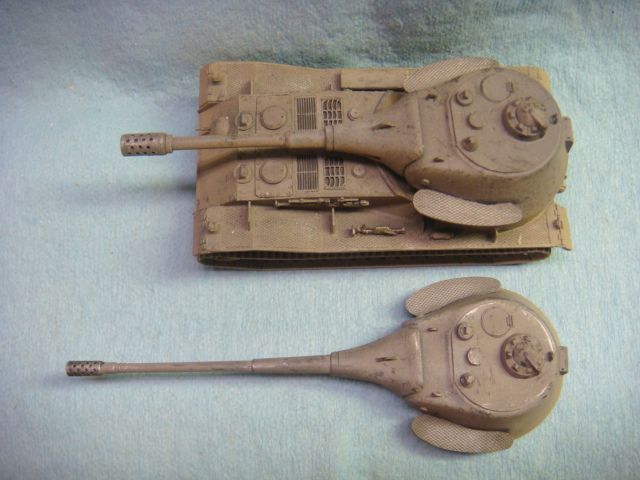
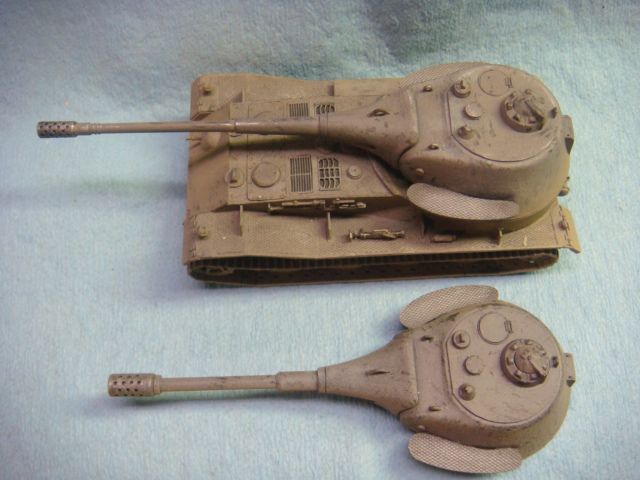
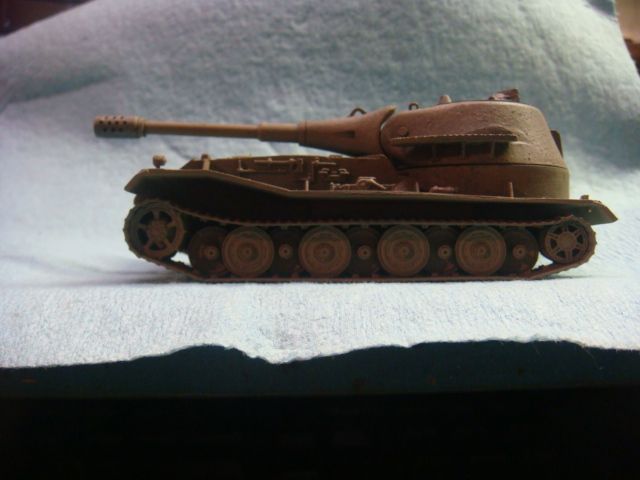
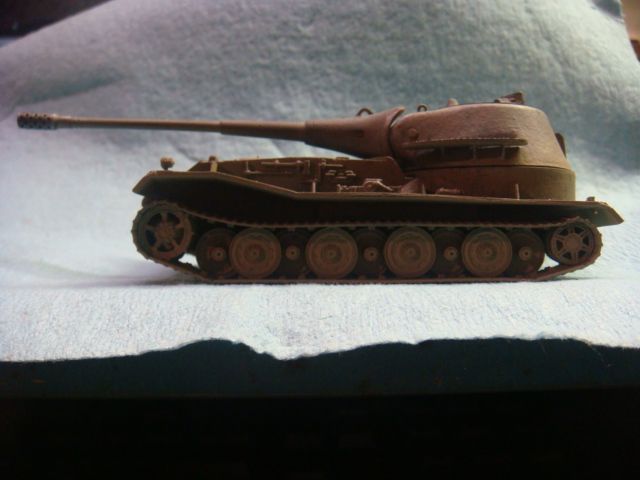
here are a few pic's
comparing this with the Lowe, and with the second gun.
So here you go.....
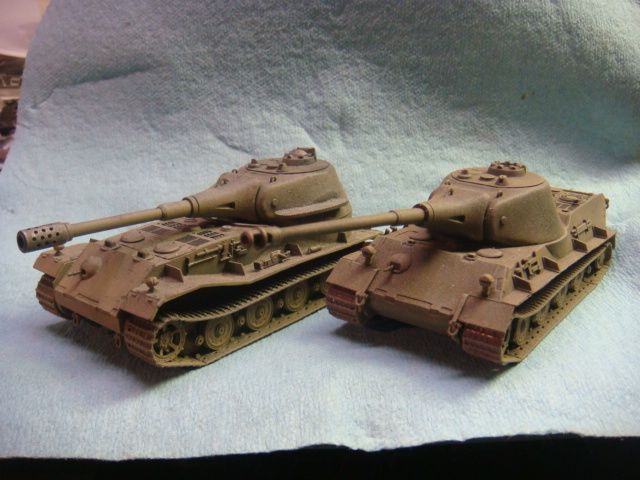
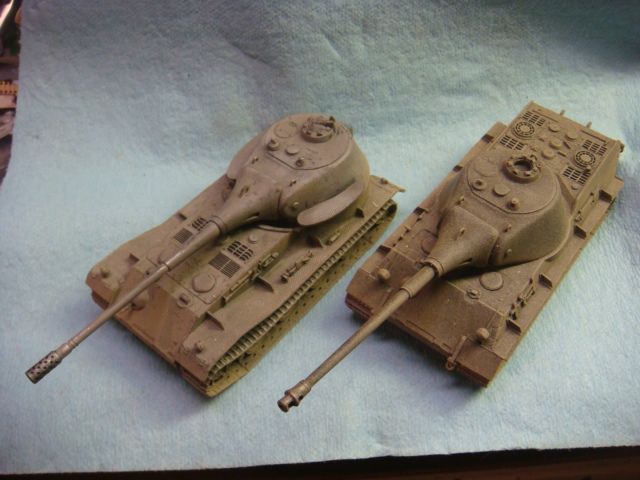
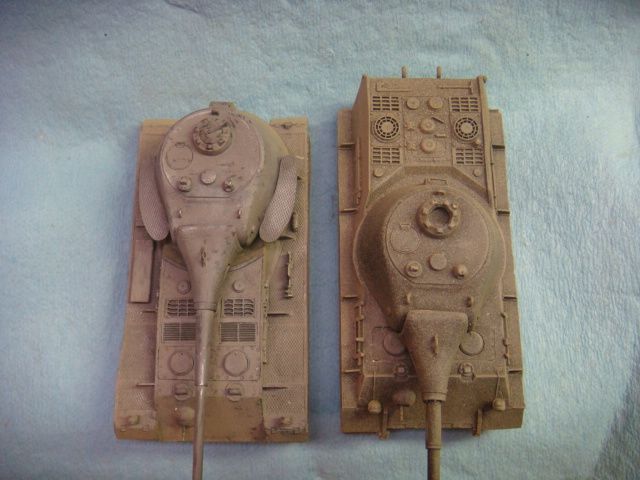
and second gun
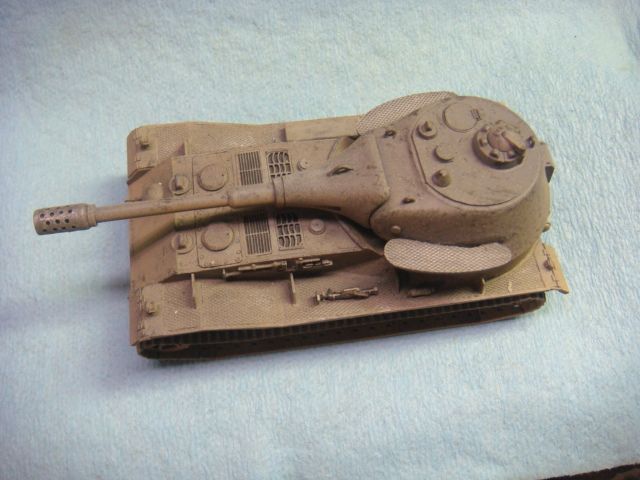
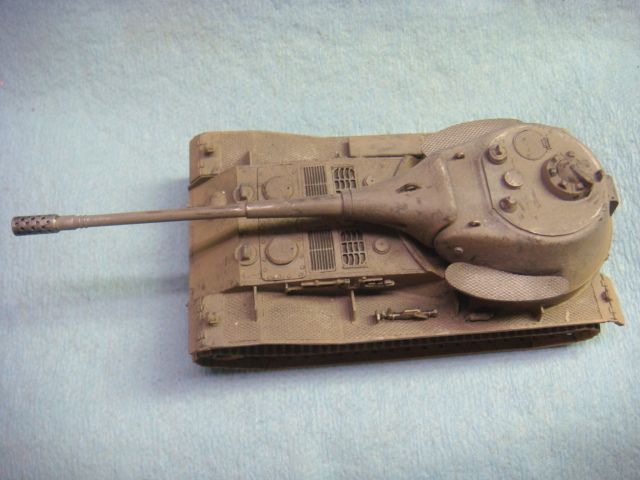
I now have it listed on ebay
Please tell me what you think.
Ken
Well.....
I wanted one of these real bad.....
and when the possibility
of a kit coming out showed it self......
I was genuinely excited......
but that was soon dashed......
so.... in stead of dwelling on it......
I took action.
First I looked real hard at my Lowe turret.....
I needed the round base for the turret....
so I took a plastic Solo cup
and poured 3/4 inch of resin in that.
after it cured, I popped it out, rounded it out,
and took some of the "thickness" off of it.
For the hull......
I made a box of Tongue Depressers and poured resin in that.
When that cured... I popped it out and started dry fitting.
(I guess you'd like to see pic's)
here is the first "test fit" where I drew on some of the details


then I remembered
that there was a "step" where the hull meets the Turret ring.
so....I took my razor saw cut a section out.

and it came out like this.

I then had to get the angles done on the upper surfaces of the hull.
so I place it in a vice and started filing away with a super course
double cut file.

All the while.... I kept drawing and redrawing the surface details....
just to keep tract of their locations.
Trying different parts for this and that,
and "Burring out" the location for the front hatches.

Then I started laying the grills in place to be sure of their fit.


Once I decided on the parts, I took a wood carving chisel,
carve out the location of each part and set it in place.


Then using pic's found on the net of the 1/35 model as a reference,
I started mocking out the fenders.


Taking a break from the fenders.....
I decided that I wanted a choice of gun.
So I did these.


then there was the "hump" covering the join of the hull and the turret ring.
as seen here in a pic from WoT.

so I took Miliput and fashioned them out.


Now that being done to both sides......
I started with the "Diamond Plate" for the fenders.
I have a mold for a 3X5 card of it,
but when poured it is far too thick.....
so I spent 45 min to an Hour sanding it thin.....
cutting it to size and gluing it on.....
I "framed" it with strip Styrene, and added the fender supports.


Now... Both WoT and Amusing Hooby
failed to to show an Exhaust system for this.
So.... I am offering two choices for this.
you as the builder can choose either one, or none at all (if you so choose)


Here I am trying the tool (and fender) stowage.


So, aside from a couple more tweeks here and there.....
it's done.... and will be in rubber soon.


The first cast has been assembled and painted.
Here it is assembled

here is the base coat of Tamiya (Rattle can) German Grey (TS-4)

here is a "dusting" of Rust-Oleum Khaki (also a Rattle Can)

And here I "picked out the parts with Gunmetal,
Highlighted with Silver, dry-brushed with a light grey,
and a rough Dry-Brush of Gunmetal.


here are a few pic's
comparing this with the Lowe, and with the second gun.
So here you go.....


and second gun


I now have it listed on ebay
Please tell me what you think.
Ken


