cploverby.
Full Member
  
Member since: August 2012
Posts: 129
Aug 14, 2012 14:15:54 GMT -5
Aug 14, 2012 14:15:54 GMT -5
|
Post by cploverby. on Apr 3, 2016 0:26:15 GMT -5
VK 6600 E-79 in 1/72 I started this by requesting a friend of mine to make me a hull and turret to start from. As per my request he sent me both these items, they were both hollow being made from sheet styrene. So I began by removing items that I felt were either incorrect or not needed, and filled the turret and hull with resin to make them easier to work with. these are the items I removed from his parts 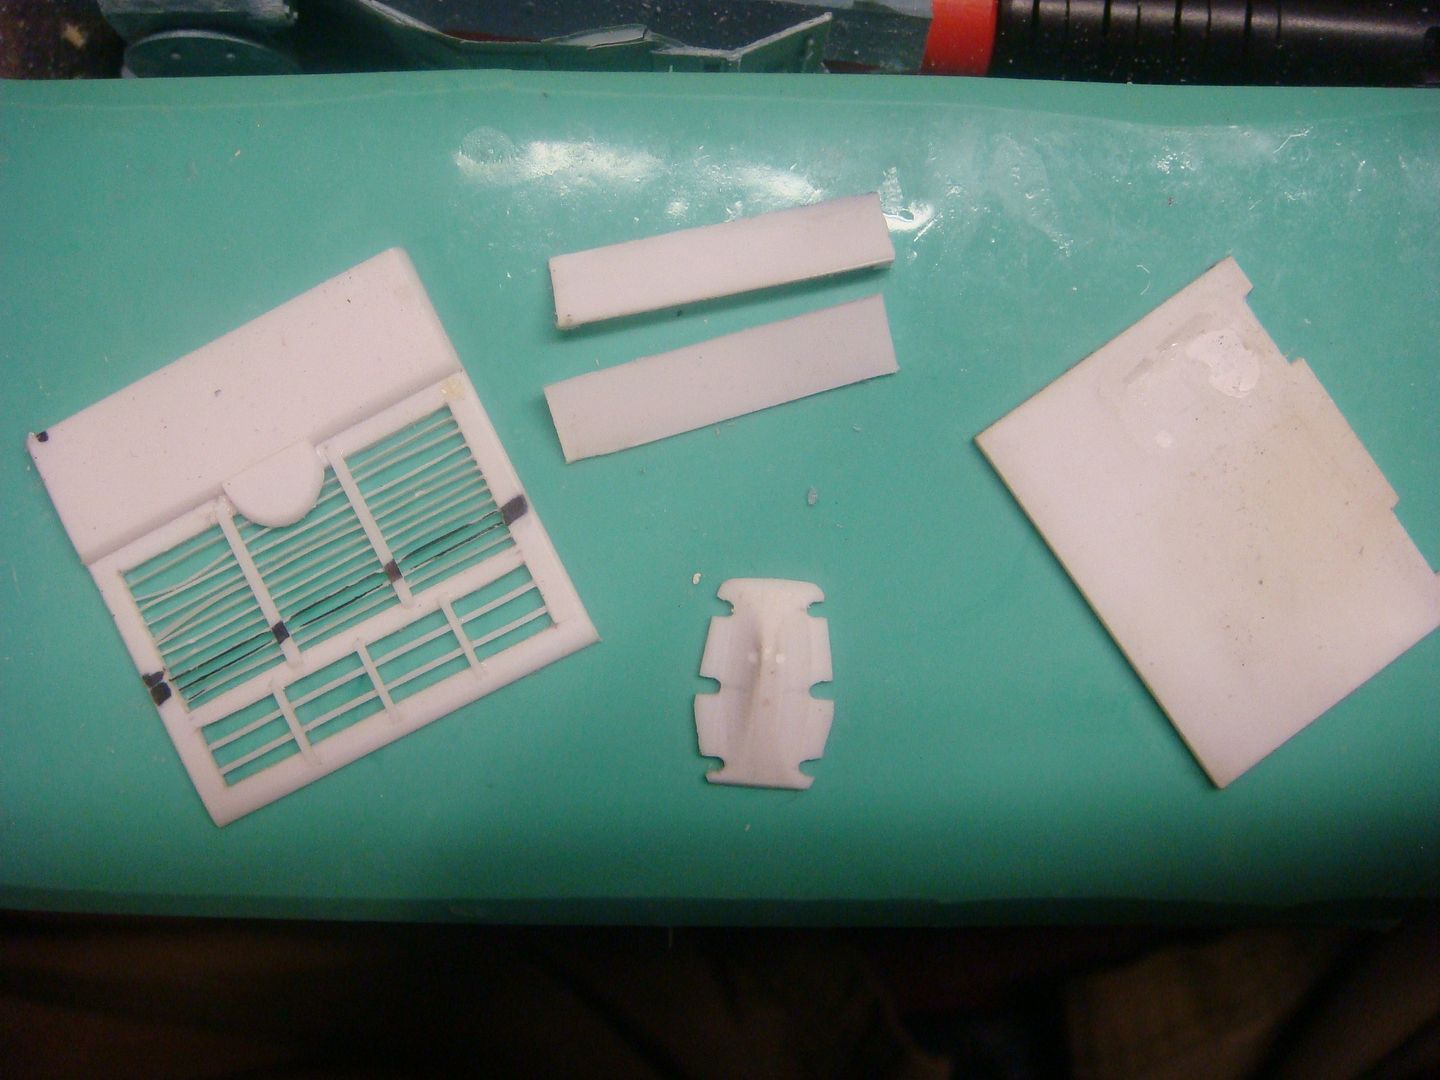 this left me with this as my starting point 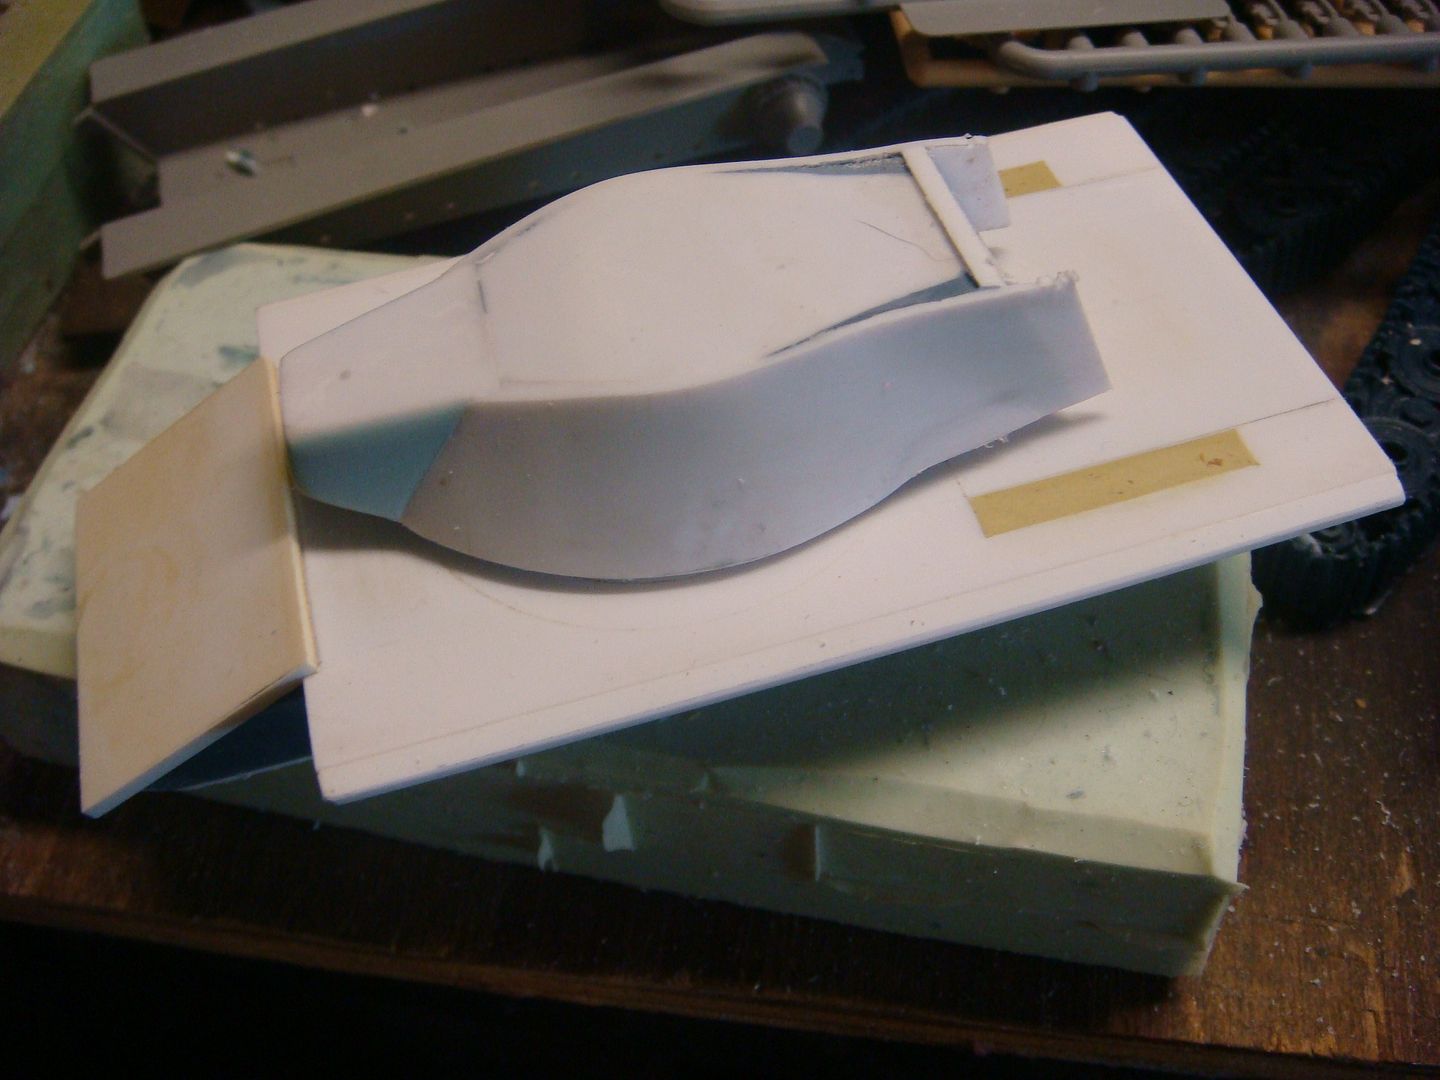 as you can see I filled them with resin, and opened the rear of the turret more. Now...here I have replaced the frontal armor, the engine deck, added a Tiger II cupola, and started work on the gun. 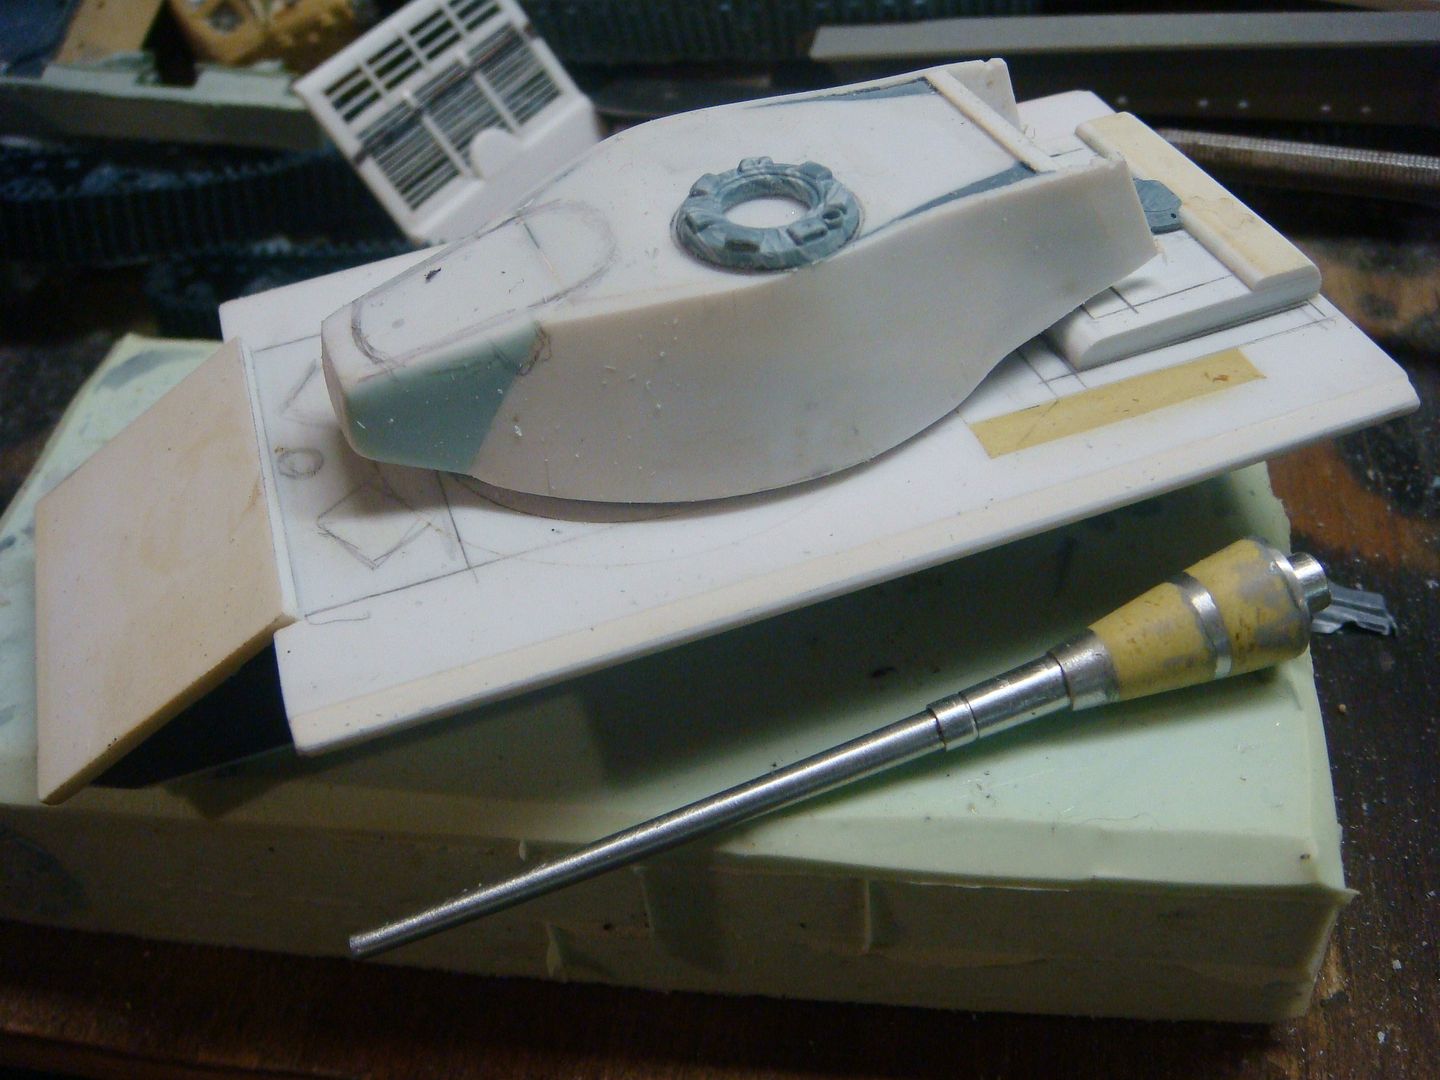 here I began building up the mantlet area with Milliput 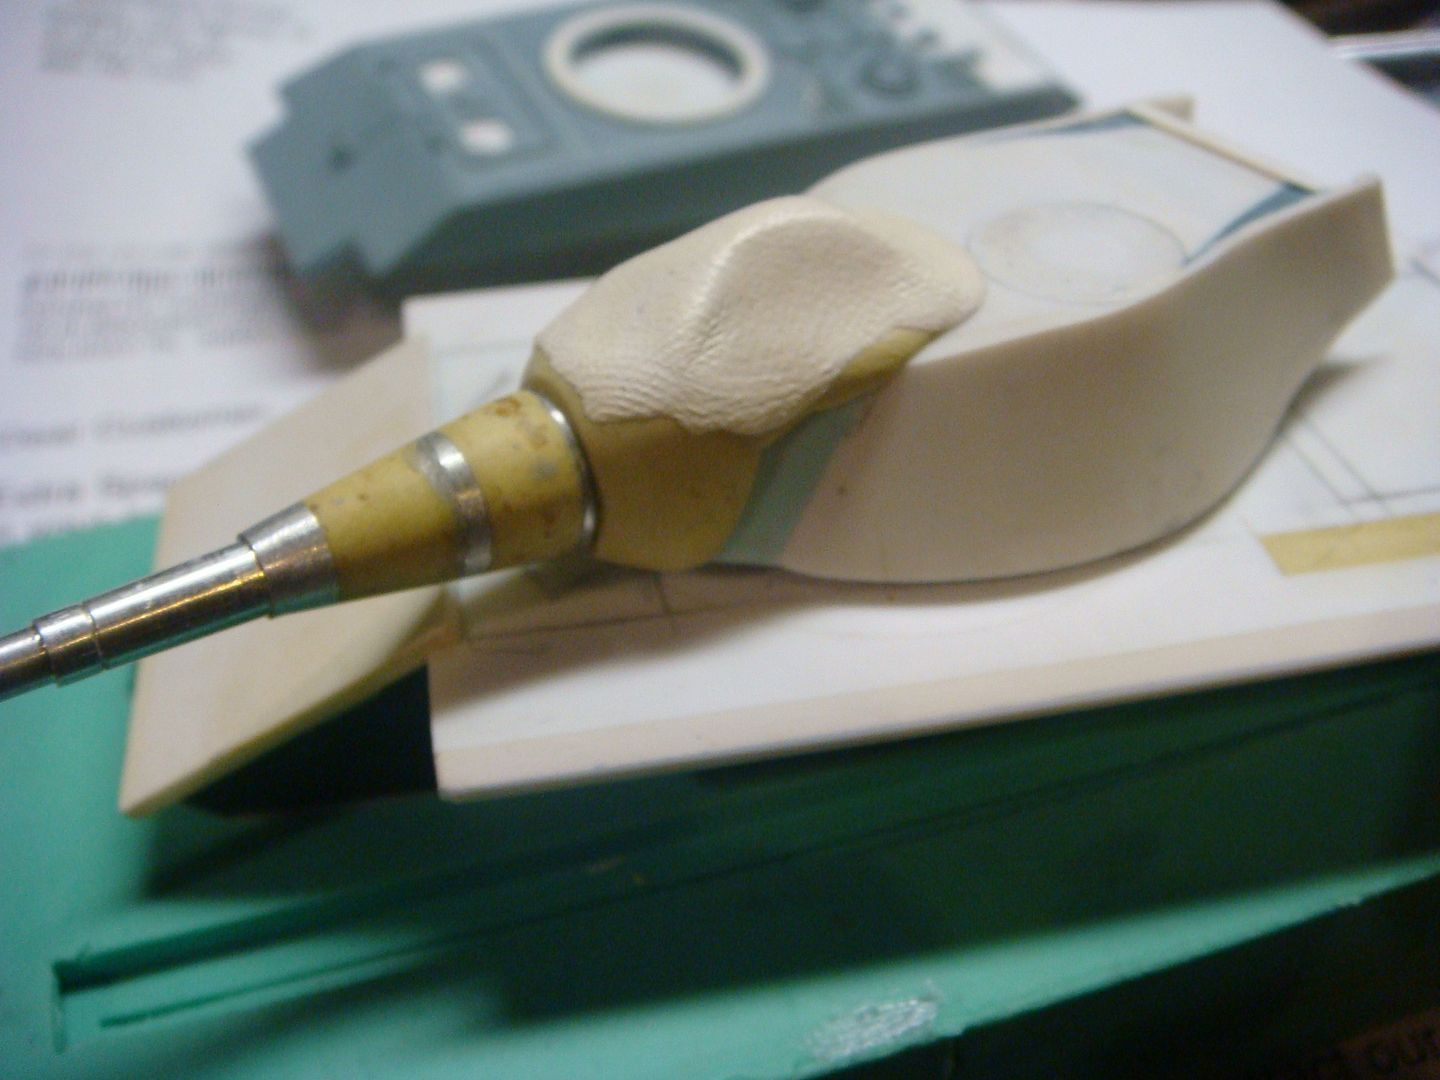 this is after several layers of Milliput, and starting the carving it to shape. 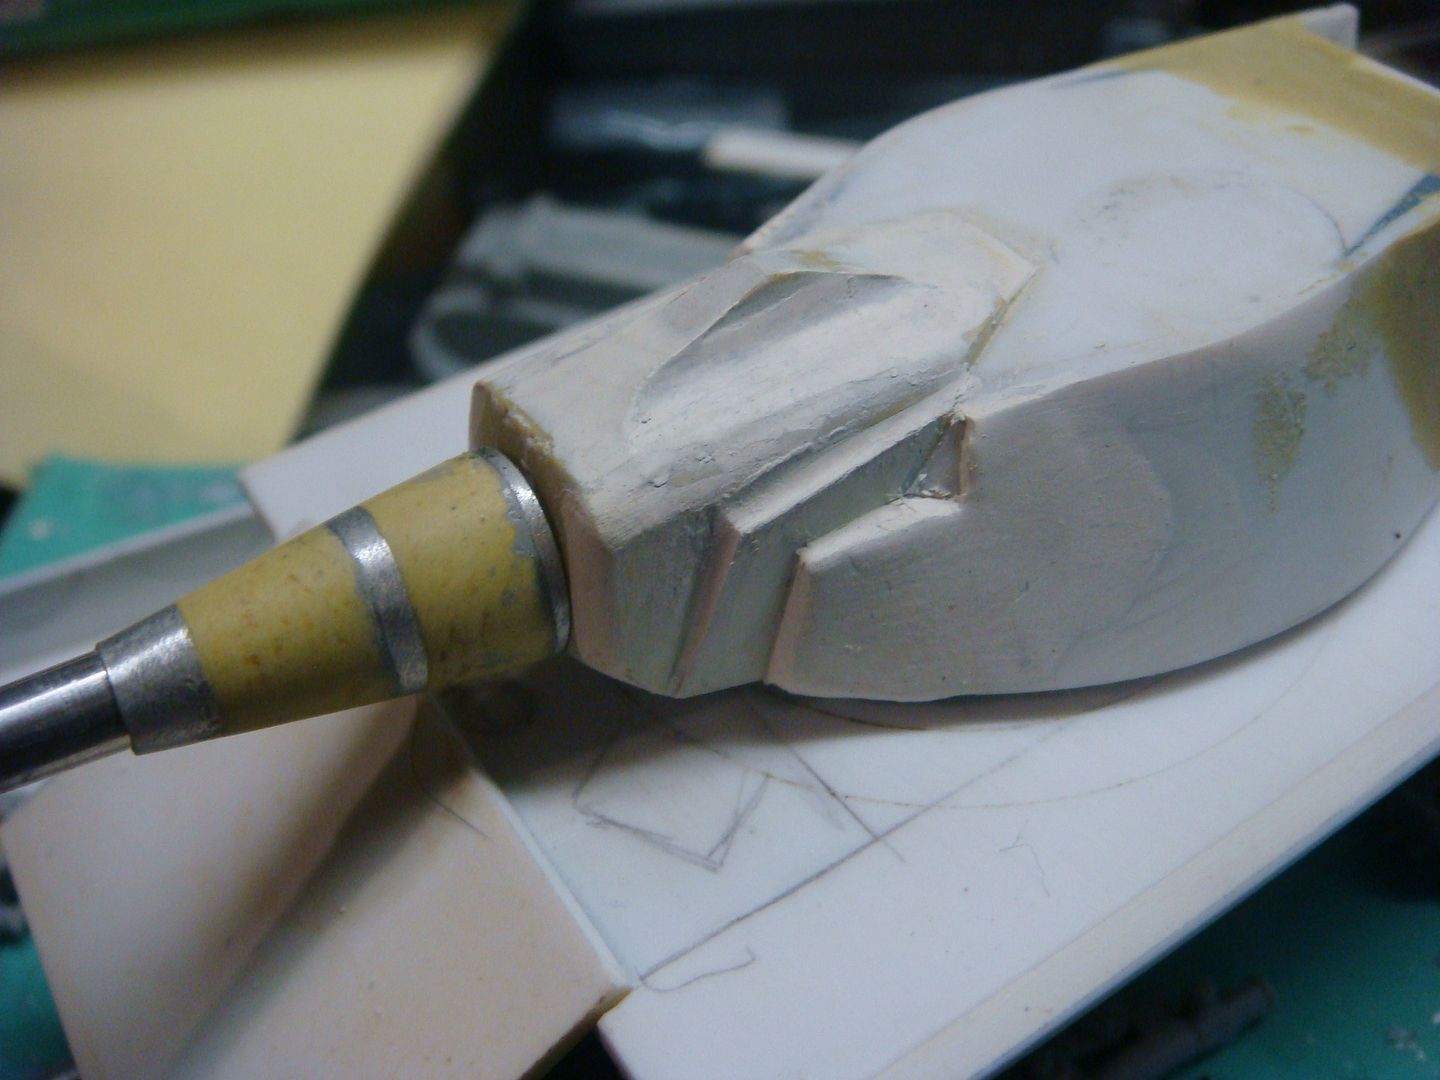 Here you see the mantlet getting closer to the final shape 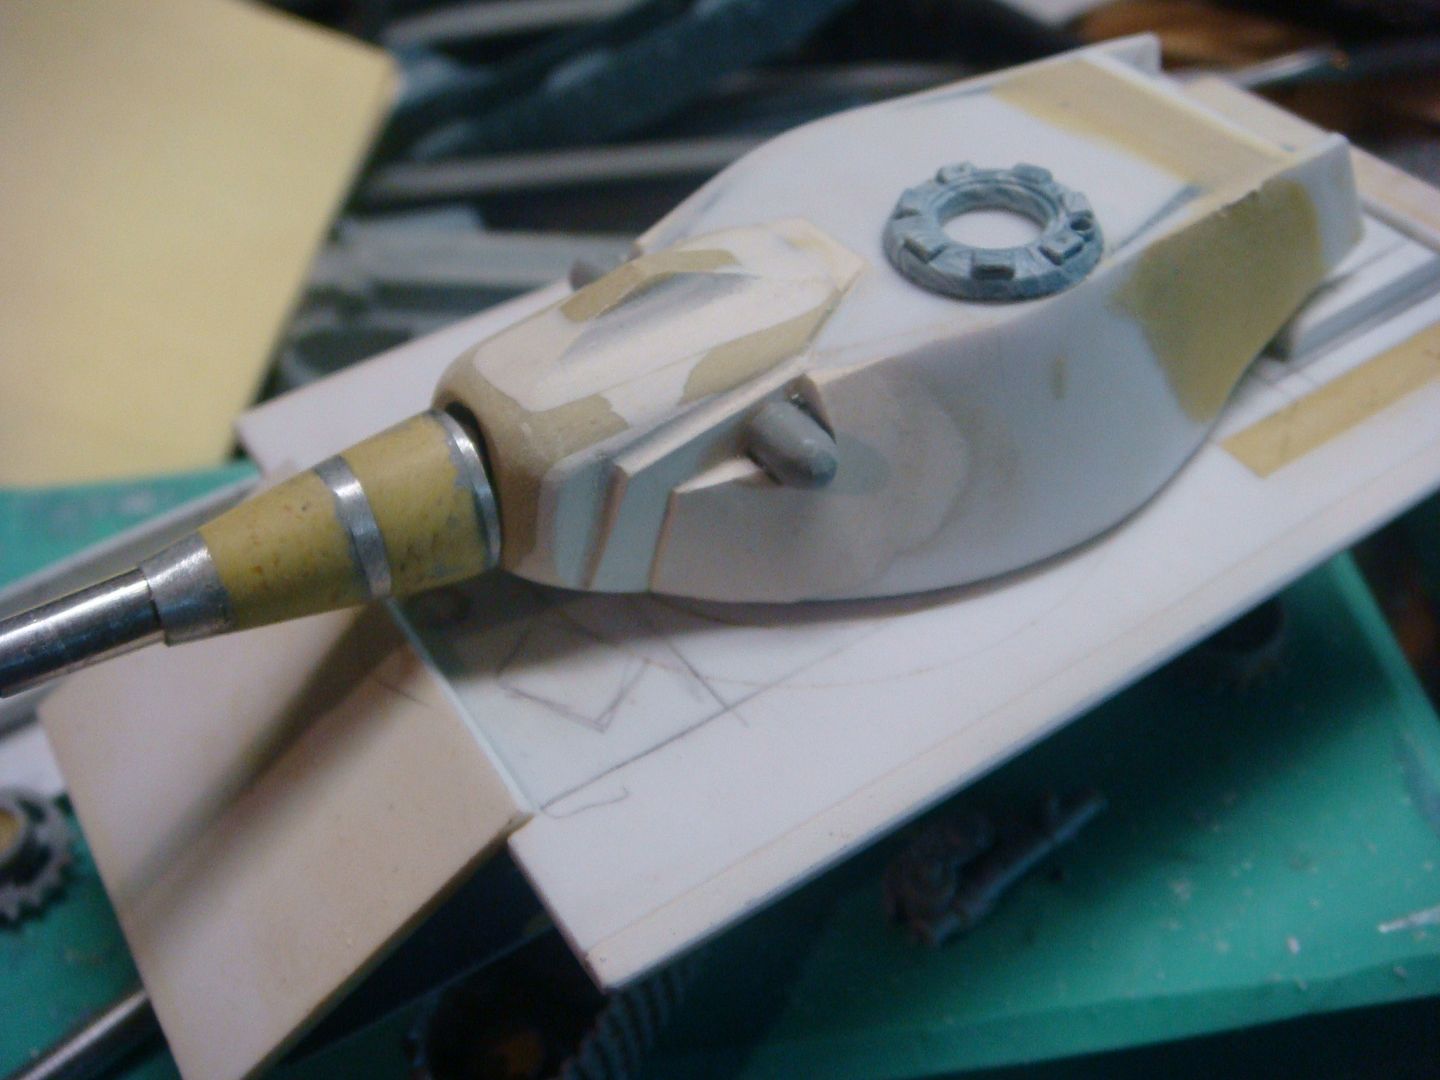 Getting closer 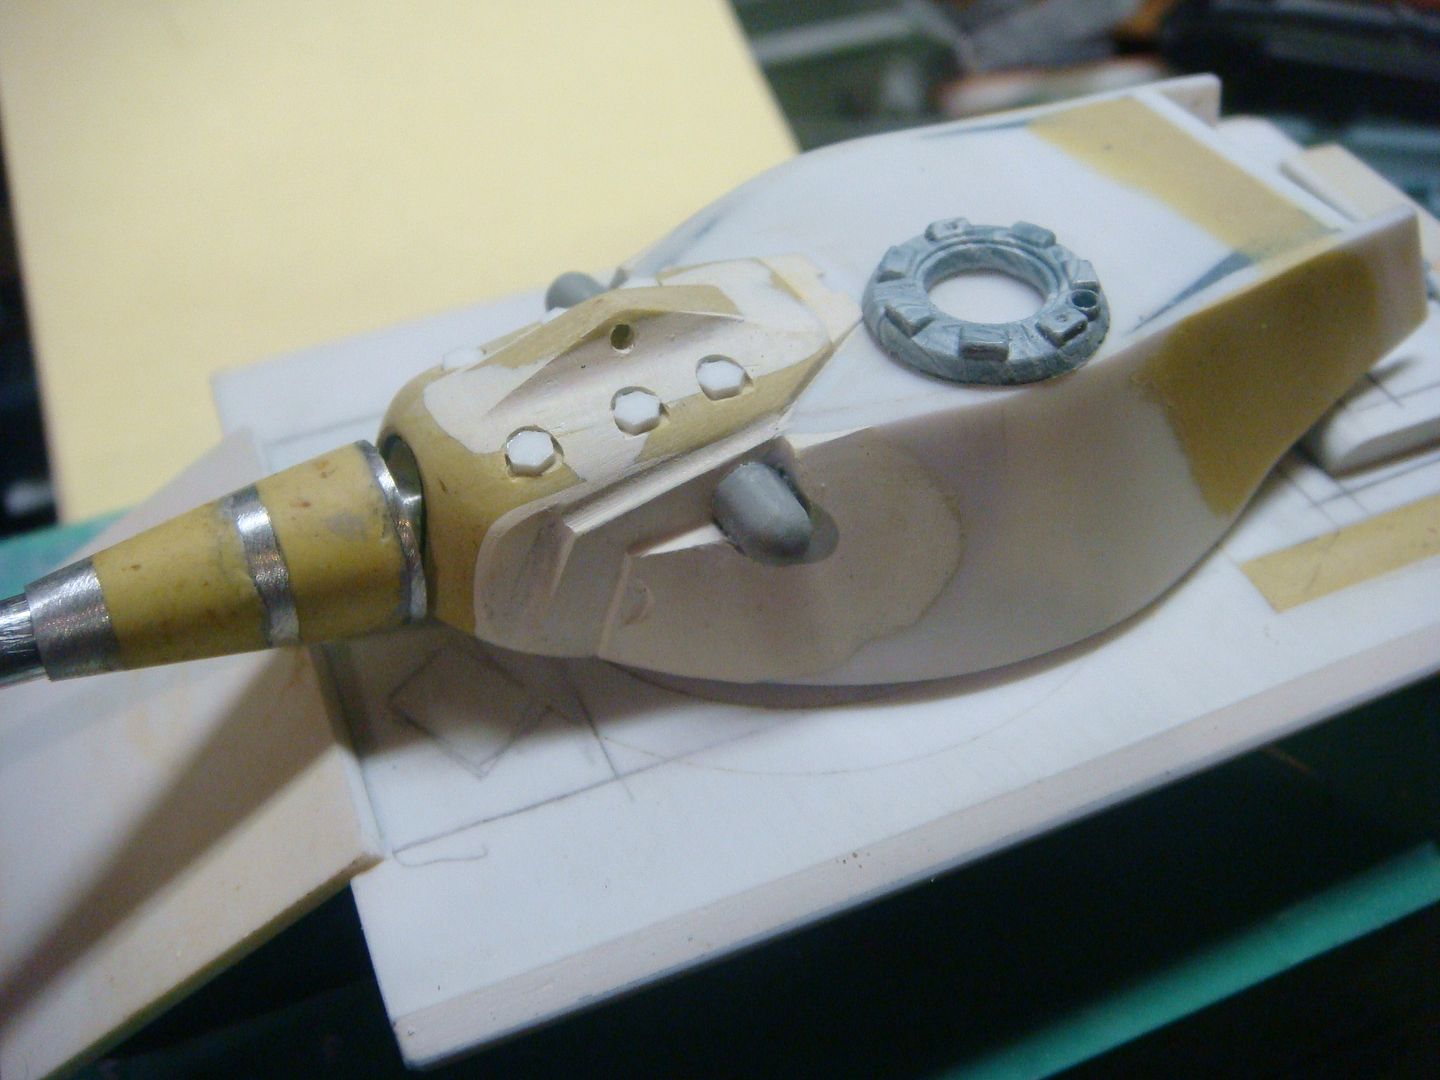 here I spliced loader's hatch into the roof, added a couple more items, and started to mark out the details  I neglected to mention that I also grinded away the tail end (sides) to my desires. 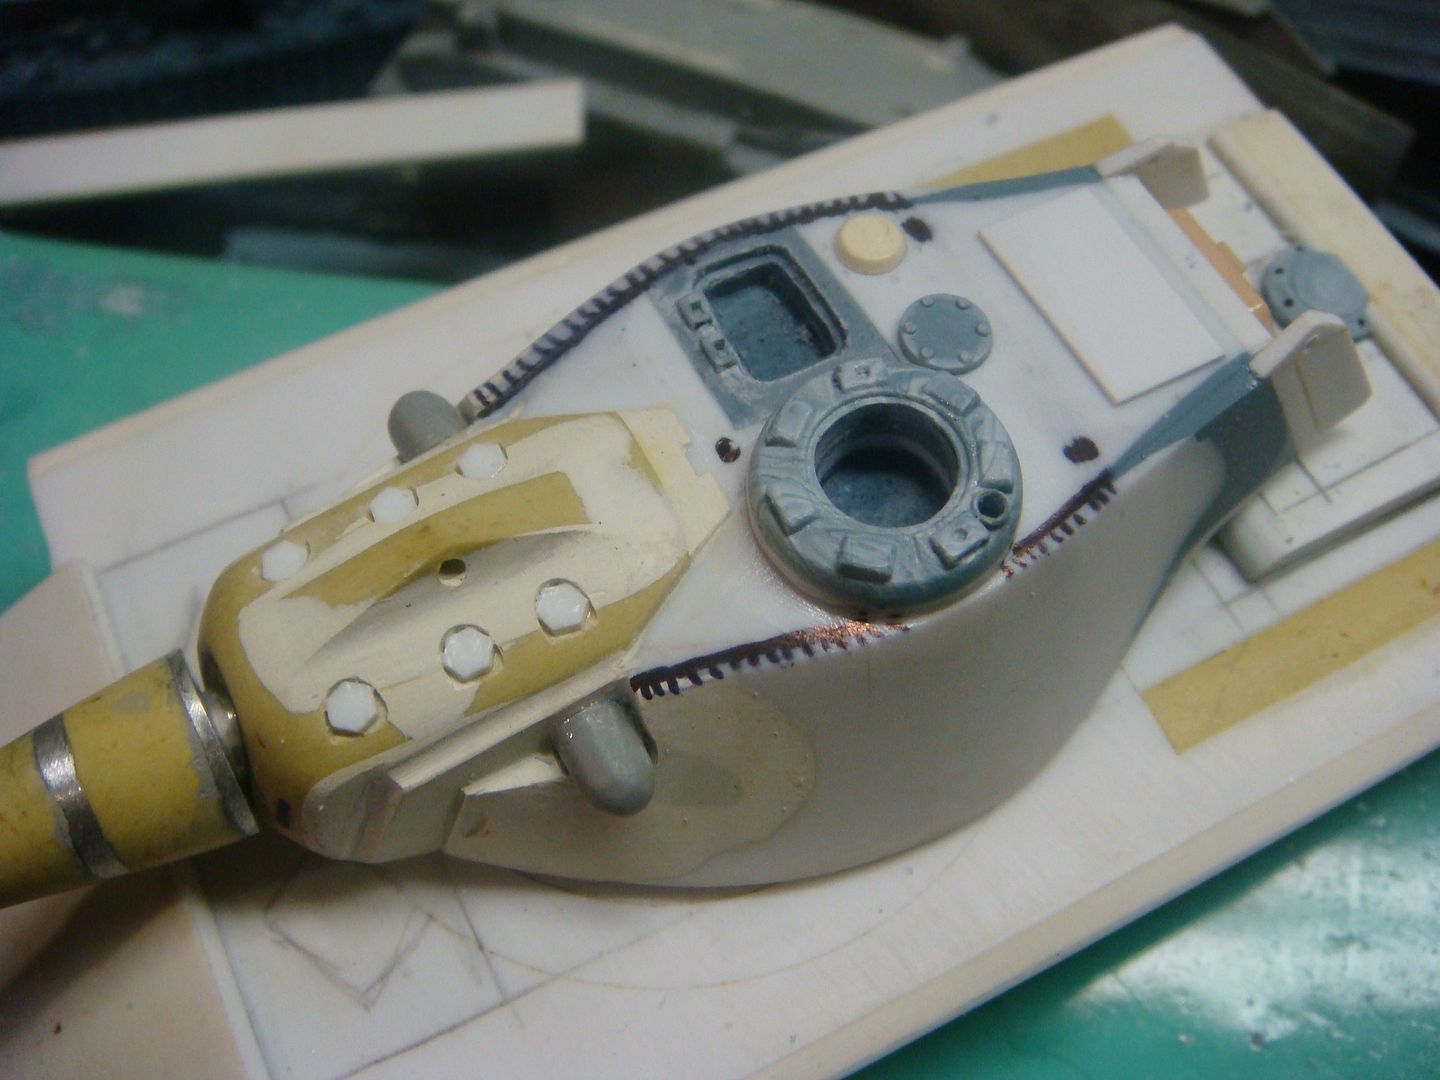 here I gave the turret a coat of primer 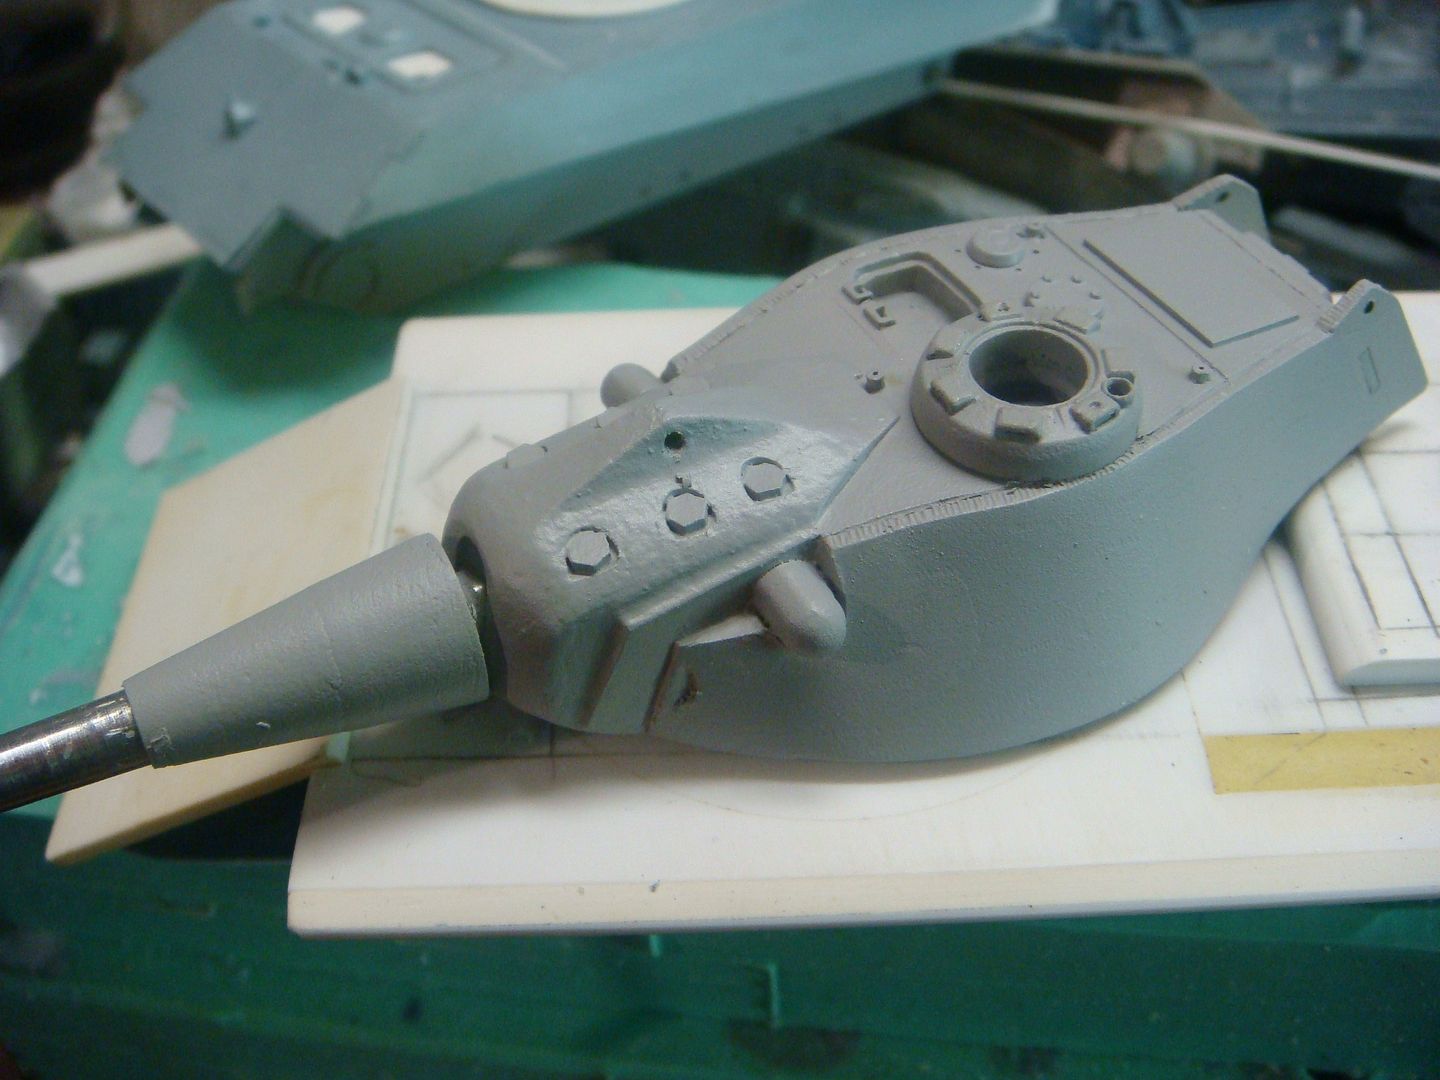  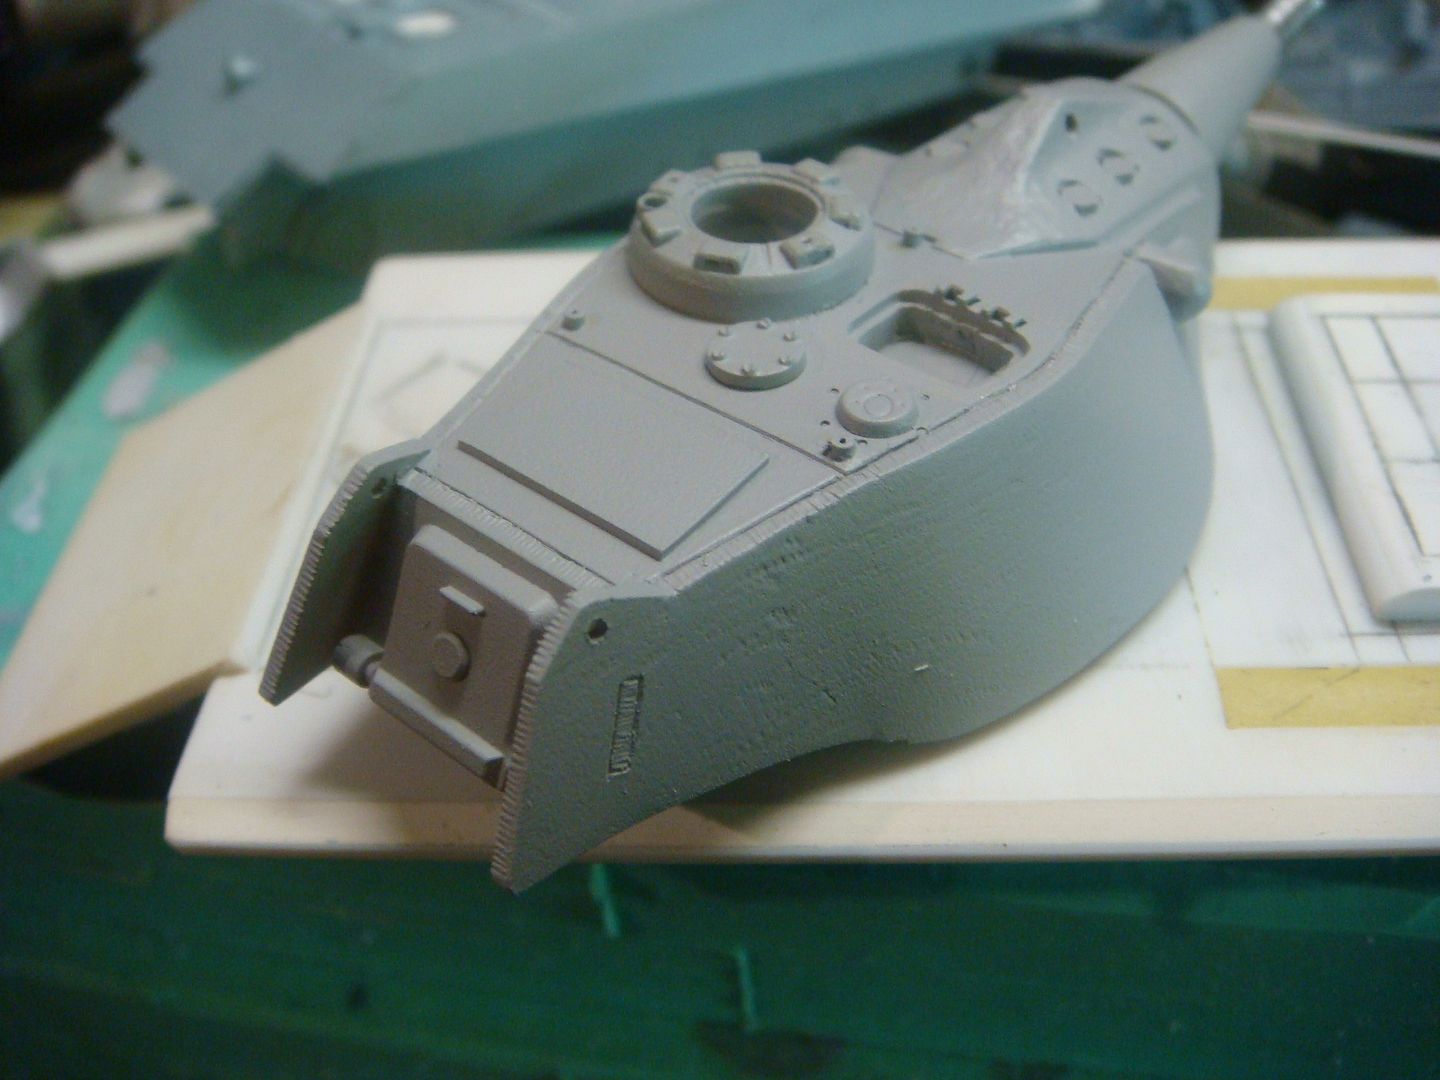 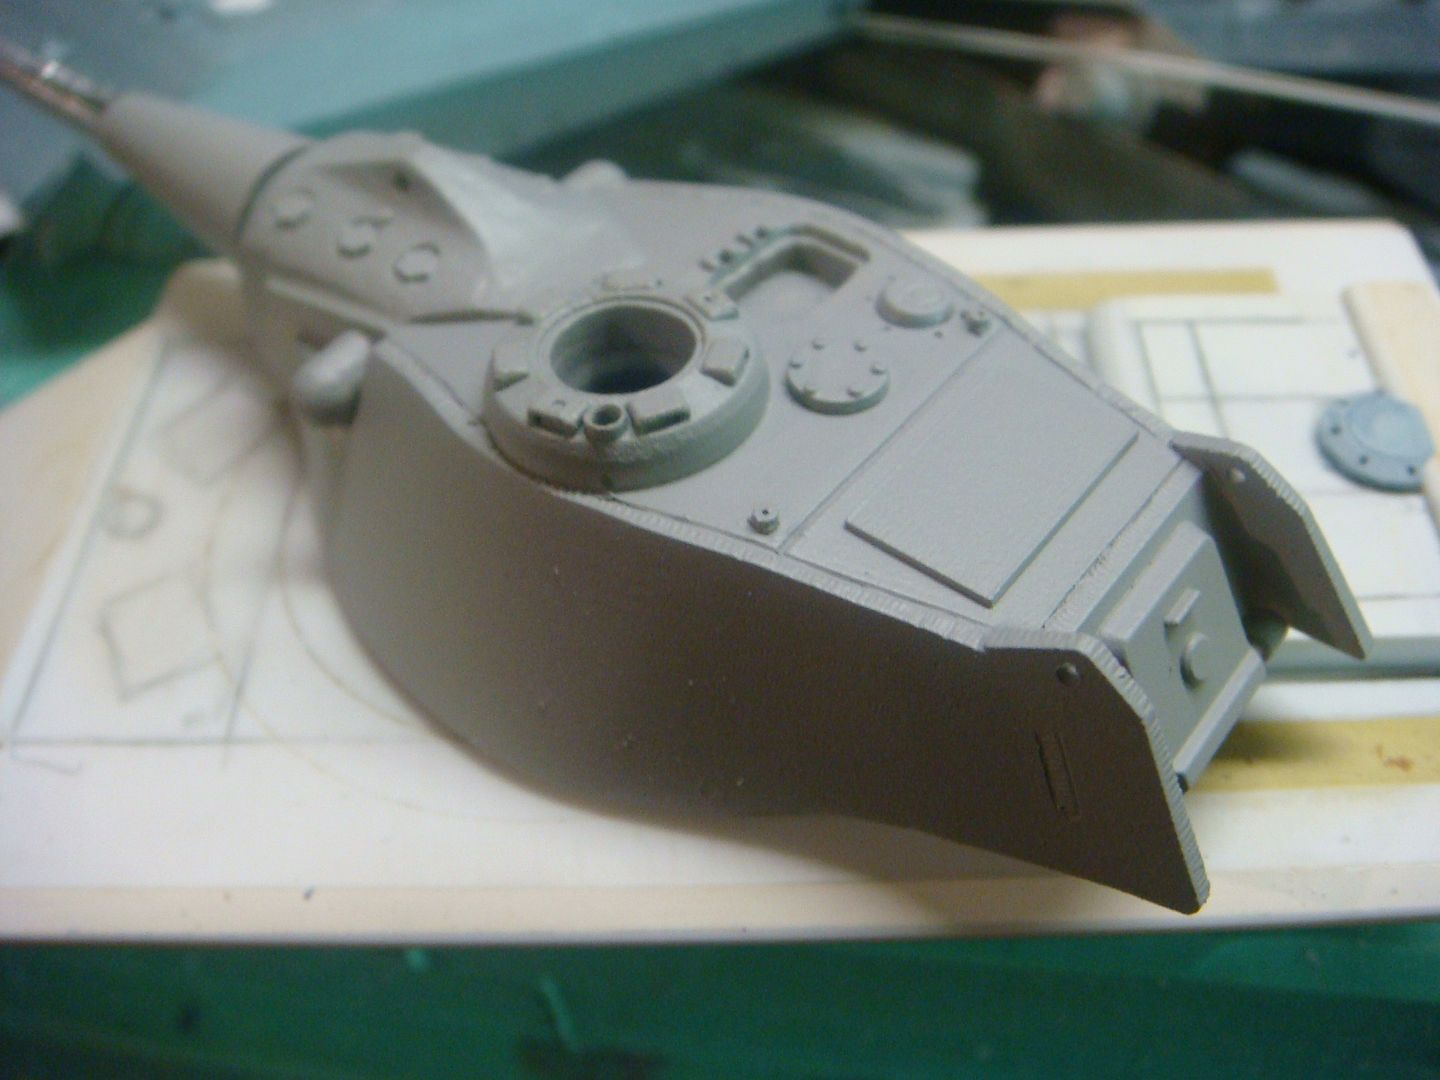 I am trying to stay as close as I can to this drawing of the E-79, while staying true to the Panzer front concept. 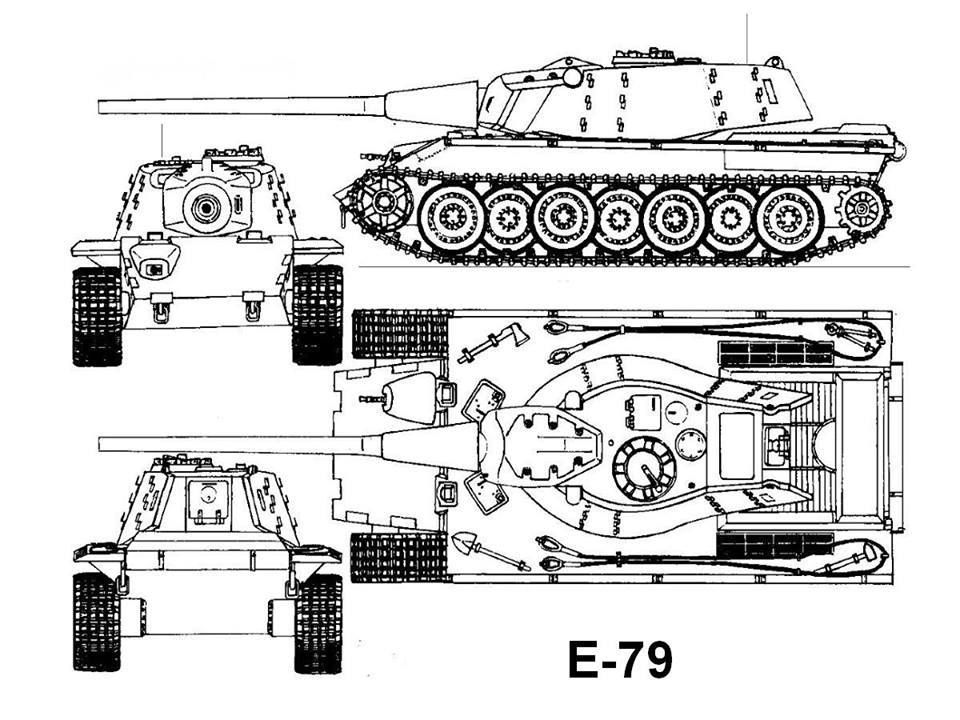 Here I began working on the front of the hull 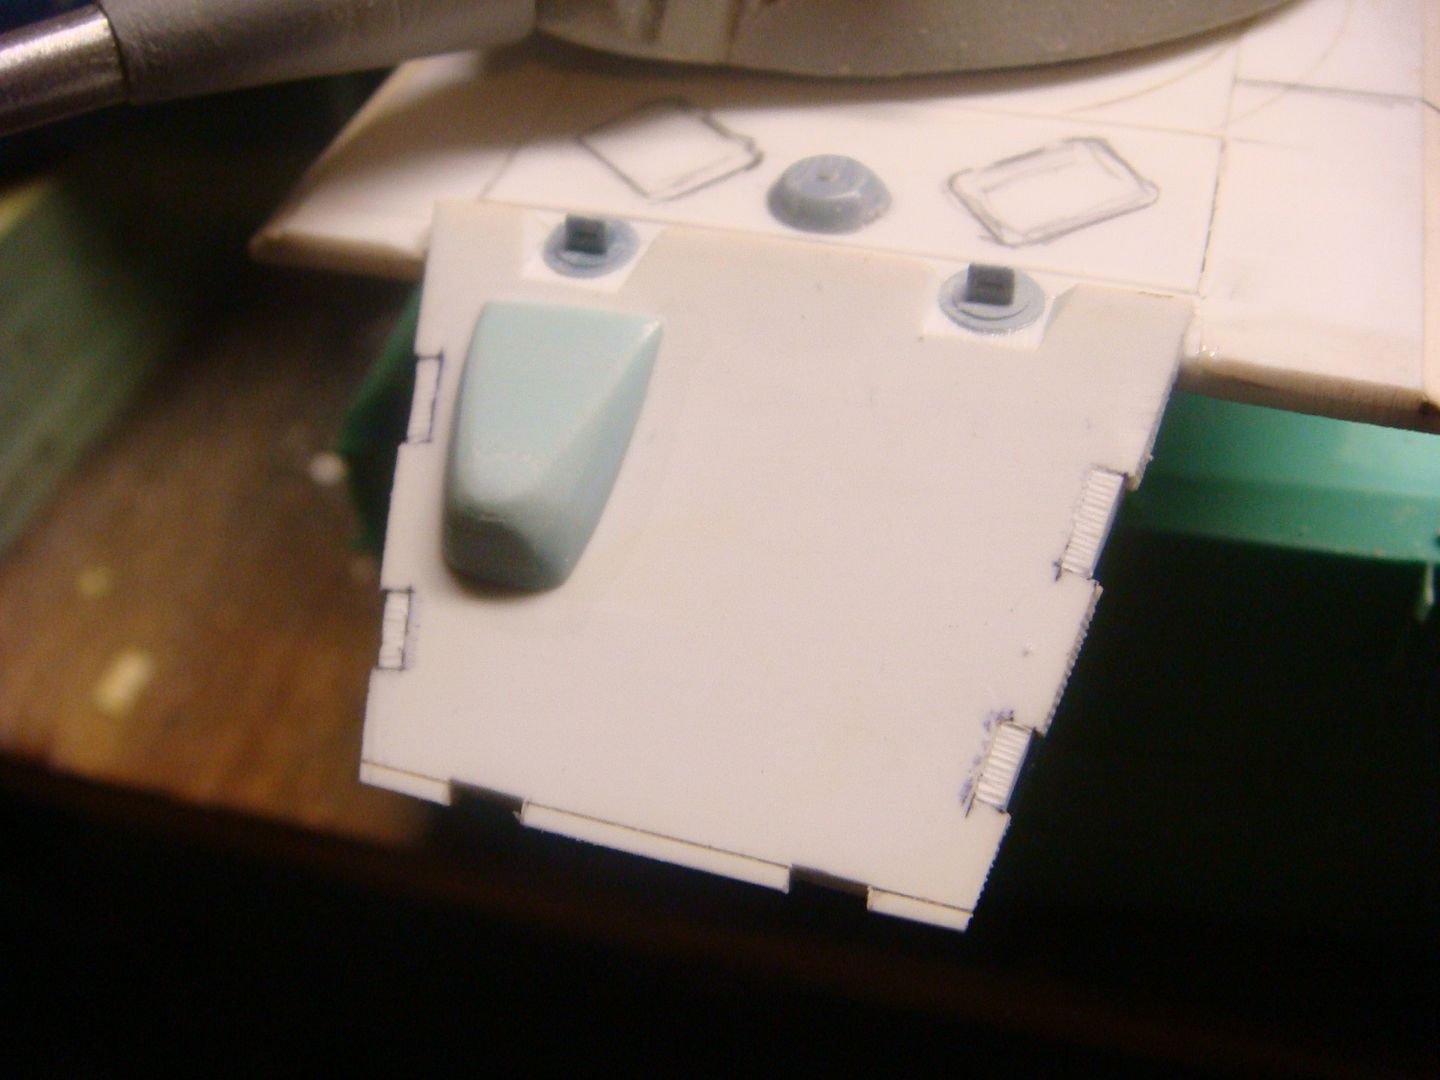 as you see I have played with the periscopes, and added a vent fan to the hull roof. I decided the open the hatches for the Driver and radio operator. 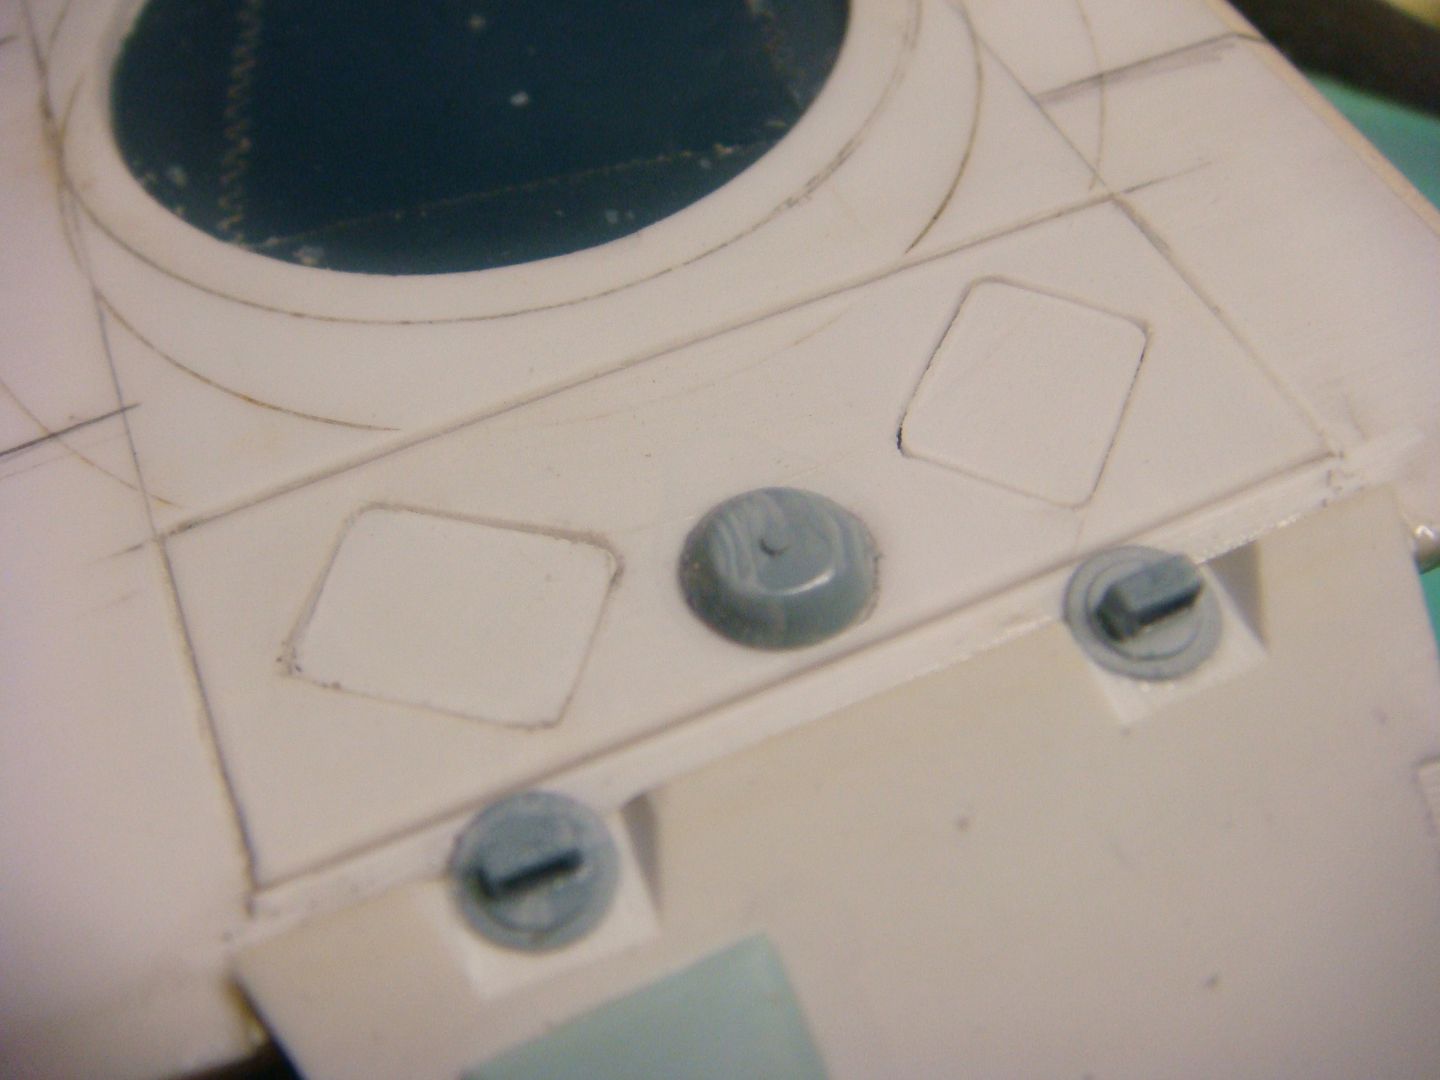 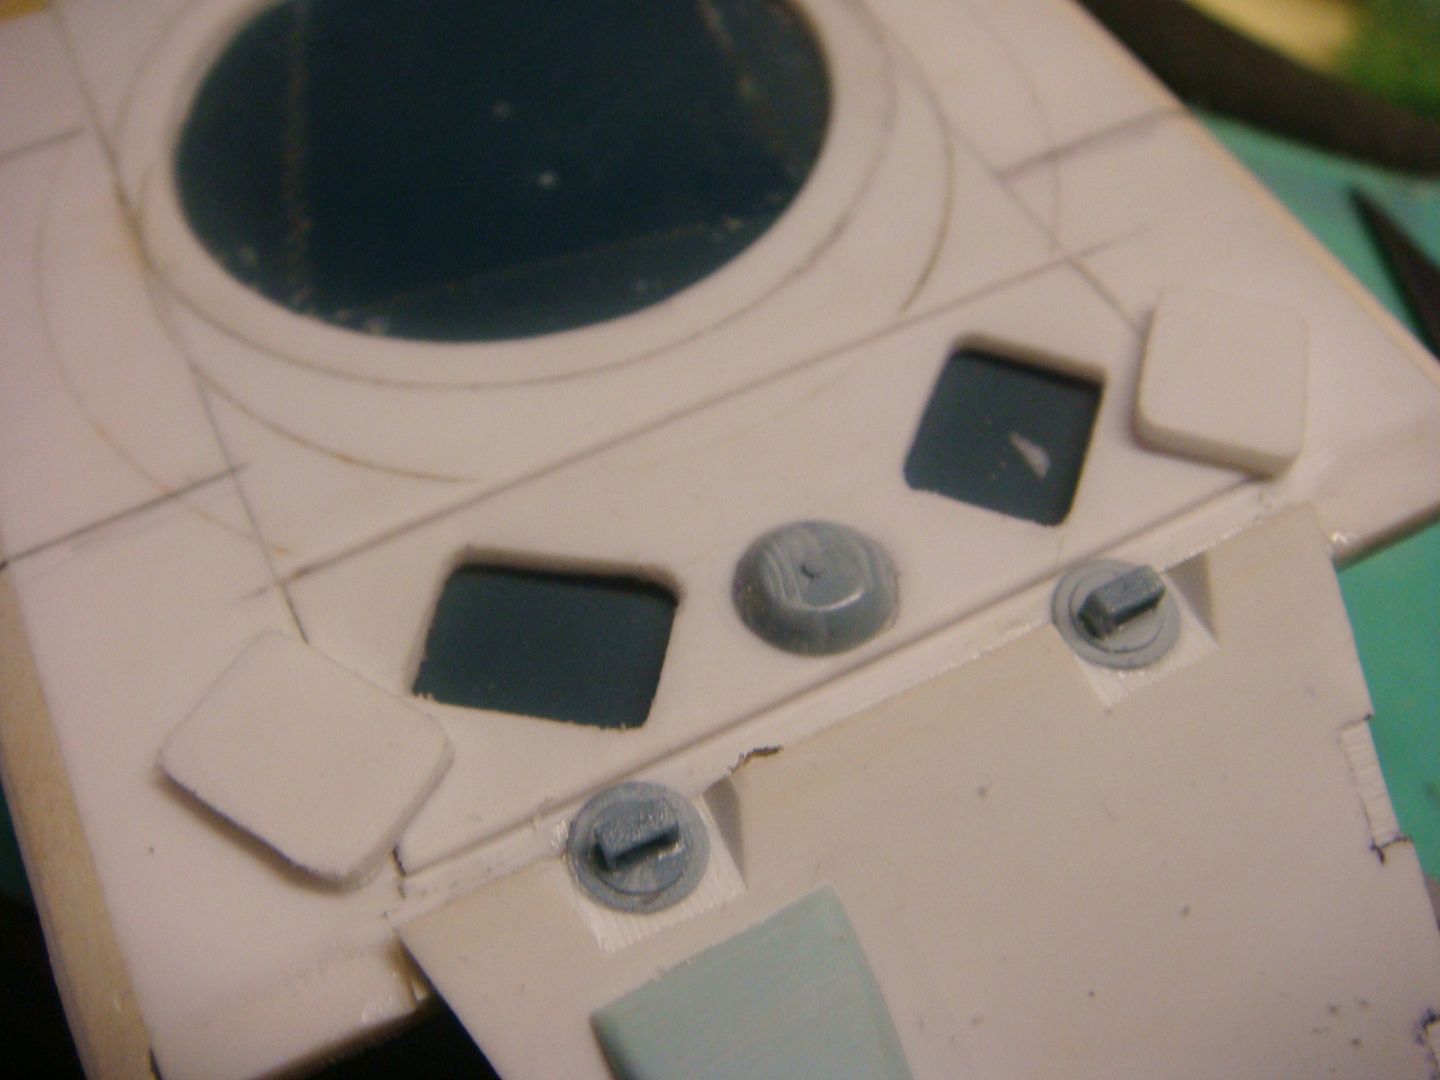 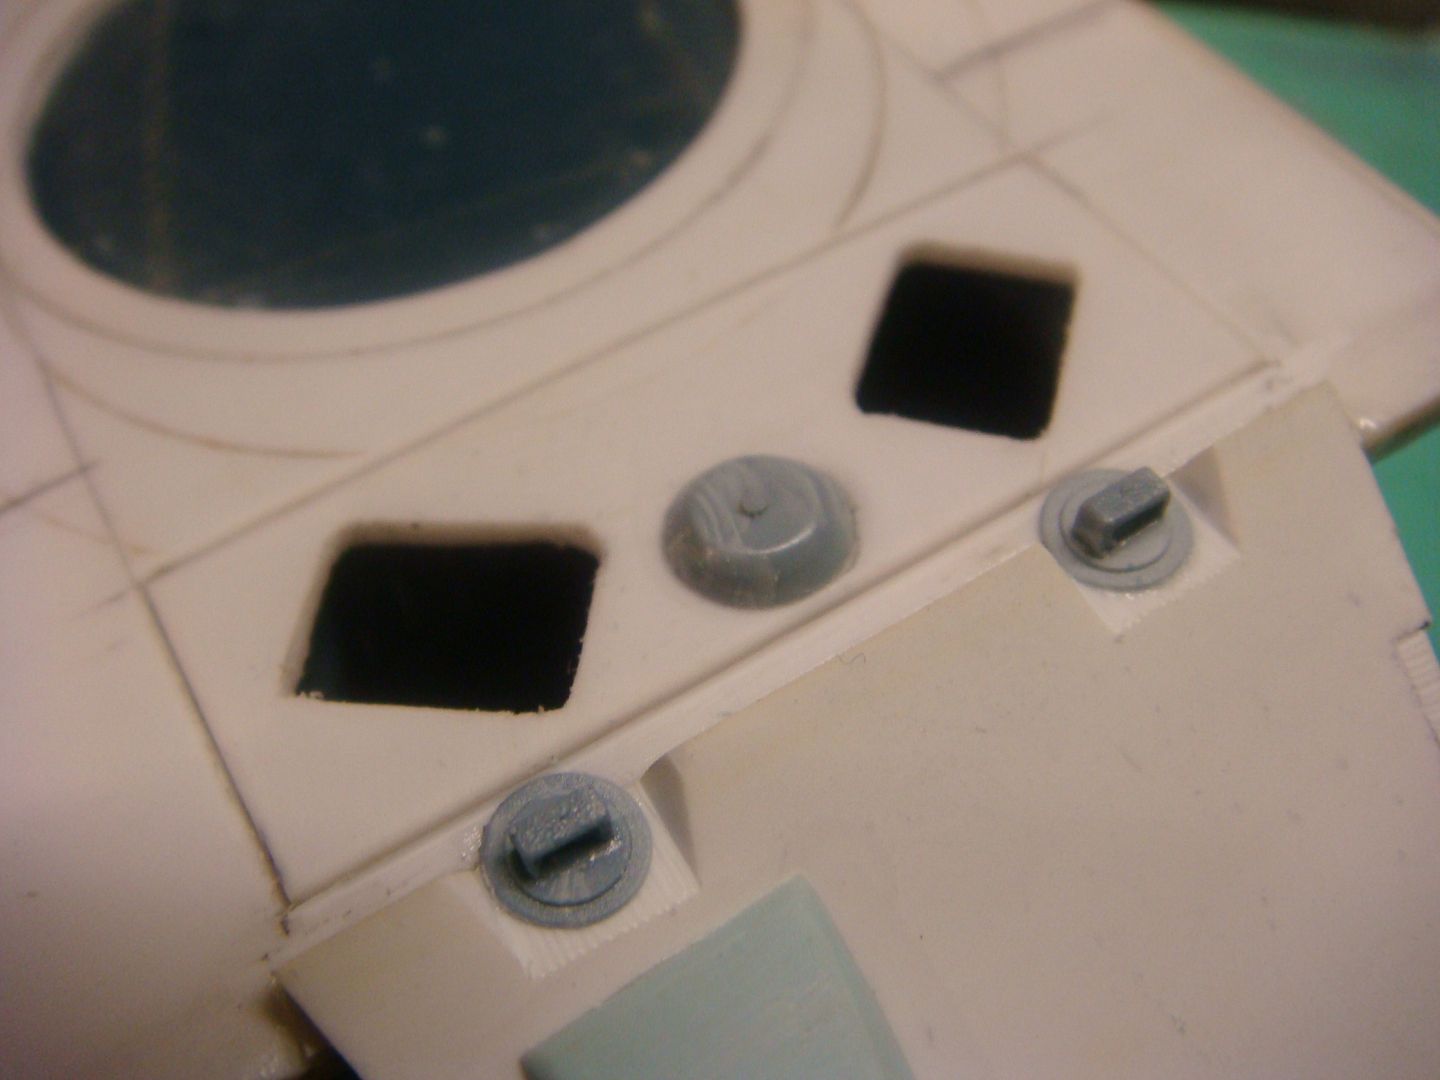 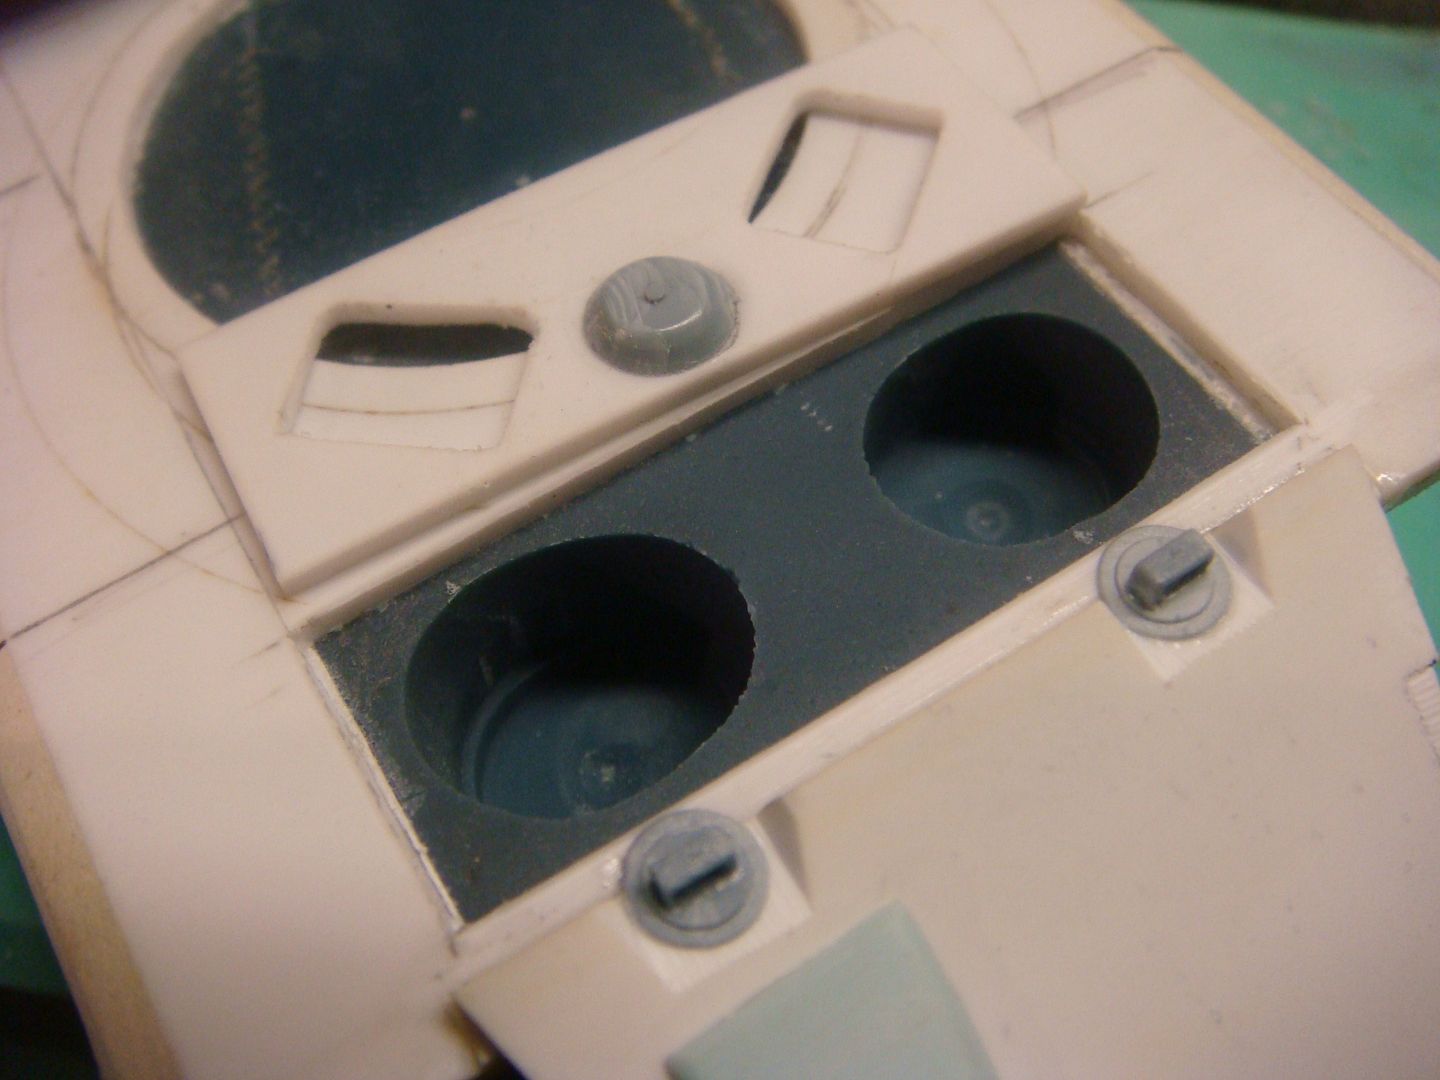 Here is the "lay out" for how I am doing the hull 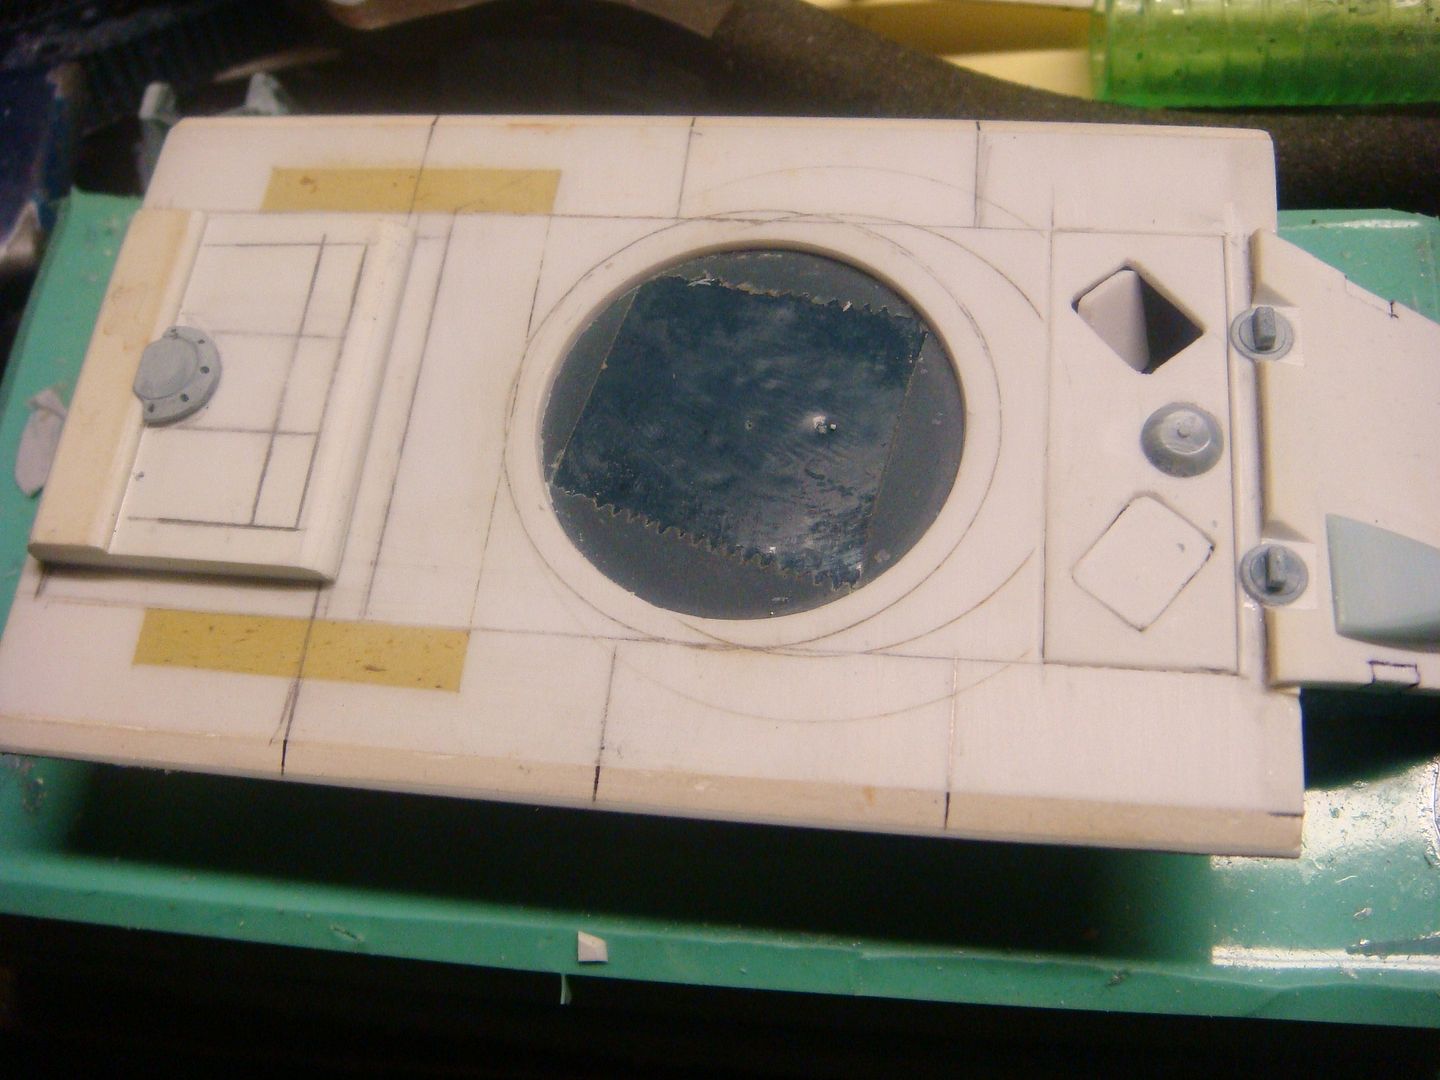 This is how the Turret looks on the hull 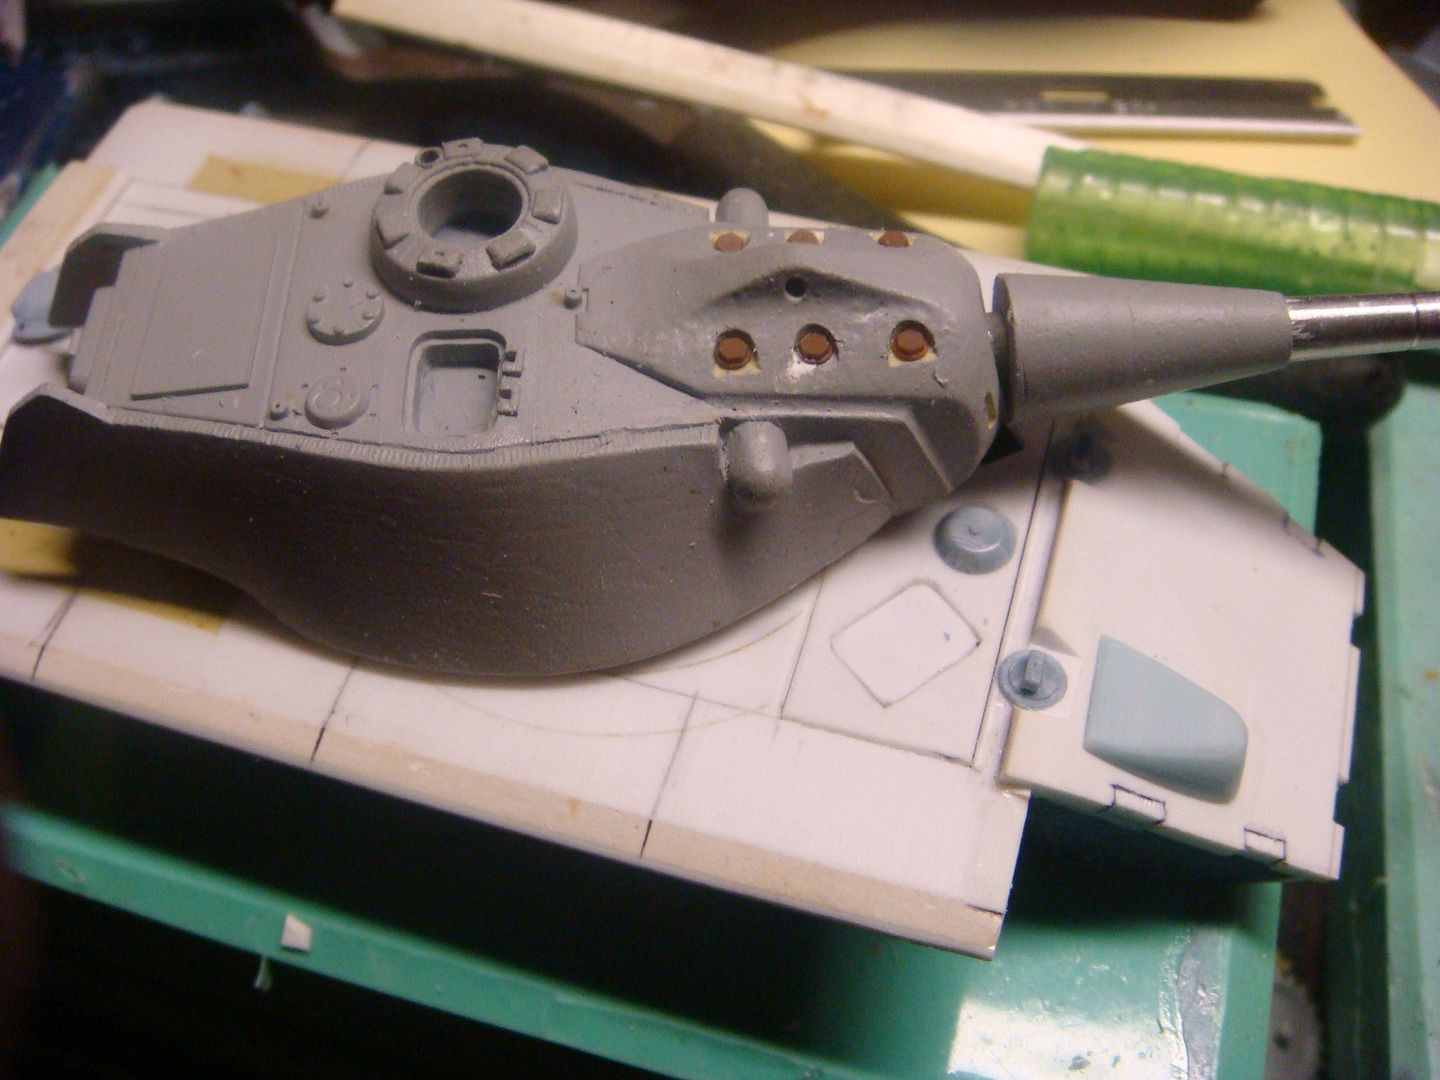 here is an Over All view showing the the turret and gun in place. 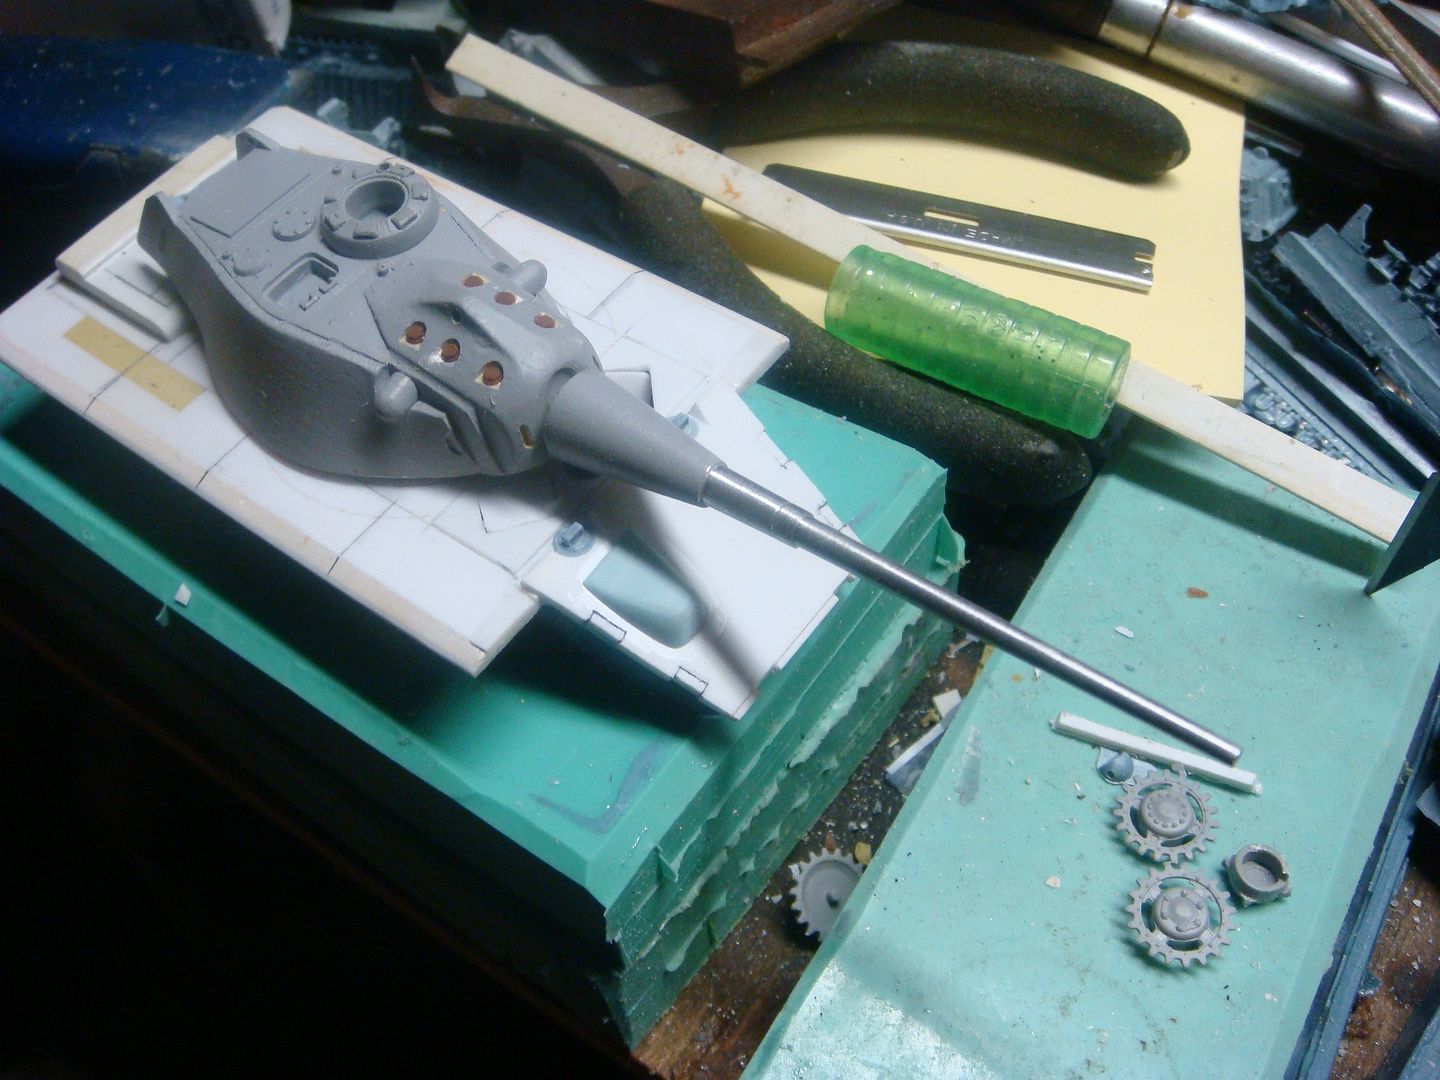 well that is where I am for now. Please tell me what you think. |
|
afvfan
Senior Member
   
Member since: December 2012
Bob
Posts: 1,772
Dec 10, 2012 17:32:38 GMT -5
Dec 10, 2012 17:32:38 GMT -5
|
Post by afvfan on Apr 3, 2016 0:41:50 GMT -5
Nice work so far.
|
|
|
|
Post by tobias5555 on Apr 3, 2016 2:06:53 GMT -5
Perfect scratch work.
|
|
|
|
Post by Leon on Apr 3, 2016 3:44:12 GMT -5
That is some great looking scratch work!   |
|
|
|
Post by dupes on Apr 3, 2016 5:38:34 GMT -5
Really good stuff! What's the source of the E-79 drawing? Any idea?
|
|
|
|
Post by Deano on Apr 3, 2016 6:07:41 GMT -5
Excellent work Ken , luv it !
|
|
Deleted
Member since: January 1970
Posts: 0
Nov 27, 2024 0:54:35 GMT -5
Nov 27, 2024 0:54:35 GMT -5
|
Post by Deleted on Apr 3, 2016 7:51:22 GMT -5
|
|
cploverby.
Full Member
  
Member since: August 2012
Posts: 129
Aug 14, 2012 14:15:54 GMT -5
Aug 14, 2012 14:15:54 GMT -5
|
Post by cploverby. on Apr 4, 2016 19:41:50 GMT -5
If you look closely at the front of the Hull Mount for the MG.... you can see it is bereft of detail.  So using my Jeweler's Engraving Tool I carved it out 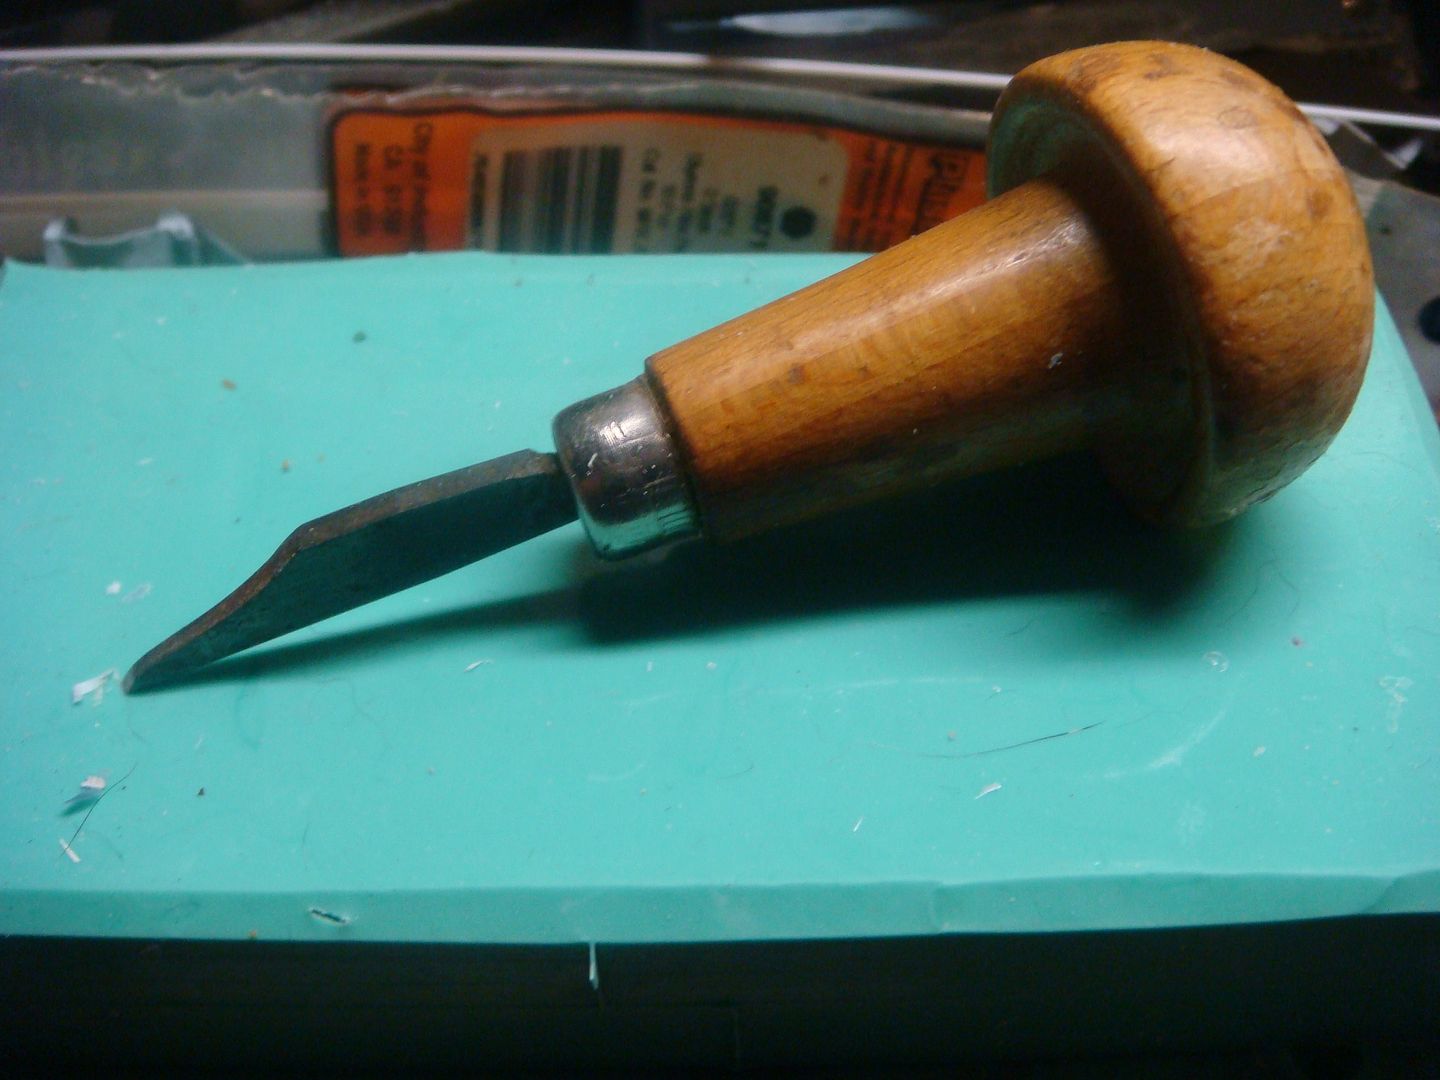 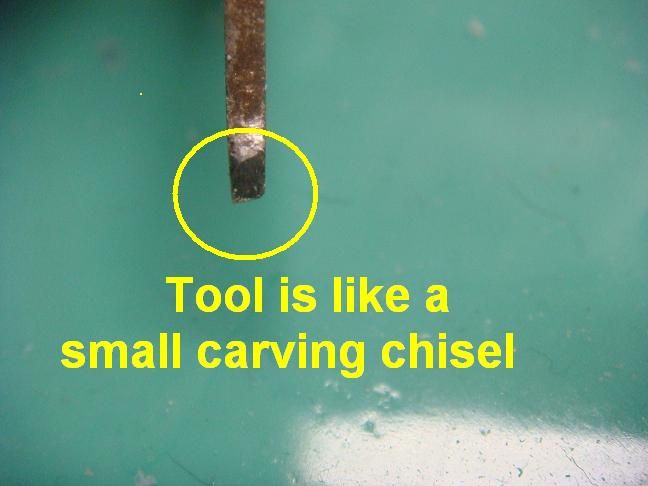 I then drilled a hole for mounting the MG barrel, and a smaller one to represent the site aperture. 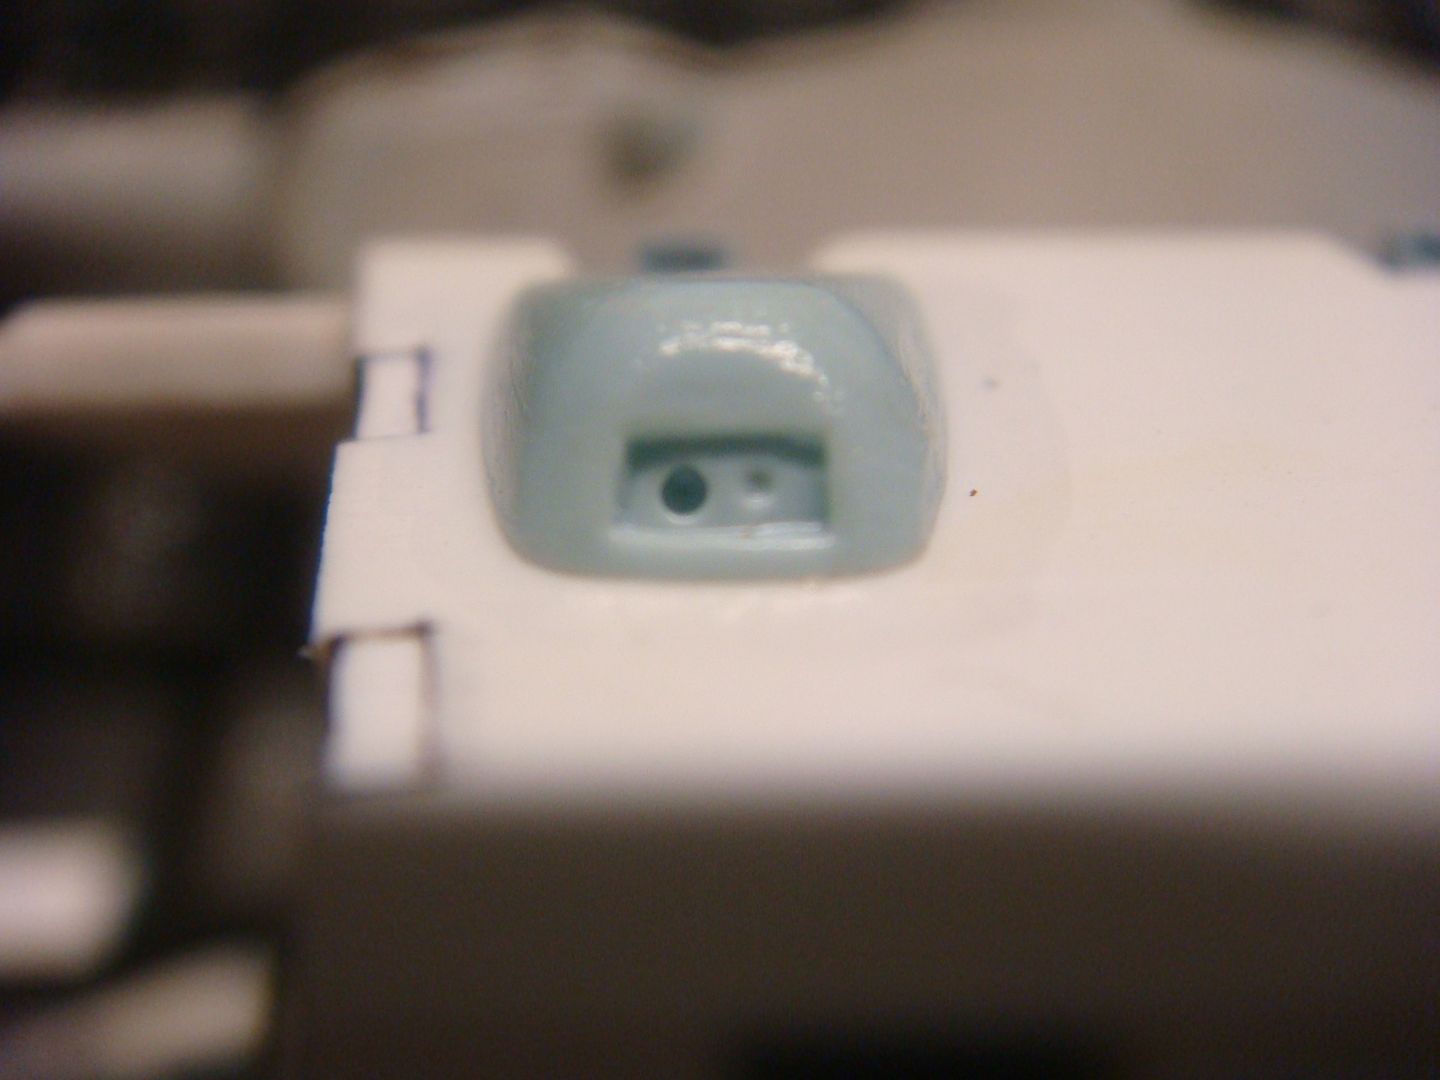 From here I turned my attention to the rear end of the hull. now more than one example I have seen of the E-79 shows no exhaust pipes. I cannot accept this, so using n example of a 1/35 model "with" exhaust pipes, I decided to go the same route. 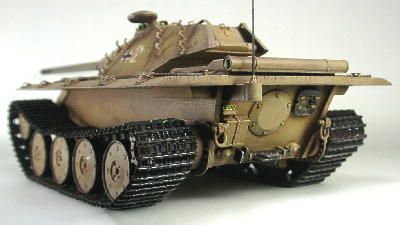 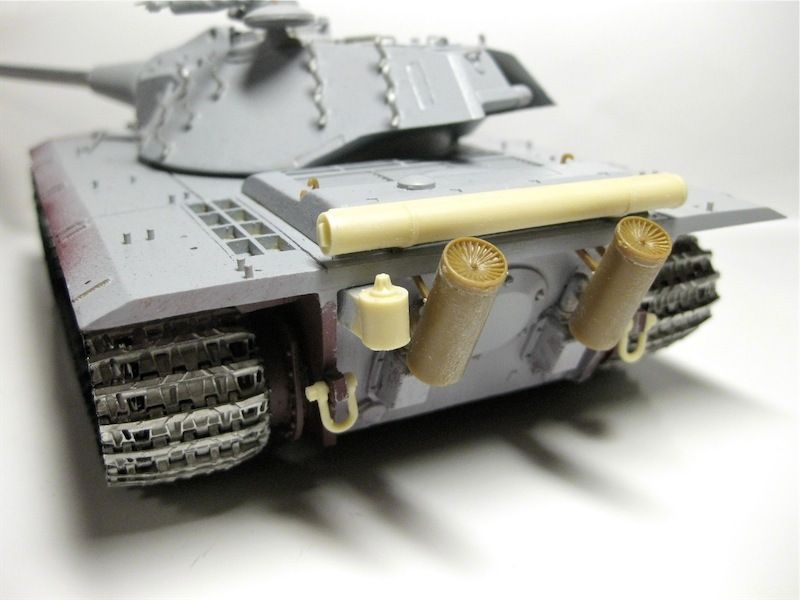 here is my attempt. 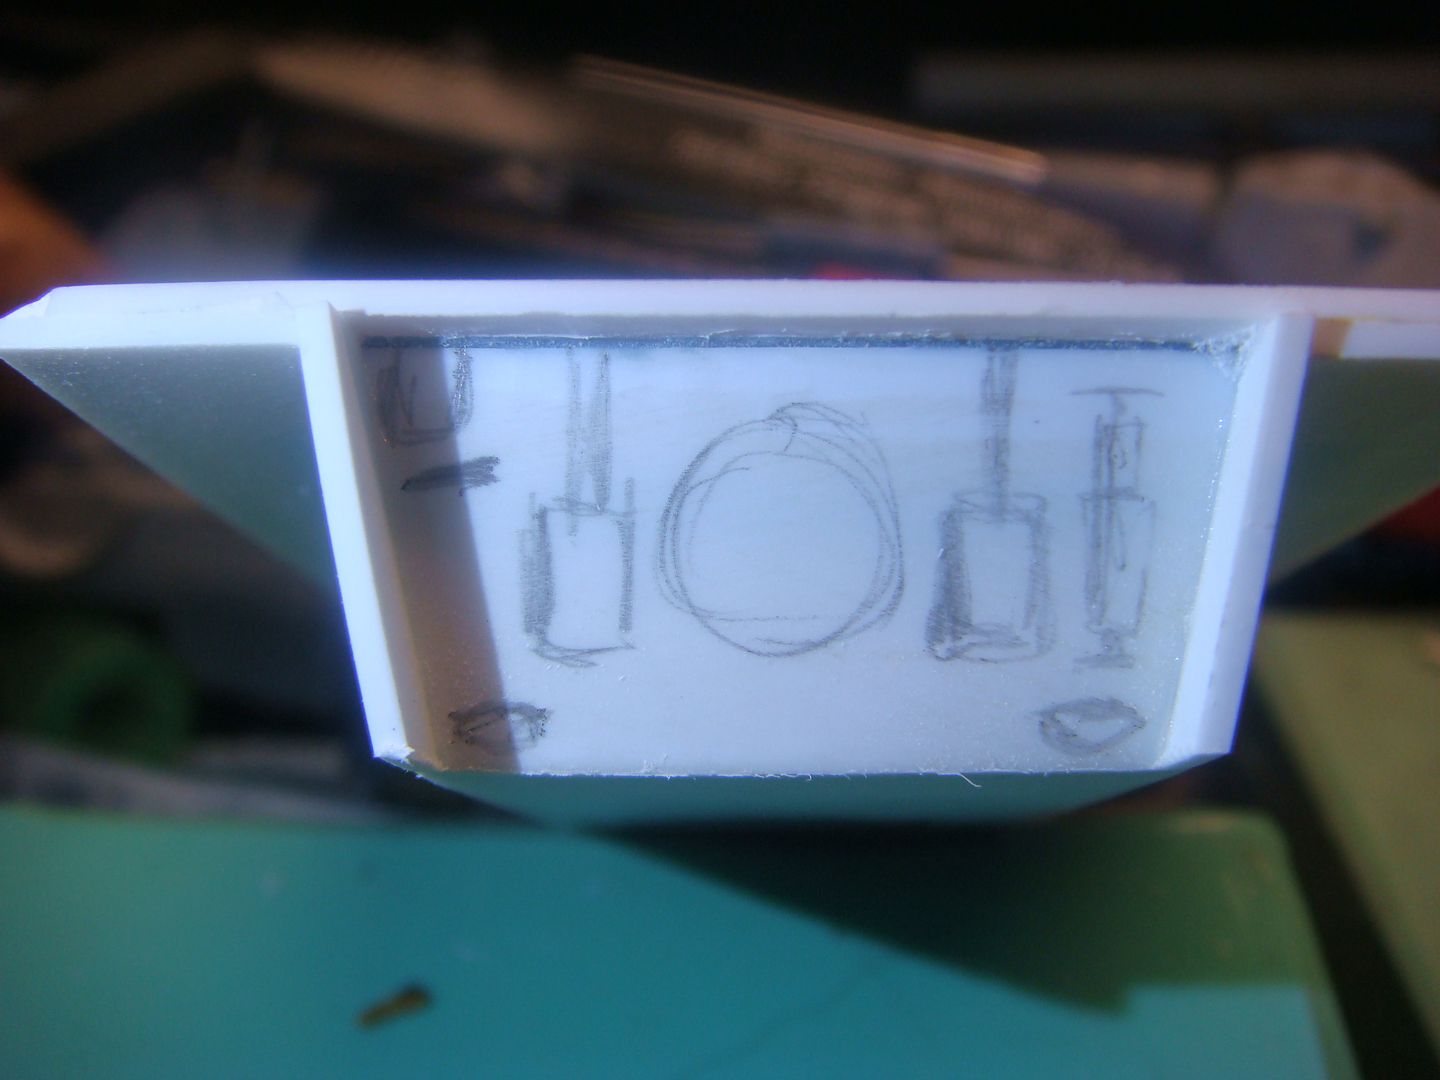 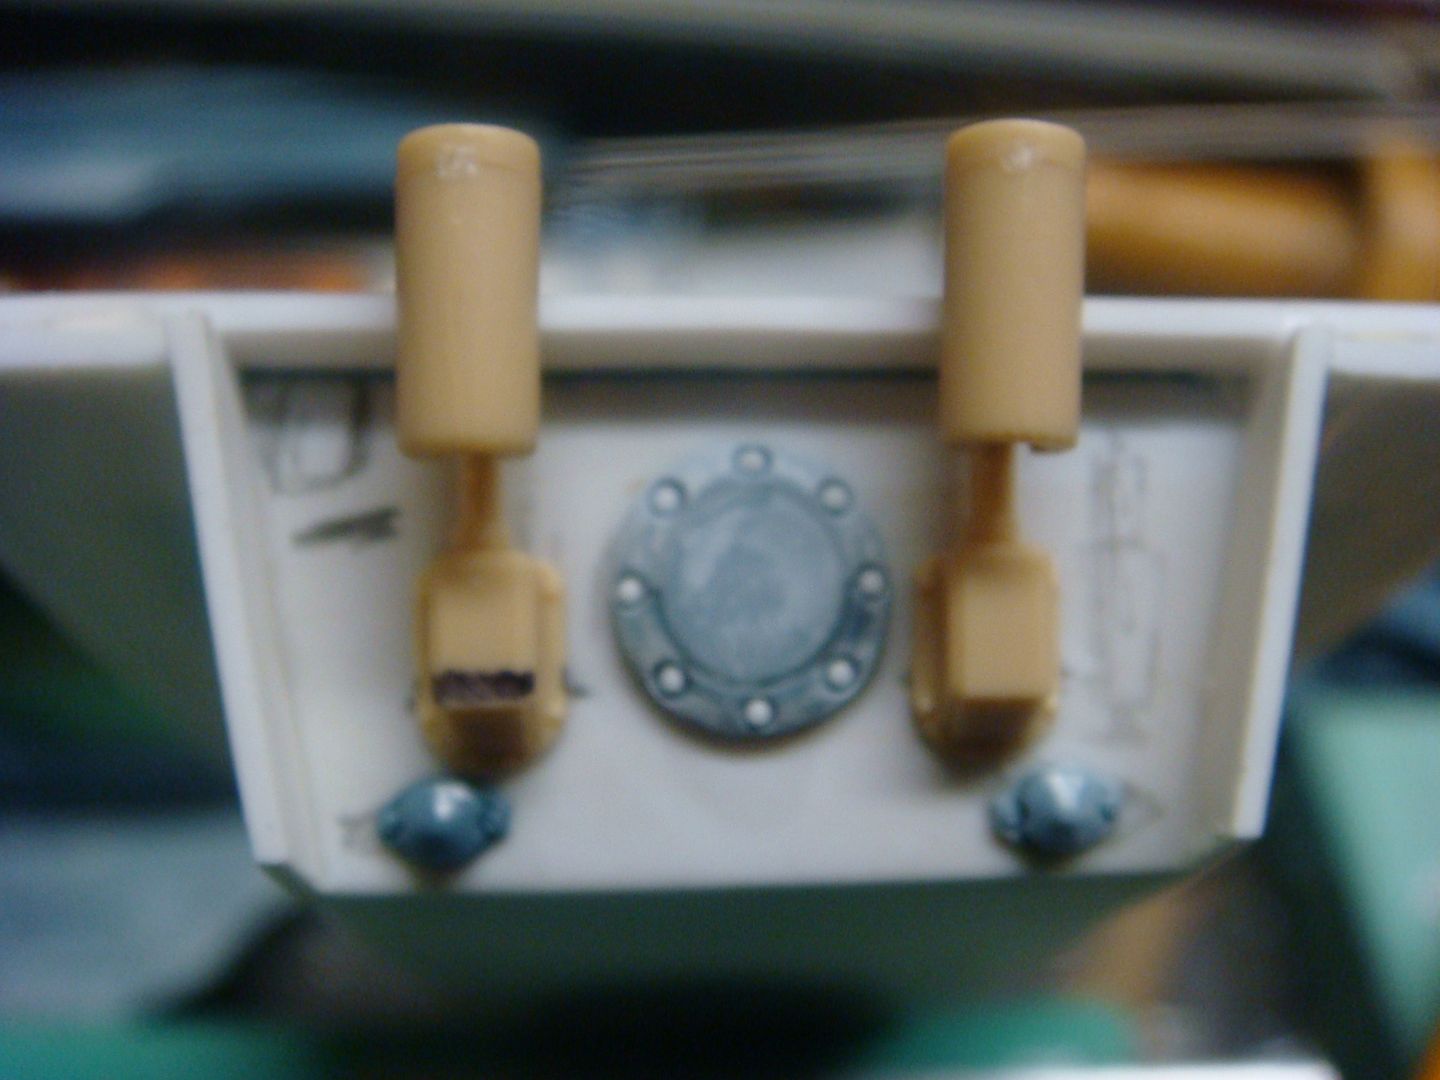 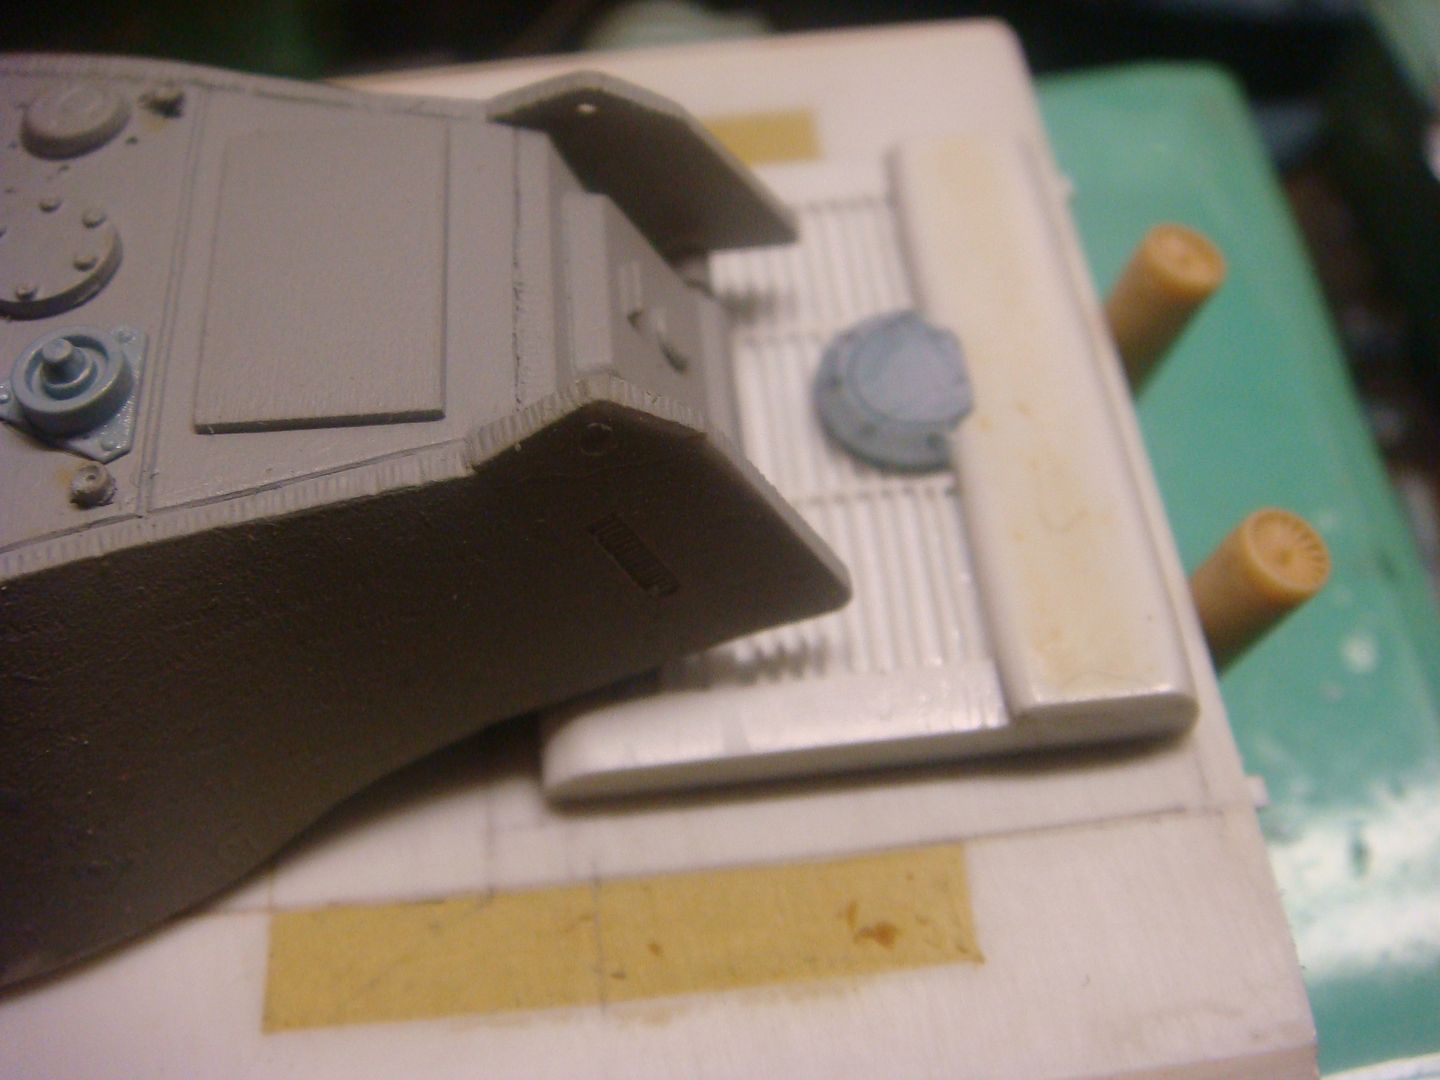 My hope is that once all assembled..... it will look much better |
|
Deleted
Member since: January 1970
Posts: 0
Nov 27, 2024 0:54:35 GMT -5
Nov 27, 2024 0:54:35 GMT -5
|
Post by Deleted on Apr 5, 2016 7:38:32 GMT -5
Very nice touches. Really adds some character. 
|
|
cploverby.
Full Member
  
Member since: August 2012
Posts: 129
Aug 14, 2012 14:15:54 GMT -5
Aug 14, 2012 14:15:54 GMT -5
|
Post by cploverby. on Apr 6, 2016 3:53:51 GMT -5
In my emails someone has mentioned that this looks like an E-10.... I could not agree more...... In my mind I see a "big" E-10, but with a turret. 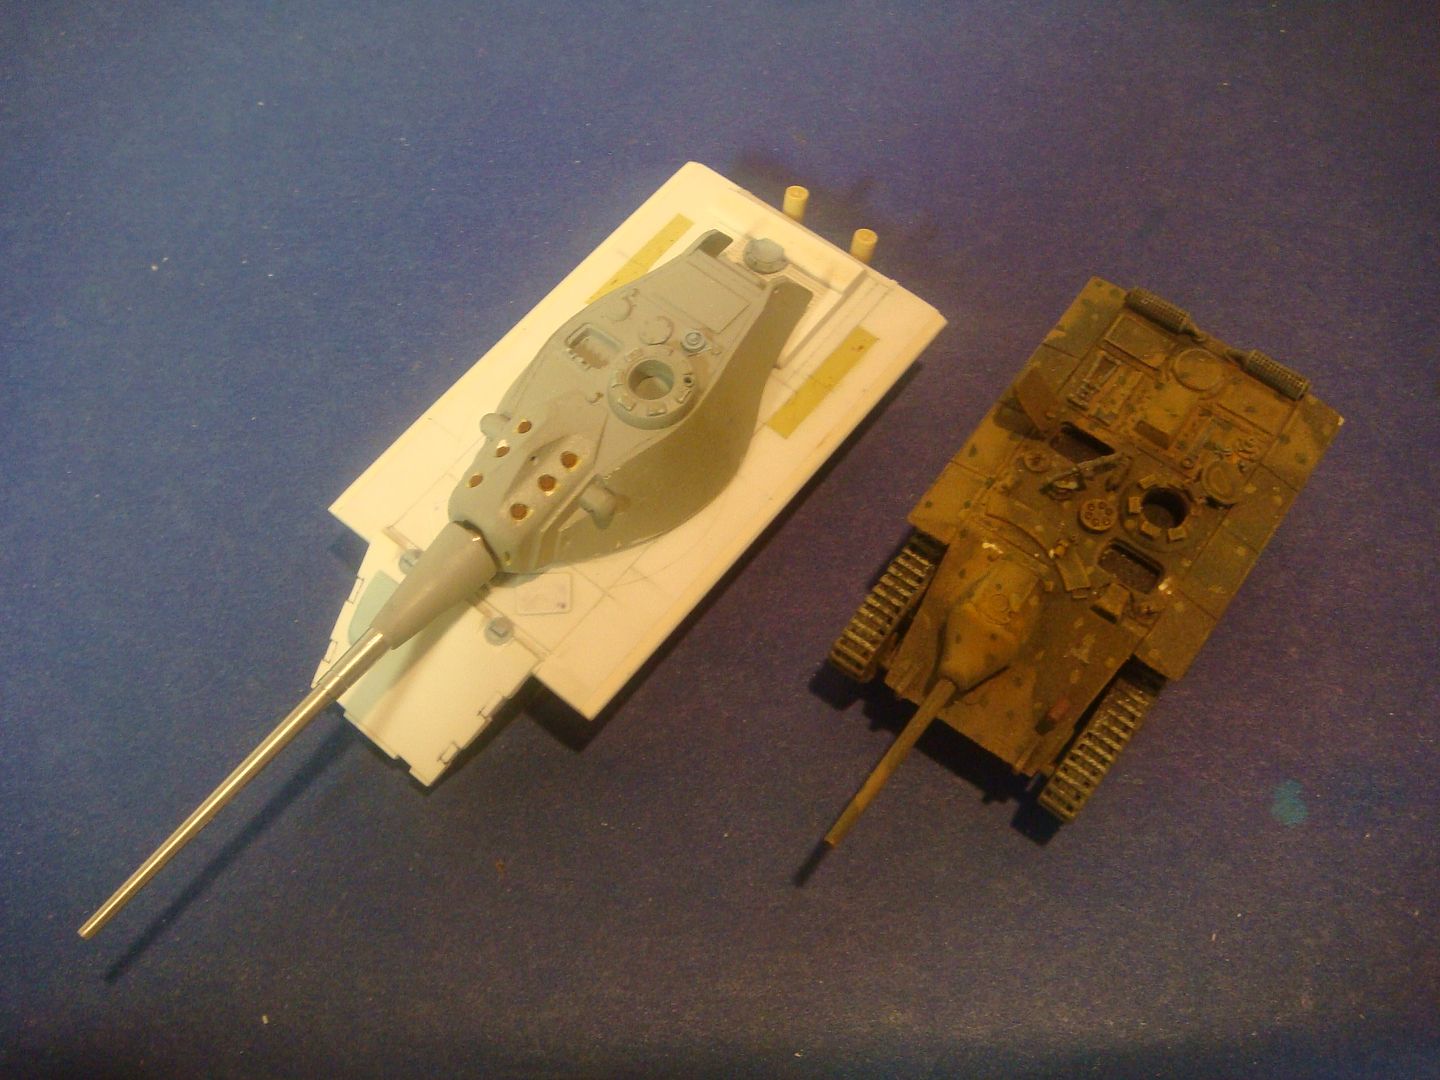 |
|
|
|
Post by deafpanzer on Apr 7, 2016 11:28:02 GMT -5
That's pretty cool comparison!
|
|
cploverby.
Full Member
  
Member since: August 2012
Posts: 129
Aug 14, 2012 14:15:54 GMT -5
Aug 14, 2012 14:15:54 GMT -5
|
Post by cploverby. on Apr 7, 2016 19:31:30 GMT -5
I have now worked out my "wheel spacing" for the running gear. seeing as this was such a pain to do One (1) time..... I will mold this and cast resin to make two sets. Then I will have what I need for the Left and the Right sides. 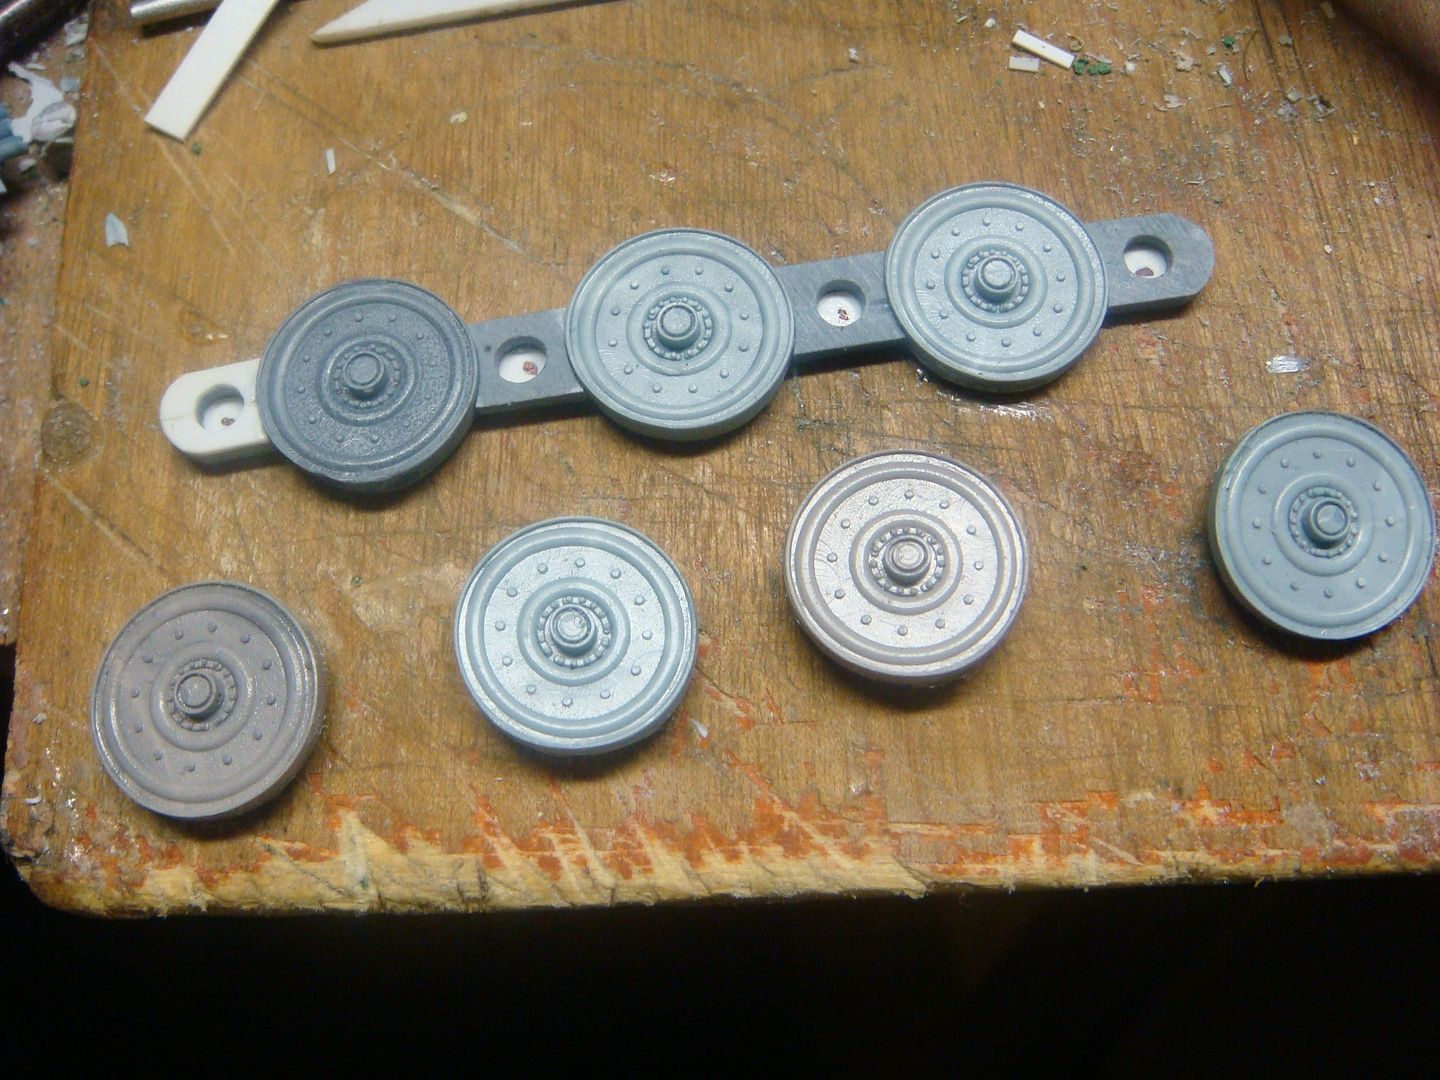 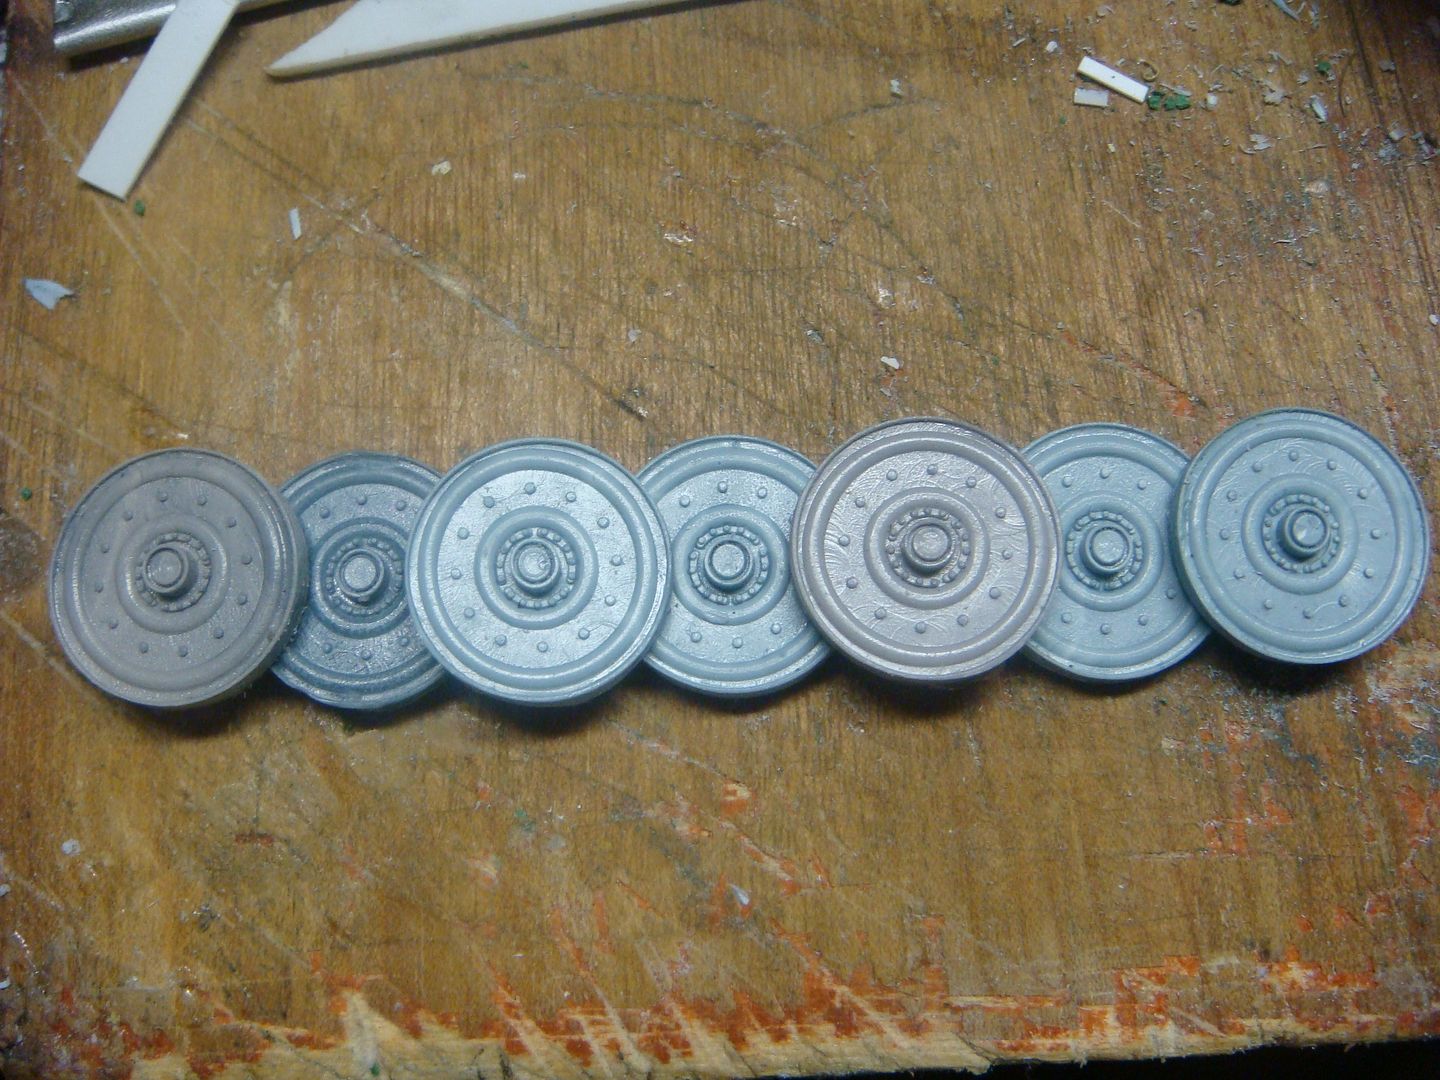 |
|
cploverby.
Full Member
  
Member since: August 2012
Posts: 129
Aug 14, 2012 14:15:54 GMT -5
Aug 14, 2012 14:15:54 GMT -5
|
Post by cploverby. on Apr 14, 2016 3:30:19 GMT -5
I decided to tackle the front hatches 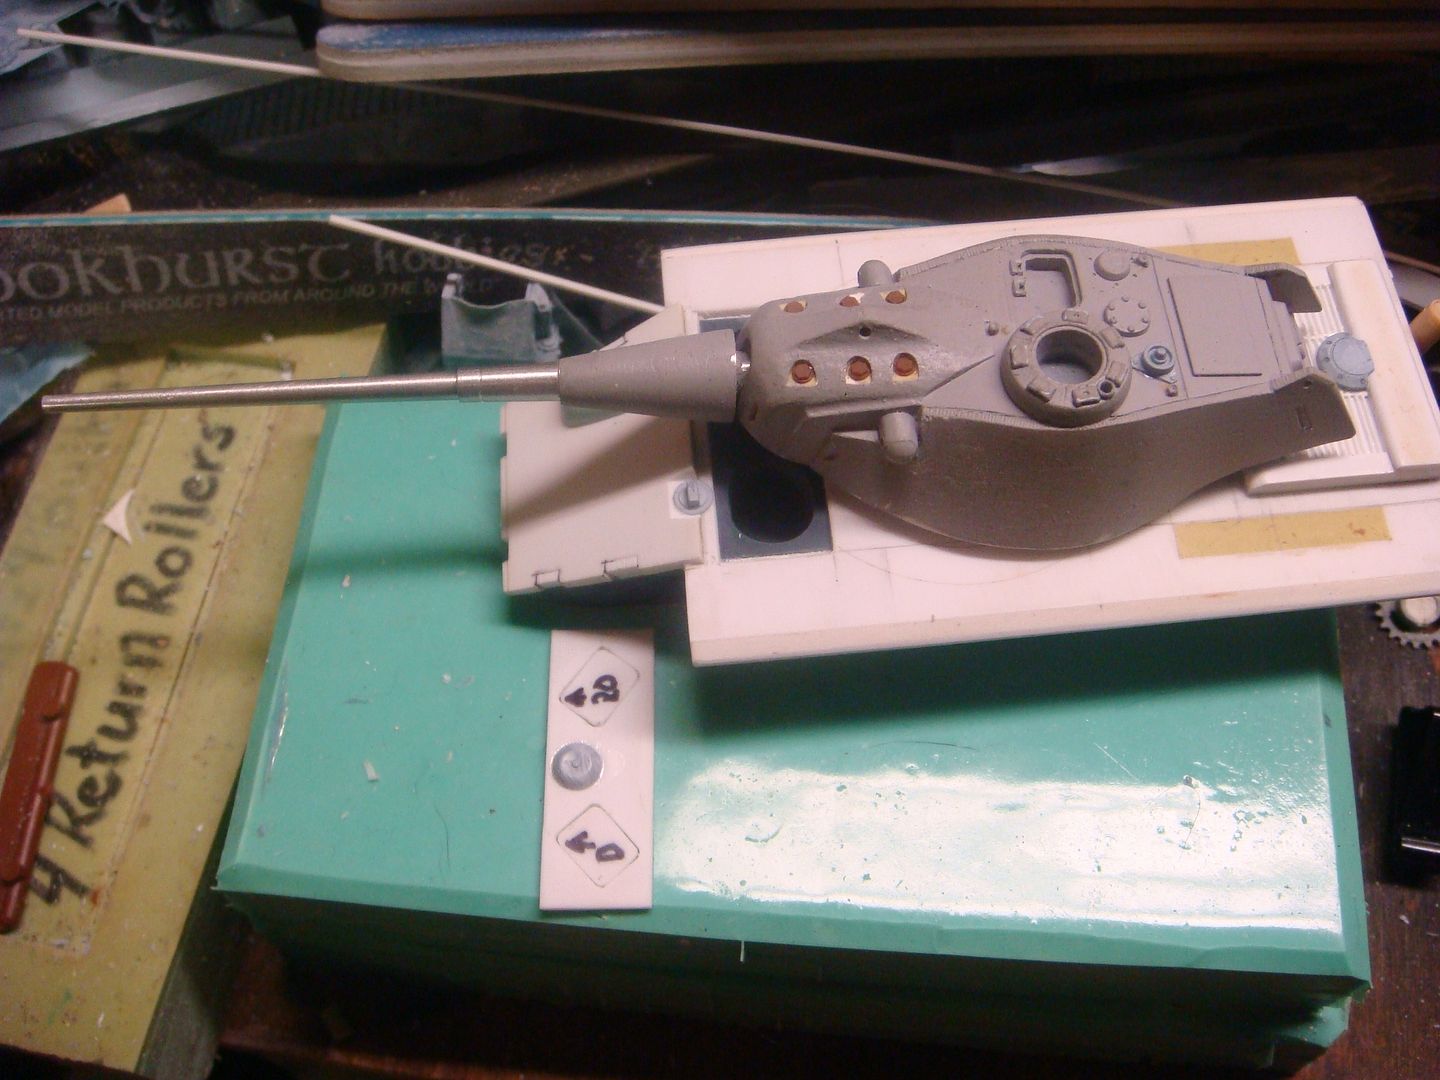 I decided that I want to follow the example set by ESCI on their Tiger II I want these two parts 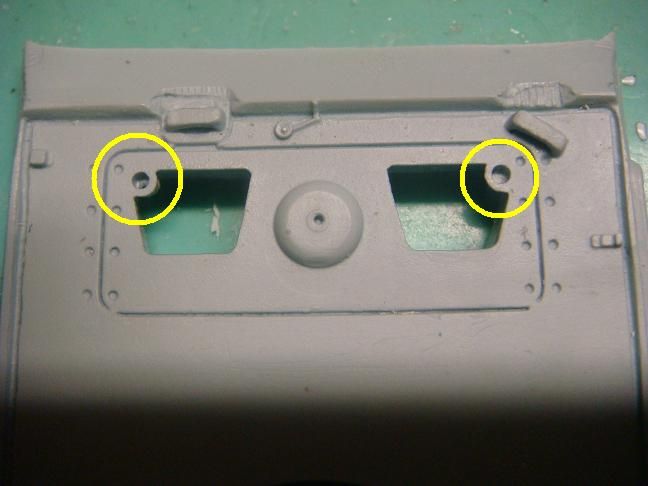 So I shallow poured one of my molds, sand it thin, and surgically removed these sections 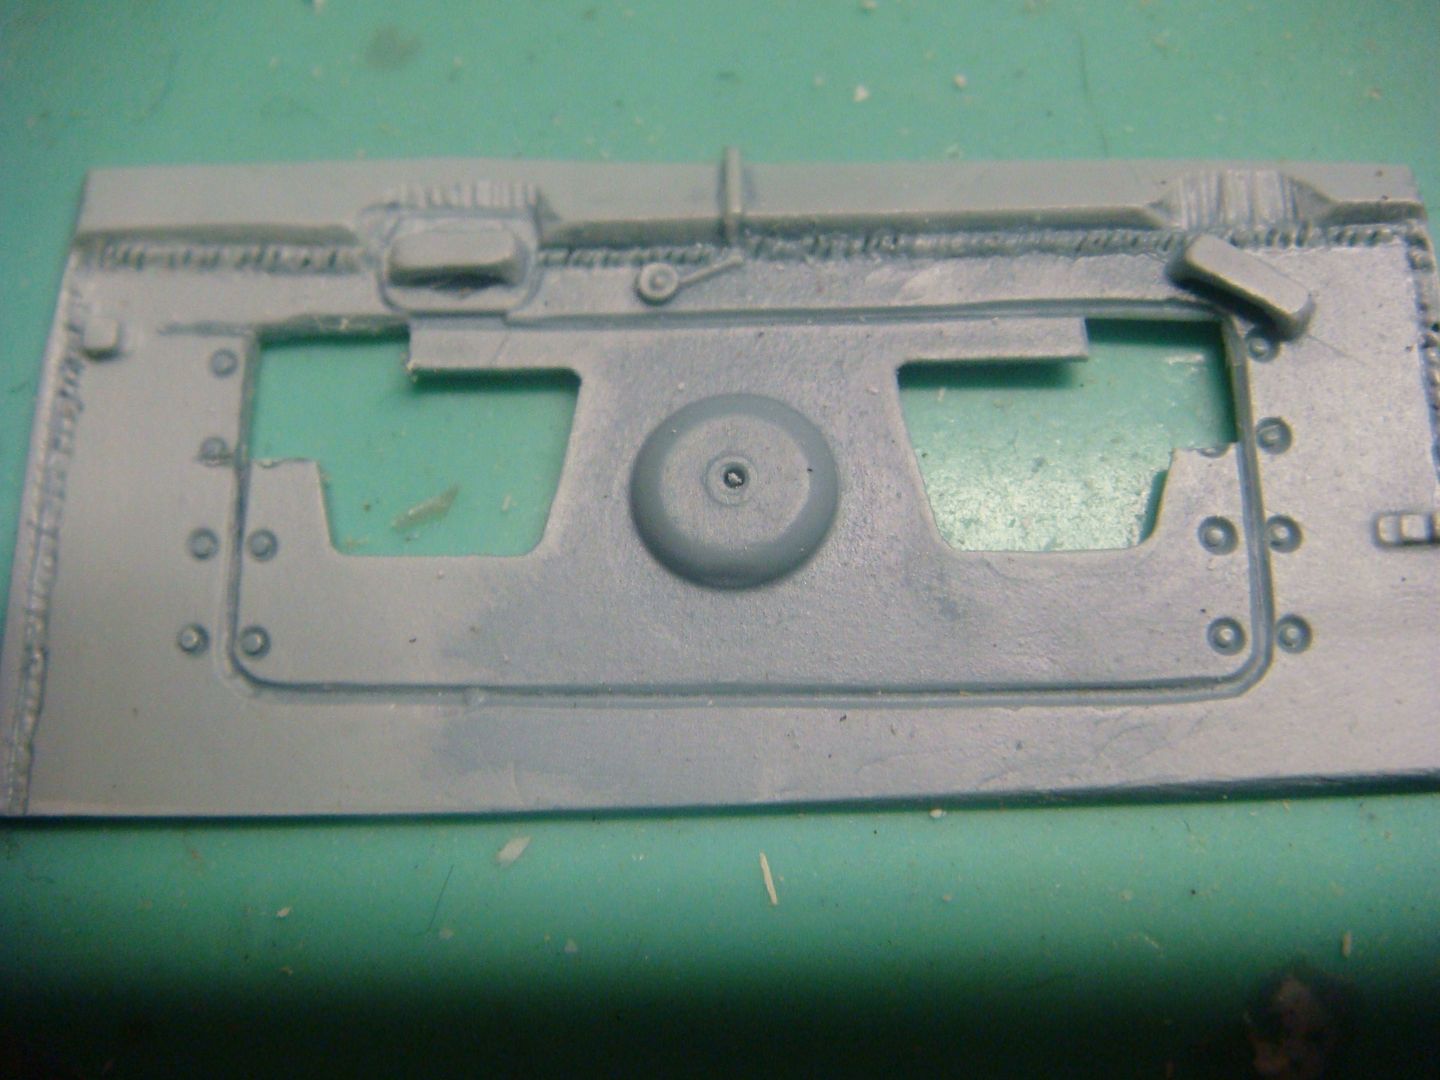 I then grafted them to my hatch plate. 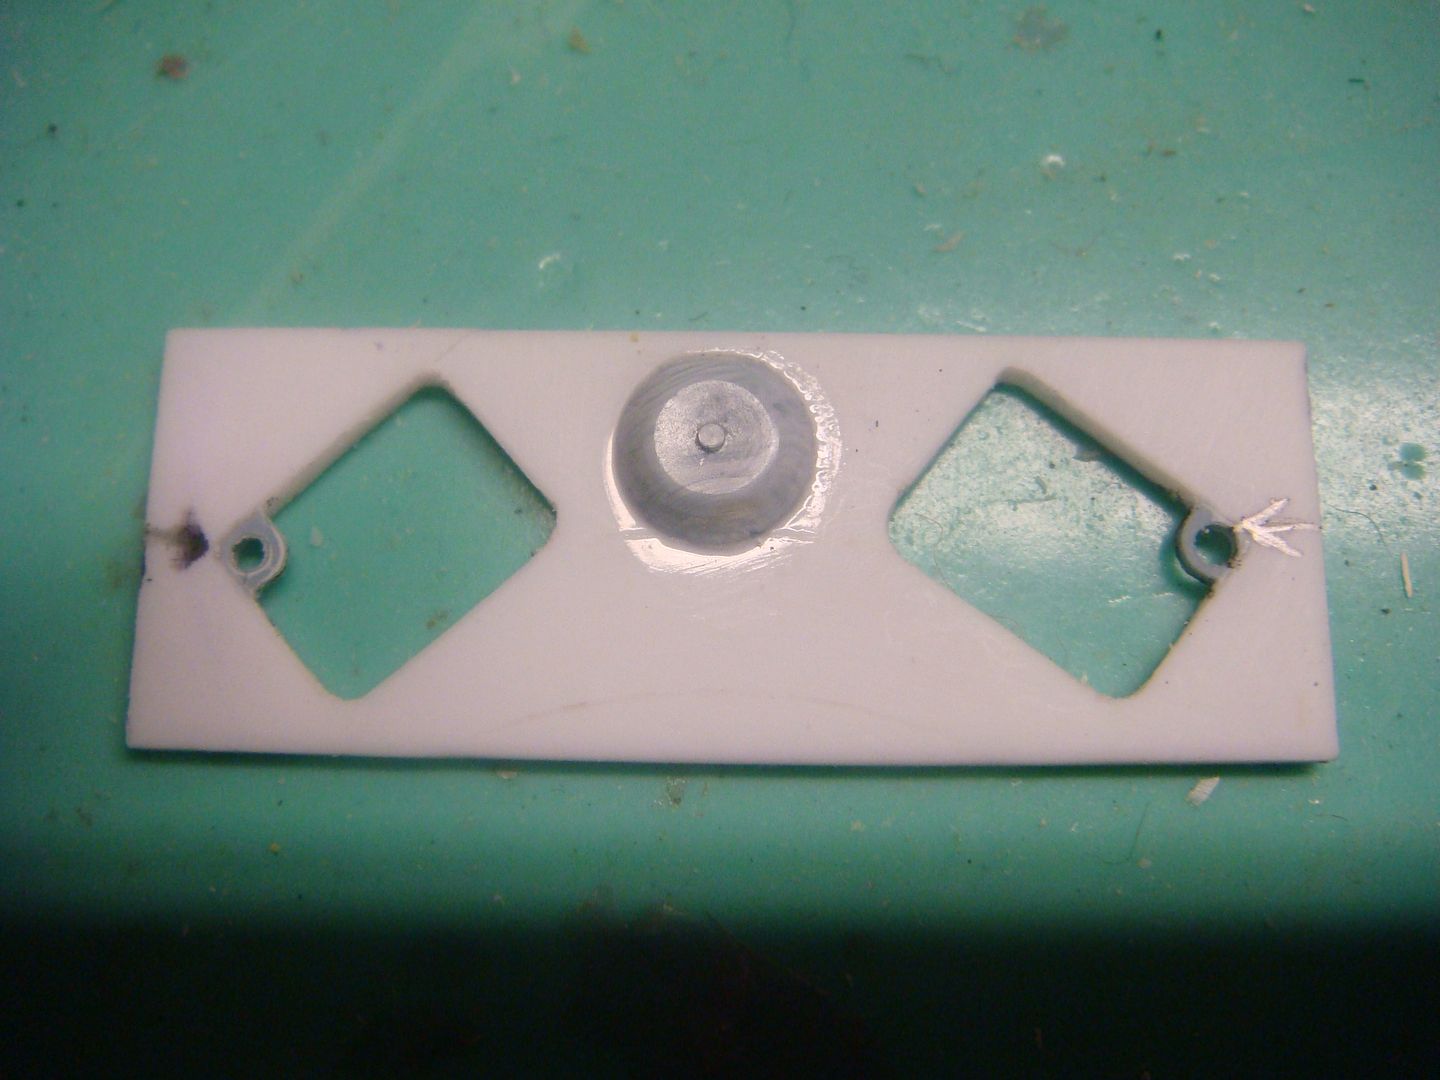 in order for the hatches to sit "flat", I took my dremel tool and grinded away one corner on each hatch ( I should note here also that I added a piece f .010 sheet styrene to the top of the hatches to keep them from falling in all the time) 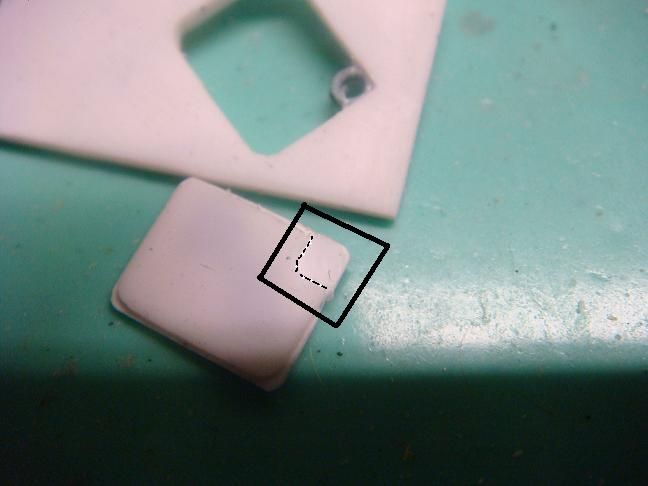 from underneath you can see how well the fit 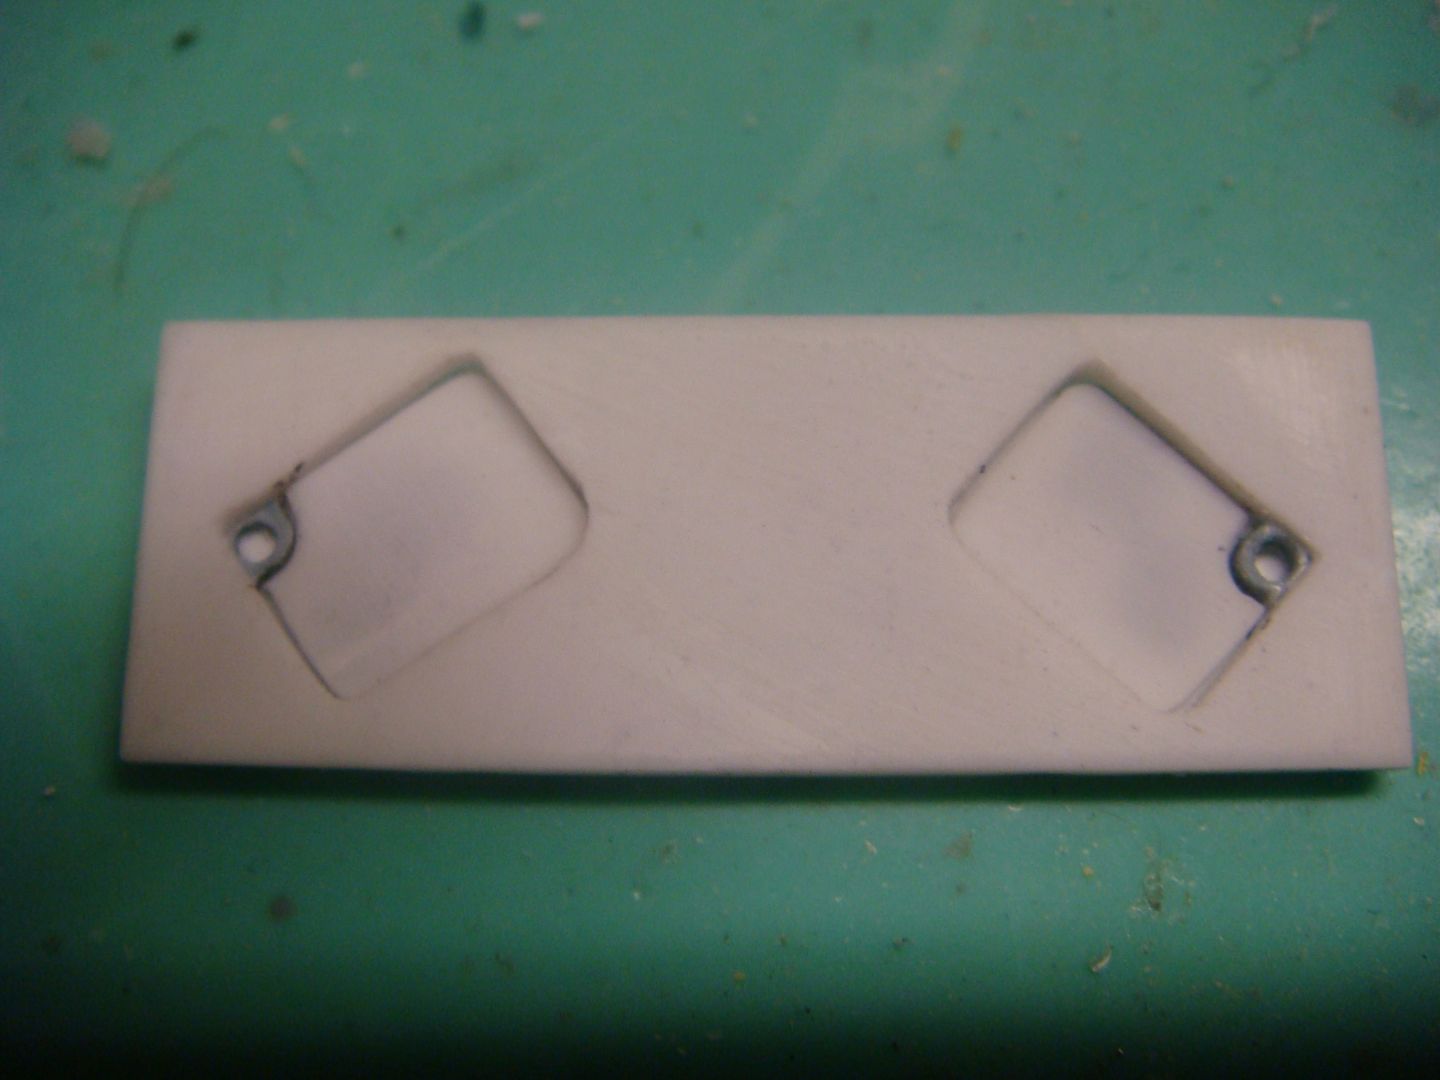 next I needed the pegs to act as "pivots" for the hatches. 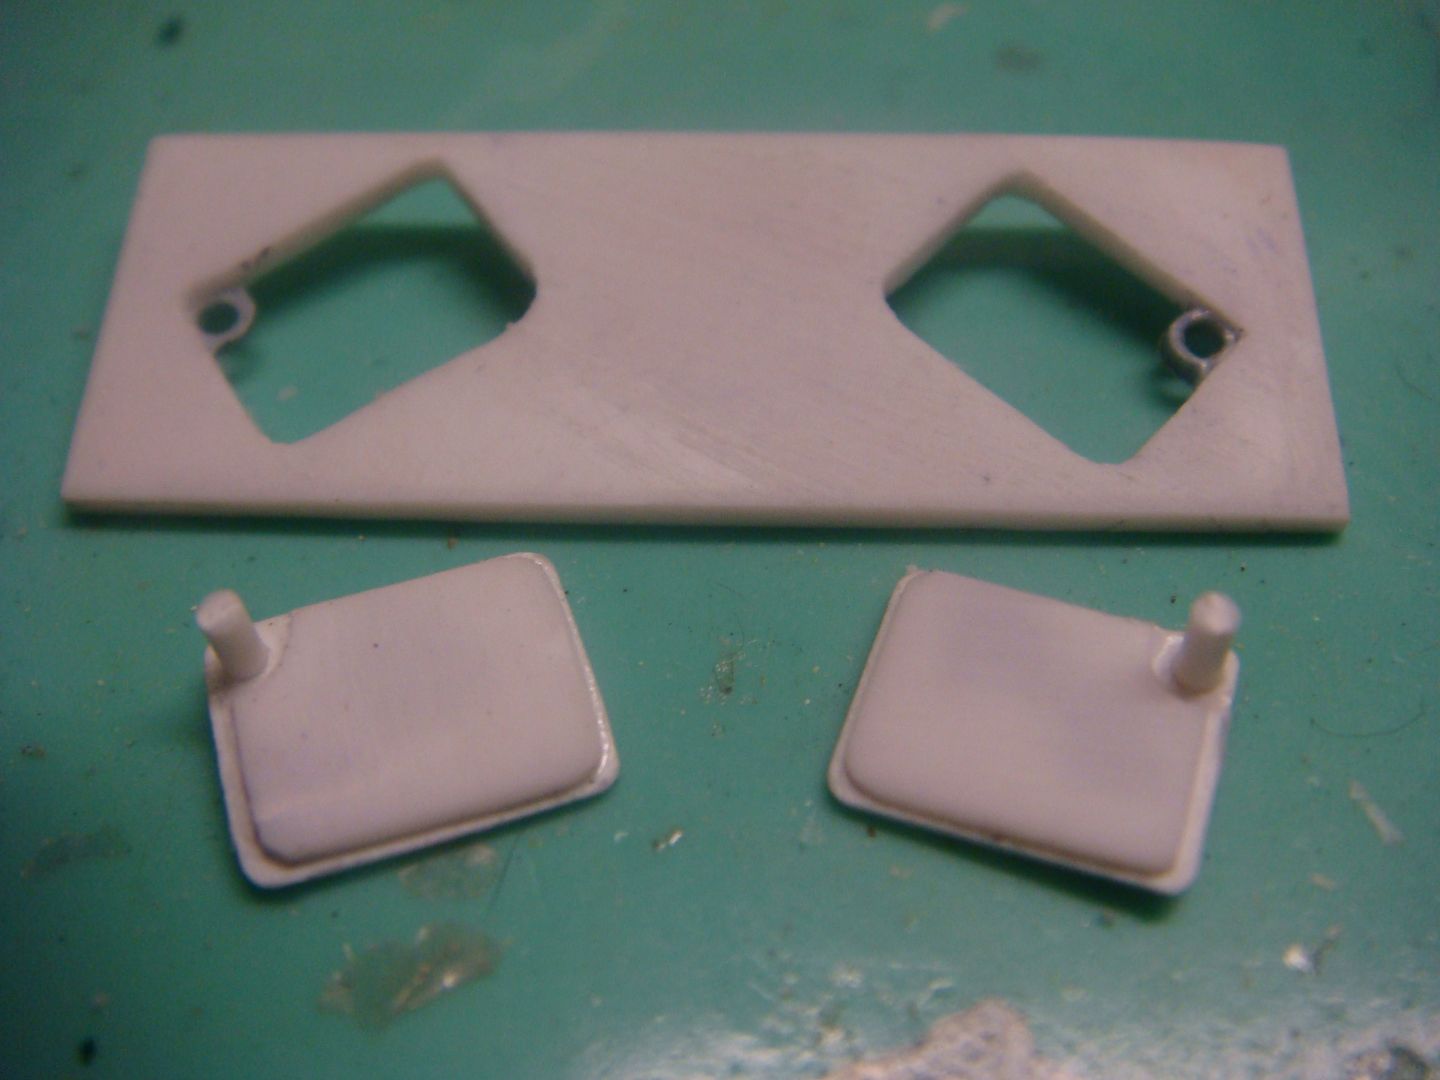 and here is how they look inplace 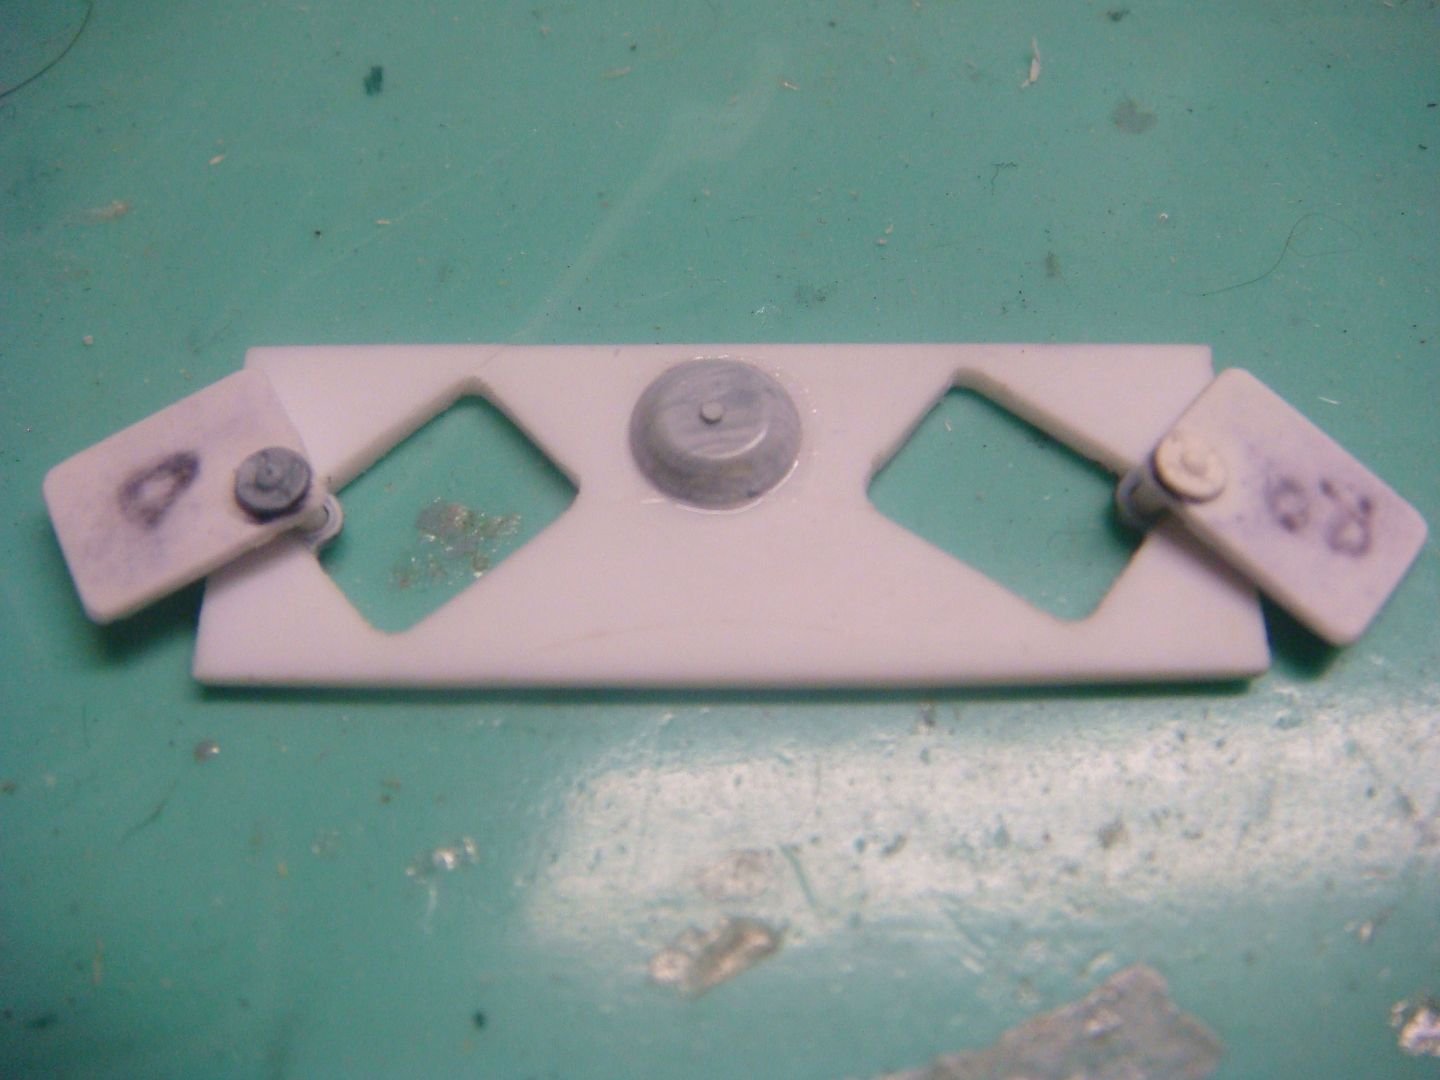 I hope these com out ok when I mold them |
|
|
|
Post by Leon on Apr 14, 2016 4:36:47 GMT -5
Nice scratch work on the hatches!
|
|
cploverby.
Full Member
  
Member since: August 2012
Posts: 129
Aug 14, 2012 14:15:54 GMT -5
Aug 14, 2012 14:15:54 GMT -5
|
Post by cploverby. on Apr 14, 2016 7:08:17 GMT -5
Nice scratch work on the hatches! Thank You the part that made me the most nervous was cutting them out from the roof plate. I kept having "flashbacks" of slicing my fingers open |
|
jsteinman
Full Member
  
Member since: March 2013
Posts: 735
Mar 24, 2013 9:29:10 GMT -5
Mar 24, 2013 9:29:10 GMT -5
|
Post by jsteinman on Apr 14, 2016 7:27:59 GMT -5
|
|
Deleted
Member since: January 1970
Posts: 0
Nov 27, 2024 0:54:35 GMT -5
Nov 27, 2024 0:54:35 GMT -5
|
Post by Deleted on Apr 14, 2016 7:32:10 GMT -5
I still can't imagine how small this all is! 
|
|
cploverby.
Full Member
  
Member since: August 2012
Posts: 129
Aug 14, 2012 14:15:54 GMT -5
Aug 14, 2012 14:15:54 GMT -5
|
Post by cploverby. on Apr 14, 2016 19:58:31 GMT -5
I like that.... "stole your meme"  |
|
cploverby.
Full Member
  
Member since: August 2012
Posts: 129
Aug 14, 2012 14:15:54 GMT -5
Aug 14, 2012 14:15:54 GMT -5
|
Post by cploverby. on Apr 14, 2016 20:00:04 GMT -5
I still can't imagine how small this all is! 
Does this help? 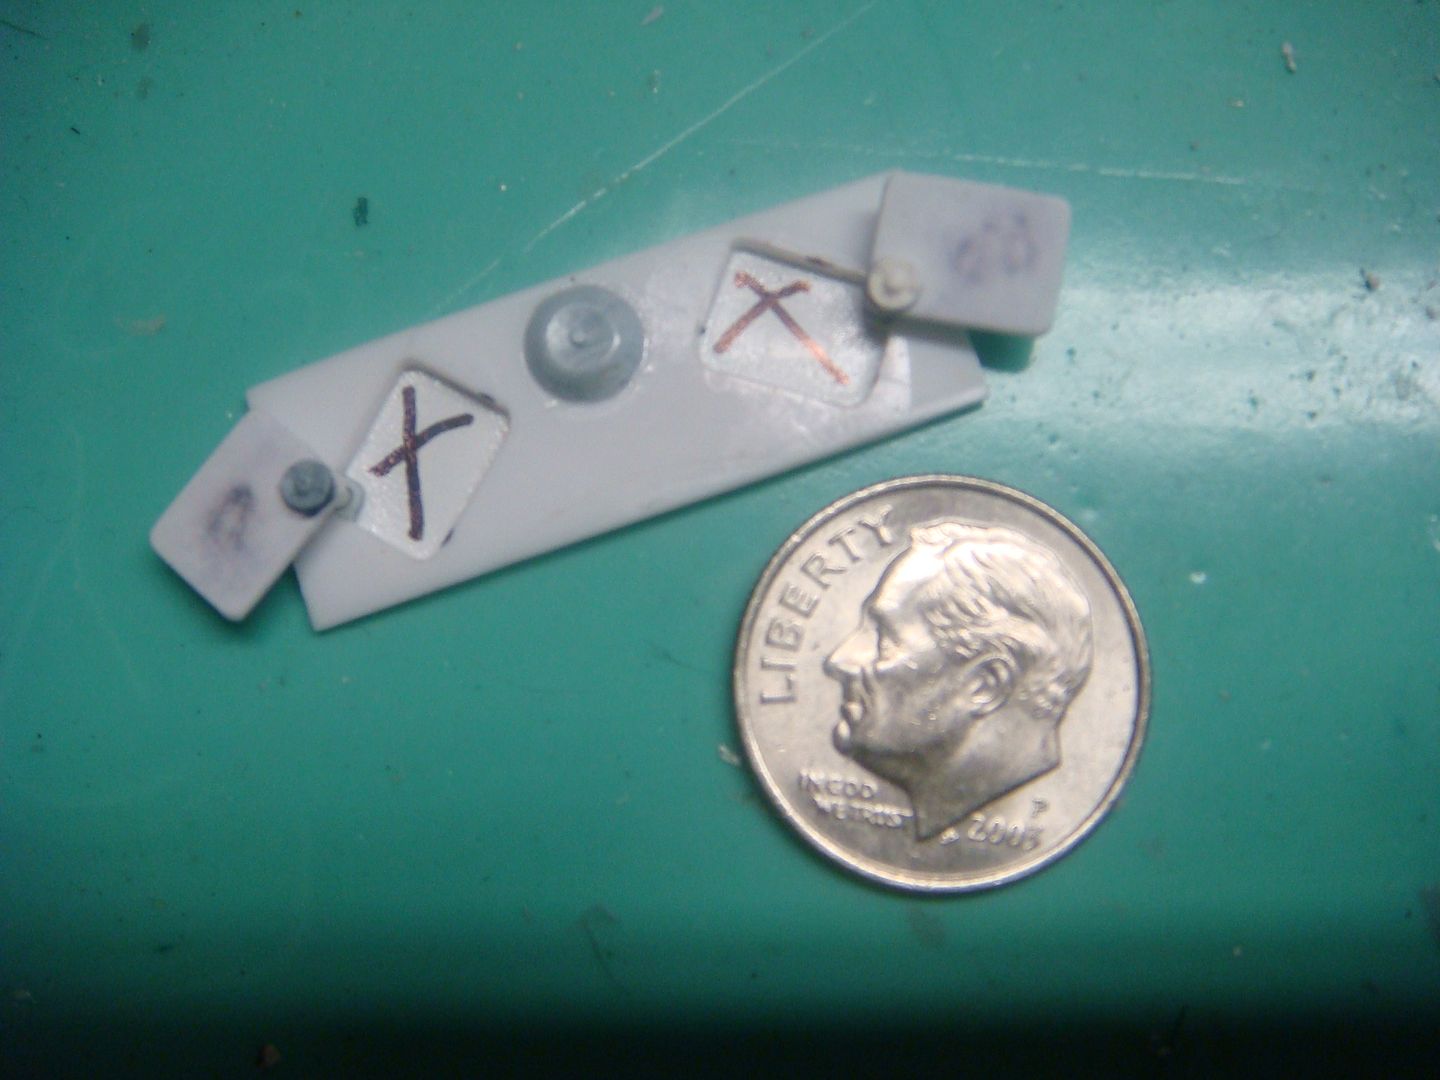 |
|
cploverby.
Full Member
  
Member since: August 2012
Posts: 129
Aug 14, 2012 14:15:54 GMT -5
Aug 14, 2012 14:15:54 GMT -5
|
Post by cploverby. on Apr 21, 2016 7:04:29 GMT -5
the more I handled the turret, the more the chances grew that I would somehow screw it up, or drop it, or something. so I molded it and cast it in resin to be used throughout the final building of the model. 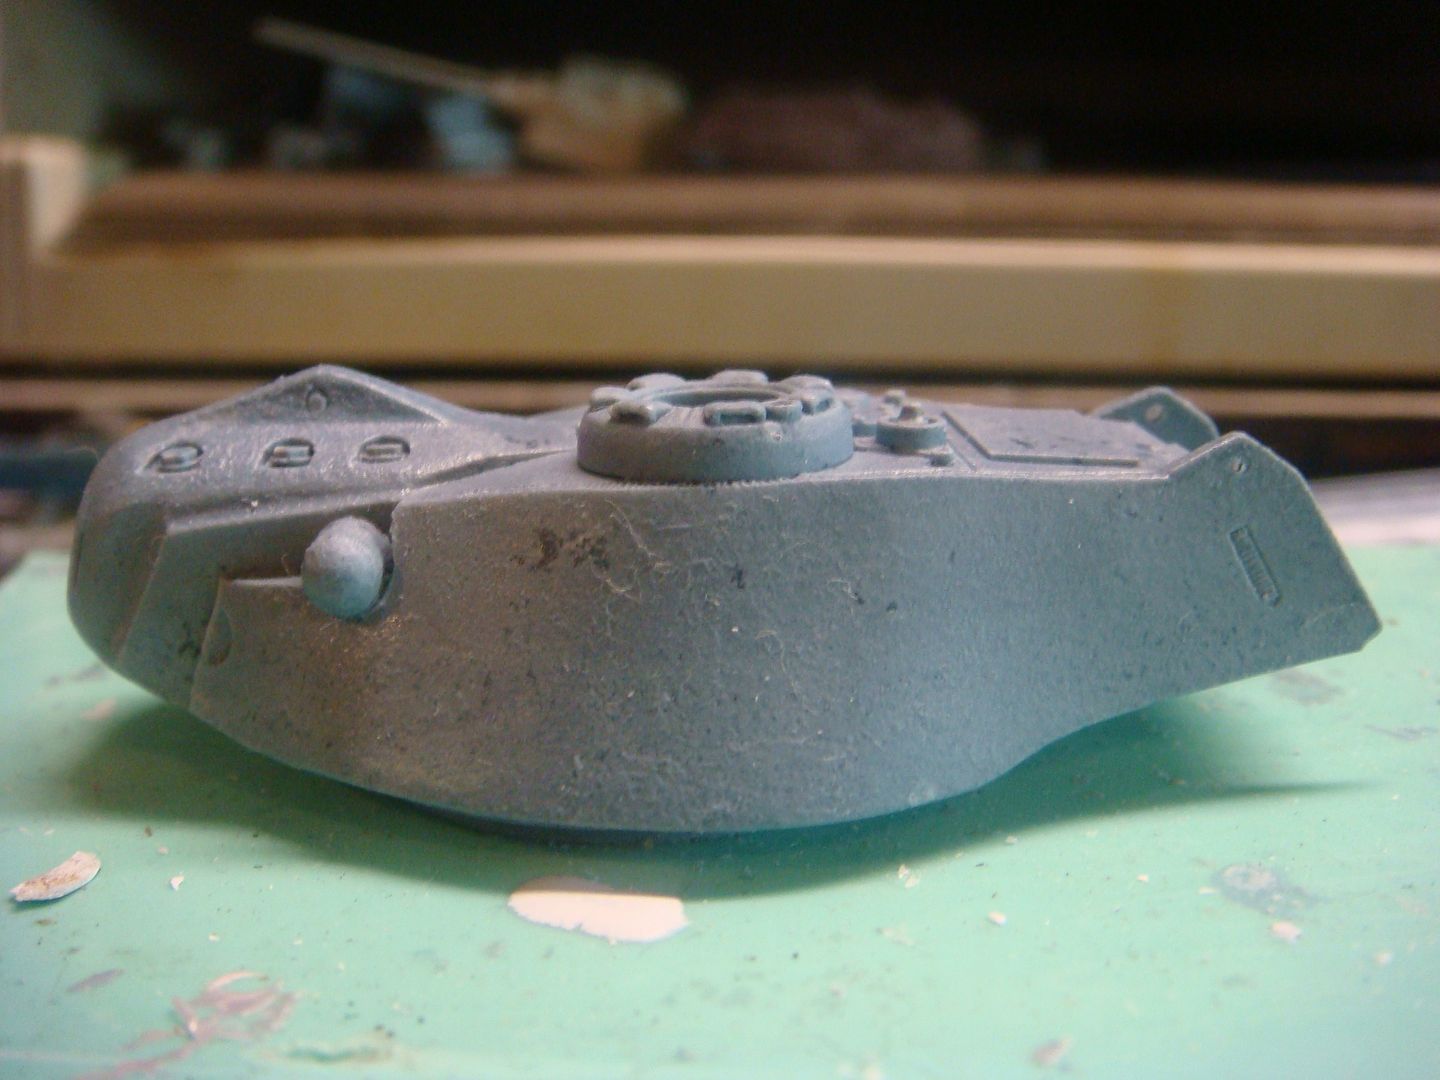 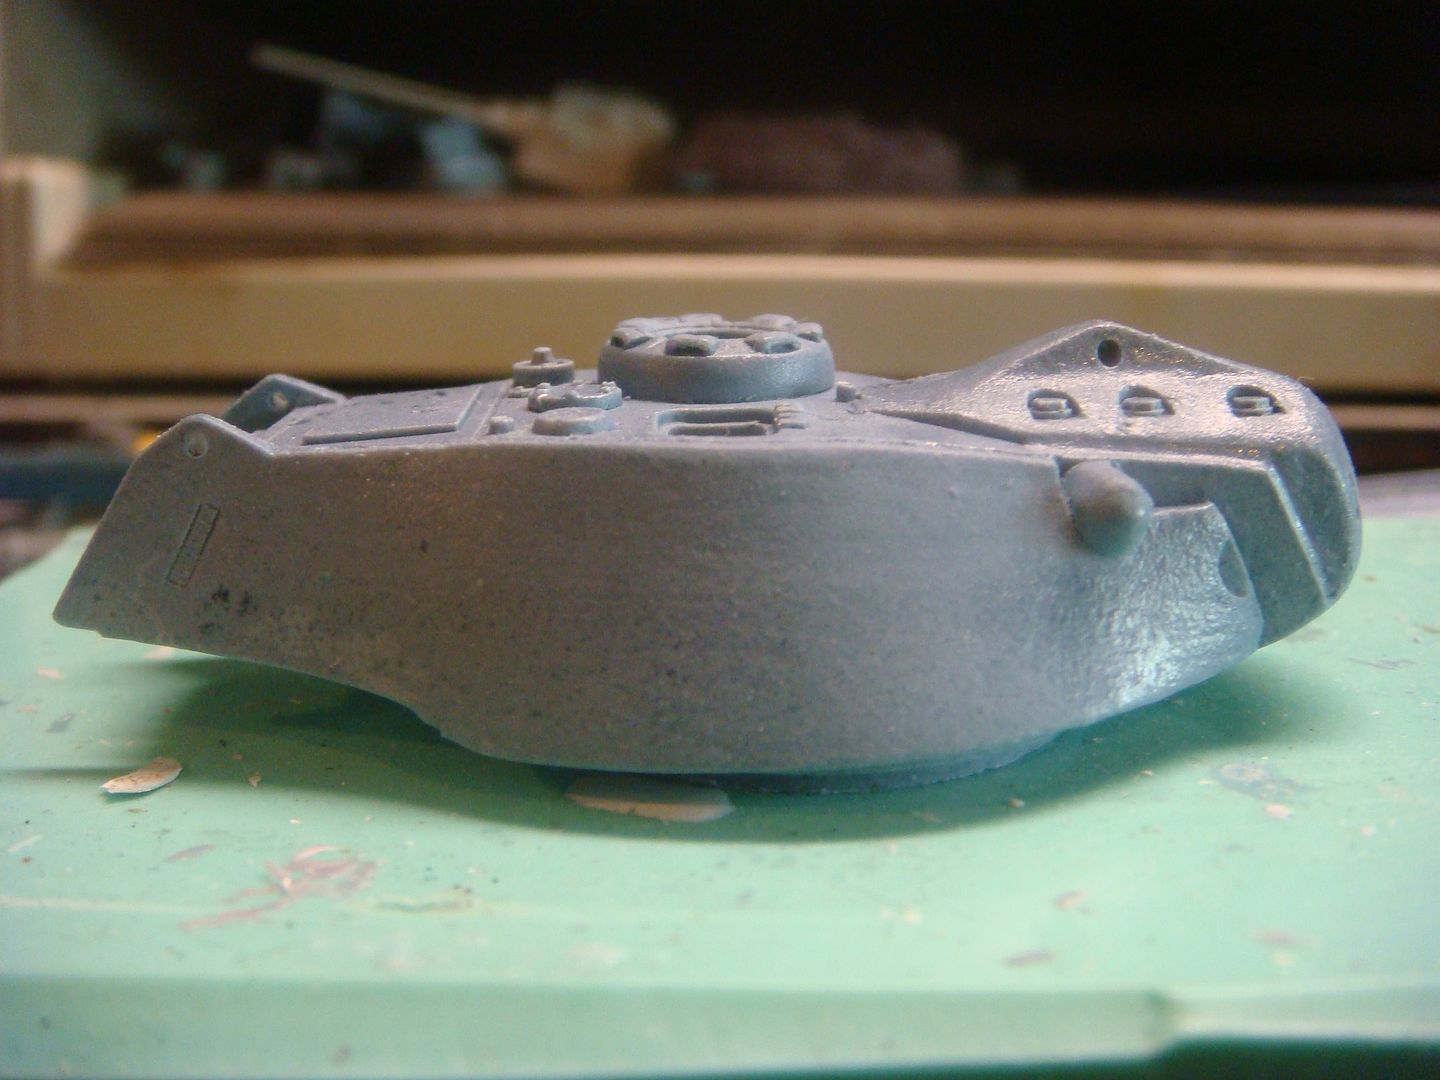 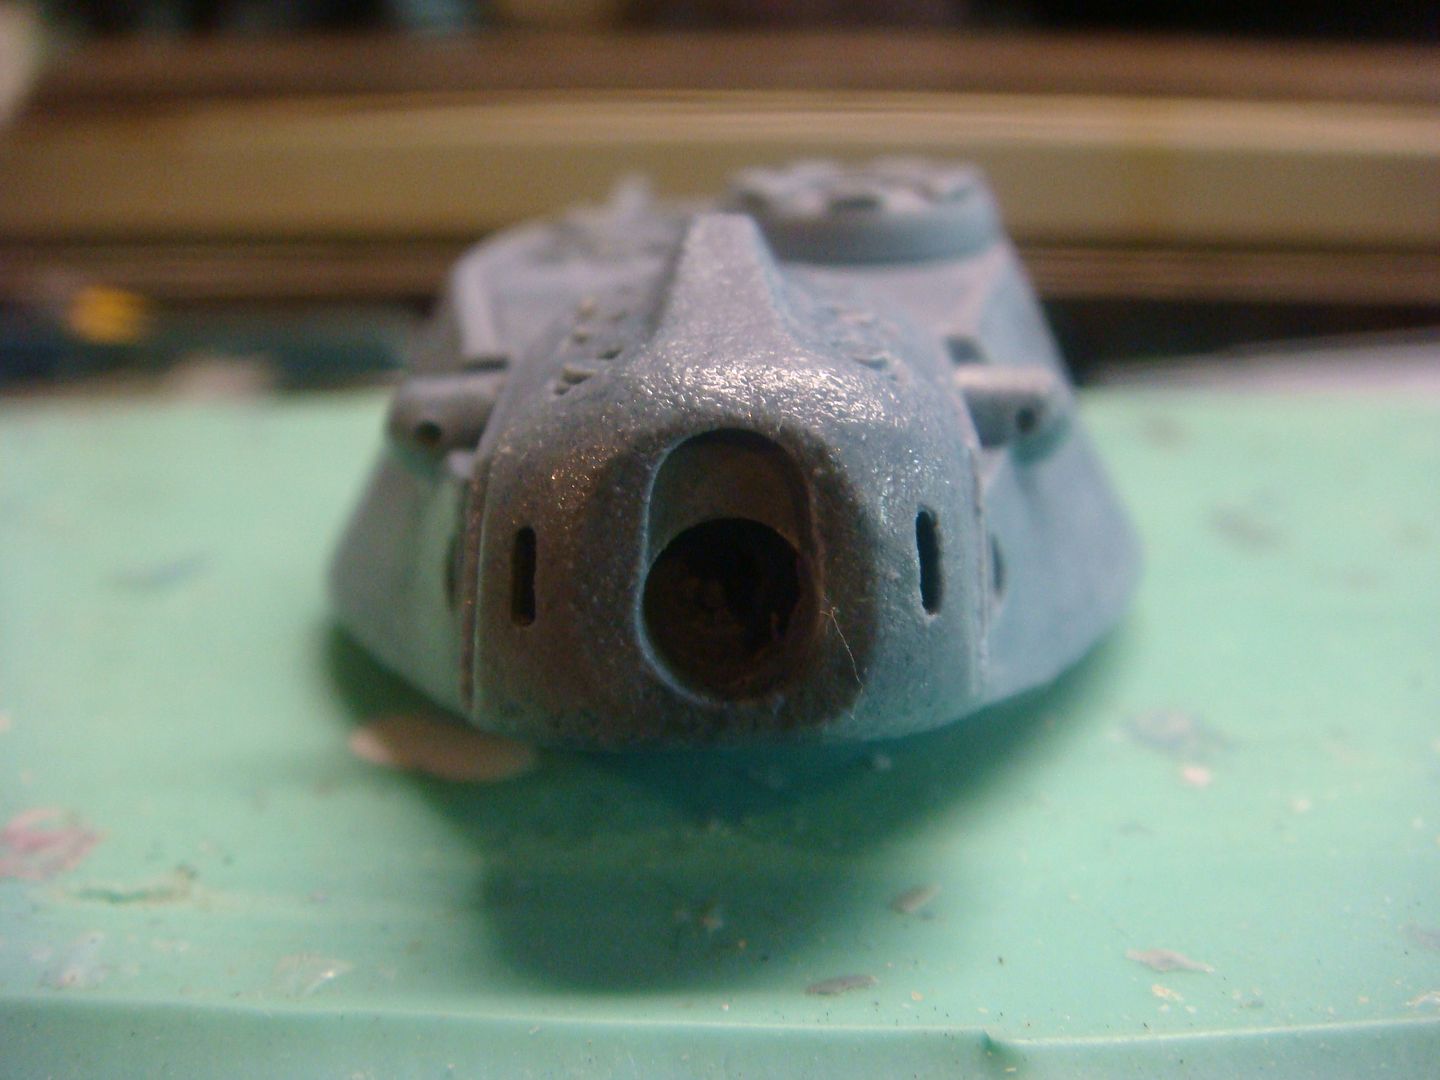 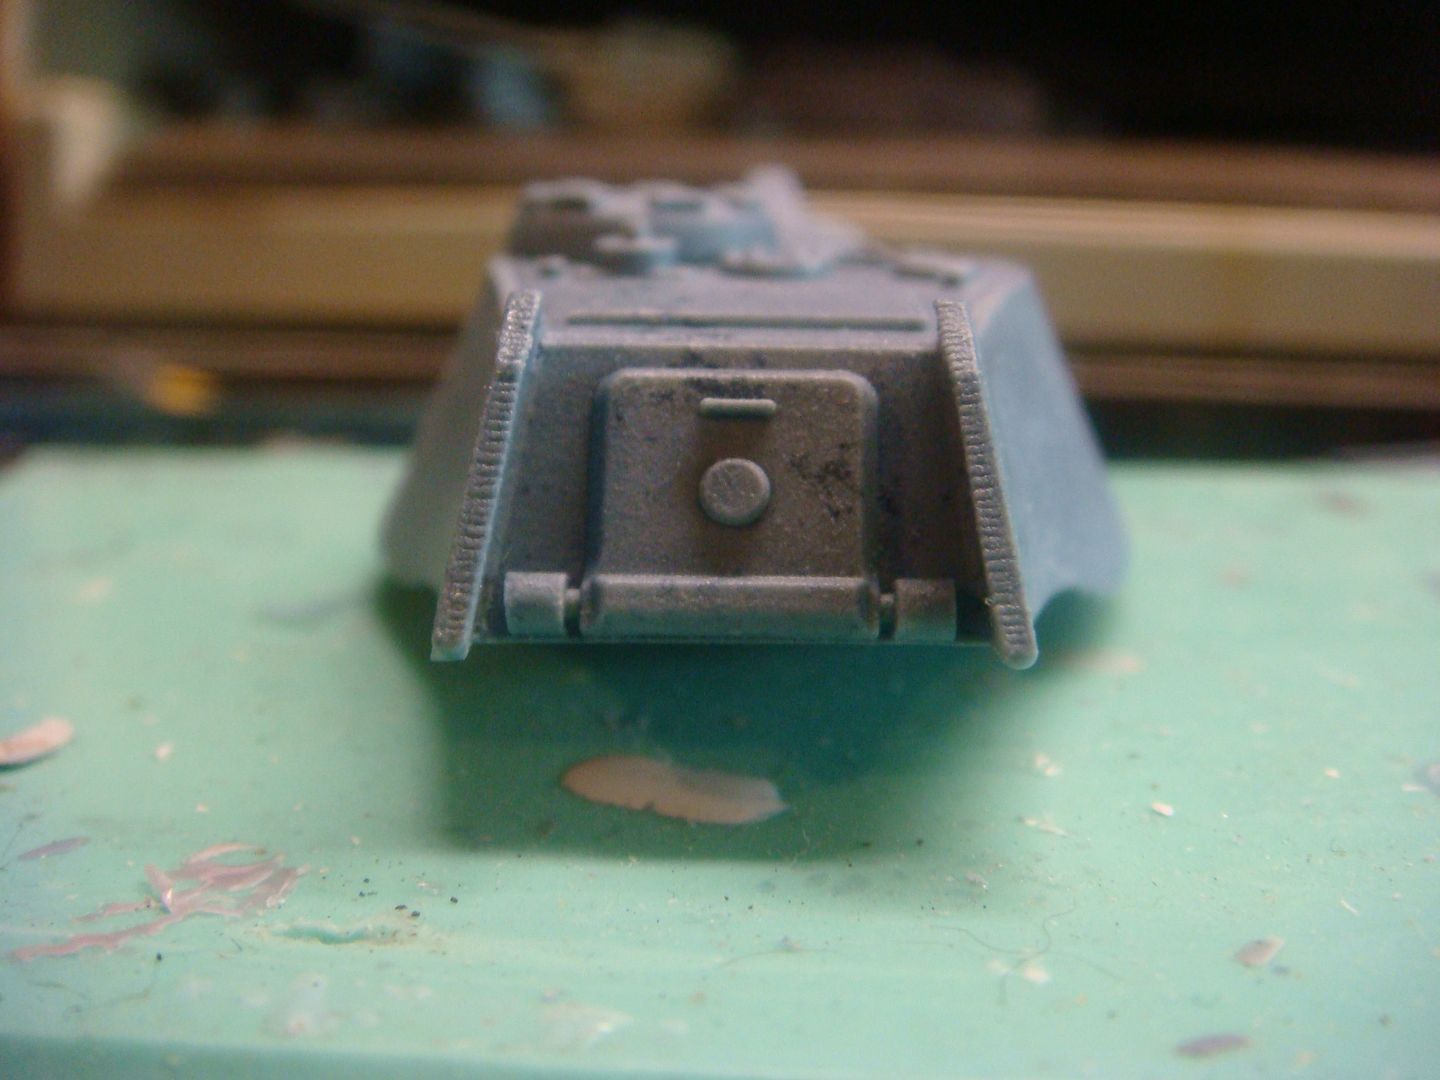 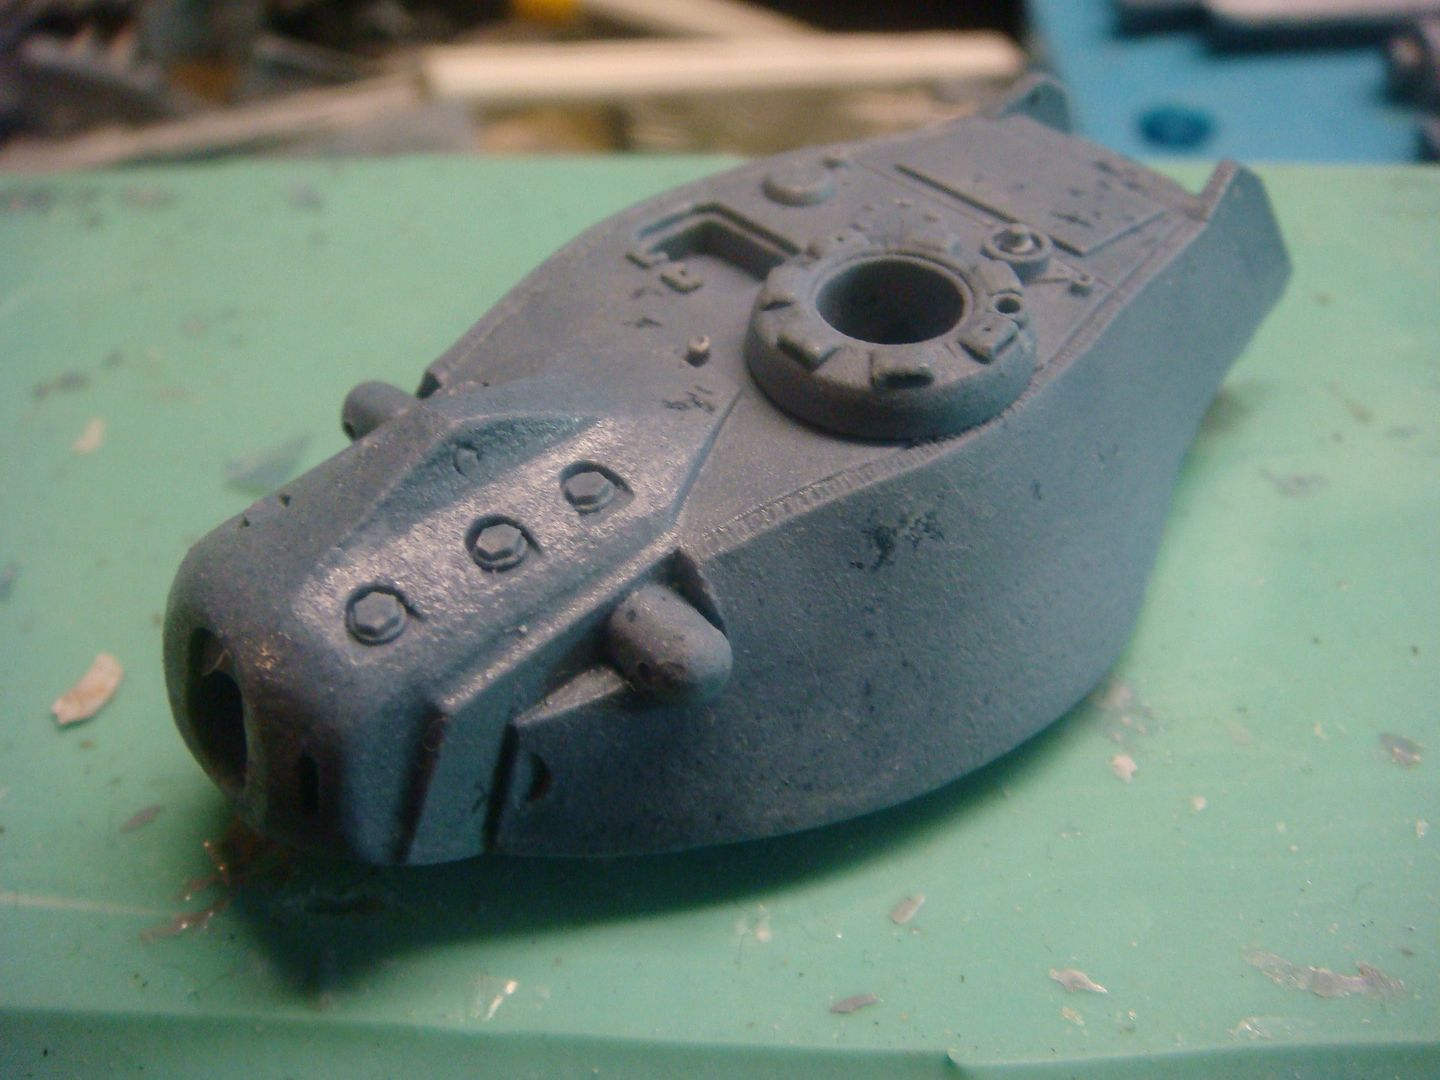 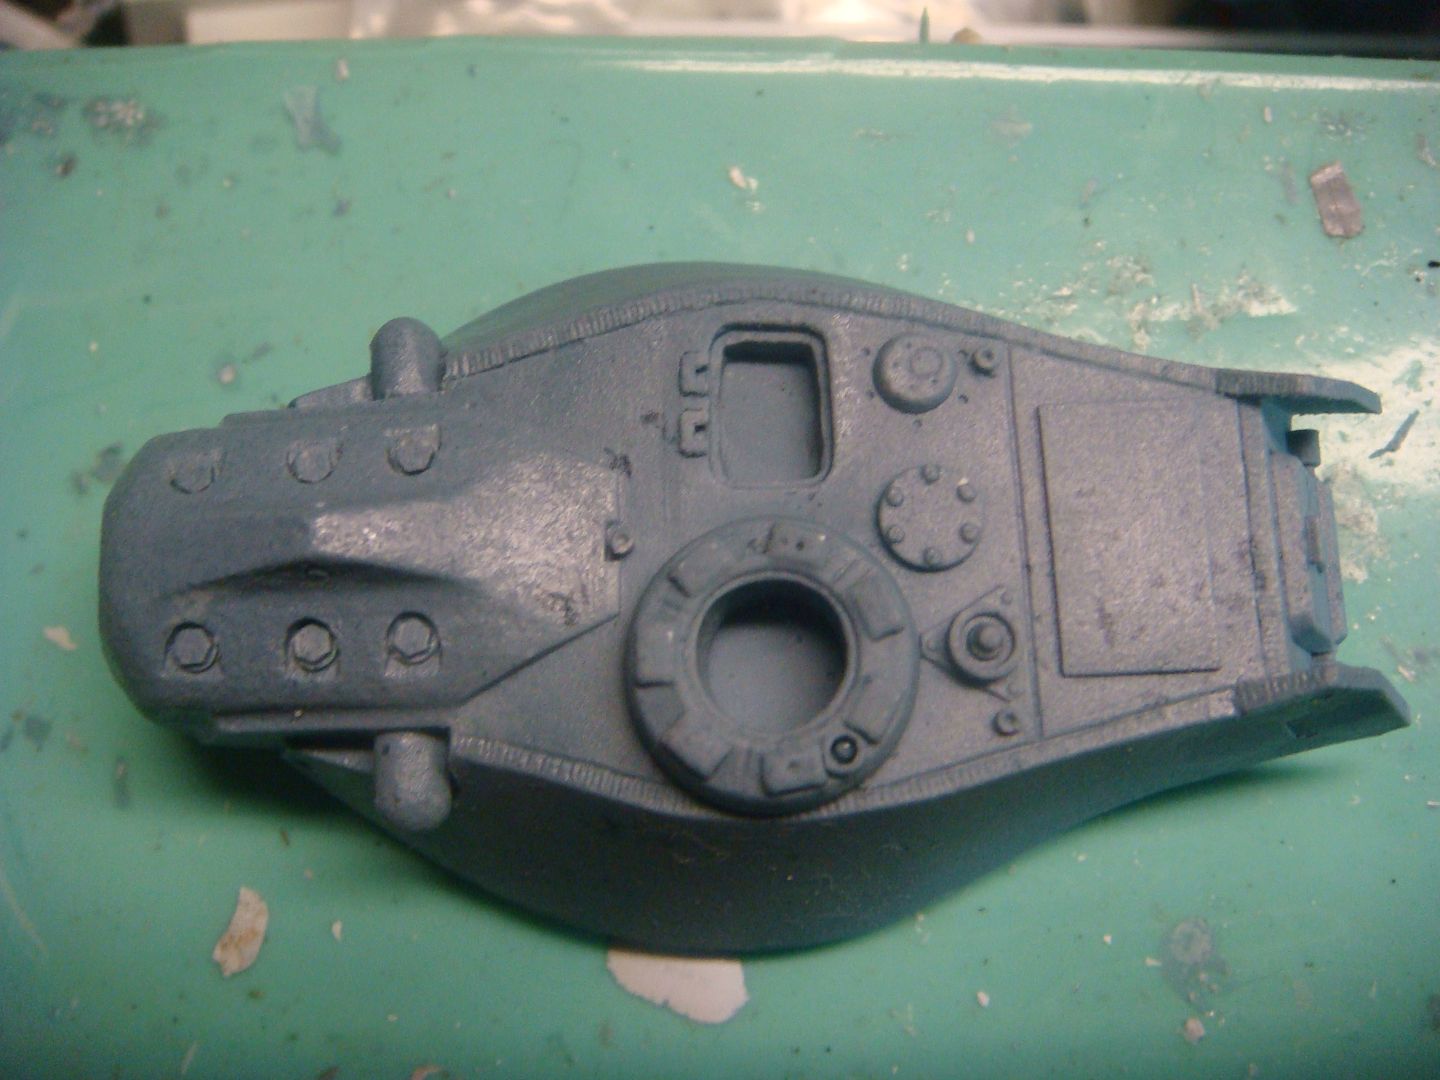 back to work  |
|
|
|
Post by Leon on Apr 21, 2016 7:09:35 GMT -5
Turret looks good! Nice work on the casting.
|
|
cploverby.
Full Member
  
Member since: August 2012
Posts: 129
Aug 14, 2012 14:15:54 GMT -5
Aug 14, 2012 14:15:54 GMT -5
|
Post by cploverby. on Apr 23, 2016 1:43:49 GMT -5
Turret looks good! Nice work on the casting. Many Thanks, I really feel that it will be better to use a casting, at least if I drop and damage a casting, I'll be less angry  |
|
cploverby.
Full Member
  
Member since: August 2012
Posts: 129
Aug 14, 2012 14:15:54 GMT -5
Aug 14, 2012 14:15:54 GMT -5
|
Post by cploverby. on Apr 26, 2016 5:15:11 GMT -5
|
|
|
|
Post by deafpanzer on Apr 28, 2016 15:10:59 GMT -5
Looking good!
|
|
|
|
Post by wbill76 on Apr 28, 2016 18:34:38 GMT -5
Getting close to the finish line on this monster. Almost there...  |
|
cploverby.
Full Member
  
Member since: August 2012
Posts: 129
Aug 14, 2012 14:15:54 GMT -5
Aug 14, 2012 14:15:54 GMT -5
|
Post by cploverby. on May 4, 2016 19:42:36 GMT -5
Glad you like it  |
|
cploverby.
Full Member
  
Member since: August 2012
Posts: 129
Aug 14, 2012 14:15:54 GMT -5
Aug 14, 2012 14:15:54 GMT -5
|
Post by cploverby. on May 4, 2016 19:43:22 GMT -5
Getting close to the finish line on this monster. Almost there...  Yep...so close I can almost taste it  |
|
cploverby.
Full Member
  
Member since: August 2012
Posts: 129
Aug 14, 2012 14:15:54 GMT -5
Aug 14, 2012 14:15:54 GMT -5
|
Post by cploverby. on Aug 14, 2016 20:15:28 GMT -5
OK....I have taken a Long Break from this..... I think I am finally getting back into the swing of things. I sourced out the parts I needed, gathered them together and finally got it to all fit together (for one side)..... This is how it looks 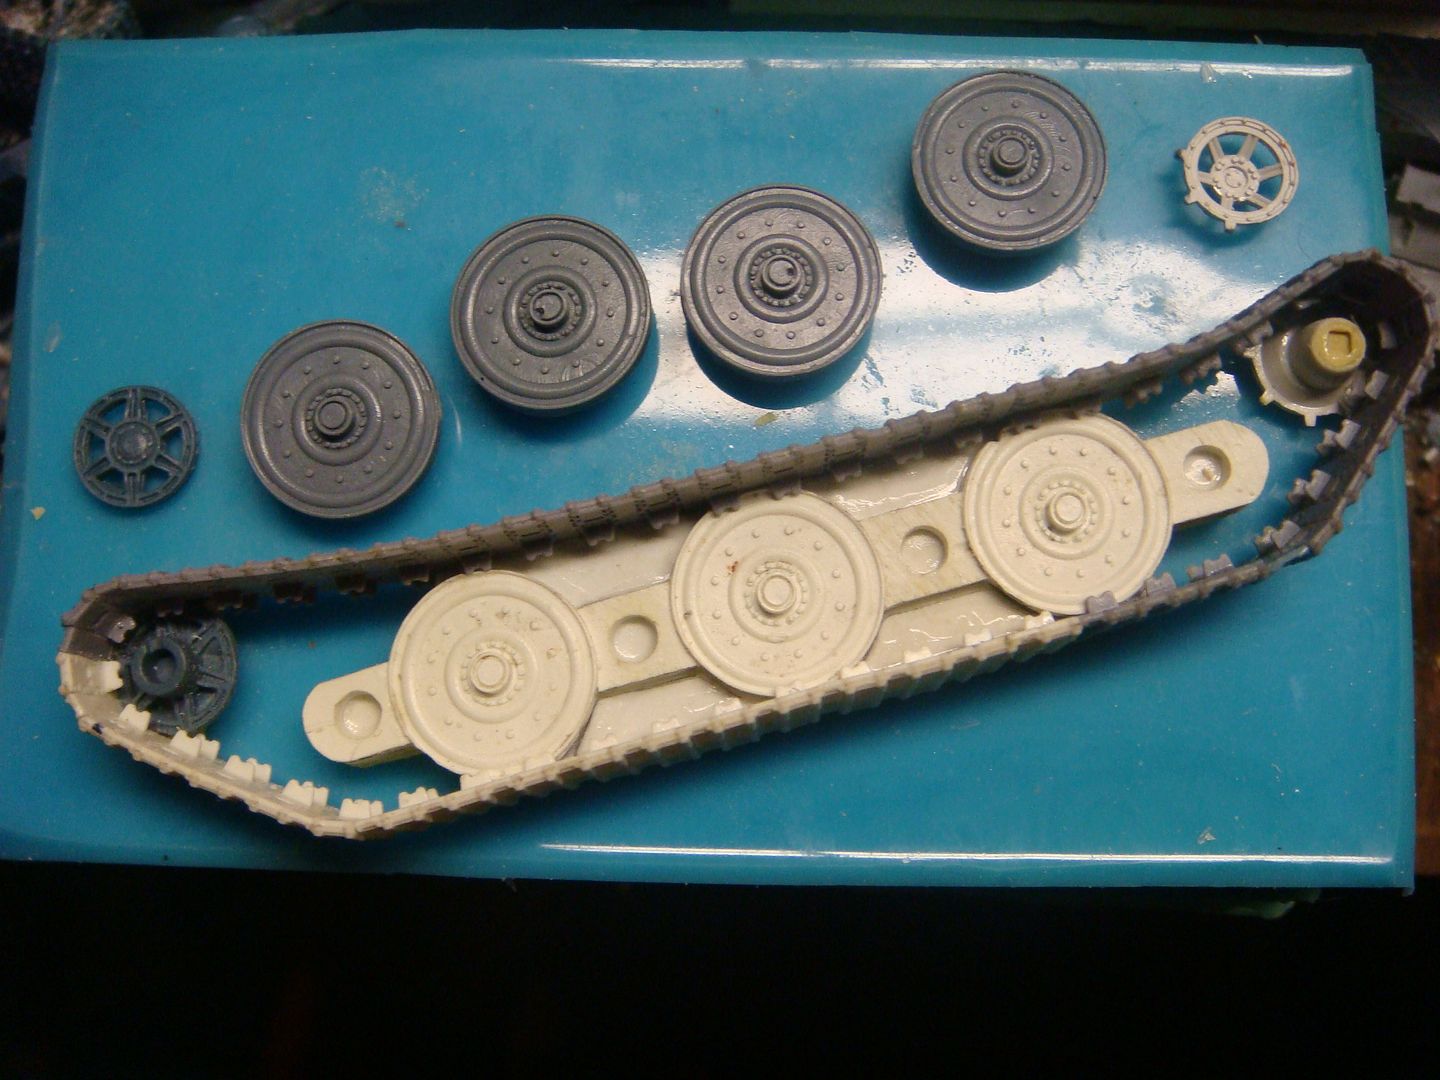 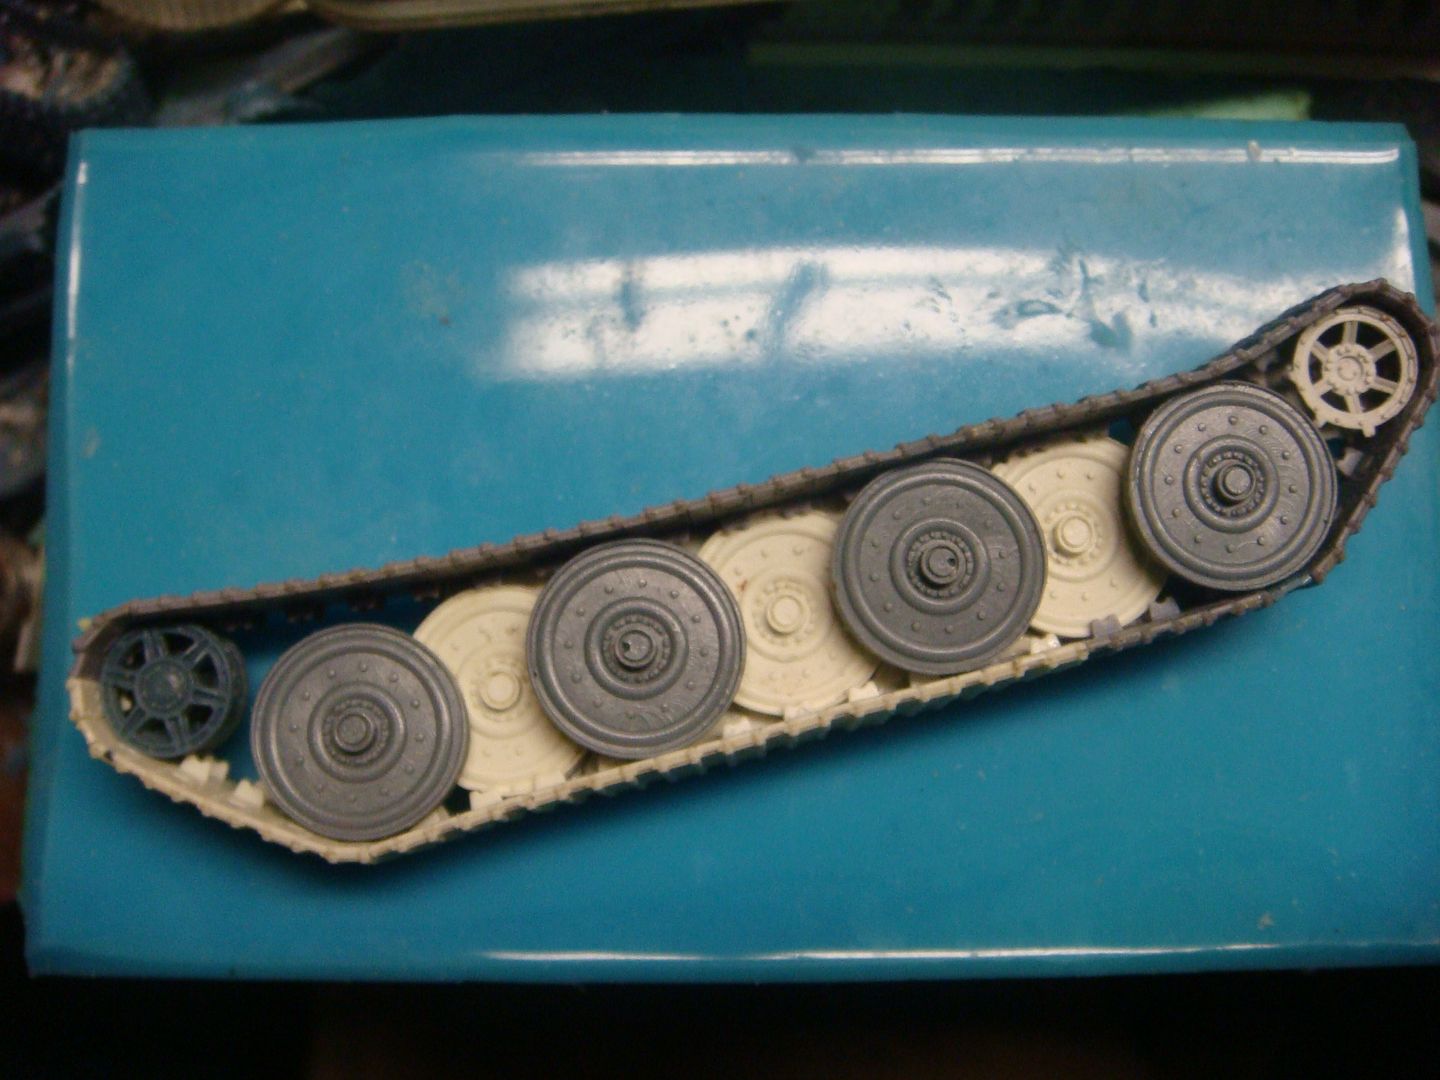 This one side alone was an "All Day" project..... so it's Break Time |
|
|
|
Post by Leon on Aug 15, 2016 4:45:02 GMT -5
That is looking really good!
|
|
cploverby.
Full Member
  
Member since: August 2012
Posts: 129
Aug 14, 2012 14:15:54 GMT -5
Aug 14, 2012 14:15:54 GMT -5
|
Post by cploverby. on Aug 26, 2016 1:06:57 GMT -5
Many Thanks..... Just to get your attention.... here are the tracks molded and cast in resin..... this is the "first pull" from the new mold. 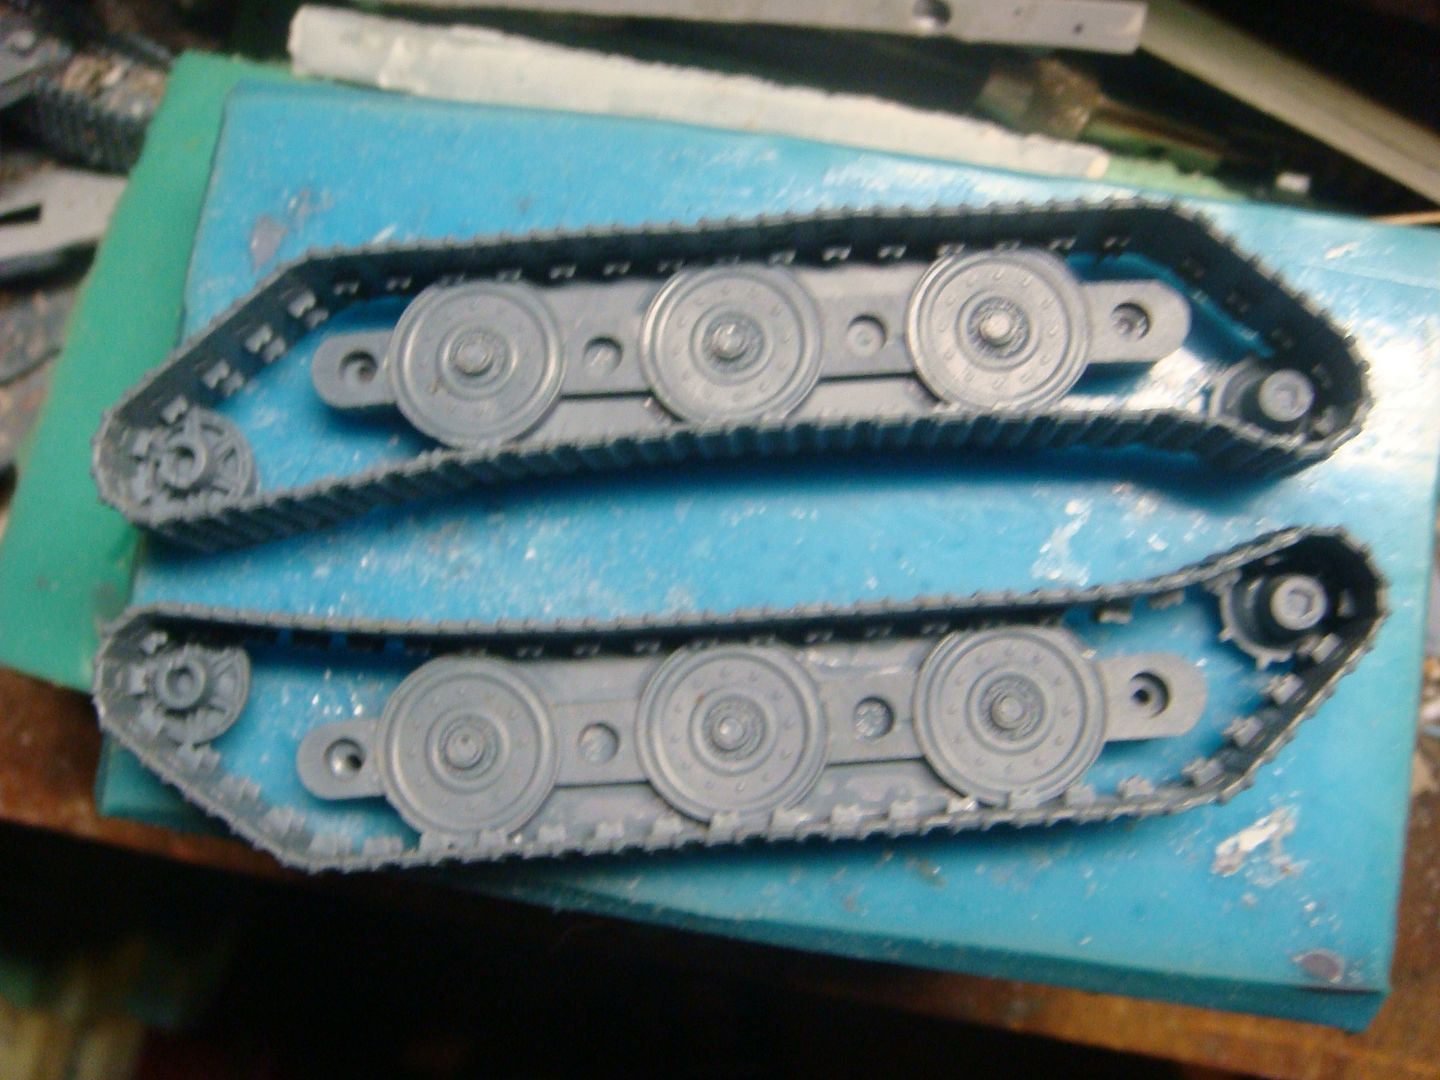 I will be back in a few min with some more pic's  |
|