|
|
Post by fightnjoe on Jul 5, 2016 21:48:43 GMT -5
Biting off more than I can chew part 1. This will be one of two upcoming projects. This will be my 2016 Pearl Harbor Tribute build. 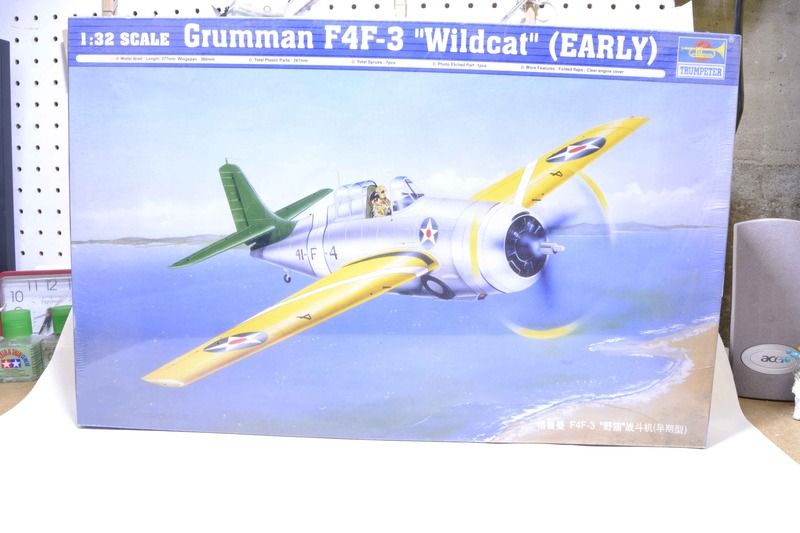 Stay tuned folks. This could get interesting. Joe |
|
|
|
Post by deafpanzer on Jul 5, 2016 23:43:37 GMT -5
Cool! Fan of those wild bold colored paints prior WWII... Count me in! Putting on my Kelly helmet now!
|
|
|
|
Post by Tojo72 on Jul 6, 2016 8:27:09 GMT -5
Wow,really eye catching,should be great.
|
|
|
|
Post by Leon on Jul 6, 2016 10:26:48 GMT -5
I'll be following along Joe! Love the color scheme.
|
|
Wes
Full Member
  
Member since: November 2011
Posts: 686
Nov 16, 2011 9:34:50 GMT -5
Nov 16, 2011 9:34:50 GMT -5
|
Post by Wes on Jul 6, 2016 13:53:10 GMT -5
Love the colours too. im in for the ride.
|
|
Rick
Full Member
  
Member since: March 2013
what to build, what to build . . . Ok THAT one!
Posts: 854 
|
Post by Rick on Jul 6, 2016 19:49:30 GMT -5
Nice choice Joe. Are you gonna slice this one open and scratch the insides or build it "skin" on?
Rick
|
|
|
|
Post by fightnjoe on Jul 7, 2016 13:27:43 GMT -5
Many many thanks for stopping in.
Warning the end product may not resemble the box art.
Rick more on that soon.
Joe
|
|
|
|
Post by mustang1989 on Jul 7, 2016 14:39:33 GMT -5
I'm in. Let's get this freekin' party started!!!
    
|
|
|
|
Post by fightnjoe on Jul 13, 2016 23:45:59 GMT -5
Yeah it is about time isnt it.
Joe
|
|
|
|
Post by fightnjoe on Jul 13, 2016 23:46:31 GMT -5
Well here I am. Here we go. First step is .................well..................some destruction. First up was to mock up the mount for the landing gear/engine. From what I remember this is one of the problem areas. I added a bit of styrene to get it to sit level and then centered. I then mocked up the pit floor to make sure where the cuts would end up. Out came the dremmel and after about a half hour....... 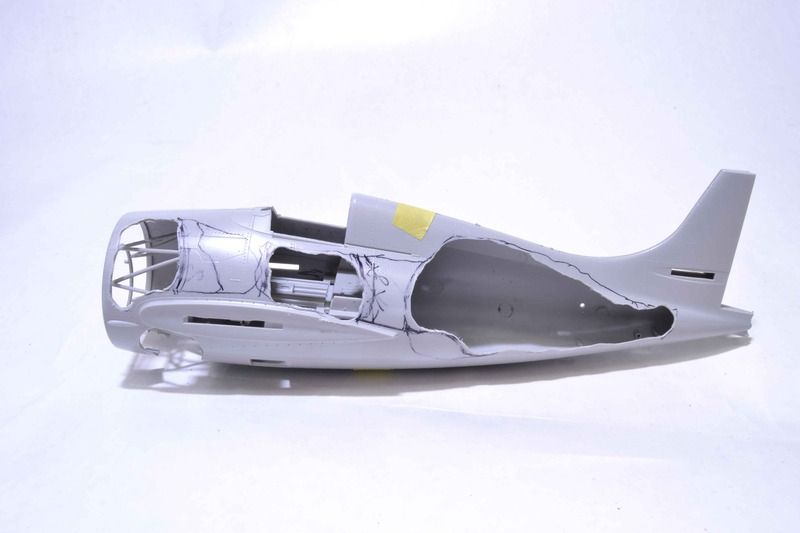 Not much to it. I cut out bits of the upper wing as well. Going to do that a bit different than the previous ones. Next is clean up and then I can begin to work on the details. All comments, critiques, and criticism are encouraged. Joe |
|
|
|
Post by Leon on Jul 14, 2016 4:20:56 GMT -5
Nice work on the cutouts Joe! This should be another good one.  |
|
|
|
Post by mustang1989 on Jul 14, 2016 7:34:48 GMT -5
Fun! Fun! Fun! And he does the cutaway! Looking forward to all the details Joe!
|
|
|
|
Post by fightnjoe on Jul 15, 2016 18:10:50 GMT -5
Many thanks guys.
Joe
|
|
|
|
Post by TRM on Jul 15, 2016 18:29:28 GMT -5
Off to a bang-up job Joe! First cuts are the best!!
|
|
|
|
Post by fightnjoe on Jul 18, 2016 9:37:48 GMT -5
Many thanks T.
Joe
|
|
Rick
Full Member
  
Member since: March 2013
what to build, what to build . . . Ok THAT one!
Posts: 854 
|
Post by Rick on Jul 18, 2016 11:56:29 GMT -5
Nice work Joe. There will be no secrets on this build for sure. I've built the later version of this one. It's early and not knowing your plan for the wing fold mechanism, but you'll want to pay close attention when you get there. I've shelved mine due to modeller induced sag when unfolded. It looks like it's flapping its wings.
Rick
|
|
|
|
Post by fightnjoe on Jul 22, 2016 23:00:19 GMT -5
Rick many thanks. This is the early version so no wing folds. That was in the planning.
Joe
|
|
|
|
Post by fightnjoe on Jul 22, 2016 23:01:03 GMT -5
A quickie update to show what little work I have done. Work was isolated to fabrication of the radio equipment for this aircraft. The SCR-274 N. Composed of several components here is the still very rough initial look. 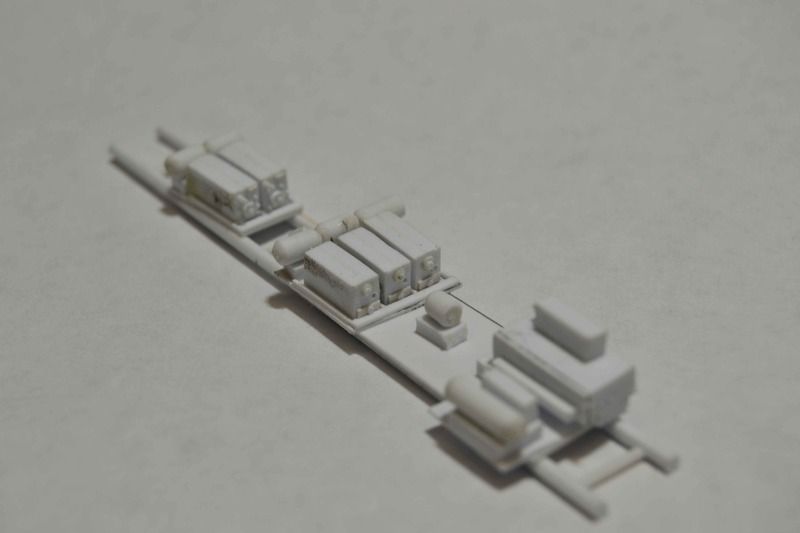 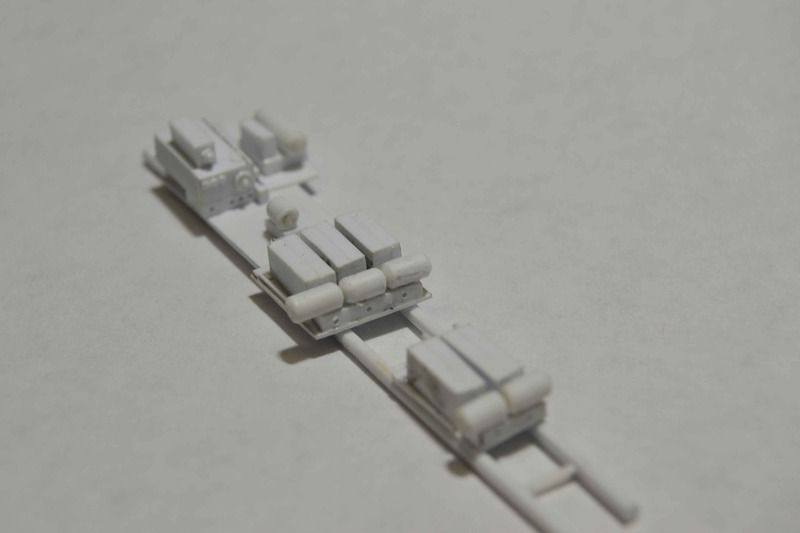 Should be pretty cool when done. Debating on whether to paint it now or wait as I did with the P-40B equipment. Next will be to continue fabrication of the parts aft the cockpit. All comments, critiques, and criticism are encouraged. Joe |
|
|
|
Post by Leon on Jul 23, 2016 7:10:43 GMT -5
Nice fabrication on the radio equipment Joe!
|
|
|
|
Post by fightnjoe on Jul 28, 2016 23:36:49 GMT -5
Many thanks buddy.
Joe
|
|
|
|
Post by fightnjoe on Jul 28, 2016 23:37:21 GMT -5
More done on the SCR 274 and a bit to the plumbing on the interior of the fuselage. Some paint is a good thing right? Going blind with the white work. Using the Testor small bottles I got some color on the different receiver and transmitter equipment. 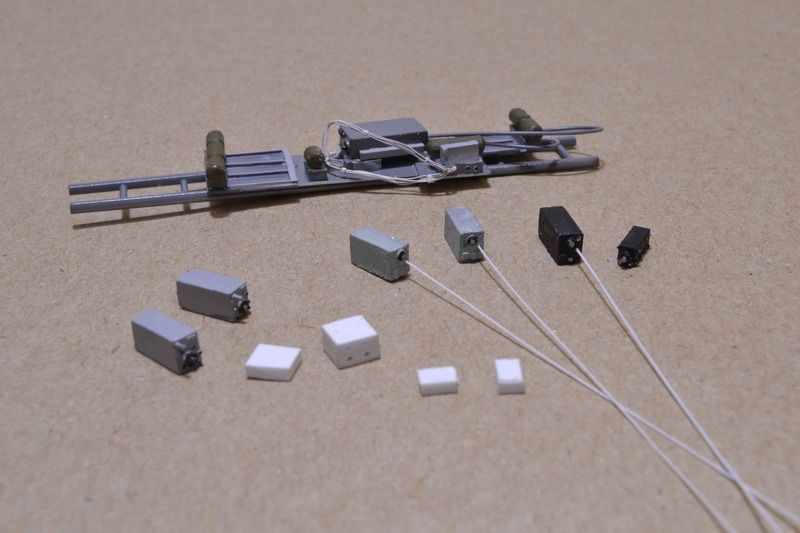 The work on the interior of the fuselage begins with the different boxes and fittings for the starboard side. 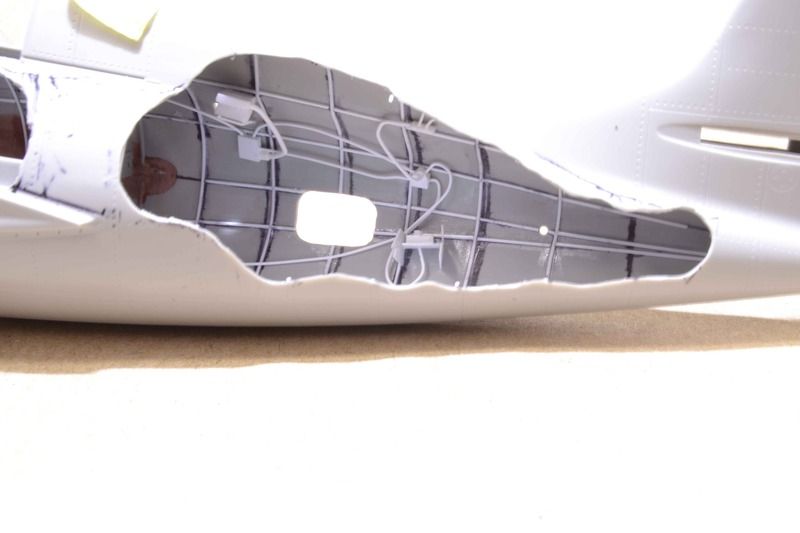 The interior is coming right along with much more to do. The wiring and fittings for the radio and then the different boxes and fittings for the port side of the fuselage are next up. All comments, critiques, and criticism are encouraged. Joe |
|
4bogreen
Full Member
  
Member since: January 2014
On the bench; Yak-1B, T-30, T-34 model 1940
Posts: 568 
|
Post by 4bogreen on Jul 29, 2016 0:18:38 GMT -5
Its going to be a beauty!! The boxes, wires and inside framework. Very well done Joe!!
Remco
|
|
|
|
Post by mustang1989 on Jul 29, 2016 9:51:30 GMT -5
I continue to be in awe....................
|
|
|
|
Post by Leon on Jul 29, 2016 11:21:40 GMT -5
Nice work on the interior plumbing Joe!
|
|
|
|
Post by fightnjoe on Jul 30, 2016 23:30:46 GMT -5
I am most humbled. Thank you.
Joe
|
|
|
|
Post by fightnjoe on Jul 30, 2016 23:31:13 GMT -5
Work continues. Two updates in three days, wow. Watching YouTube was good for me and I was able to make some decent progress. The radio is 99% finished. 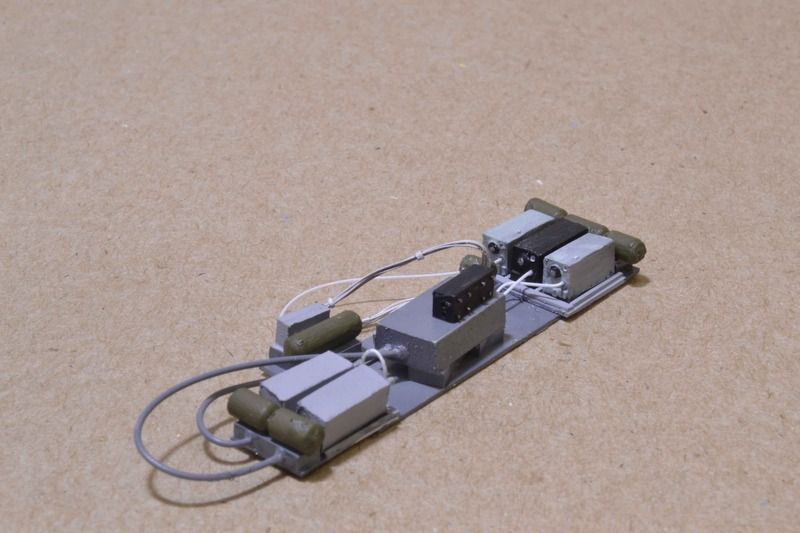 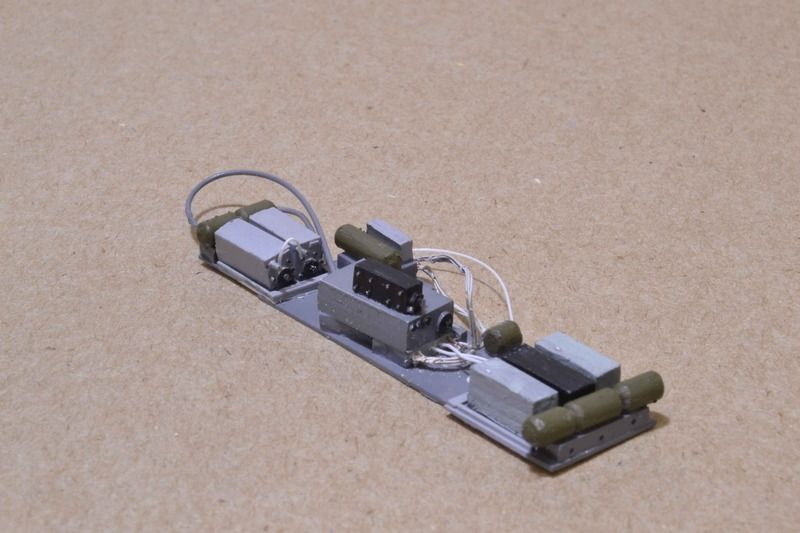 All that is left is the wiring after it is installed into the fuselage. I was able to work a bit on the port side with the fabrication and addition of boxes and fittings. 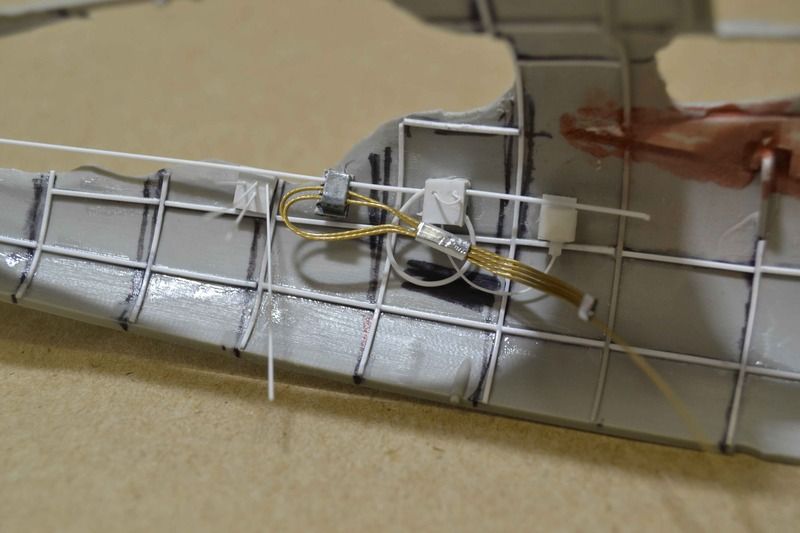 I worked a bit on the rear of the cockpit bulkhead. 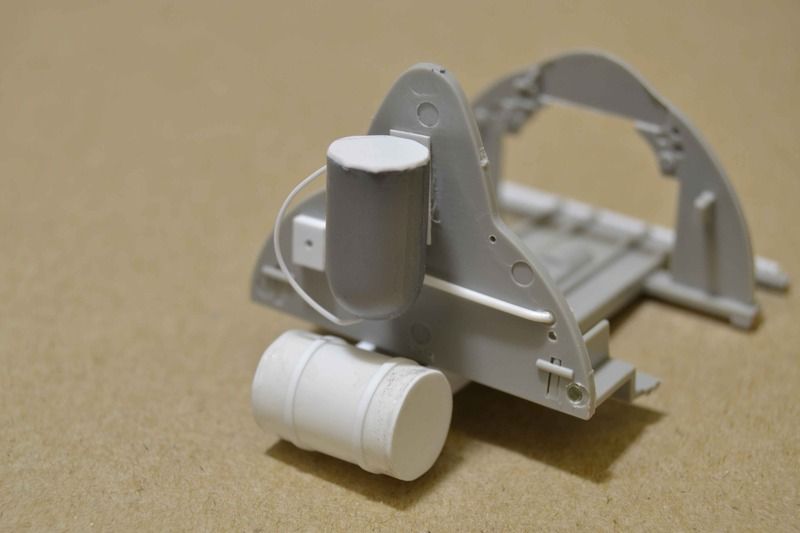 I then threw some paint. On the interior of the fuselage I sprayed Gloss Gray and then Alclad Chrome. 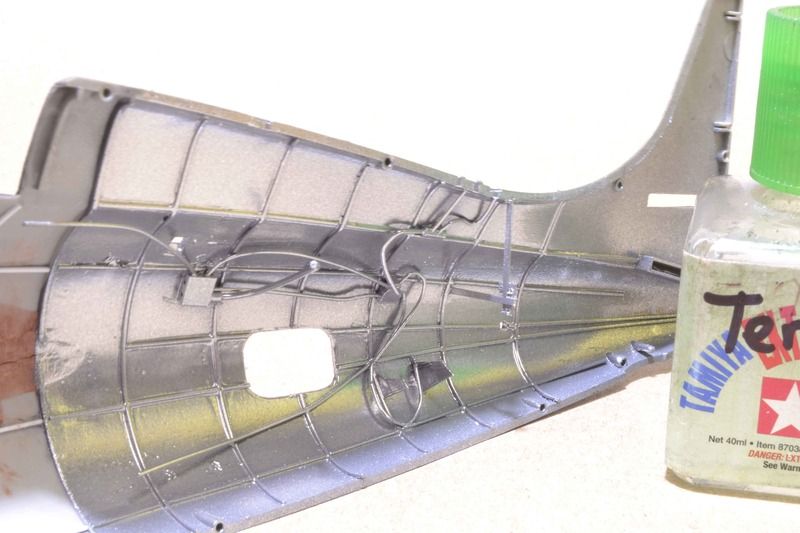 And then with the rear of the cockpit I sprayed Gloss Black and Alclad Chrome. To show the comparison. 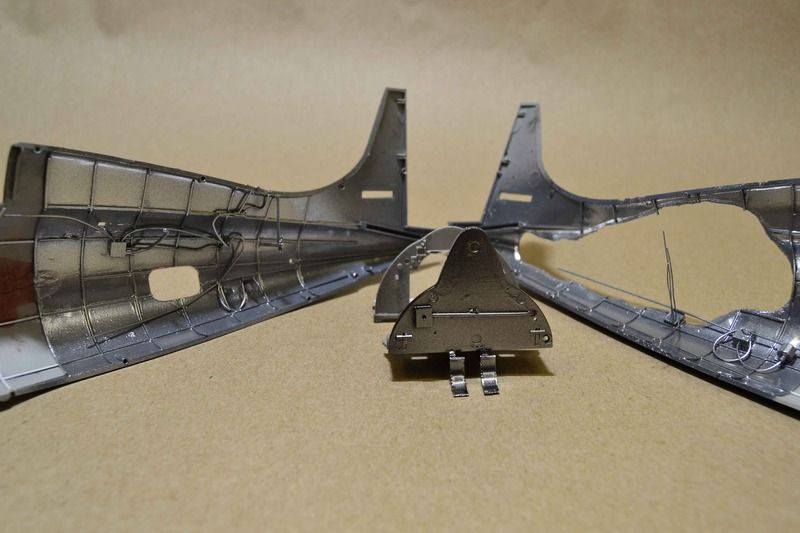 There we go. i am thinking I can now move onto the cockpit. All comments, critiques, and criticism are encouraged. Joe |
|
|
|
Post by Leon on Jul 31, 2016 2:07:23 GMT -5
Great progress on the radio and interior details Joe! That is some sharp looking painting.  |
|
|
|
Post by wbill76 on Jul 31, 2016 18:58:54 GMT -5
Nice progress on the innards Joe. Can definitely see a difference between the two different chrome/primer combinations. Nice!
|
|
|
|
Post by fightnjoe on Aug 1, 2016 10:21:50 GMT -5
Many many thanks.
Joe
|
|
|
|
Post by fightnjoe on Aug 9, 2016 20:36:23 GMT -5
Well folks here I am again and after a couple of days of fighting with Photobucket I can post an update. First up I began working on the cockpit. Here is the bare bones and the kit pieces in place. 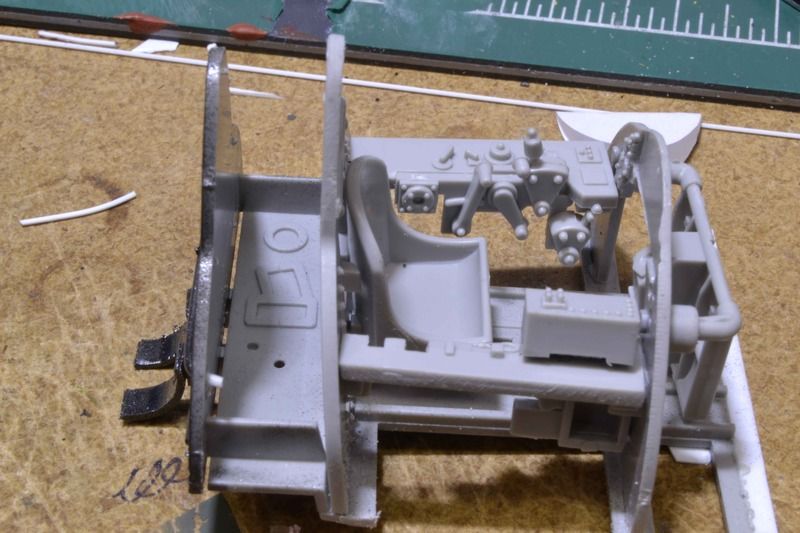 Using these photos out of Squadron Signal Walk Around for the Wildcat I began to fabricate the sides. This is for discussion only. 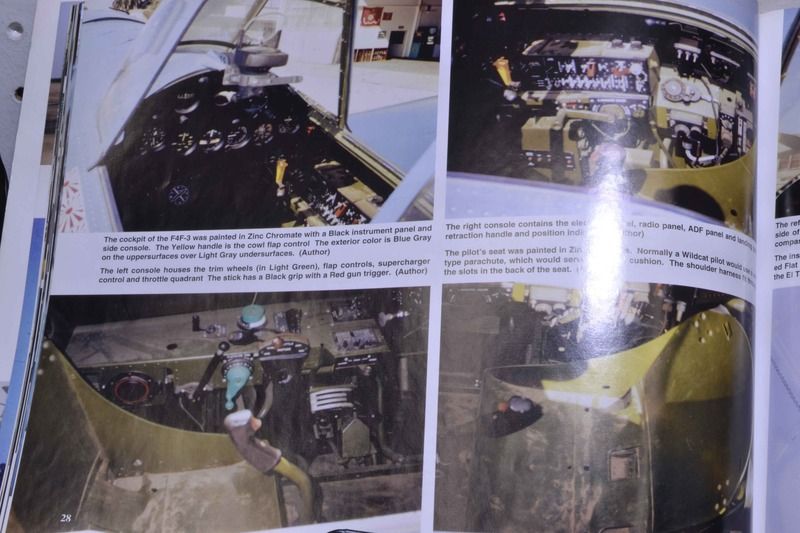 I went off of them and this is what I ended up with. 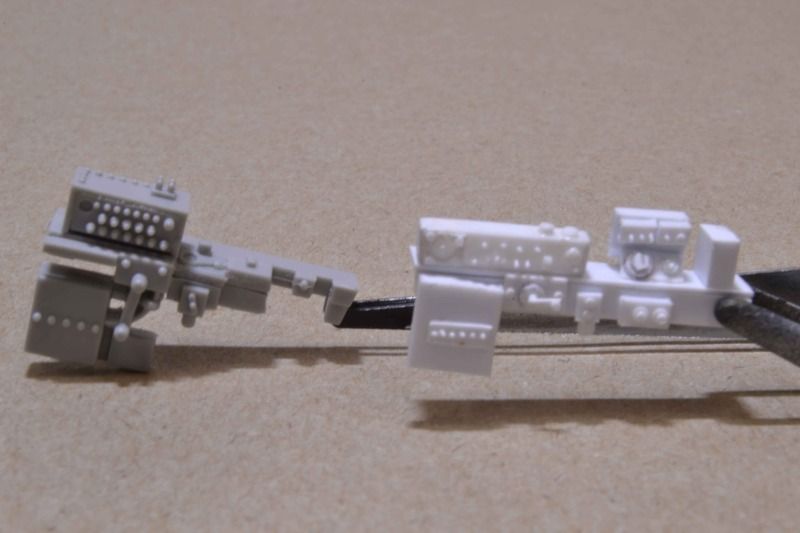 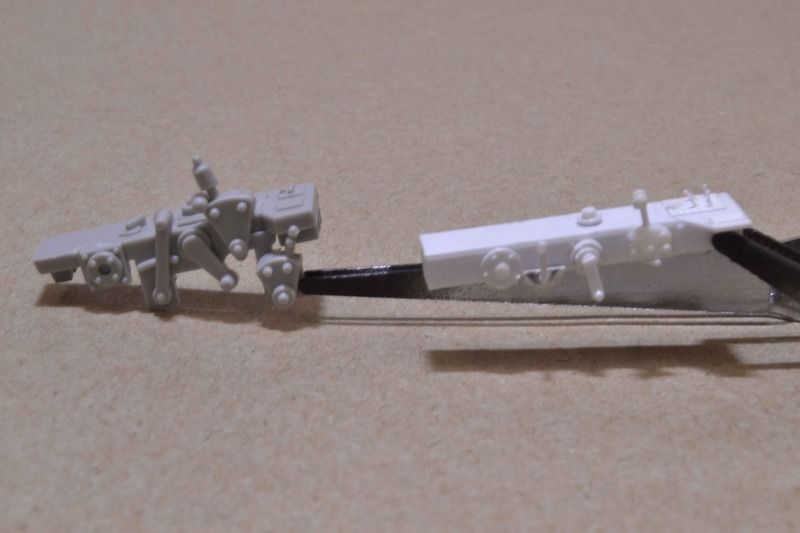 I was pleased. Then I turned the page and found these. Again for discussion only. 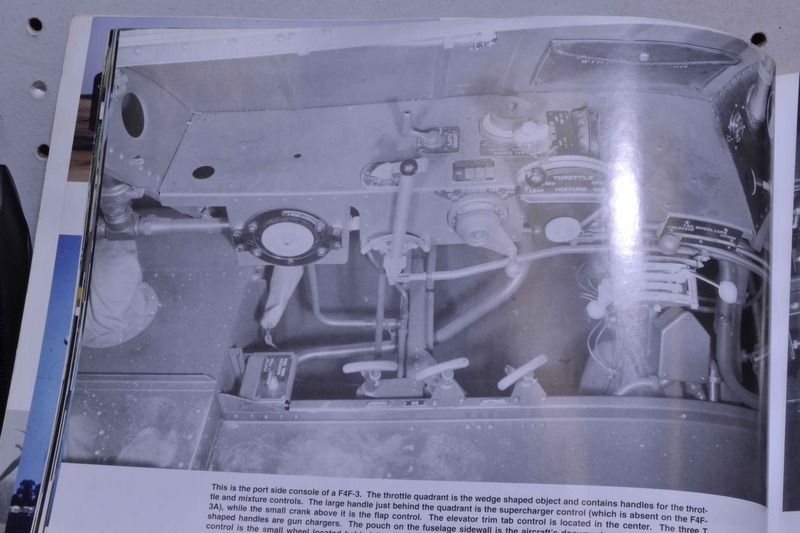 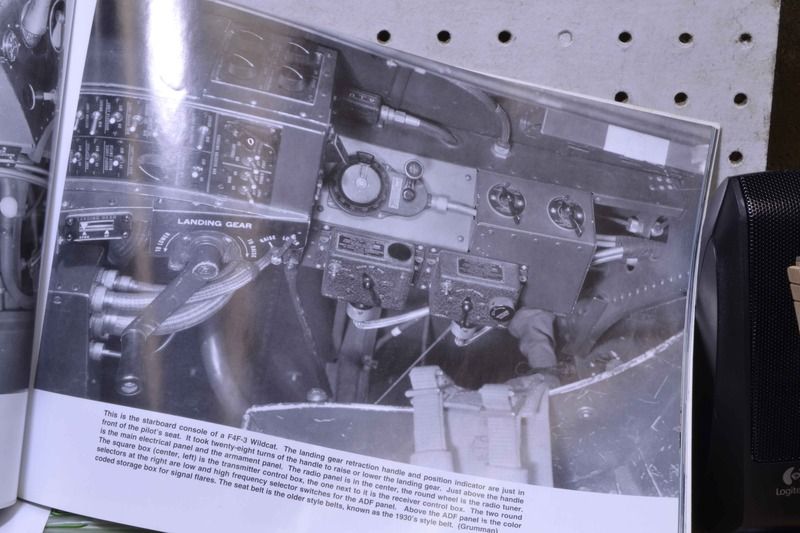 At that point I noticed several big issues that I just could not live with. I scraped some of the detail off and redid it. Here is the result. 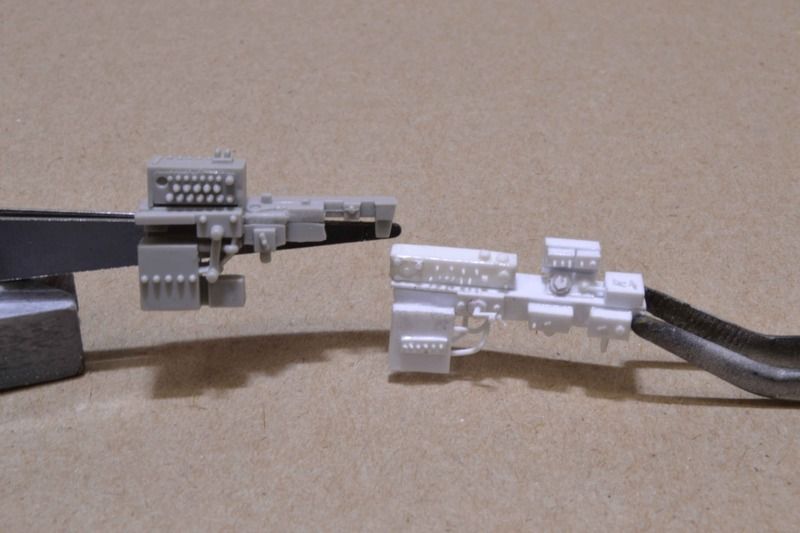 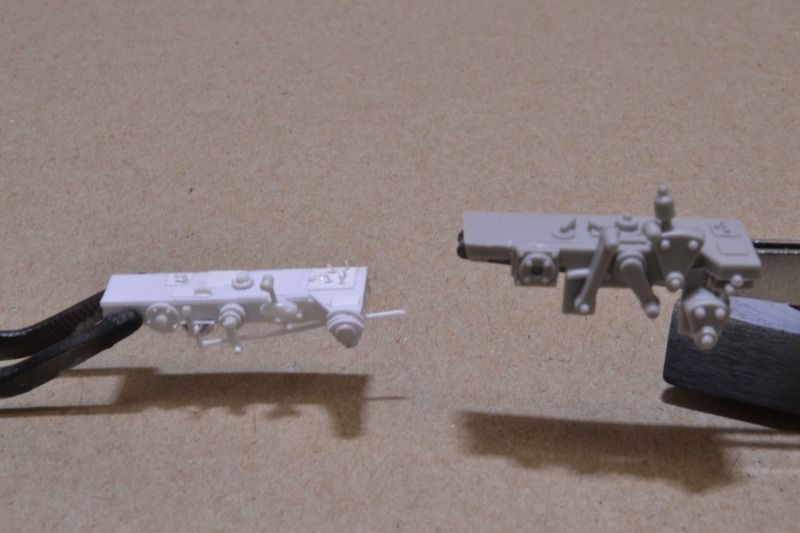 And the cockpit floor. 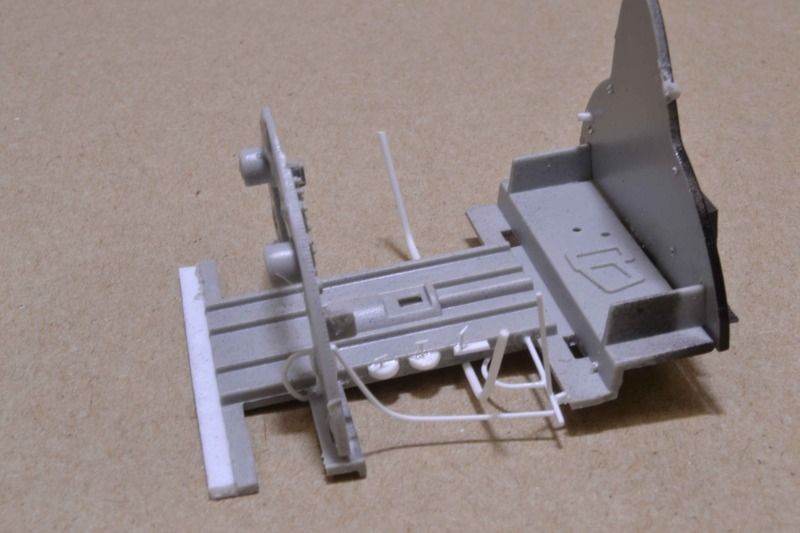 And there you have it. I like it. Next up is color for the pit. All comments, critiques, and criticism are encouraged. Joe |
|