|
|
Post by tonylee-Rest In Peace on Sept 1, 2016 14:45:12 GMT -5
|
|
|
|
Post by TRM on Sept 1, 2016 18:27:23 GMT -5
Nice one Tony! Great to see you hit the bench again!  Looking forward to seeing you dig your heels in on this....also your comparison between the two! Enjoy!  |
|
|
|
Post by tonylee-Rest In Peace on Sept 3, 2016 12:15:04 GMT -5
I did some research and found this one to be of interest. The Marder was captured by the Belgian Resistance Force around Antwerp Sept 1944. 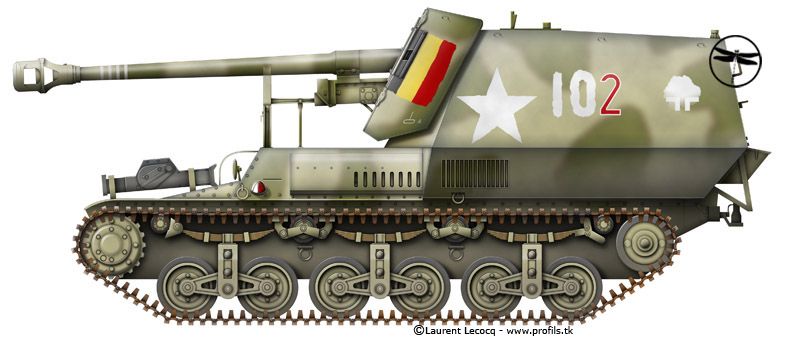 Later Tony lee |
|
|
|
Post by tonylee-Rest In Peace on Sept 3, 2016 17:02:23 GMT -5
Great News
The kit was just dropped off here a few minutes ago. Had a close look at the sprues and found only some minor flash on a few parts that a sharp knife will make short work of. The mold blocks were aligned perfectly so if there is any seam ridges light sanding will remove those.
As for knockout marks I think most if not all will not be visible but there are some that have that half spur that might interfere with assembly and will need to be snipped off.
The detail is crisp and clean,instructions are clear and easy to follow,i'll point out any mis-numbered parts as I go.
Step #1 Lower hull assembly coming up
Tony lee
|
|
|
|
Post by Leon on Sept 3, 2016 17:43:44 GMT -5
Let the build begin Tony! Have my chair ready.  |
|
|
|
Post by TRM on Sept 3, 2016 20:28:36 GMT -5
Woo Hoo....time to get busy!!  |
|
|
|
Post by wbill76 on Sept 5, 2016 8:15:14 GMT -5
Doesn't surprise me that you would be tackling this one Tony! Looking forward to it.
|
|
|
|
Post by tonylee-Rest In Peace on Sept 5, 2016 20:52:10 GMT -5
Howdy All I guess you're ready to see some progress on Panda's new offering. So far there's been about fifteen hours spent getting it as far a this: 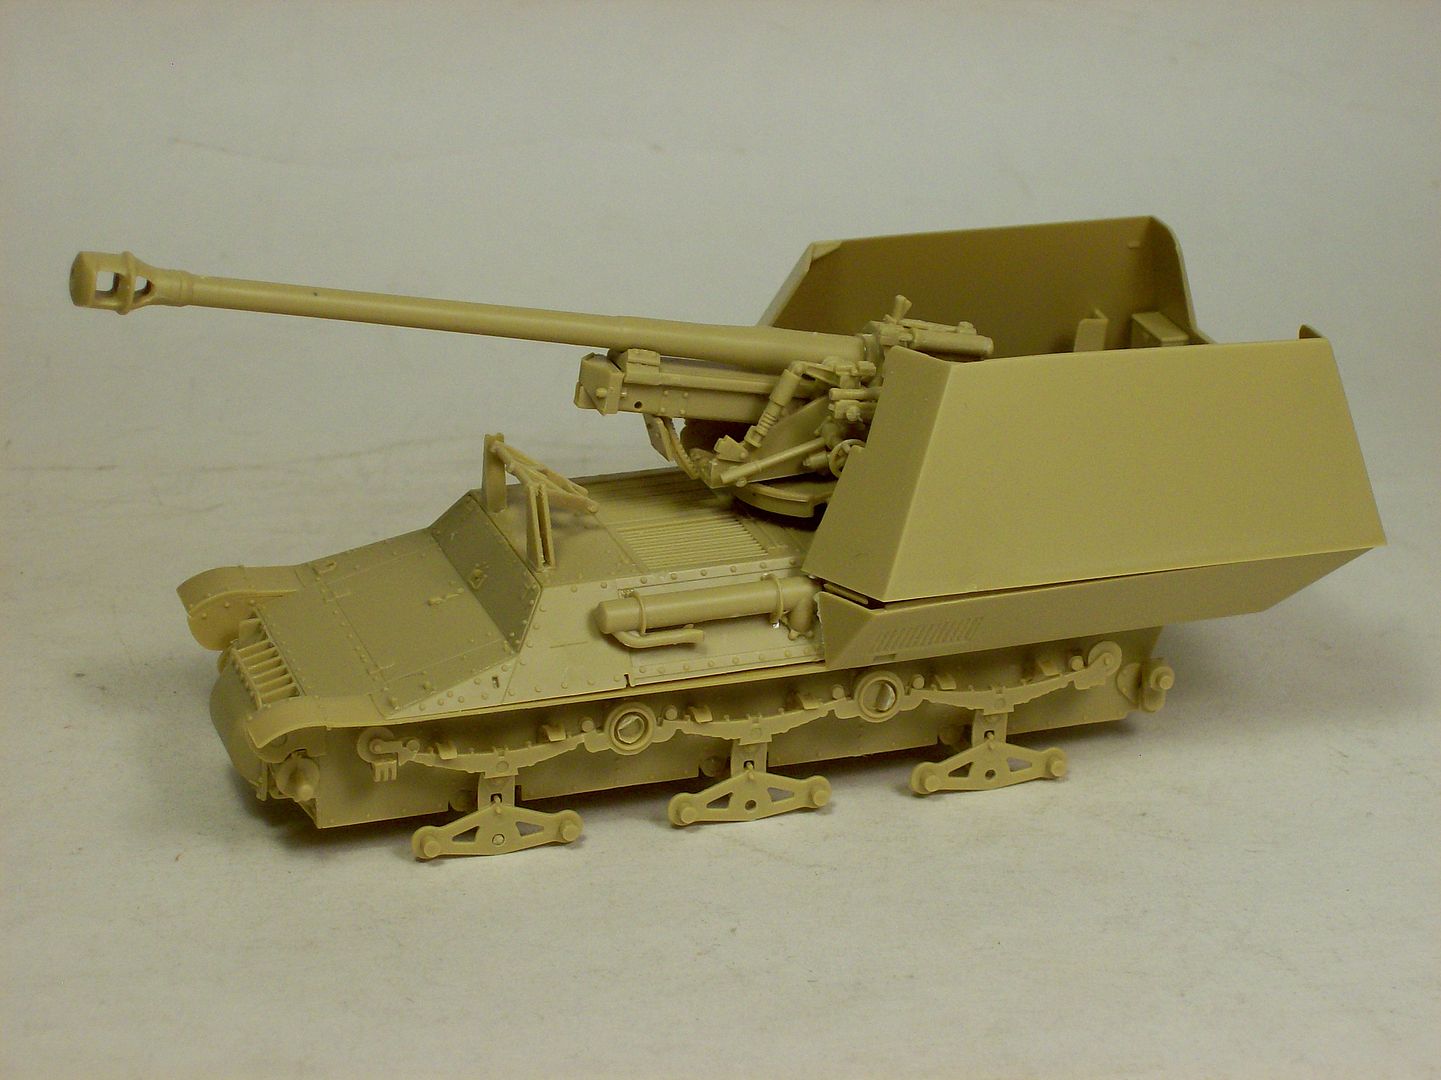 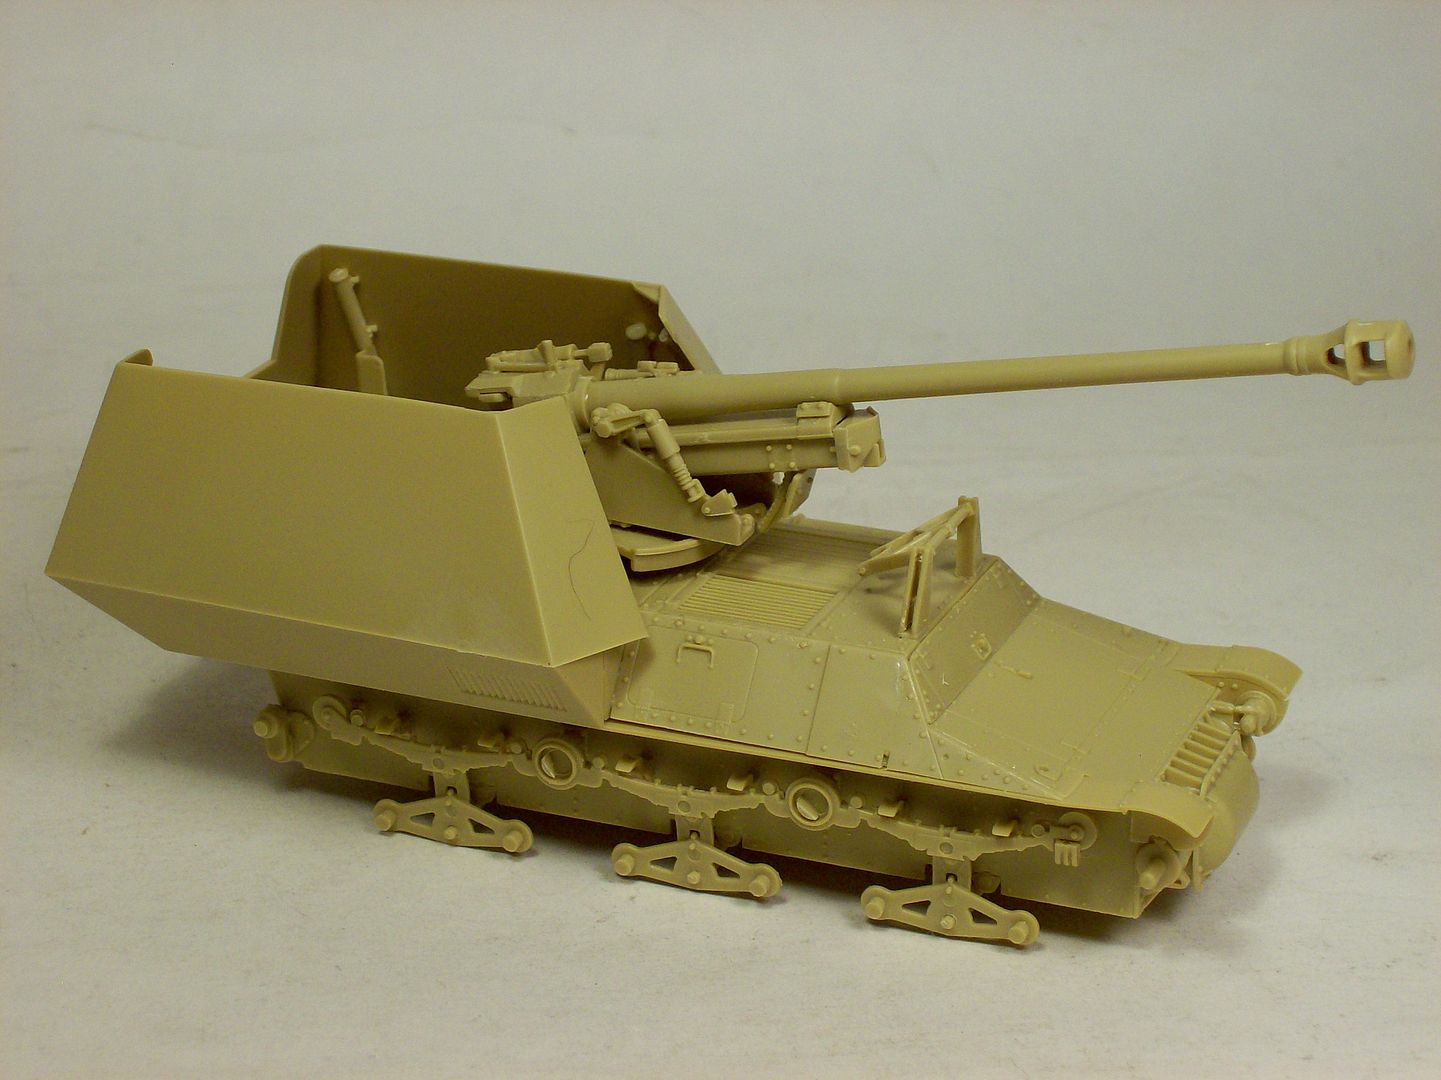 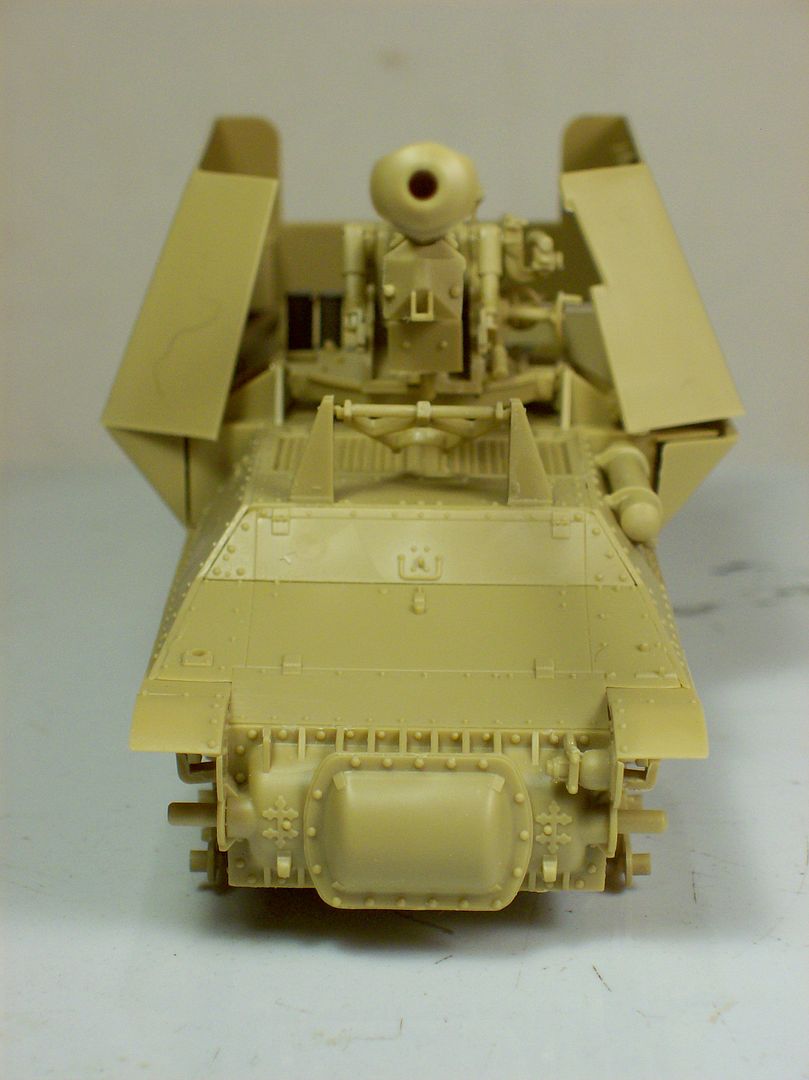 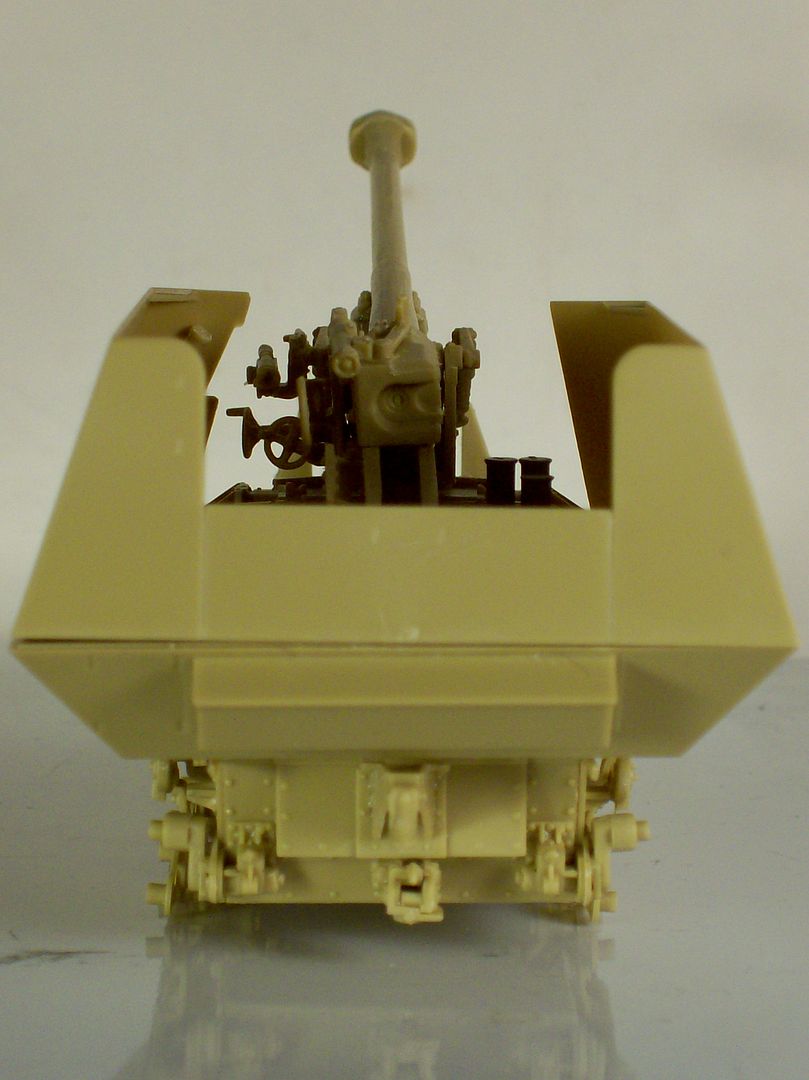 Don't go flippin out on me because of the gaps it's only a dry fit of components so I can blow it apart for ease of painting. So far all of the part numbers jive with the instructions and the fit of those parts have been great except for the lower hull side to the floor plate were I had to do a little relief sand. 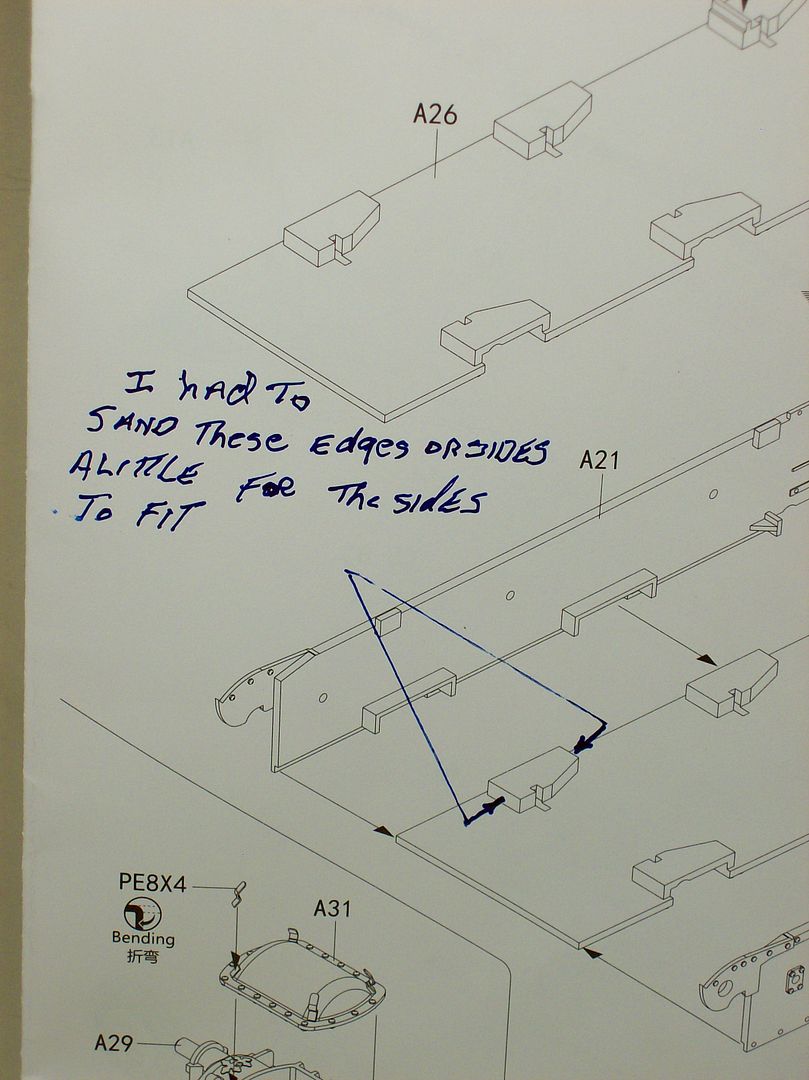 One other thing I wasn't expecting,the travel lock mounting holes that are spotted on the underside of the upper hull need to be drilled out. The 7.5mm Pak 40 is not to shabby in my opinion: 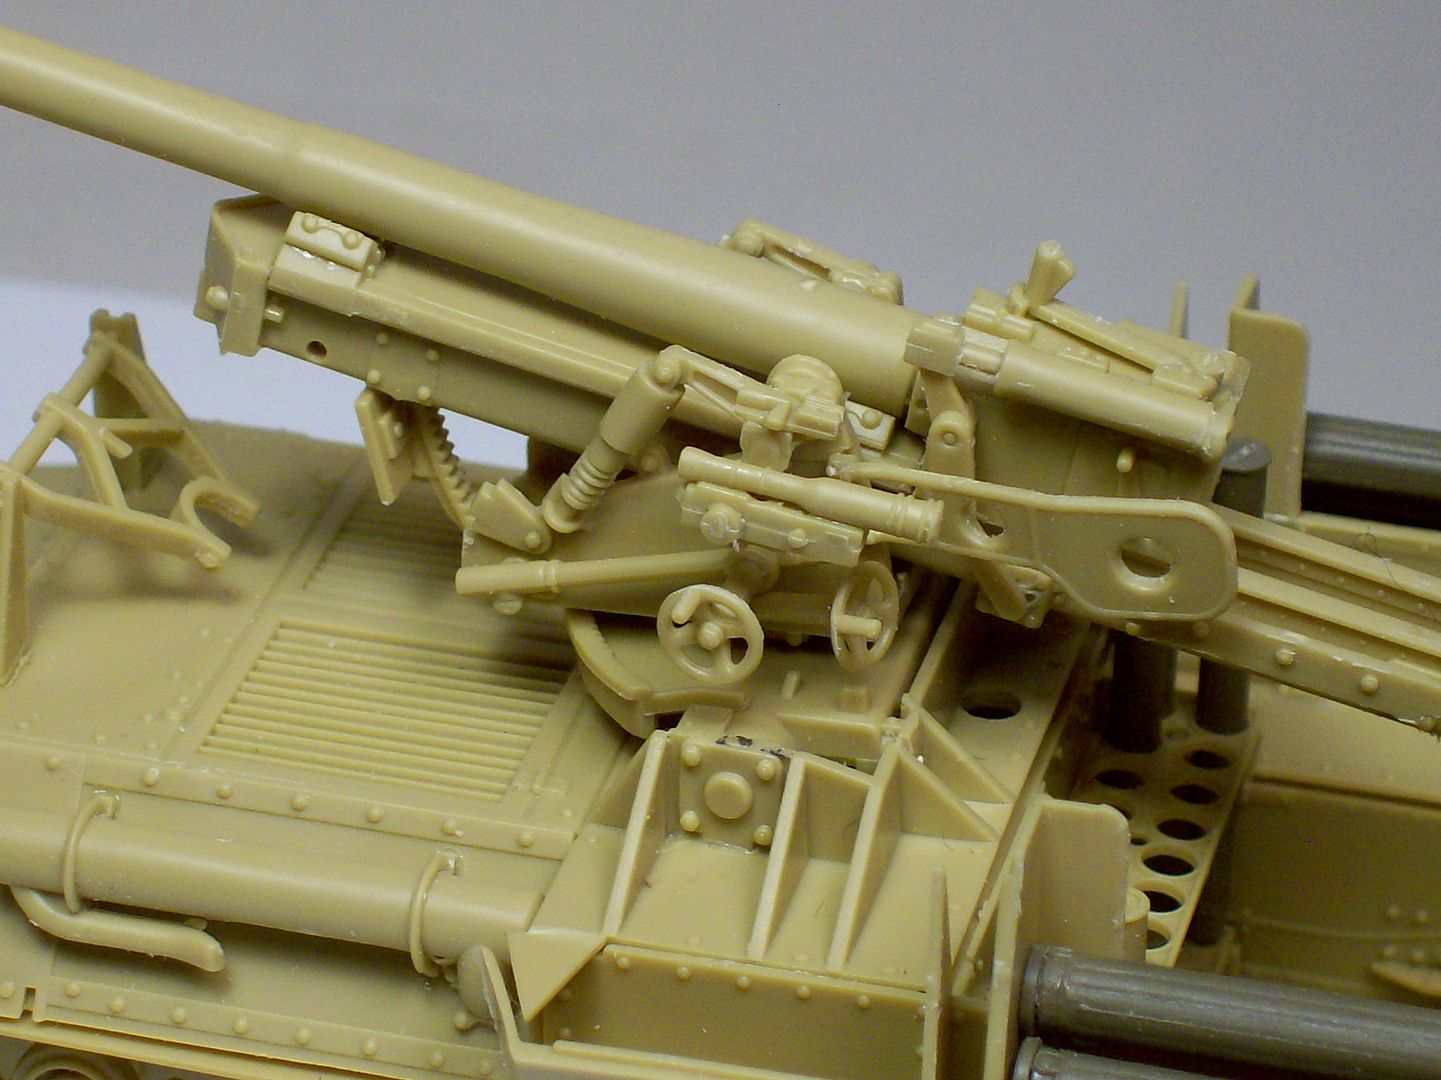 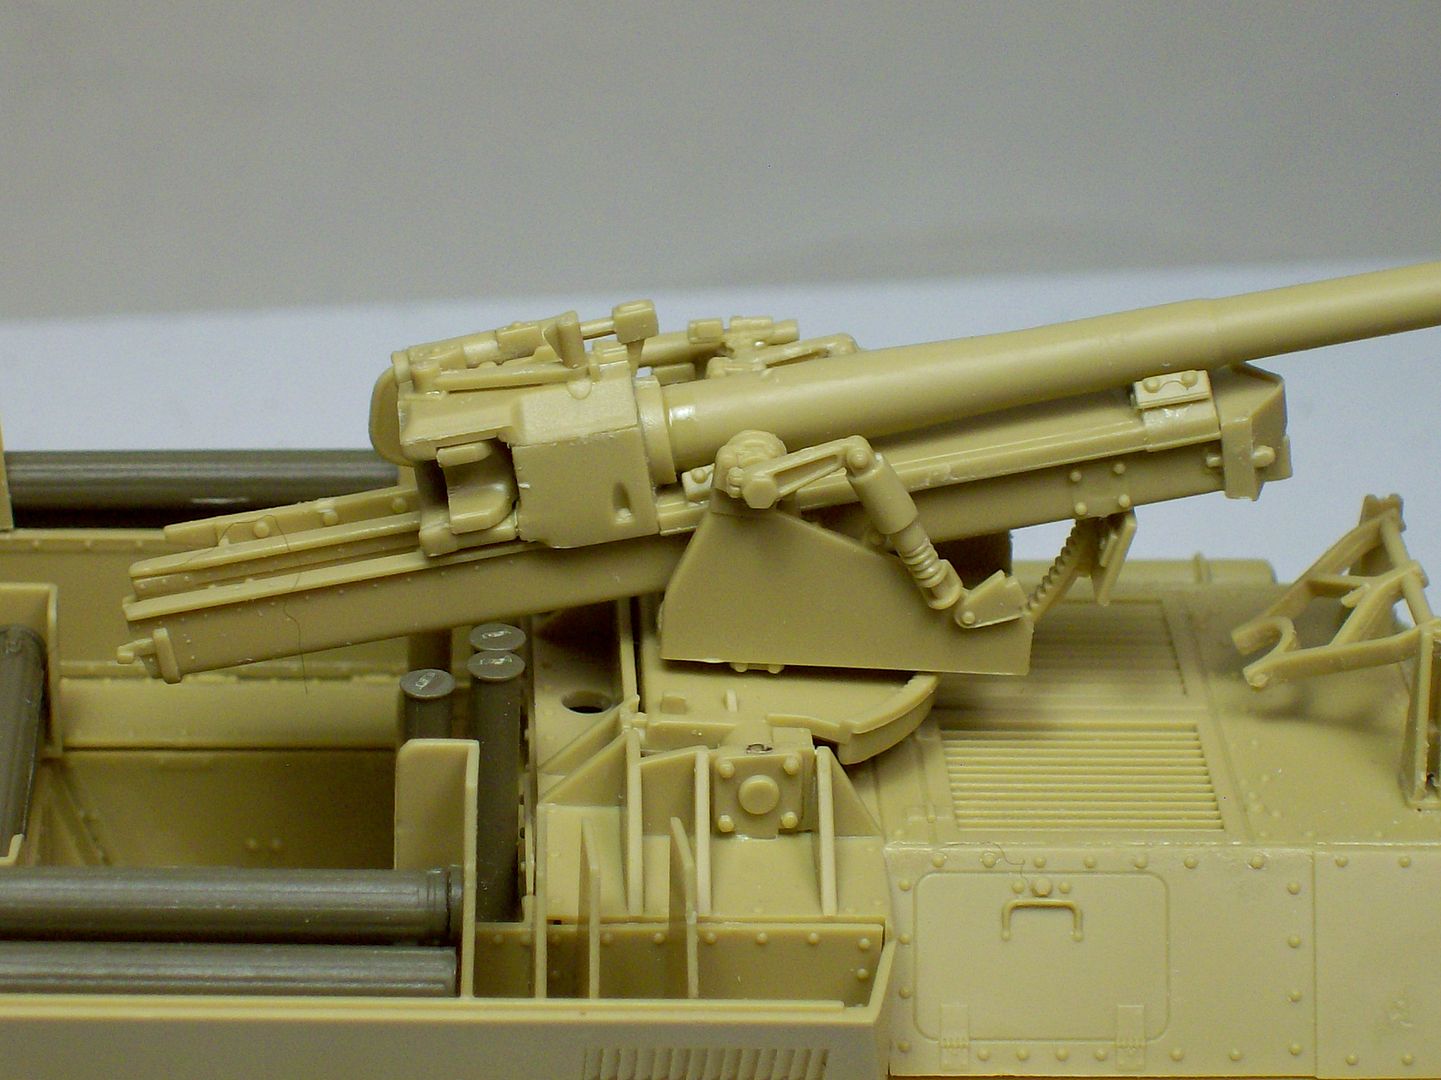 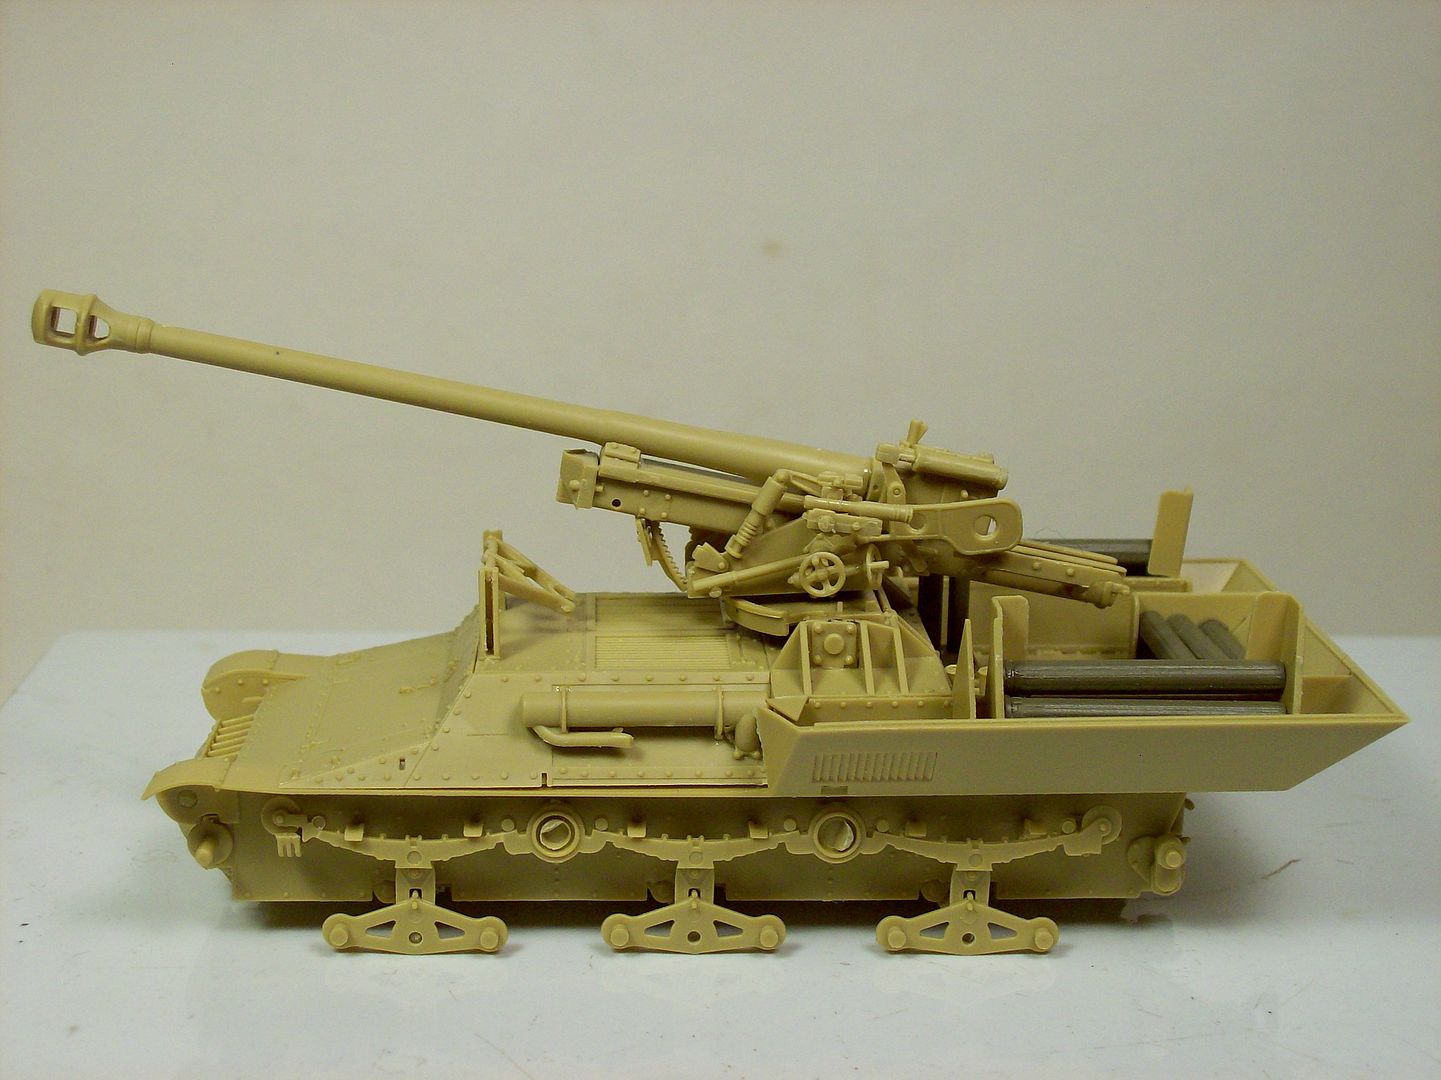 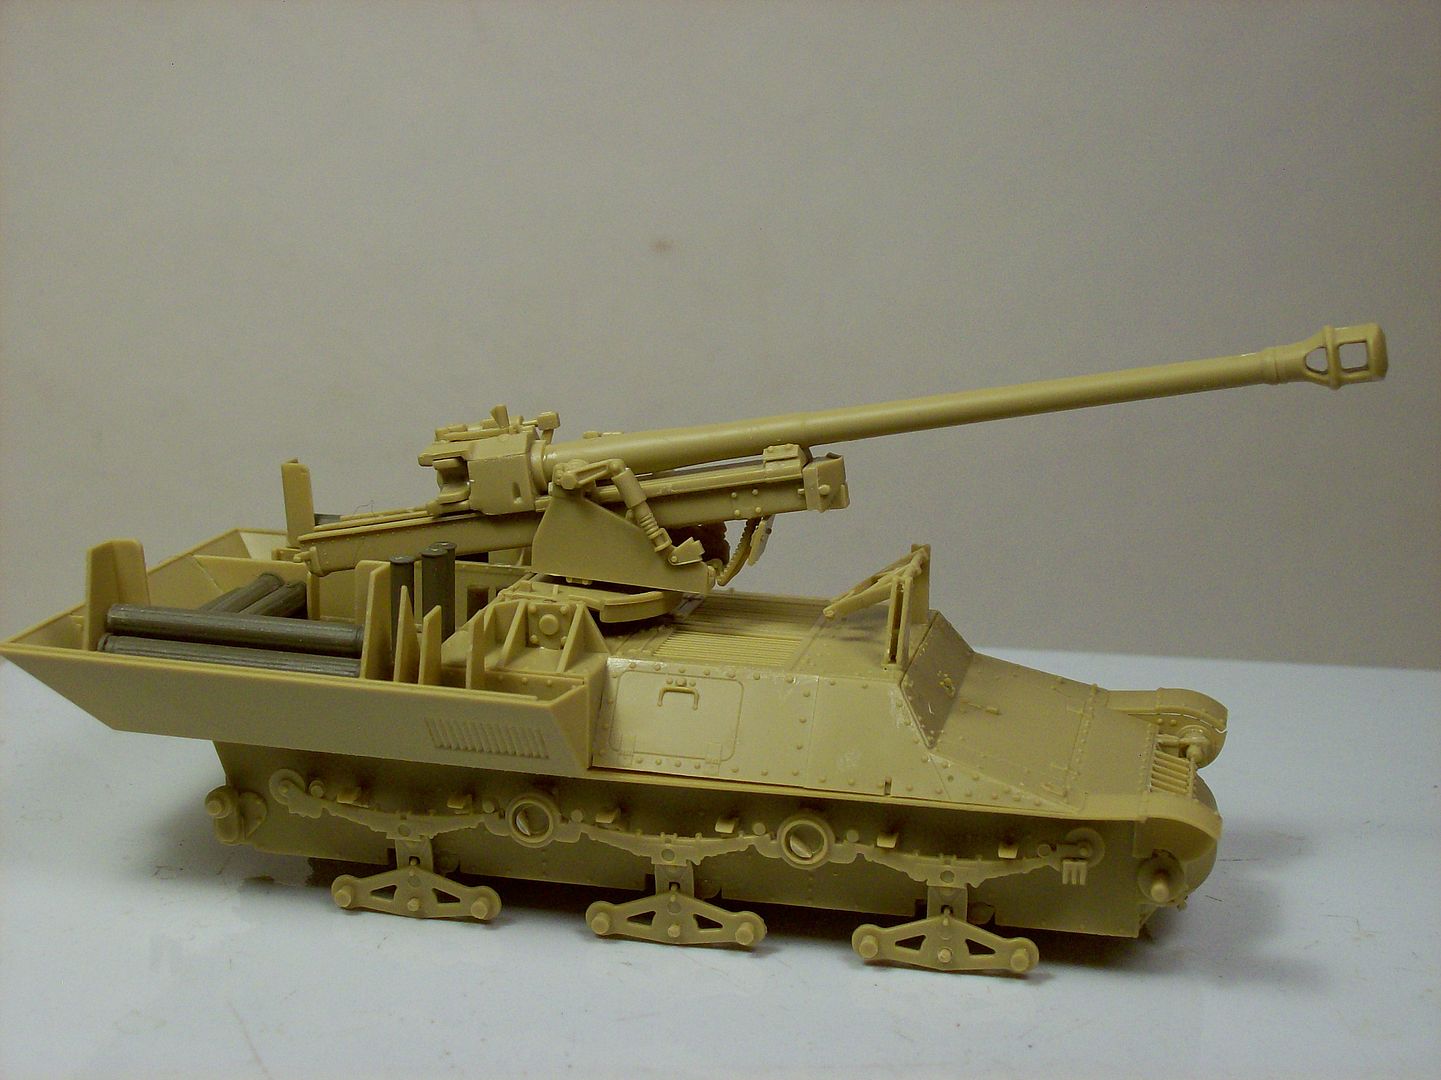 The gun pit or fighting compartment is staring to take shape as well. 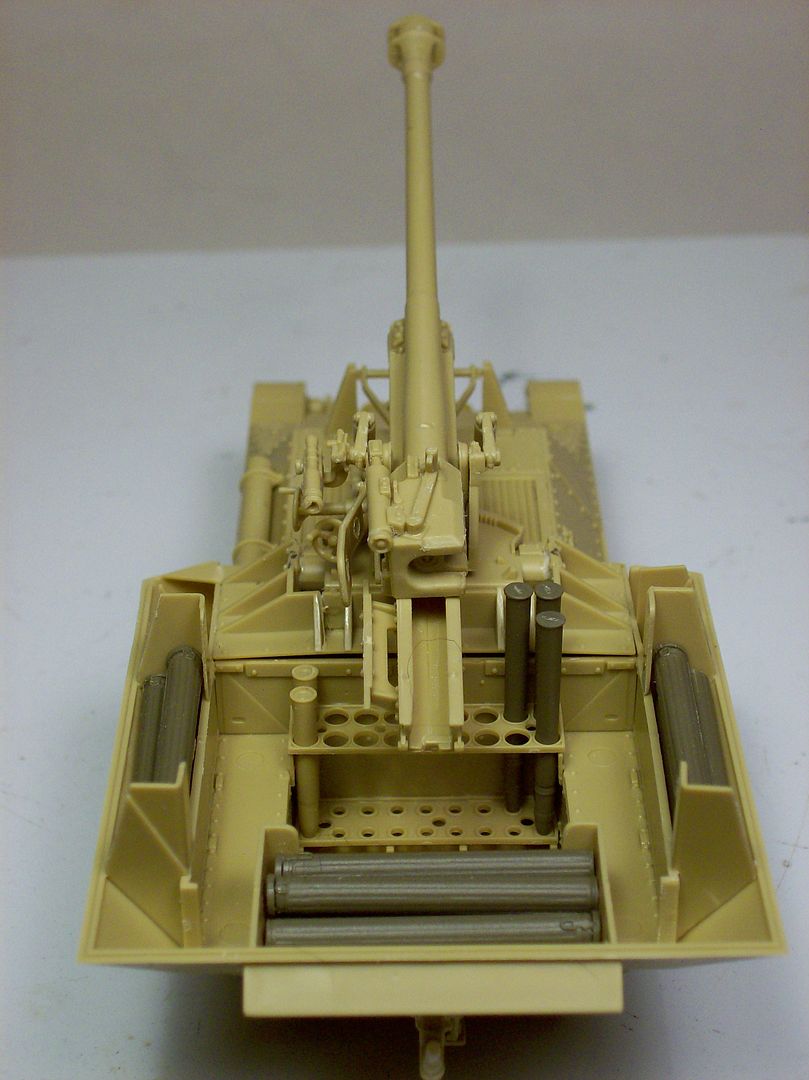 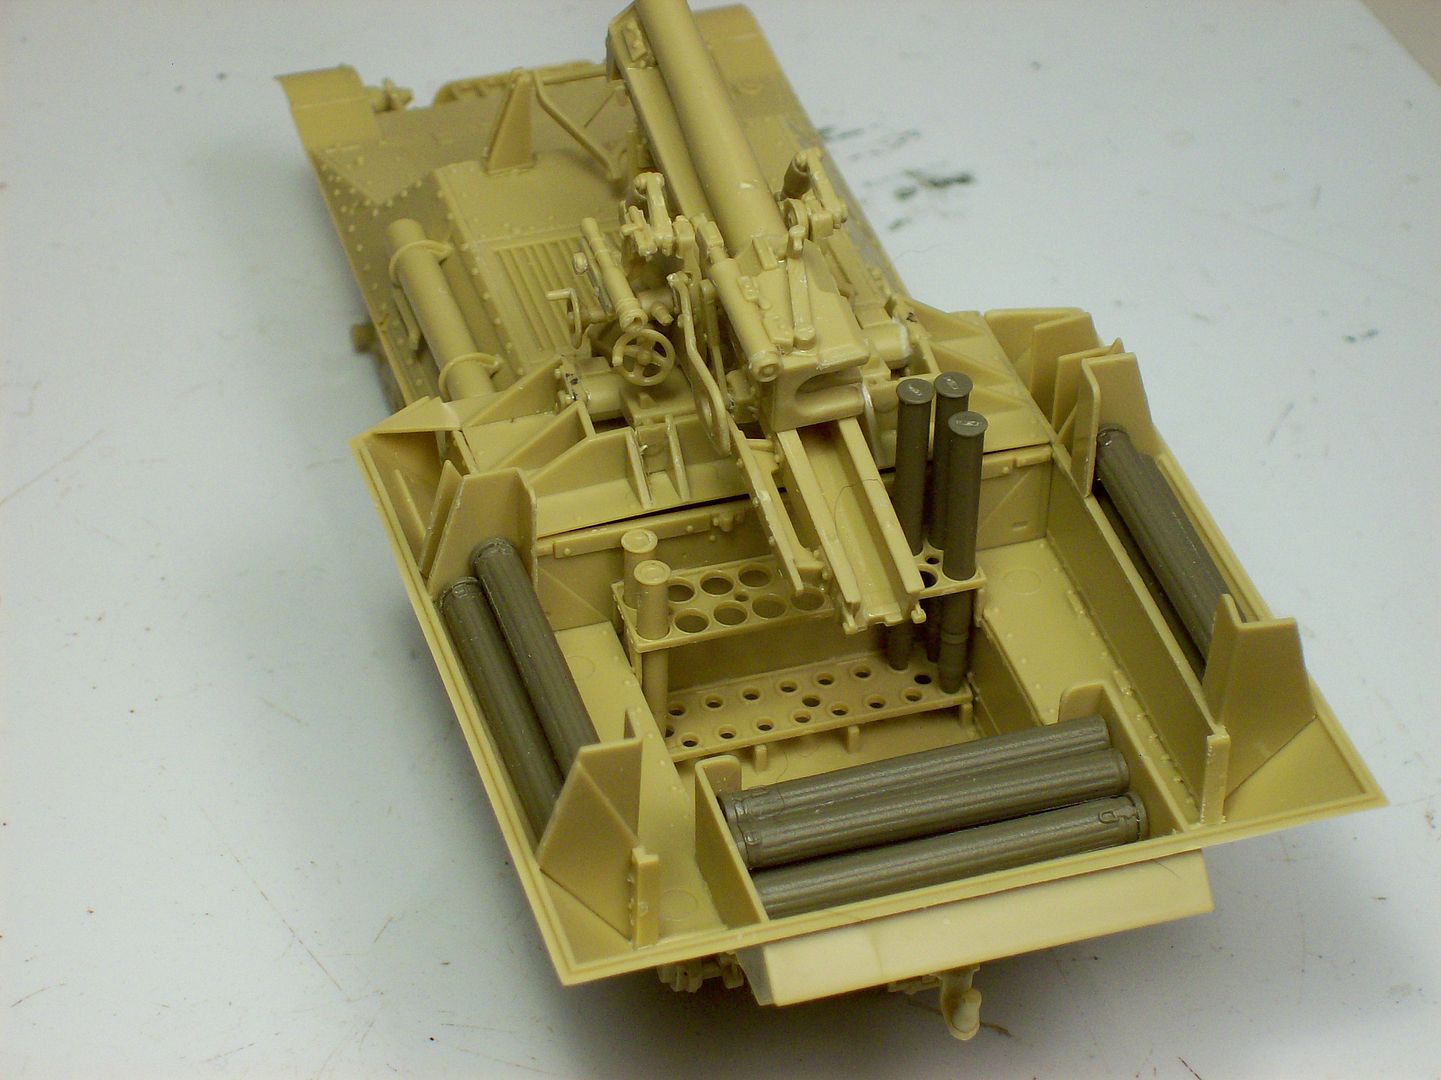 The dark green shells and shipping containers are from the AFV Club 7.5cm PaK40 accessory set I had in the stash. There's a few more things to install but nothing major and then disassemble it for painting the base colors. I don't think the kit is that difficult to build even for the newer builder if they pay attention and dry fit as they progress. Just remember it's not made by Tamiya. Until next time Keep Your Powder Dry Tony lee |
|
|
|
Post by TRM on Sept 5, 2016 20:59:00 GMT -5
Looks like a fine little kit Tony! And like an SPG!  But I think that is what you were going for!  Grabbing some snack for the painting picture show soon!  |
|
|
|
Post by Leon on Sept 6, 2016 4:30:00 GMT -5
Great progress tony! Looks like a lot of nice detail.  |
|
|
|
Post by tonylee-Rest In Peace on Sept 6, 2016 19:56:17 GMT -5
Day Three Blew the Marder apart today to installed a few more items and even bent up the PE. Not only is there a track jig there's also one for forming the PE silencer/muffler cover,good deal Panda. 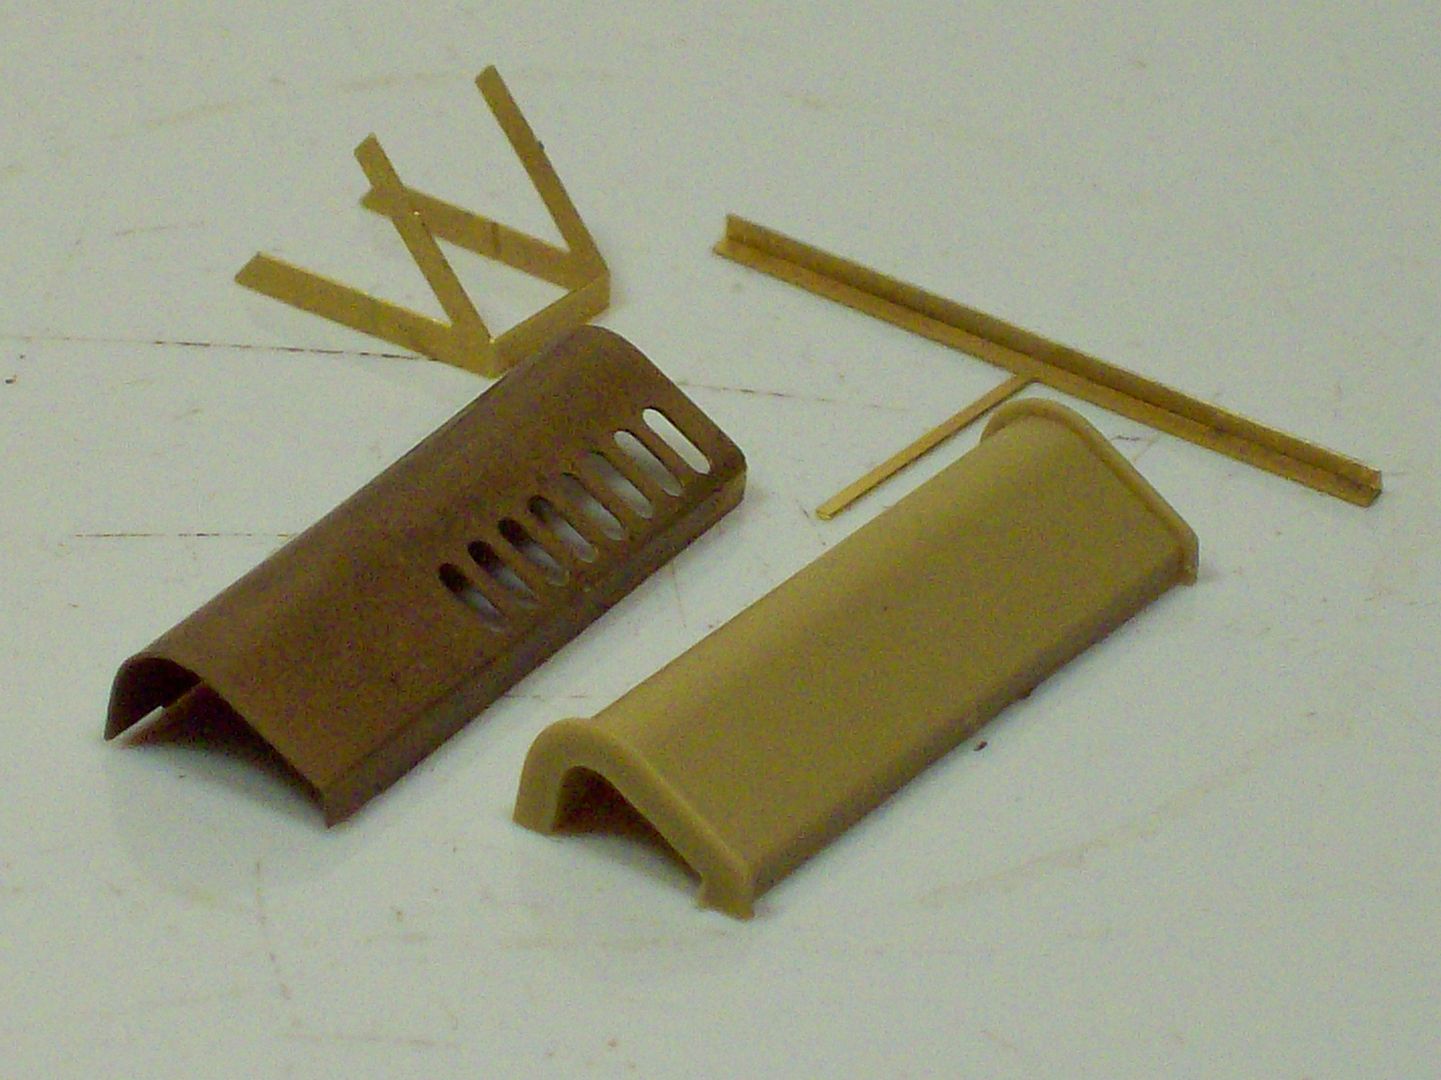 I recommend that you anneal the cover first so it's easier to form the PE around the former jig. The piece on the left is the rear ladder frame and on the right is the ready round rack stiffener "T" 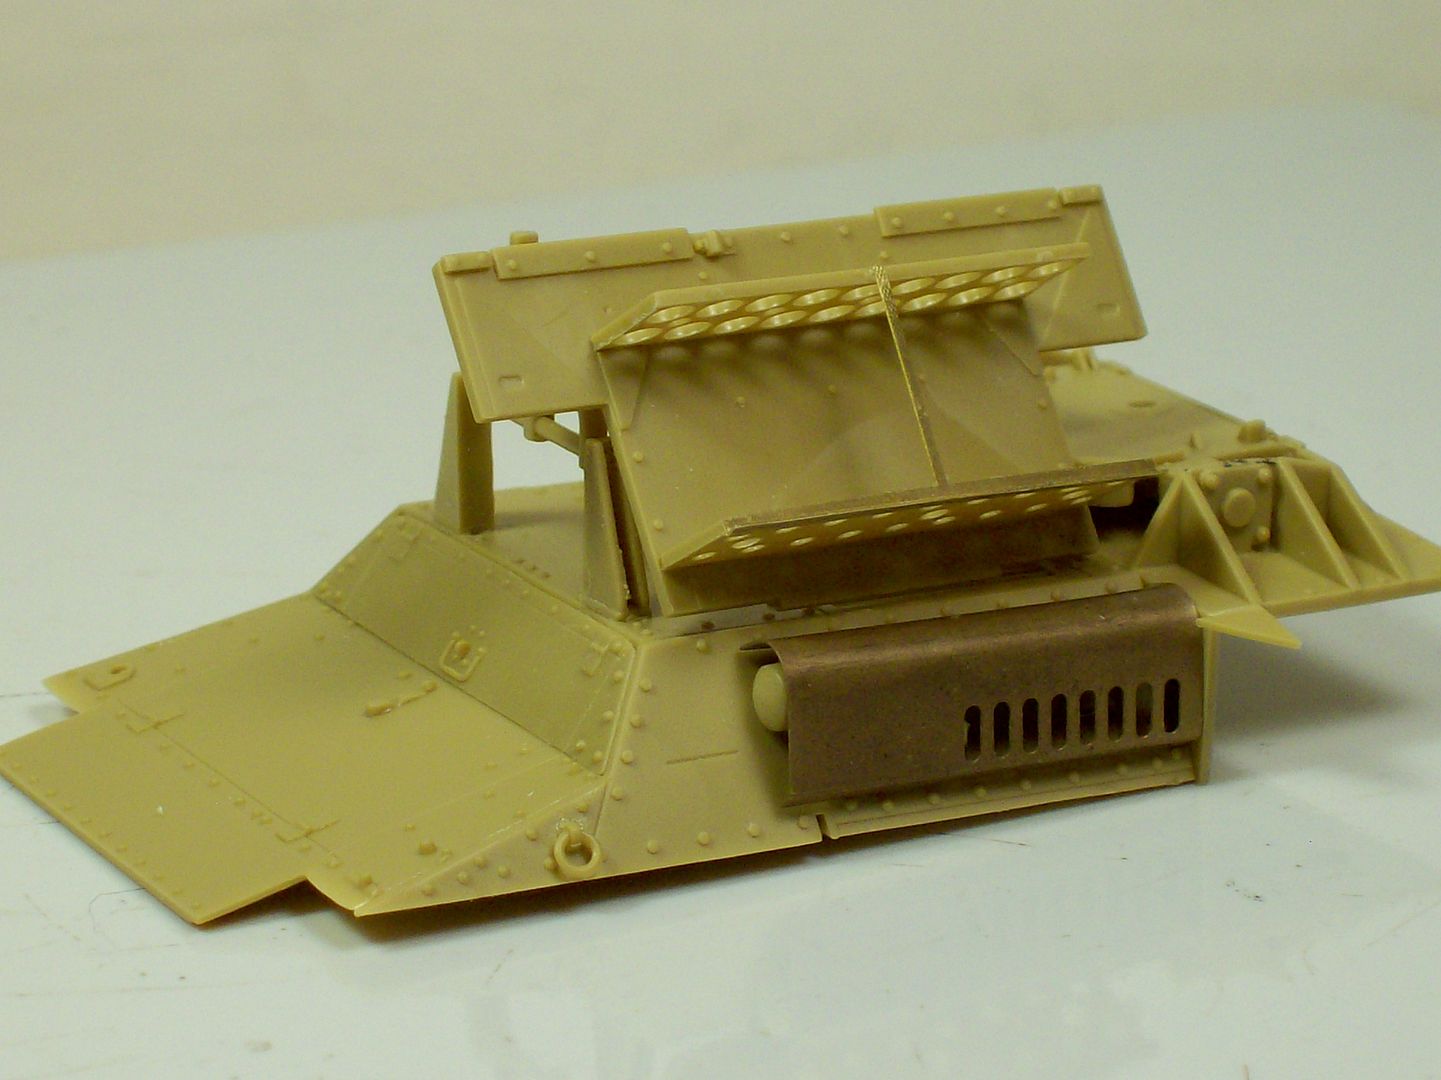 The hand grips on the rear of the fighting compartment walls only have tiny surface installation marks so I drilled holes for a stronger glue grip but not all the way through mine you. 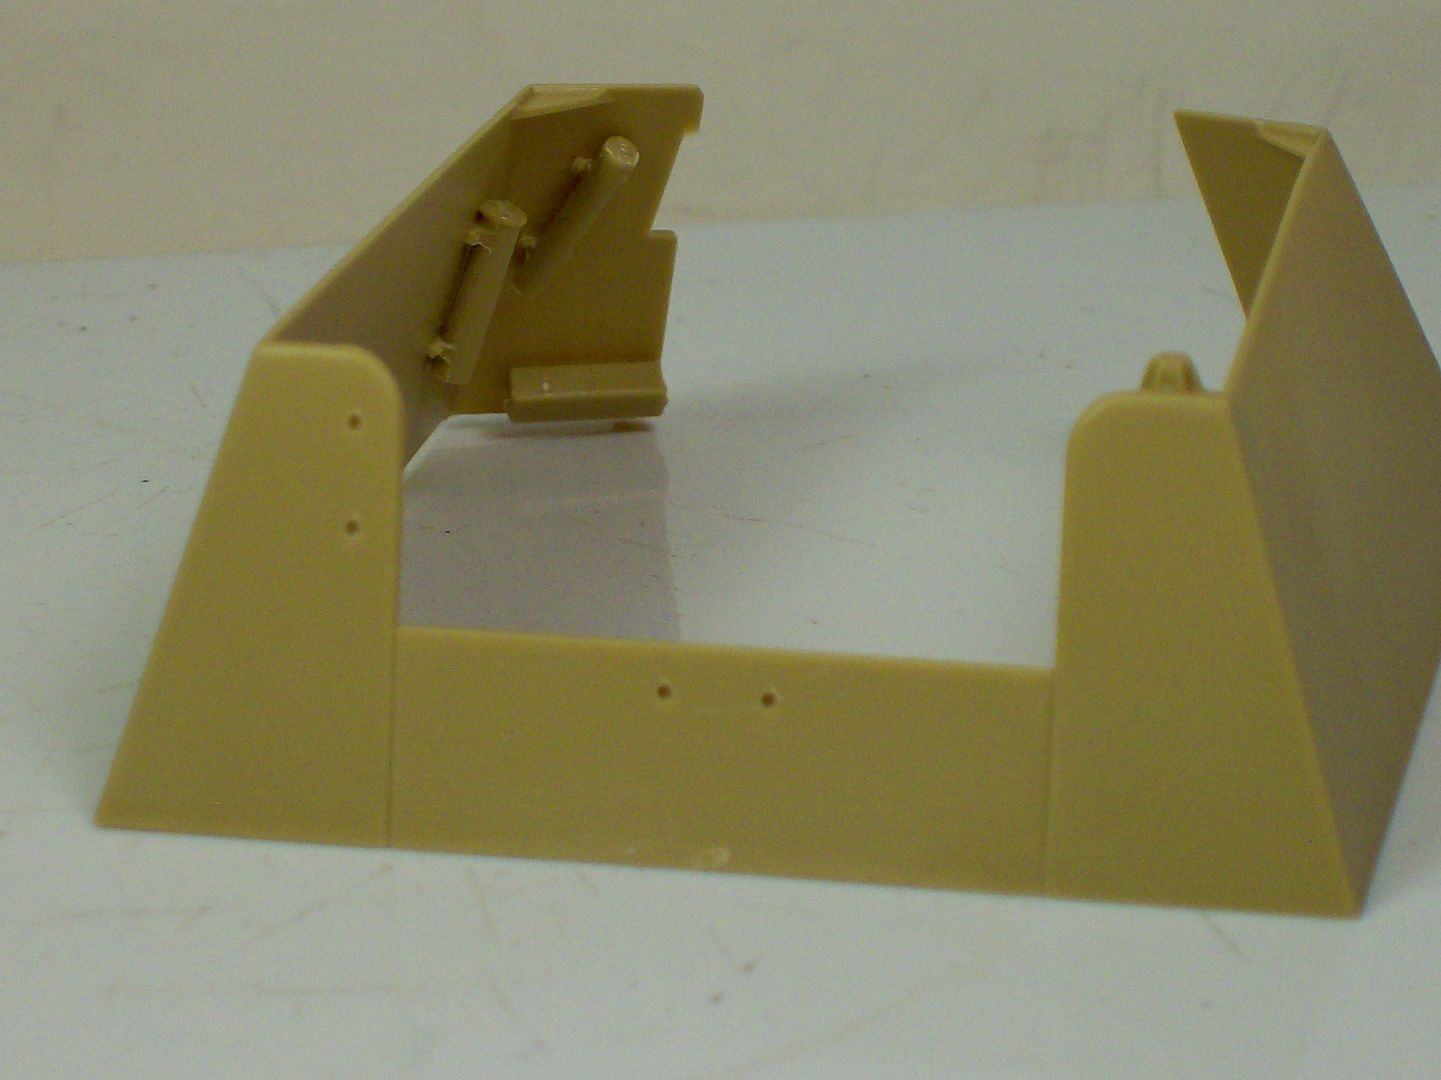 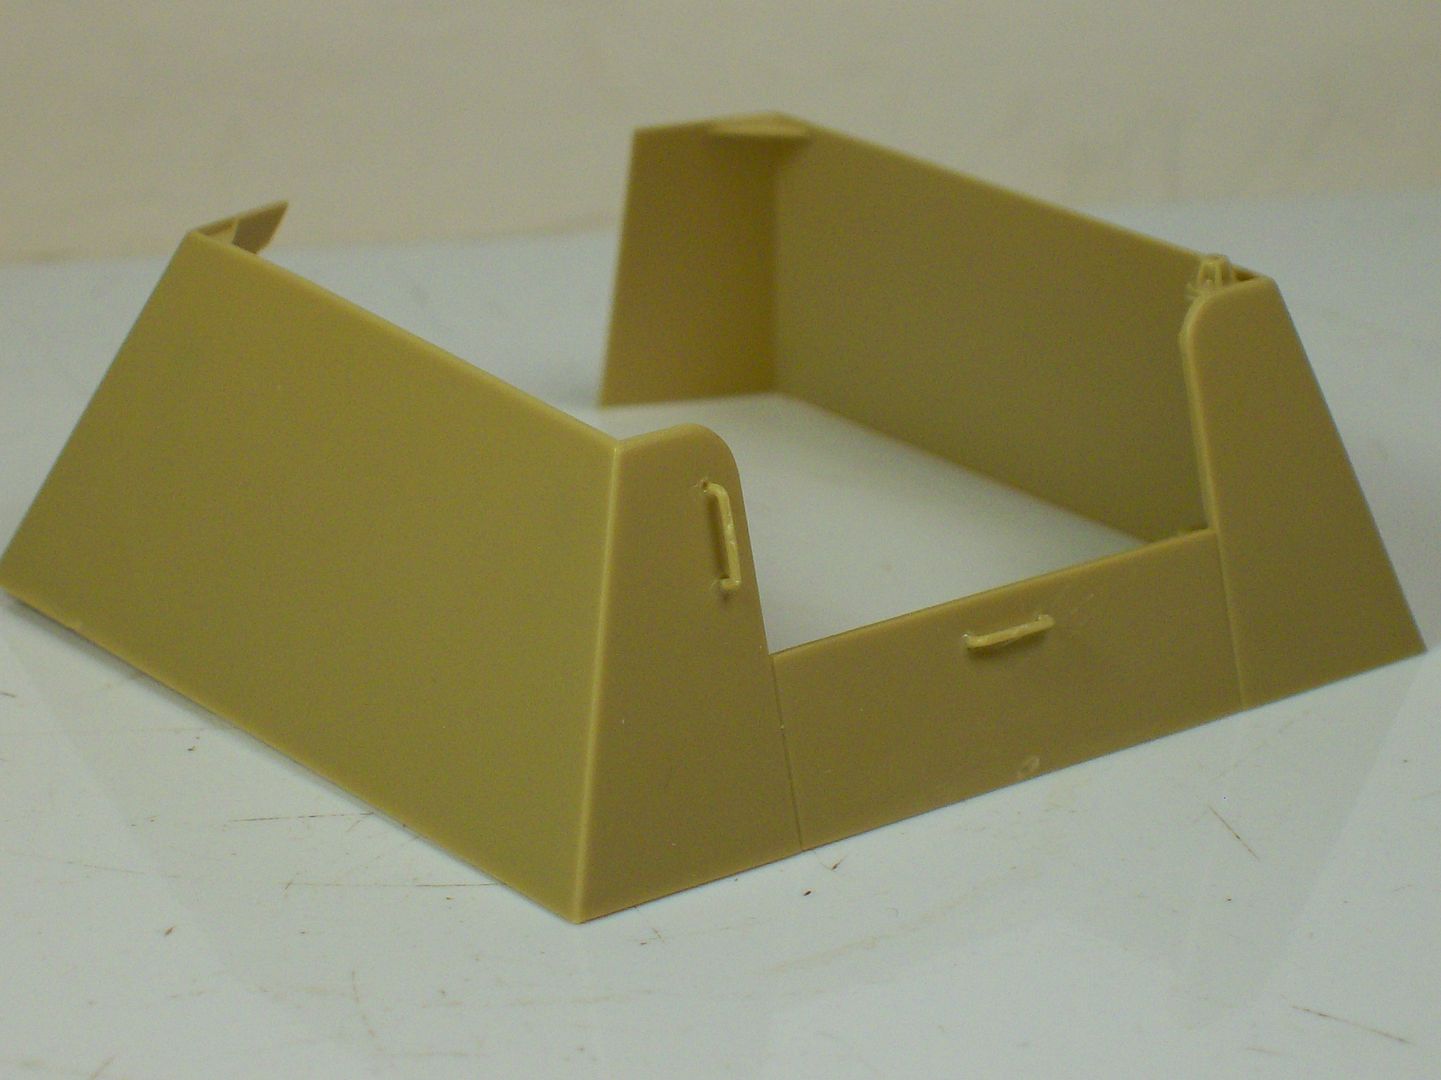 Now I won't have to worry about breaking them off while handling. Finished the travel lock,placed tie down rings and tools. 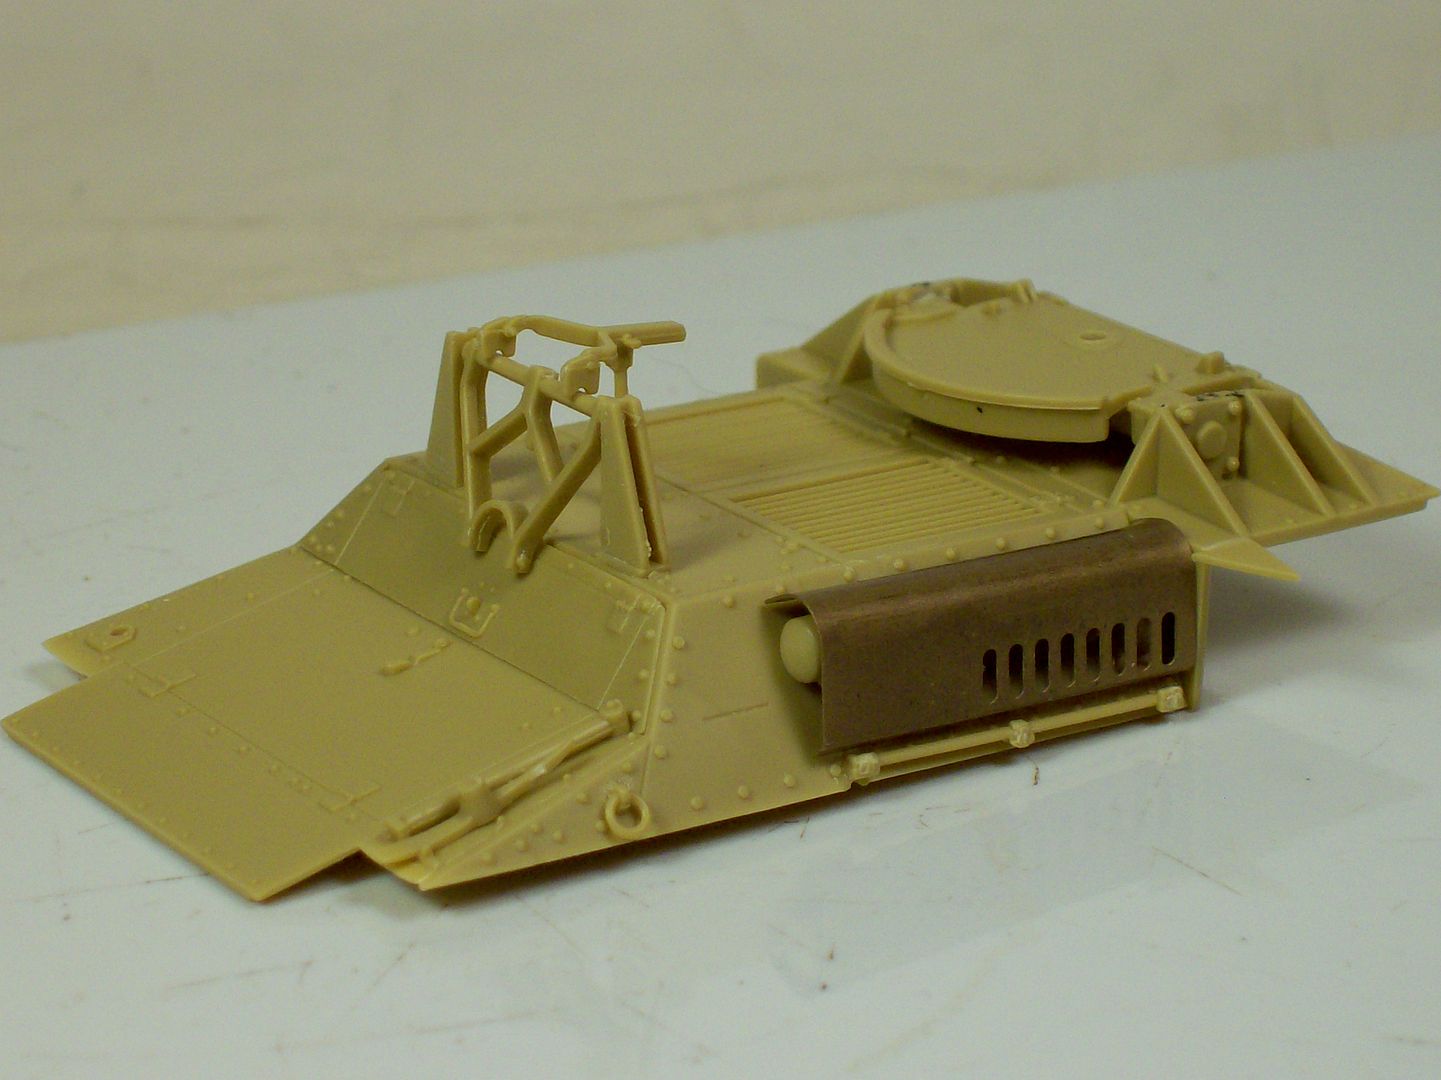 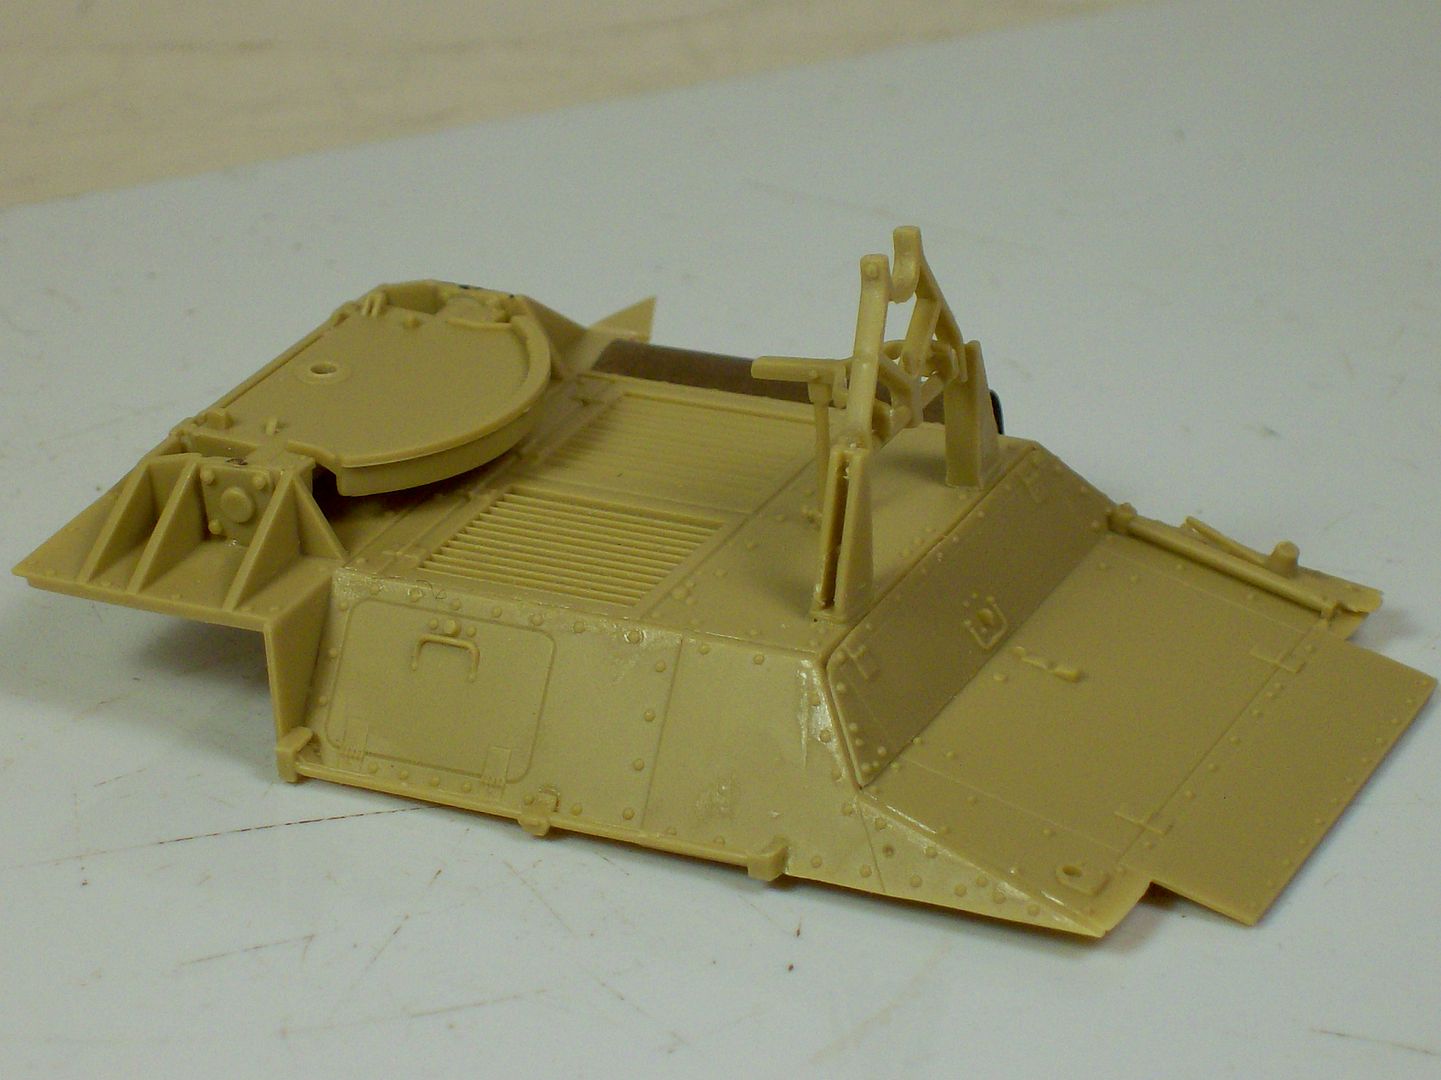 NOTE: If you want the travel lock workable don't glue that arm that faces to the rear to the saddle cross beam but just glue to the vertical post. I also started installing the gun armor shield but will save it for another update. Take Care Tony Lee |
|
Tojo72
Forum Moderator      Sept '24 Showcased Model Awarded
Member since: November 2012
Posts: 5,316
Member is Online
MSC Staff
|
Post by Tojo72 on Sept 6, 2016 20:11:03 GMT -5
Another nice SPG from Tony,good to see you sir.
|
|
|
|
Post by tonylee-Rest In Peace on Sept 7, 2016 16:26:53 GMT -5
Day #4 The gun armor shield worked out nicely. There are two upper shield PE braces you have to place a half twist at the top but these were nothing fancy. 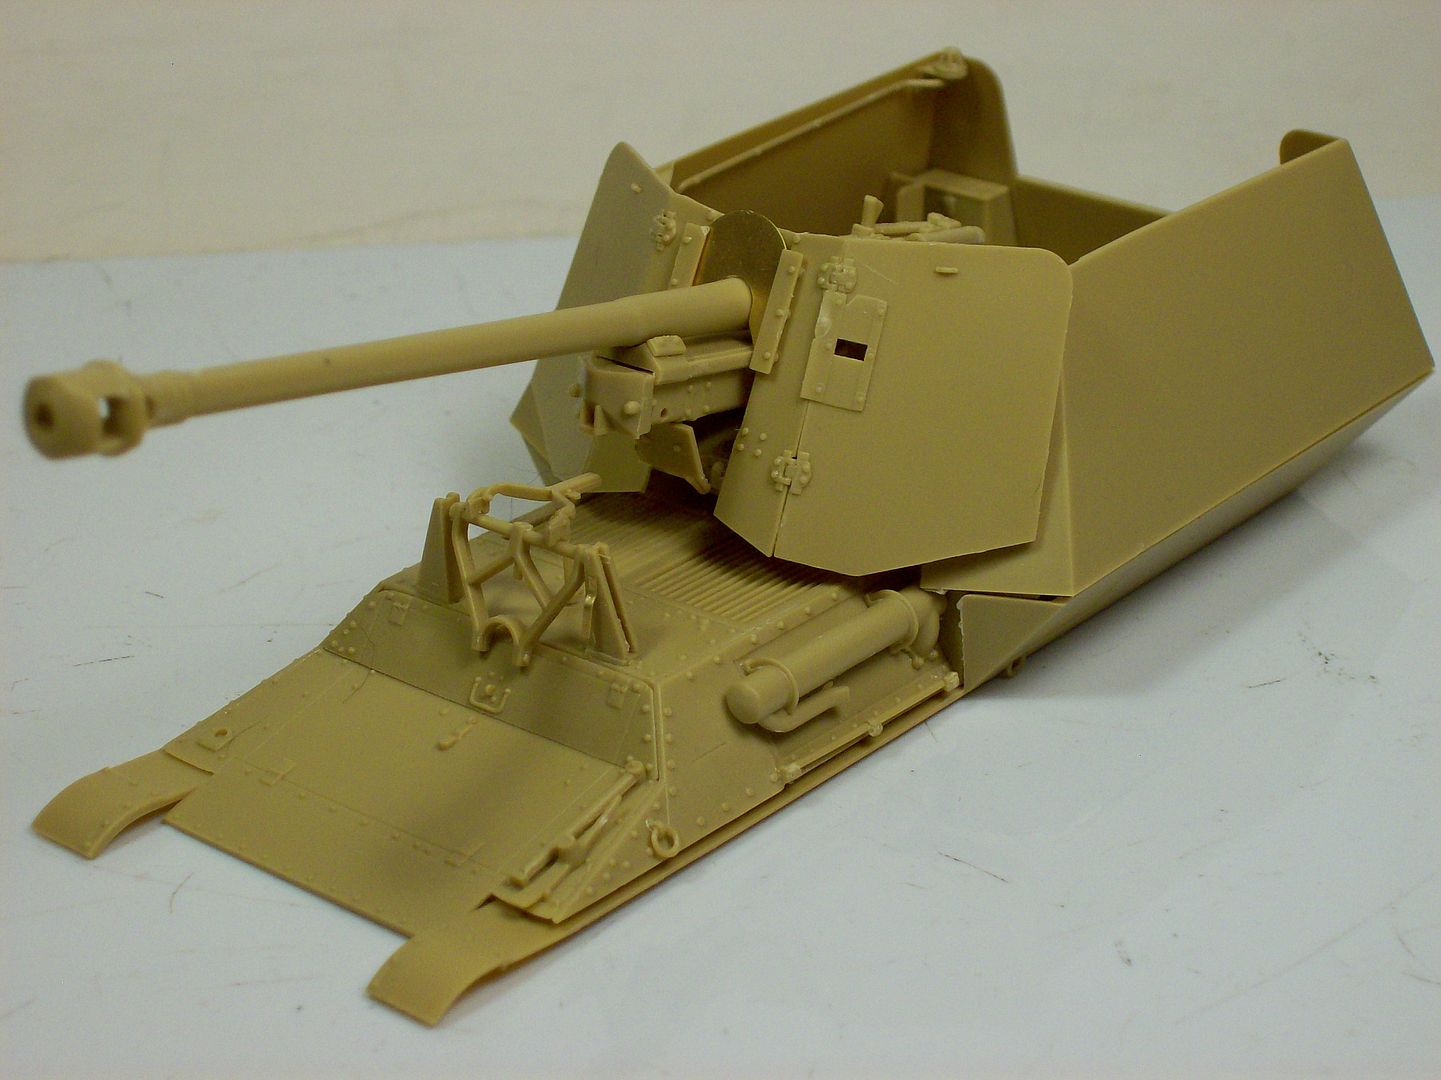 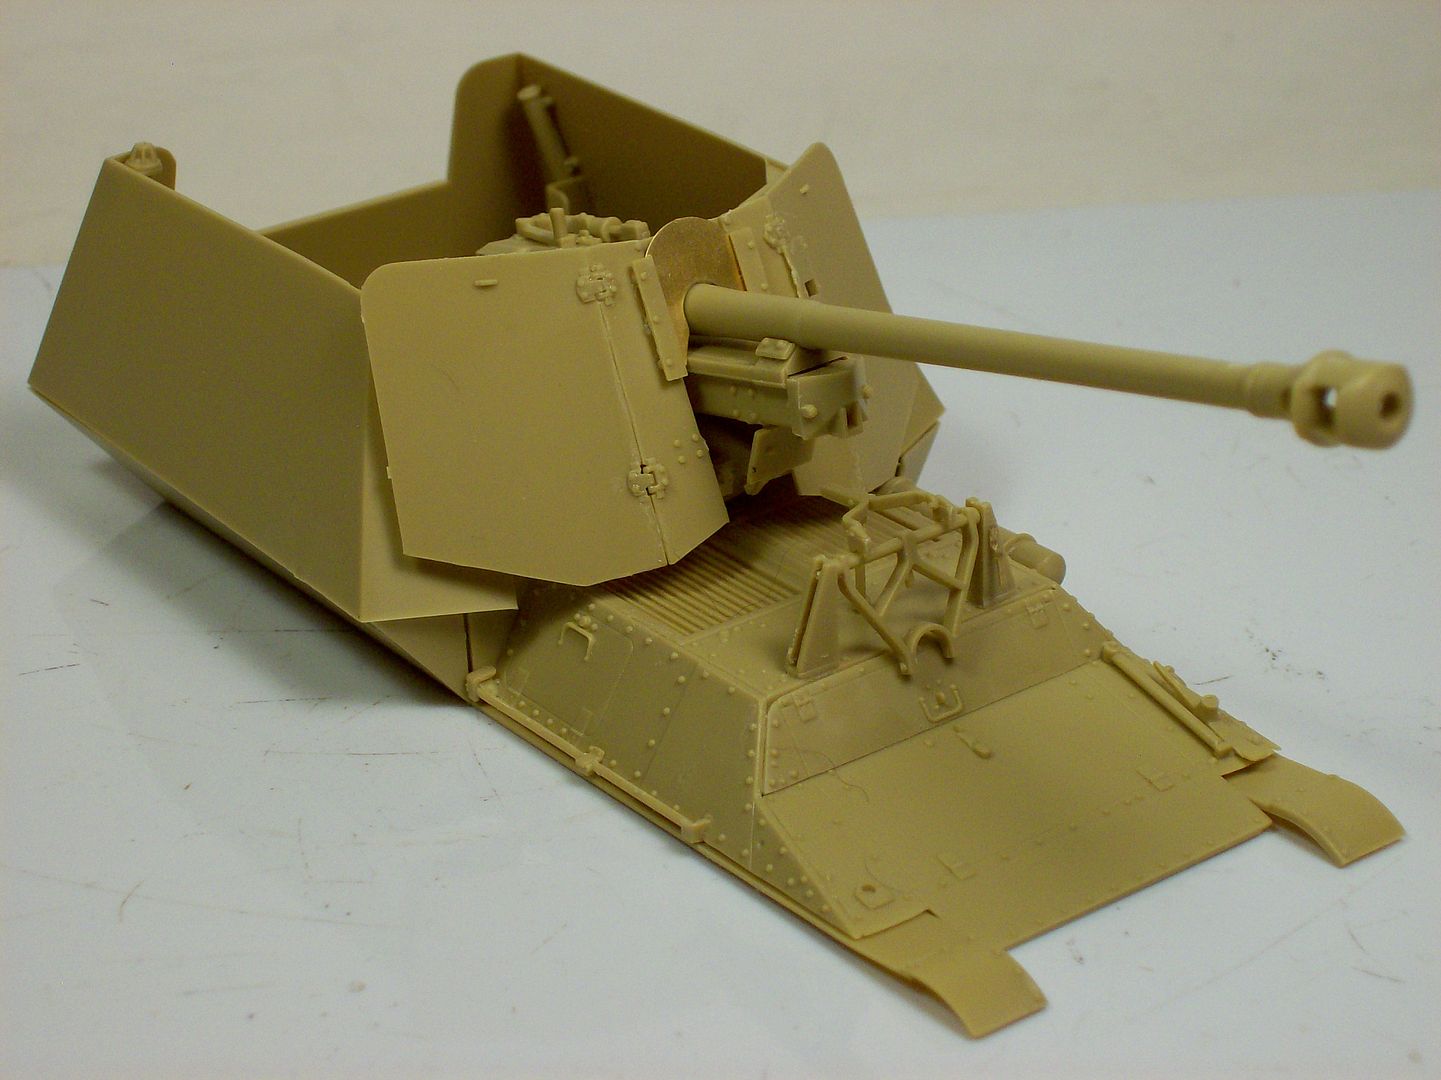 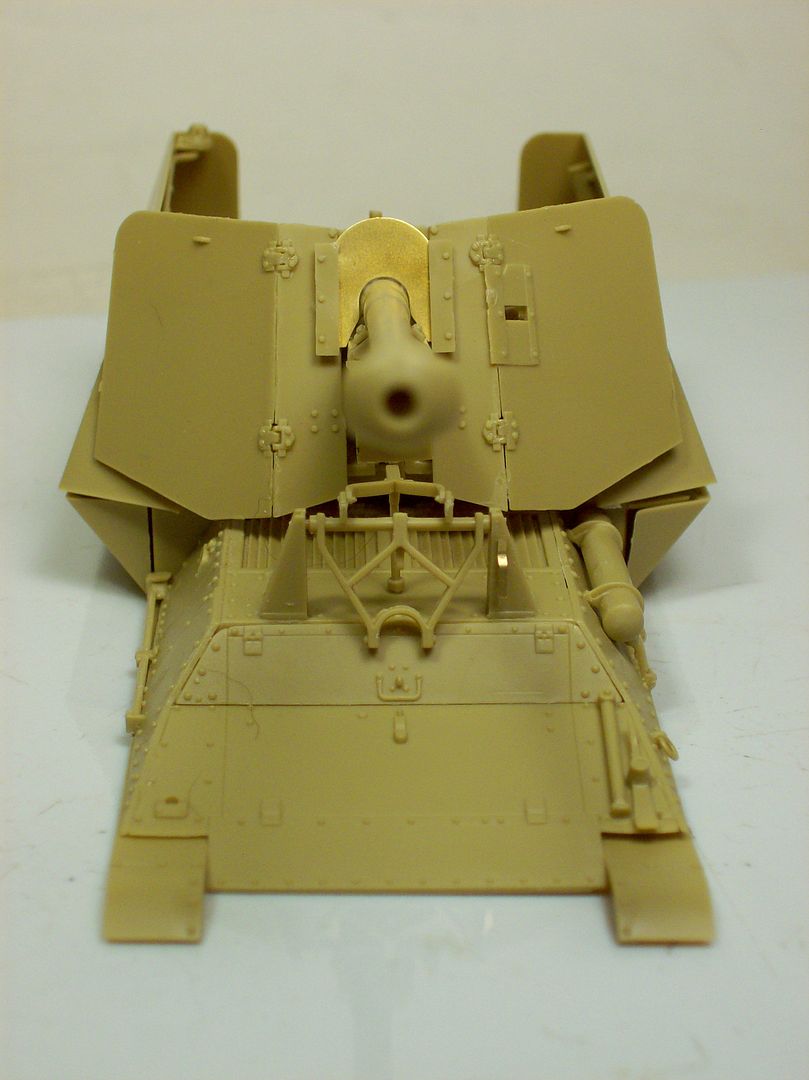 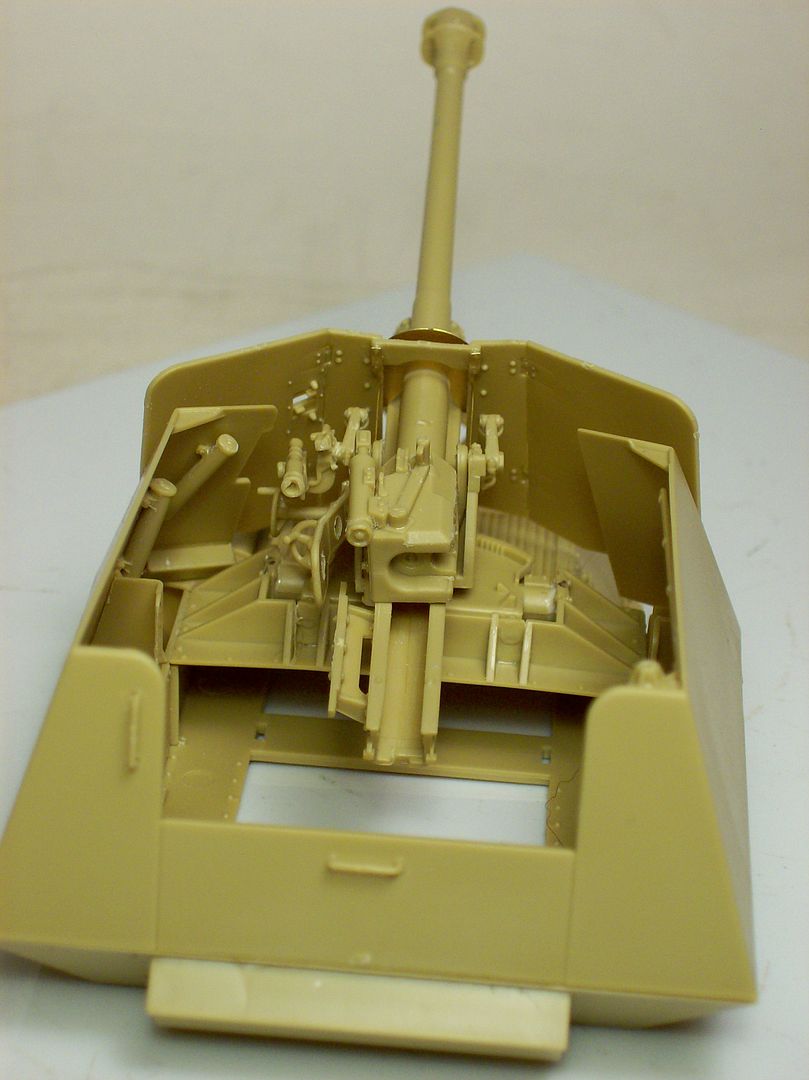 The road wheel assembly was cleaned up and dry fitted together. The units need painting as well as the lower hull before installing. 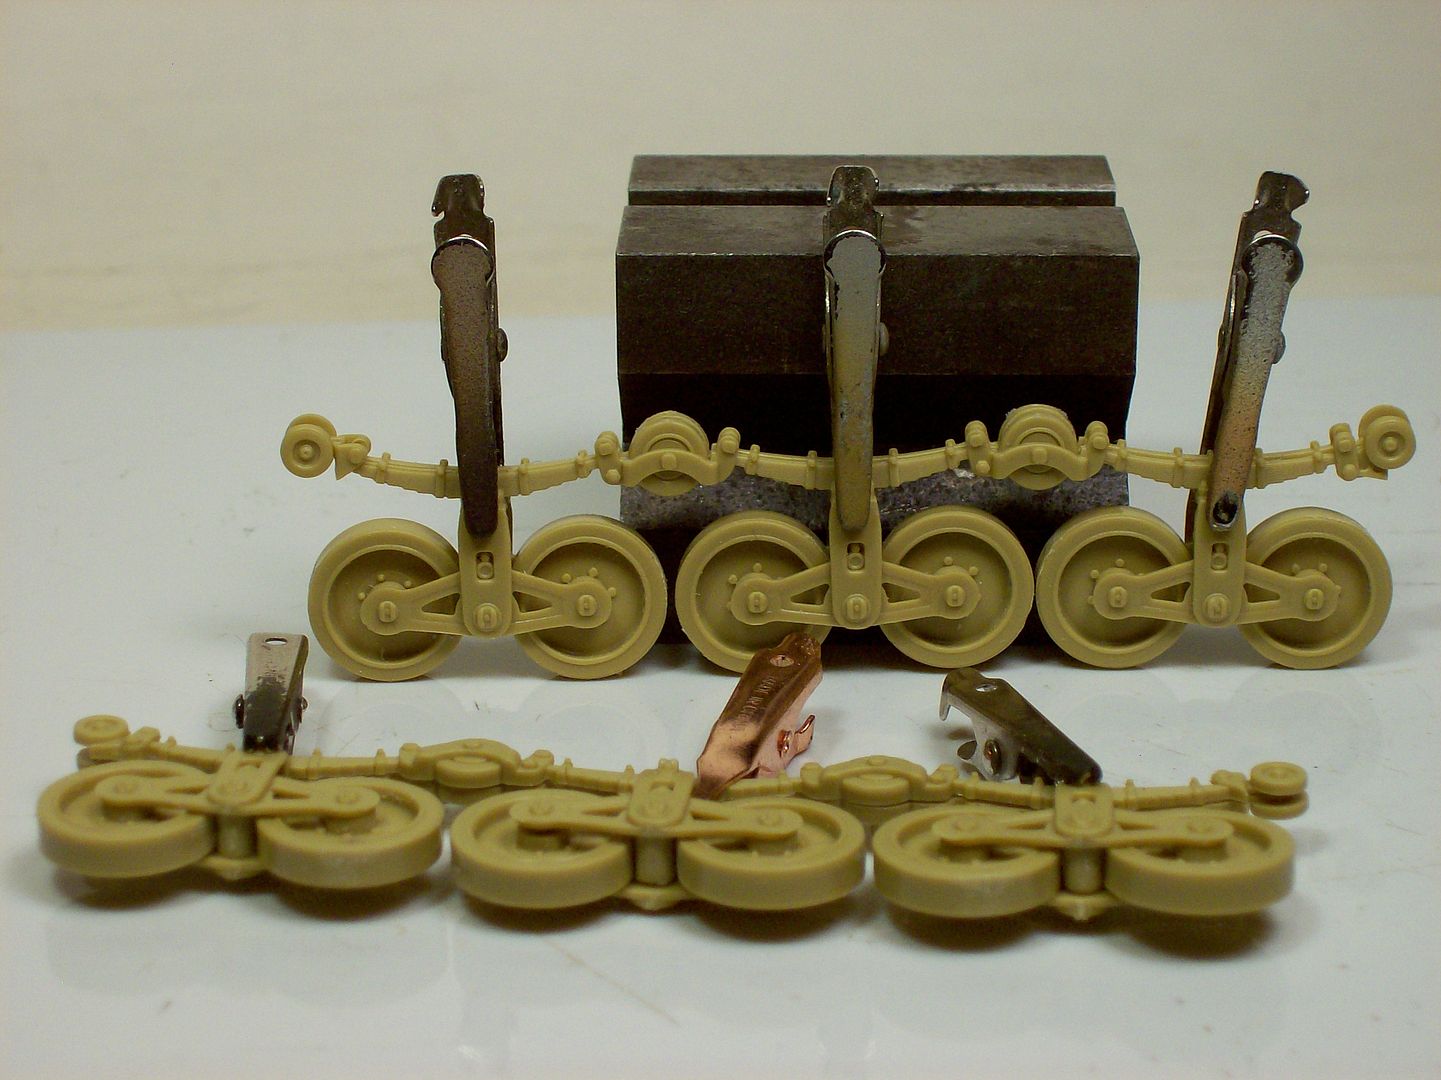 There you have it for today folks. Tony lee |
|
|
|
Post by Leon on Sept 7, 2016 17:17:21 GMT -5
Nice progress Tony! Coming together nicely.  |
|
|
|
Post by tonylee-Rest In Peace on Sept 8, 2016 12:40:34 GMT -5
Yeah she is Leon not bad at all.
Thanks
Tony lee
|
|
|
|
Post by Tobi on Sept 8, 2016 13:40:27 GMT -5
One of my instant thoughts when I saw the first announcement of this kit was that the shells look way too short. Compared now to the AFV-Club parts in your photo, which resemble the PAK-40 ammunition, these seem to be even no match for the KwK shells!
Can the gun traverse with the ready rounds in place?
|
|
|
|
Post by tonylee-Rest In Peace on Sept 8, 2016 17:35:03 GMT -5
From my research Tobi the supplied rounds are really for the short barreled PaK37 and are HE rounds.
The gun won't traverse but a few degrees right or left so if the ready rounds are placed in the outside hole they shouldn't interfere.
From all indications Panda used the Marder I on display at Saumur which seems to be a very early model because the light is on the right fender where as on later models the light was moved to the left fender and a jack on the right.
The Saumur Marder has no indication there was ever any jack mount brackets installed.
Sure hope this answered you
Tony lee
|
|
|
|
Post by TRM on Sept 8, 2016 19:25:20 GMT -5
Some excellent progression Mr. T! Great to follow along while you make an assessment! Thanks for sharing!
|
|
|
|
Post by tonylee-Rest In Peace on Sept 8, 2016 21:31:39 GMT -5
Thanks Todd and it's a pleasure to do it.  Tony lee |
|
|
|
Post by tonylee-Rest In Peace on Sept 9, 2016 20:57:13 GMT -5
Day #5 I finished installing the remainder of the PE parts. Rear Step Ladder: 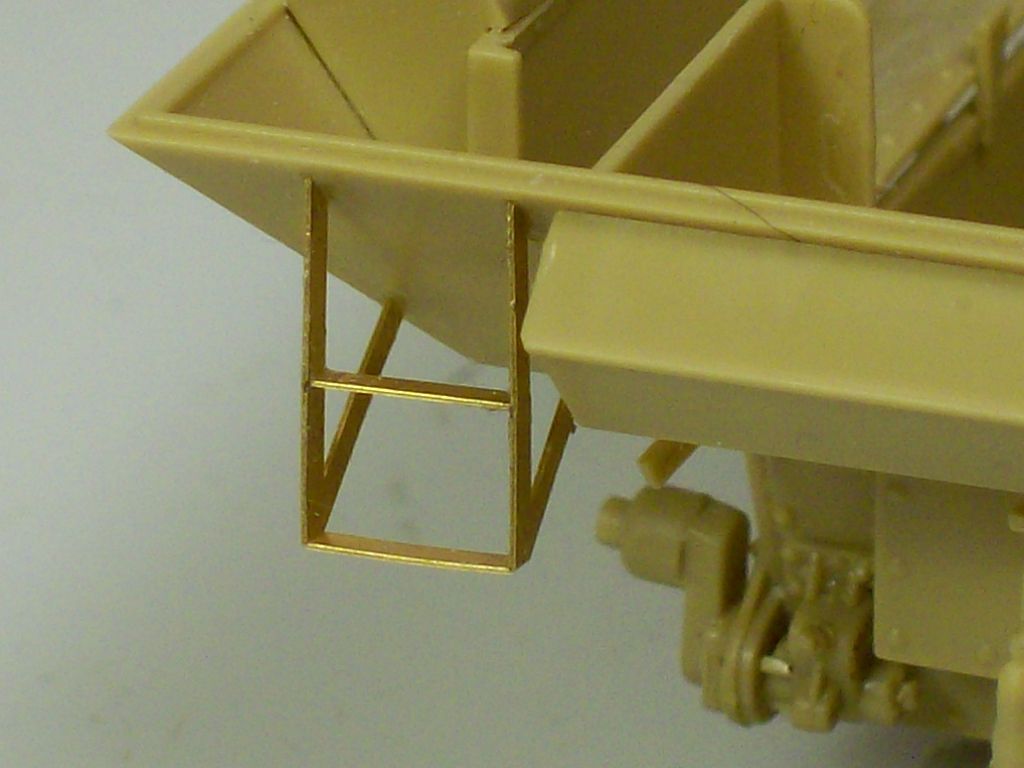 Tow Cable Stowage Brackets: 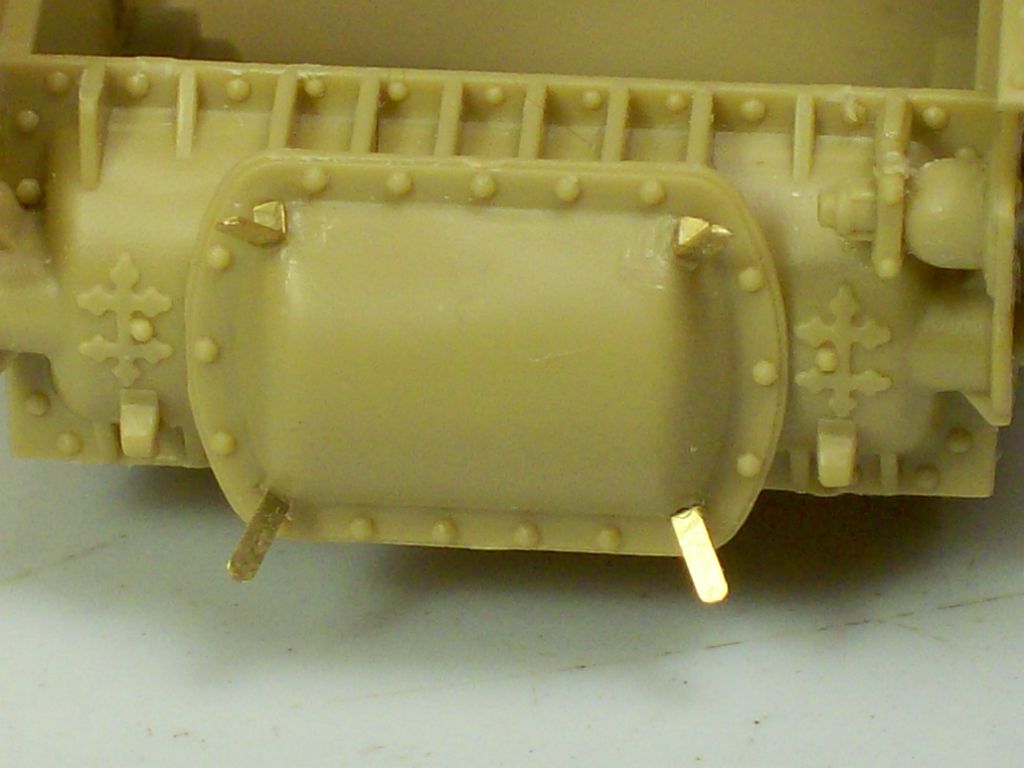 BTW: NO tow cable supplied in the kit. Filler Plates on the Right Front Corner of the Fighting Compartment: 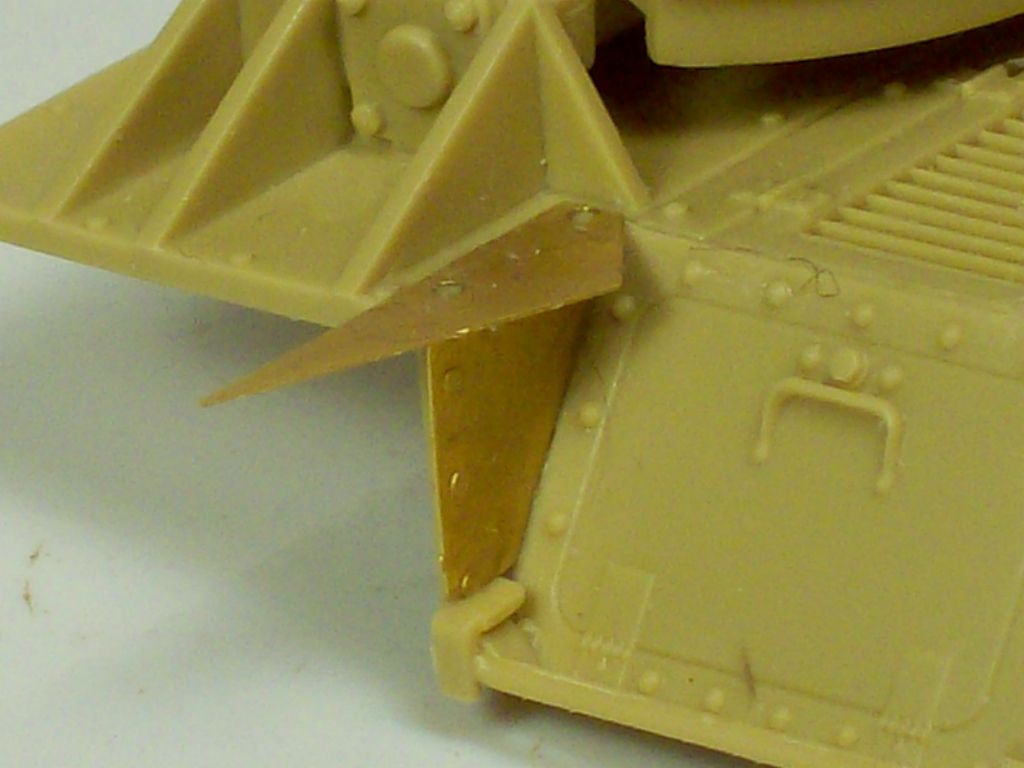 While the Gator Grip Glue dried I went ahead and started on a job that might turn people away from buying this kit. The Tracks: 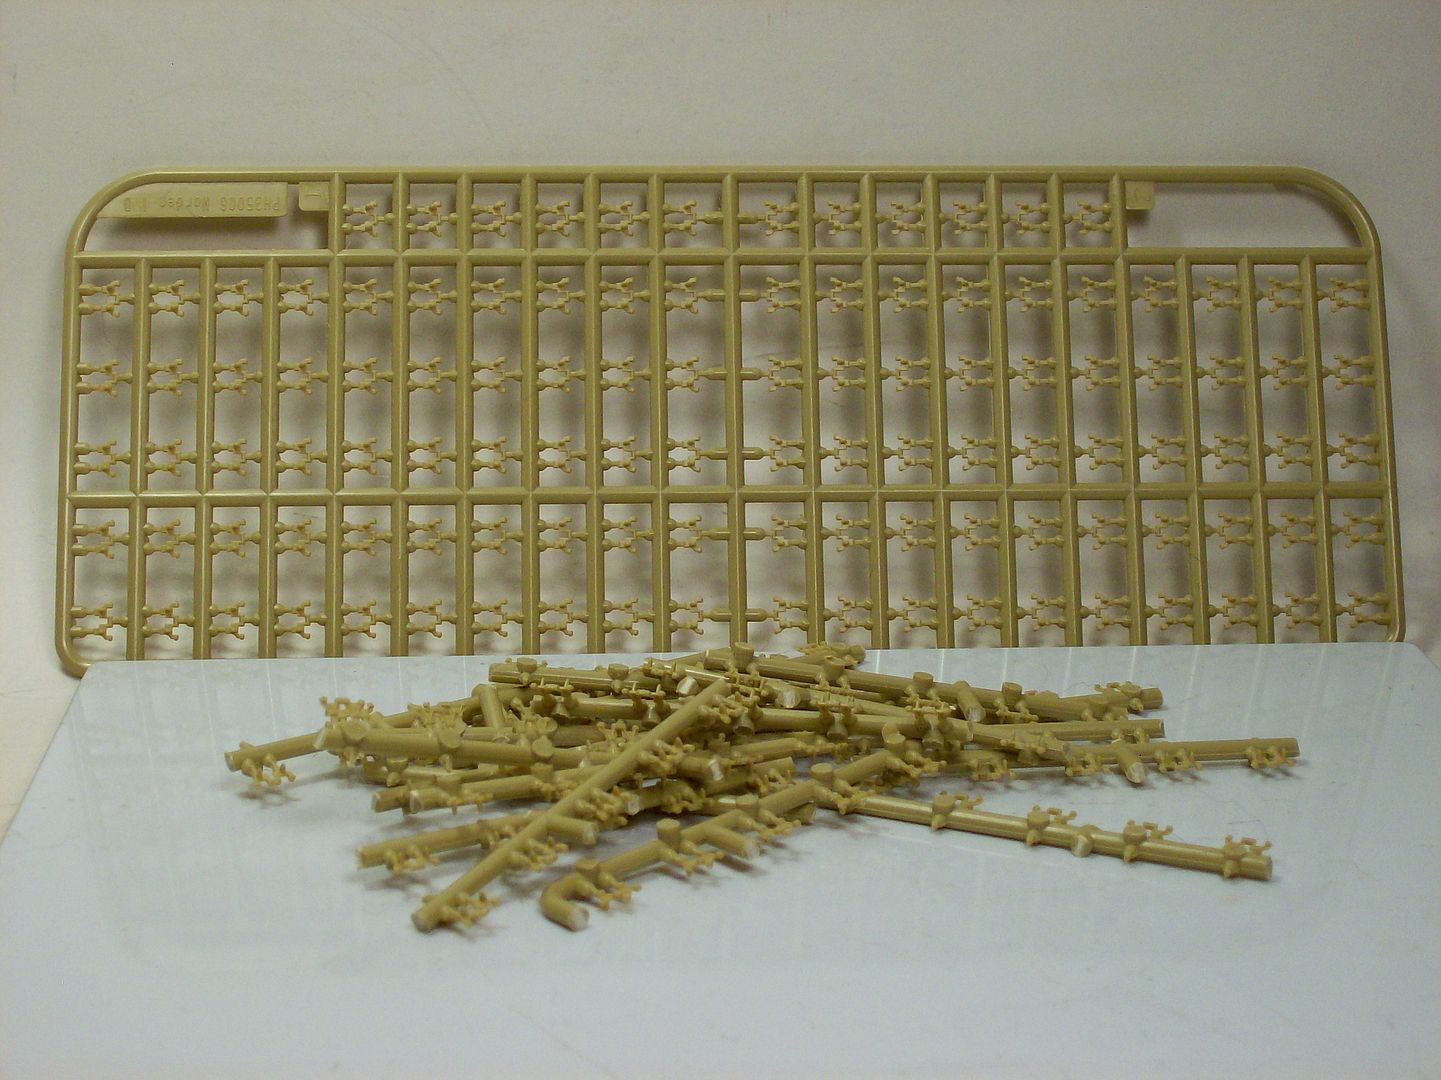 The links are very small but if you're able to snip the injection gates off real close sanding the nibs is very easy and goes quickly. 10 of 107 links per side (as per the instructions) 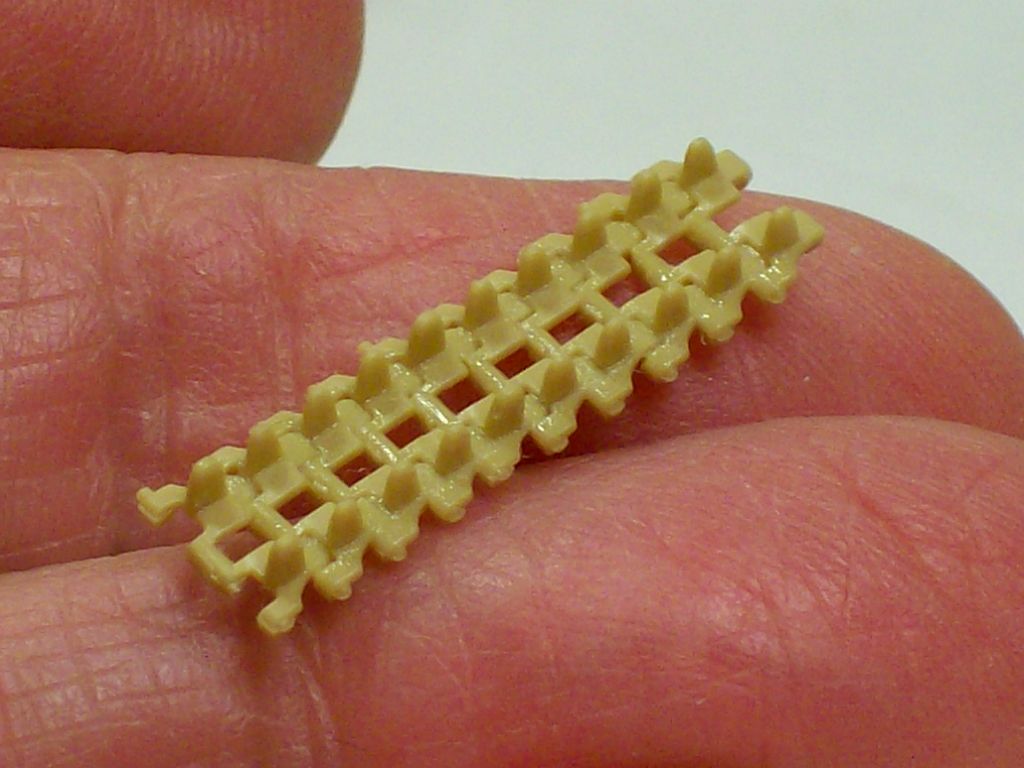 After taking the above photo I put together both road wheel bottom runs in about two hours. That's removing the links from the sprues,cleaning up and gluing the links together. I'll have to start some painting before continuing. I take the weekends off so i'll see you Monday Tony lee |
|
|
|
Post by TRM on Sept 9, 2016 21:53:10 GMT -5
Sweet! Nice to ge the tracks out of the way! Tidy work as usual on the shinny stuff!  |
|
|
|
Post by wbill76 on Sept 11, 2016 8:53:12 GMT -5
Pulling this one together in short order there Tony! Looking good.
|
|
|
|
Post by tonylee-Rest In Peace on Sept 11, 2016 16:45:28 GMT -5
Most of the parts count is in the tracks Tex and my hands hurt too.
Just part of gettin old.
Tony lee
|
|
|
|
Post by tonylee-Rest In Peace on Sept 12, 2016 20:53:11 GMT -5
Day #6 I had to do some base color painting today so progress could continue and while the paint was drying I built the top run of the tracks using the provided jig. 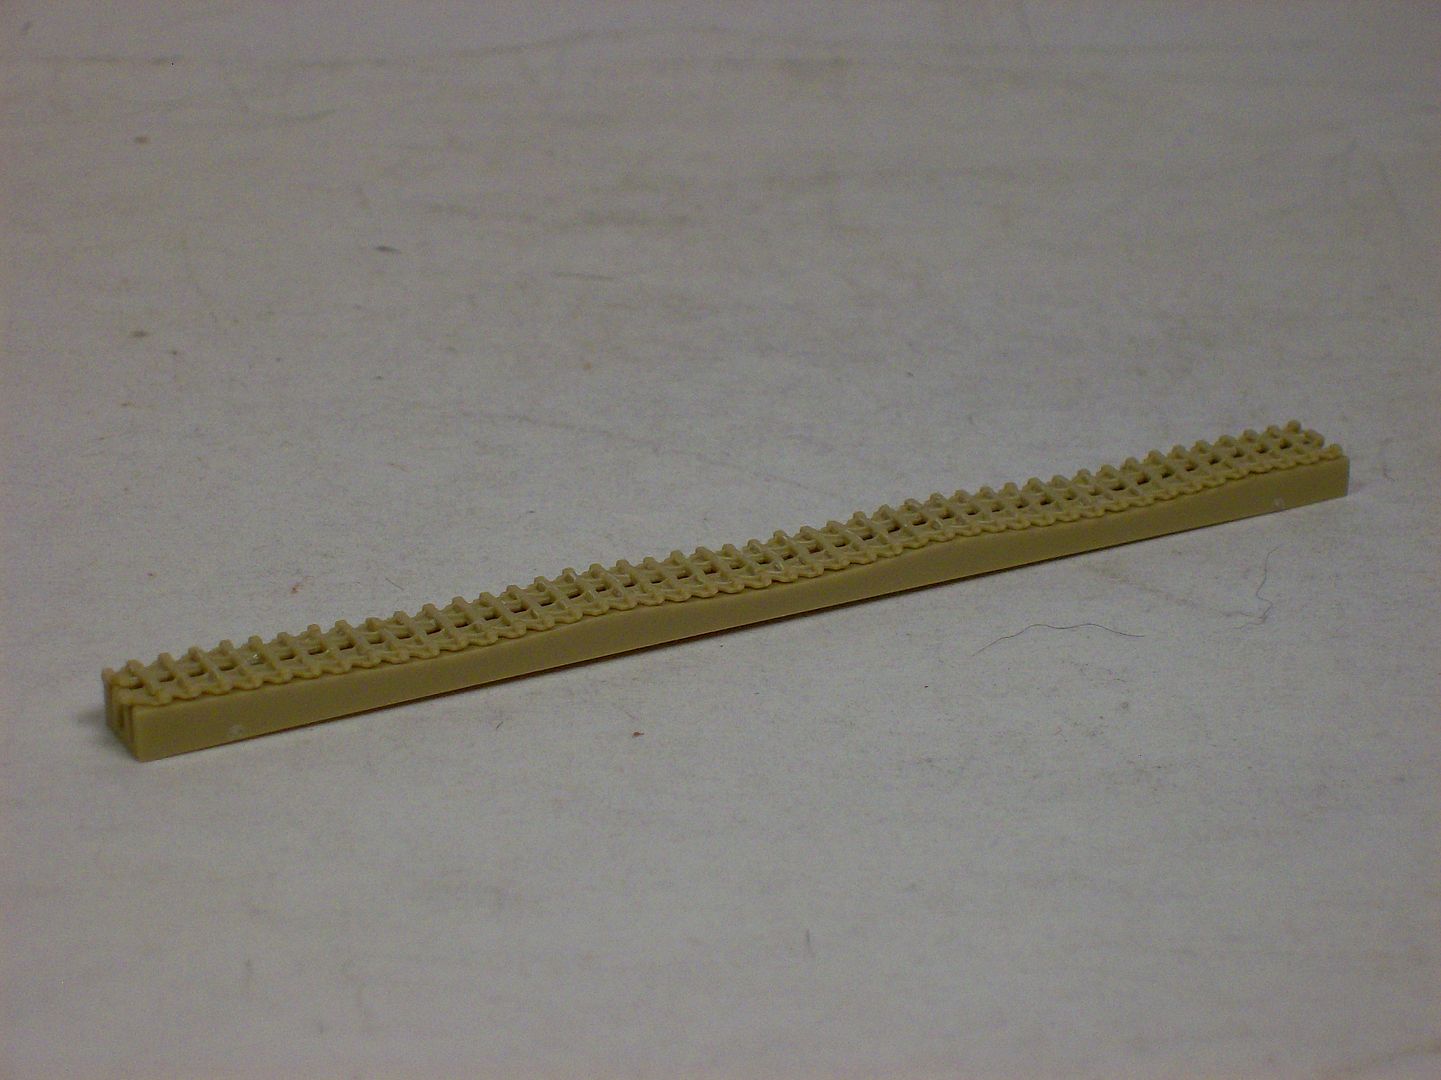 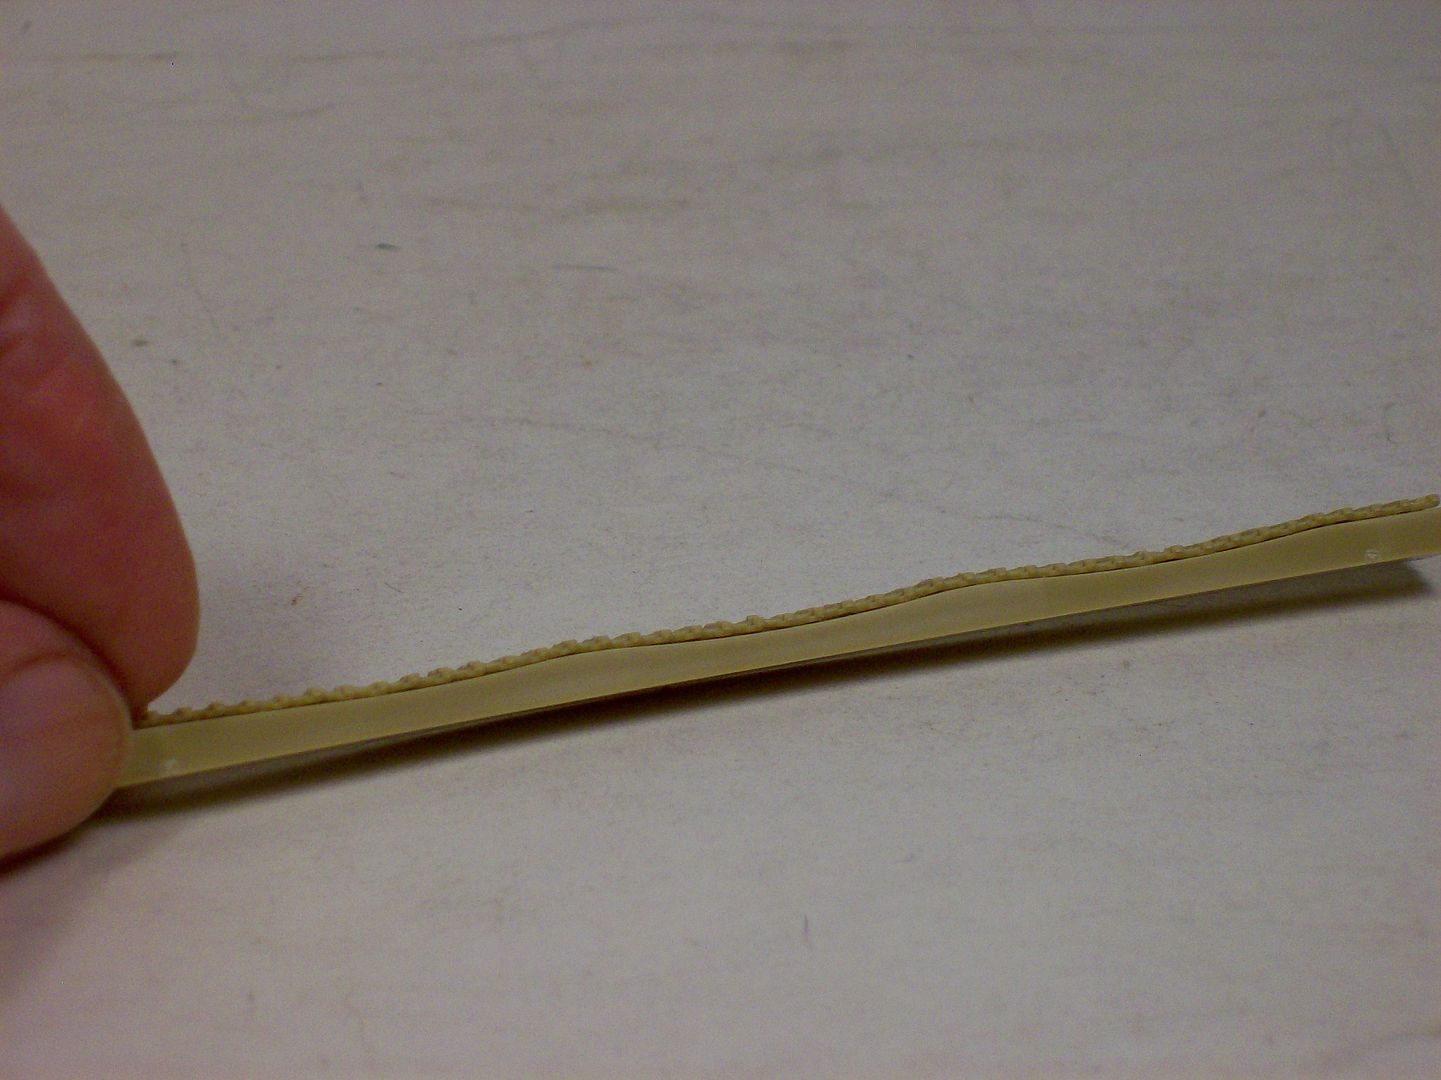 After the paint cured for something like eight hours the road wheel assemblies were install. 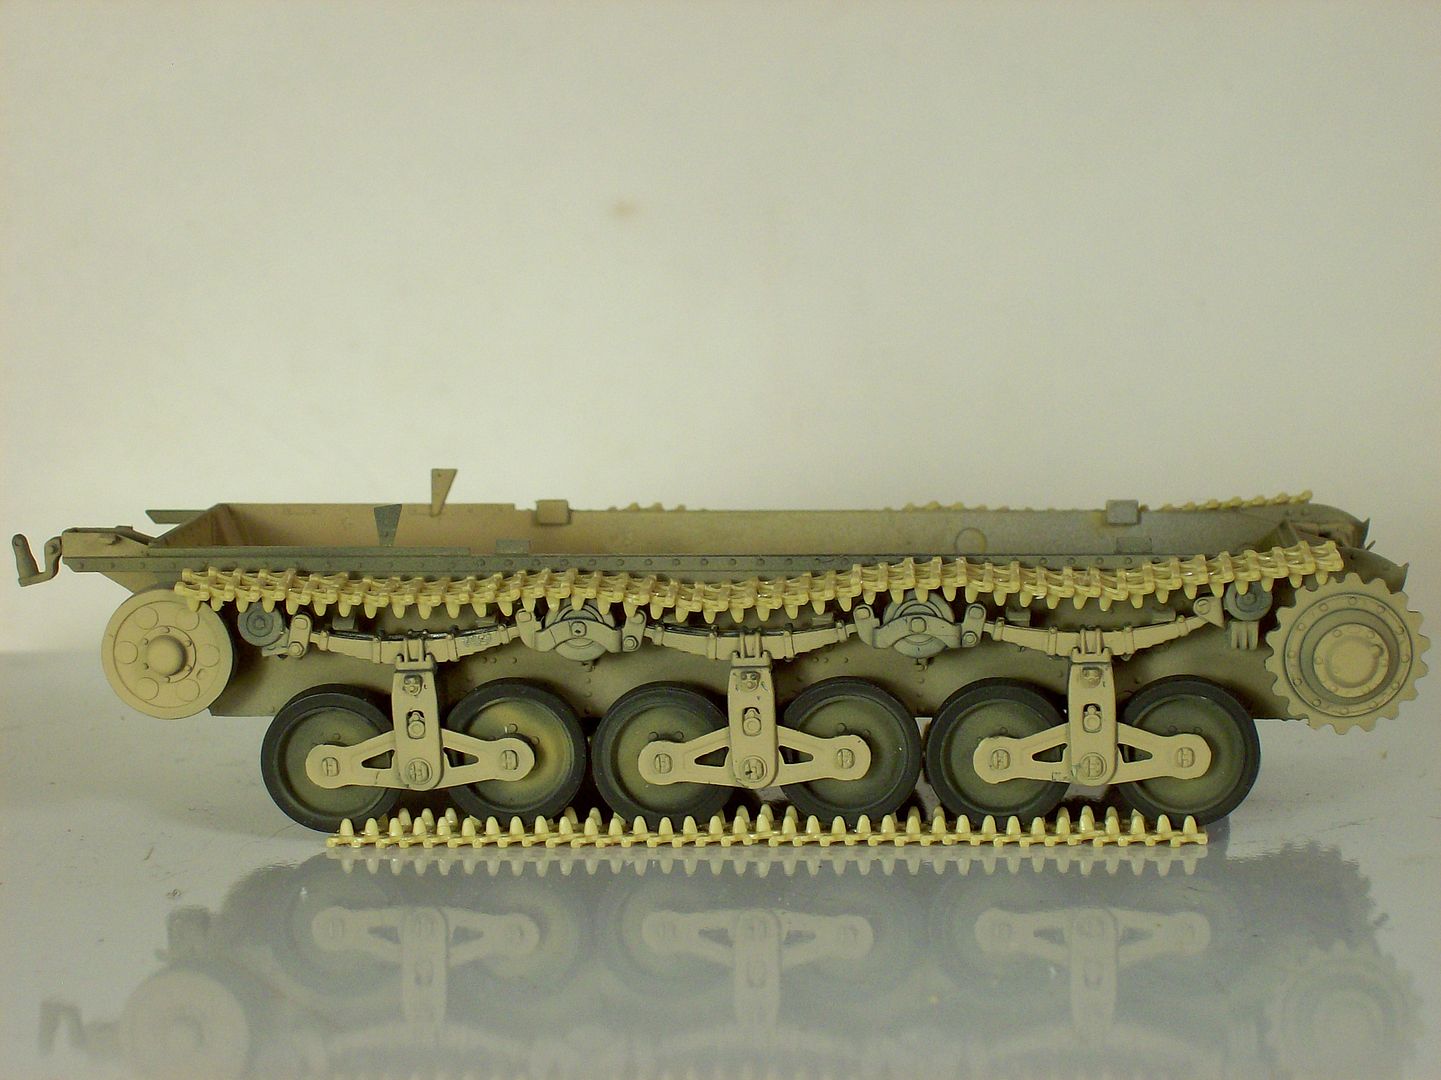 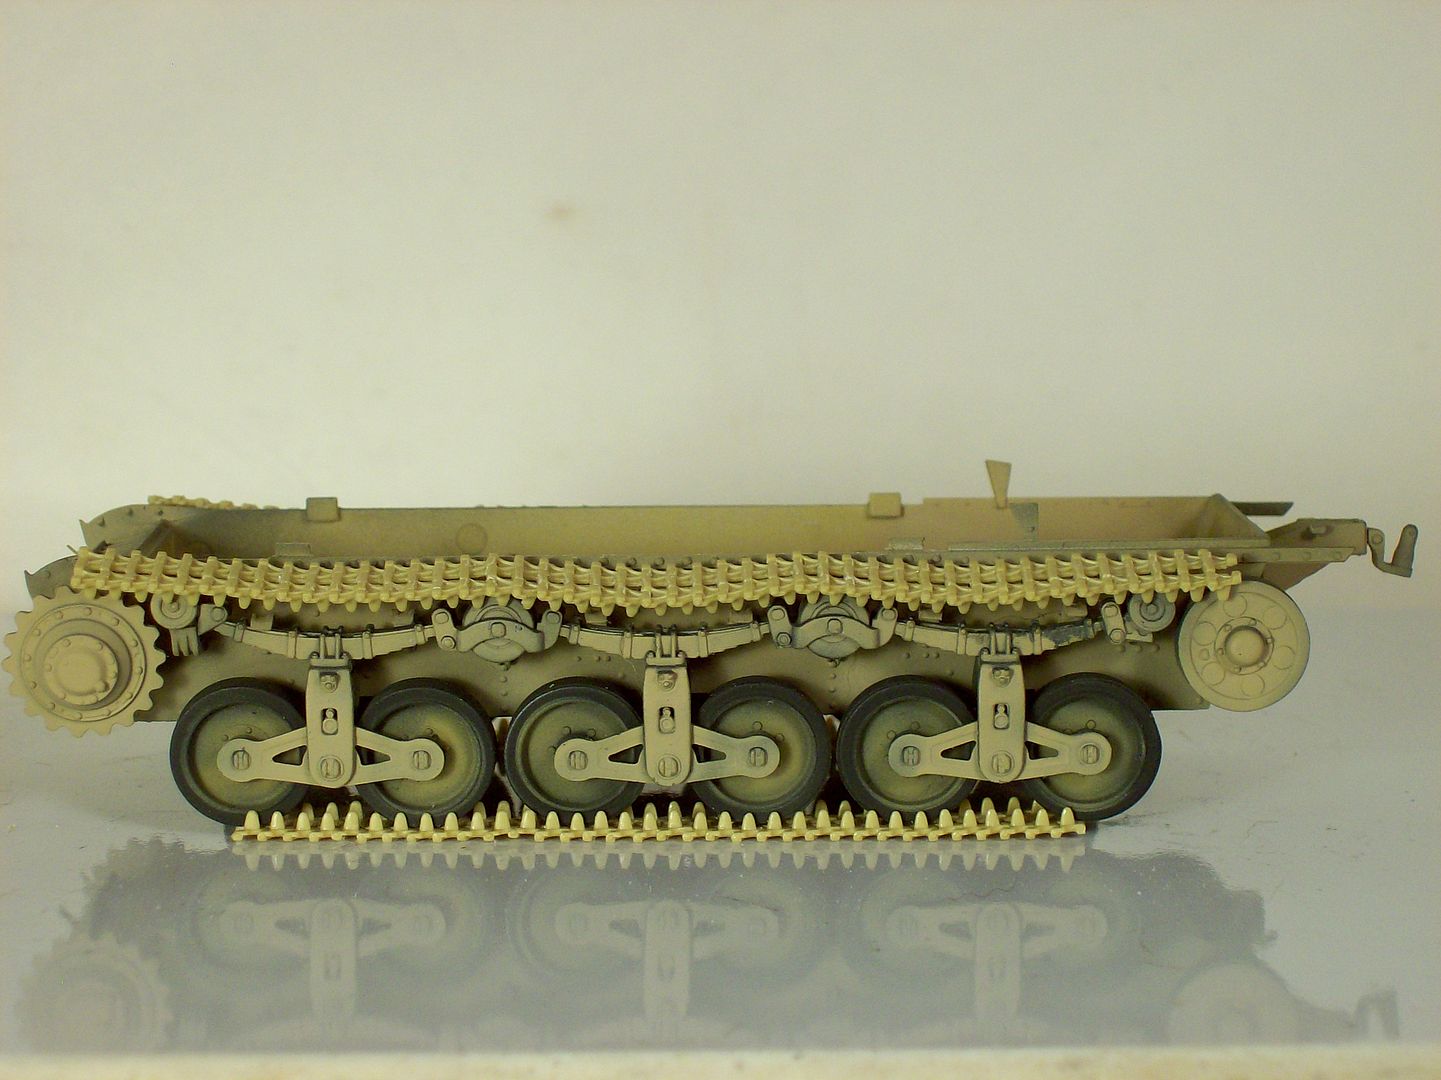 I'll start building the track end sections next. Pretty good day was had here in the Ozarks  Tony lee |
|
Deleted
Member since: January 1970
Posts: 0
Nov 23, 2024 9:00:19 GMT -5
Nov 23, 2024 9:00:19 GMT -5
|
Post by Deleted on Sept 13, 2016 1:34:47 GMT -5
Ok Tony I'm onboard for this one my fellow old fart !  Nice and clean build . |
|
|
|
Post by TRM on Sept 13, 2016 5:51:29 GMT -5
Nice sag Tony!!  Digging the little jig! She looks great with the sneakers on...and even as a 'half-track'! |
|
|
|
Post by dupes on Sept 13, 2016 6:11:05 GMT -5
That big for the sag is cool...but tiny links like that on a sprue? Yikes. Dragon wins for Magic Tracks in that department!
Looks great so far. Assuming this means the Trumpeter kit is now mostly obsolete.
|
|
jpc1968
Full Member
  
Member since: May 2015
May '17 Co-Mom Winner, October '17 MoM Winner
Posts: 504 
|
Post by jpc1968 on Sept 13, 2016 6:46:33 GMT -5
Looking good Tony!
|
|
|
|
Post by tonylee-Rest In Peace on Sept 13, 2016 10:21:13 GMT -5
Thanks Guys Careful with the glue when using that jig. Safer to do it the old fashion way and put the sag in yourself. If it were not for this being an inbox review I would've used a set of Friuls in the stash.  Thanks Again Tony lee |
|
Tojo72
Forum Moderator      Sept '24 Showcased Model Awarded
Member since: November 2012
Posts: 5,316
Member is Online
MSC Staff
|
Post by Tojo72 on Sept 13, 2016 10:58:29 GMT -5
Nice work on those runs
|
|