|
|
Post by Leon on Sept 13, 2016 11:07:05 GMT -5
Nice work on the tracks Tony!
|
|
|
|
Post by tonylee-Rest In Peace on Sept 13, 2016 20:08:51 GMT -5
Day #7 Tracks for one side built: 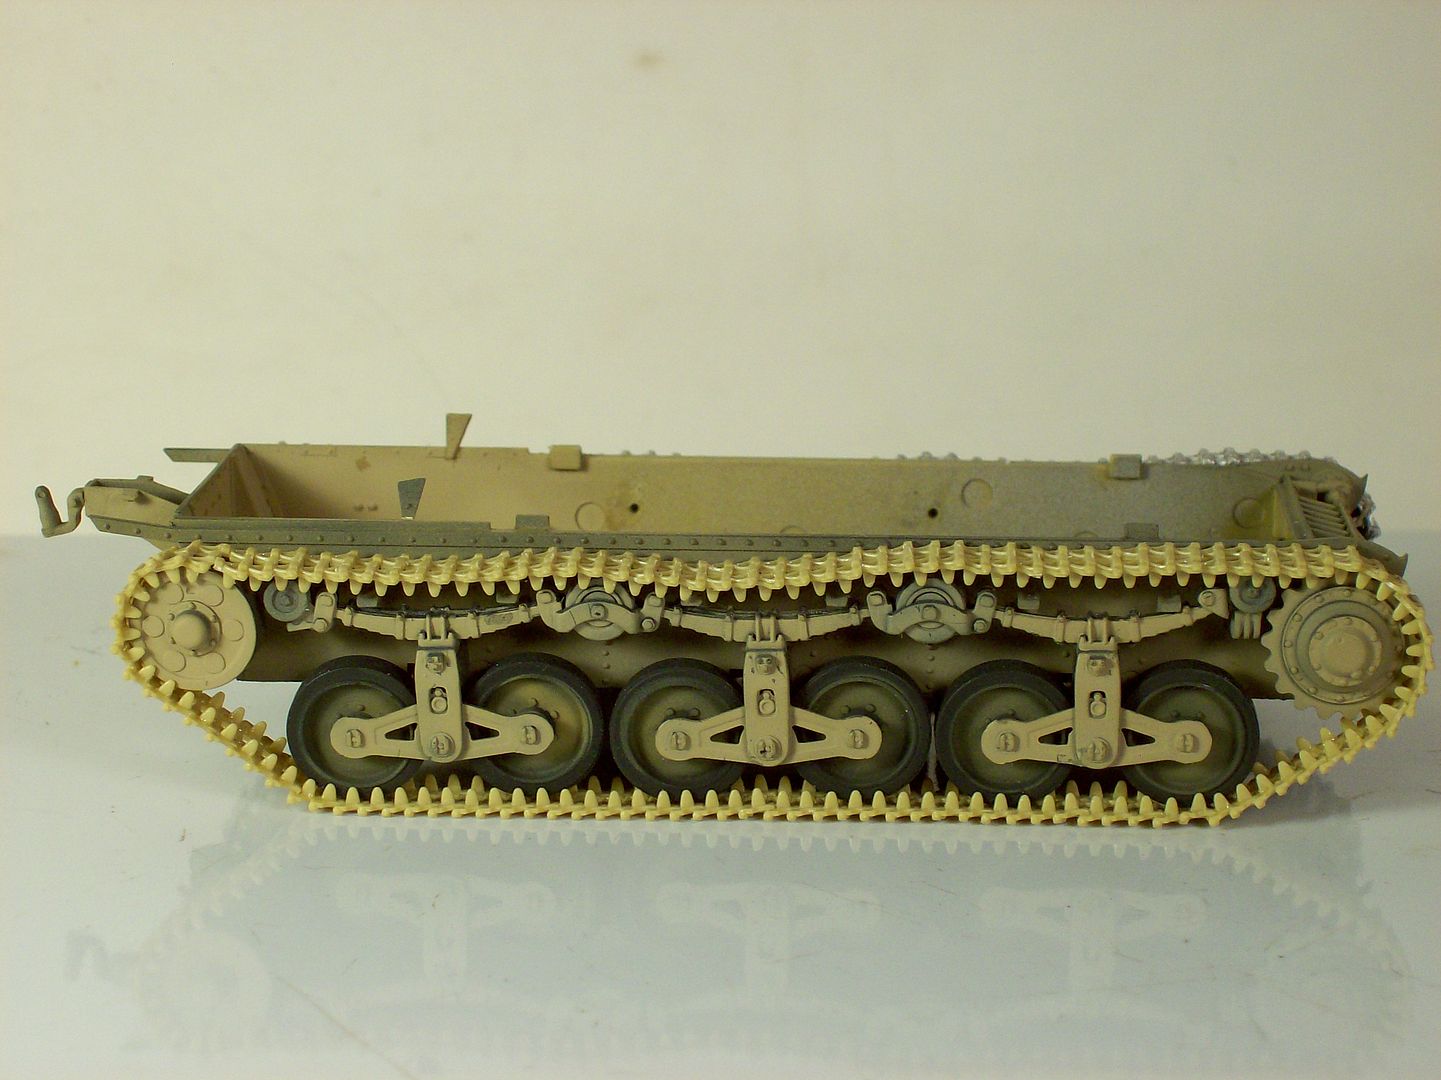 The top section is just laying there so I can remove for painting. "Houston We Have A Problem"  I closed up one end on the other side but came up short five links when building the other end section. I never damaged any links and found the two links I dropped on the floor so what happened?   ? The instructions call for 107 links per side so I counted the number of links on the sprue tree and it turns out to be 108. The only thing I can figure is I built the tracks to tight making it require more links than provided or the instructions are wrong and more links are required to Get-R-Done. Never Fear  Remember I said I had a set of Fruil tracks in the stash. 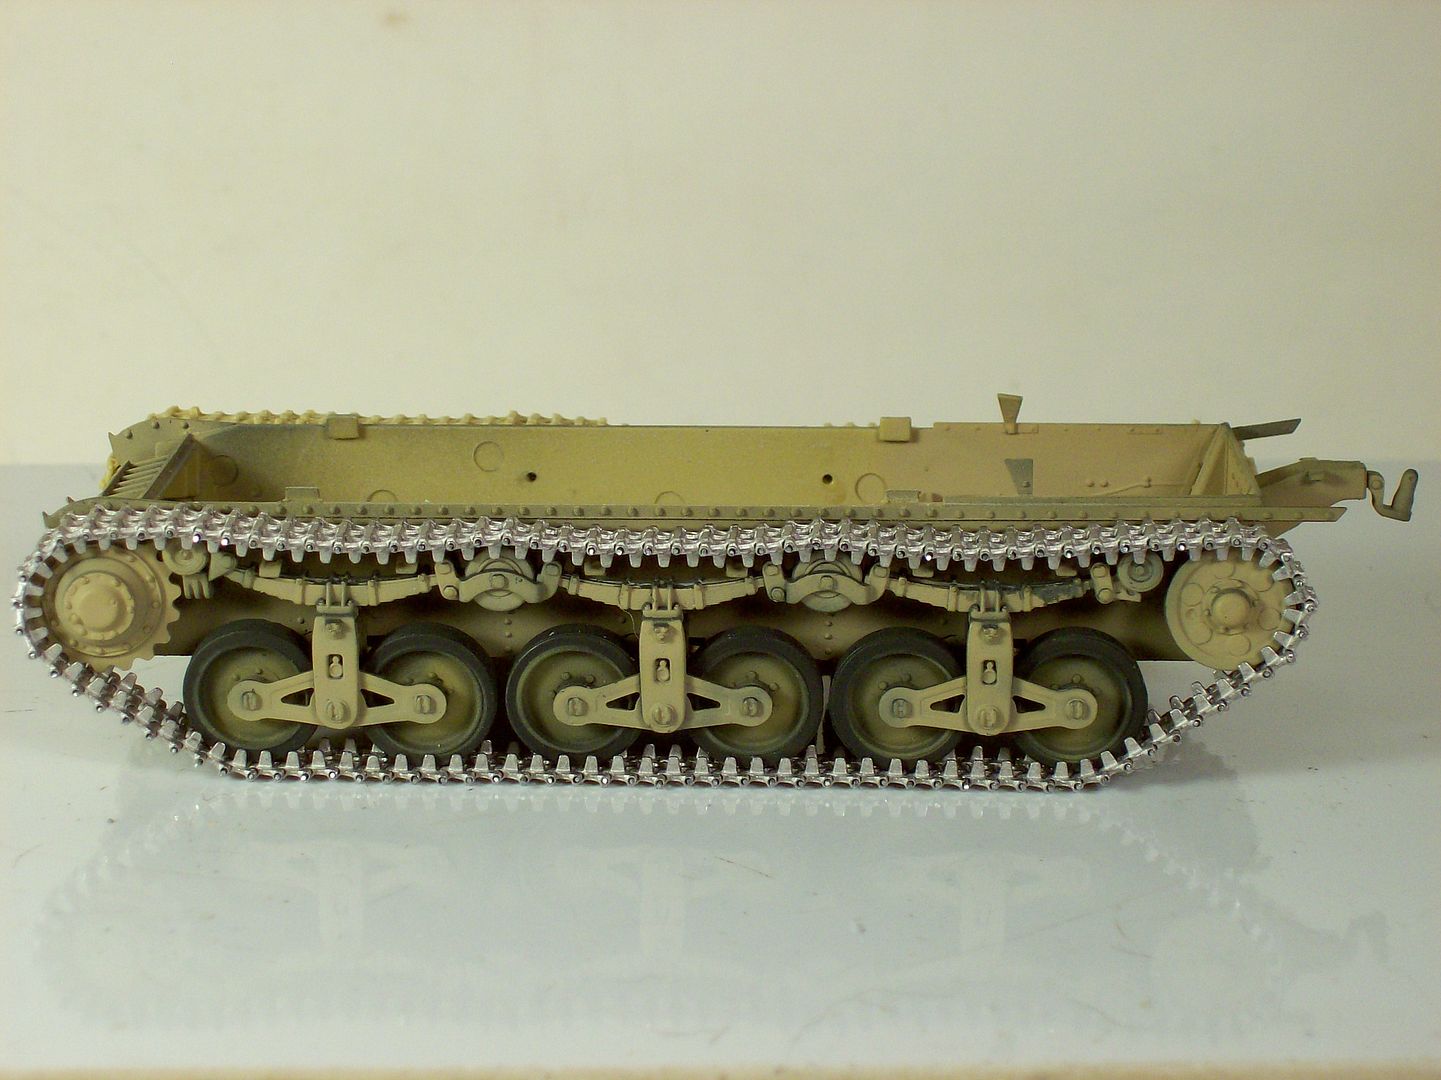 OH WELL my dad told me "Life is never easy" Later Folks Tony lee |
|
|
|
Post by TRM on Sept 14, 2016 16:41:29 GMT -5
For every problem, there is a solution!  Nice knowing the kit tracks will work...no shame in breaking out the metal at all. |
|
|
|
Post by tonylee-Rest In Peace on Sept 14, 2016 18:38:32 GMT -5
Yep they will work if you don't run out of links. Would have been nice if I didn't waste all that time.  Tony lee |
|
|
|
Post by TRM on Sept 14, 2016 18:57:56 GMT -5
That was the worst part...losing time! Same thing happened with a Shilka I am working on...kit tracks fell apart and ended up to frustrating to deal with...Master Club to the rescue!
|
|
|
|
Post by tonylee-Rest In Peace on Sept 15, 2016 18:15:45 GMT -5
Day #8 Are you ready for some comparison shots at this stage of the project? 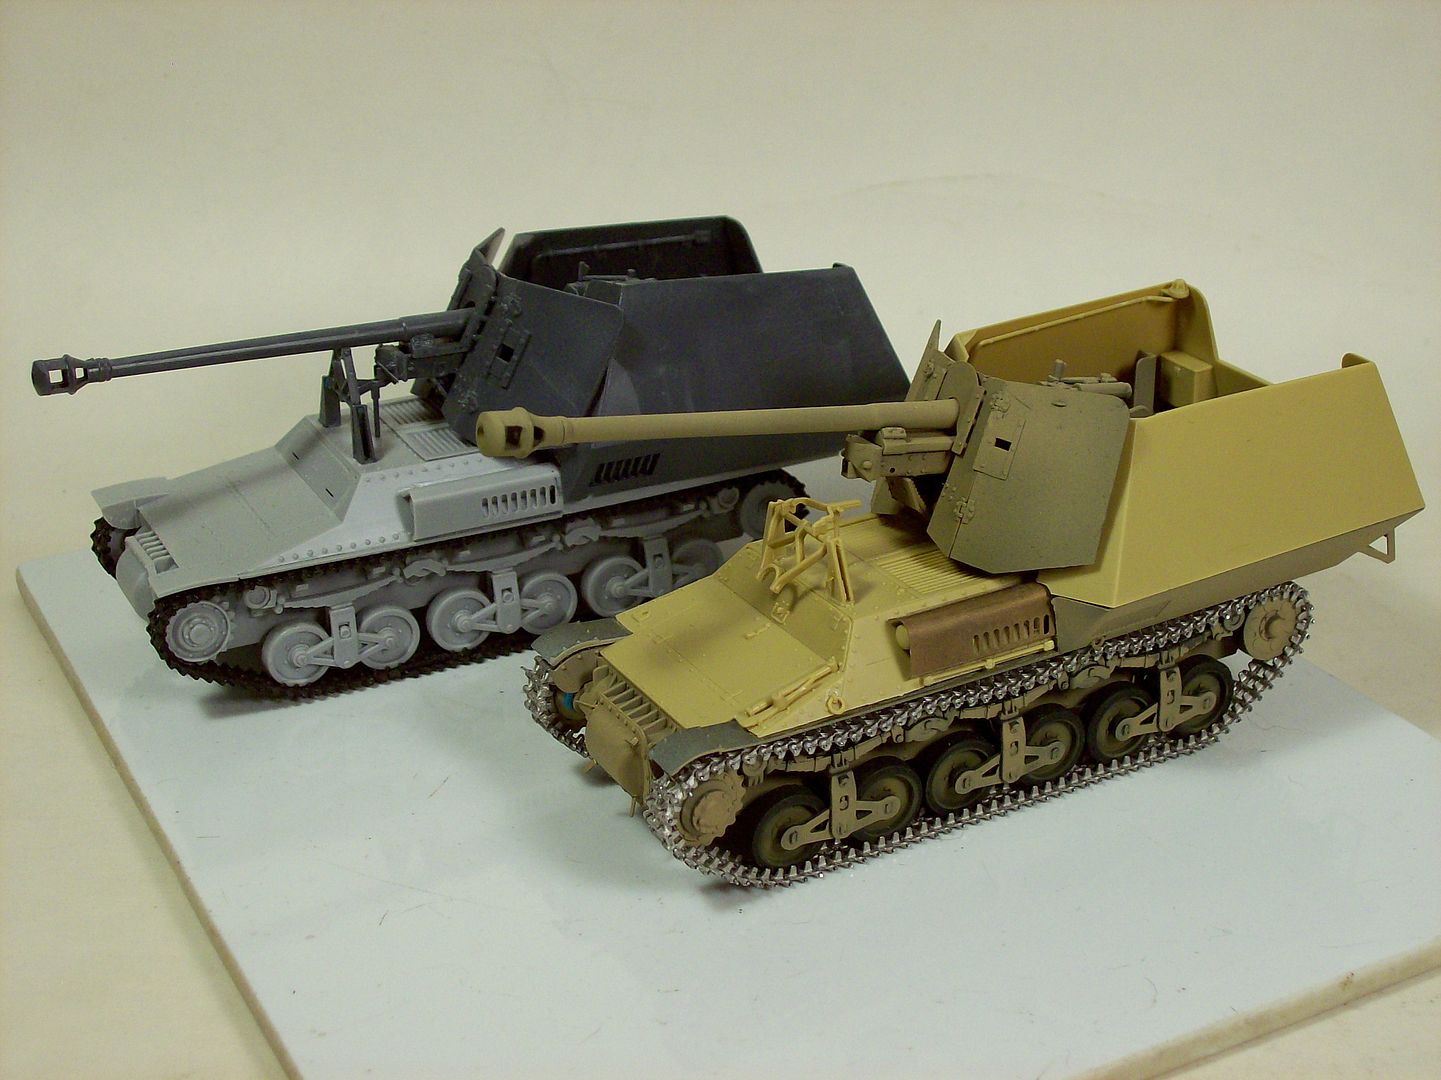 Front: You can see that the Panda has more detail added than the RPM model. The muffler/silencer cover:PE on the Panda and thick plastic on the RPM. Panda has tools. Armor shield on the Panda is thinner and has crisper detail. 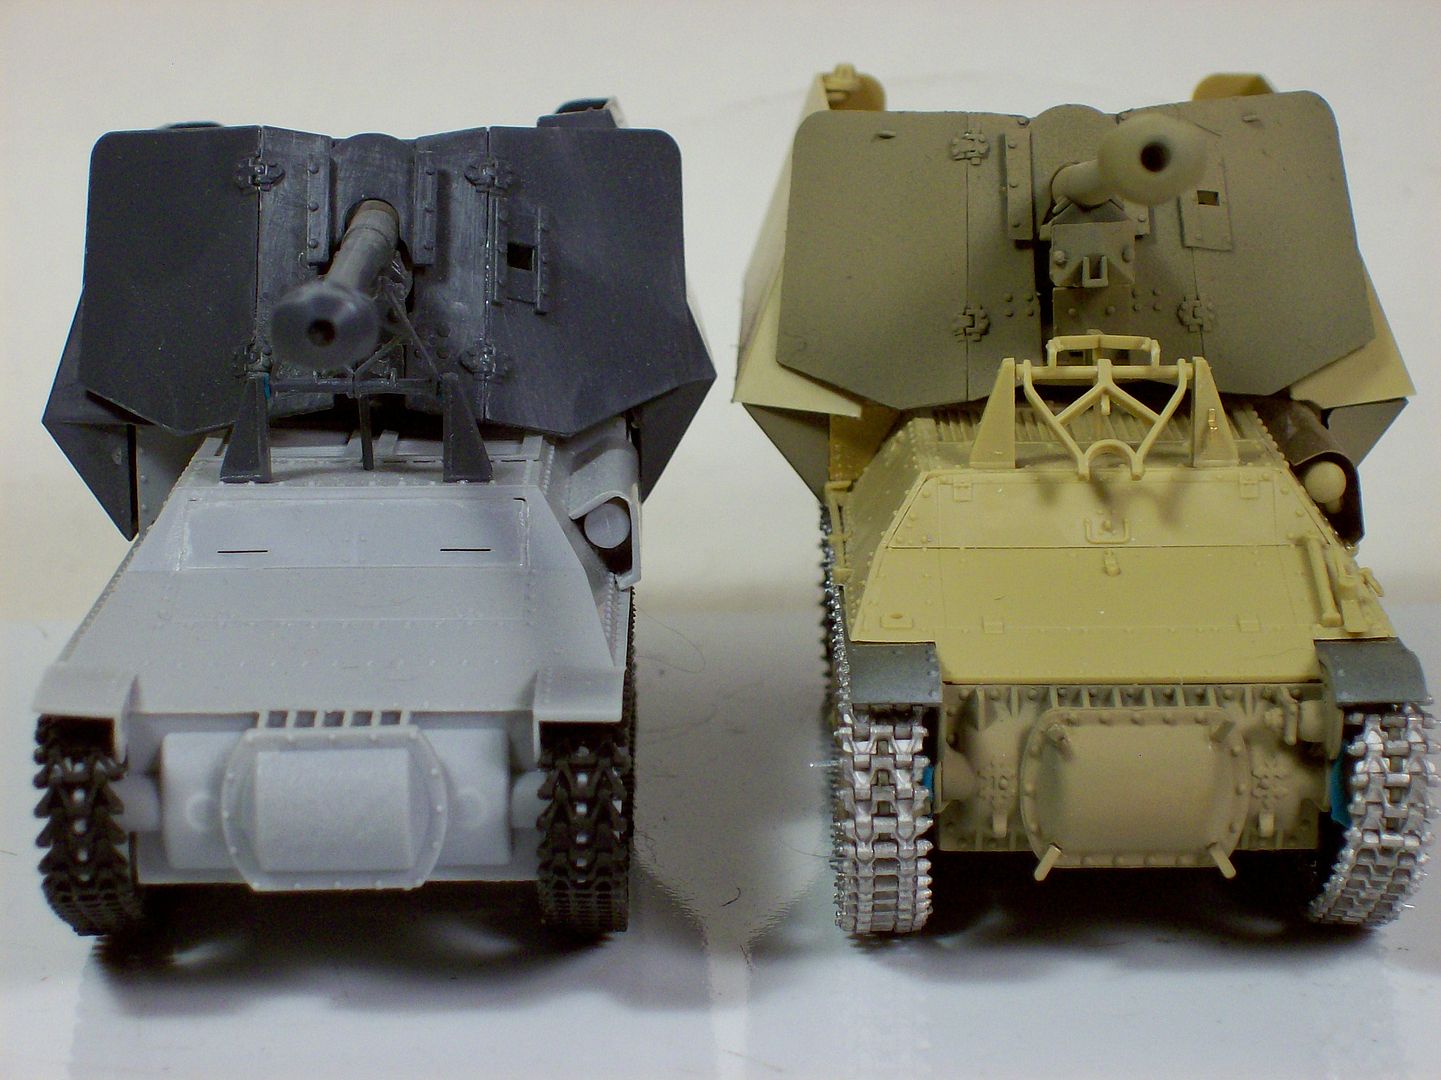 Rear: The fighting compartment walls are separate panels on the RPM while the Panda is a one piece shell. The grab handle holes on the RPM are huge so I filled those and will re-drill them. Note the lack of detail on the RPM lower hull. 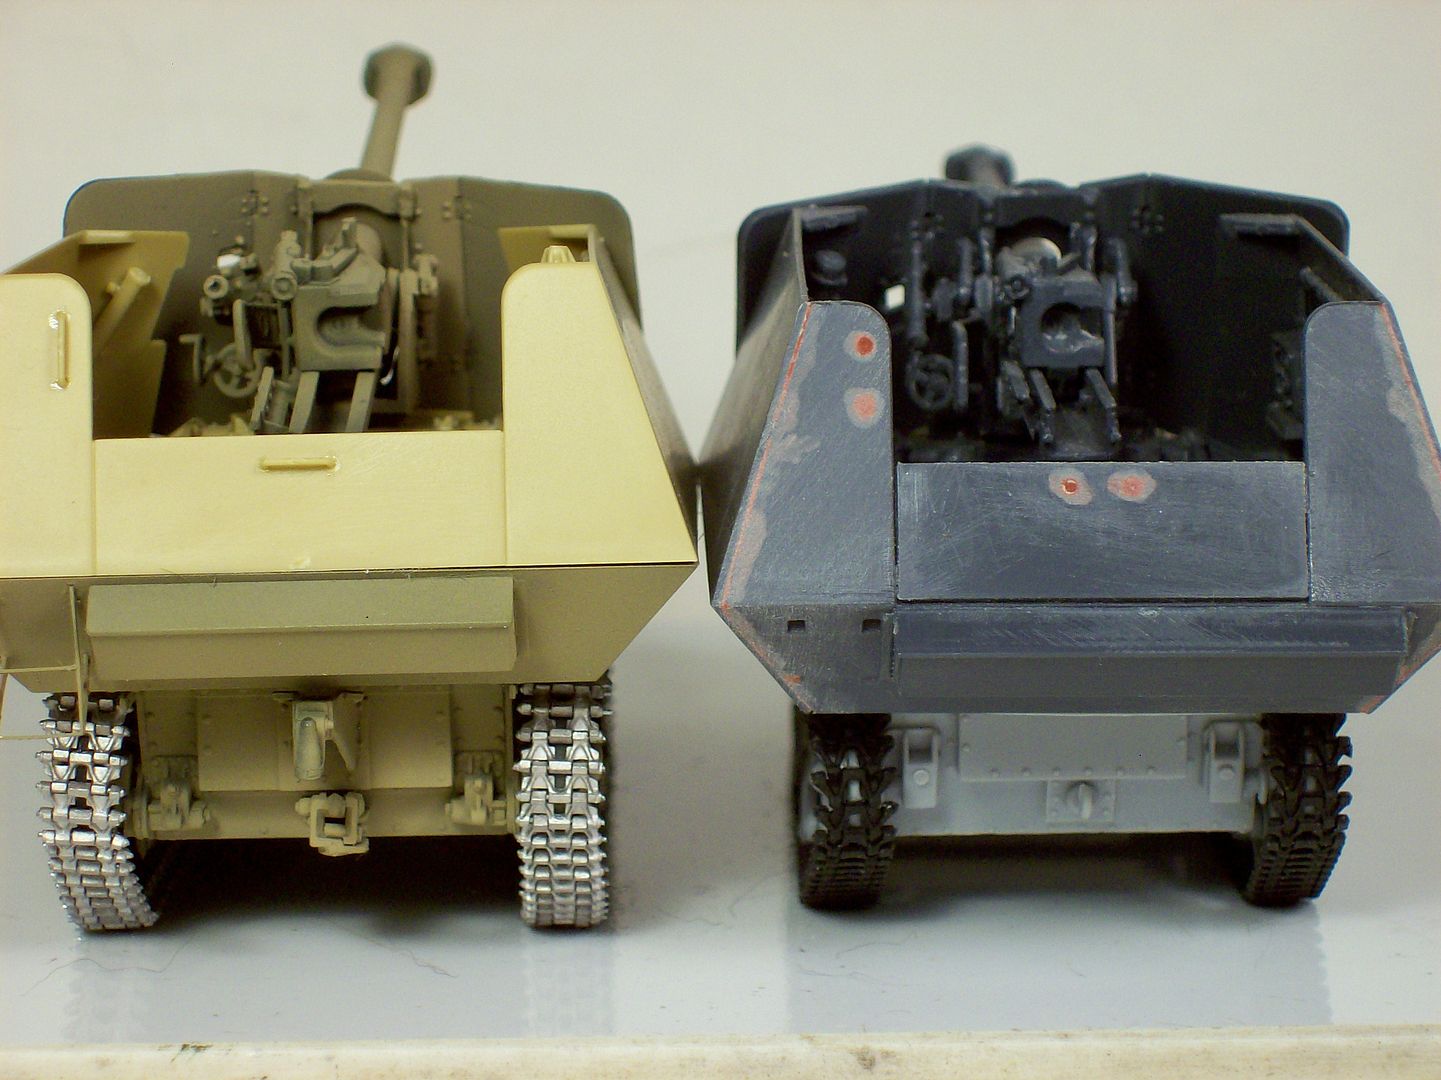 Suspension: RPM once again the detail is lacking and even missing the spring shackles. 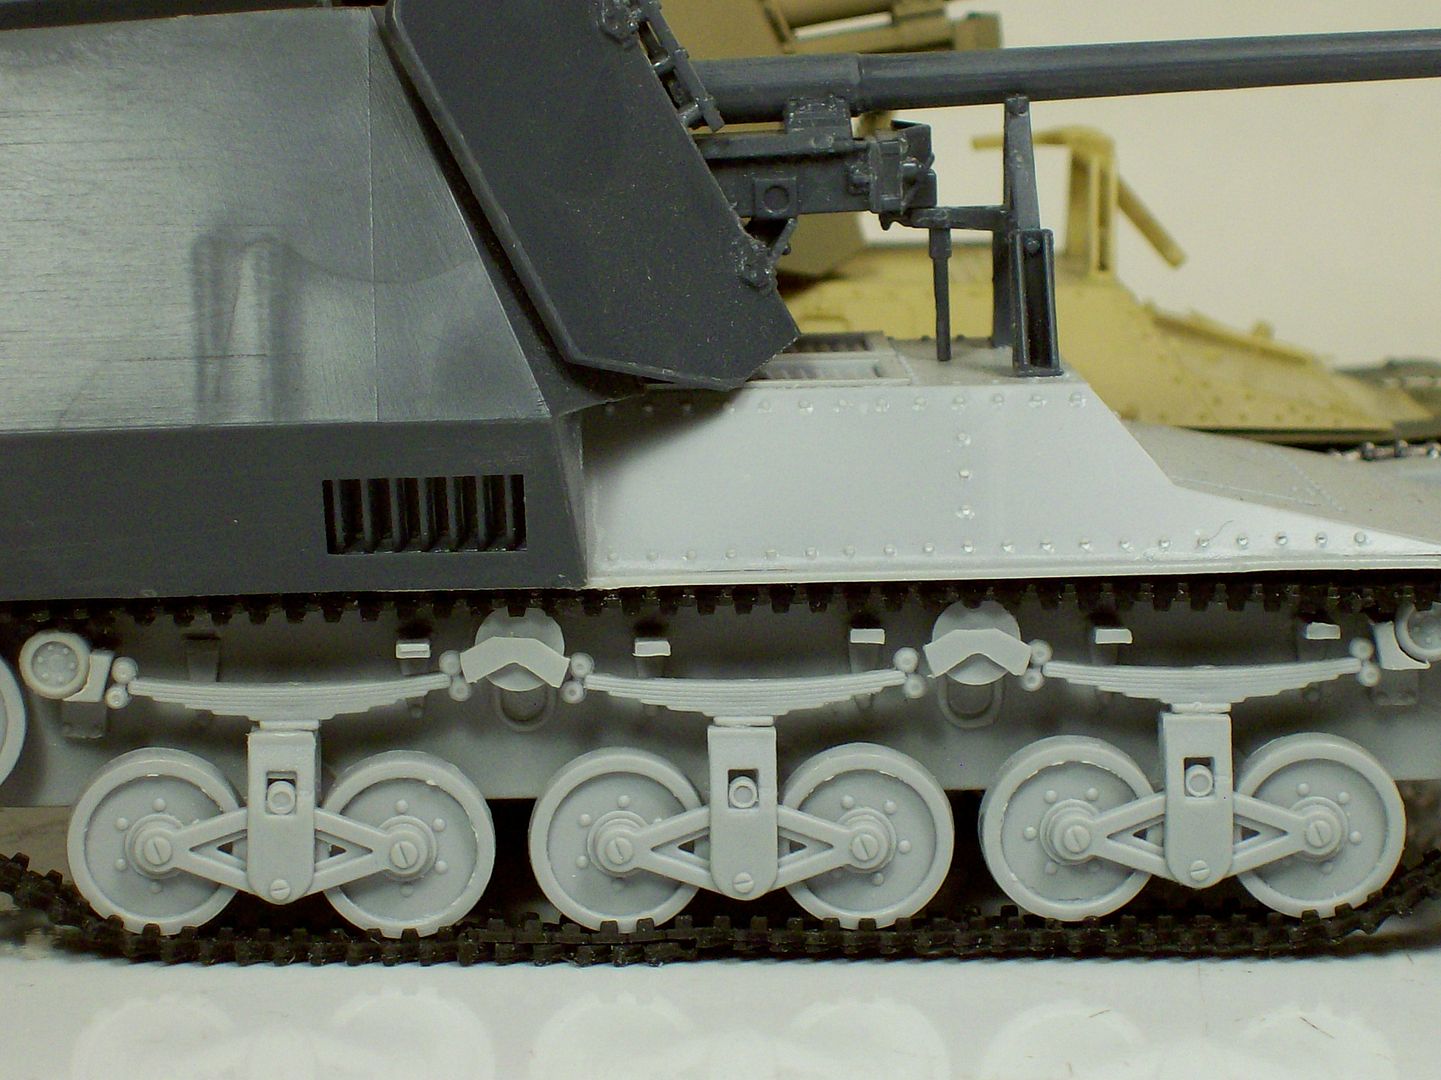 Panda: 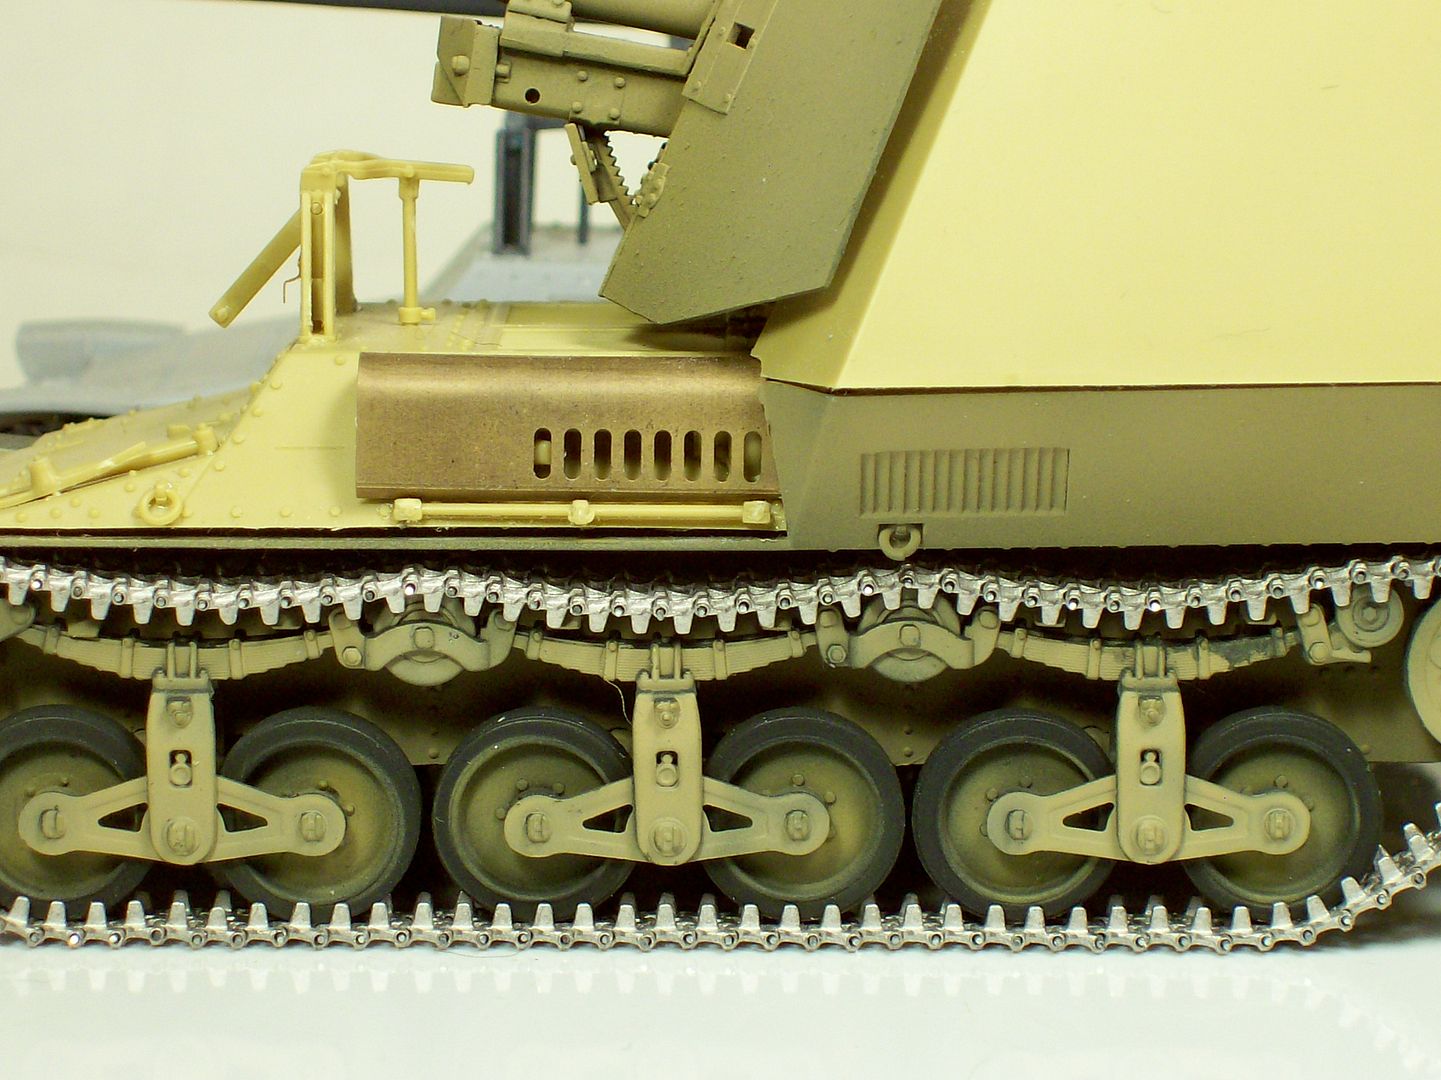 Side: Panda 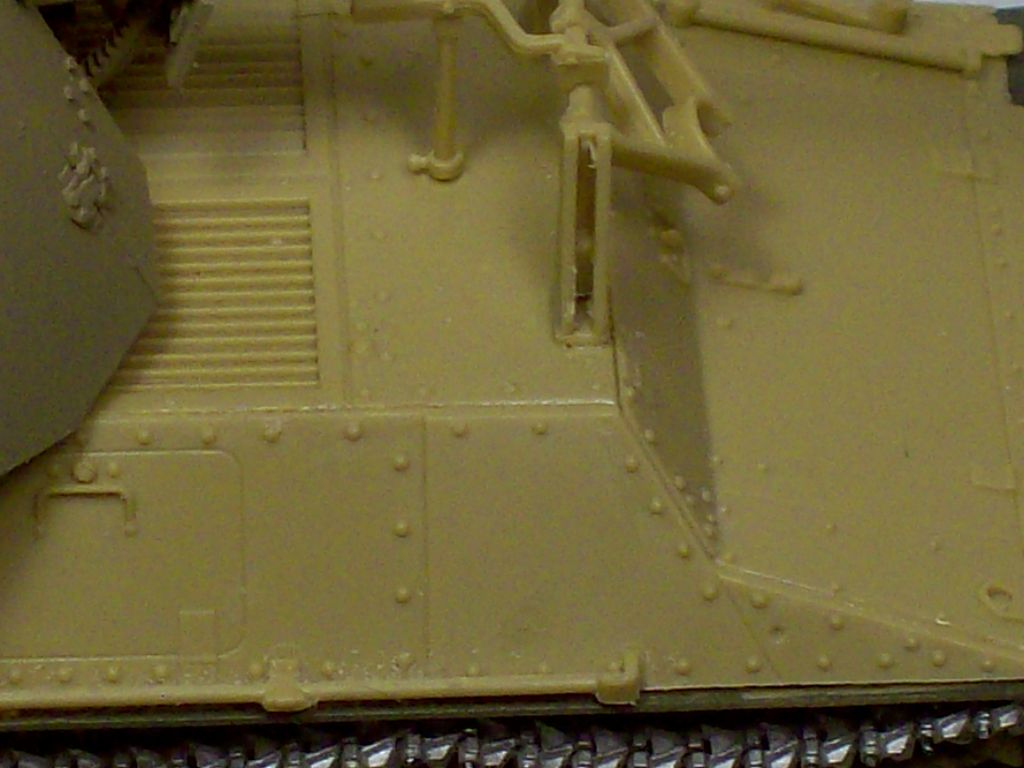 RPM 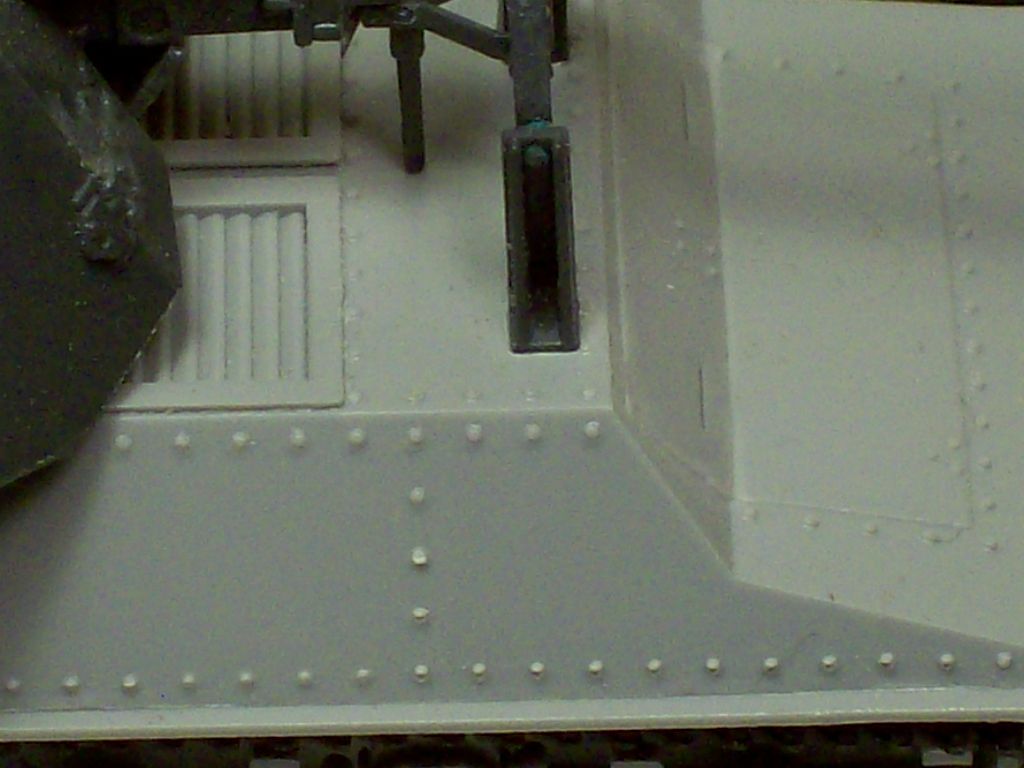 interior: I still need to paint the panda shell storage rack before installing. 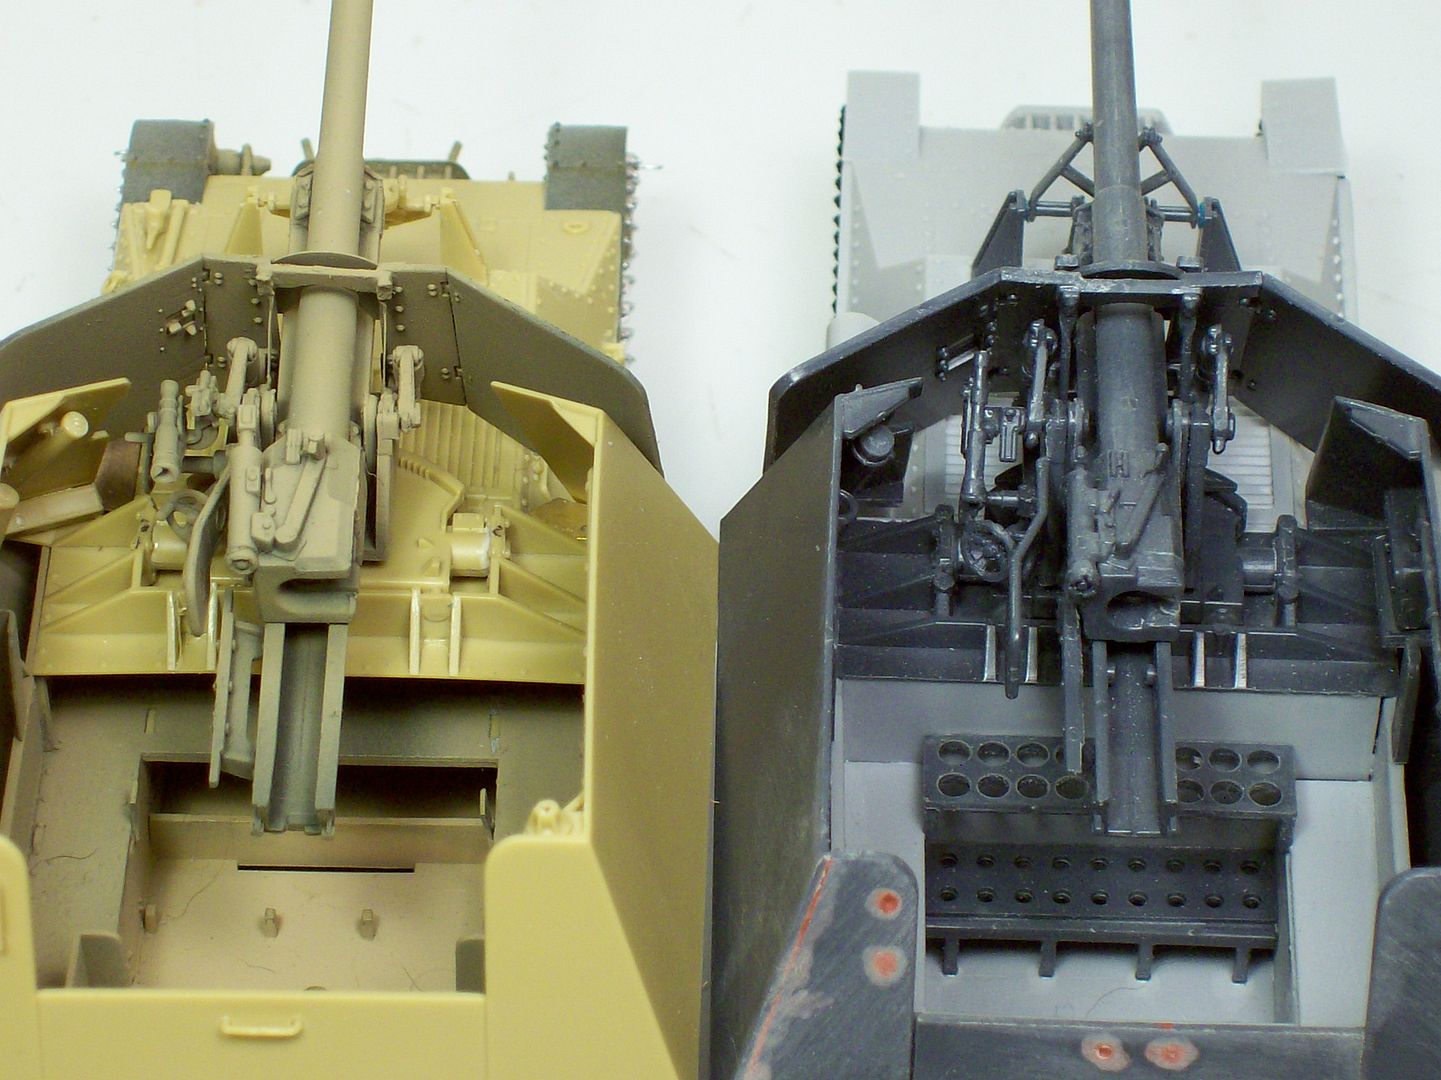 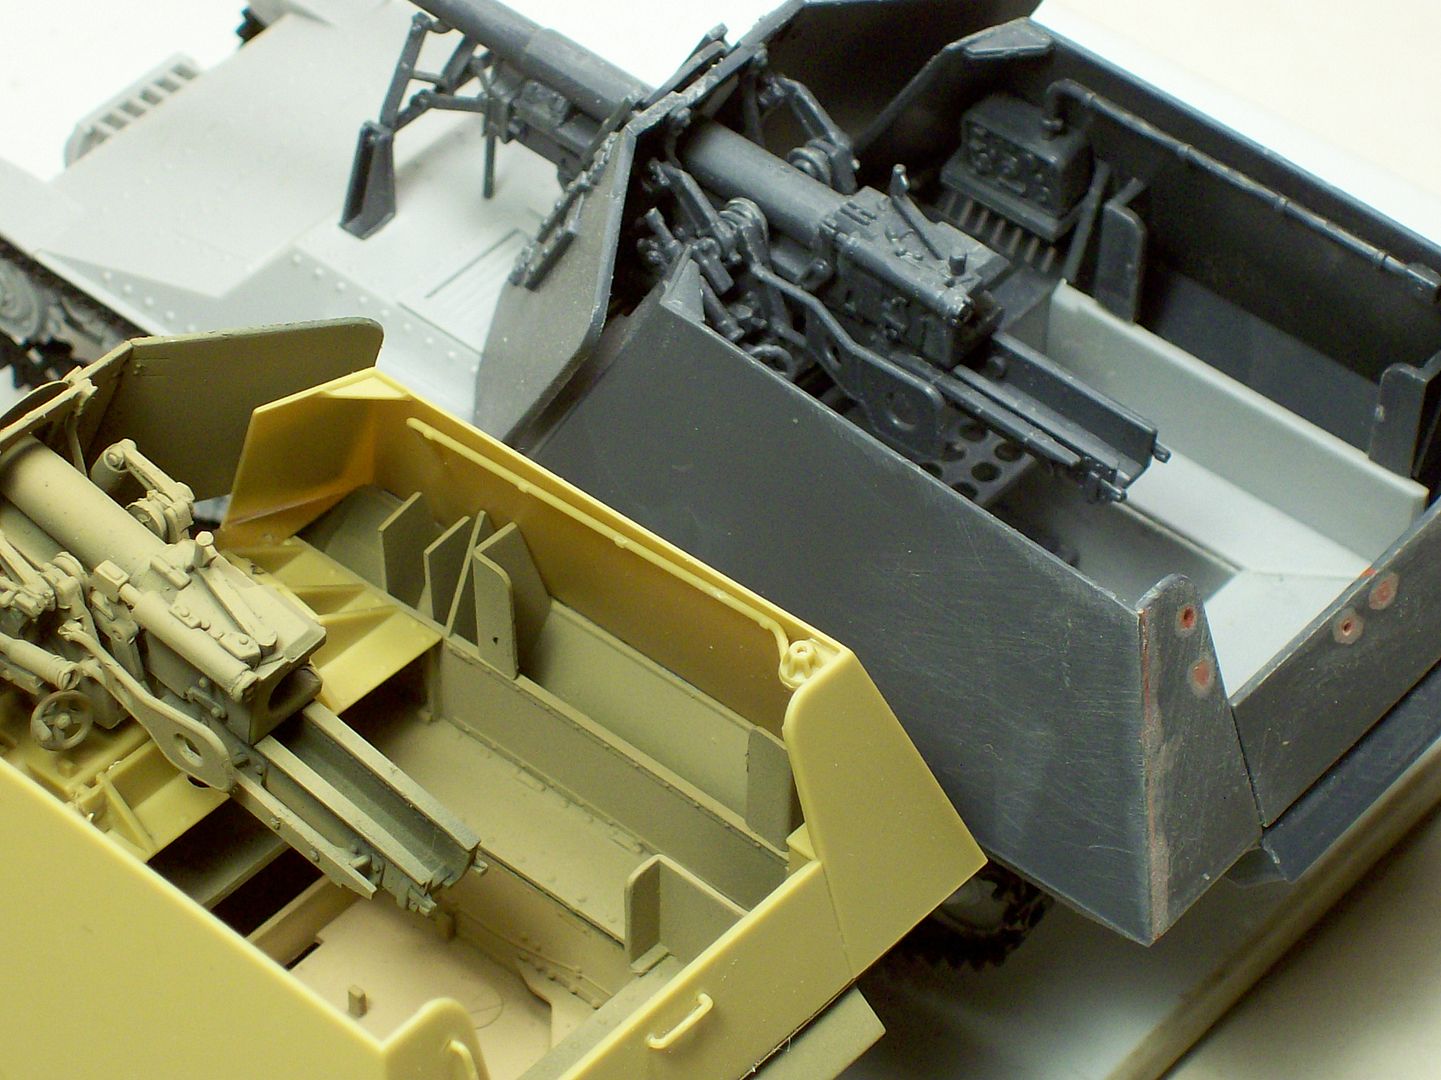 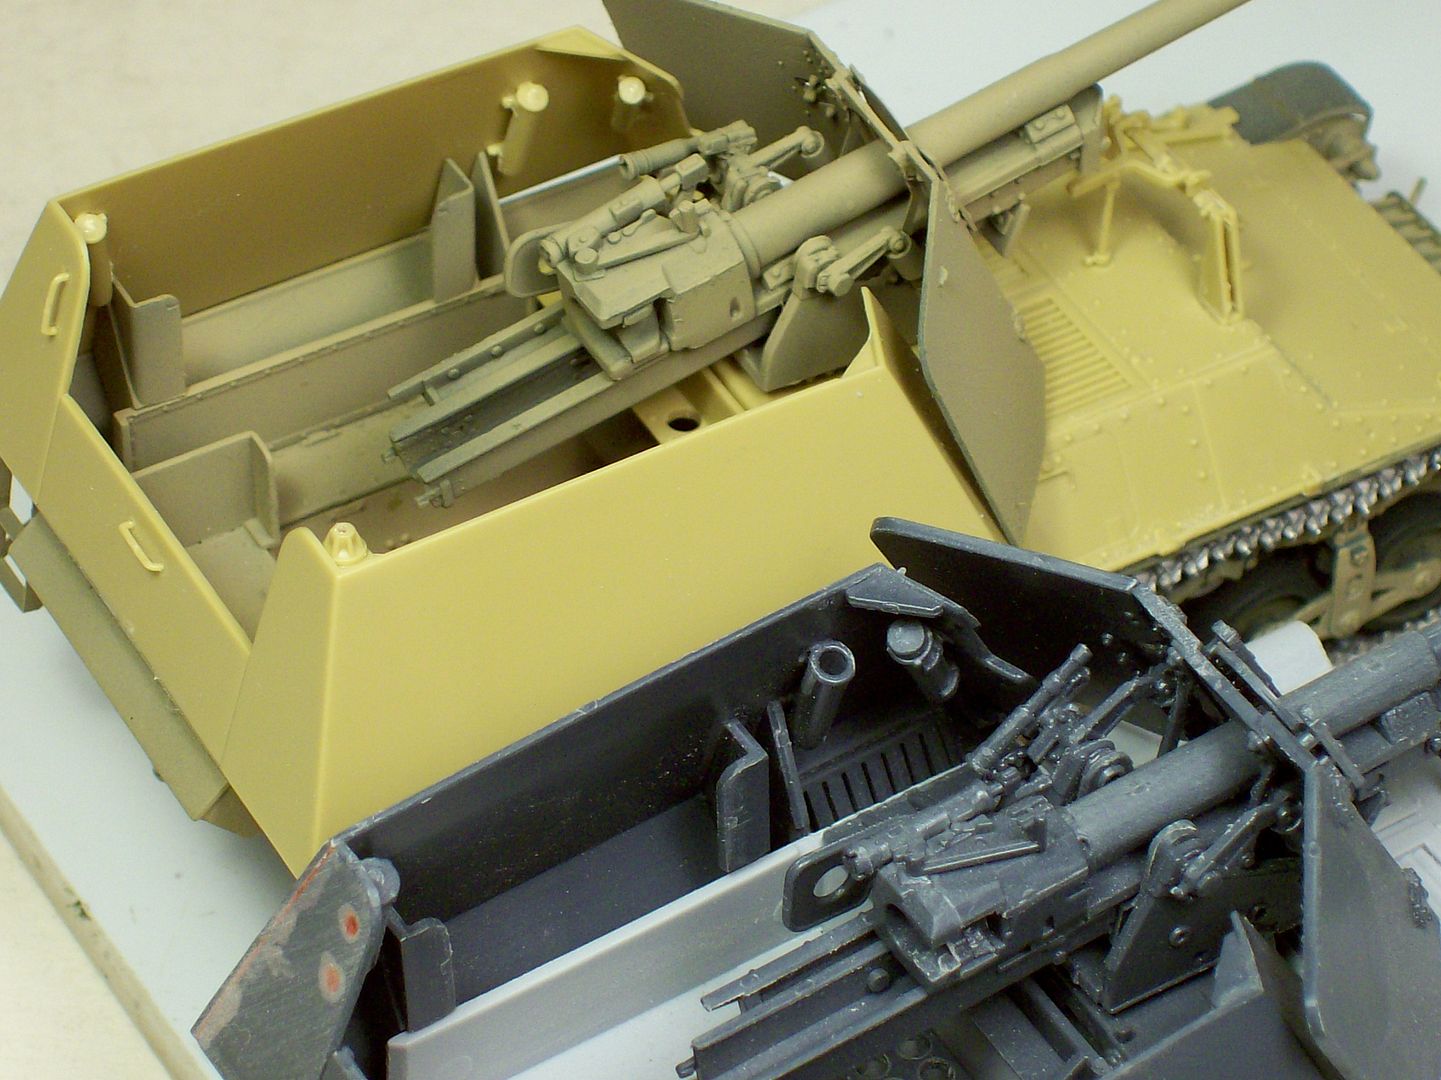 Panda radio needs painting yet and note the missing lower hull rivet detail on the RPM. Did you notice the thinner armor plate on the Panda? Top shot of the front: 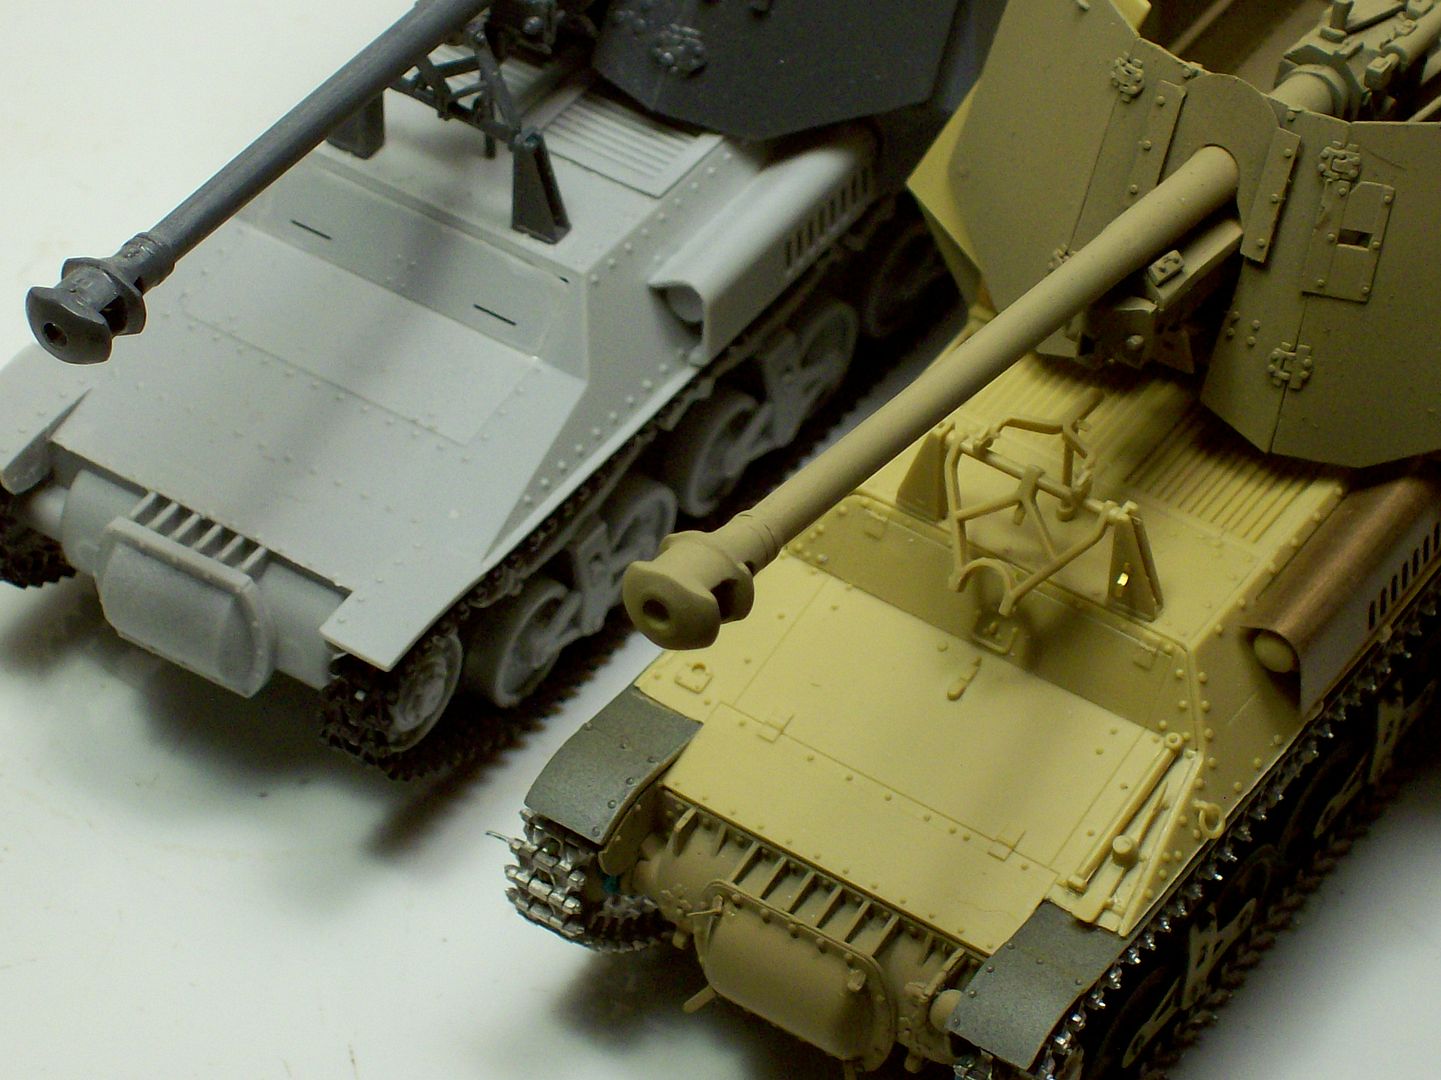 If you have one of the RPM Marder I's or one of the many other brand names this kit has been sold under don't trash can it because you can always build it as a burned out wreck. Looks like rain for a couple days so I may not get to paint. See Ya when the shop opens back up. Tony lee |
|
|
|
Post by Leon on Sept 16, 2016 5:00:54 GMT -5
Nice comparison shots Tony!  |
|
|
|
Post by tonylee-Rest In Peace on Sept 18, 2016 10:25:56 GMT -5
Day #9 Before and after the rain I got some painting done after all. 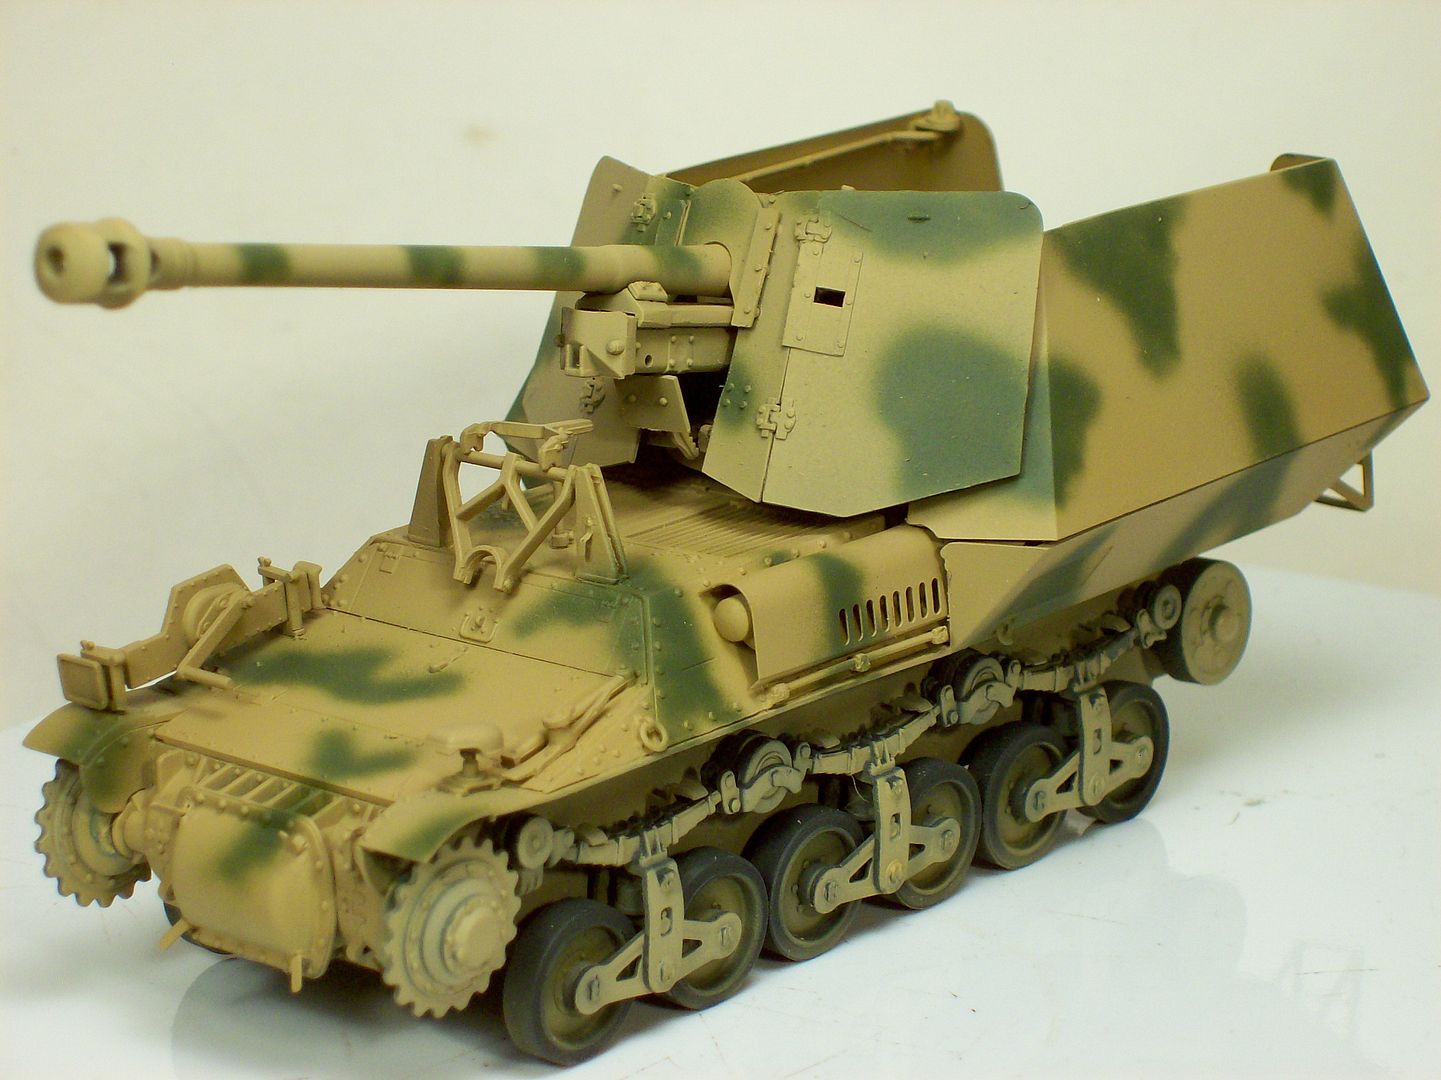 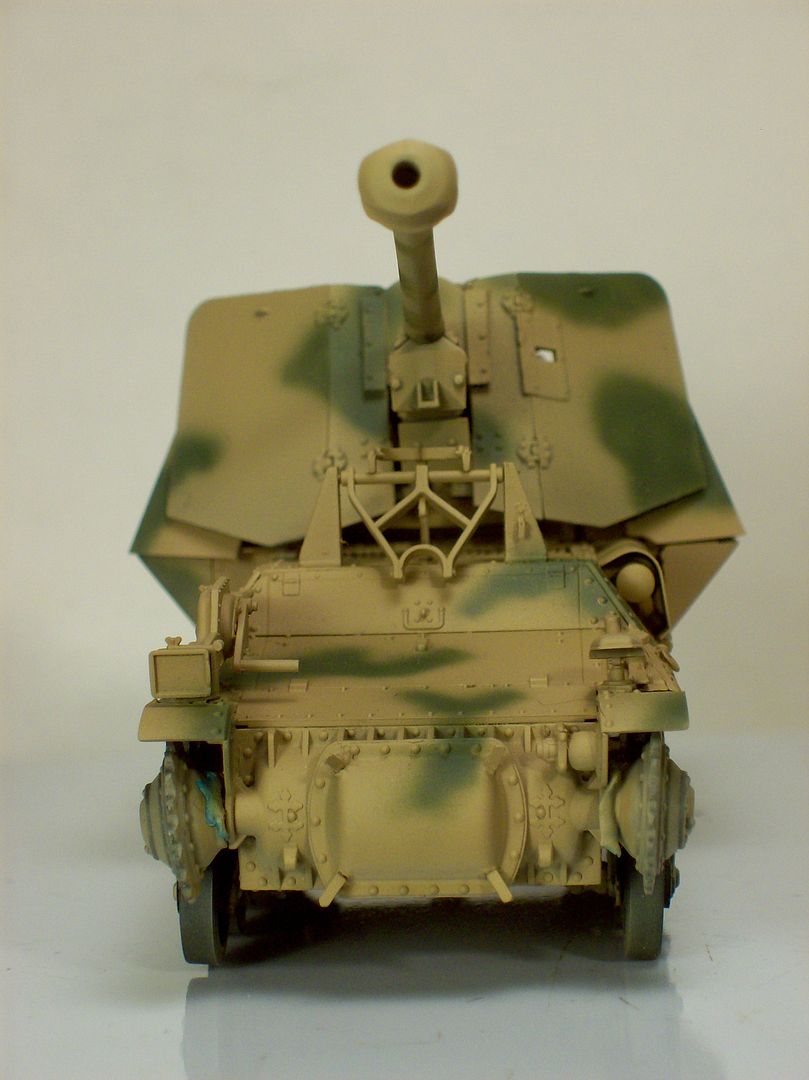 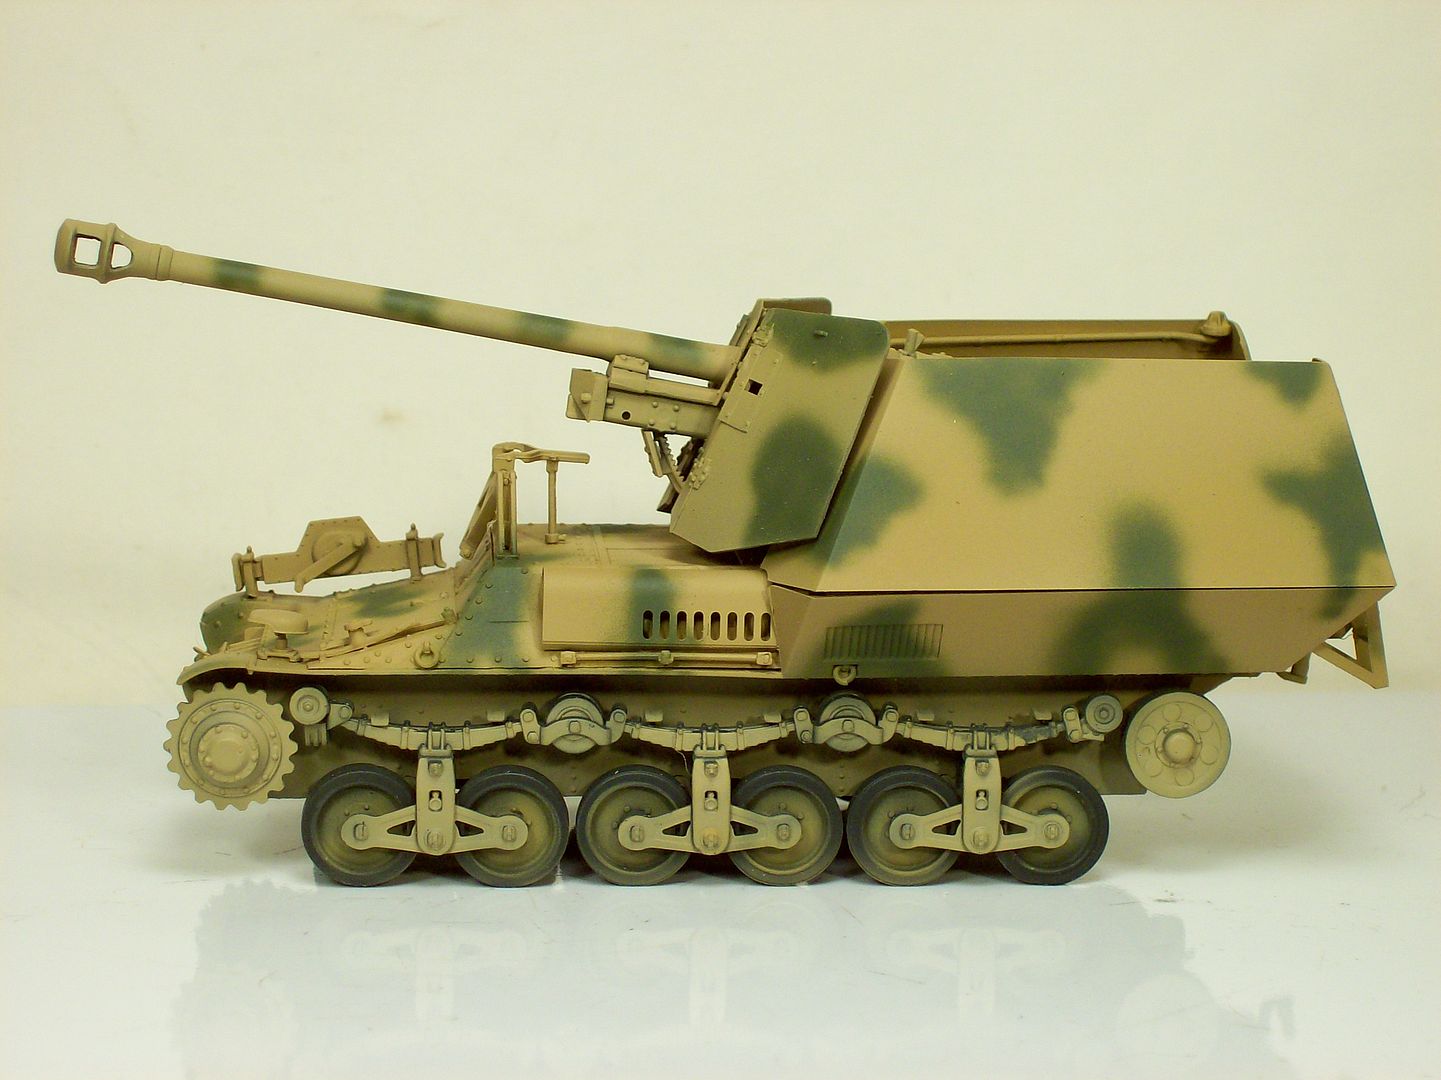 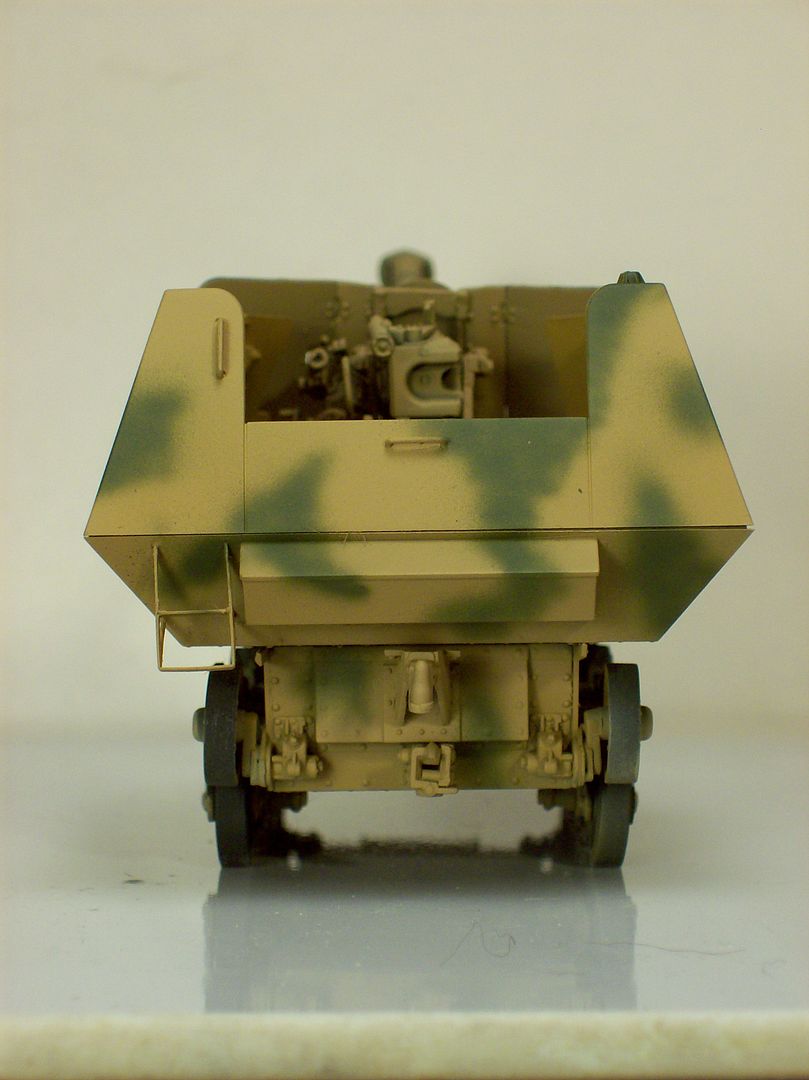 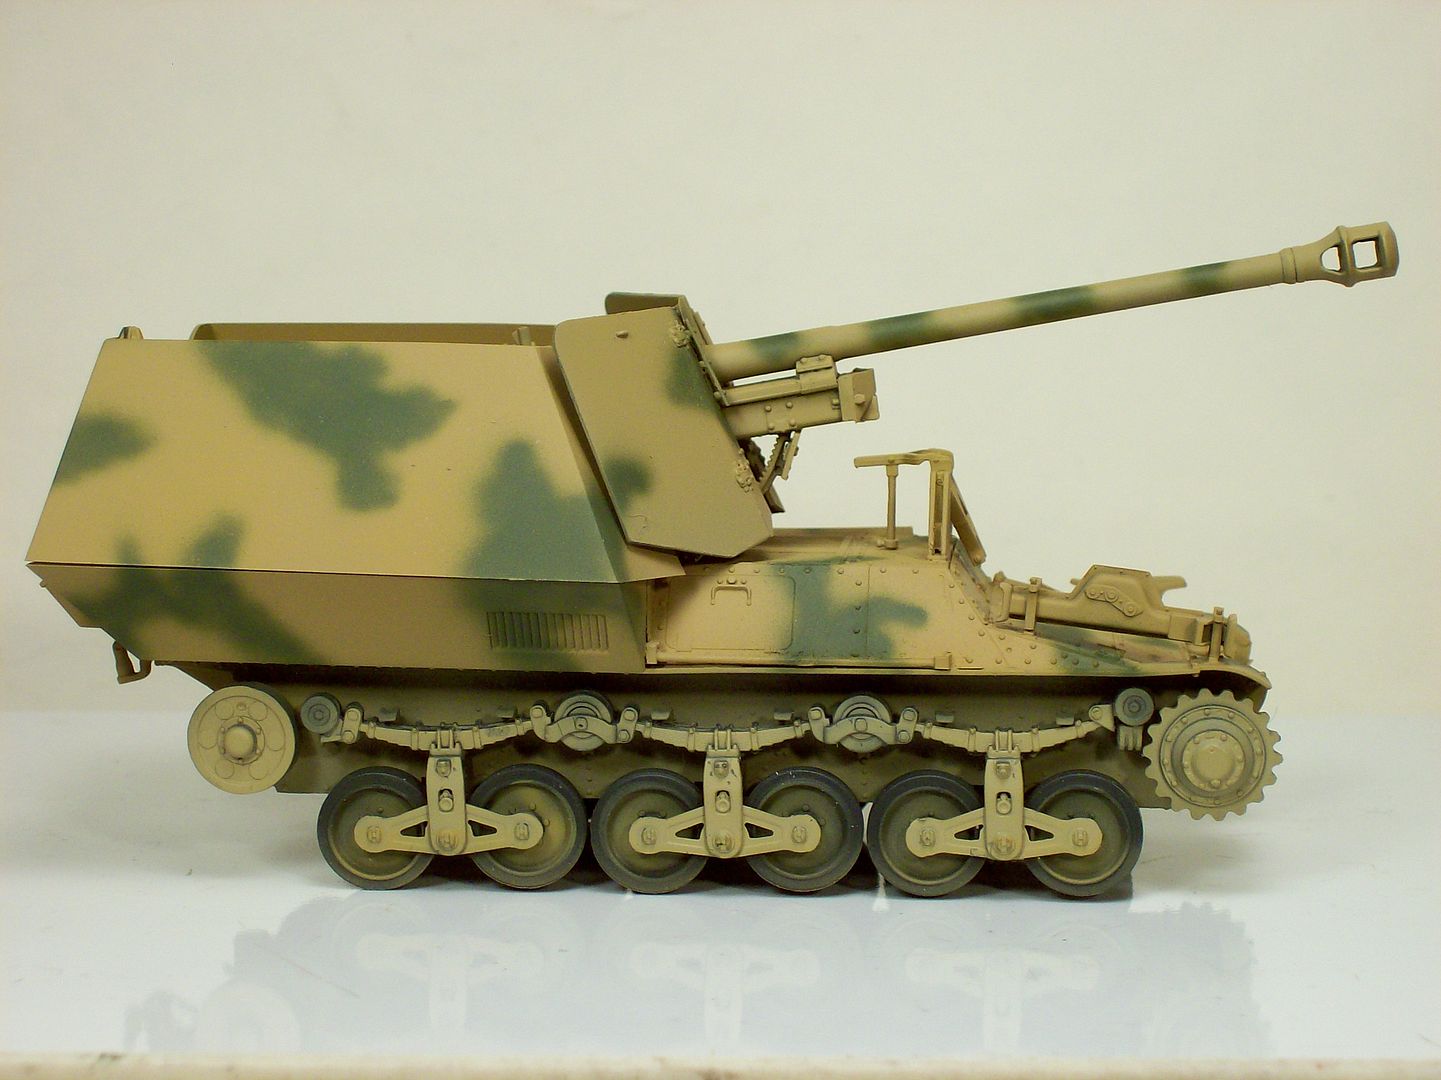 Rain is in the forecast again and after it passes I can get the details painted. Have a good one Tony lee |
|
|
|
Post by Leon on Sept 18, 2016 13:35:51 GMT -5
Paint and camo look good Tony!
|
|
|
|
Post by tonylee-Rest In Peace on Sept 18, 2016 15:00:59 GMT -5
Thanks Leon a bunch  I bet you're lonesome around here?  ? Uncle Tony |
|
|
|
Post by TRM on Sept 18, 2016 18:30:52 GMT -5
LOL....I am sure sometimes Leon does feel a little lonely here!  Finally caught up! Looks like the Panda is the way to go...a measurable difference in detailing! Always a bonus seeing you slapping some color around! Fine camo work!! |
|
|
|
Post by tonylee-Rest In Peace on Sept 18, 2016 22:14:37 GMT -5
Silence is golden but where did everybody go?   Ohyeah this one is leaps and bounds better than the older RPM rig. I hate to free hand camo because I might mess up and say a bad word  Starting some detail painting tomorrow and get that fighting compartment walls glued down. Thanks for the ataboy Tony lee |
|
|
|
Post by tonylee-Rest In Peace on Sept 23, 2016 18:04:49 GMT -5
Day #10 Sorry for a late update but it's been busy around my place. Remember I said a tow cable is not supplied in the kit so I made one. 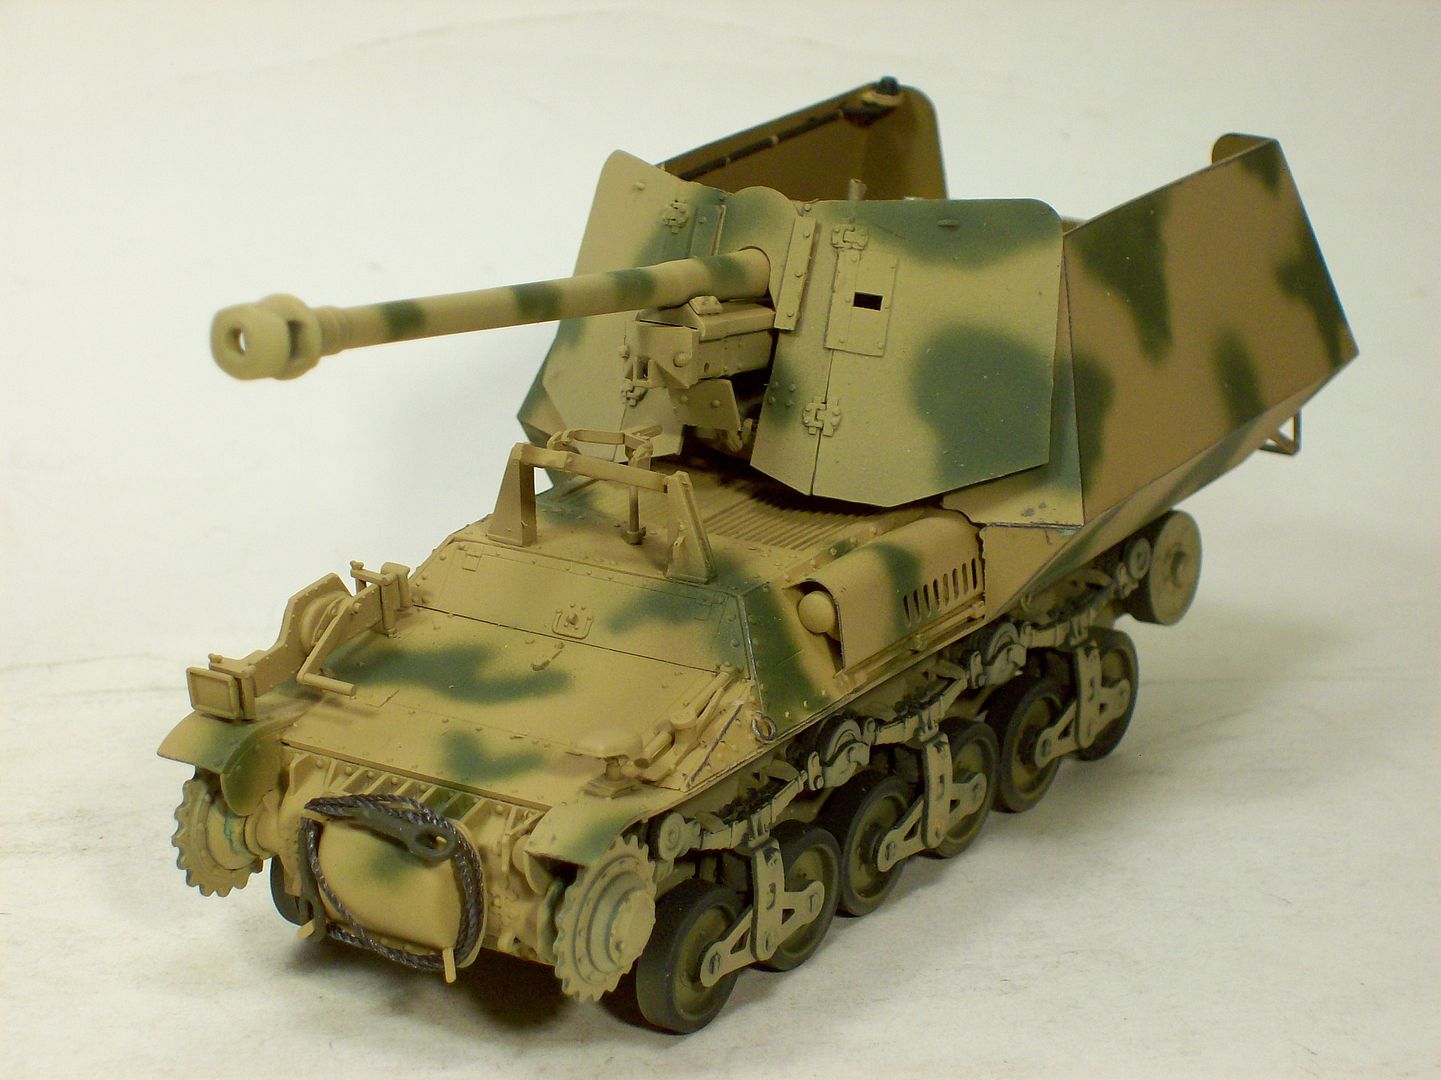 Did some detail painting and installed the office walls. 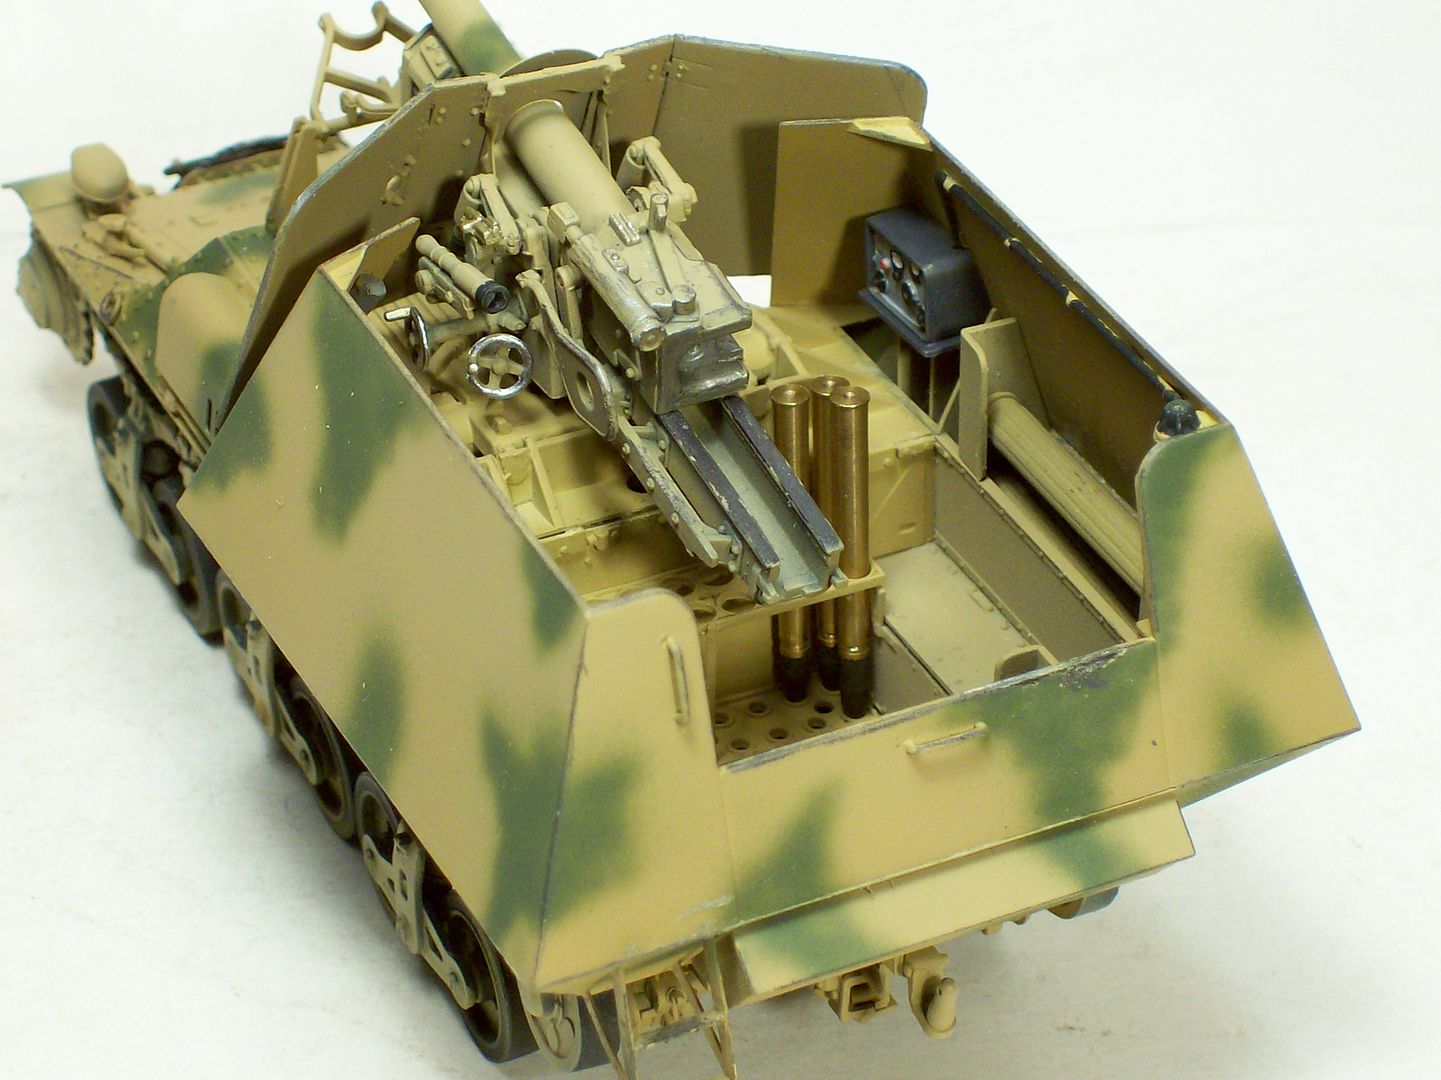 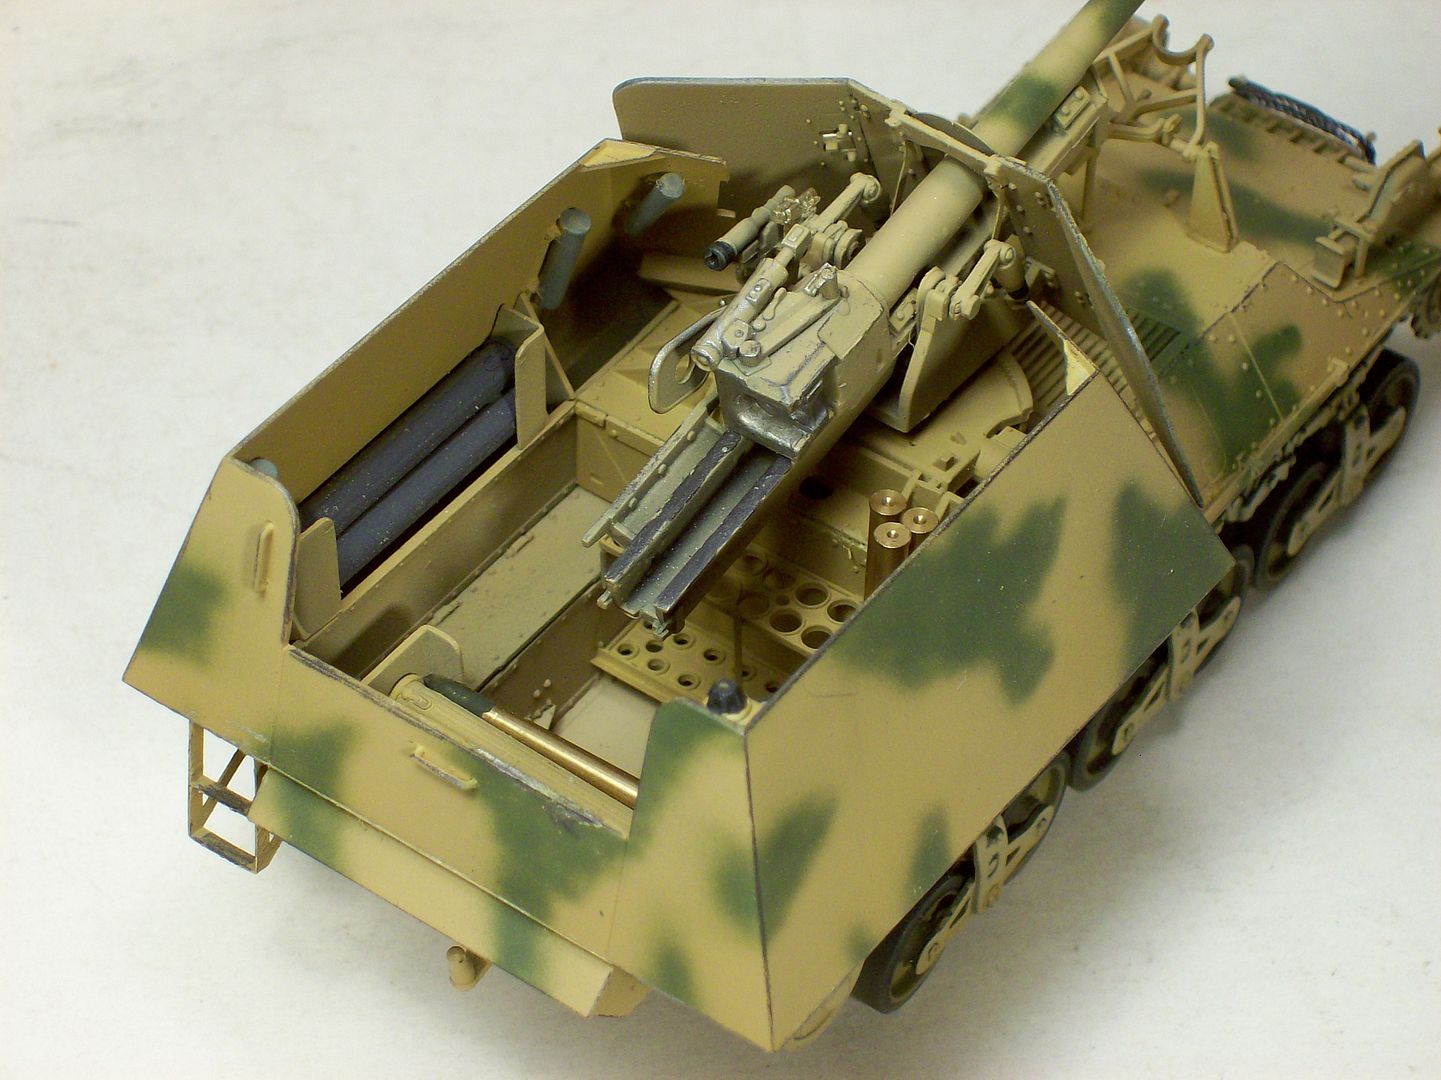 That's it for now but there's still more details that need attention. Later Folks Tony lee |
|
vlpbruce
Full Member
  
Member since: March 2013
Posts: 1,463 
|
Post by vlpbruce on Sept 23, 2016 19:47:59 GMT -5
Very impressive work Tony.
|
|
|
|
Post by tonylee-Rest In Peace on Sept 23, 2016 23:06:37 GMT -5
Thanks Mr B We'll see how long it takes me to screw it up  Tony lee |
|
|
|
Post by tonylee-Rest In Peace on Oct 7, 2016 14:57:38 GMT -5
Day #11 Applied a very reduced coat of Dark Yellow to serve as a blend coat. This blend coat reduces the sharp contrast between colors. After the base colors were completely cured I then applied MIG's Filter for a German Tri-Color paint scheme. 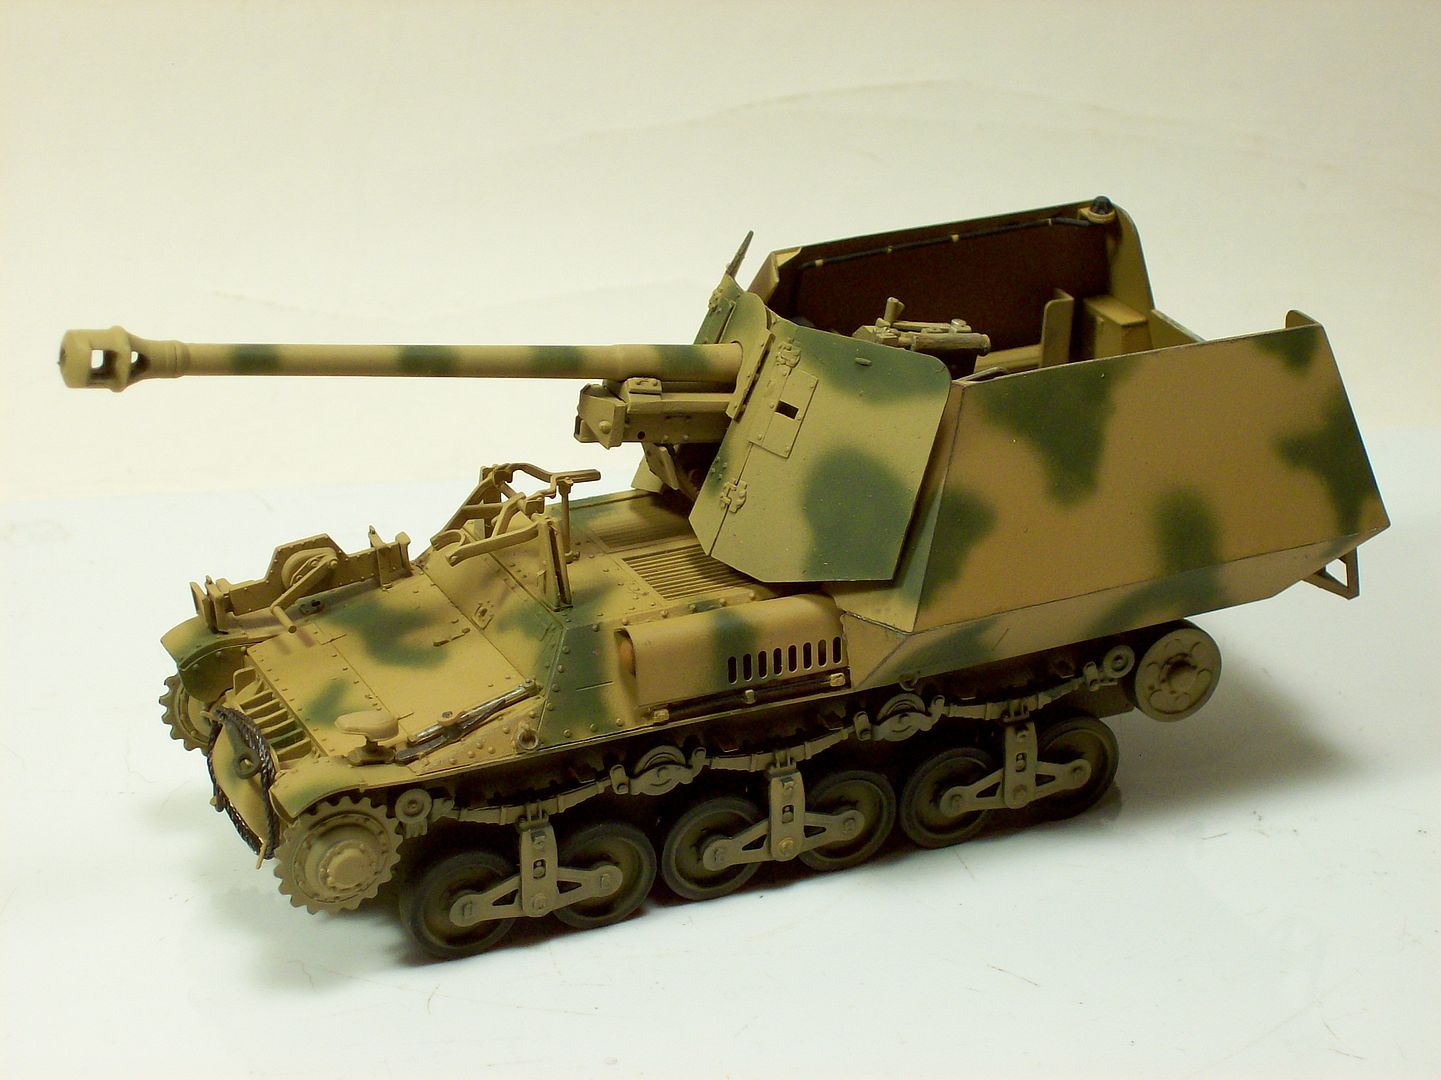 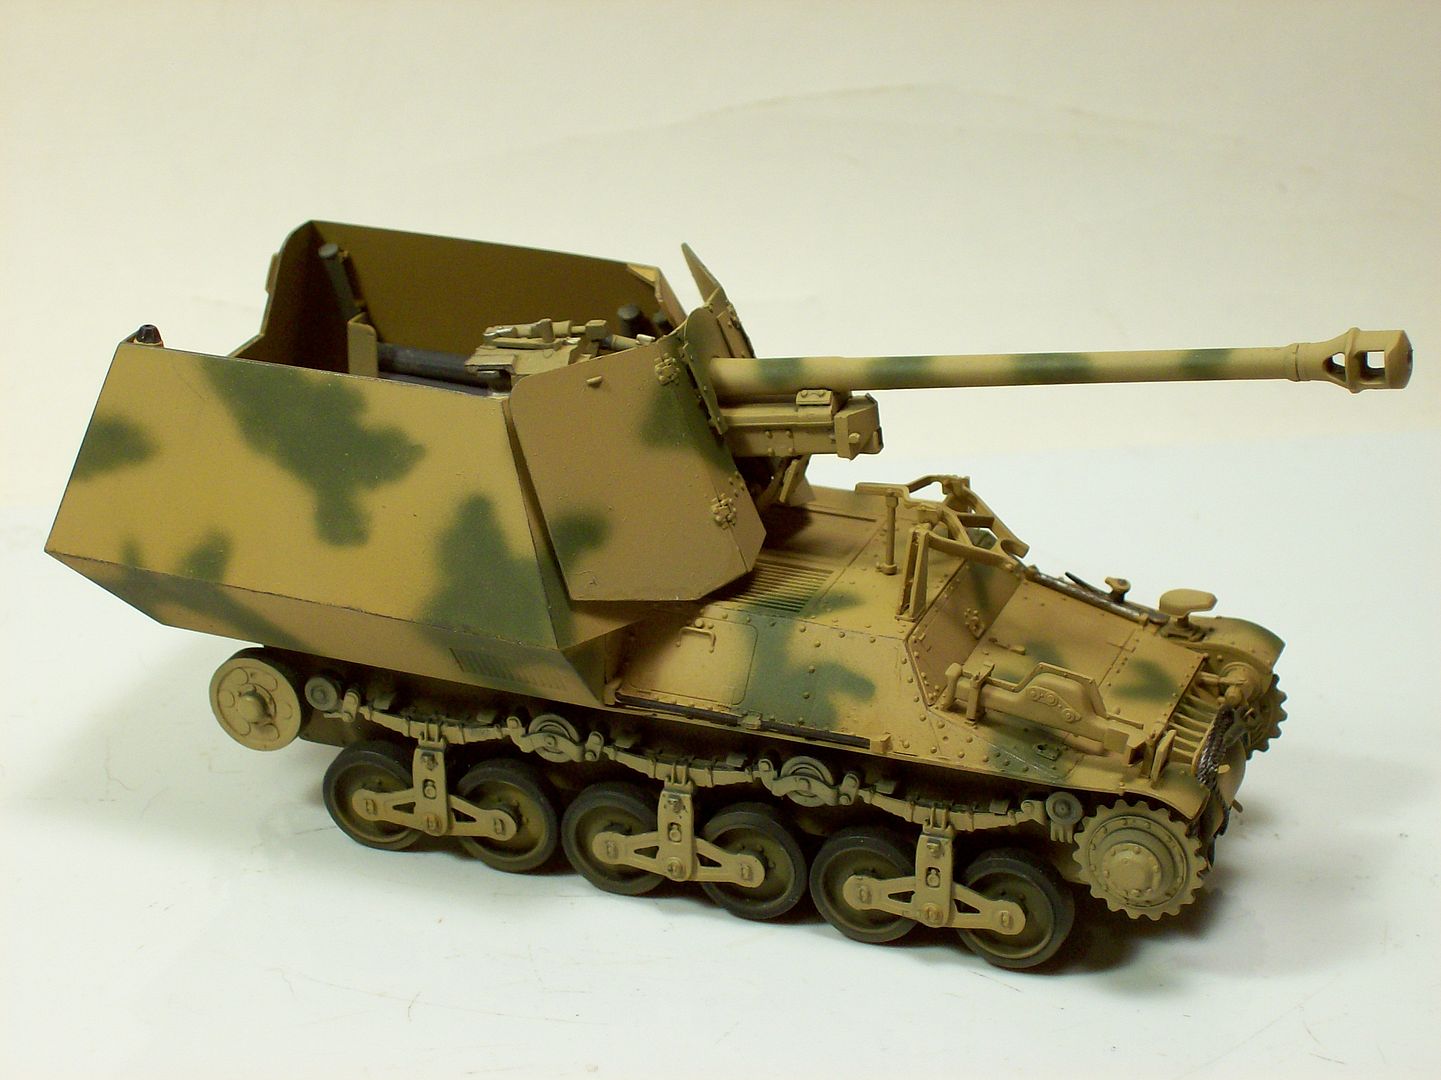 After the turps dry out of the filter then comes a clear sealer coat and decals. Sure hope you folks on the east coast are weathering the storm safely. See Ya Later Tony lee |
|
|
|
Post by tonylee-Rest In Peace on Oct 13, 2016 14:54:36 GMT -5
Update #12 Decals: 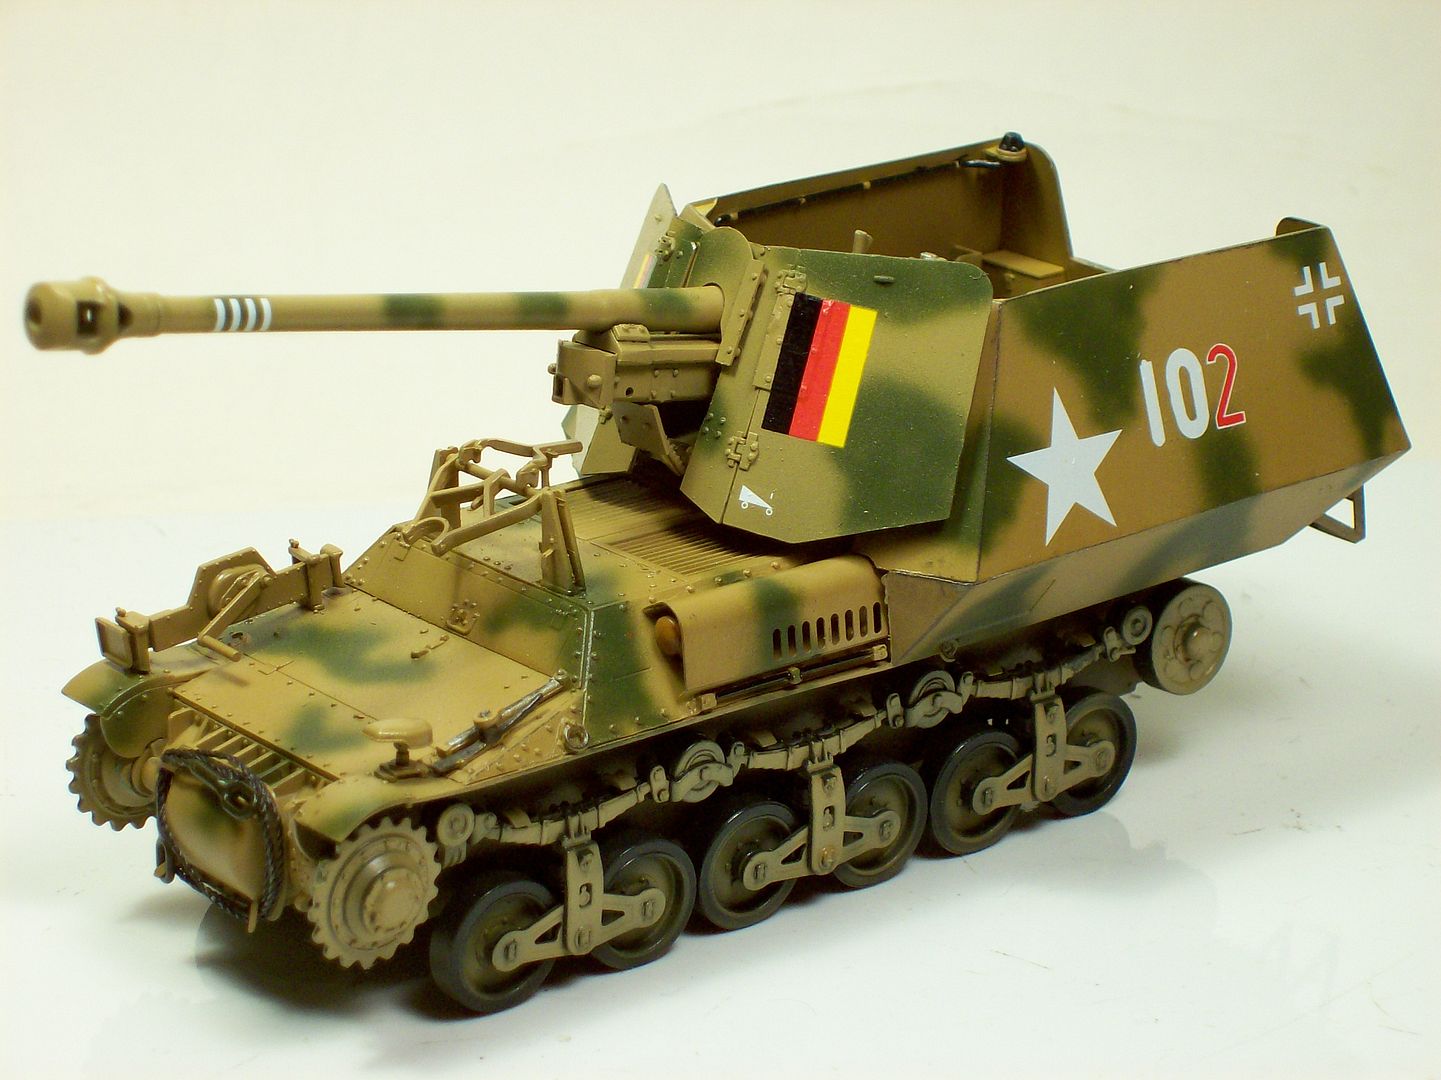 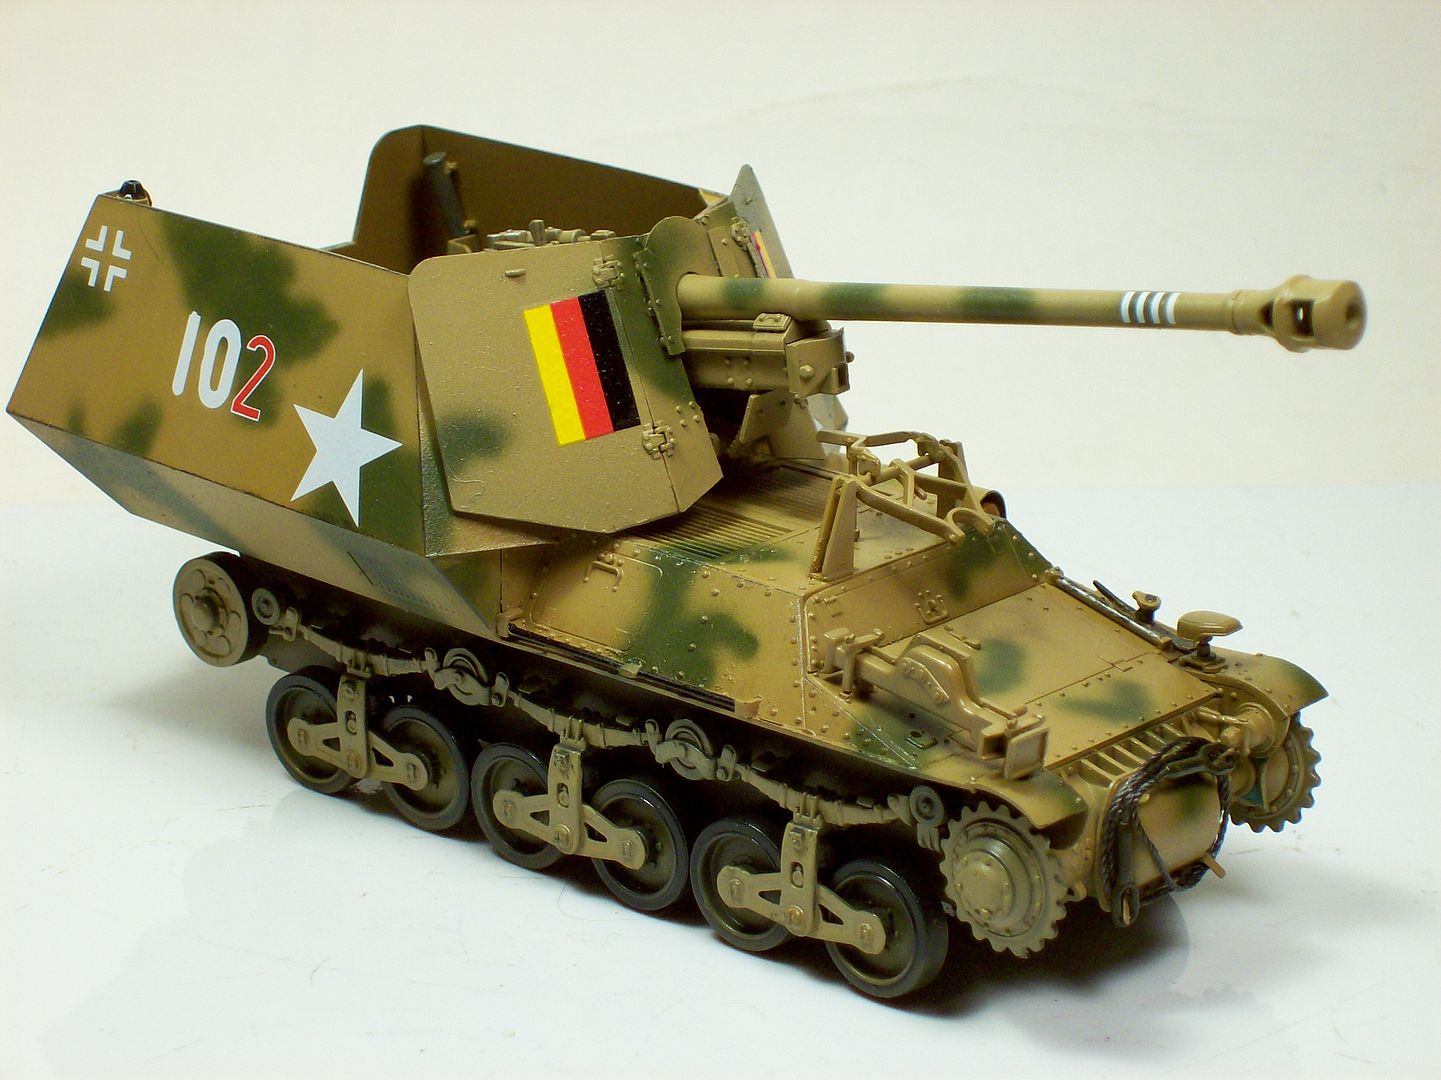 After the filter dried a clear sealer was applied and then the decals were placed. I couldn't find the name of the decal manufacture anywhere but other than being a little on the thick side they are well indexed and laid down on the model surface really well with the aid of a decal setting solution. When dry i'll seal them up with another clear coat and we'll move on to whipping this Marder into shape. Thanks for following along folks. Tony lee |
|
|
|
Post by mrt51 on Oct 13, 2016 16:04:55 GMT -5
Look great!
Terry
|
|
|
|
Post by Leon on Oct 13, 2016 16:09:48 GMT -5
Just getting caught up here tony! Filter and markings look great.  |
|
|
|
Post by TRM on Oct 13, 2016 16:17:27 GMT -5
Very nice Tony!! Excellent work on the color and the decs! Bring on the endgame!
|
|
|
|
Post by tonylee-Rest In Peace on Oct 13, 2016 17:10:20 GMT -5
Terry,Leon and Todd your comments are very much appreciated, Thanks  Nice model by Panda, I was unsure about them at first but i'm changing my mind. Thanks Again Tony lee |
|
|
|
Post by tonylee-Rest In Peace on Oct 13, 2016 19:23:55 GMT -5
Hold The Phone Folks The flag decal is wrong,the yellow should be in the middle so the decal is wrong. When dry i'll mask it off and repaint the red and yellow stripes in the right place. DANGIT Uncle Tony  |
|
|
|
Post by TRM on Oct 13, 2016 20:57:17 GMT -5
Wow...good catch Tony Best of luck getting it straightened out!
|
|
|
|
Post by Tobi on Oct 14, 2016 10:19:28 GMT -5
Hold The Phone Folks The flag decal is wrong,the yellow should be in the middle so the decal is wrong. When dry i'll mask it off and repaint the red and yellow stripes in the right place. DANGIT Uncle Tony   And I was wondering why would they vertically put the 1848 German flag on it? It's meant to be Belgium! |
|
|
|
Post by dierk on Oct 14, 2016 11:12:56 GMT -5
Just caught up on this one - must be going deaf, I missed the starting shot...
Nice work as per usual!
Flag's a bummer though...I was going to point it out, but you'd already spotted it.
|
|
Tojo72
Forum Moderator      Sept '24 Showcased Model Awarded
Member since: November 2012
Posts: 5,316
Member is Online
MSC Staff
|
Post by Tojo72 on Oct 14, 2016 12:15:36 GMT -5
Great work Tony
|
|
|
|
Post by tonylee-Rest In Peace on Oct 14, 2016 14:45:23 GMT -5
I was in there getting ready to repaint the stripes and out of all the paints i've got there's NO red or yellow. Now i've got to go all the way across town to get some.  Always Something Uncle Tony |
|
|
|
Post by tonylee-Rest In Peace on Oct 14, 2016 15:32:53 GMT -5
Just found this clear photo and the colors are pretty obvious. 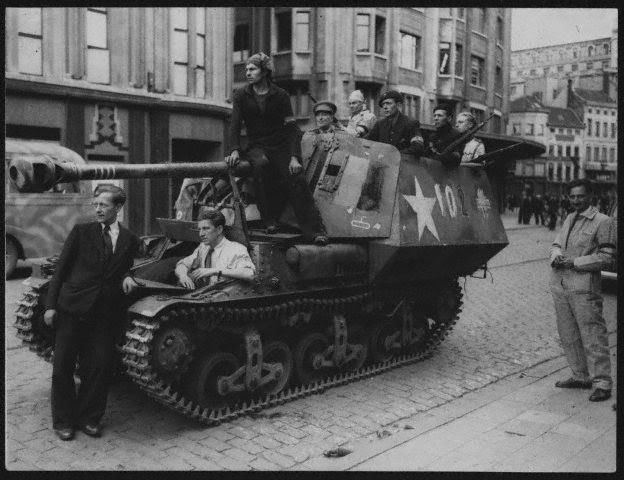 Tony lee |
|
|
|
Post by tonylee-Rest In Peace on Oct 16, 2016 11:41:42 GMT -5
Update #13 Corrected the flag colors. It would have been a lot easier to cut the decal and placed the color bars in the right order but my head was up and locked making the correction more complicated. 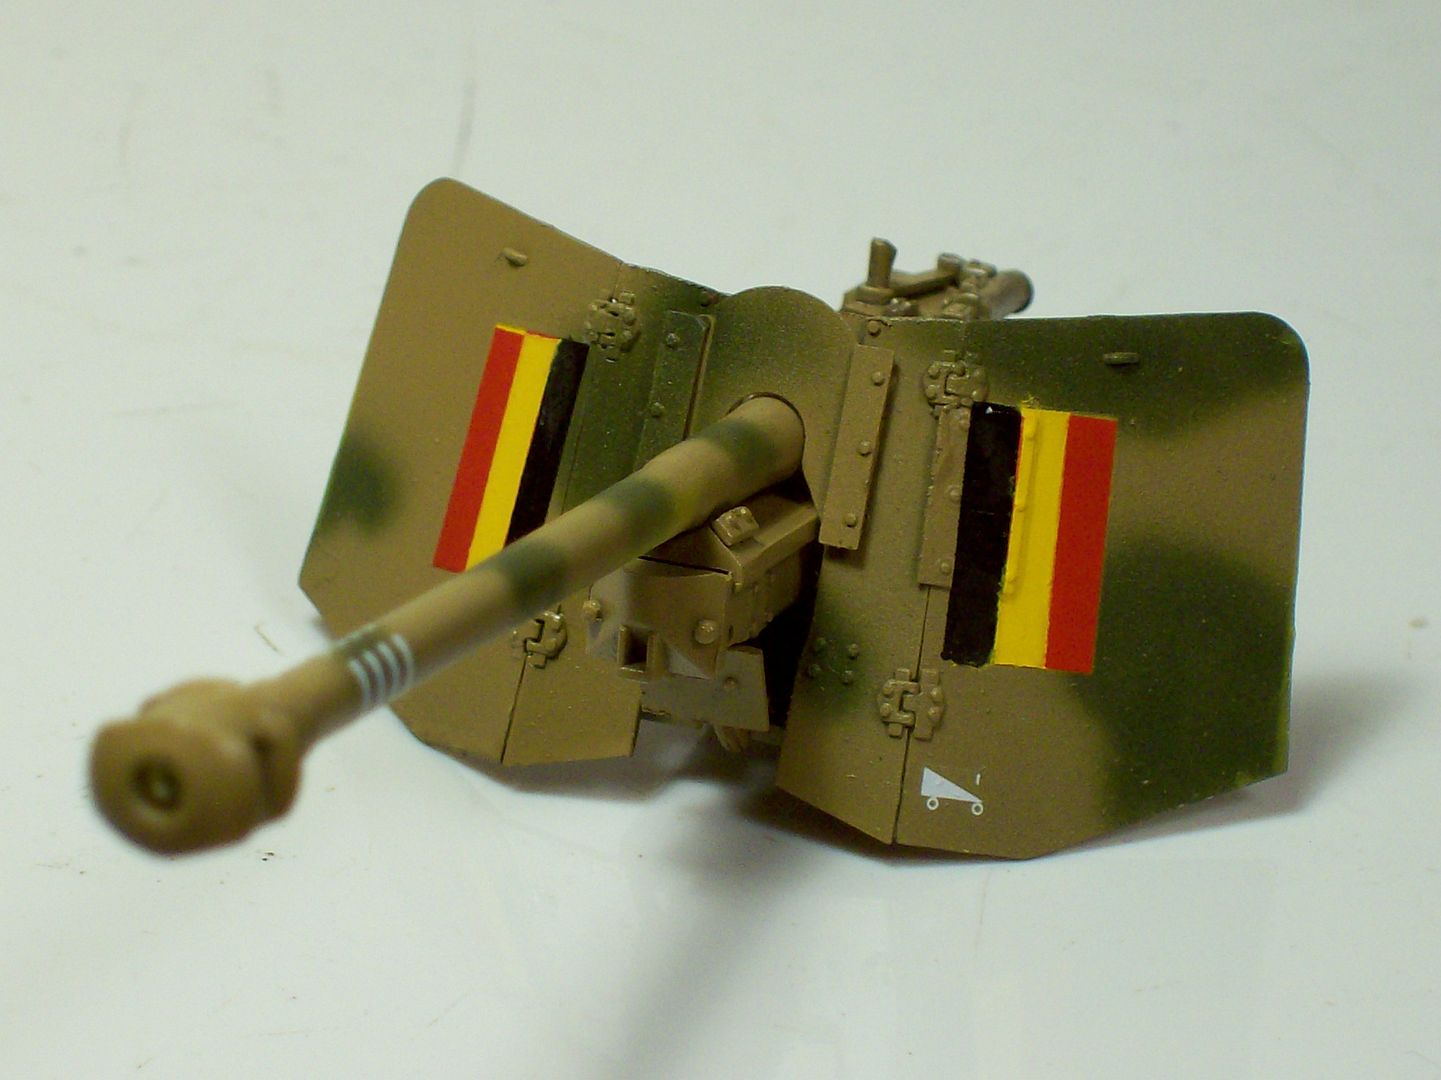 Now lets get on with the show Tony lee |
|
|
|
Post by tonylee-Rest In Peace on Oct 18, 2016 16:26:50 GMT -5
Update #14 Tracks: Applied color and fitted the tracks. 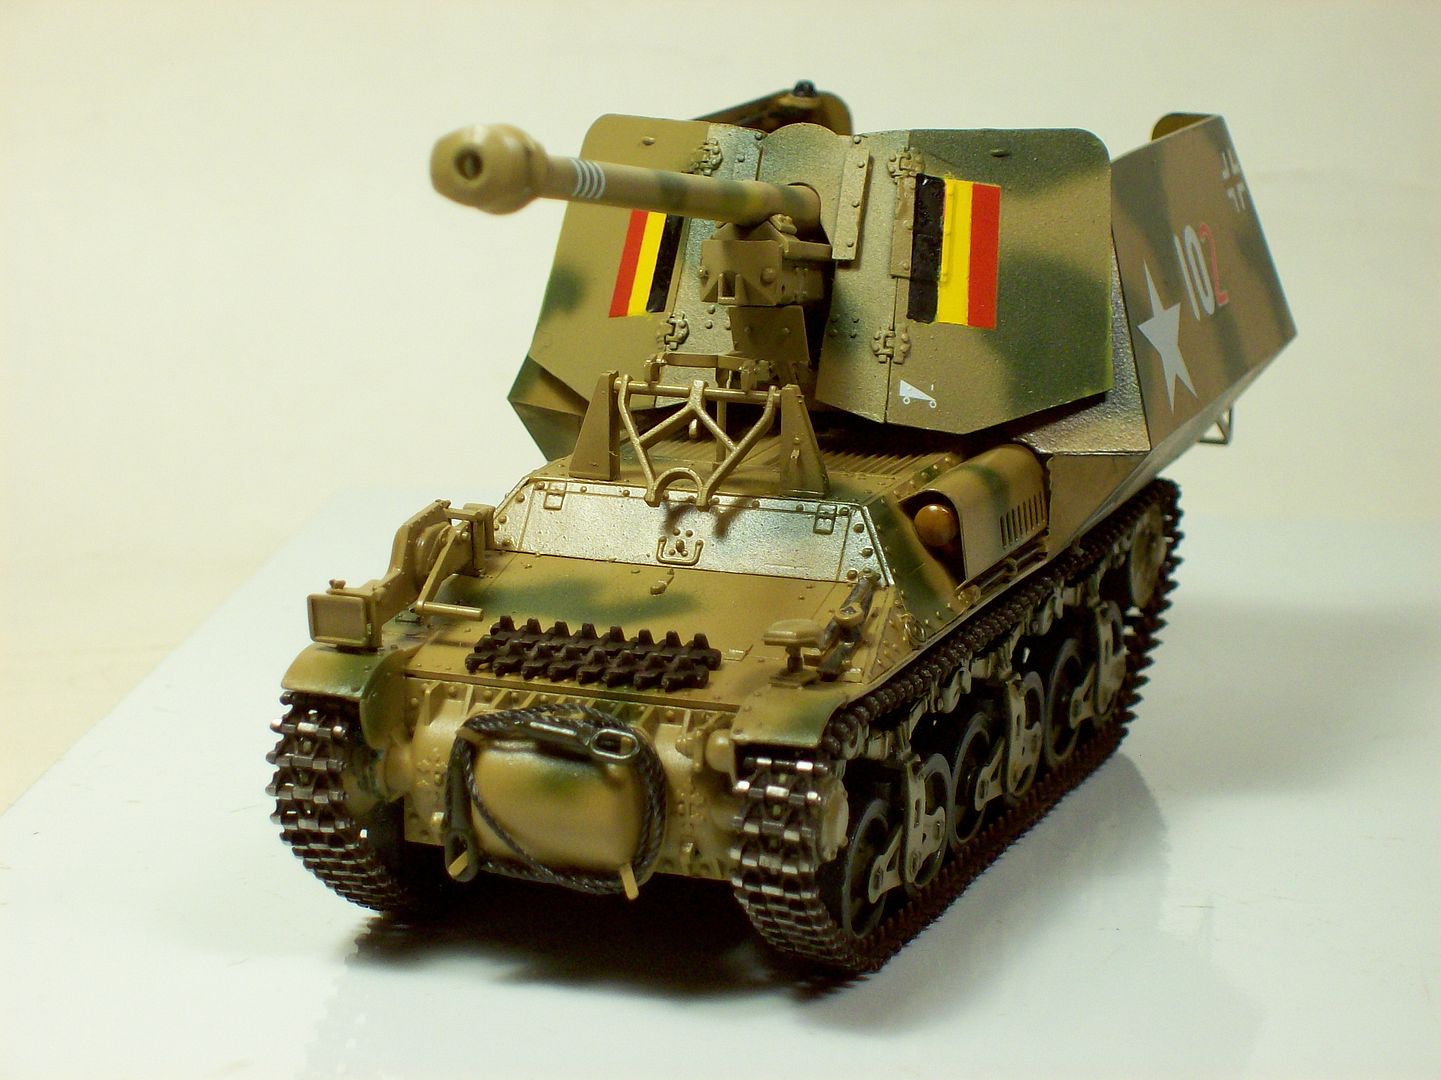 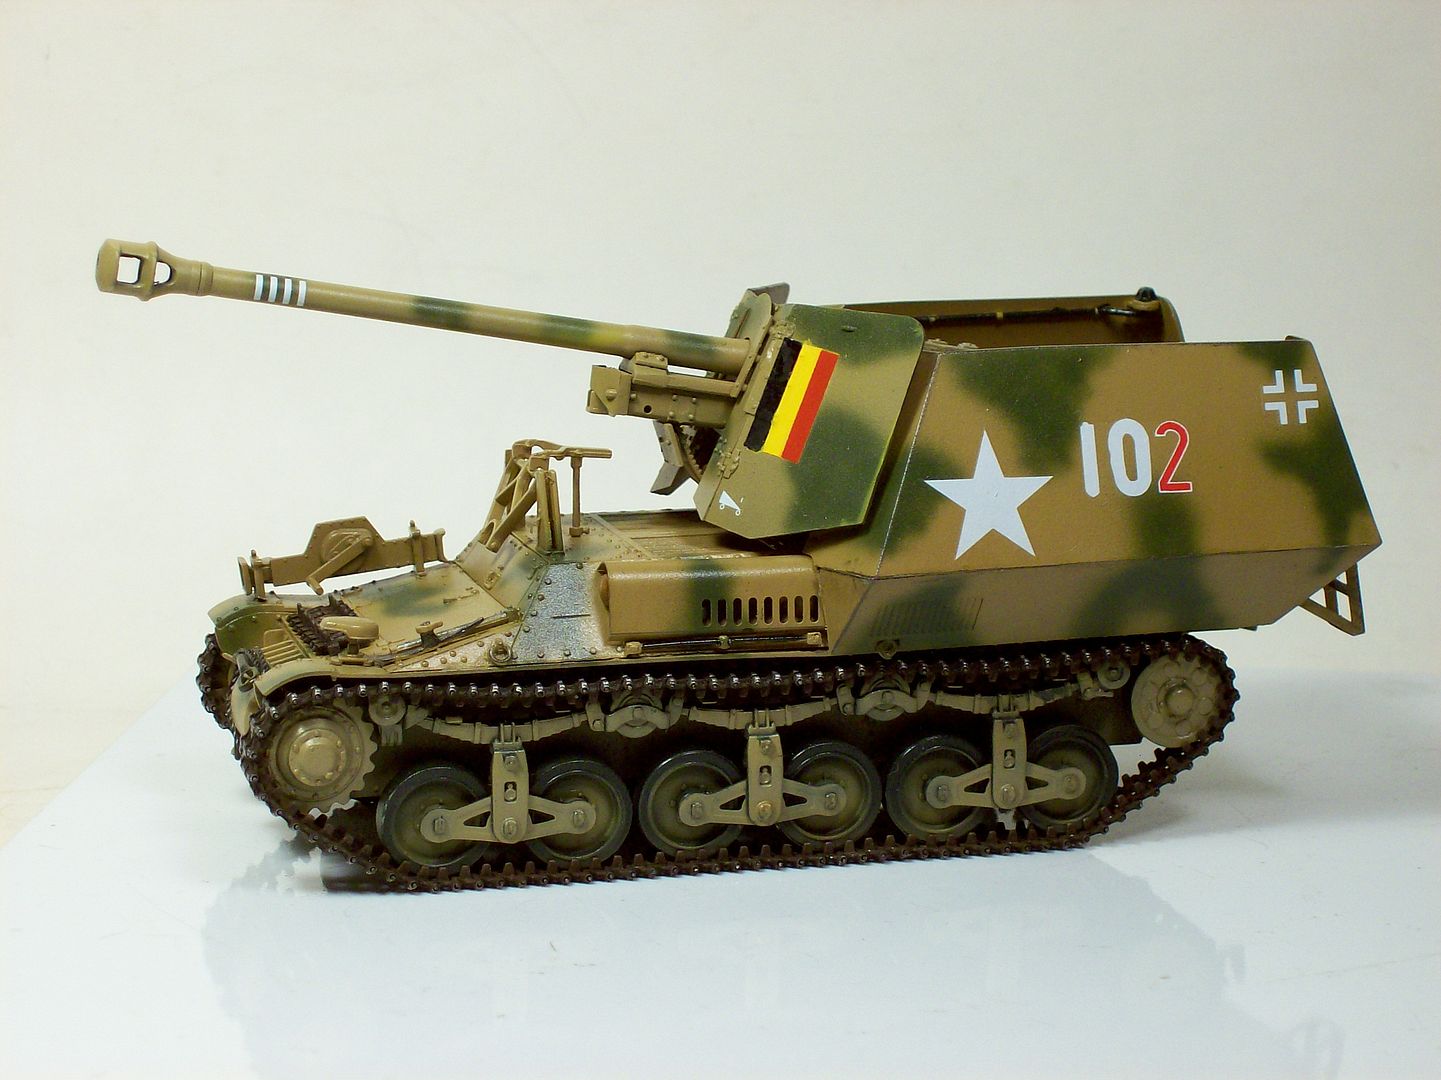 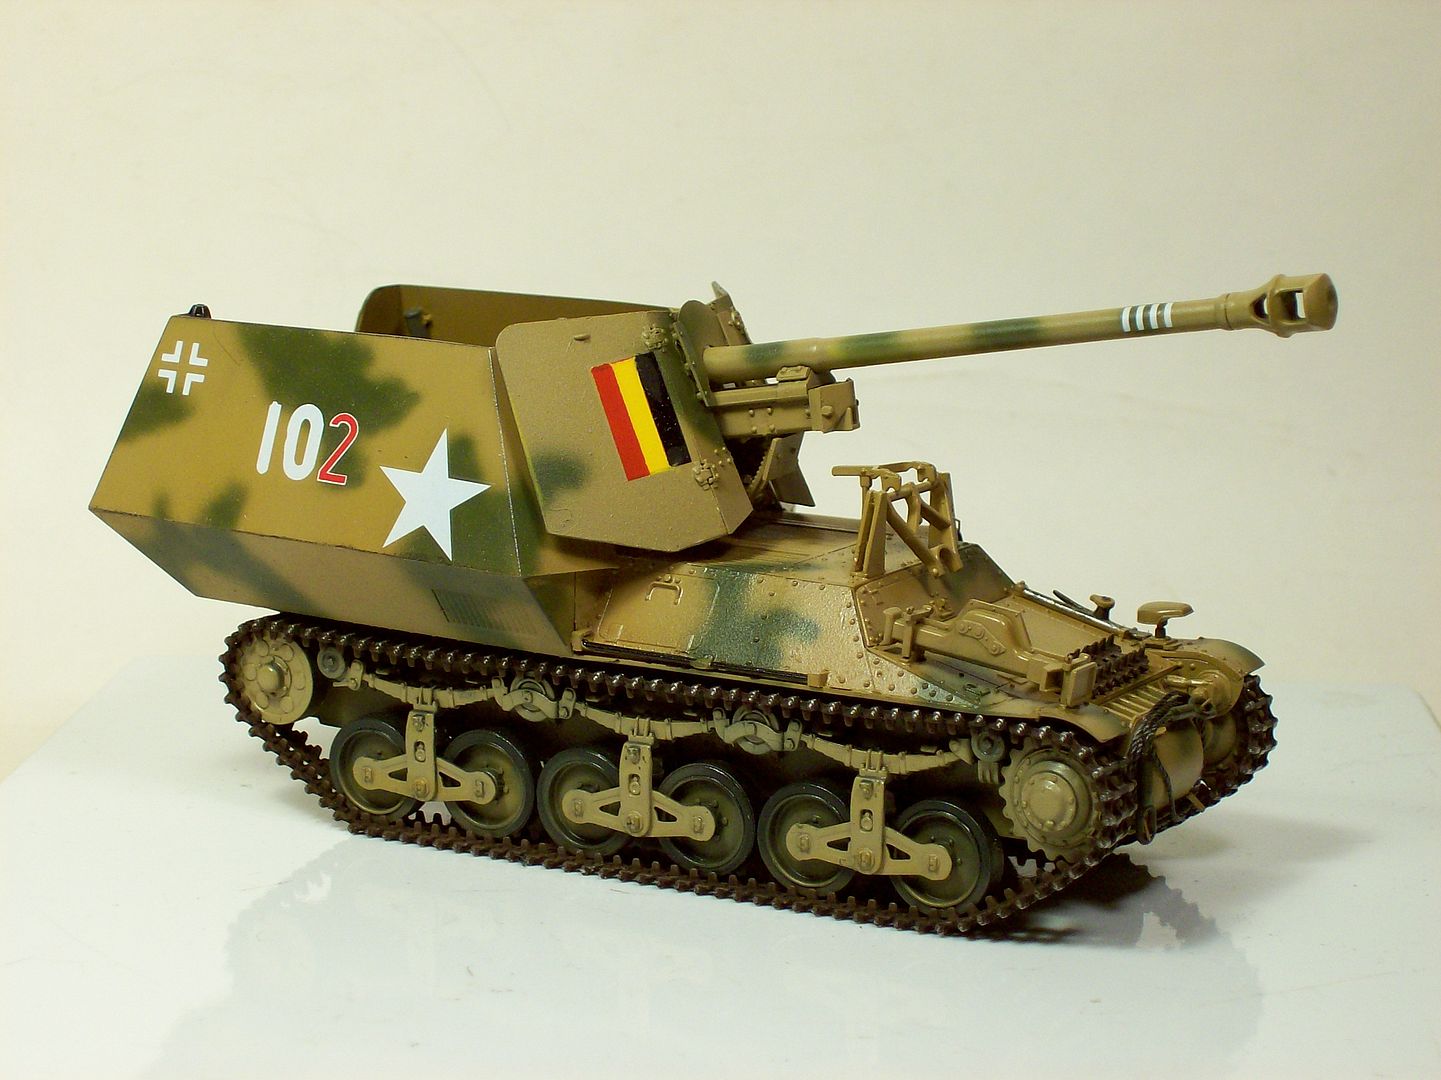 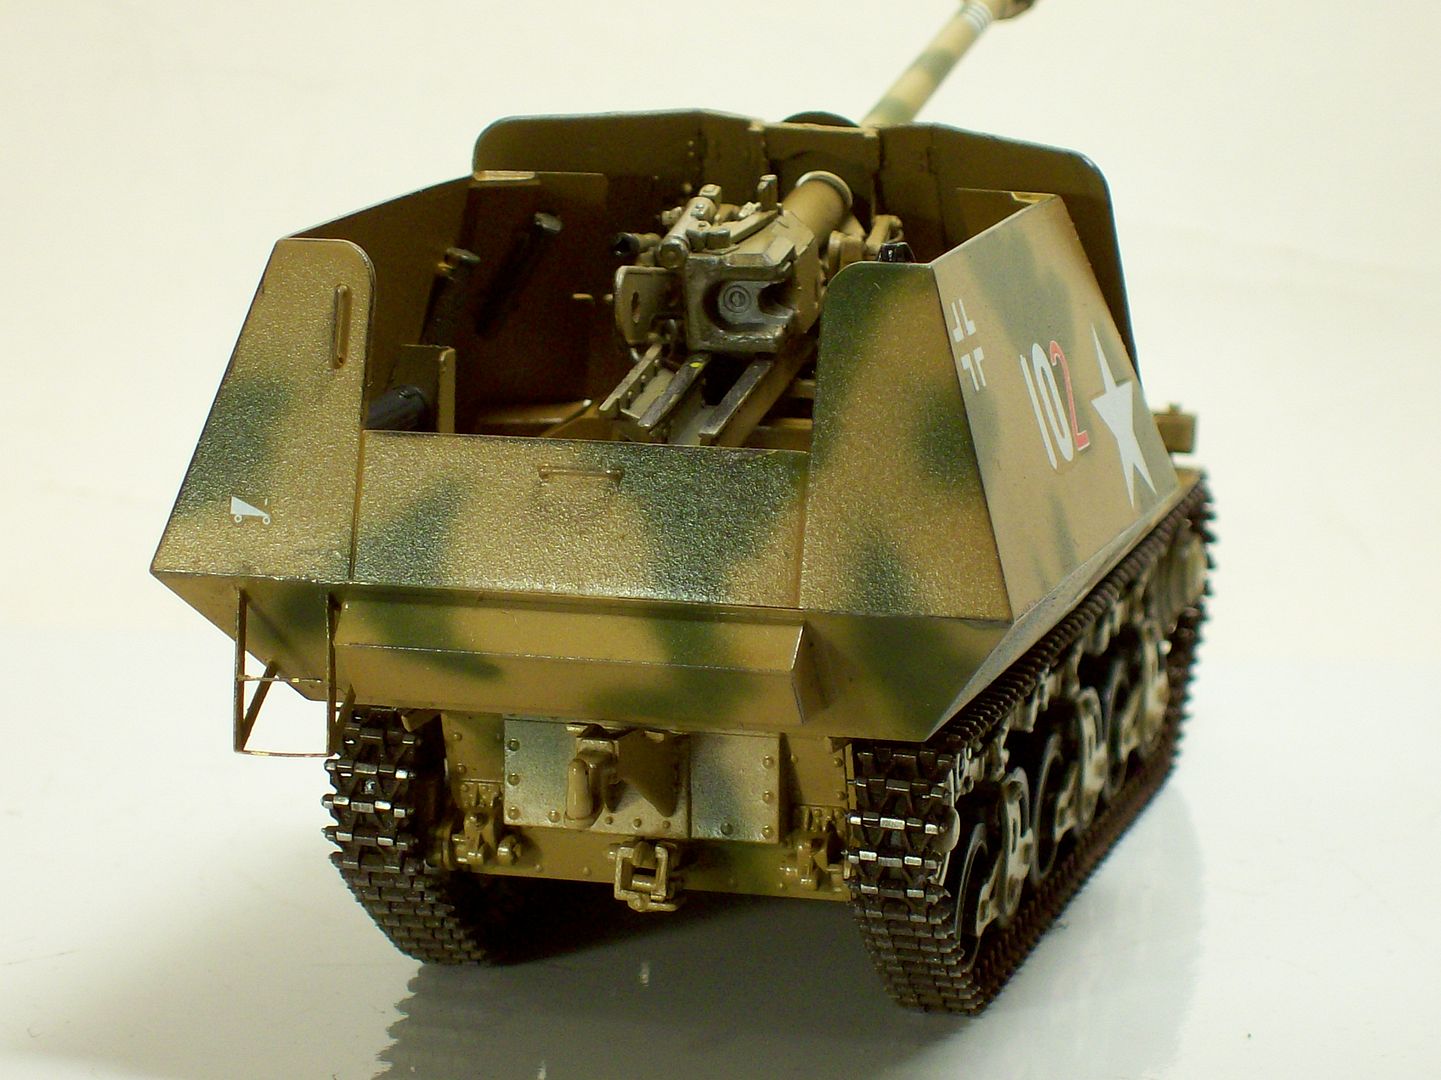 On to the weathering. Tony lee |
|