John Everett
Full Member

Member since: January 2012
July, 2016 MoM Winner
Posts: 1,278
Jan 17, 2012 0:53:48 GMT -5
Jan 17, 2012 0:53:48 GMT -5
|
Post by John Everett on Feb 2, 2017 9:25:10 GMT -5
Thanks, everybody! I was a few days on the road. But upon returning home was able to get the center section spar and wings cut. The spar is a rigid box which is integral to the airframe. So once the wings are glued on it will be very, very difficult to break them off. I've always hated the completely lame methods so many manufacturers use in attaching a wing to a fuselage and swore I would avoid that crap here. 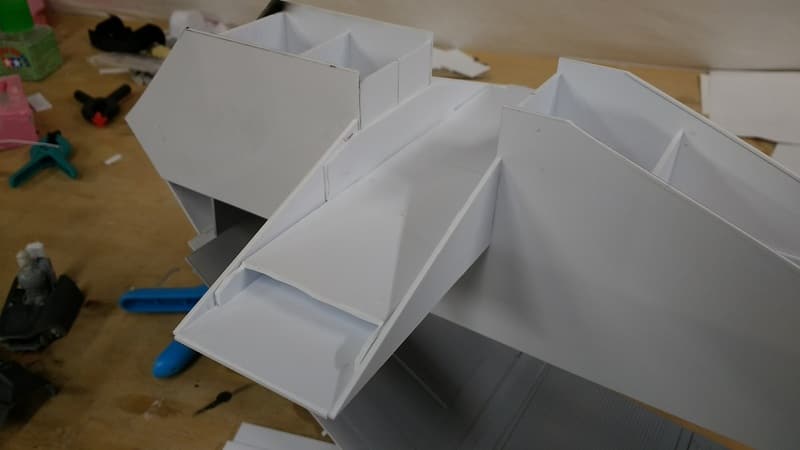 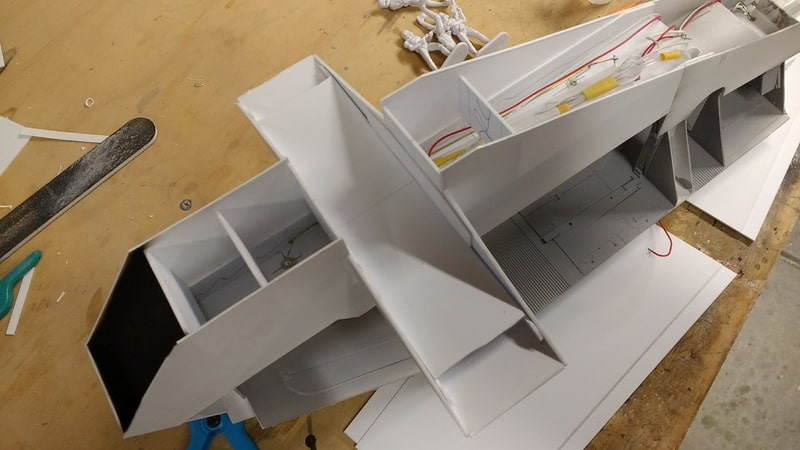 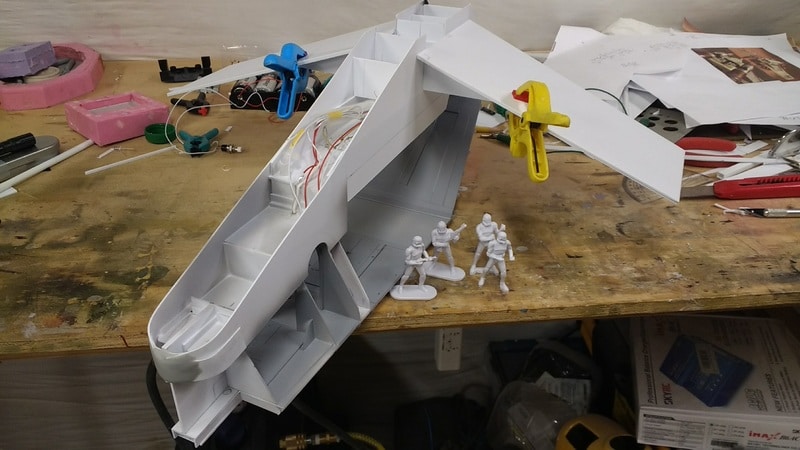
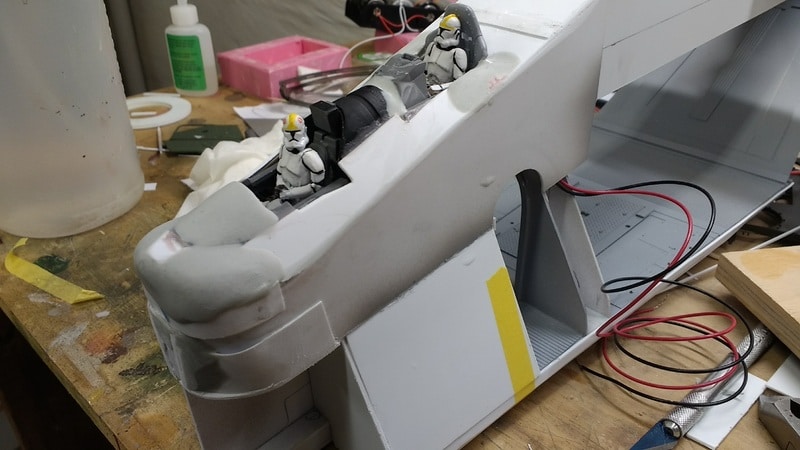
Thanks to members over at the KeeperOfTheForce website for their help in finding these "very close" to 1/35 clone troopers. They're molded in that soft, polypropylene plastic. This makes them easy to cut but difficult to sand and scrape. I've cleaned up a couple as best I could and will cast them in resin. The copies will be much easier to work and reposition. In total I think I will need about 8 or 9 troopers. I'm reminded of the quote, "A little short for a stormtrooper, aren't you?" The guy in the middle is one I made last year and is correct for 1/35. The other two are a little tall. But I'm happy to work around that rather than try to sculpt my own. 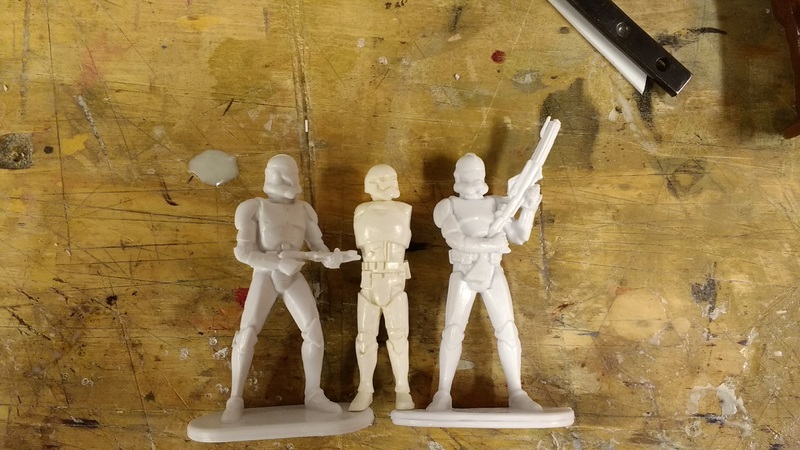 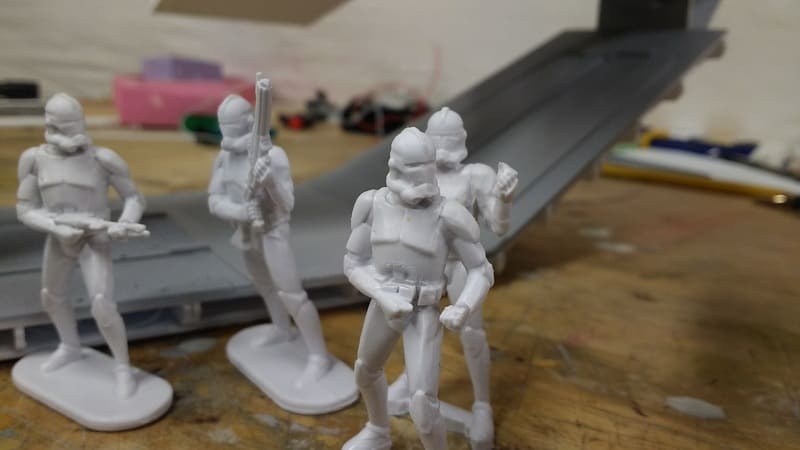 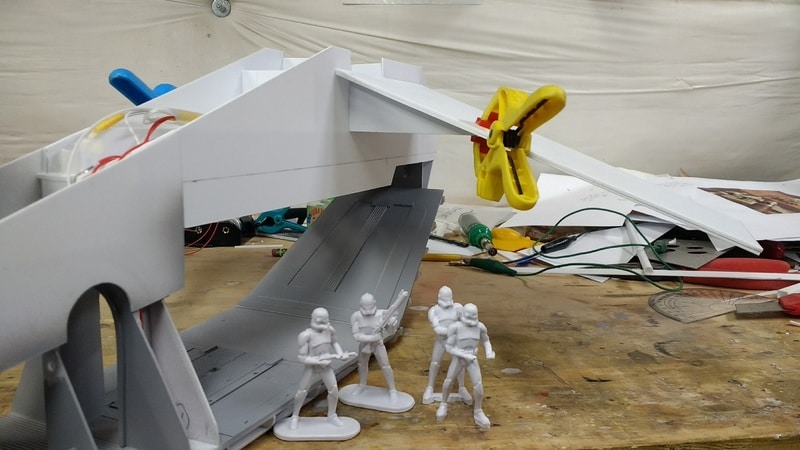
Also goofing around with getting the cockpits positioned. These will also be illuminated.  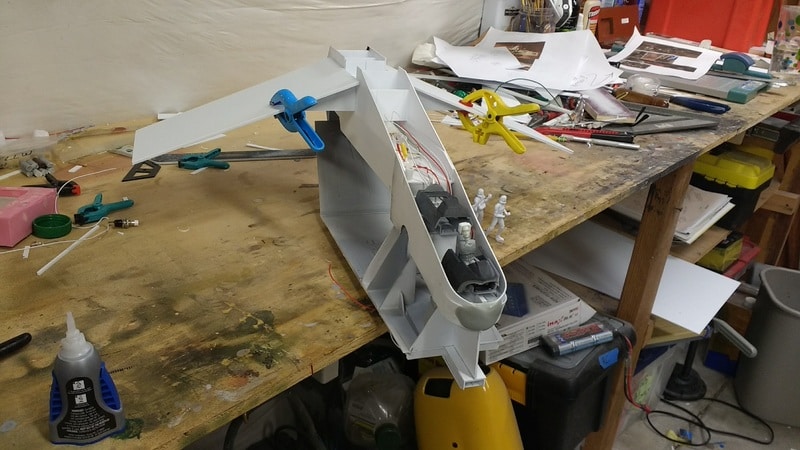 |
|
|
|
Post by Deano on Feb 2, 2017 9:32:07 GMT -5
Hell yeah!!!! exceptional work as always John and a very cool gun ship for sure !!!
|
|
|
|
Post by tobias5555 on Feb 2, 2017 9:54:05 GMT -5
That´s so cool. I wish I could build things from scratch as you do.
|
|
|
|
Post by Leon on Feb 2, 2017 10:10:35 GMT -5
What they said! Awesome work John.
|
|
John Everett
Full Member
Member since: January 2012
July, 2016 MoM Winner
Posts: 1,278
Jan 17, 2012 0:53:48 GMT -5
Jan 17, 2012 0:53:48 GMT -5
|
Post by John Everett on Feb 2, 2017 21:41:03 GMT -5
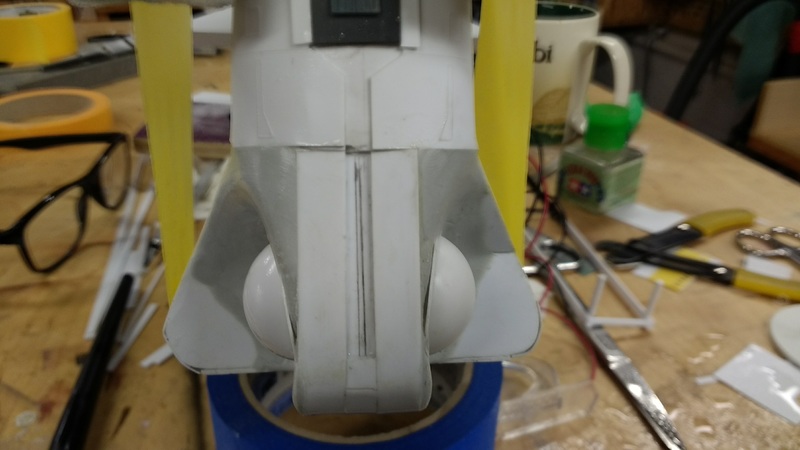
Thanks, Gents for stopping by! Second update for the day in a largely random order. There's these little ball turrets at the end of each wing. If you have kids you probably also have a whole bag of these stupid Easter eggs. 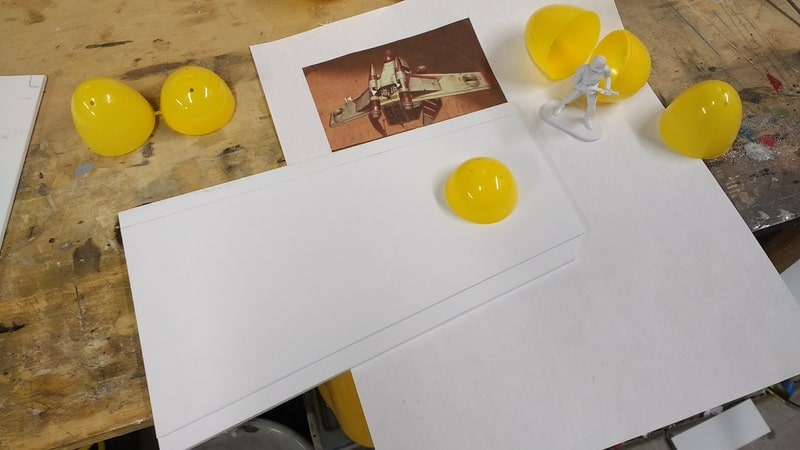  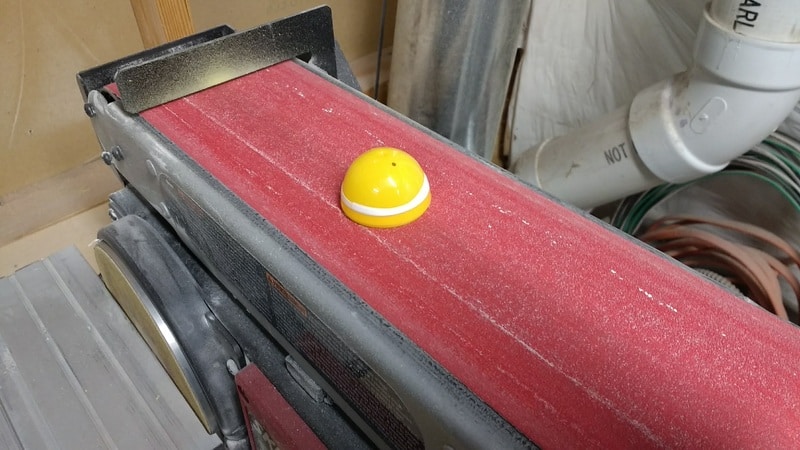 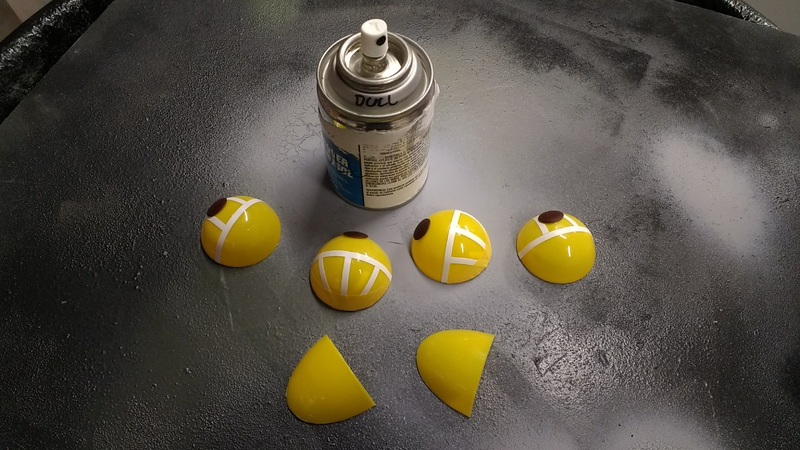 There are also clear ball turrets which hang out the side of the ship. Just like a B-17, these are hollow and contain a live gunner. Again, a silly bit of holiday decoration comes to the aide of a modeller in need. (Ebay for about $1 each) 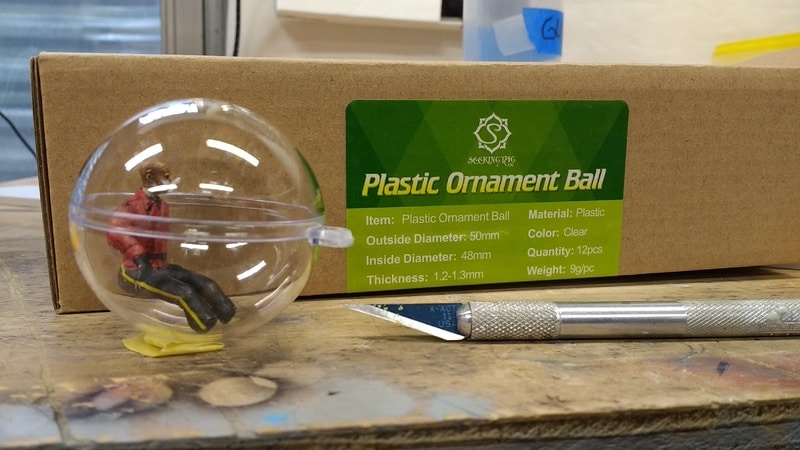 Figures going into rubber. Fist casting by late tomorrow if work doesn't call.  Wing tip turret primed.  First of the interior decorations based on screenshots from the film. 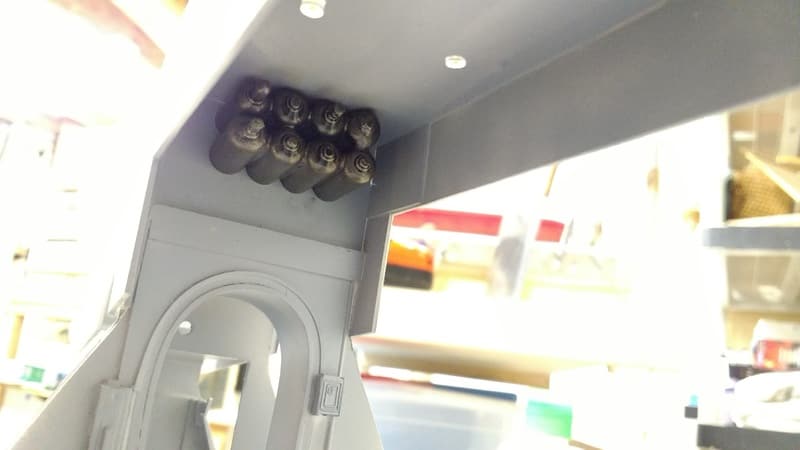 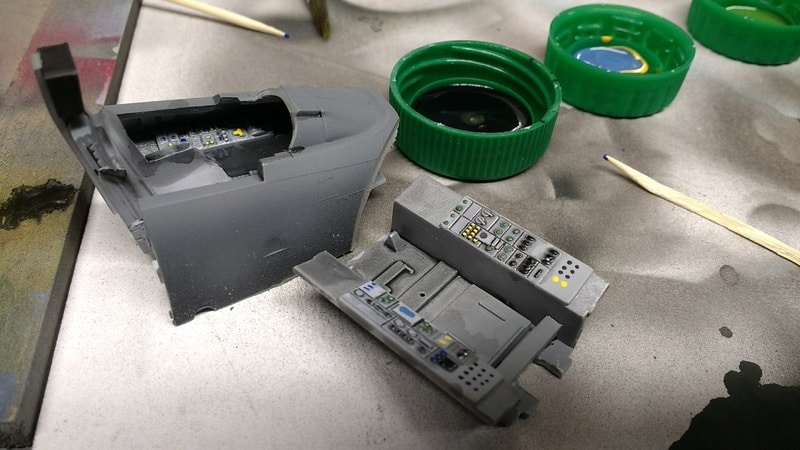 I'm anxious to get some troopers cast so that I can produce pilot figures and enclose the cockpit. There's a lot that can't happen until the pilots are in. |
|
adt70hk
Forum Moderator 
Member since: November 2015
Currently attempting to build something decent!!! ;)
Posts: 2,482 
MSC Staff
|
Post by adt70hk on Feb 3, 2017 8:28:04 GMT -5
John
It looks fantastic now, can't wait to seeing this finished.
Andrew
|
|
|
|
Post by Leon on Feb 3, 2017 8:56:58 GMT -5
Cool idea on the ball turrets John!
|
|
John Everett
Full Member
Member since: January 2012
July, 2016 MoM Winner
Posts: 1,278
Jan 17, 2012 0:53:48 GMT -5
Jan 17, 2012 0:53:48 GMT -5
|
Post by John Everett on Feb 4, 2017 0:42:39 GMT -5
I've just about got all the work finished with lights and cockpit mountings. I need to seal up the edges and set to work getting the canopies installed and transitioned into the fuselage. They work! 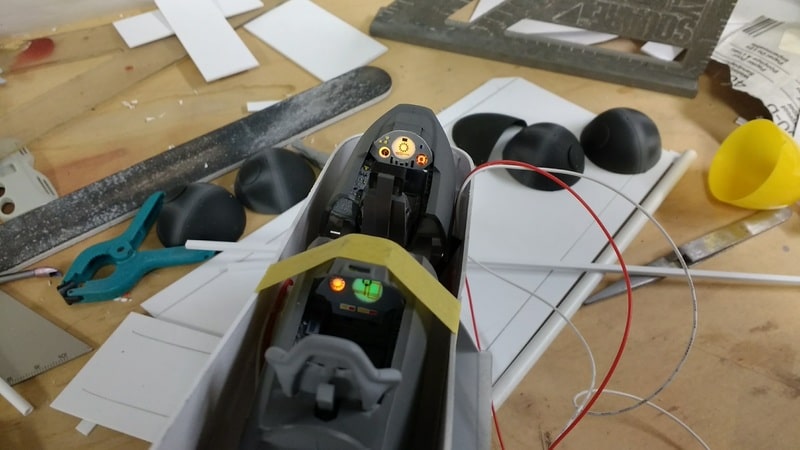 First run of trooper castings. As expected, these are going to need considerable clean-up on each figure. They're still nicer that what I could have sculpted myself. 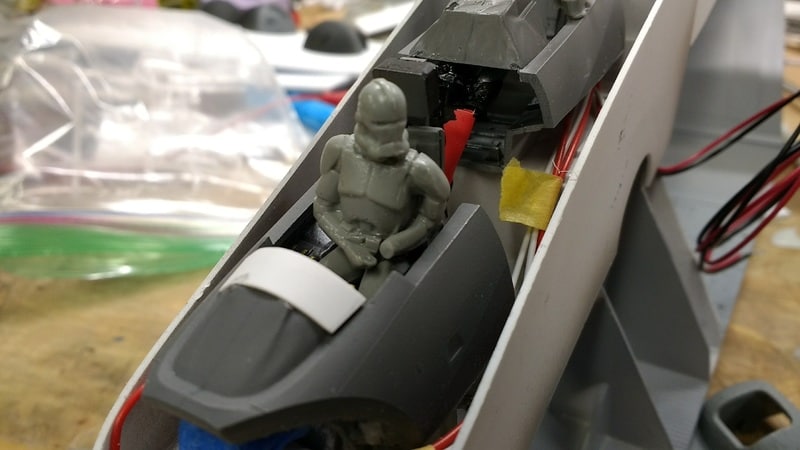 A little paint improves the figure considerably. 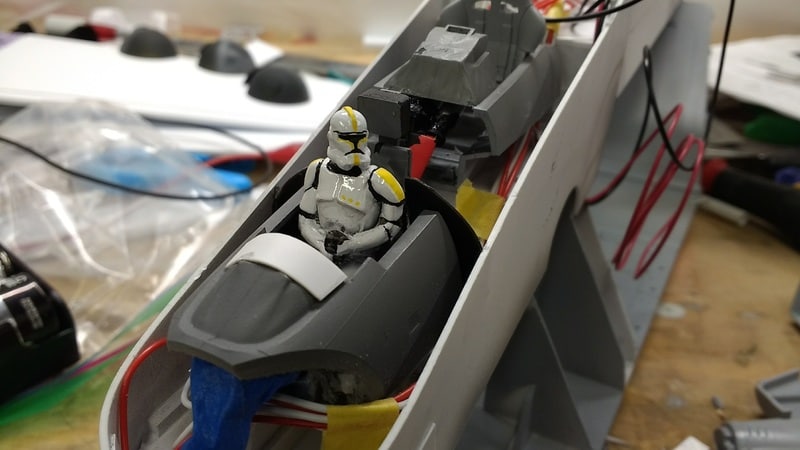 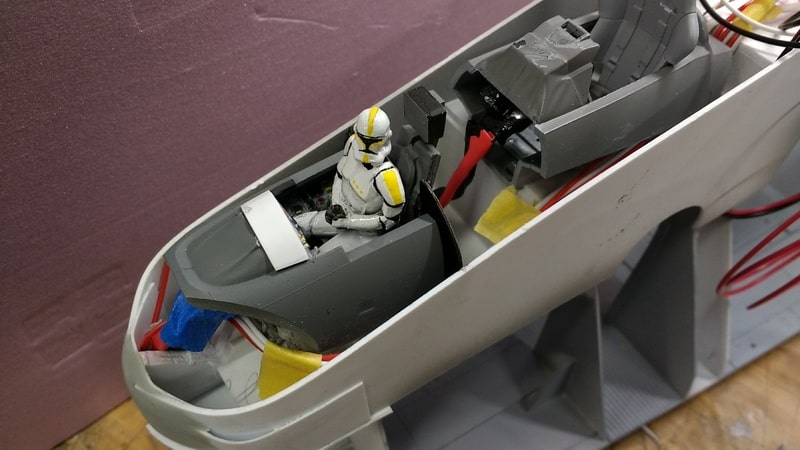 I expect I'll get called for work during the Super Bowl. But in the meantime I'll keep working. Who's playing this year, anyhow? It's not the Broncos is it? |
|
|
|
Post by Leon on Feb 4, 2017 7:15:01 GMT -5
Great progress John! The lights and first casting look good. THE FORCE IS WITH YOU.  |
|
k1w1
Full Member
Member since: February 2015
Posts: 873
Feb 18, 2015 8:07:41 GMT -5
Feb 18, 2015 8:07:41 GMT -5
|
Post by k1w1 on Feb 4, 2017 7:27:48 GMT -5
Trooper looks good and I am very impressed with the lighting.
|
|
deafpanzer
Administrator 
Member since: June 2012
"Never tell your story to a deaf man"
Posts: 21,097
Member is Online
MSC Staff
|
Post by deafpanzer on Feb 5, 2017 18:20:18 GMT -5
WOW!!! You are really making a great process. The pilot looks superb and I want to be that pilot!
|
|
John Everett
Full Member
Member since: January 2012
July, 2016 MoM Winner
Posts: 1,278
Jan 17, 2012 0:53:48 GMT -5
Jan 17, 2012 0:53:48 GMT -5
|
Post by John Everett on Feb 7, 2017 0:30:42 GMT -5
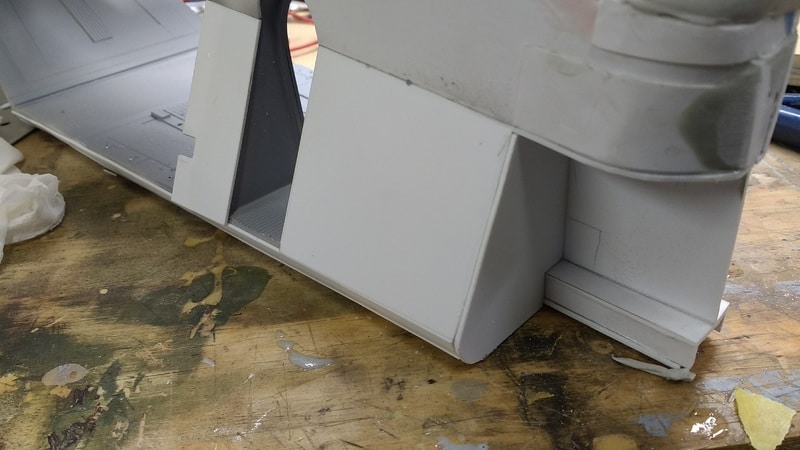
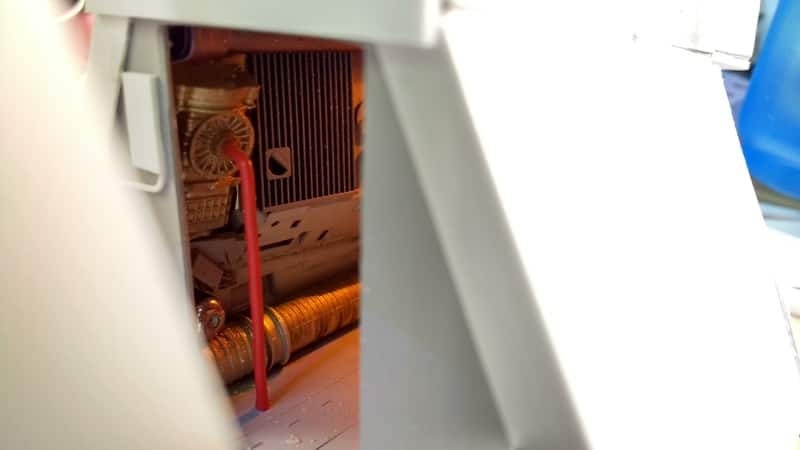
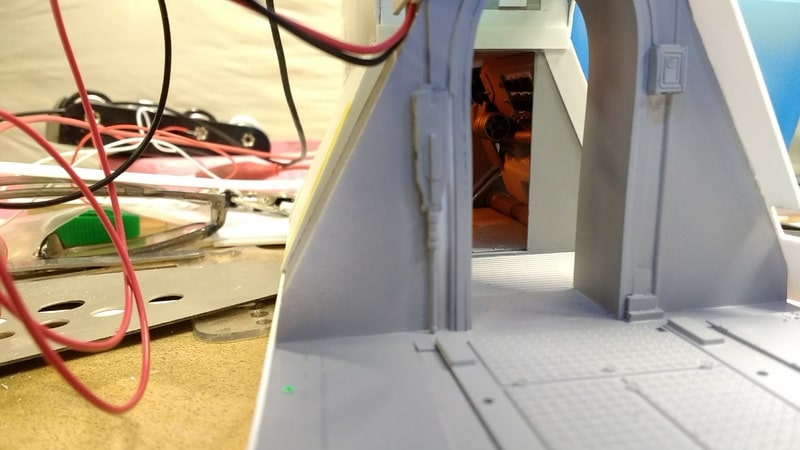
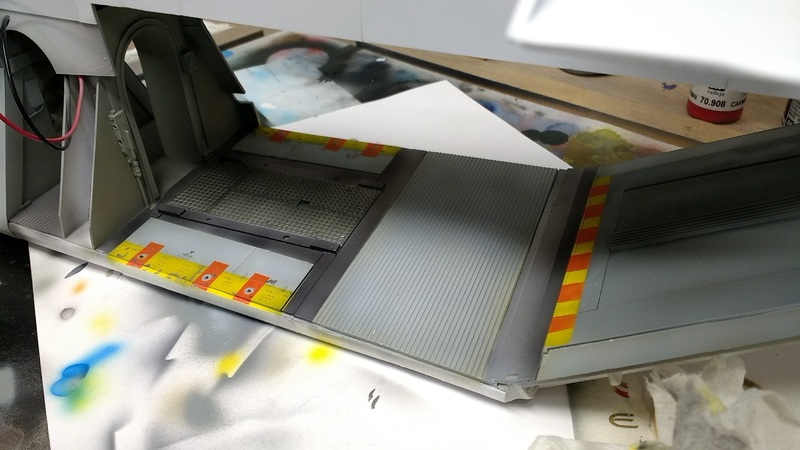
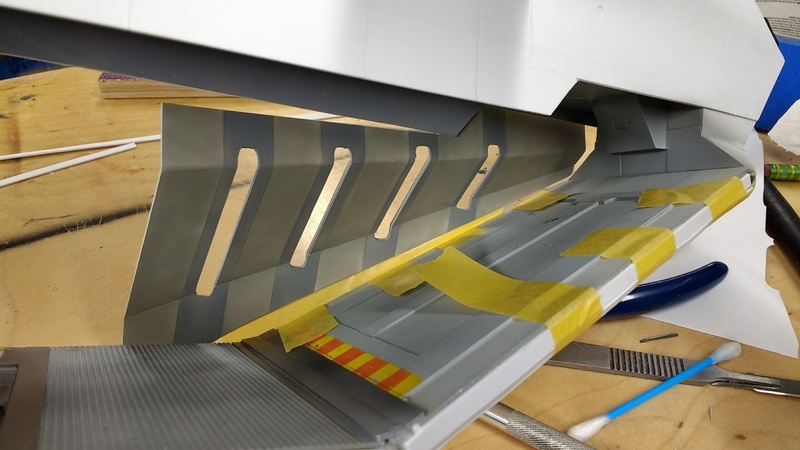
... I want to be that pilot! No you don't. He has no legs beneath his knees and his hip joints are well out of alignment. That seat it pretty rough as well.  But I did repaint the pilot. Some guys over on a Facebook forum pointed out that this paint scheme was wrong for the character. So I made some changes. It turns out that the style of helmet is also incorrect. But there's not much I'm going to do about that. 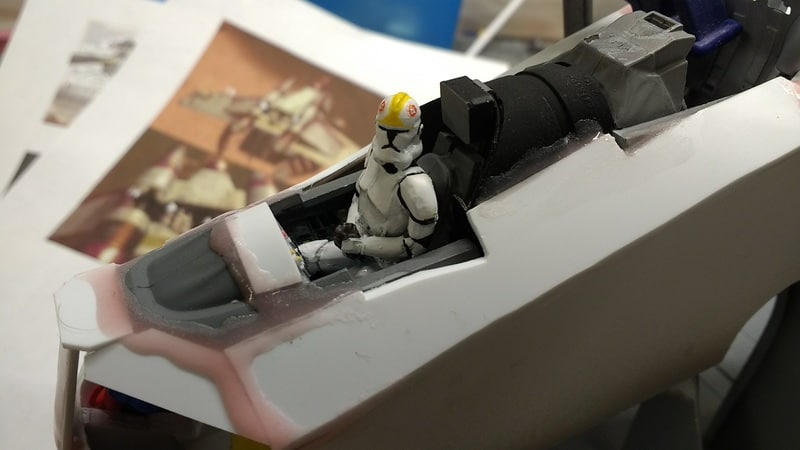 The second pilot figure is built and just needs painting to match the first. And since I was "Chopping, swapping and dropping" body parts, I decided to create a tiny little diorama using the Jedi figures which were included with the troopers. Dismembered troopers....Probably happened after order 66 was issued. 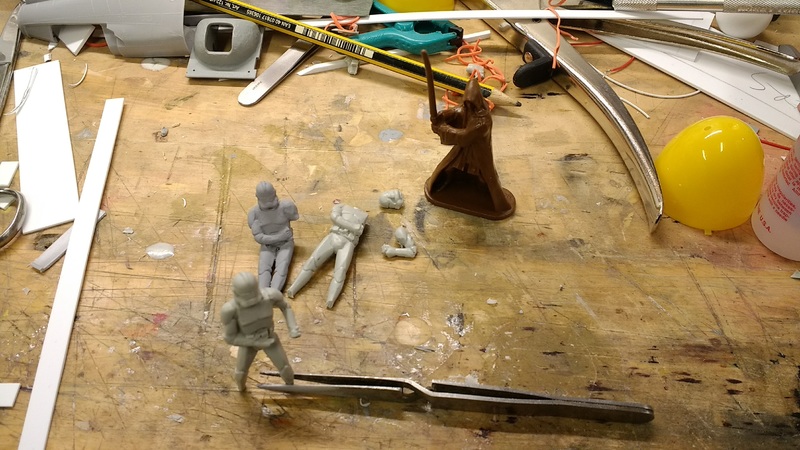 Along the top of the ship there is what I call the "missile pit". I started work on that   I'm also pushing ahead with a crude interior for the storage bay at the front of the ship. You can see how rough the shapes are here. But once the walls are enclosed, even with the lights on, there will be very limited viewing angles through the doorway and cargo bay. 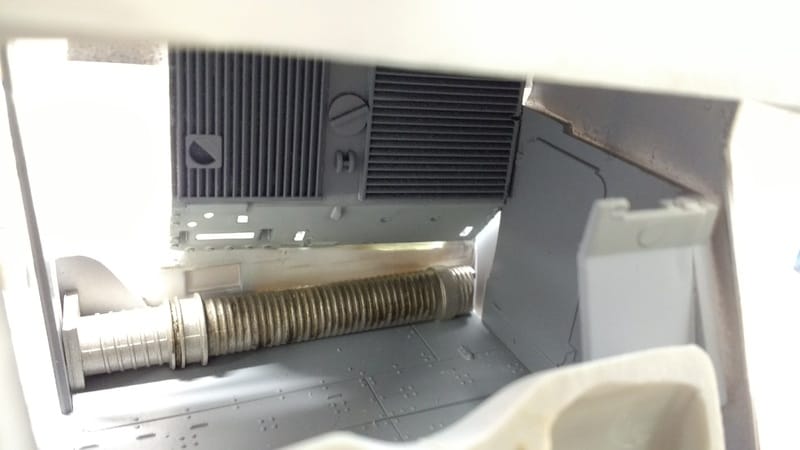 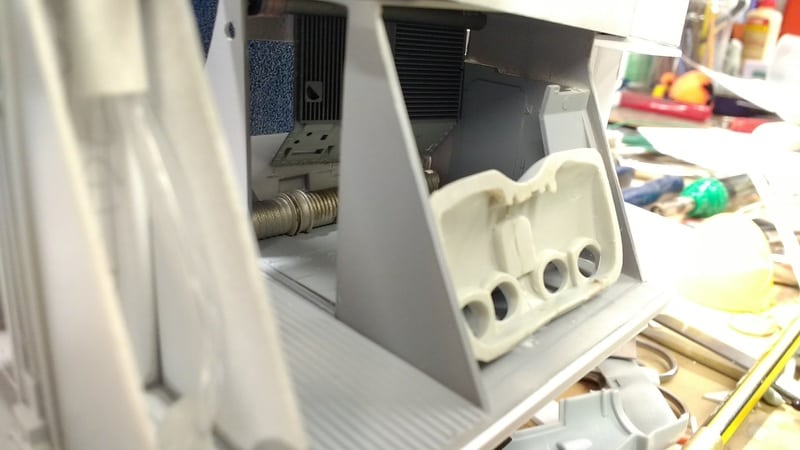  That's all for today. We may or may not see some more progress tomorrow. I've got 64 square feet of sheet styrene waiting for me at the plastics place (.3mm and 1.0mm). So that may eat up a portion of the build time. Thanks for watching! John |
|
John Everett
Full Member
Member since: January 2012
July, 2016 MoM Winner
Posts: 1,278
Jan 17, 2012 0:53:48 GMT -5
Jan 17, 2012 0:53:48 GMT -5
|
Post by John Everett on Feb 8, 2017 1:21:12 GMT -5
|
|
|
|
Post by Leon on Feb 8, 2017 4:26:29 GMT -5
Nice progress John! This is coming along nicely.  |
|
|
|
Post by tobias5555 on Feb 8, 2017 4:39:42 GMT -5
I love it.
The force is strong in this build
|
|
jpc1968
Full Member
Member since: May 2015
May '17 Co-Mom Winner, October '17 MoM Winner
Posts: 504
|
Post by jpc1968 on Feb 8, 2017 10:25:56 GMT -5
"Impressive..........most impressive"
|
|
|
|
Post by mrt51 on Feb 8, 2017 11:25:13 GMT -5
WOW!
 |
|
John Everett
Full Member
Member since: January 2012
July, 2016 MoM Winner
Posts: 1,278
Jan 17, 2012 0:53:48 GMT -5
Jan 17, 2012 0:53:48 GMT -5
|
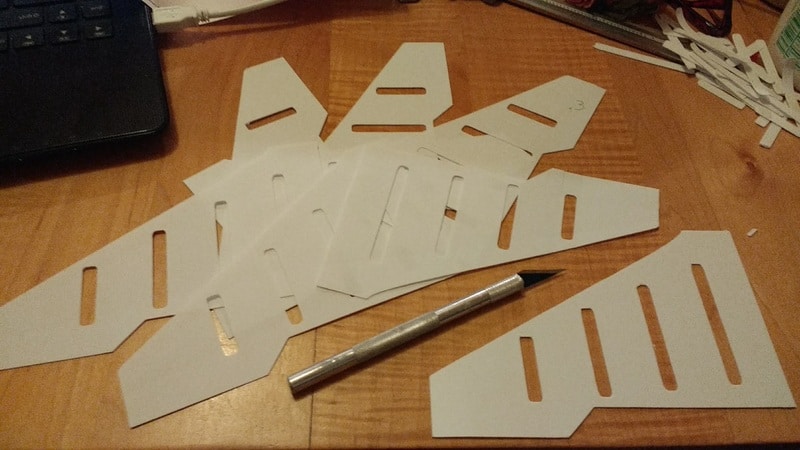
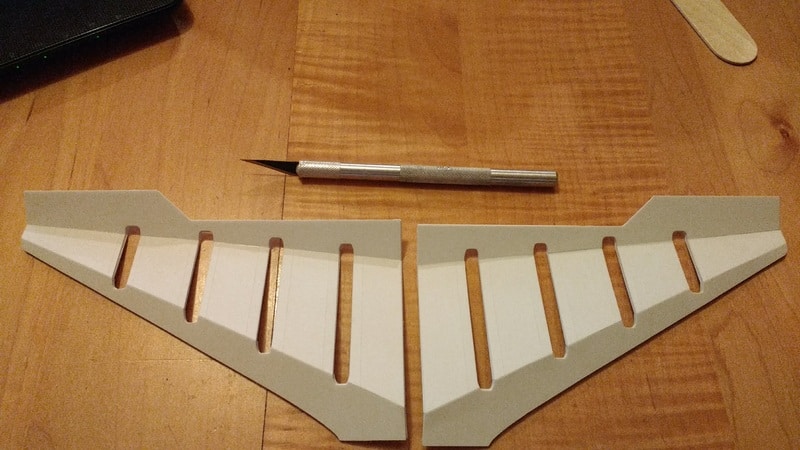
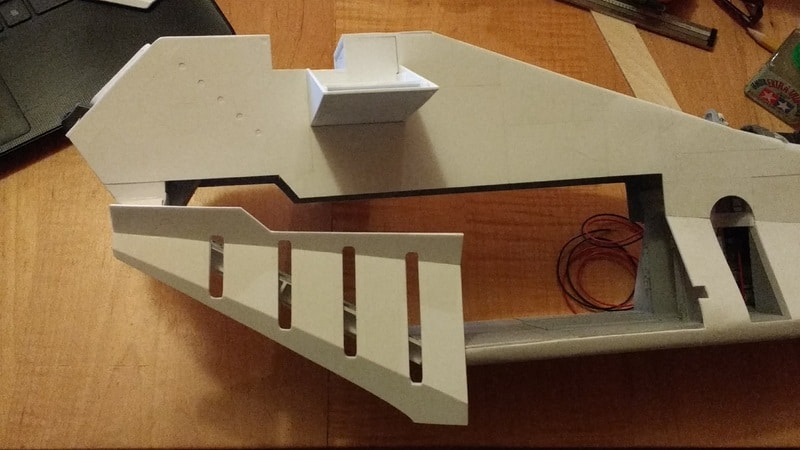
Post by John Everett on Feb 11, 2017 0:34:15 GMT -5
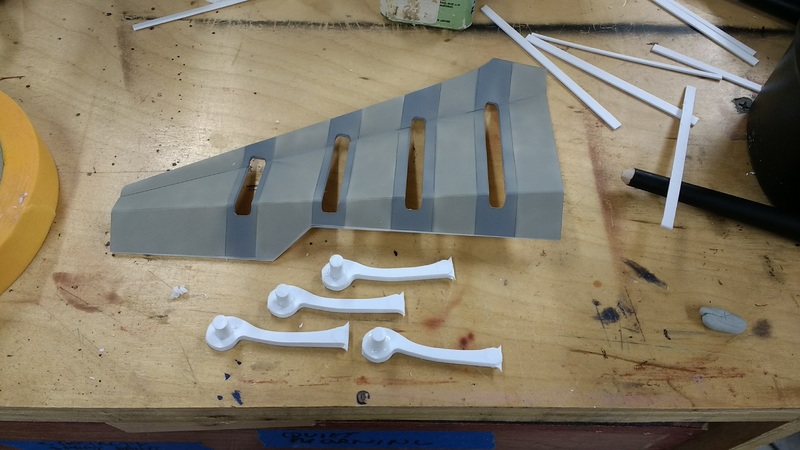
OK. So kind of a big day today with the gunship. Last night I bought a cutter. If you don't know what one of those is, that's OK, neither did I until about 3 weeks ago. I'll try to let the pictures explain. But you can search Youtube for a thing called "Silhouette Cameo". That's the one they on sale for $200 USD. That's expensive, about the price of thee good models. But take a minute to see what this thing does and perhaps you might give one some consideration. This was set up within about 30 minutes of bringing the cutter home. (I had already dowloaded the software to my laptop and had a basic understanding of the design software.) 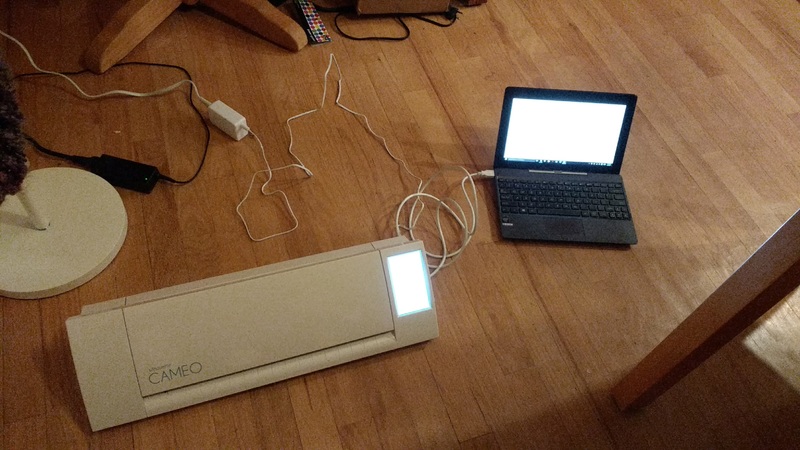 You draw the design you want with the Silhouette software and send it to the cutter. A very small blade will score or cut whatever material you've loaded. In this case you're looking at .015" styrene sheet purchased in bulk from a plastic supplier. 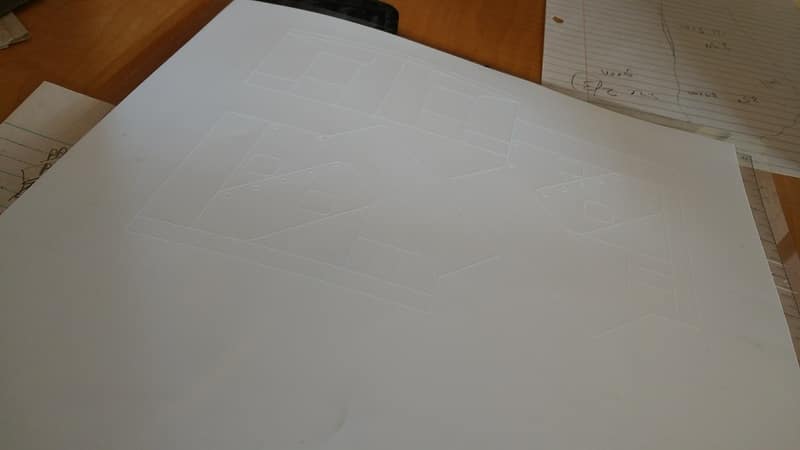 These panels are for the nose section, under the cockpit. I found that the effect of scored panels lines worked well if I just let the cutter make the lines and left the whole piece as a single unit rather than breaking it into separate segments. 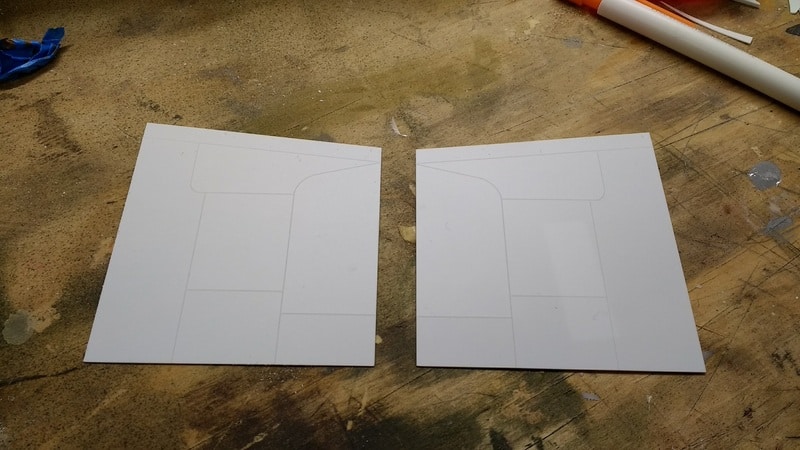 Aft engine area. 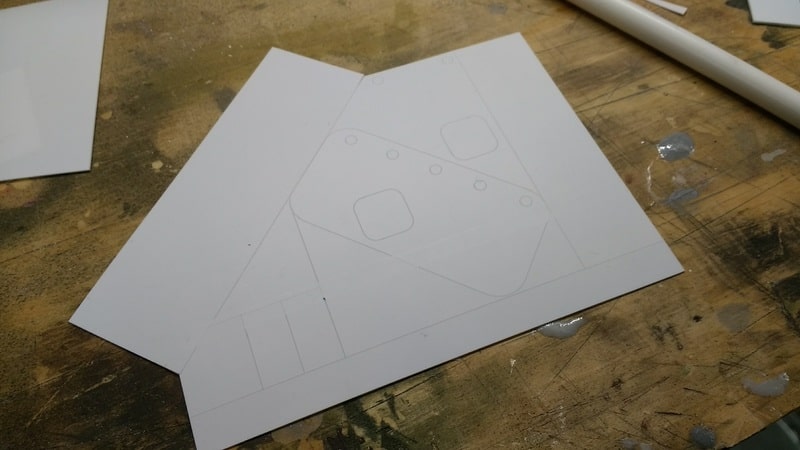 Engine exhaust nozzles. The final piece is 10 layers laminated together. 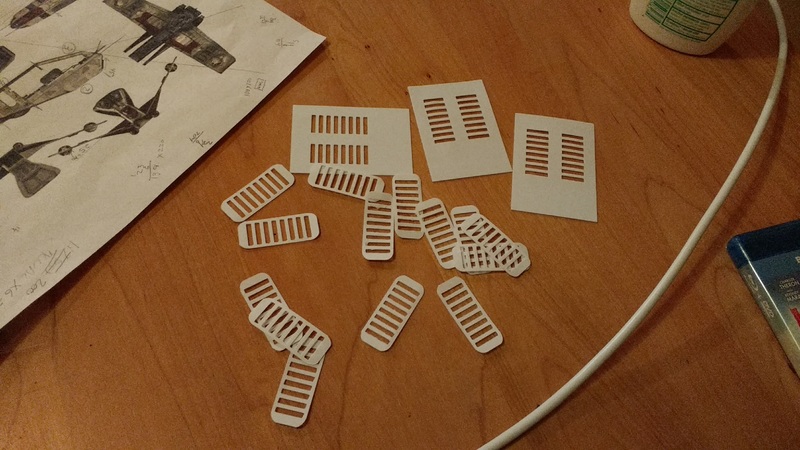  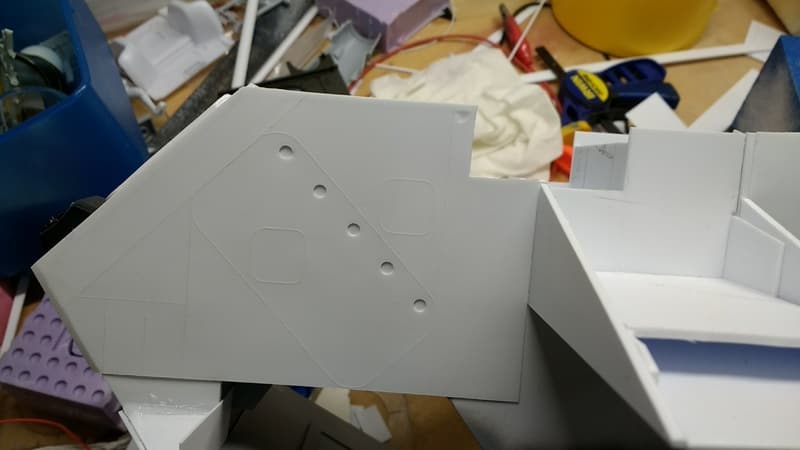 Over the sides I pulled the individual panels aparts and then glued each down separately. I would do it differently if I could. But this will be fine once painted. 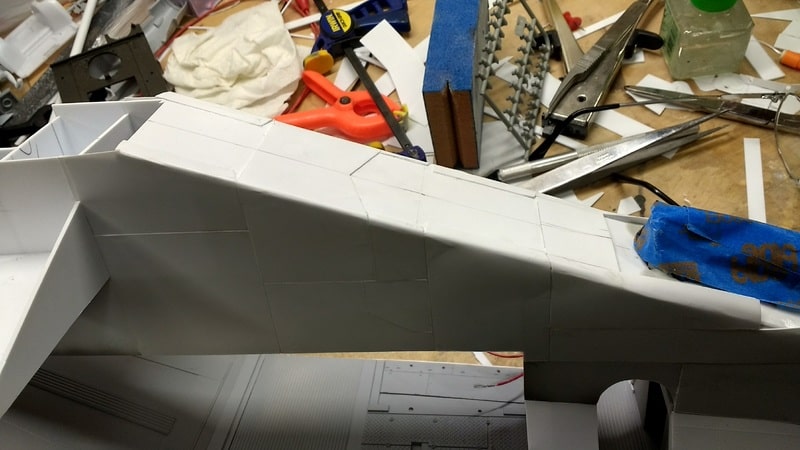 It's become a bit of a personal joke that each of my Star Wars ships must contain at least one computer key someplace in its construction. 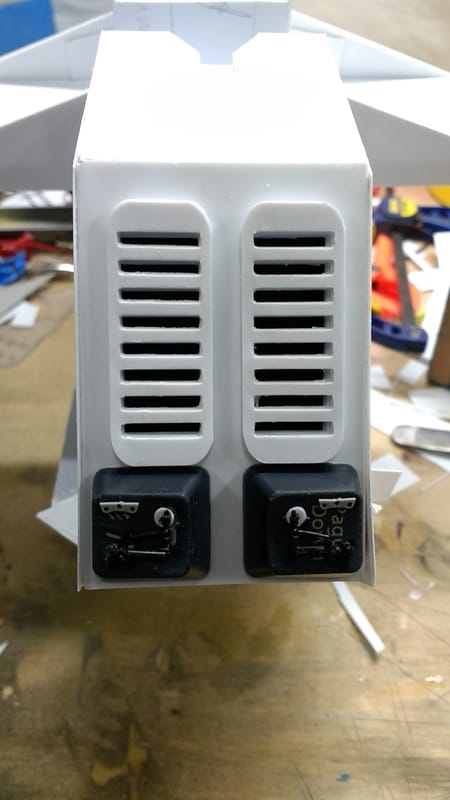 In past I've cut these rings with a compass. But what if you need six or ten or 50? 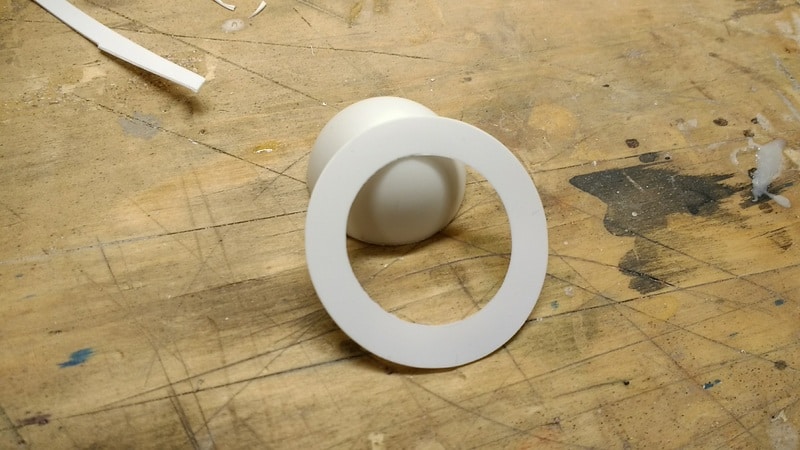 Whole panel piece and eyeball turret 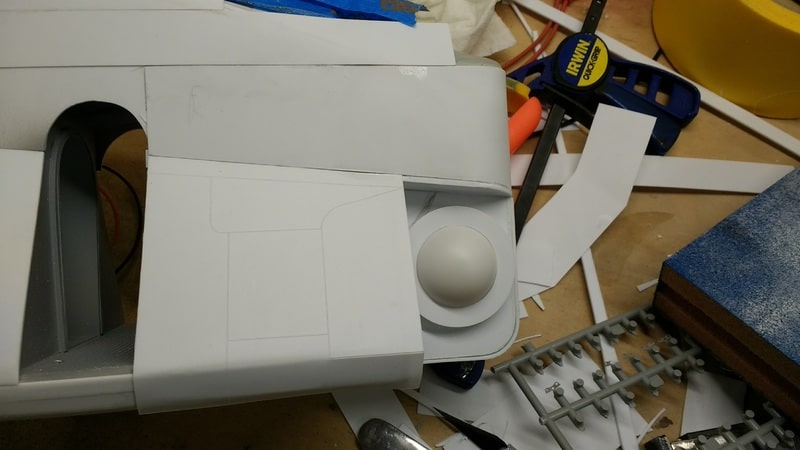 |
|
|
|
Post by Leon on Feb 11, 2017 5:57:57 GMT -5
WOW...That cutter looks awesome john! Should make your scratch building a lot easier now. |
|
bbrowniii
Full Member
Member since: March 2012
If you are not part of the solution, you are part of the precipitate.
Posts: 1,228
Mar 25, 2012 22:08:04 GMT -5
Mar 25, 2012 22:08:04 GMT -5
|
Post by bbrowniii on Feb 11, 2017 18:29:10 GMT -5
As always, your work amazes and inspires me!
Love it.
|
|
John Everett
Full Member
Member since: January 2012
July, 2016 MoM Winner
Posts: 1,278
Jan 17, 2012 0:53:48 GMT -5
Jan 17, 2012 0:53:48 GMT -5
|
Post by John Everett on Feb 13, 2017 9:55:13 GMT -5
|
|
|
|
Post by dupes on Feb 13, 2017 22:35:56 GMT -5
Man...that cutter has almost paid for itself already in time and convenience! That's a pretty incredible tool if you know how to use it properly.
Another killer project! Seems pretty big - I'm guessing this works out to about the same size as the Quadjumper?
|
|
deafpanzer
Administrator
Member since: June 2012
"Never tell your story to a deaf man"
Posts: 21,097
Member is Online
MSC Staff
|
Post by deafpanzer on Feb 14, 2017 13:18:32 GMT -5
Amazing what the machine can do for you... definitely a must for scratch builders! Great work especially the ball gun turrets on the front!
|
|
John Everett
Full Member
Member since: January 2012
July, 2016 MoM Winner
Posts: 1,278
Jan 17, 2012 0:53:48 GMT -5
Jan 17, 2012 0:53:48 GMT -5
|
Post by John Everett on Feb 14, 2017 19:00:07 GMT -5
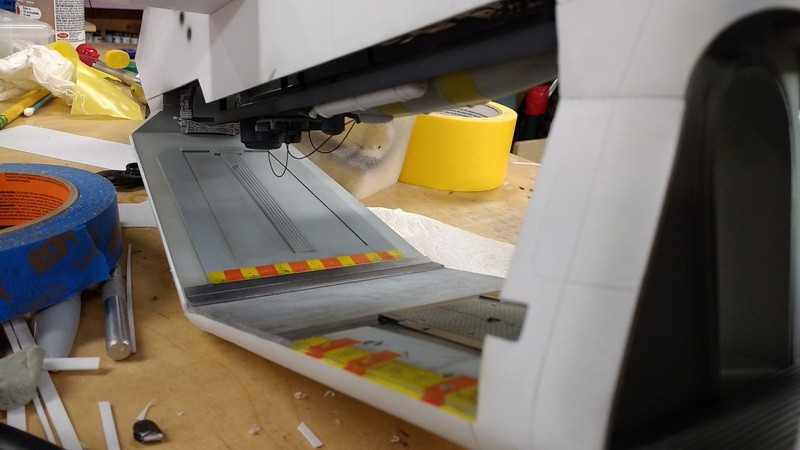
I'm guessing this works out to about the same size as the Quadjumper? Thanks, Dupes. This will be bigger than the quadjumper once the wings are on. Just about 18" x 18" x 10" height when it's finished. The base will also be part of the model since this ship doesn't have landing gear. It will be mounted via a rigid aluminum tube which will also house the wires. My fear is that the mounting system wont be strong enough for a 3 pound model. Let's just say that the area housing the tube will be the hardest spot in the whole model. So there was a lot of work for a small sized update. The cockpit section received full attention today and I finally committed to getting some glass installed. I would have rather waited for the clear parts. But the aft canopy is structural. So I'll just have to be very careful in handling it from here on out. 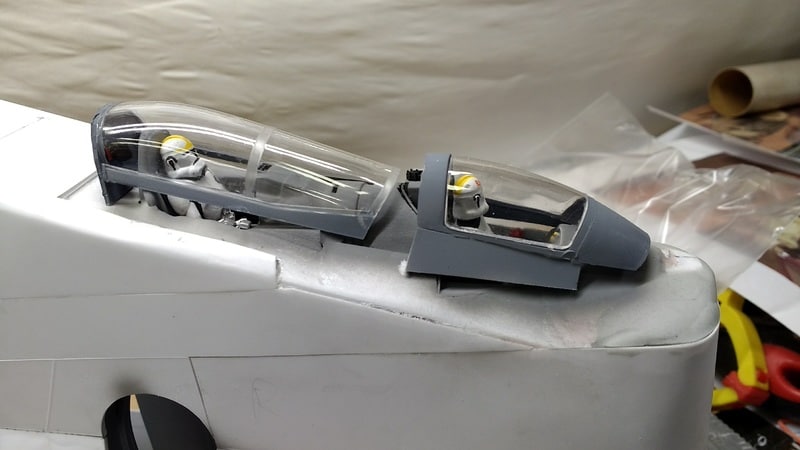 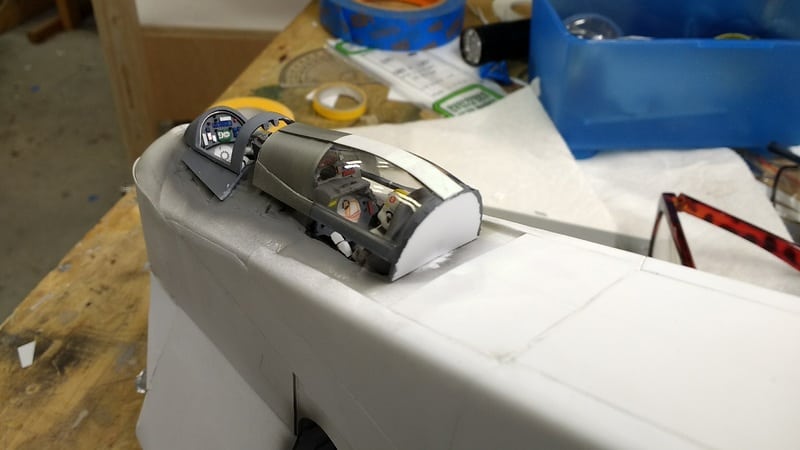 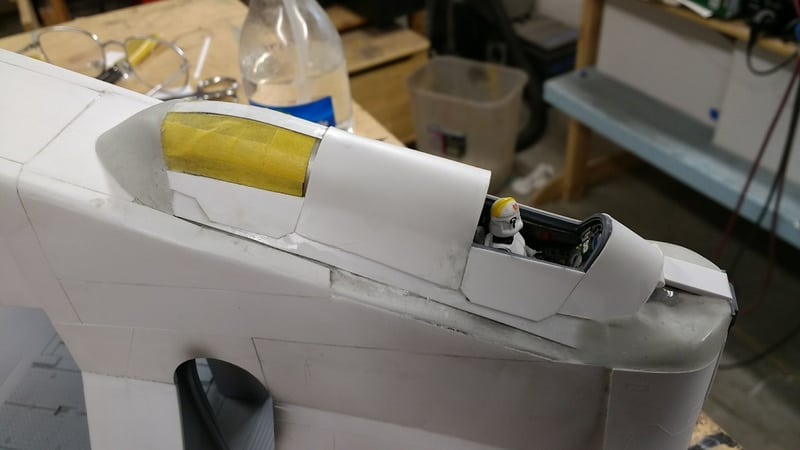 One may notice that there's been a lot of epoxy putty applied. This needs to set overnight before work can continue. Perhaps it's time to push a little bit on that AN-2 biplane which I began a few weeks back. |
|
John Everett
Full Member
Member since: January 2012
July, 2016 MoM Winner
Posts: 1,278
Jan 17, 2012 0:53:48 GMT -5
Jan 17, 2012 0:53:48 GMT -5
|
Post by John Everett on Feb 16, 2017 0:26:38 GMT -5
|
|
|
|
Post by Leon on Feb 16, 2017 5:37:38 GMT -5
Nice work getting the canopys fitted John! This is coming together nicely. |
|
jpc1968
Full Member
Member since: May 2015
May '17 Co-Mom Winner, October '17 MoM Winner
Posts: 504
|
Post by jpc1968 on Feb 16, 2017 7:00:41 GMT -5
Just keeps getting awesomer and awesomer..............is that a word?.......awesomer?
|
|
John Everett
Full Member
Member since: January 2012
July, 2016 MoM Winner
Posts: 1,278
Jan 17, 2012 0:53:48 GMT -5
Jan 17, 2012 0:53:48 GMT -5
|
Post by John Everett on Feb 17, 2017 22:52:17 GMT -5
|
|
John Everett
Full Member
Member since: January 2012
July, 2016 MoM Winner
Posts: 1,278
Jan 17, 2012 0:53:48 GMT -5
Jan 17, 2012 0:53:48 GMT -5
|
Post by John Everett on Feb 21, 2017 21:53:47 GMT -5
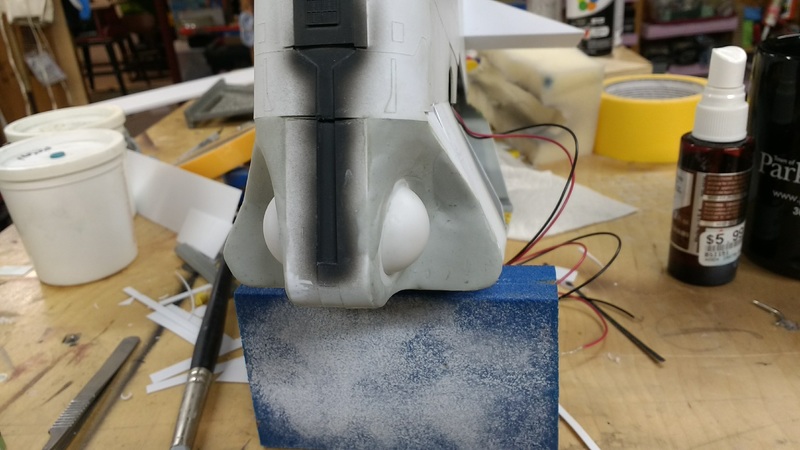
I've been getting the last of the epoxy putty formed in around the nose. It's not difficult. But it takes time to allow for cure time. There was some goofing around in creating the master for the missile launcher castings. But once the mold was ready, the cast of the launchers was pretty easy. 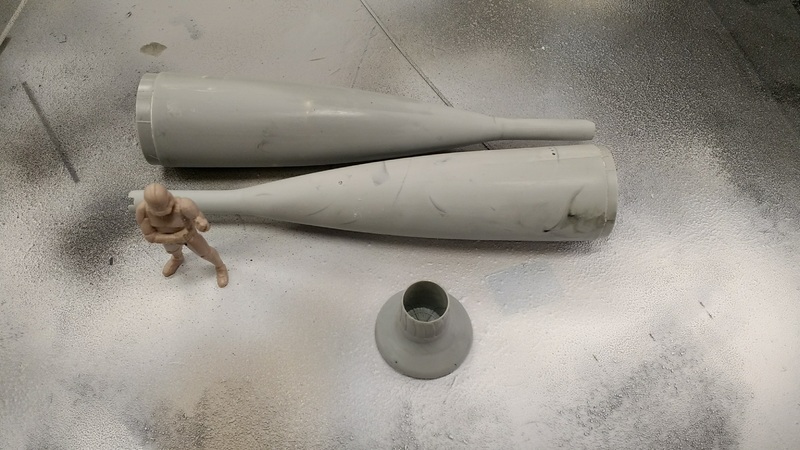 I've also been playing around with primer. I was worried that the scratches formed by the CNC cutter would be too small to show up through a layer of paint. But it does look like shadowing will show through the topmost paint layer. 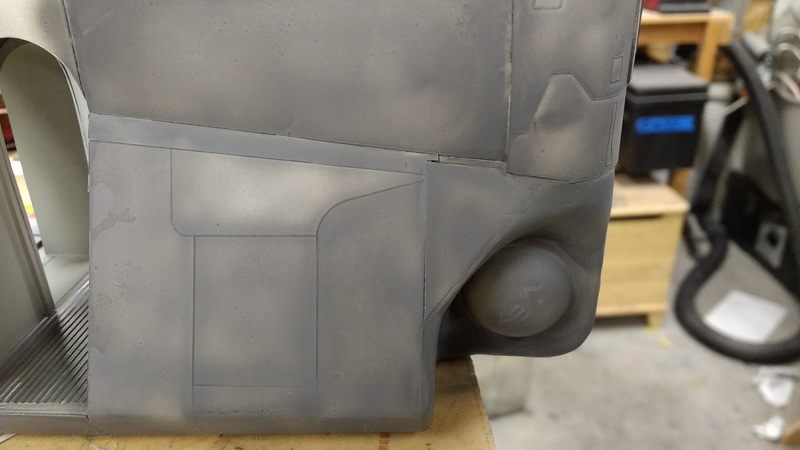 And the wings! I've finally run out of excuses not to glue them on. 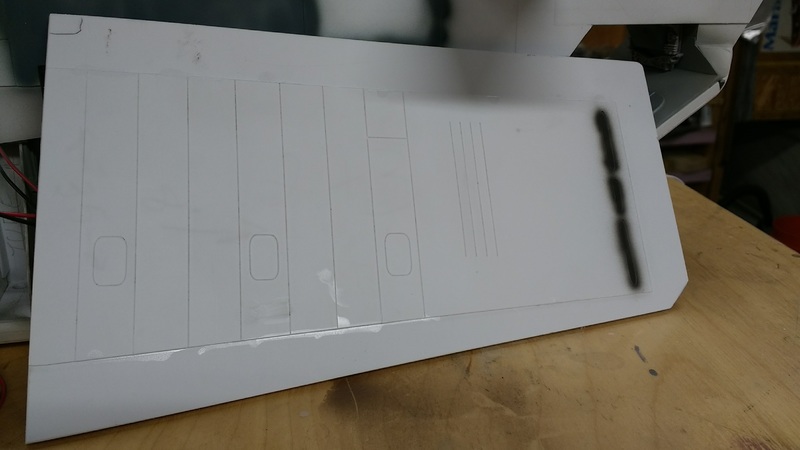 Then it was on to the base! Then it was on to the base!Standard foam. But I need a very, very solid foundation for holding up the weight of the lander. A pine 2x4 fits the need. 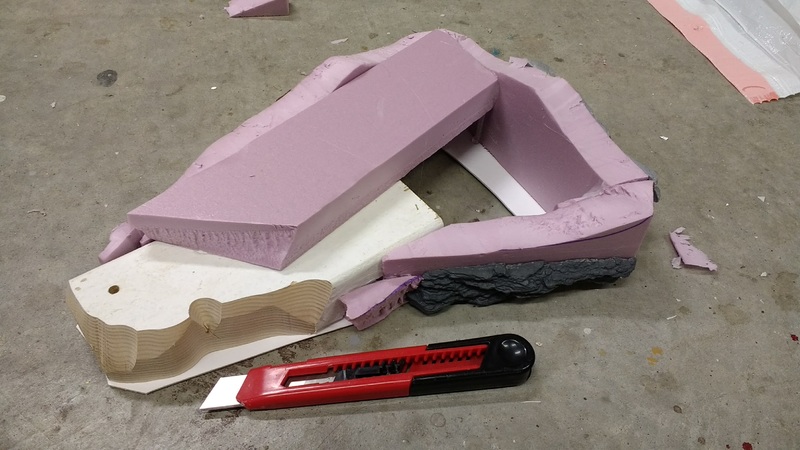 Real rocks and resin rocks on foam shaped by wire brush.  Soil collected locally and from afar...like Hawaii and Florida and Georgia and Abu Dhabi (for good luck). 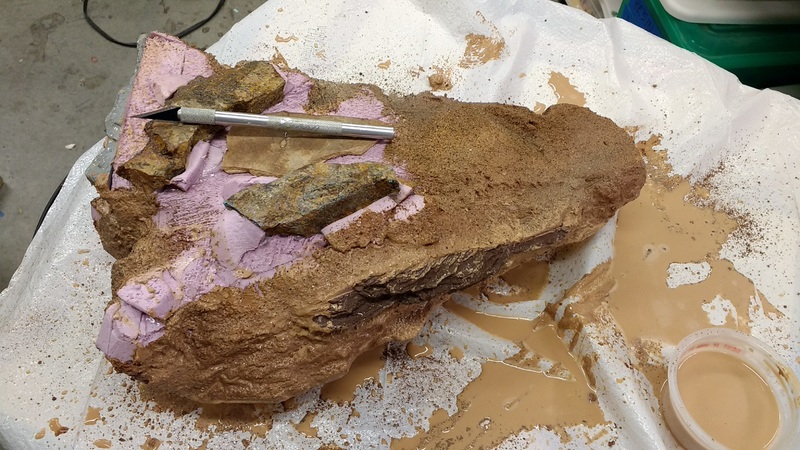 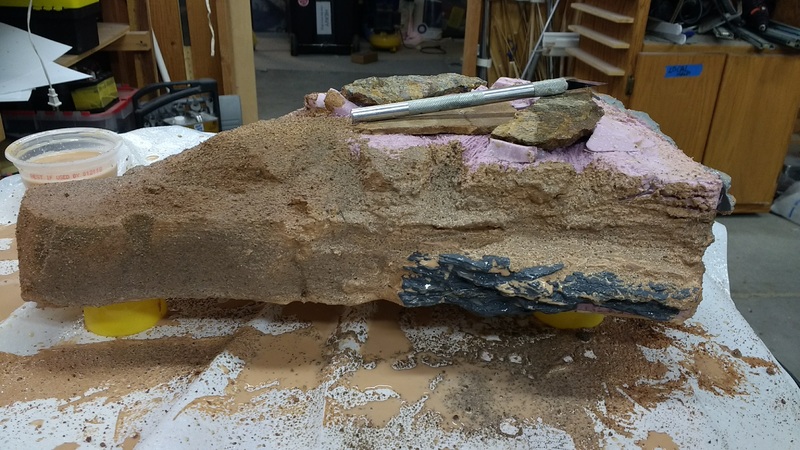 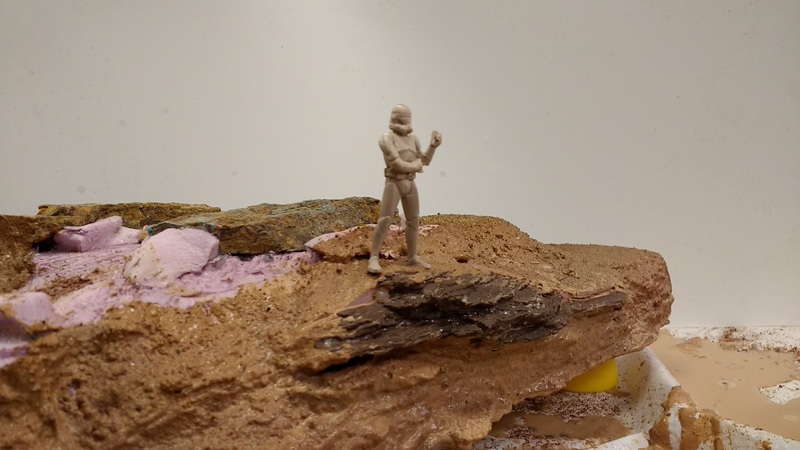 I'll let the base dry overnight and then fill in the bad spots tomorrow. Thanks for offering all the encouragement over the last couple months. I would say maybe another month to go at this point. |
|
adt70hk
Forum Moderator
Member since: November 2015
Currently attempting to build something decent!!! ;)
Posts: 2,482
MSC Staff
|
Post by adt70hk on Feb 22, 2017 1:58:26 GMT -5
Looking good John!
|
|