|
|
Post by panzerjager2 on Feb 14, 2017 11:46:39 GMT -5
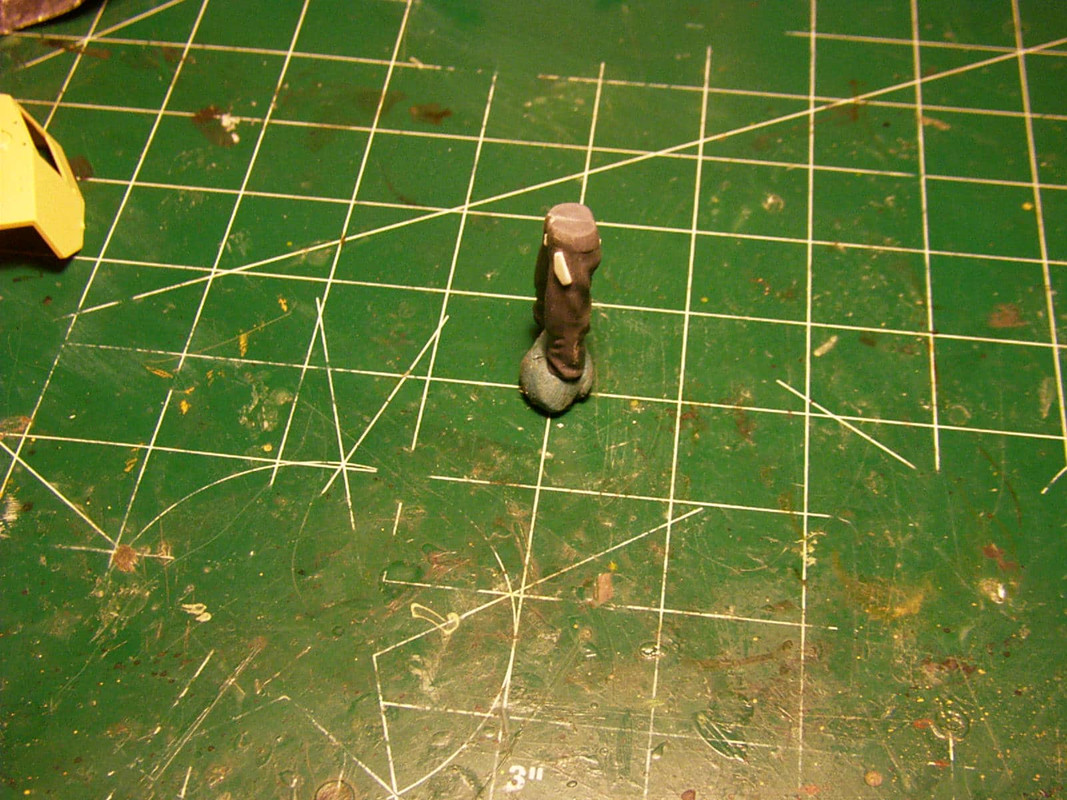
So here is the very first steps in this journey....and baby steps they are. I chose to start with the turret. Mostly because as I indicated I am out of sheets of plastic until tomorrow... 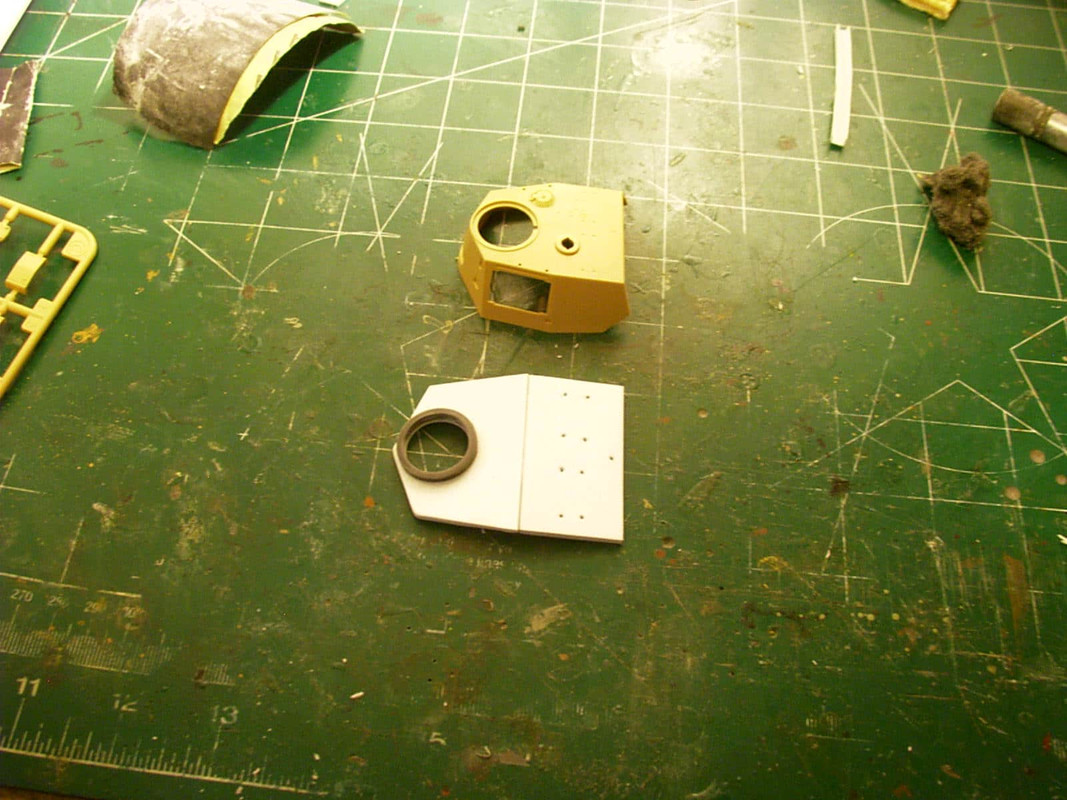 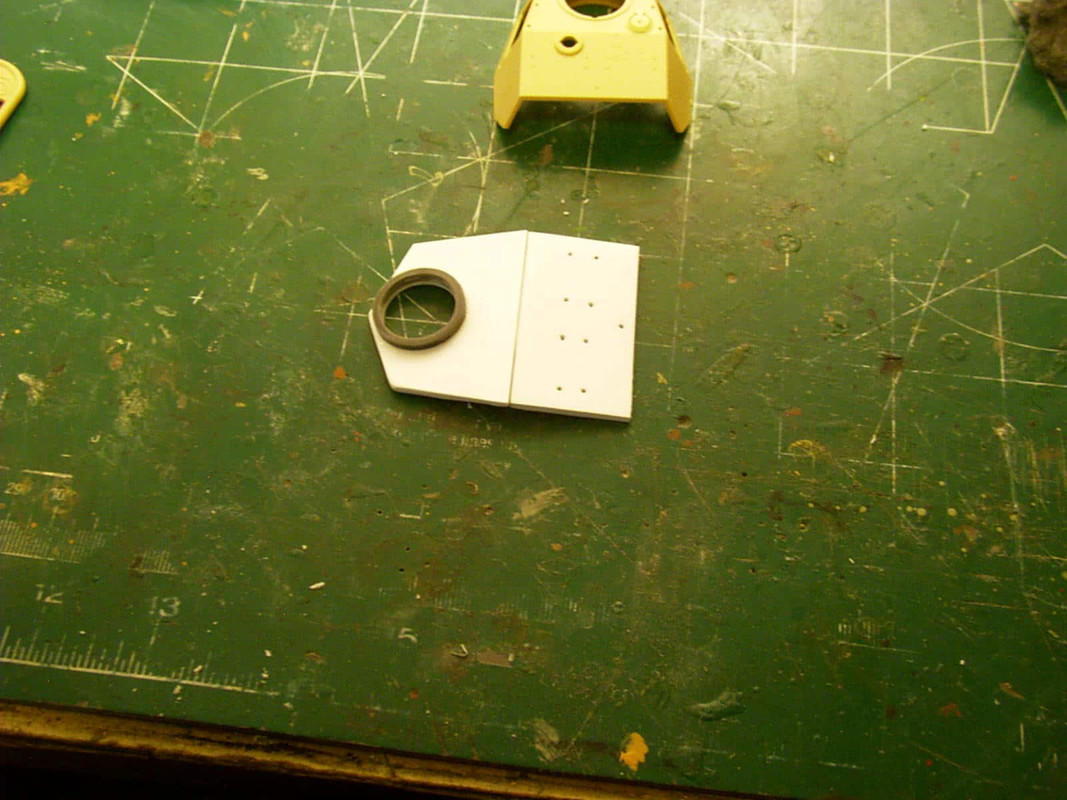 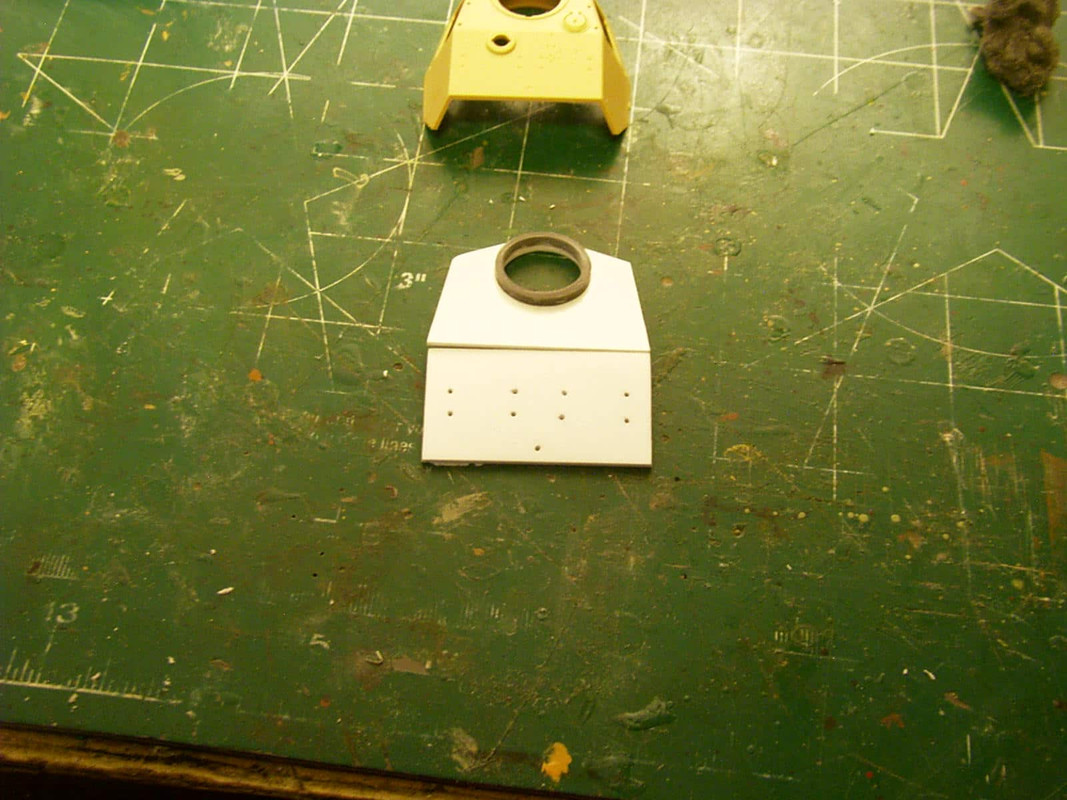 Those holes will be filled with recessed screwheads Those holes will be filled with recessed screwheads
Herr Hauptmann 24th Panzer Division
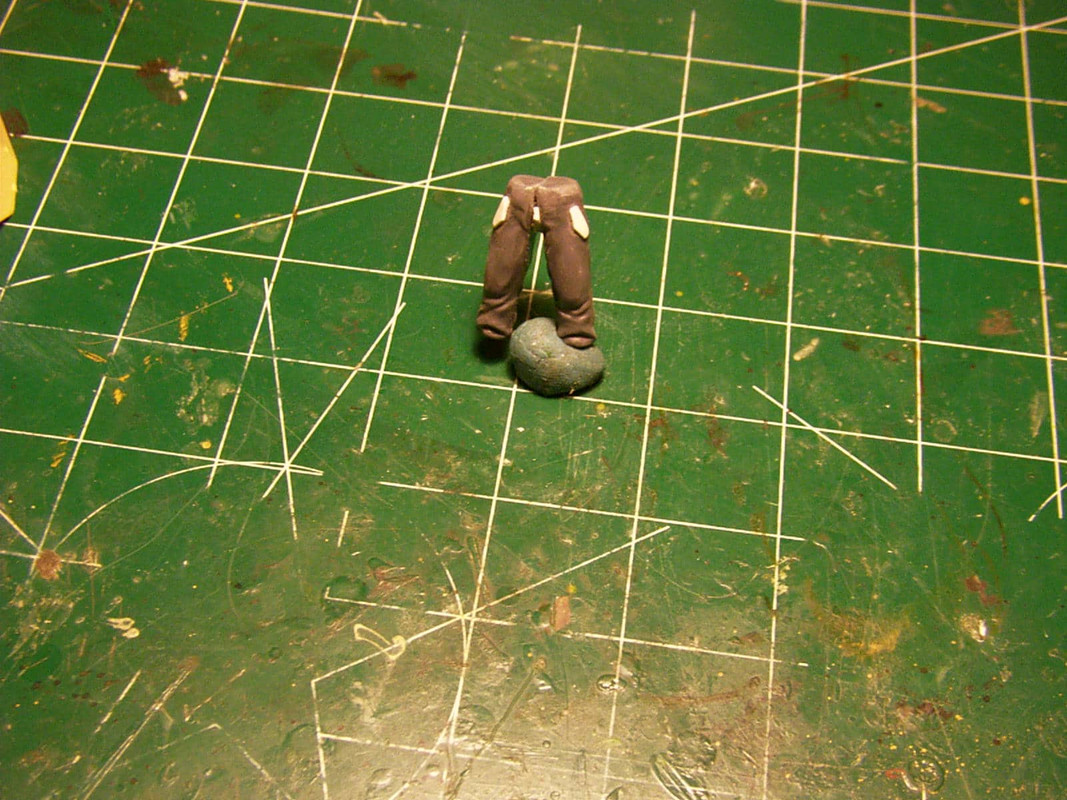 
|
|
|
|
Post by Leon on Feb 14, 2017 12:12:40 GMT -5
Nice start on the turret PJ!
|
|
|
|
Post by panzerjager2 on Feb 14, 2017 13:09:21 GMT -5
Leon: thank you kind sir
|
|
|
|
Post by deafpanzer on Feb 14, 2017 13:10:55 GMT -5
Another great build to follow... count me in too and good luck!
|
|
|
|
Post by panzerjager2 on Feb 14, 2017 14:46:00 GMT -5
And Many thanks to you as well sir
|
|
|
|
Post by panzerjager2 on Feb 14, 2017 20:20:09 GMT -5
Well kids, for all you out there in model-land, this episode is entitled, "how to fix a big mistake because I'm a jack-a-lope".
Now for some out there this will bring them pleasure... me screwing the pouch that is..... But I'll leave addressing that for another post... anywho.......
I messed up the location for the signal port atop the PzIII. so now these pics really show how I am going about filling it and then work to putty it over....   
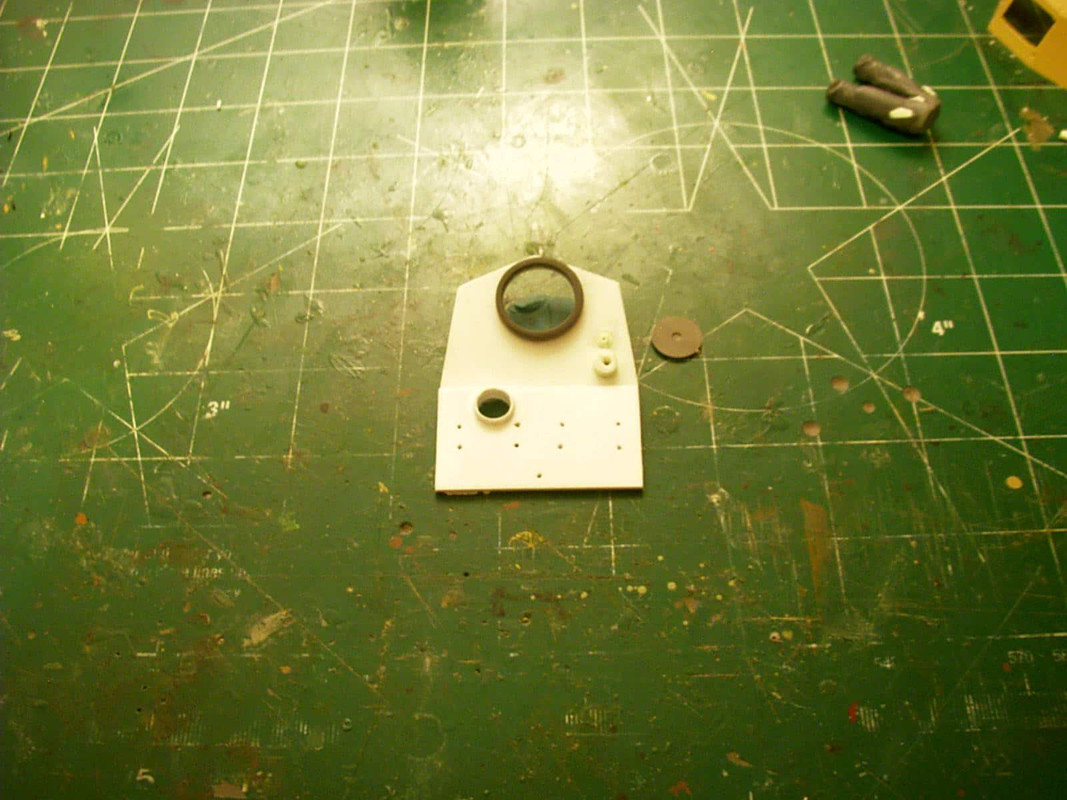 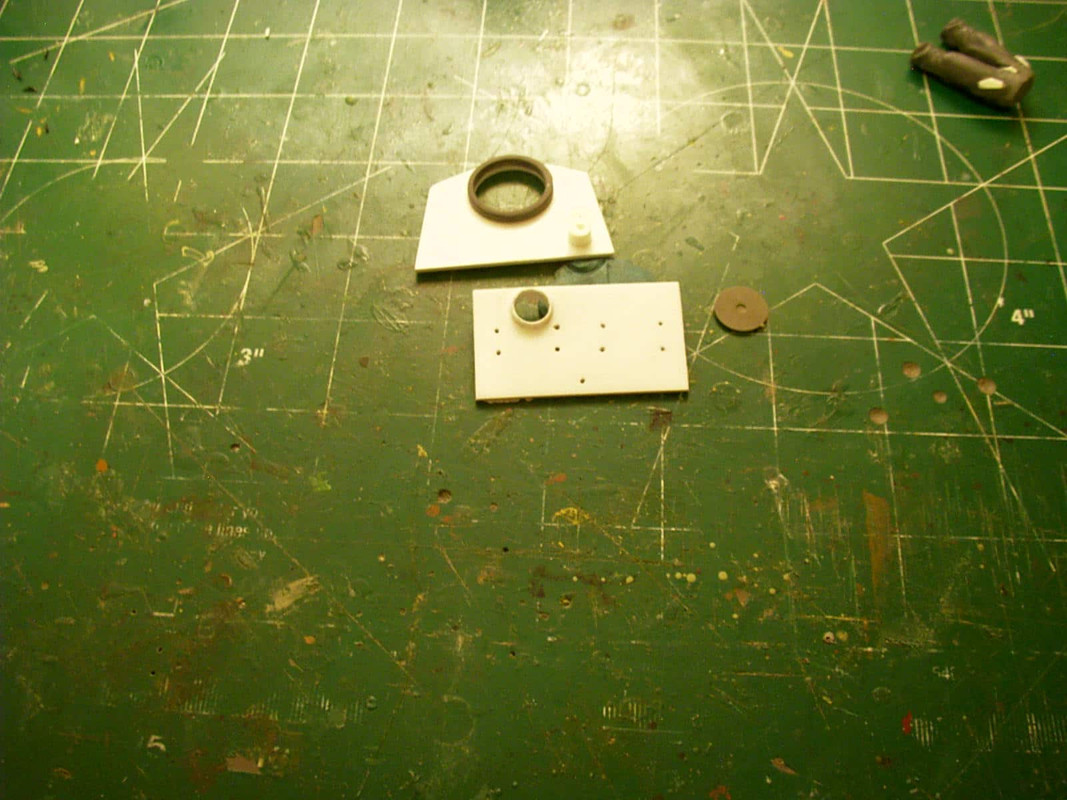
|
|
|
|
Post by panzerjager2 on Feb 14, 2017 20:23:25 GMT -5
|
|
|
|
Post by panzerjager2 on Feb 14, 2017 23:23:44 GMT -5
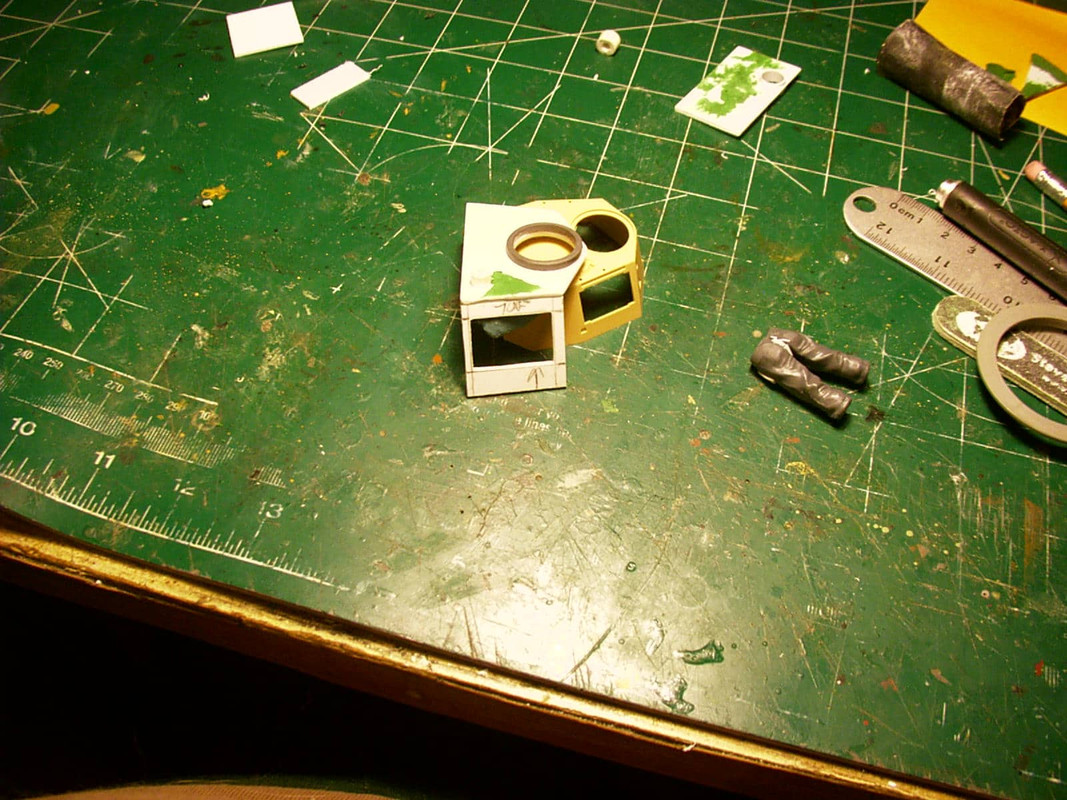
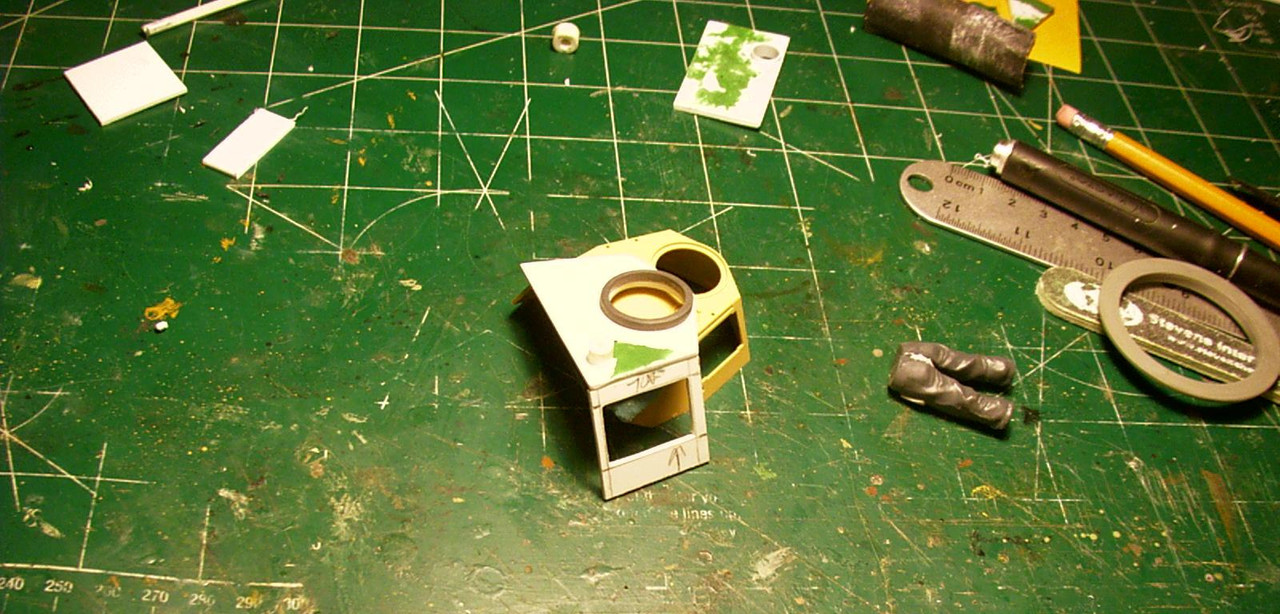
Here is the last update for today............ Loaders hatch or gunners hatch you pick.............
|
|
|
|
Post by TRM on Feb 15, 2017 19:22:03 GMT -5
Looking forward to seeing this one progress!  Fine work already...even the fix-ems!  SLing that white plastic! |
|
|
|
Post by panzerjager2 on Feb 15, 2017 20:29:05 GMT -5
TRM,
Thank you for the kind words
|
|
|
|
Post by panzerjager2 on Feb 15, 2017 22:37:30 GMT -5
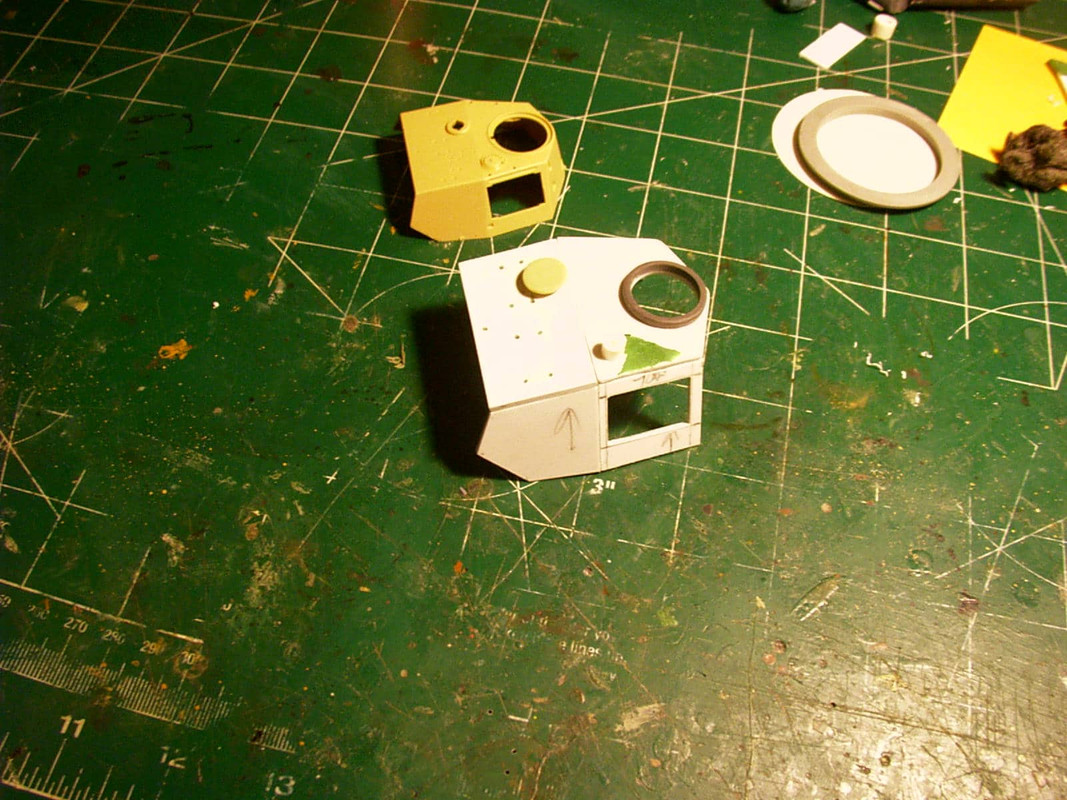
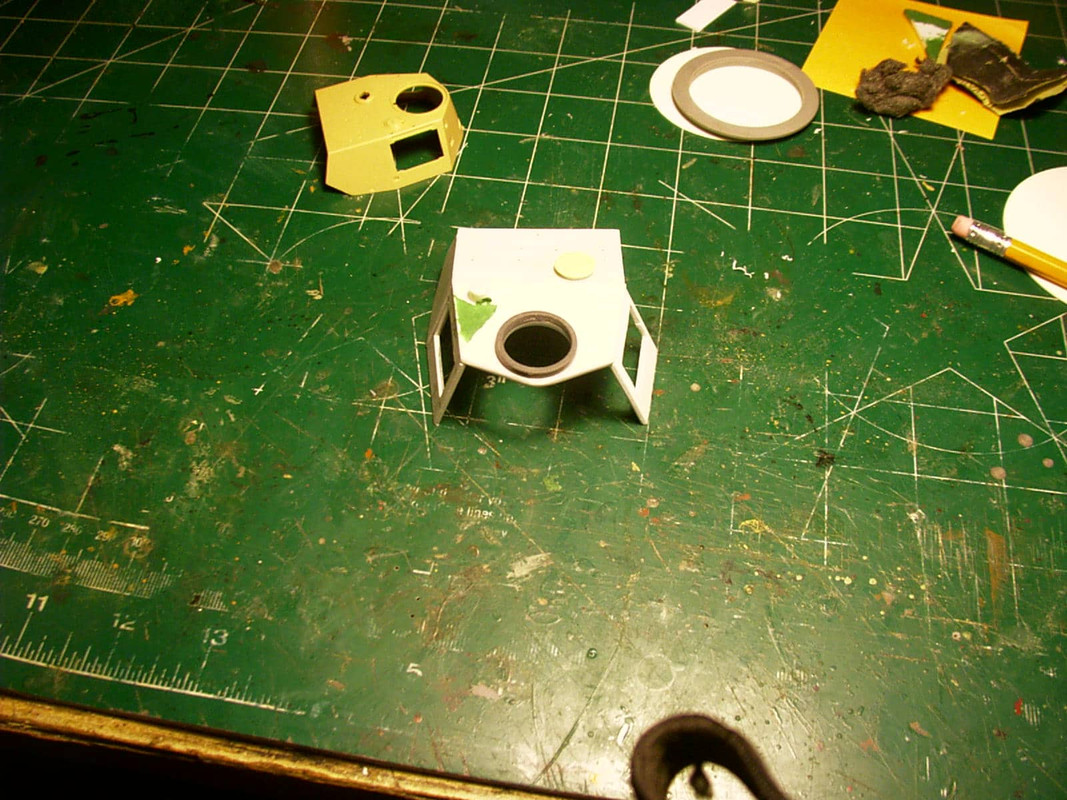
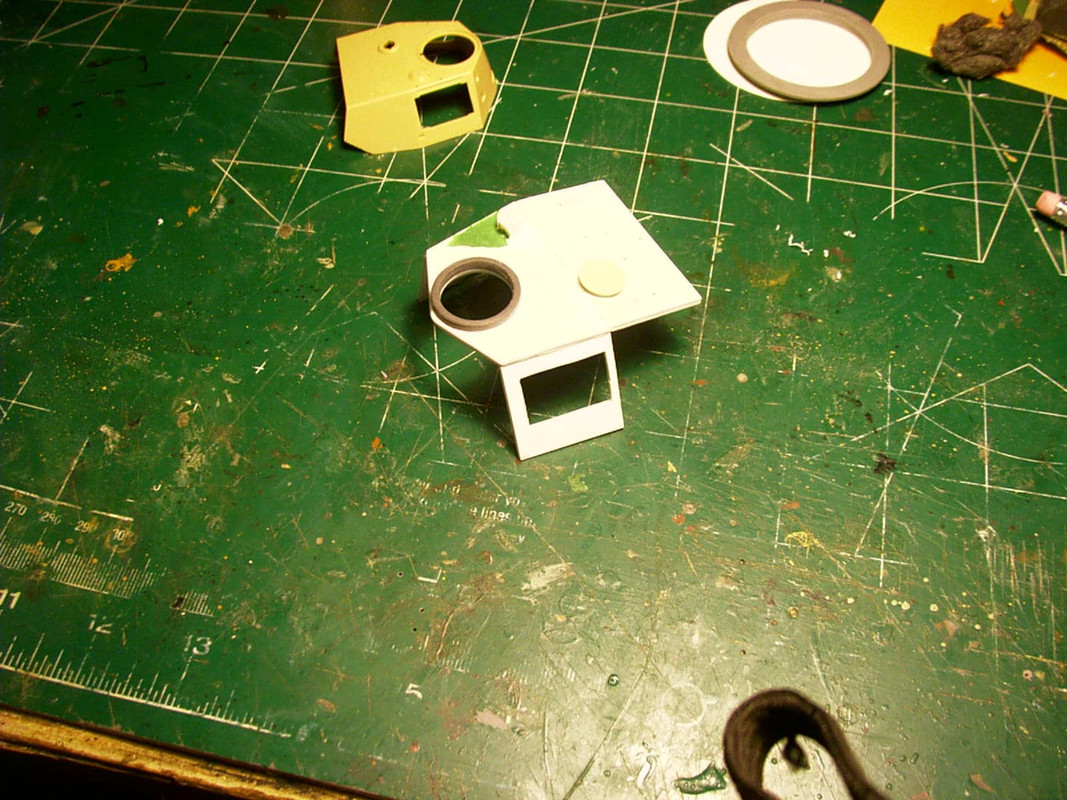
Well, I made a lil progress on the turret
|
|
|
|
Post by panzerjager2 on Feb 15, 2017 23:59:34 GMT -5
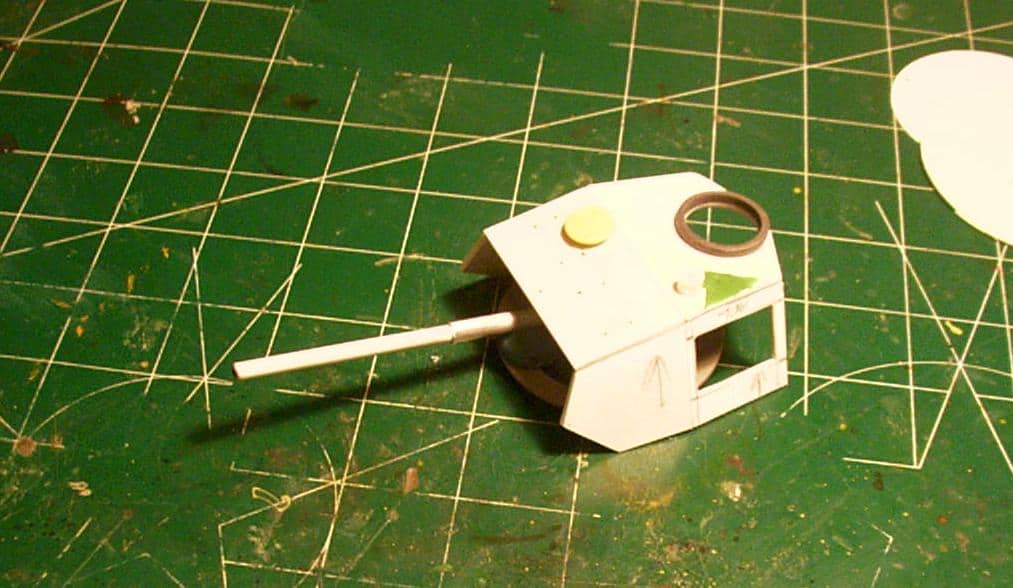
Well this is it for the day...... I allowed myself to daydream.......... Here is a shot with the start of the gun;
|
|
|
|
Post by TRM on Feb 16, 2017 4:31:57 GMT -5
LOL...I would say it was a lot of progress...especially considering this is from scratch! Tough not to test fit the peashooter!  |
|
|
|
Post by dierk on Feb 16, 2017 4:42:00 GMT -5
Nice work PJ! Scratchtastic!!!
|
|
adt70hk
Forum Moderator      November '24 Showcased Model Awarded
Member since: November 2015
Currently attempting to build something decent!!! ;)
Posts: 2,837 
MSC Staff
|
Post by adt70hk on Feb 16, 2017 6:19:28 GMT -5
Looking good PJ!
Don't know how you do it! I don't think I'd have the patience!
|
|
|
|
Post by panzerjager2 on Feb 16, 2017 7:04:11 GMT -5
TRM, Big "D" and adt. Thank you for the kind words...... When you think abooot it, all I've done is cut some plastic into angles and glued them in place.....
But I do appreciate the compliments
|
|
adt70hk
Forum Moderator      November '24 Showcased Model Awarded
Member since: November 2015
Currently attempting to build something decent!!! ;)
Posts: 2,837 
MSC Staff
|
Post by adt70hk on Feb 16, 2017 8:25:52 GMT -5
True. But you do it so well! 😋
|
|
captfue
Full Member
  
Member since: October 2012
Posts: 311
Oct 1, 2012 22:25:19 GMT -5
Oct 1, 2012 22:25:19 GMT -5
|
Post by captfue on Feb 16, 2017 13:37:09 GMT -5
Looks great so far. How are you scaling your project? I see you have a 1/35th piece there. I use a proportional divider to scale up from 1/35th to 1/24th and I've enlarged a 1/35th scale drawing. Is there any other ways to scale up?
|
|
|
|
Post by panzerjager2 on Feb 16, 2017 16:28:34 GMT -5
Well that sir is a great question. Long ago, I did the basic math and found that 1/25th scale is exactly 35 percent larger than 1/35th. As such my scale goes like this: Say the 1/35th scale part is 48mm long. Well then I take 4.8mm, (10%) and multiply that by 3.5, (35%) arrive at 16.8mm. Then add 48 and 16.8 to get the new length of the 1/25th scale part at: 64.8mm.....
For me, I find this system is fairly simple. I also do use the dimensions from the original vehicle, to quote validate my math. Again lets say the PZIII is 219 inches long in real life, (18 feet 3 inch), or 219 inches total. I simply divide 219 by 25 and arrive at 8.76 inches.... There are two pitfalls I found while building my Ferdinand, these are:
A). Don't assume always triple check
B). Make sure your 1/35th scale kit is "accurate"
After that it's just cutting, cementing ans filling.
I hope this made sence
|
|
joelsmith
Full Member
  
Member since: July 2012
There no winners in war, only survivors.
Posts: 1,404
Jul 5, 2012 22:33:58 GMT -5
Jul 5, 2012 22:33:58 GMT -5
|
Post by joelsmith on Feb 16, 2017 21:22:14 GMT -5
Thanks for the great info. I always wondered how scratchbuliders came up with their measurements. I had envisioned protractors and angle gauges. Thanks, Joel.
|
|
|
|
Post by panzerjager2 on Feb 16, 2017 22:37:56 GMT -5
Joel, it's funny. You get a feel for a scale after awhile. To that I mean, when I was futzing with the barrel. I didn't even do any calculating until after I already made a prototype....As it turns out my "guess" was within .25 mm. But that can also be a bad thing.....
Hey did the M/O get there yet?         ?? ??
|
|
captfue
Full Member
  
Member since: October 2012
Posts: 311
Oct 1, 2012 22:25:19 GMT -5
Oct 1, 2012 22:25:19 GMT -5
|
Post by captfue on Feb 16, 2017 23:50:41 GMT -5
Thanks is so simple,
|
|
adt70hk
Forum Moderator      November '24 Showcased Model Awarded
Member since: November 2015
Currently attempting to build something decent!!! ;)
Posts: 2,837 
MSC Staff
|
Post by adt70hk on Feb 17, 2017 3:12:58 GMT -5
Hi PJ
At the risk of sticking my head above the parapet and looking like a mathematical idiot, when it comes to scaling up why not just multiply your 1/35 measurement by 1.35?
You get the same result in only one calculation, so less risk of error creeping in.
Just a thought but I should warn you I was only average at maths at school.....
Andrew
|
|
|
|
Post by panzerjager2 on Feb 17, 2017 7:21:49 GMT -5
OH sure screw with my tried and true method.....LOL LOL    Besides that takes all the hassle out of my stinking rotten calculations............. What will I bitch abooooot now LOL Besides that takes all the hassle out of my stinking rotten calculations............. What will I bitch abooooot now LOL
Truth be known, I just never thought about that.... When I created my calculation scale I did it for 1/20, 1/24, and 1/25......so I did it the LONG way.
Thanks, great answer
|
|
joelsmith
Full Member
  
Member since: July 2012
There no winners in war, only survivors.
Posts: 1,404
Jul 5, 2012 22:33:58 GMT -5
Jul 5, 2012 22:33:58 GMT -5
|
Post by joelsmith on Feb 17, 2017 10:55:59 GMT -5
PJ, I sent you a pm about the m/o. Keep up the craftsmanship, Joel.
|
|
|
|
Post by panzerjager2 on Feb 17, 2017 23:24:16 GMT -5
Well, for some of you who have followed my builds, you are about to be "thunder struck"...........................
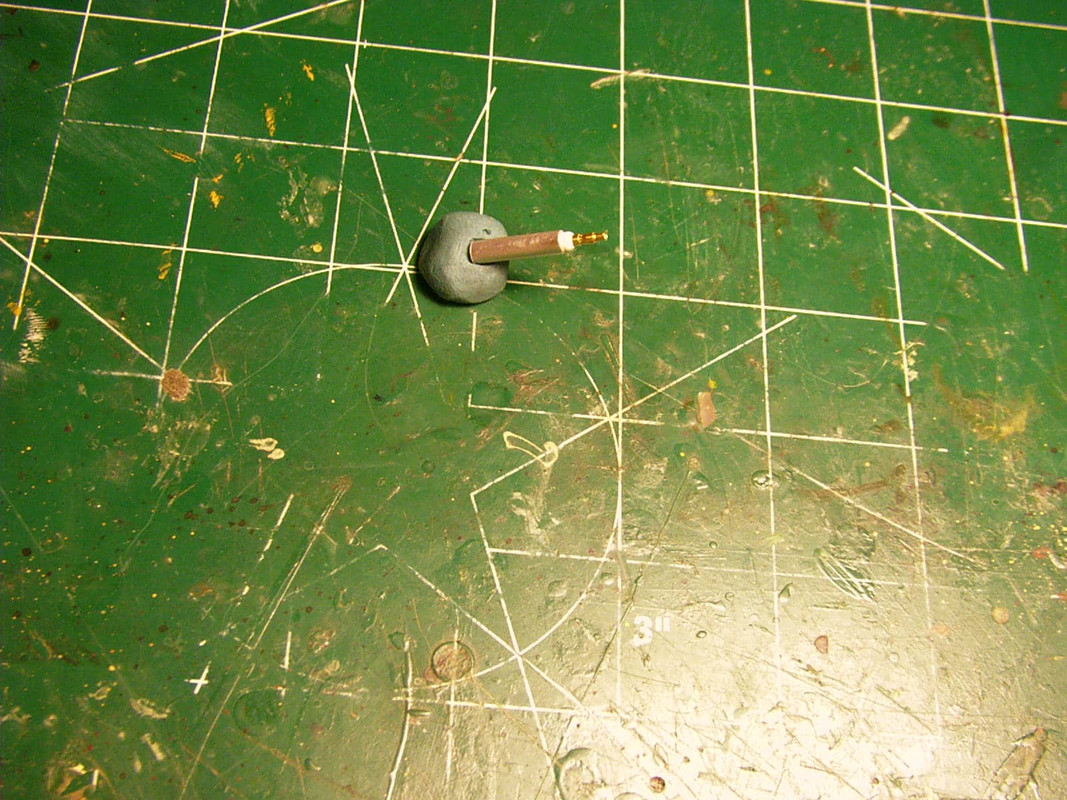
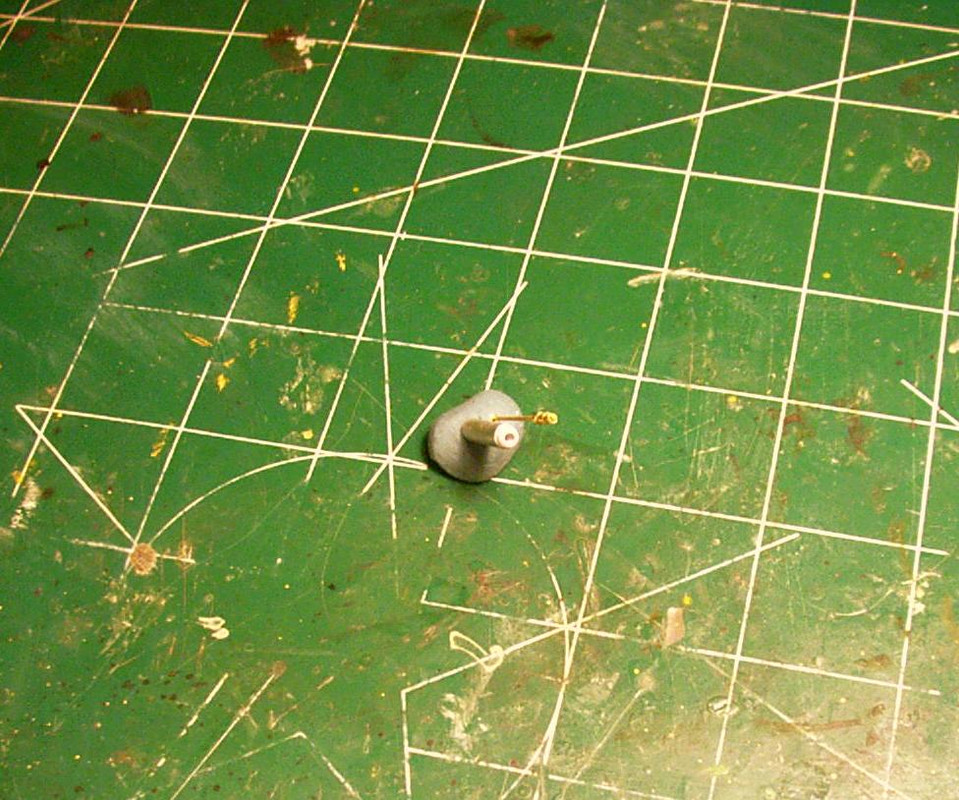
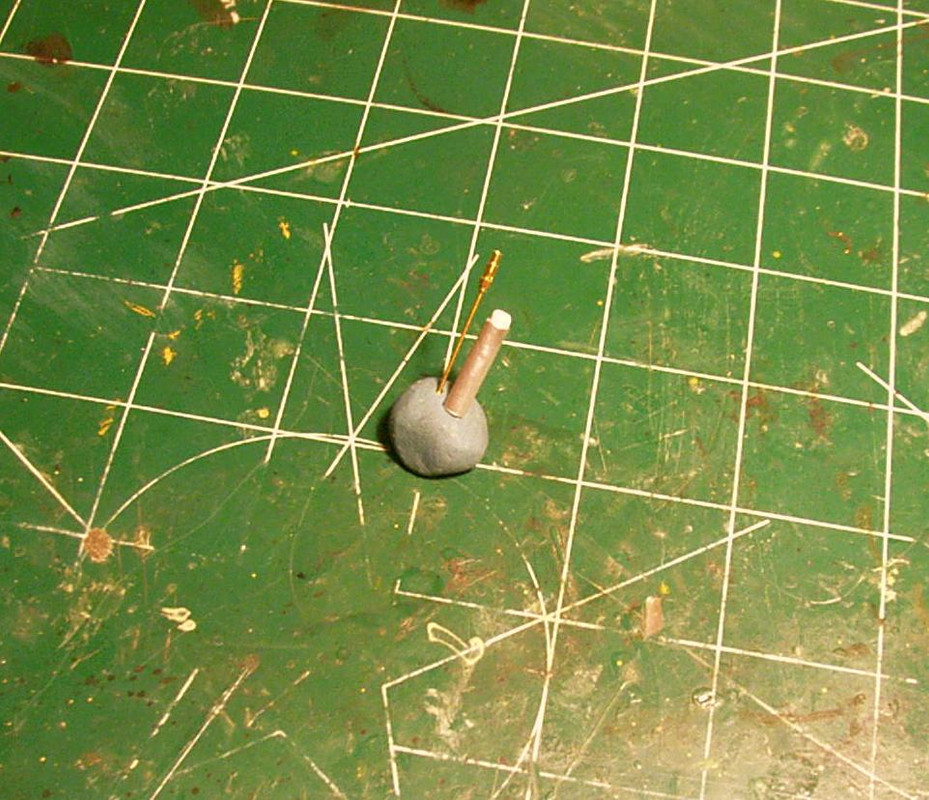
I am going to use a photo-etched part..... Well not really PE it is a metal barrel, which for me is too dang close...but what the heck I'm getting old....
I am working on the Coaxial Machinegun port, and this is what I have come up with;
|
|
|
|
Post by dierk on Feb 18, 2017 6:41:38 GMT -5
Oh dear, going soft in your old age and using AM parts?  Looking good, though! |
|
|
|
Post by Leon on Feb 18, 2017 8:31:03 GMT -5
Nothing wrong with a few AM parts here and there PJ!  |
|
|
|
Post by panzerjager2 on Feb 18, 2017 11:29:20 GMT -5
Dierk and Leon, THANK YOU, but it's a funny thing.......... or a slippery slope.... once you open that "AM" door, what's next whole Aber 1/25th sets!!!!!!!!
At this point I'm simply gonna quote the great Charleston Heston in the original Planet of the Apes....... "It's a MADHOUSE". I will say I feel dirty, and must quit the IBOSMU, oh that's the International Brotherhood of Scratch Modelers Union, local 999999 
|
|
|
|
Post by panzerjager2 on Feb 18, 2017 17:51:28 GMT -5
Now that I have the teamsters coming to get me...LOL....here is a very quick update..... Mostly green stuff and the gun housing.....
 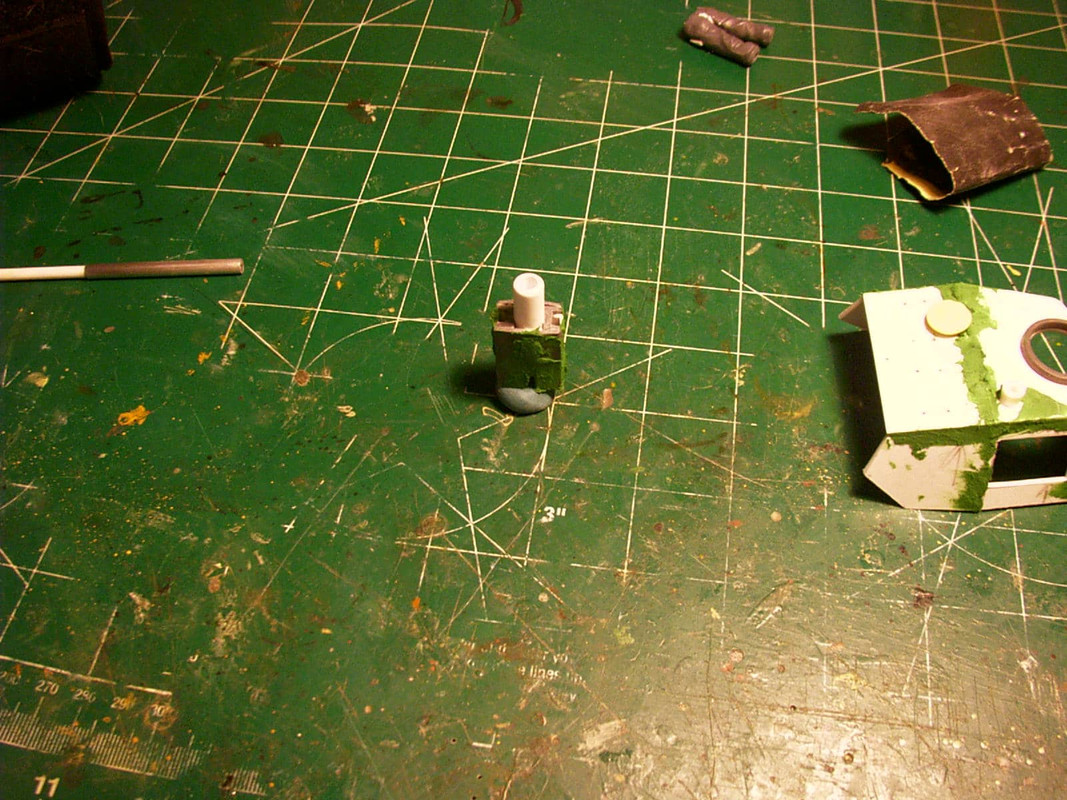 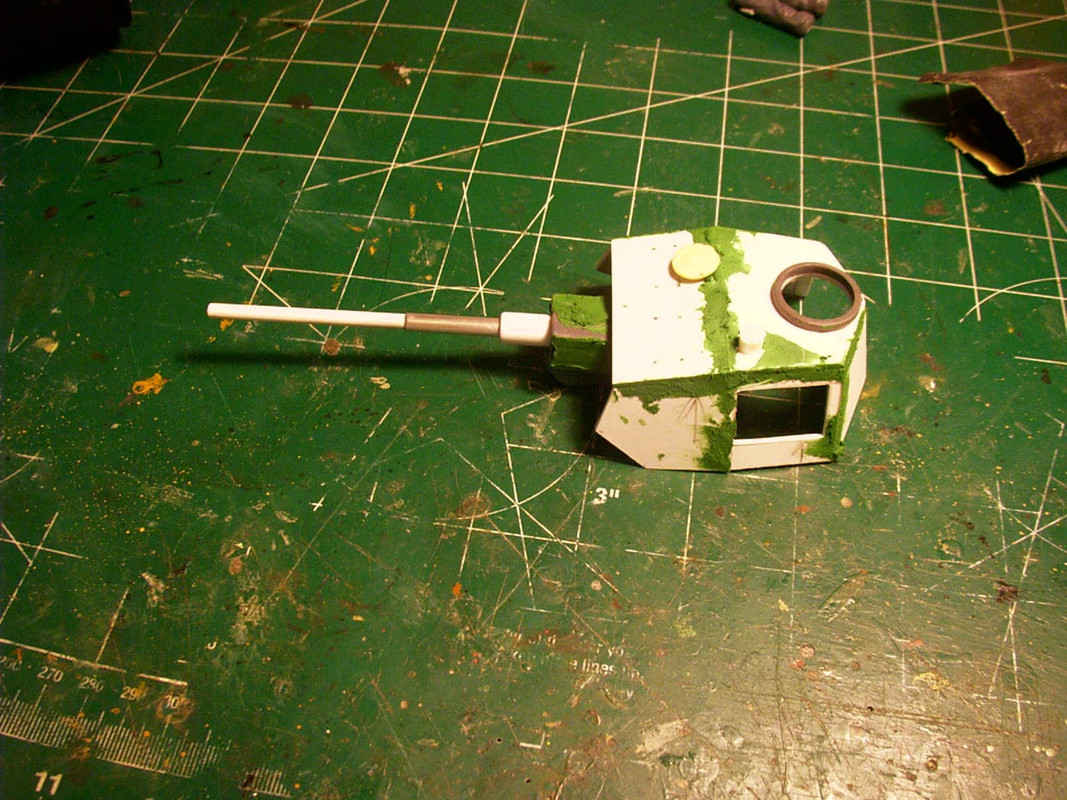 I think Guito and Rocko are knocking at the door......got to run LOL I think Guito and Rocko are knocking at the door......got to run LOL
|
|