thug626
Senior Member
   
Member since: January 2013
Posts: 2,035
Jan 15, 2013 13:05:28 GMT -5
Jan 15, 2013 13:05:28 GMT -5
|
Post by thug626 on Nov 30, 2017 23:37:55 GMT -5
Good evening everyone. With the Bristol safely in the display case, I figured it was time to revisit a kit I had started a while ago. This was started before I built the F-4C of Robin Olds. It's been a bit since I built a fast mover. It's high time to do so.  |
|
|
|
Post by deafpanzer on Dec 1, 2017 13:51:17 GMT -5
Count me in... looks like fun! I think you got all aftermarket stuff available in the market! LOL
|
|
thug626
Senior Member
   
Member since: January 2013
Posts: 2,035
Jan 15, 2013 13:05:28 GMT -5
Jan 15, 2013 13:05:28 GMT -5
|
Post by thug626 on Dec 1, 2017 14:47:11 GMT -5
Consider yourself counted Andy. There are a few goodies there.  |
|
|
|
Post by wing_nut on Dec 1, 2017 20:02:16 GMT -5
Be careful Dave. That's a potato chip kit. Betcha can't build just one.
|
|
thug626
Senior Member
   
Member since: January 2013
Posts: 2,035
Jan 15, 2013 13:05:28 GMT -5
Jan 15, 2013 13:05:28 GMT -5
|
Post by thug626 on Dec 1, 2017 20:13:56 GMT -5
Oh don't you know it. I've got several of them in the stash.
|
|
thug626
Senior Member
   
Member since: January 2013
Posts: 2,035
Jan 15, 2013 13:05:28 GMT -5
Jan 15, 2013 13:05:28 GMT -5
|
Post by thug626 on Dec 1, 2017 20:58:32 GMT -5
I commenced work on the bang seat this evening. Much of my time was spent re-familiarizing myself with the Brassin resin parts....what goes where. The bang seat was mostly assembled when I last worked on it. The styrene seat detail is nice, but the resin offering is just that much better with the detail. 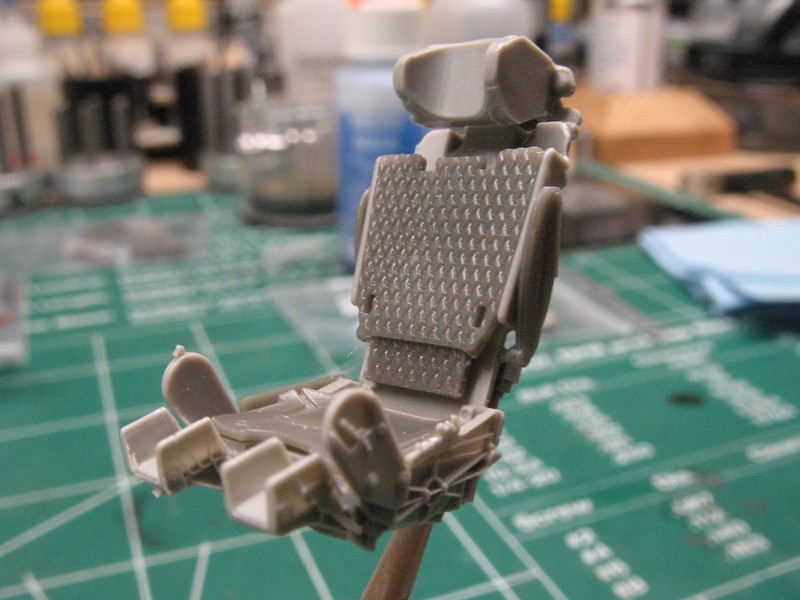
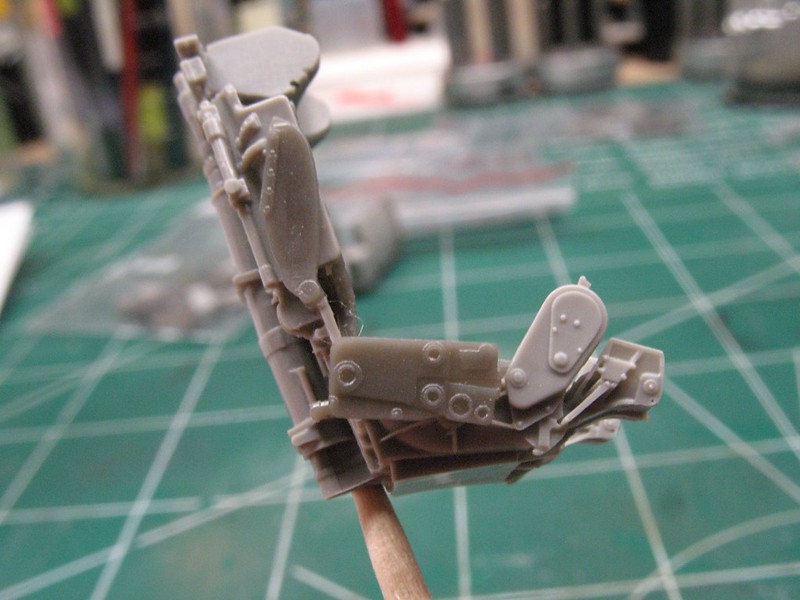 Much of this detail may not be seen unless one is depicting an ejection, or displaying it out of the bird. Nonetheless, it's pretty cool. 
The primer shot for this evening. 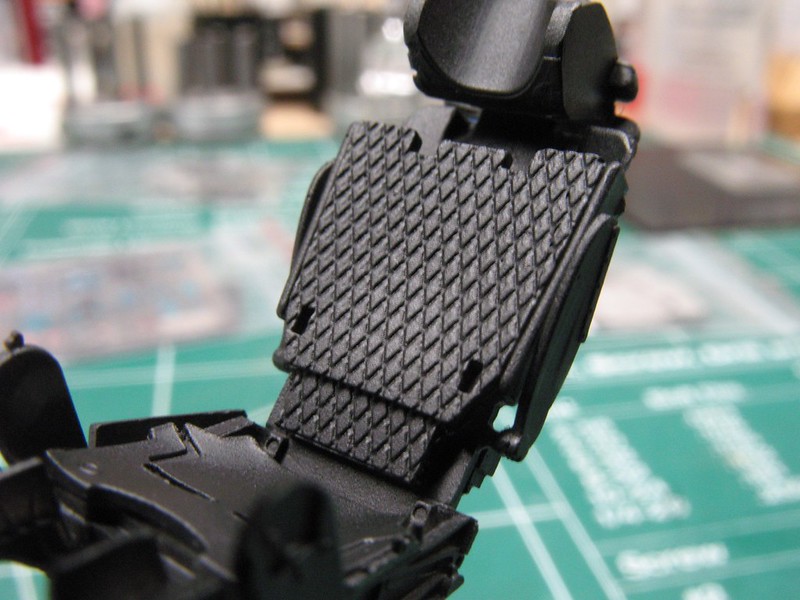
Still to come....paint, harnesses, warning placards, decals..... |
|
|
|
Post by Leon on Dec 1, 2017 21:17:50 GMT -5
That's a lot of nice detail Dave!
|
|
Deleted
Member since: January 1970
Posts: 0
Nov 29, 2024 3:50:21 GMT -5
Nov 29, 2024 3:50:21 GMT -5
|
Post by Deleted on Dec 2, 2017 9:53:10 GMT -5
Looks like a beautiful cast seat Dave 👍
|
|
|
|
Post by dupes on Dec 2, 2017 11:20:56 GMT -5
Holy Brassin, Batman!
|
|
Deleted
Member since: January 1970
Posts: 0
Nov 29, 2024 3:50:21 GMT -5
Nov 29, 2024 3:50:21 GMT -5
|
Post by Deleted on Dec 2, 2017 13:44:27 GMT -5
Wow that sure has the detail .
|
|
thug626
Senior Member
   
Member since: January 2013
Posts: 2,035
Jan 15, 2013 13:05:28 GMT -5
Jan 15, 2013 13:05:28 GMT -5
|
Post by thug626 on Dec 10, 2017 20:09:07 GMT -5
Good evening everyone. Thank you for the compliments. I got as far as I could at the bench today...the garage is 46ºF...I am just now getting feeling back to my legs.  Some color was laid down. Mostly it was the interior turquoise by MIG. The panels are part of the Brassin CP set. The colors don't quite match up. Theres still washes and highlights to go. 
This is the rear bulkhead for the CP. Everything received a flat black primer before color. Detail painting to follow 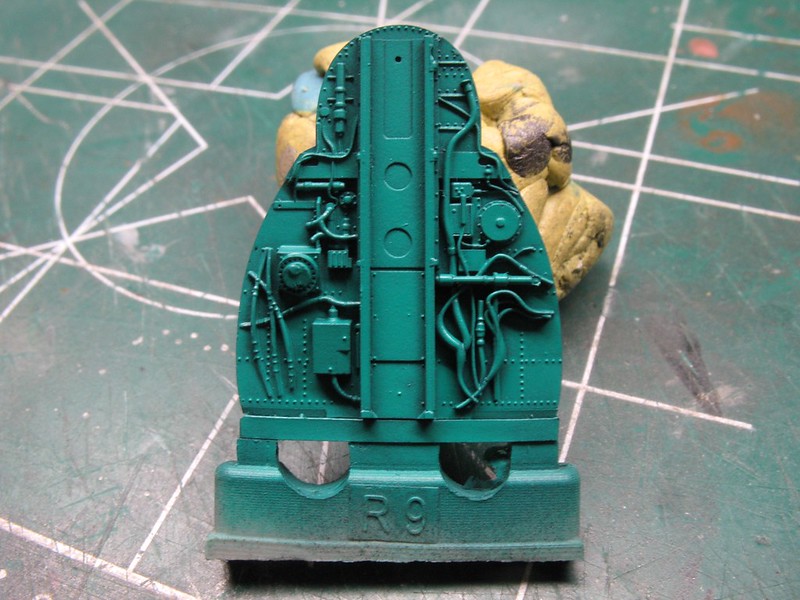 The Brassin set offers you three options for the IP. PE instruments and bezels. Resin bezels with PE instruments. Or, resin bezels with the instruments molded in. I was going to go for option two, but cracked the face removing it from the casting block. Crap! So, I went with the first PE option. The radar scope will get more color that what you see here.  |
|
|
|
Post by Leon on Dec 11, 2017 4:52:52 GMT -5
Nice start on the pit Dave! The IP looks great.  |
|
|
|
Post by deafpanzer on Dec 11, 2017 14:50:01 GMT -5
Great work on the cockpit... I don't think I will ever paint that green/blue color anywhere in my house! LOL
|
|
Deleted
Member since: January 1970
Posts: 0
Nov 29, 2024 3:50:21 GMT -5
Nov 29, 2024 3:50:21 GMT -5
|
Post by Deleted on Dec 13, 2017 15:05:26 GMT -5
Mighty fine Dave  |
|
thug626
Senior Member
   
Member since: January 2013
Posts: 2,035
Jan 15, 2013 13:05:28 GMT -5
Jan 15, 2013 13:05:28 GMT -5
|
Post by thug626 on Dec 16, 2017 0:10:01 GMT -5
Good evening everyone. Leon Thank you my good man for the compliment. Andy Thank you may friend. I like the color, but ain't no walls in my house that will ever receive that color as a base coat. Carl Thank you as always my good man. The fuselage got buttoned up today. I am having to rework the coaming, as I glued on the plastic parts not knowing that there was a resin replacement part. Crap! The windscreen is only dry fitted here, until I figure out how to mount the resin coaming. The upper wing halves have yet to be mounted. 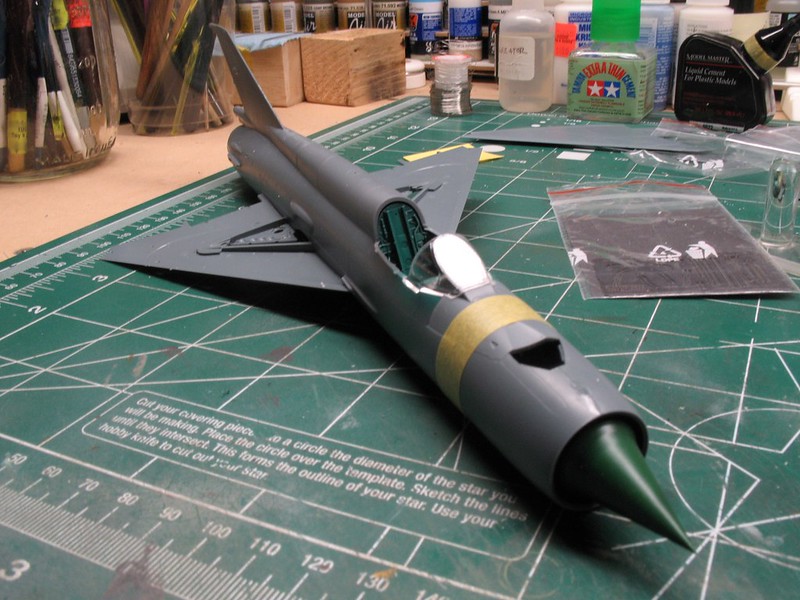 The wheel wells are Brassin resin. They drop right in without any fuss. The nose wheel well takes a bit more but it works quite nicely. Weathering has begun on the wells...some touch up is needed here. 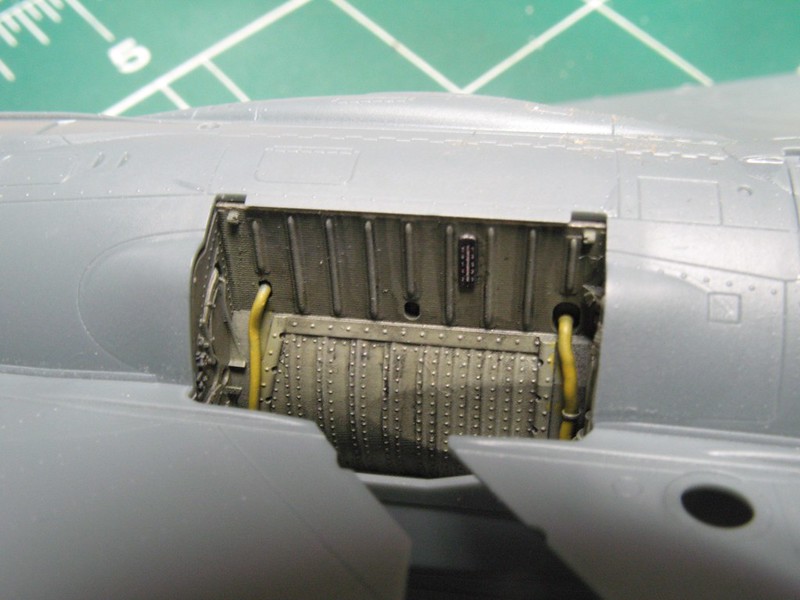
There is a bit of a step here that is probably of my own doing. I possibly should have glued the resin engine bulkhead to only one fuselage half. By the time I got back to this when gluing the fuselage together, the CA had already set up. It's going to take some work, but it is not insurmountable.  The hot end of the bird.... 
|
|
|
|
Post by Leon on Dec 16, 2017 7:33:13 GMT -5
Nice progress Dave! Things are looking good.  |
|
thug626
Senior Member
   
Member since: January 2013
Posts: 2,035
Jan 15, 2013 13:05:28 GMT -5
Jan 15, 2013 13:05:28 GMT -5
|
Post by thug626 on Dec 16, 2017 9:18:19 GMT -5
Thank you kindly Leon.
|
|
|
|
Post by wing_nut on Dec 17, 2017 15:23:23 GMT -5
SWEET!
|
|
|
|
Post by deafpanzer on Dec 18, 2017 11:49:41 GMT -5
Looking real good!!!
|
|
thug626
Senior Member
   
Member since: January 2013
Posts: 2,035
Jan 15, 2013 13:05:28 GMT -5
Jan 15, 2013 13:05:28 GMT -5
|
Post by thug626 on Dec 20, 2017 3:49:49 GMT -5
Marc Thank you kindly my good man. Andy Thank you as always my friend. One of the good things about having a cold, and not wanting to watch any TV is that I can get a bunch done on the Mig. The cold sucks, but it just needs to run its course. The wings, control surfaces, hard points, scoops, stabilators are all now permanent fixtures. This beast looks fast just sitting still. I am surprised by the number of strakes this beastie has...there must have been some longitudinal stability issues. 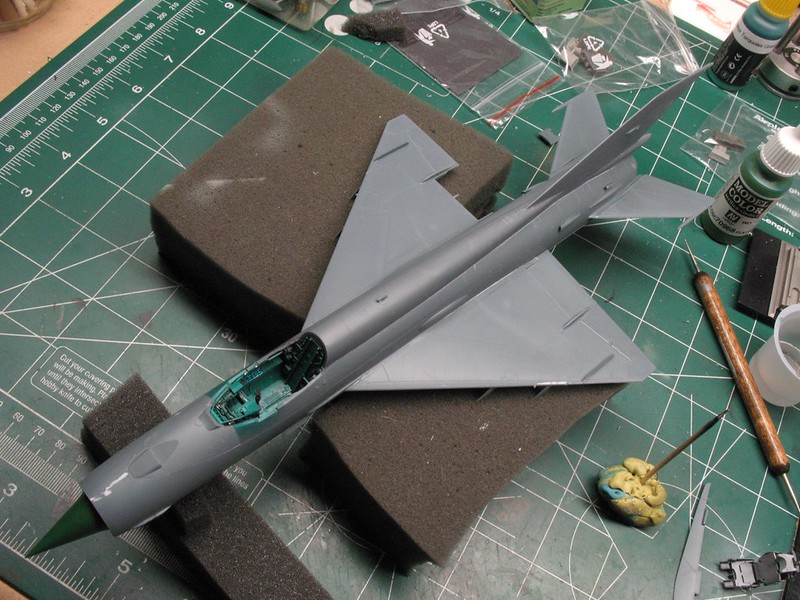
The CP is all but done. I realized during the test fitting of the windscreen with the gun sight dry fitted, that the IP sits just a tad too high. I have a solution for that, but not tonight. Time to get some rest. 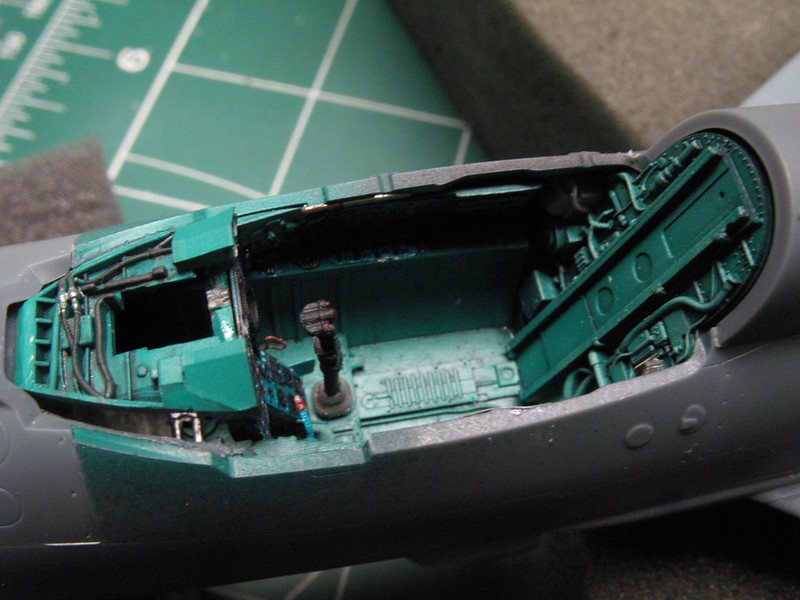 The Bondo solution for the step on the underside of the fuselage. It work well with the Do-215. I'll let it cure overnight, and wet sand it tomorrow.  The dry fitting of the ventral strake revealed that I did not need to take care of all of the step. Some simple Vallejo putty will take care of it when the strake is mounted. 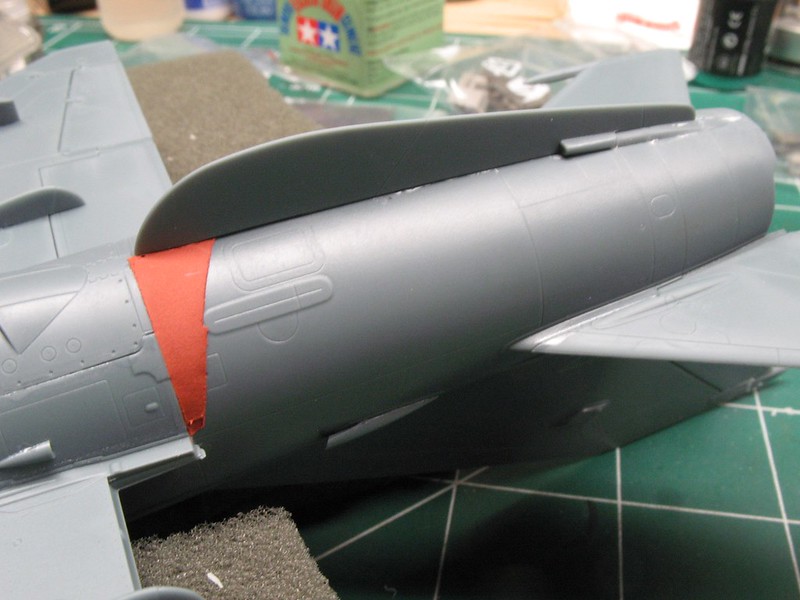 All hard points are now permanently mounted. 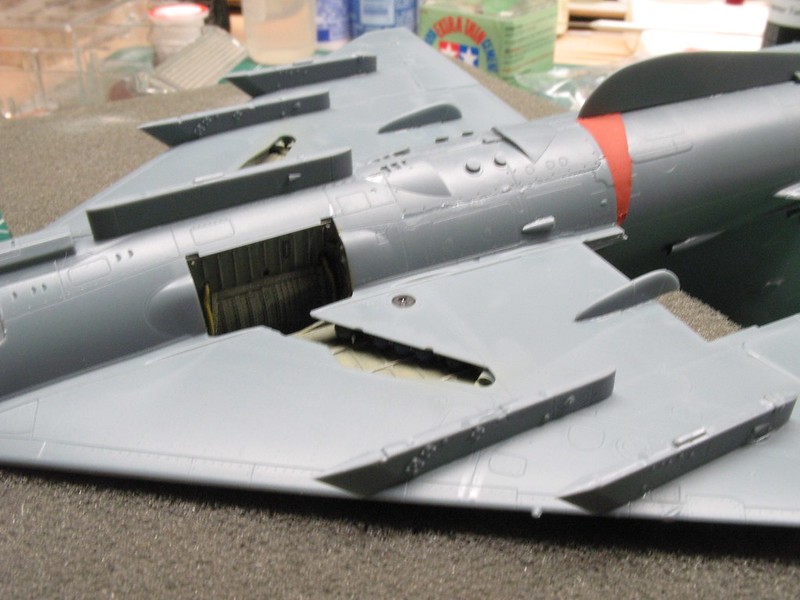 A detail shot of one of the scoops. There are a few of these that are molded separately from the fuselage. They are wee parts, but add a nice touch to the Mig. 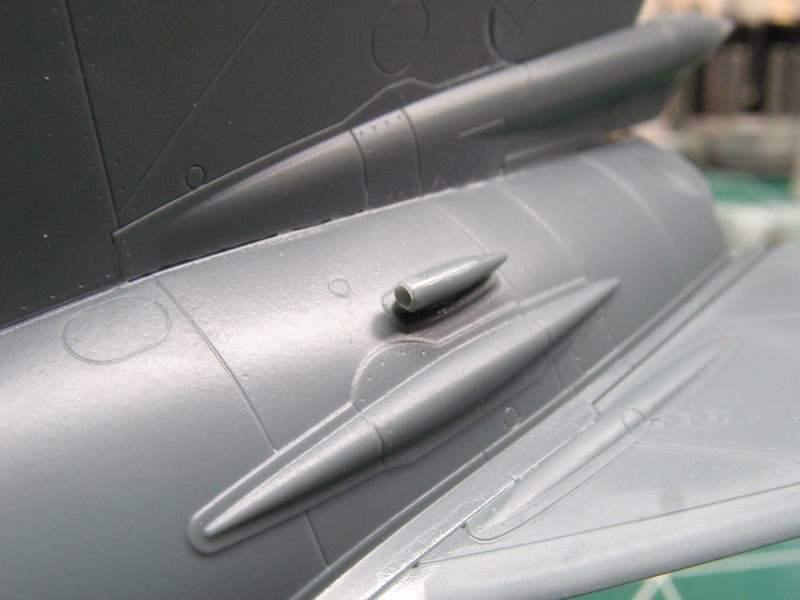 A couple of shots of the bang seat. The additional PE detail parts have yet to be mounted. 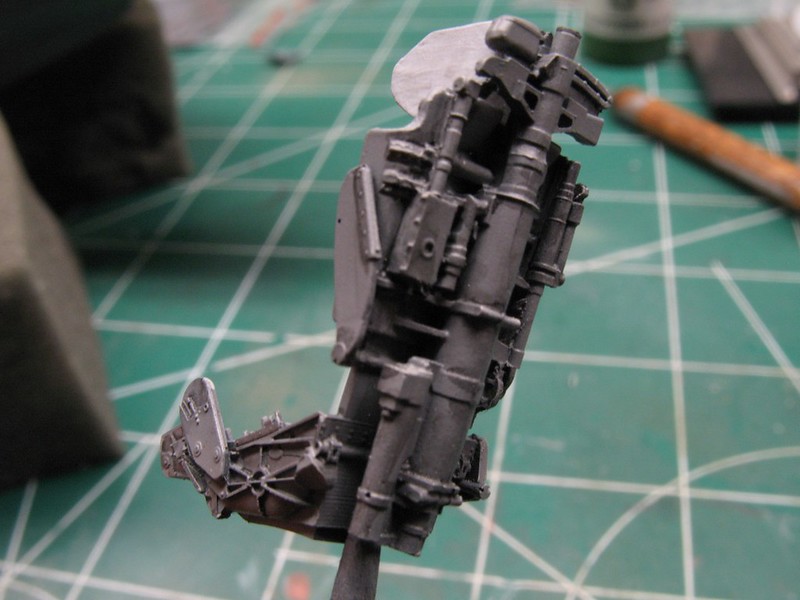
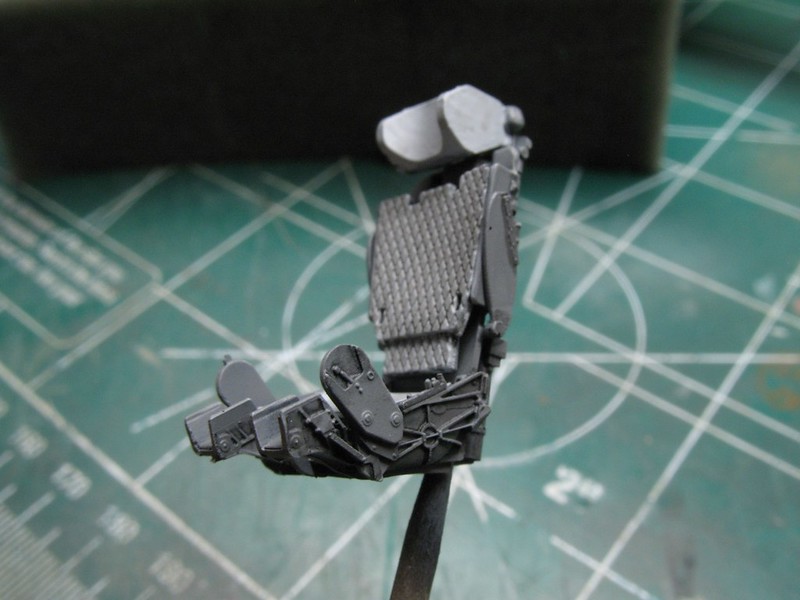
|
|
|
|
Post by Leon on Dec 20, 2017 4:50:16 GMT -5
Great progress on the MIG Dave!  Hope you get over the cold soon.  |
|
|
|
Post by deafpanzer on Dec 20, 2017 11:34:33 GMT -5
Every time I see this old Mig it always make me wonder how can it really fly with those tiny wings?!?! Looking great by the way!
|
|
thug626
Senior Member
   
Member since: January 2013
Posts: 2,035
Jan 15, 2013 13:05:28 GMT -5
Jan 15, 2013 13:05:28 GMT -5
|
Post by thug626 on Dec 20, 2017 22:39:57 GMT -5
Leon Thank you kindly my good man. I am over the cold now. 16 hours of sleep last night was just the reset I needed. Andy I believe is was a well designed wing and the high rate of speed at which it flew, is what kept it from falling out of the sky. A lot of progress done in short order today. The CP is now complete. The PE harness is that which comes with the Brassin resin CP set. 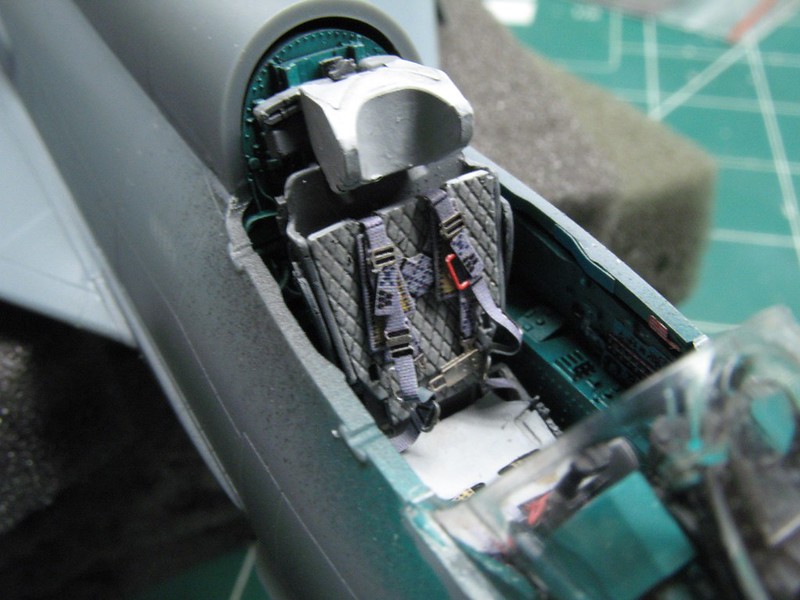
Apologies for the blurry pic. I think the old digi cam is getting tired. It's been having issues with the macro setting of late. 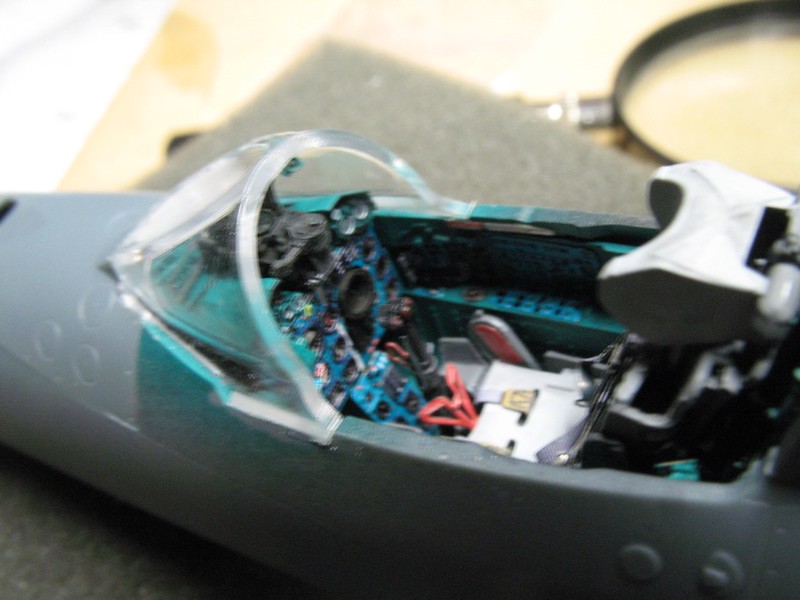 The wind screen is mounted. This was done after shaving some off of the bottom of the gun sight. Now it sets perfectly. I glue my clear plastic with Foam Safe CA glue. With the small quantities I use, there is no fogging of the clear parts. The scratch on the inside was from retrieving a dog hair I found inside the CP after the windscreen was set in place 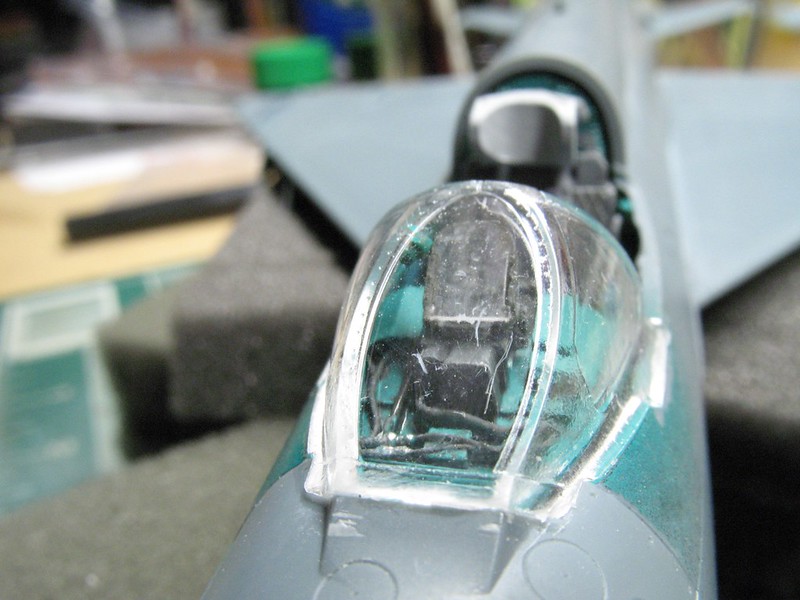
All control surfaces are now in place.
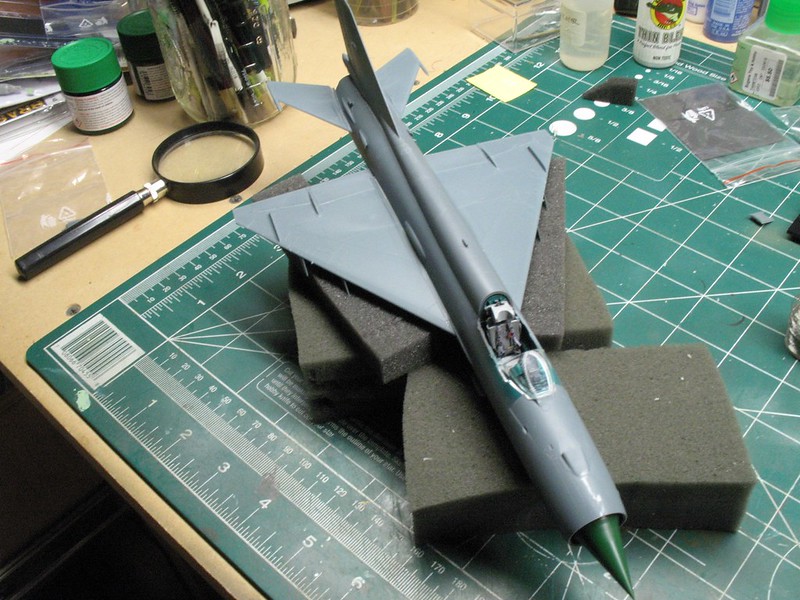 The ventral strake and gun pod are now permanent fixtures. 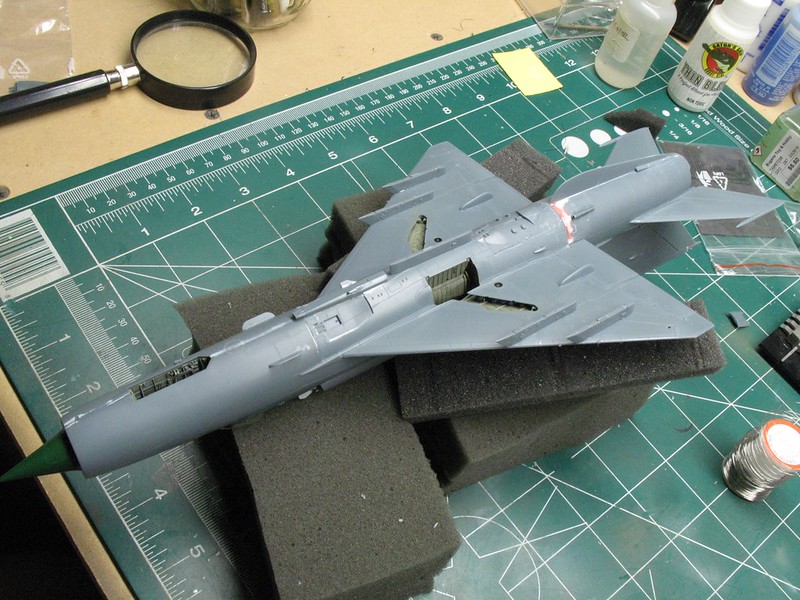 The correction of the step was done first with Bondo. Then with a layer of Vallejo Putty. Everything was wet sanded. With the strake in place, I ran a bead of Vallejo putty to seal the join. I immediately went over this with a wet Q-tip to remove the excess. 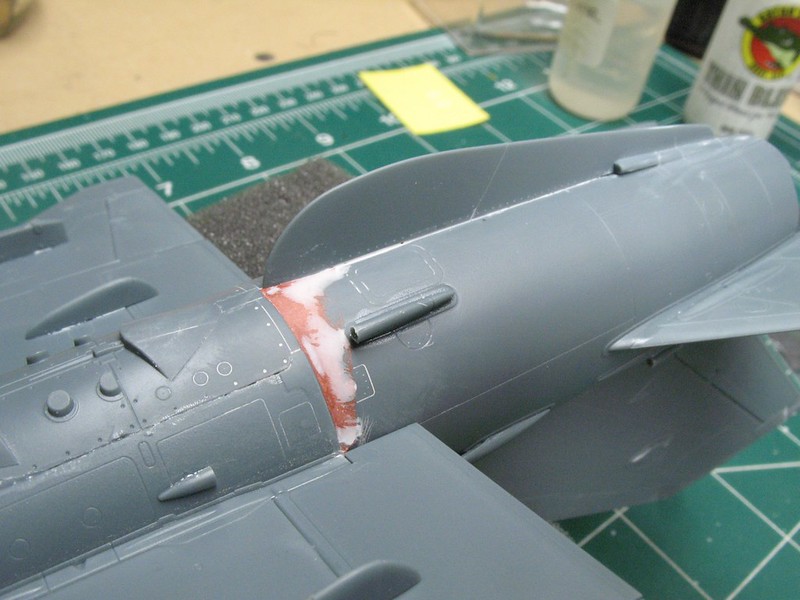
|
|
thug626
Senior Member
   
Member since: January 2013
Posts: 2,035
Jan 15, 2013 13:05:28 GMT -5
Jan 15, 2013 13:05:28 GMT -5
|
Post by thug626 on Dec 21, 2017 1:47:45 GMT -5
I did a re-shoot of the CP pic. It turned out better this time. 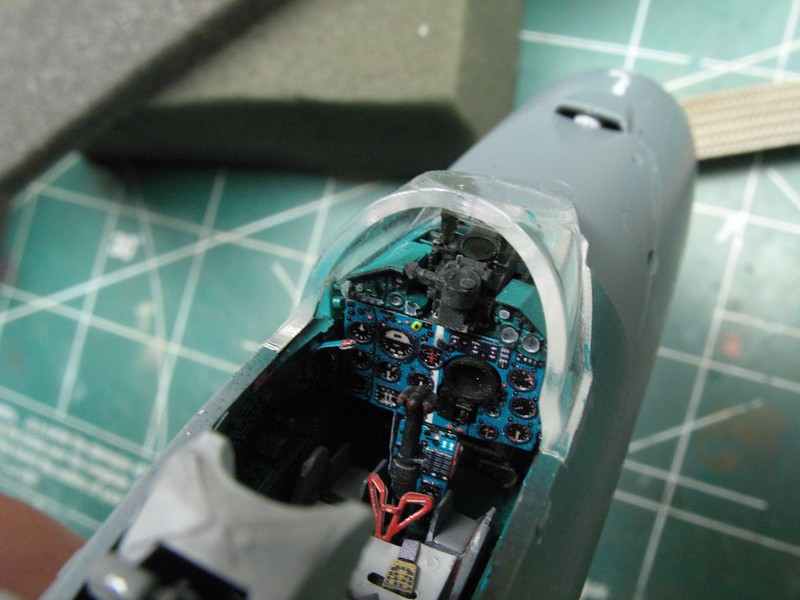 Here's a couple of detail shots of the main gear wells. The detail in these Mig kits is amazing. 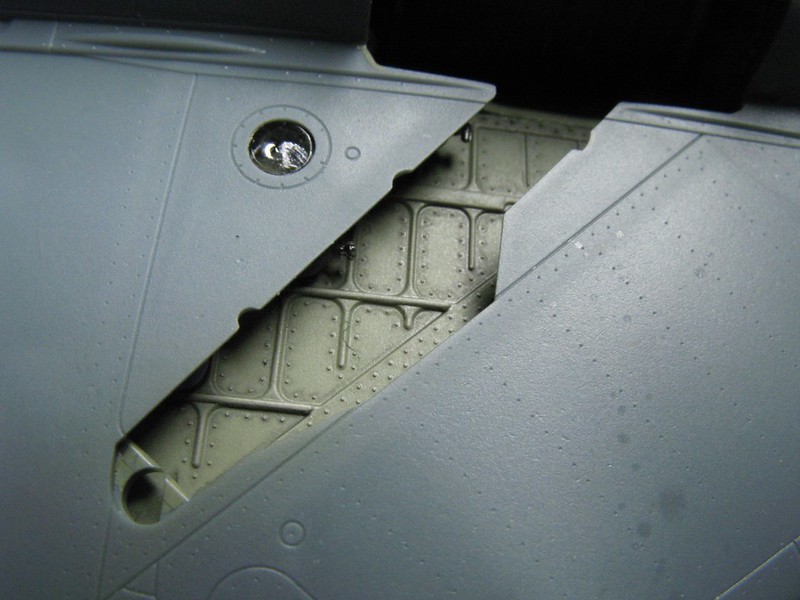 The compressed gas bottles are molded separately. Not very visible, but they add a nice touch. No wasted space here. 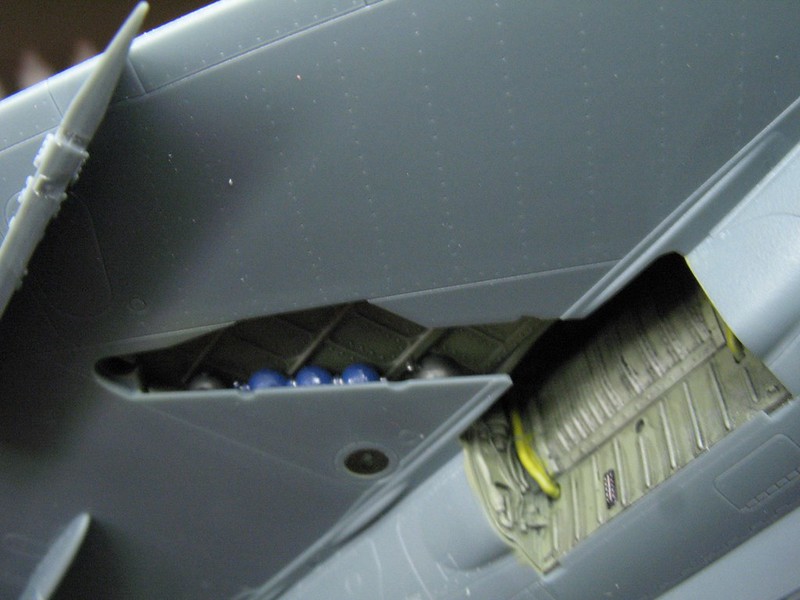 |
|
|
|
Post by Leon on Dec 21, 2017 4:48:05 GMT -5
Great update Dave!  |
|
thug626
Senior Member
   
Member since: January 2013
Posts: 2,035
Jan 15, 2013 13:05:28 GMT -5
Jan 15, 2013 13:05:28 GMT -5
|
Post by thug626 on Dec 21, 2017 9:16:57 GMT -5
Leon Good morning and thank you.
|
|
|
|
Post by dupes on Dec 21, 2017 11:15:01 GMT -5
Mmmmmmmm...that cockpit looks great!
|
|
thug626
Senior Member
   
Member since: January 2013
Posts: 2,035
Jan 15, 2013 13:05:28 GMT -5
Jan 15, 2013 13:05:28 GMT -5
|
Post by thug626 on Dec 30, 2017 1:27:48 GMT -5
Dupes Thank you kindly my good man. The holidays kept things kind of low flow at the bench. Today I got primer and the underside base coat on. Also, I shot the dielectric panels on the underside of the fuselage. 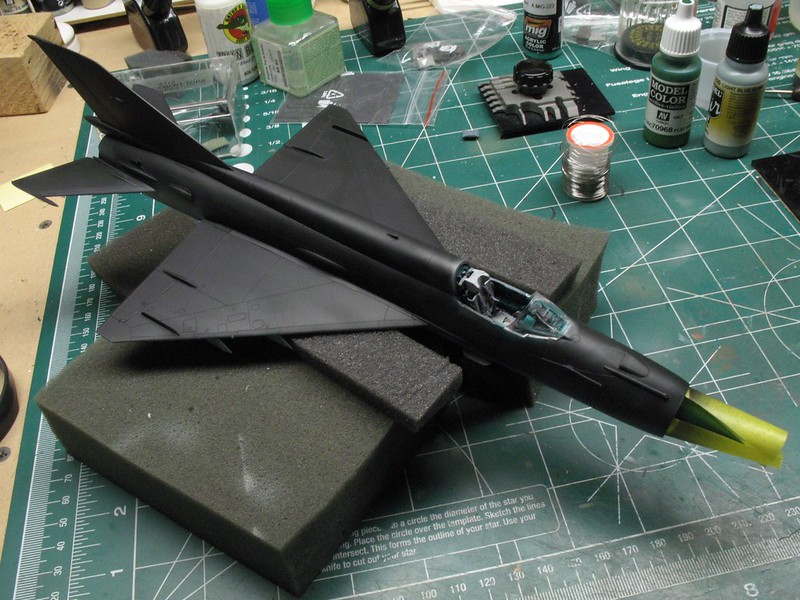
For the underside I used Vallejo RLM 65. It was a close match, and the bird is going to look well "lived in" when it's done. A seam line under the nose looked to be taken care of until the base coat went on. Vallejo Putty to the rescue. 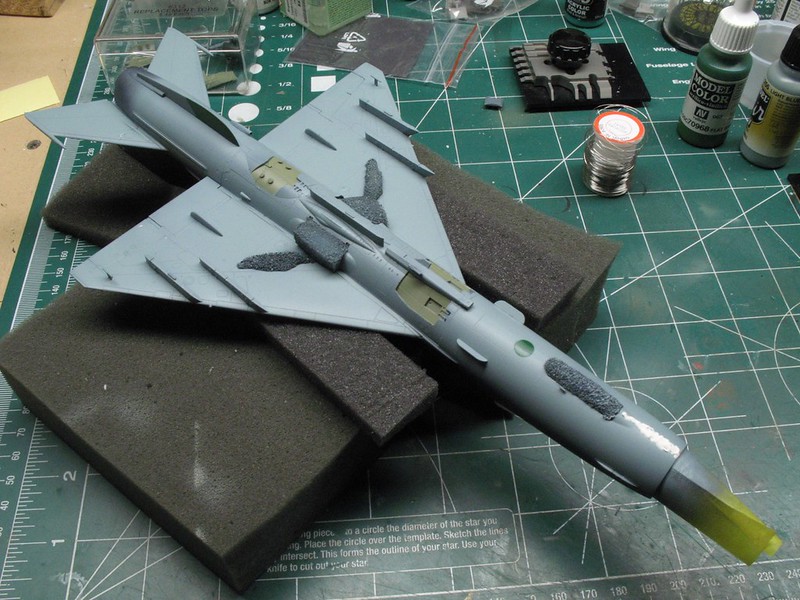 The air brake bays were shot with Vallejo RLM 02. 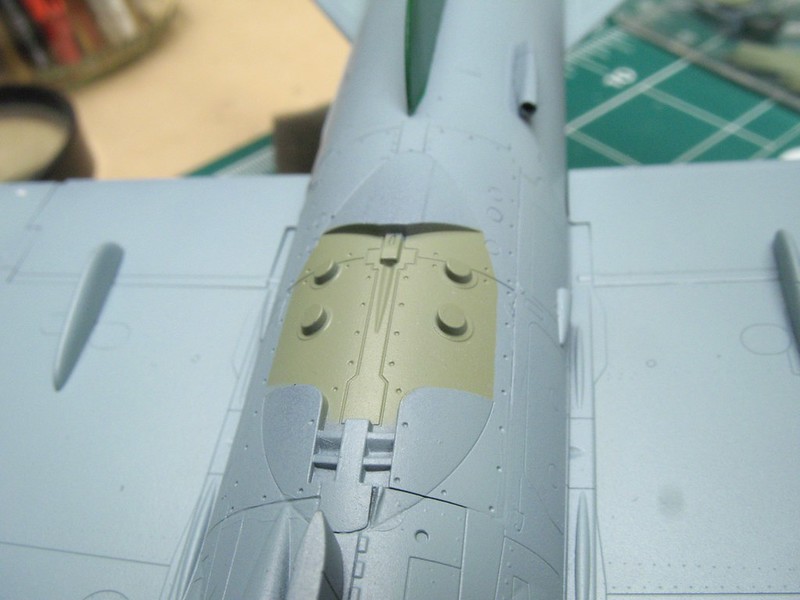 I shot the dielectric panels with Vallejo Flat Green. 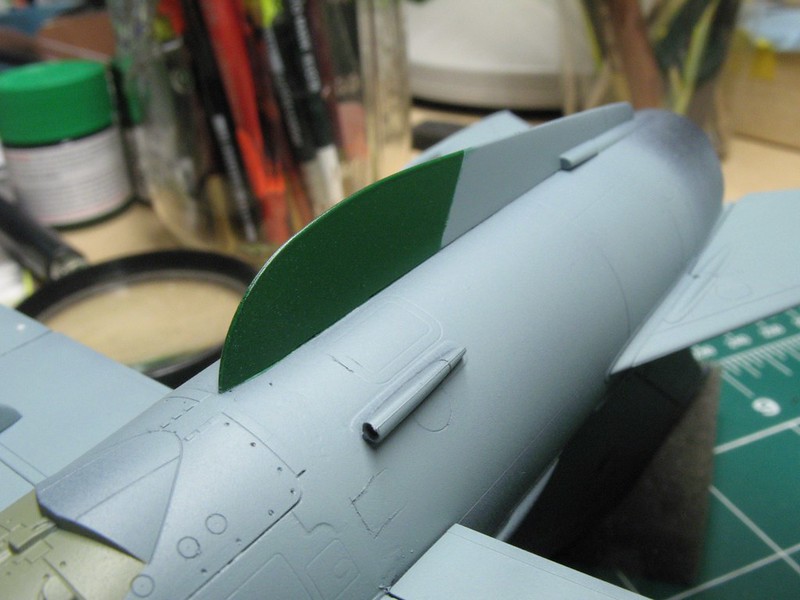 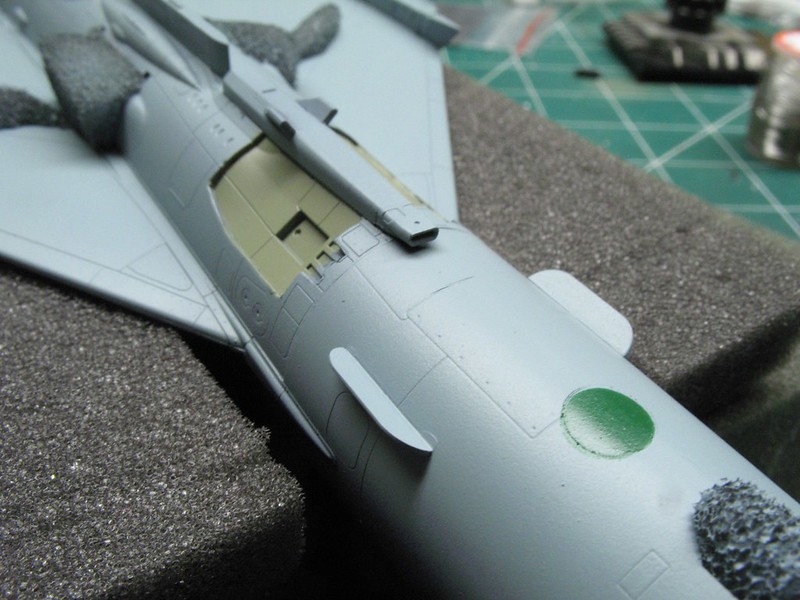 The main gear got brake lines. I used 0.010" lead wire, and fine beading wire for this. 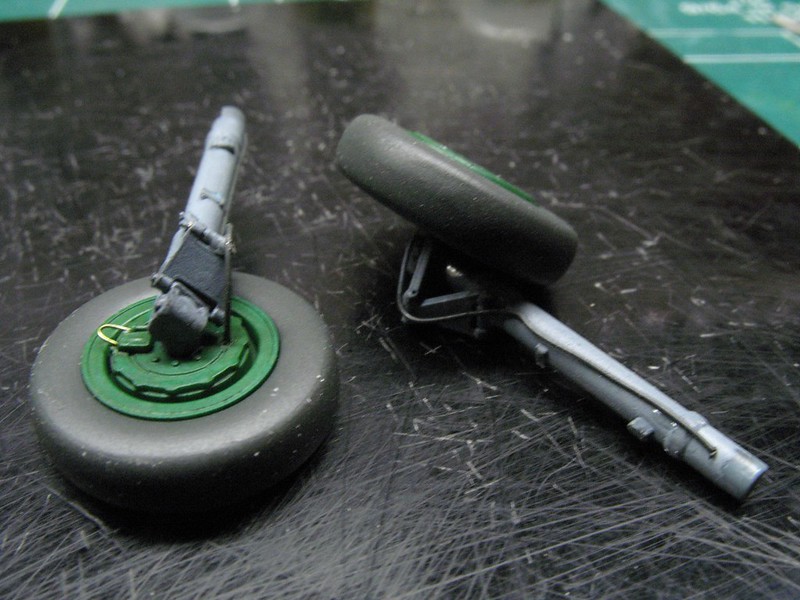
Brake line and anti-skid line were installed using 0.010" lead wire. 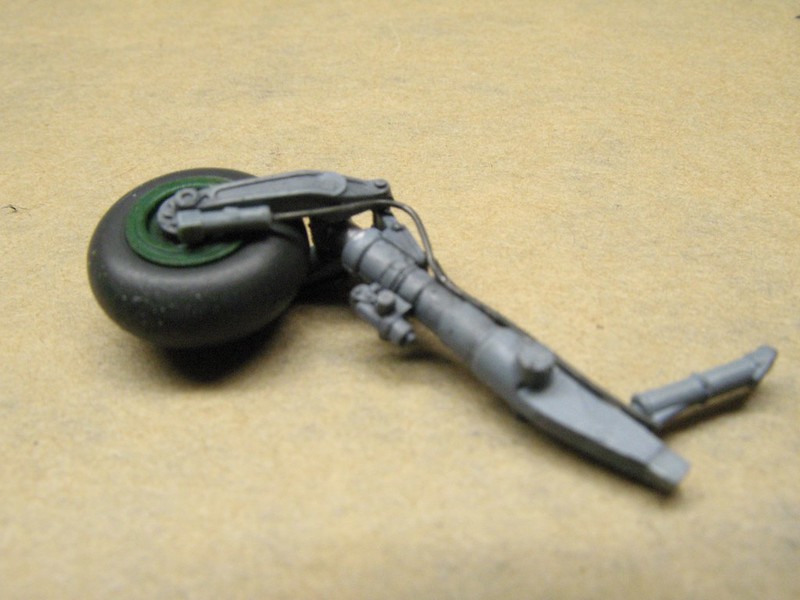
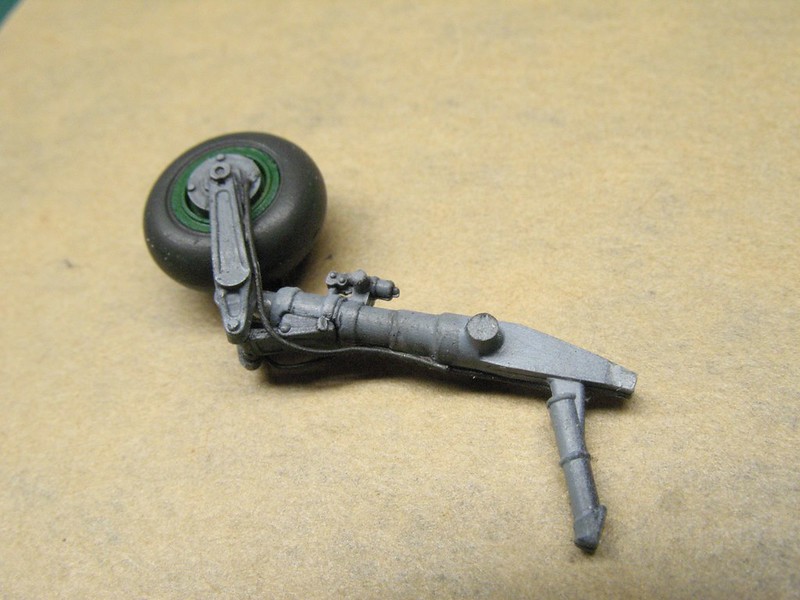
|
|
|
|
Post by Leon on Dec 30, 2017 7:53:54 GMT -5
Primer and paint are looking good Dave!  |
|
|
|
Post by deafpanzer on Jan 4, 2018 11:27:23 GMT -5
Looking real good!!!
|
|