thug626
Senior Member
   
Member since: January 2013
Posts: 2,030
Jan 15, 2013 13:05:28 GMT -5
Jan 15, 2013 13:05:28 GMT -5
|
Post by thug626 on Apr 12, 2018 0:19:00 GMT -5
The Tiger is not done yet. It just needs a "couple" of things to finish it. I am just not quite sure what they are yet. So, to keep the mojo going, and not sit there staring at a build, I opted to break out the Tamiya F4F-4 Wildcat. This has been in the stash for a bit, as I've been collecting stuff for it for a while. I realized today, I need to get some better decals for it. The Tamiya ones look nice. They are just too thick for my liking. 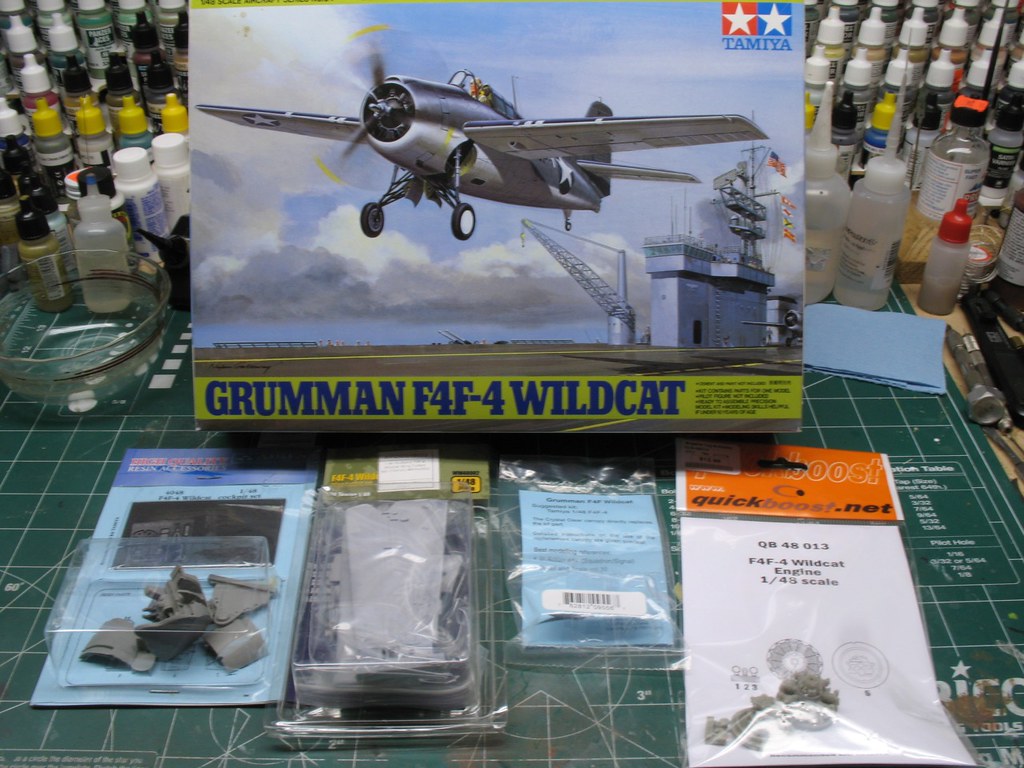 For the CP I chose an Aires kit. The molding is fantastic per their usual. The wing folds are by Wolfpack. 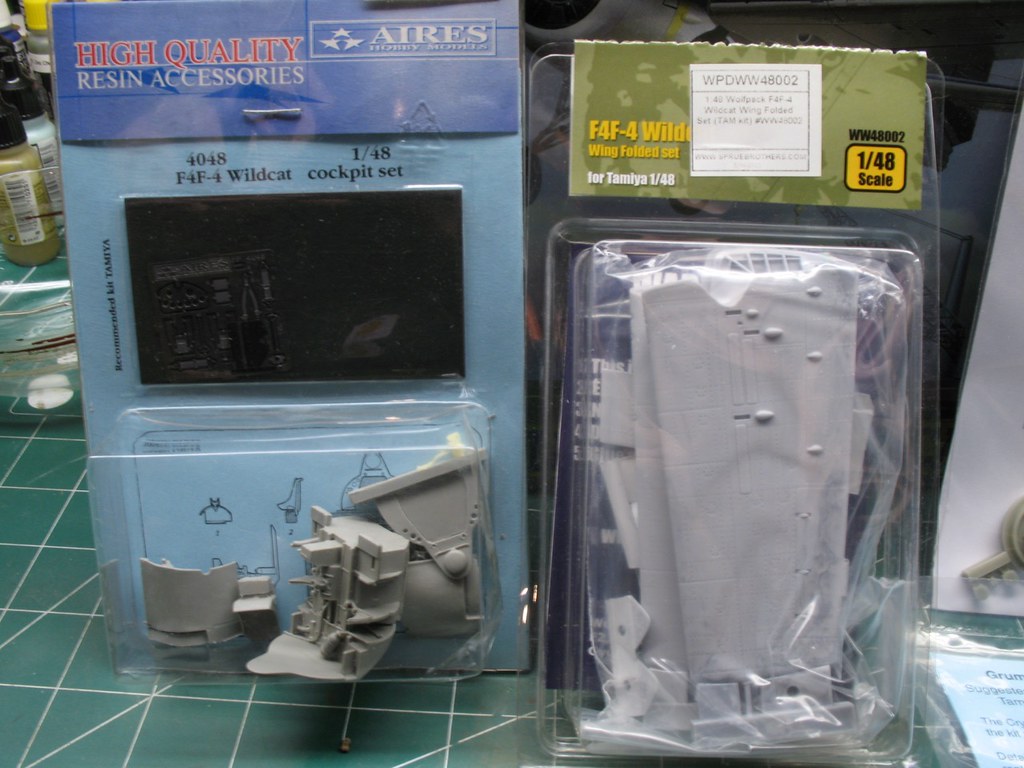 The engine is by Quickboost. This is pretty slick as it has the accessory portion, which is visible from the wheel wells. No pictured is the Squadron canopy.  My first couple of orders of business were to glue the fuselage halves together, and "clip" its wings. 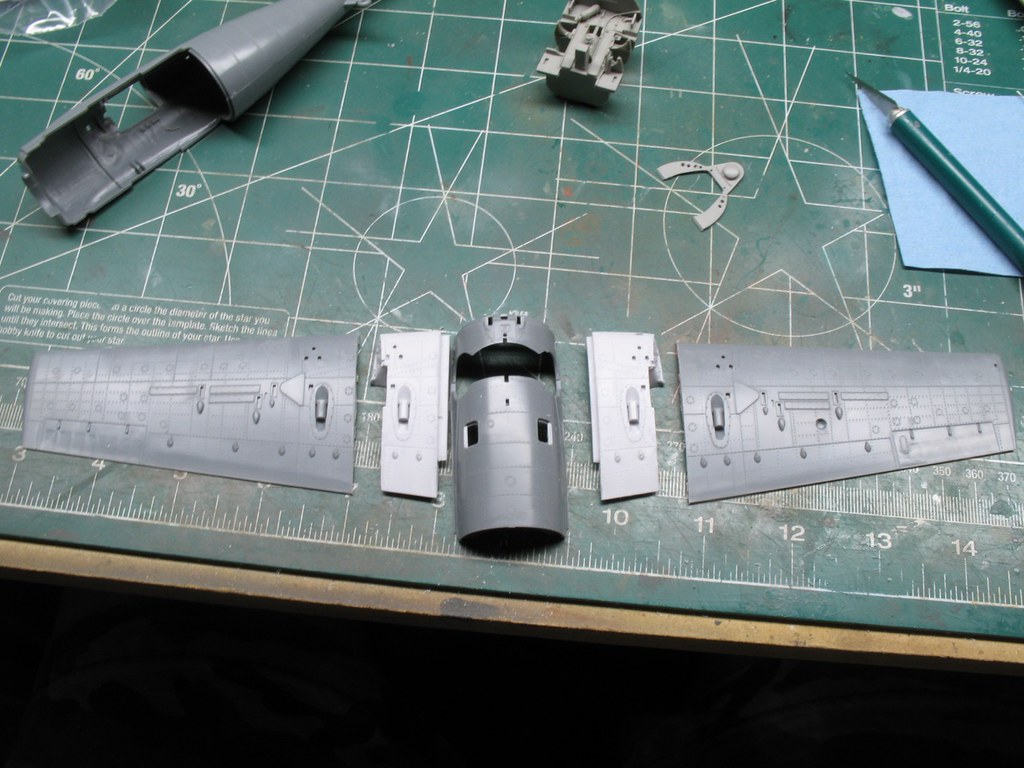 Here's how the resin replacement stands up to the original. By the looks of the initial rough test fit, The new wing roots should work out just fine. 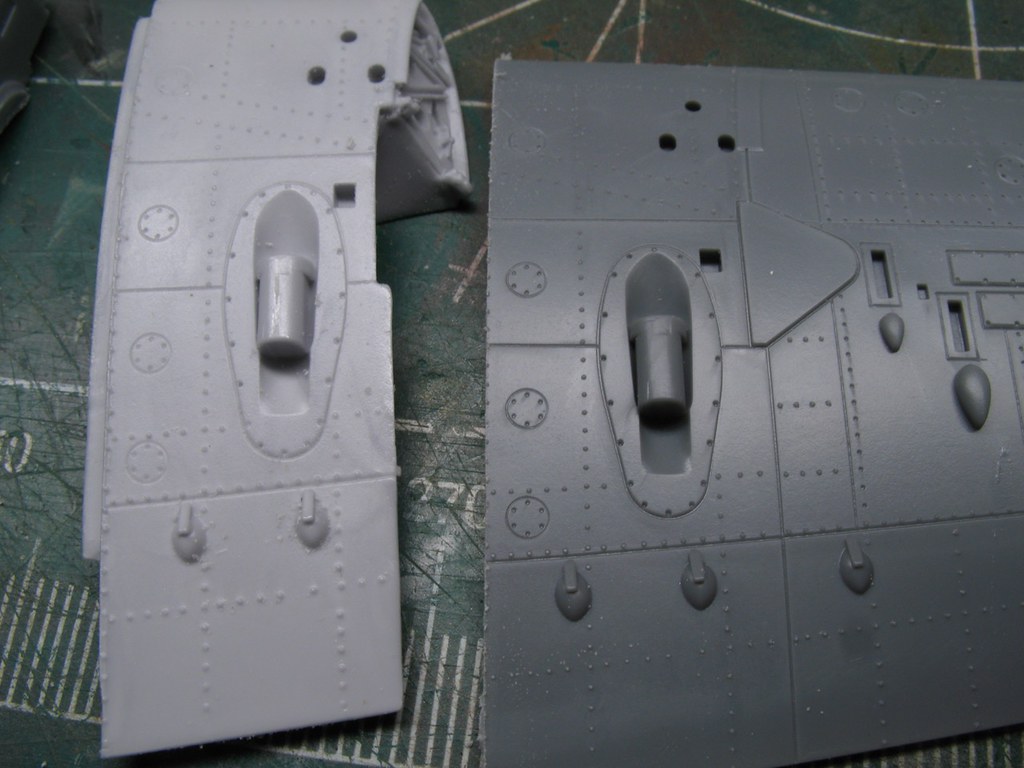 A detail shot of the wing fold portion. This will be quite visible. 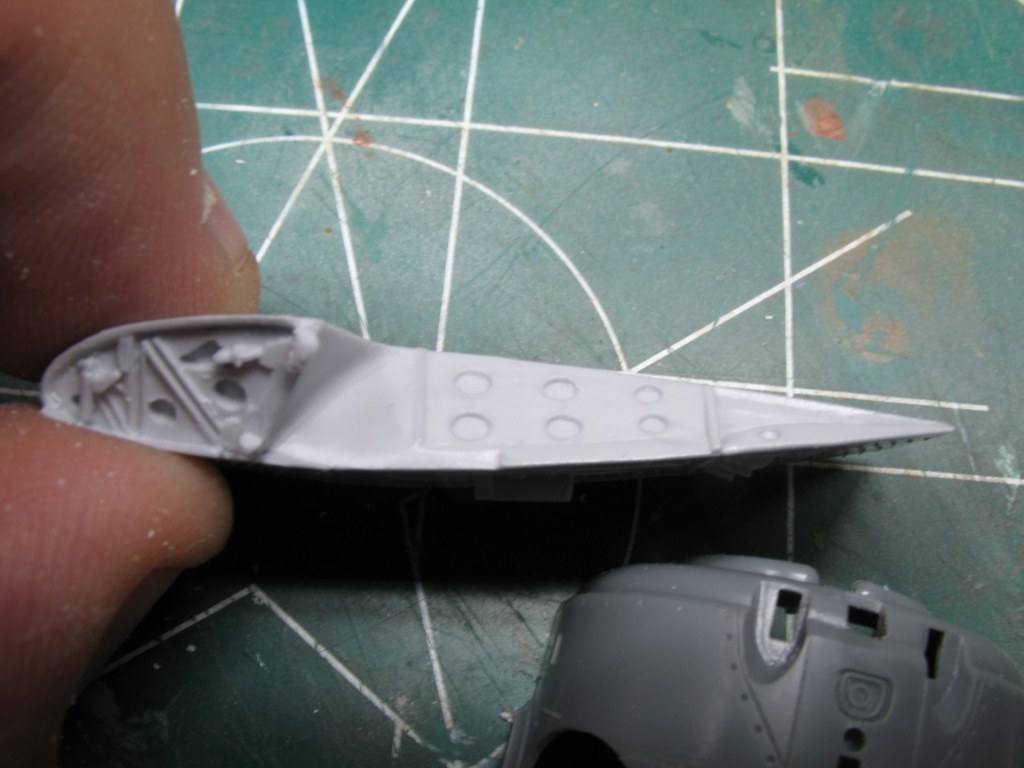 A detail shot of the Aires CP. 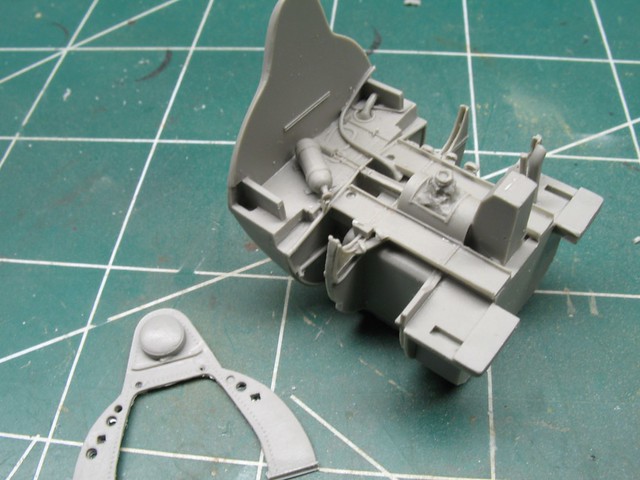 |
|
|
|
Post by Leon on Apr 12, 2018 3:39:21 GMT -5
Nice bunch of goodies there Dave! Off to a good start.
|
|
|
|
Post by panzerjager2 on Apr 12, 2018 8:02:42 GMT -5
Pretty darn cool.... You know I'll be watching this build.... 
PJ2
|
|
|
|
Post by dupes on Apr 12, 2018 9:58:20 GMT -5
Holy aftermarket, Batman! There isn't going to be much Tamiya left in there by the time you're done...hahhahah.  |
|
mrversatile
Full Member
   July '23 Showcased Build Awarded
Member since: January 2013
Posts: 681
Jan 20, 2013 10:52:24 GMT -5
Jan 20, 2013 10:52:24 GMT -5
|
Post by mrversatile on Apr 12, 2018 10:03:23 GMT -5
Nice start, Dupes. Looks like a good idea for this kit.
|
|
Tojo72
Forum Moderator      Sept '24 Showcased Model Awarded
Member since: November 2012
Posts: 5,312
Member is Online
MSC Staff
|
Post by Tojo72 on Apr 12, 2018 13:45:34 GMT -5
All those details will be great.
|
|
|
|
Post by wing_nut on Apr 12, 2018 14:46:43 GMT -5
I got to look at this when I'm off my phone and on a real computer. That looks dope.
|
|
thug626
Senior Member
   
Member since: January 2013
Posts: 2,030
Jan 15, 2013 13:05:28 GMT -5
Jan 15, 2013 13:05:28 GMT -5
|
Post by thug626 on Apr 15, 2018 13:41:59 GMT -5
Good morning everyone. Thank you all for taking the time to have a gander. Not much in the way of physical progress on the build. There has been a fair amount of trimming and dry fitting of the resin goodies. Particularly the Aires CP. They do make lovely CP's and other goodies. What is left up to the builder is just exactly how their goods fit into the kits. Hence, a lot of dry fitting.
Yesterday I had gone looking for a decal sheet for this build. I have had it in the stash so long that I had thought I had ordered one. Or I did and it's in a "safe place". Safe even from the likes of me.
So, I went on to eBay and scored a rather nice decal sheet that has a fair number of Wildcats represented. One in particular is that of Major General Marion E. Carl USMC. He was an amazing fellow who accomplished a fair number of firsts. He was born and retired in my home state. So, I am dedicating this build to his memory. Thank you for your service sir.
|
|
thug626
Senior Member
   
Member since: January 2013
Posts: 2,030
Jan 15, 2013 13:05:28 GMT -5
Jan 15, 2013 13:05:28 GMT -5
|
Post by thug626 on Apr 15, 2018 23:16:32 GMT -5
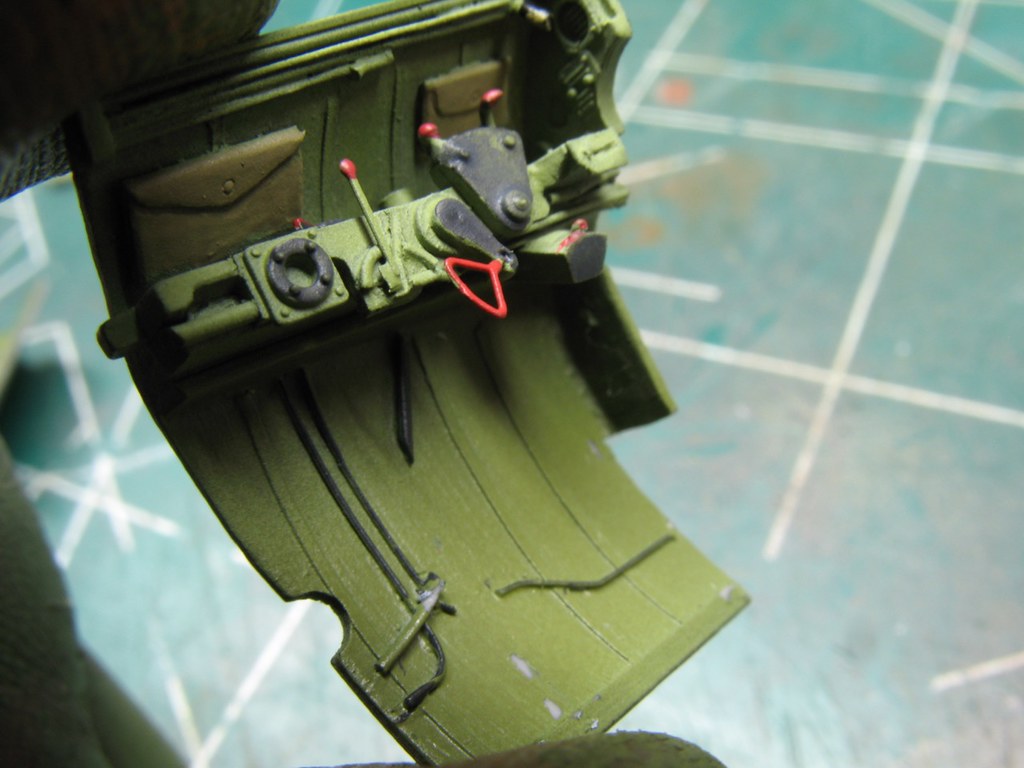
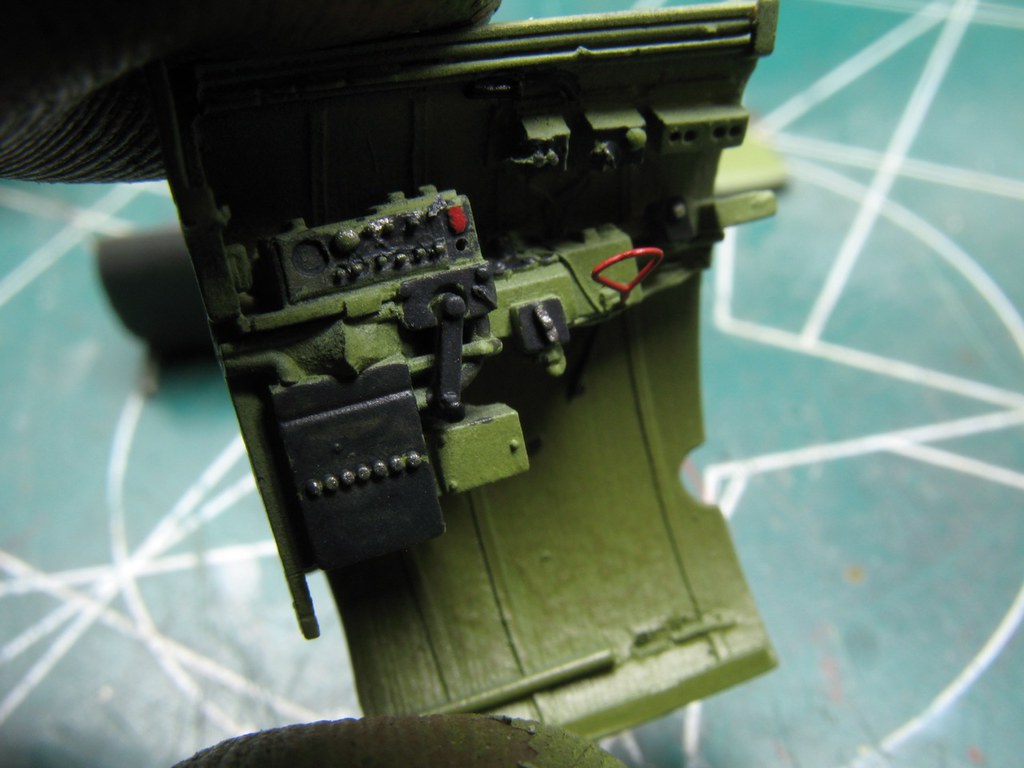
A lot of color was laid down for the CP today. I started with Vallejo Black Primer and Duraluminum. 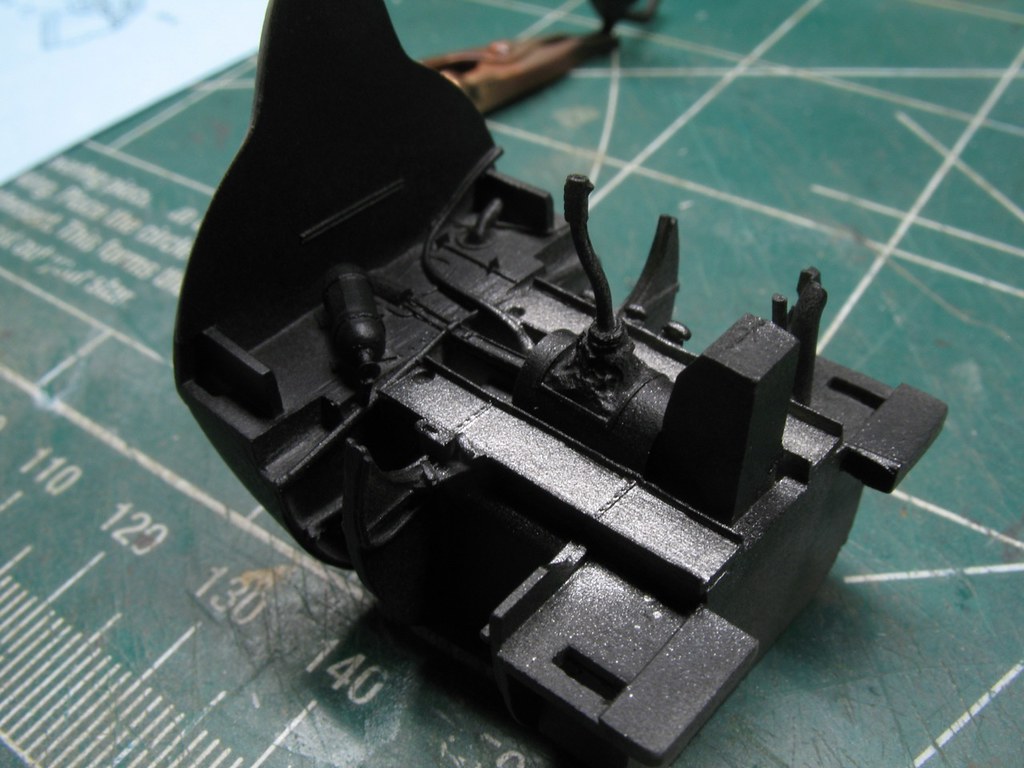 This is the effect I was going for. 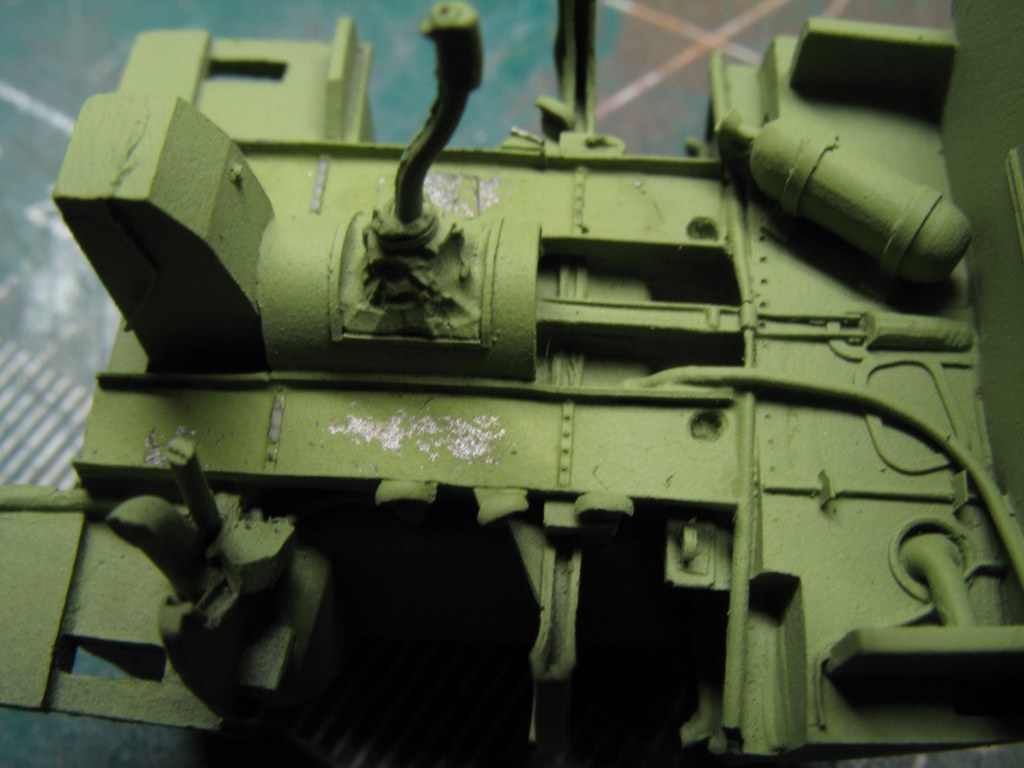 I started with some basic chipping for the seat. 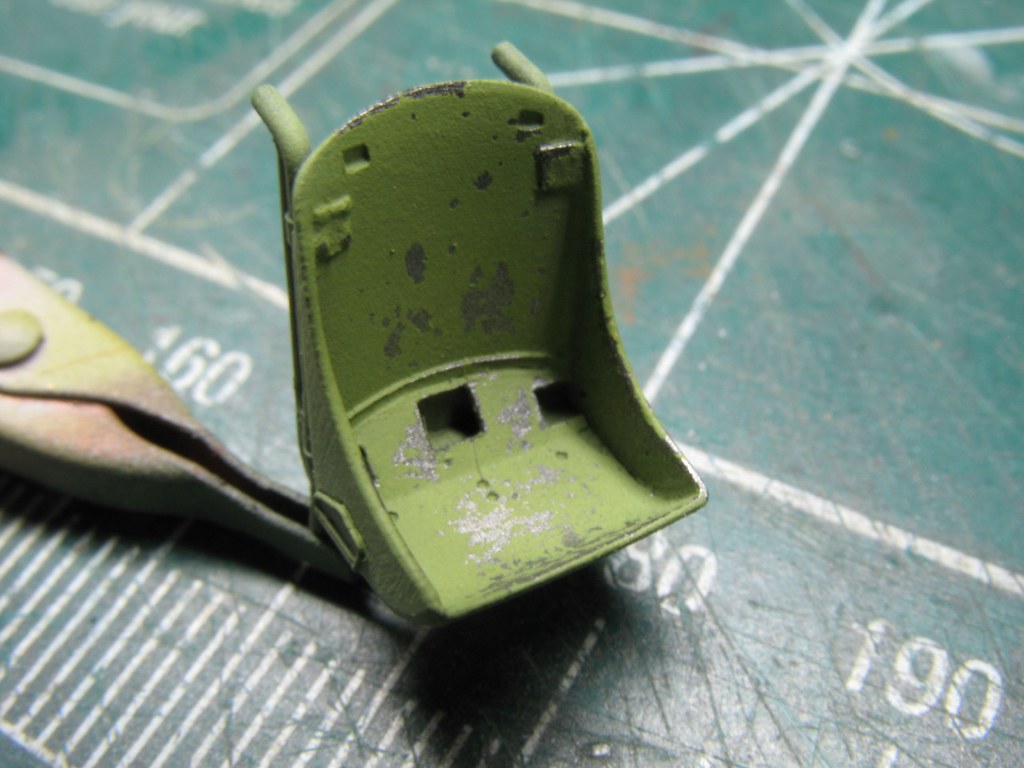 Since most seats were black, I added another layer for chipping. 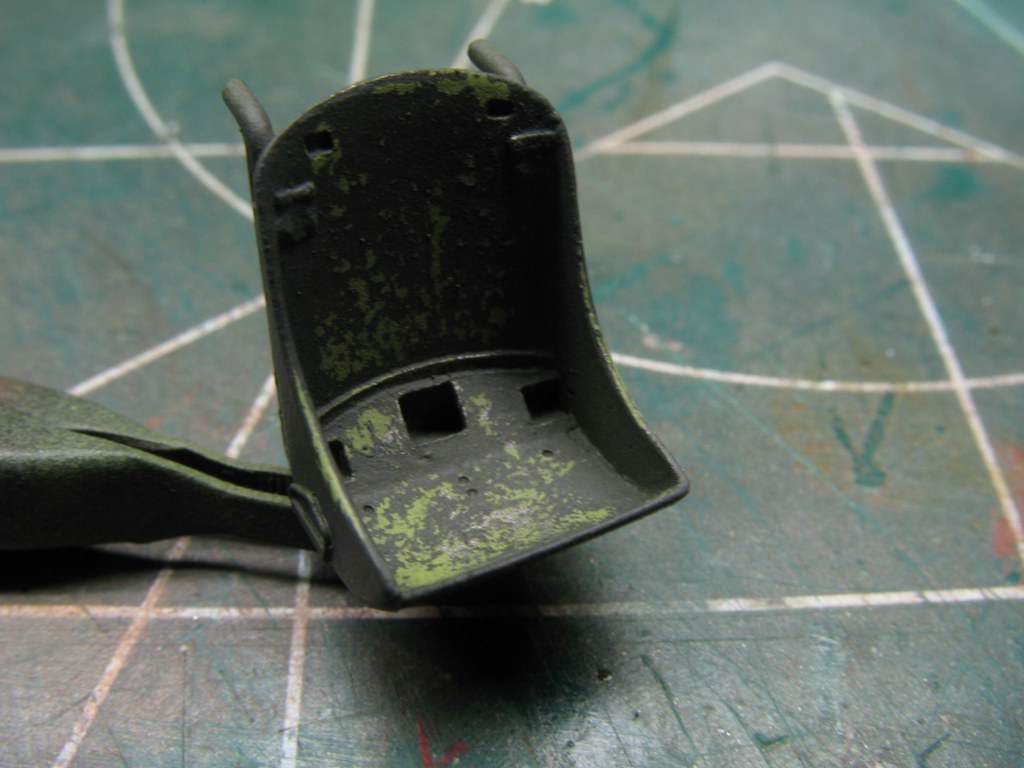 All of the CP parts awaiting washes, and additional weathering. 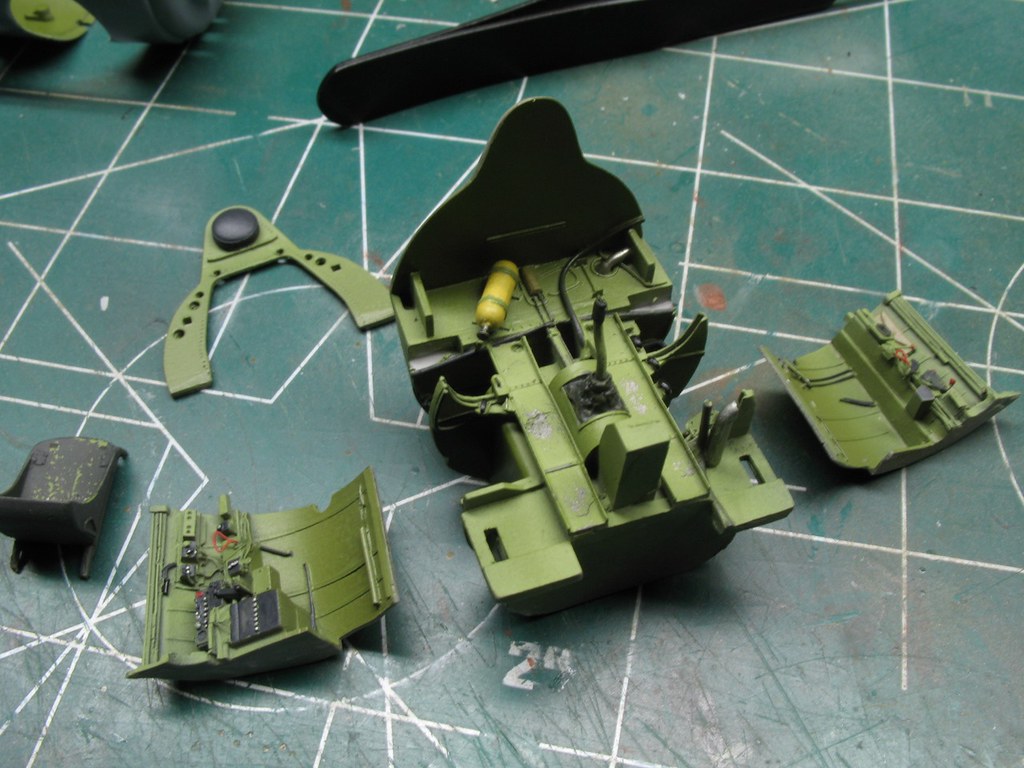
 |
|
|
|
Post by Leon on Apr 16, 2018 3:39:37 GMT -5
CP is looking good with color Dave!  |
|
|
|
Post by mustang1989 on Apr 16, 2018 7:01:33 GMT -5
Oh yeah.........this one's gonna be cool to watch come together alright.
|
|
thug626
Senior Member
   
Member since: January 2013
Posts: 2,030
Jan 15, 2013 13:05:28 GMT -5
Jan 15, 2013 13:05:28 GMT -5
|
Post by thug626 on Apr 16, 2018 8:22:38 GMT -5
Thank you kindly Leon. The black paint used for the seat is the Mission Models paint. The Zinc Chromate was a mixture of Lifecolor paints.
Thank you very much Joe. The biggest hesitation I have is the final mounting of the CP. There's usually a surprise or two that becomes apparent with resin CP's. It's usually when you have both hands occupied and the CA is about to "go off". We shall see......
|
|
thug626
Senior Member
   
Member since: January 2013
Posts: 2,030
Jan 15, 2013 13:05:28 GMT -5
Jan 15, 2013 13:05:28 GMT -5
|
Post by thug626 on Apr 18, 2018 22:56:45 GMT -5
The scaled down version of Grumman Iron works rolls on. I got the fuselage buttoned up the other day. Getting the CP into place was an ordeal, but opposable thumbs and CA won the day. 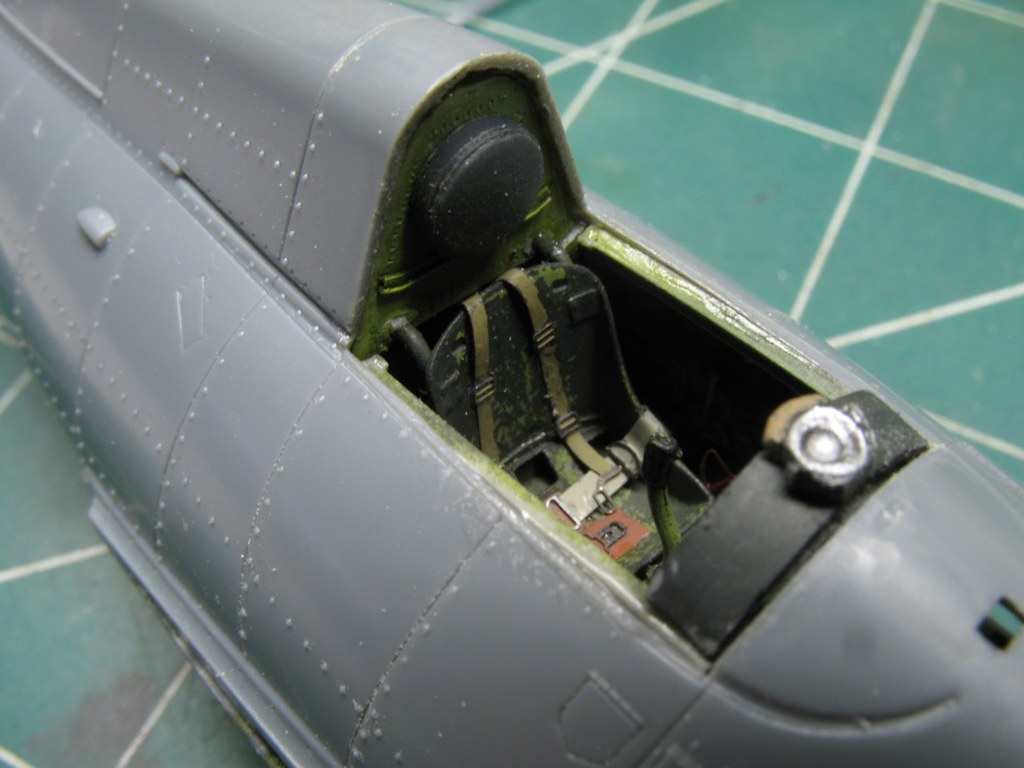 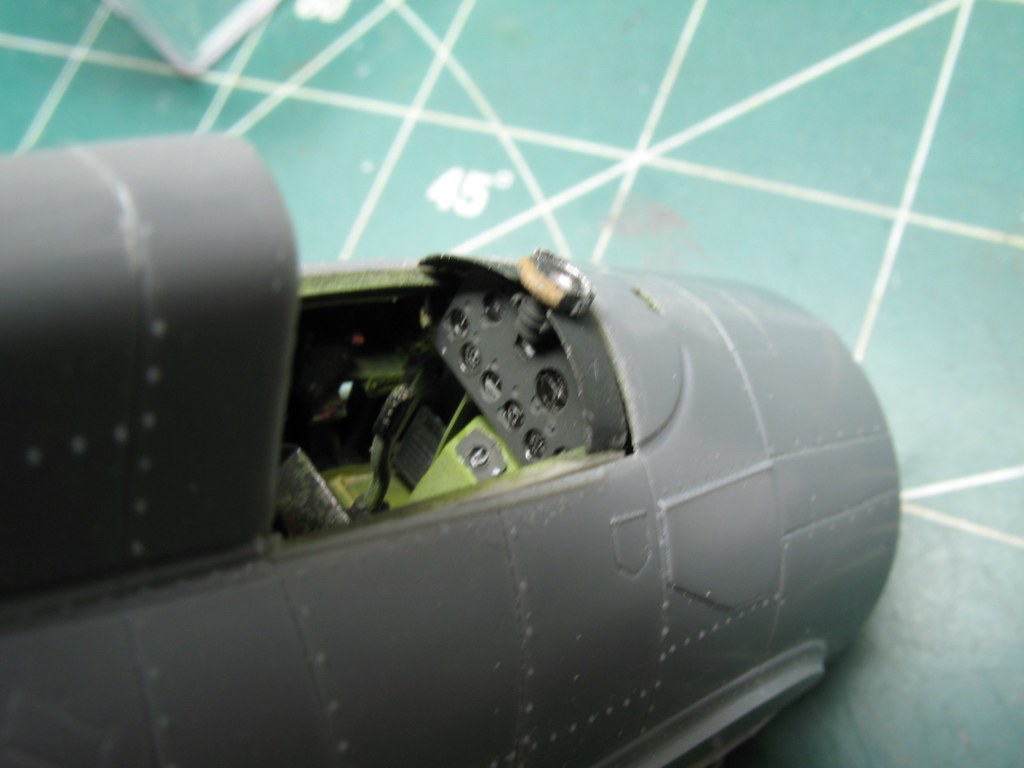 The Wolfpack wing fold kit looks as though it'll fit as advertised. I won't install the inner wing panels until the engine and cowl are mounted. Still some clean up of the leading edge yet to be done. 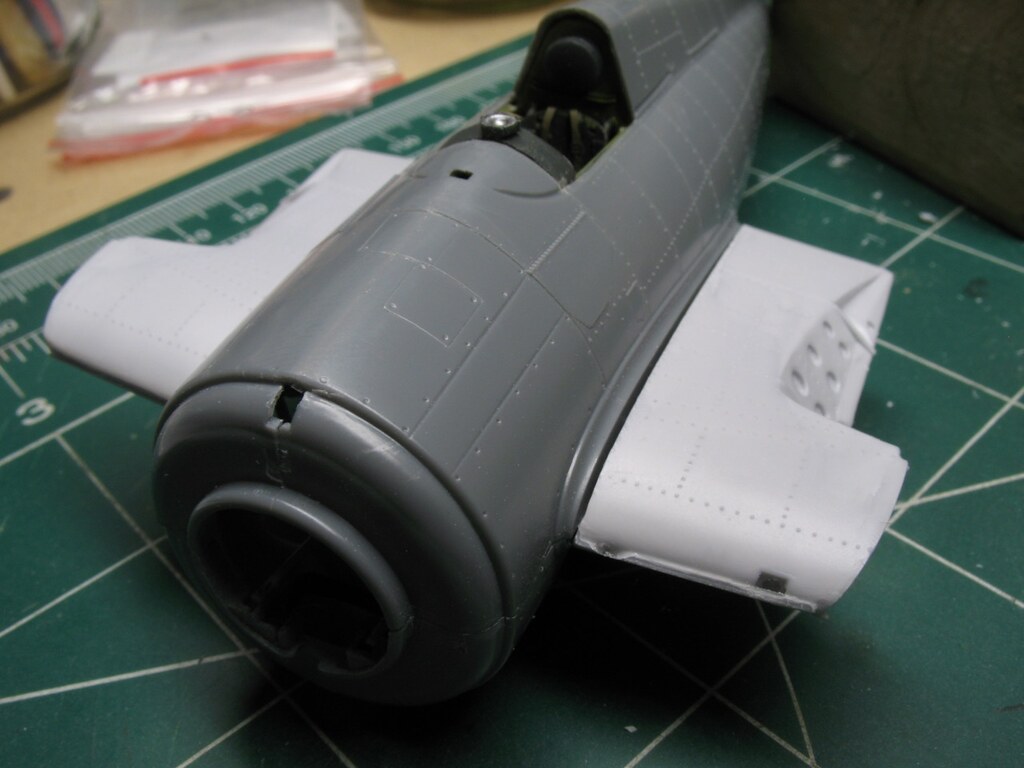 The accessory assembly and engine are by Quickboost. The pushrod tubes are 0.020" styrene rods. 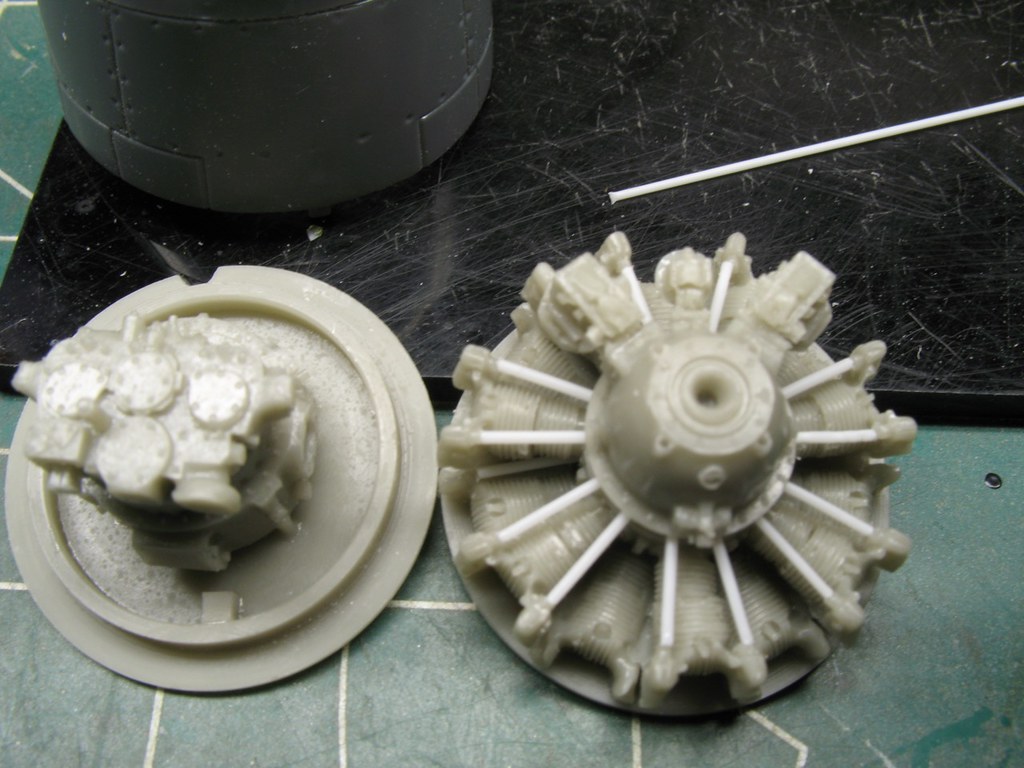 The detail really isn't too bad for twenty four year old molds. The landing gear is busy, but assembles quick and easy. It is made up on four parts and fits together as per usual Tamiya engineering. 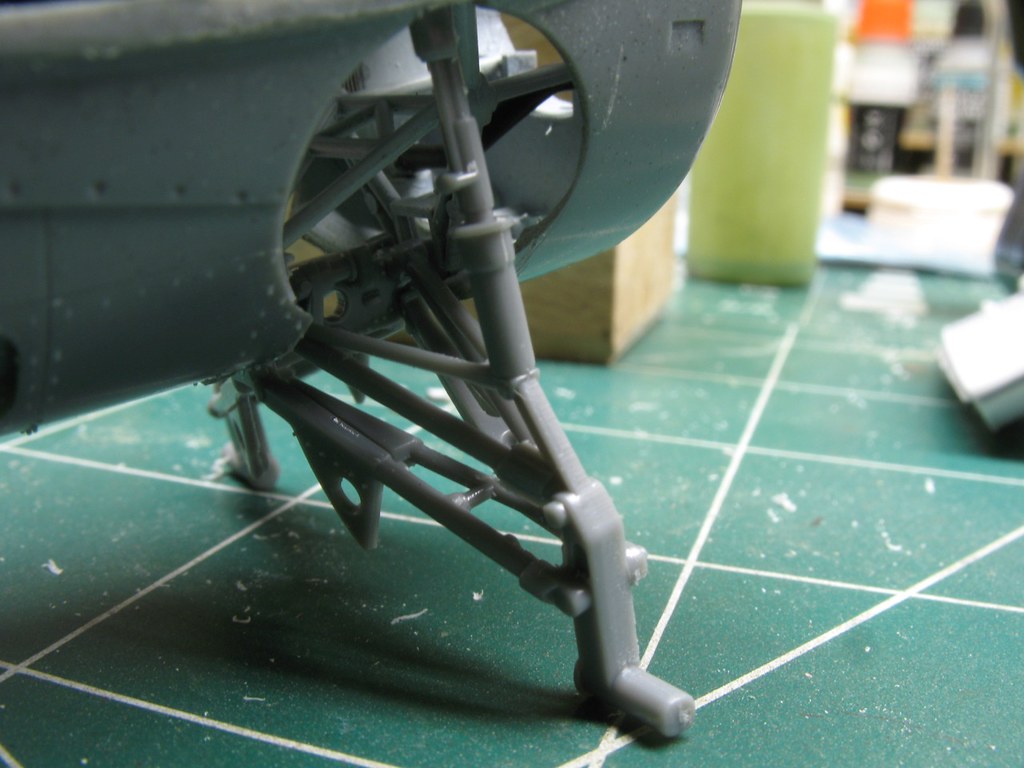 |
|
|
|
Post by Leon on Apr 19, 2018 3:54:43 GMT -5
Coming together nicely Dave!  |
|
adt70hk
Forum Moderator     
Member since: November 2015
Currently attempting to build something decent!!! ;)
Posts: 2,831 
MSC Staff
|
Post by adt70hk on Apr 19, 2018 16:10:43 GMT -5
Looking good!!
|
|
|
|
Post by 406 Silverado on Apr 19, 2018 17:31:24 GMT -5
Looking good. Always a good thing when the fuselage halves come together.
|
|
thug626
Senior Member
   
Member since: January 2013
Posts: 2,030
Jan 15, 2013 13:05:28 GMT -5
Jan 15, 2013 13:05:28 GMT -5
|
Post by thug626 on Apr 19, 2018 18:46:01 GMT -5
|
|
Rick
Full Member
  
Member since: March 2013
what to build, what to build . . . Ok THAT one!
Posts: 854 
|
Post by Rick on Apr 19, 2018 20:07:19 GMT -5
That’s looking mighty sweeet! The office looks well appointed and well decorated. Looking forward to more.
|
|
thug626
Senior Member
   
Member since: January 2013
Posts: 2,030
Jan 15, 2013 13:05:28 GMT -5
Jan 15, 2013 13:05:28 GMT -5
|
Post by thug626 on Apr 20, 2018 9:28:04 GMT -5
Good morning Rick. Thank you kindly for the compliment. I am hoping to start laying down some color today.
|
|
thug626
Senior Member
   
Member since: January 2013
Posts: 2,030
Jan 15, 2013 13:05:28 GMT -5
Jan 15, 2013 13:05:28 GMT -5
|
Post by thug626 on Apr 21, 2018 0:17:12 GMT -5
My plans had the bird further along that what actually happened today. Not that today was a wash. Got a lot done with the yard work, errands run. I received my decals for the bird and an additional paint rack. The Wildcat received a gloss primer coat, and a bit of dark aluminum for some chipping to be done. 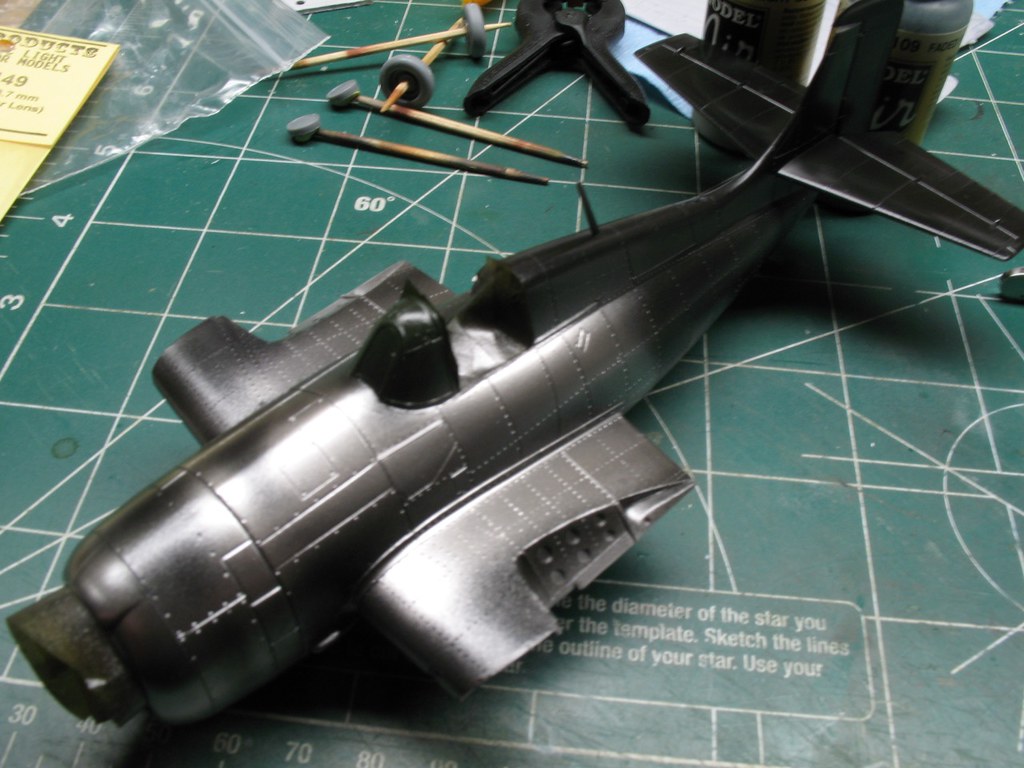 These are the decals that arrived today. They got here a day ahead of schedule. It turns out that there are three Wildcats of Capt Carl. 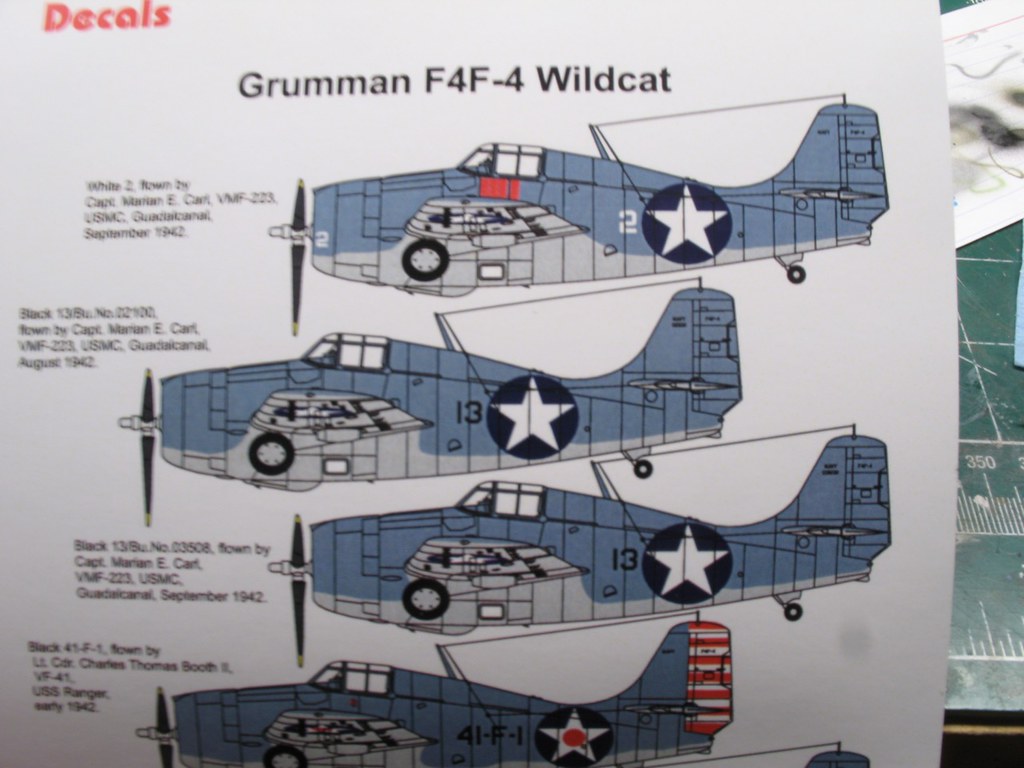
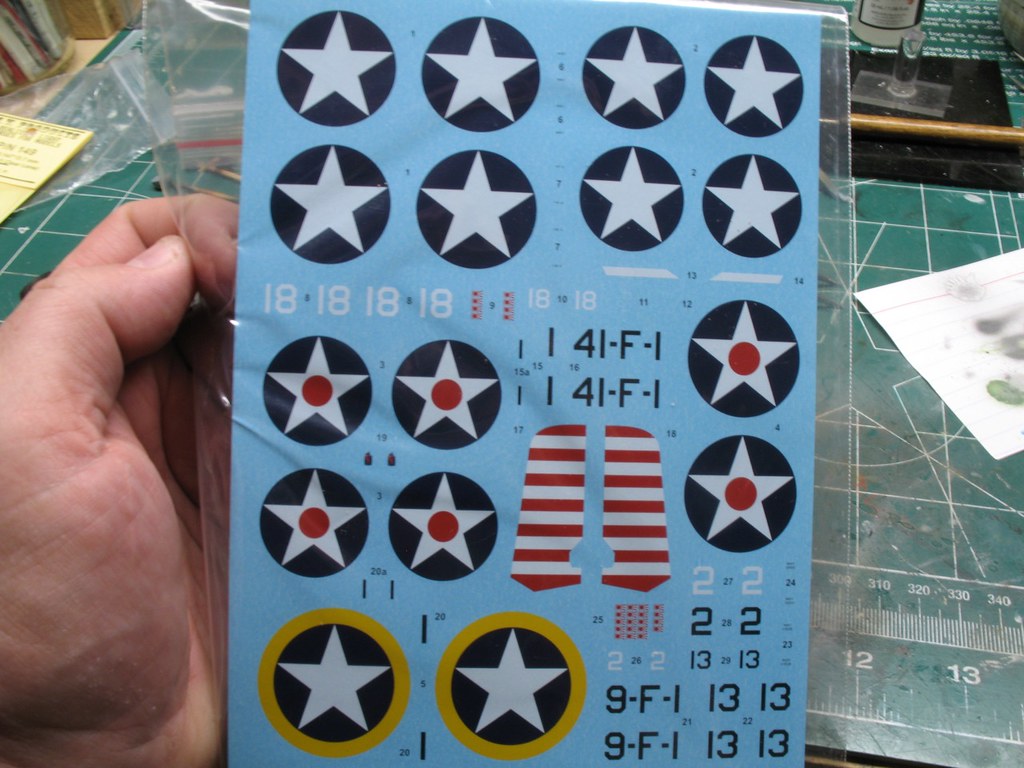 The colors look the part, and the decals look very thin. We'll see how they hold up when I put them on the bird. |
|
|
|
Post by Leon on Apr 21, 2018 5:25:42 GMT -5
Nice progress Dave! Good to see primer and some paint going on!  |
|
thug626
Senior Member
   
Member since: January 2013
Posts: 2,030
Jan 15, 2013 13:05:28 GMT -5
Jan 15, 2013 13:05:28 GMT -5
|
Post by thug626 on Apr 29, 2018 1:03:07 GMT -5
|
|
|
|
Post by panzerjager2 on Apr 29, 2018 4:04:23 GMT -5
As always GREAT DETAILS.......
One MAJOR complaint though.... I literally just "blinked" and it seems this build is complete.... I like watching your work develop. 
PJ2
|
|
thug626
Senior Member
   
Member since: January 2013
Posts: 2,030
Jan 15, 2013 13:05:28 GMT -5
Jan 15, 2013 13:05:28 GMT -5
|
Post by thug626 on Apr 29, 2018 4:14:36 GMT -5
Thank you PJ2. Normally, the updates would be more "bite sized". This build is going much faster than I had thought it would, plus I didn't have access to my computer for a bit.
|
|
|
|
Post by Leon on Apr 29, 2018 5:18:49 GMT -5
This is coming along nicely Dave! Everything is looking good.  |
|
Rick
Full Member
  
Member since: March 2013
what to build, what to build . . . Ok THAT one!
Posts: 854 
|
Post by Rick on Apr 29, 2018 11:35:52 GMT -5
Beautiful work Dave.
|
|
adt70hk
Forum Moderator     
Member since: November 2015
Currently attempting to build something decent!!! ;)
Posts: 2,831 
MSC Staff
|
Post by adt70hk on Apr 29, 2018 11:58:52 GMT -5
Looking very good indeed Dave. Well done. Andrew
|
|
thug626
Senior Member
   
Member since: January 2013
Posts: 2,030
Jan 15, 2013 13:05:28 GMT -5
Jan 15, 2013 13:05:28 GMT -5
|
Post by thug626 on Apr 29, 2018 12:29:00 GMT -5
Leon Thank you kindly buddy.
Rick Thank you very much my good man.
Andrew Thank you as well good sir. It is almost there. Just a few more things to go.
|
|
thug626
Senior Member
   
Member since: January 2013
Posts: 2,030
Jan 15, 2013 13:05:28 GMT -5
Jan 15, 2013 13:05:28 GMT -5
|
Post by thug626 on Apr 29, 2018 22:05:42 GMT -5
I am going to call this one complete. I'll get some proper finished pics up in a couple of days, as the weather is supposed to clear, and I'l like to get some outdoor shots done. In the mean time I'll put these up for now. 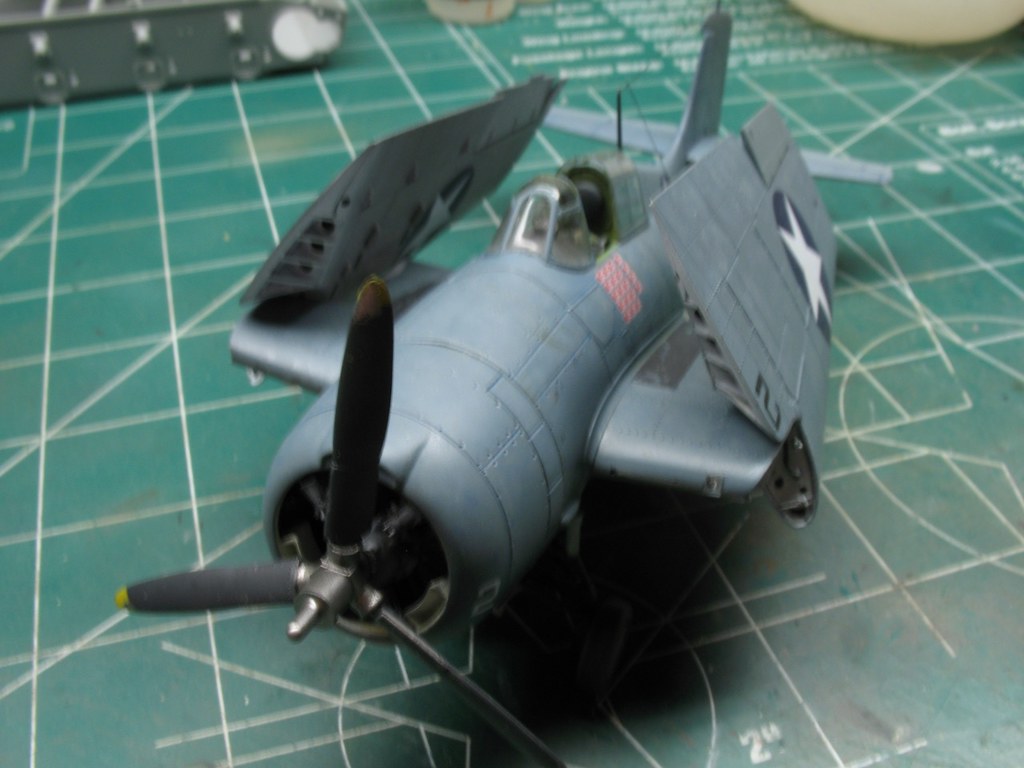
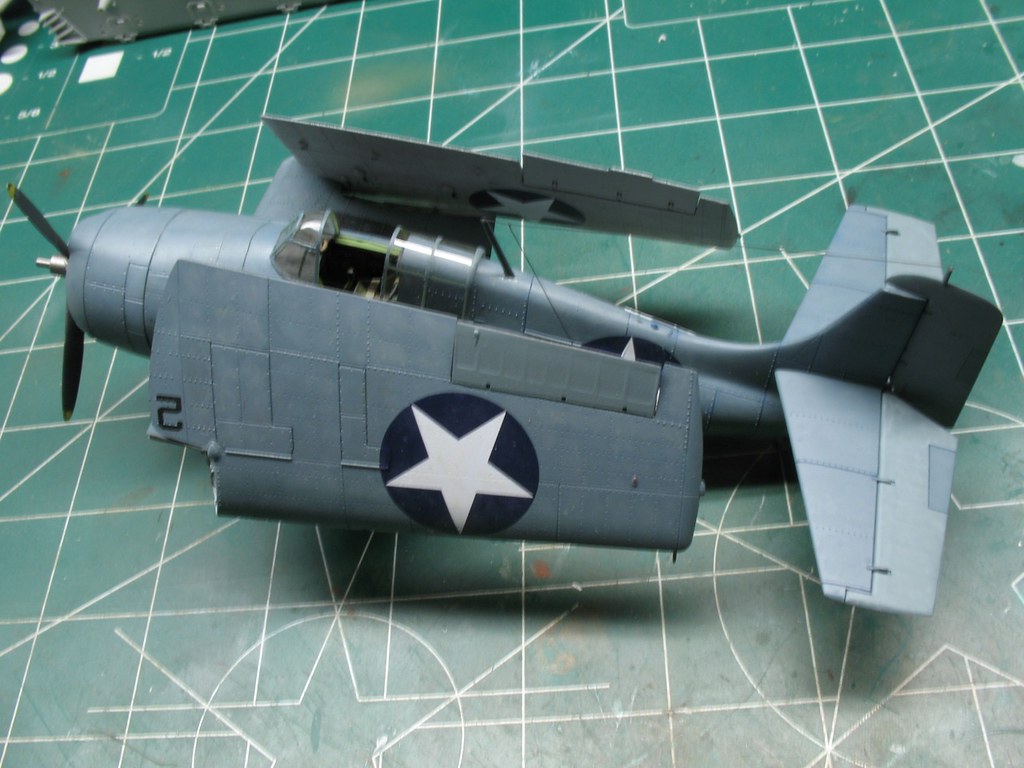
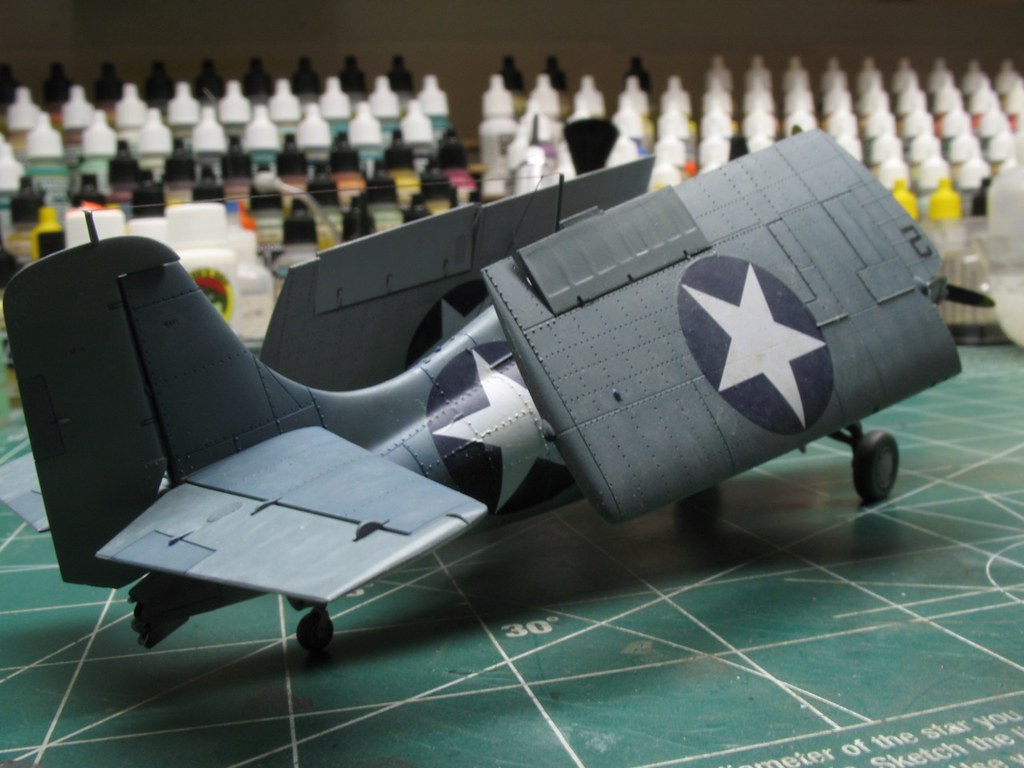 While I wait on the weather, I'll get started on the next project. 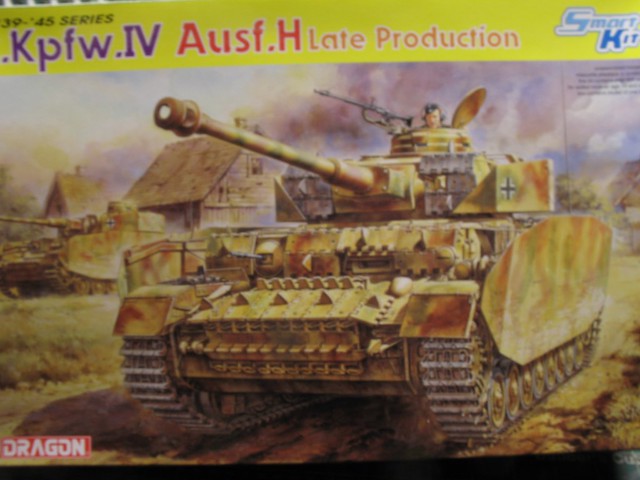 |
|
Tojo72
Forum Moderator      Sept '24 Showcased Model Awarded
Member since: November 2012
Posts: 5,312
Member is Online
MSC Staff
|
Post by Tojo72 on Apr 30, 2018 8:48:17 GMT -5
A job well done,very nice.
|
|