thug626
Senior Member
   
Member since: January 2013
Posts: 2,030
Jan 15, 2013 13:05:28 GMT -5
Jan 15, 2013 13:05:28 GMT -5
|
Post by thug626 on Apr 29, 2018 22:13:16 GMT -5
With the Wildcat completed, I decided to go from PTO to Eastern Front. I purchased this when it came out, and at the time I had picked up an Atak zimmerit set for it. When I opened the box, it was kinda like christmas. 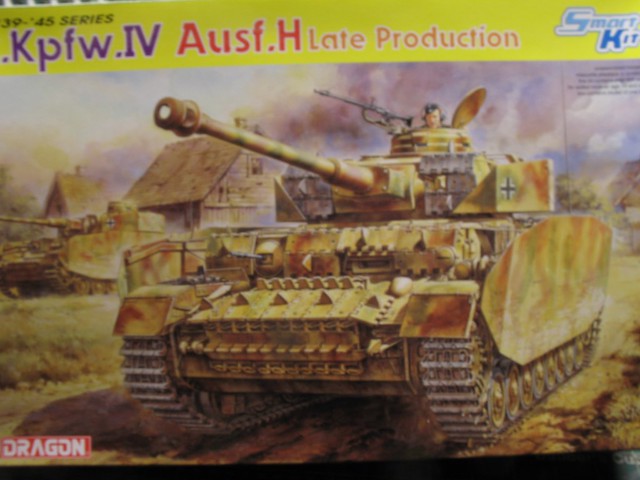 |
|
thug626
Senior Member
   
Member since: January 2013
Posts: 2,030
Jan 15, 2013 13:05:28 GMT -5
Jan 15, 2013 13:05:28 GMT -5
|
Post by thug626 on Apr 30, 2018 2:05:46 GMT -5
The kit glacis plate is replaced by the Atak part with Zim molded onto it. I had noticed that it had a couple of warps to it. A quick soak in hot water and it straightened right out.The hatches are molded separately. 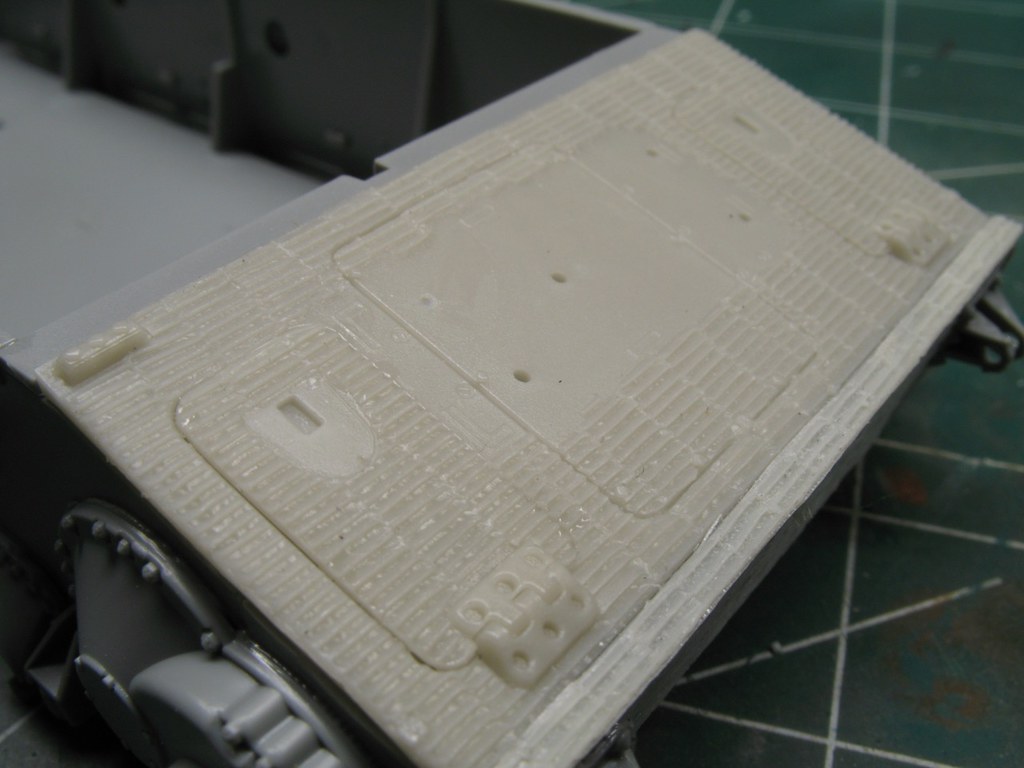 The Atak Zim fits with very little fuss. 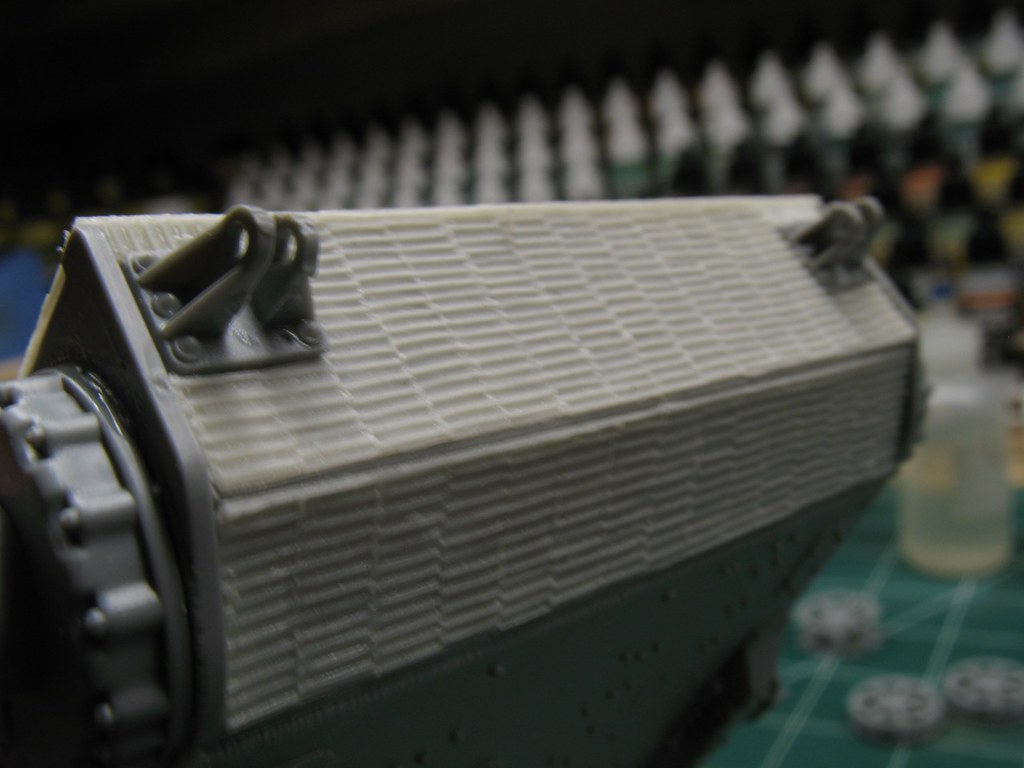 The real hull plate with its Zim. 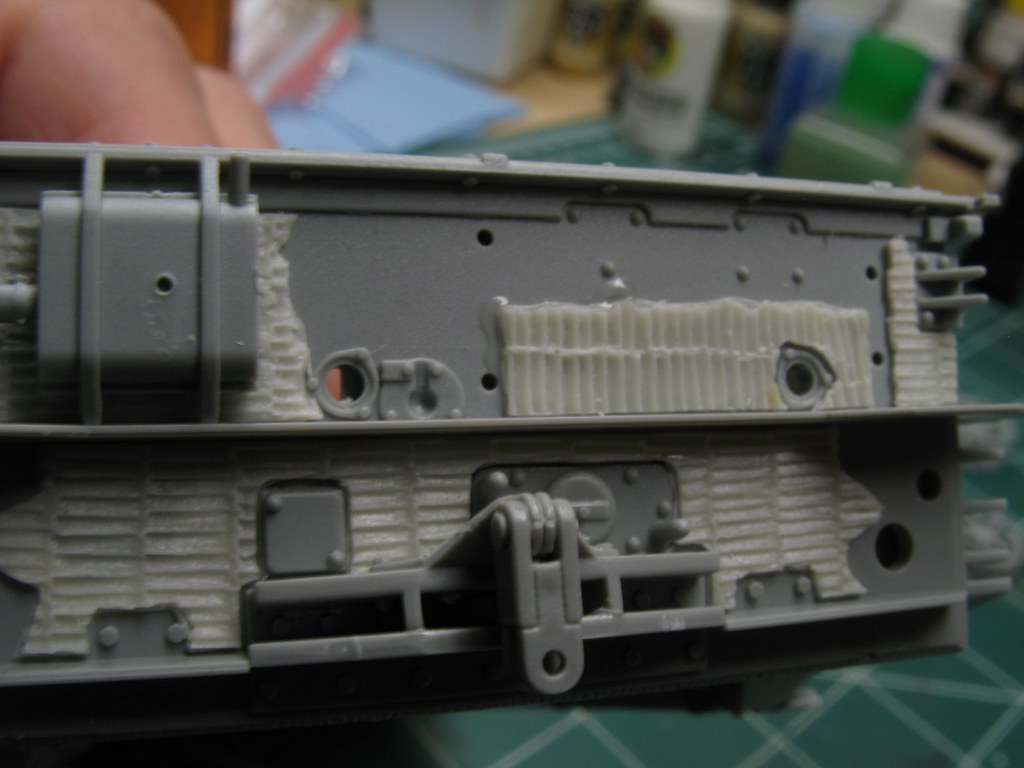 The bogies and travel stops.  |
|
|
|
Post by Leon on Apr 30, 2018 5:10:48 GMT -5
Nice start Dave! The zim looks really good.  |
|
|
|
Post by wing_nut on Apr 30, 2018 5:18:57 GMT -5
Good start. Great kit,
|
|
|
|
Post by panzerjager2 on Apr 30, 2018 6:40:41 GMT -5
Cool choice..... although you must already know about the "legendary" Pz IV wheels......... the single biggest pain in the neck since the info-mercial LOL LOL LOL LOL
Very cool choice 
PJ2
|
|
Tojo72
Forum Moderator      Sept '24 Showcased Model Awarded
Member since: November 2012
Posts: 5,313
Member is Online
MSC Staff
|
Post by Tojo72 on Apr 30, 2018 8:47:30 GMT -5
Your zimm looks real good
|
|
|
|
Post by 406 Silverado on Apr 30, 2018 9:22:15 GMT -5
Off to a good start. Love their Zimm. Need to get some for my Sturmtiger one of these days lol.
|
|
thug626
Senior Member
   
Member since: January 2013
Posts: 2,030
Jan 15, 2013 13:05:28 GMT -5
Jan 15, 2013 13:05:28 GMT -5
|
Post by thug626 on May 6, 2018 1:30:27 GMT -5
|
|
|
|
Post by Leon on May 6, 2018 4:57:05 GMT -5
Nice progress Dave!
|
|
|
|
Post by dupes on May 6, 2018 10:35:29 GMT -5
I love that book...use it all the time.
Pz IV roadwheels aren't that bad if you've got a circle template. Twenty minutes, tops!
|
|
|
|
Post by wing_nut on May 6, 2018 18:05:33 GMT -5
SWEET! I have to check if I need zim for my Tiger on the mud flaps. If so I am gonna try pressing some of the Atak zim into silly putty and adding a thin layer of casting resin.
|
|
|
|
Post by TRM on May 8, 2018 18:36:13 GMT -5
Nicely done so far Dave! Love me the Mark IV's! LOL Looking good with the Zimm too! More power to you buddy, not my favorite thing to do...LOL
|
|
thug626
Senior Member
   
Member since: January 2013
Posts: 2,030
Jan 15, 2013 13:05:28 GMT -5
Jan 15, 2013 13:05:28 GMT -5
|
Post by thug626 on May 9, 2018 2:13:41 GMT -5
Leon Thank you my good man. Dupes It's fantastic. Every once in a while, I'll peruse through it over a morning cup of java. I've been using circle templates for many years now. The exception being the RMF Tiger I just built. Neither standard or metric would fit the road wheels. So, I ended up painting the 48 tires by hand. Marc That is a great idea! Let me know if it works, and how you did it. TRM Thank you kindly my good man. I am going to have to figure something else out for the zim on the schürzen. I did find a couple of pics of the zim on the schürzen. The Tamiya putty goes off too fast for that big of an area. I have some two part Tamiya putty I could play with tomorrow. A lot of parts have been placed on the Pz IV. The only parts that remain to get zim are the rear fenders and the schürzen. 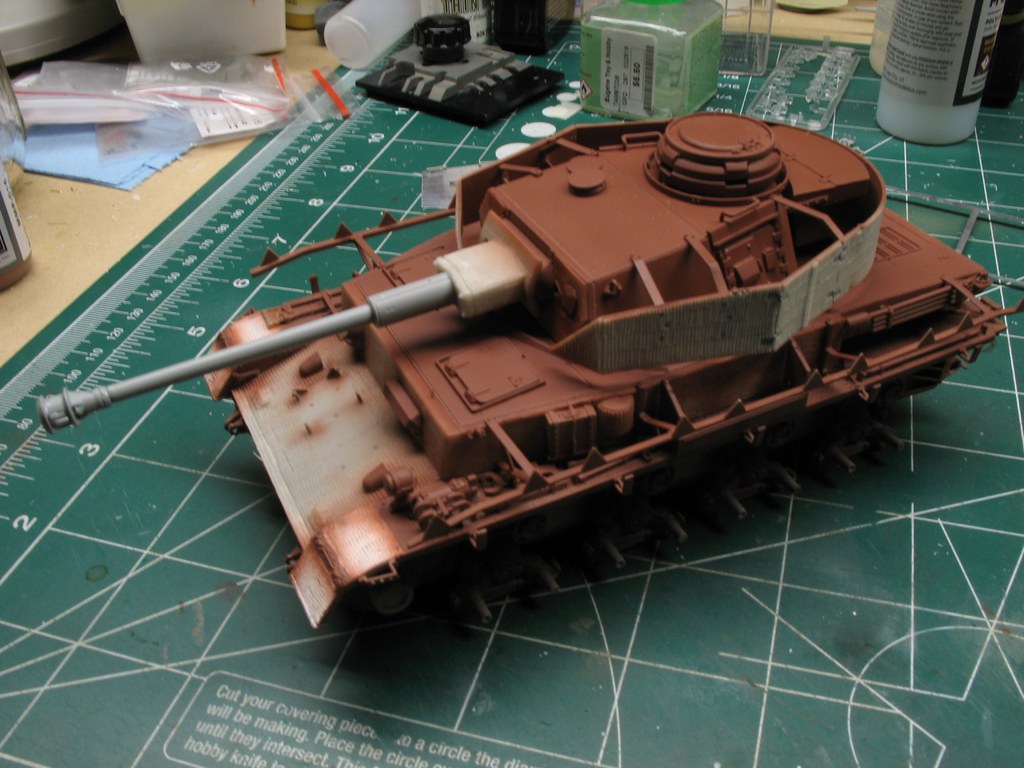 I will need to seal up the seam line between the zim and the turret schürzen. 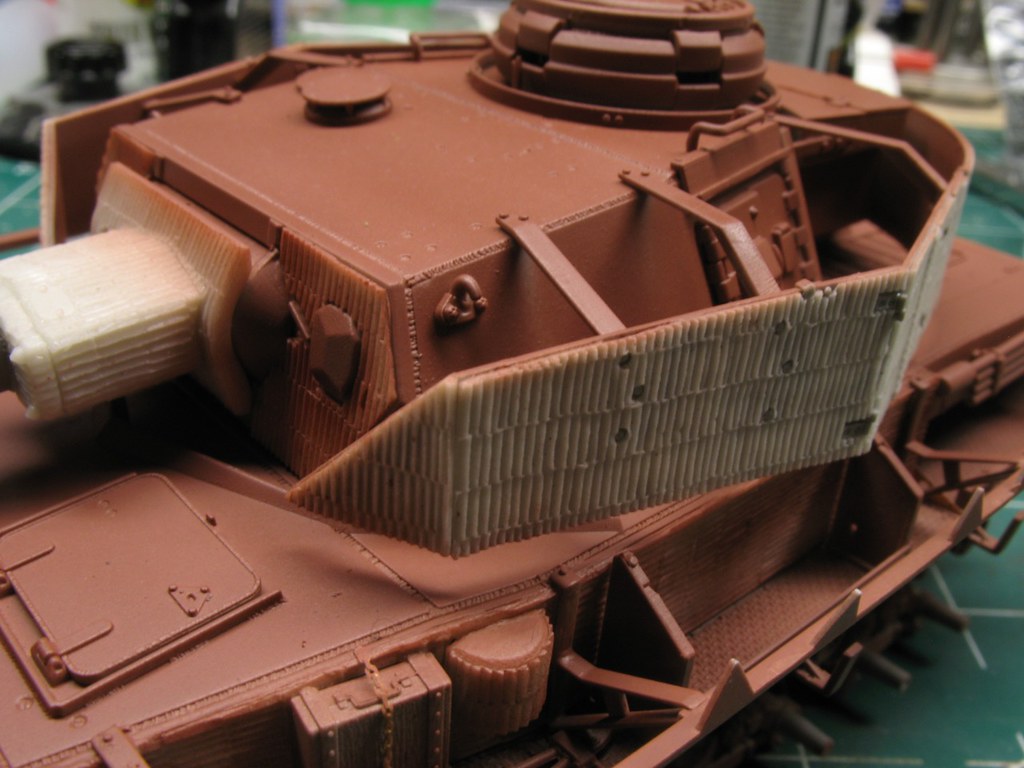 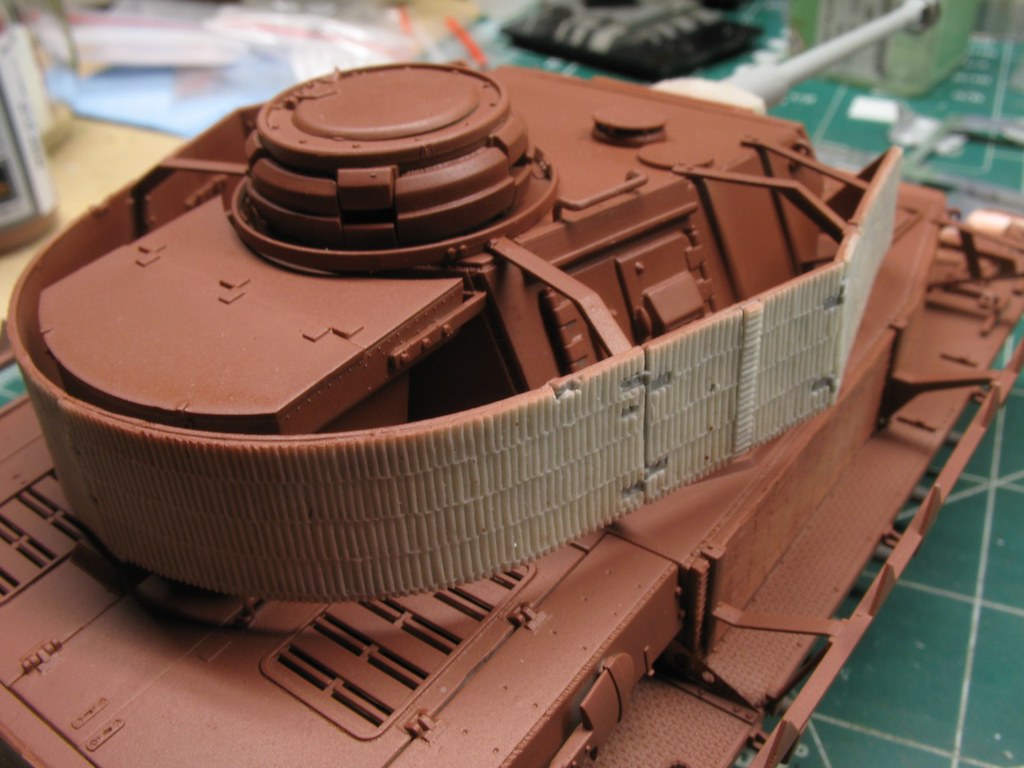 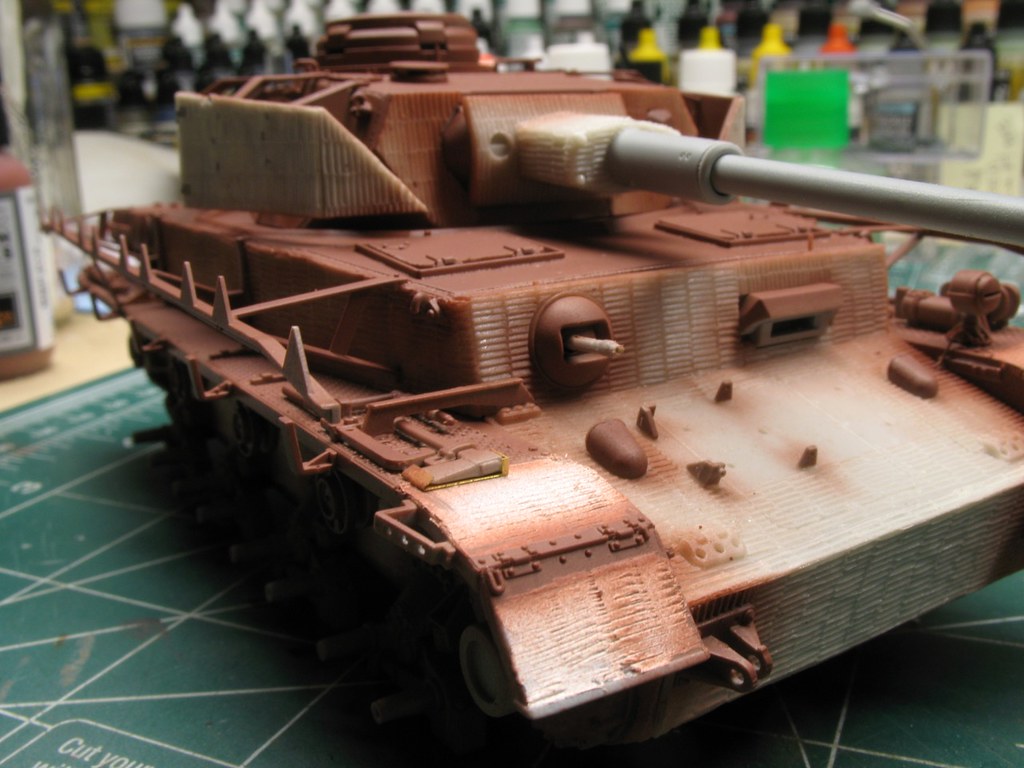 The requisite bouquet of road wheels. 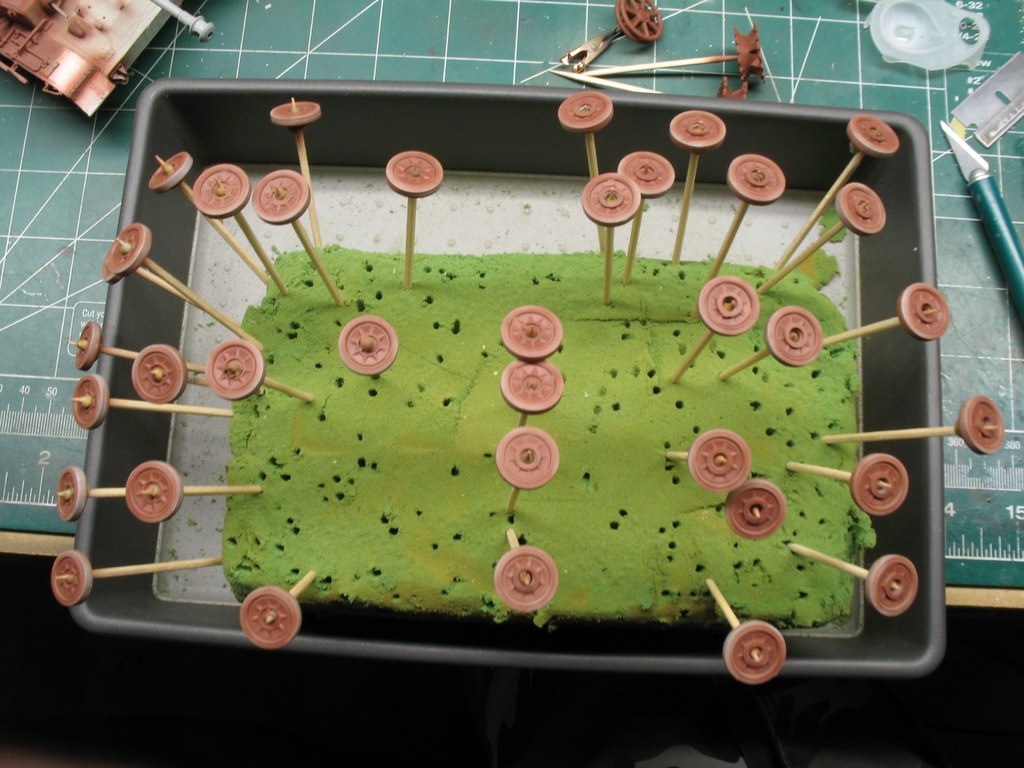 I'll be using Mission Model paints for this build. This is the "primer" coat, as there will be some chipping to be done. 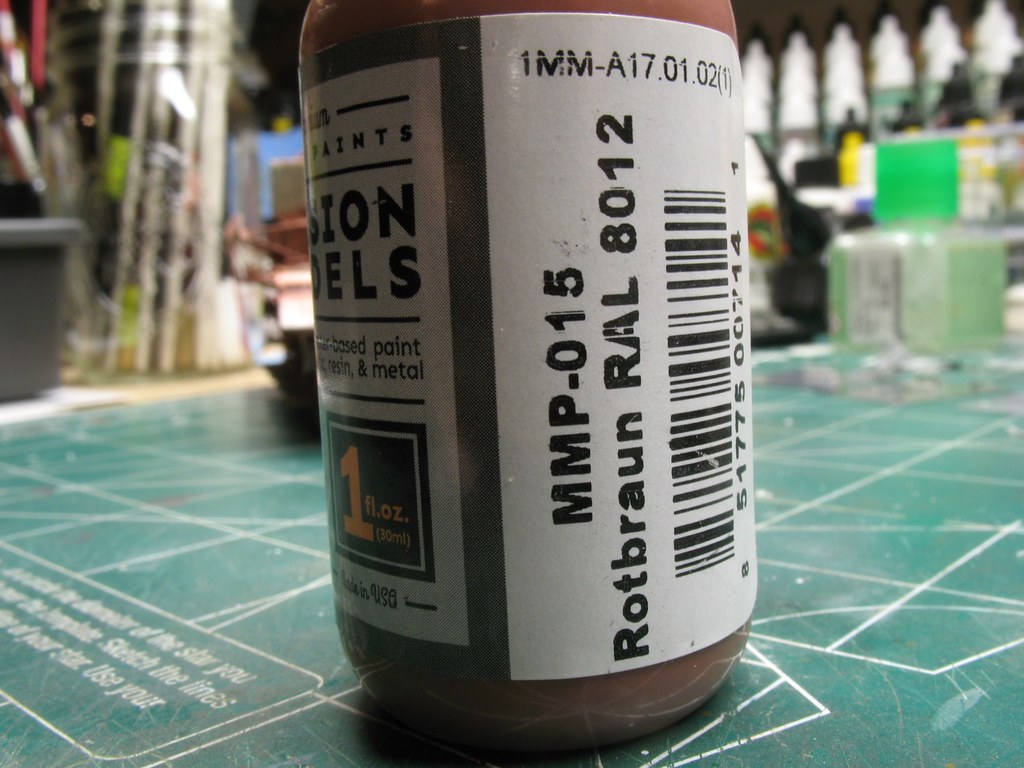
|
|
|
|
Post by TRM on May 9, 2018 6:09:52 GMT -5
Again...beautiful stuff Dave! You're moving right along! I have never been a fan of the application of the stuff, but the end result of Zimm gives too many options for weathering! As for the larger pieces for the skirts, you could try smoothing some out on some glass, like from and old frame or something. Once made up and dried, some putty you can cut to shape and peel off. I know the Vallejo stuff is a little stretchier and works excellent like this. Great for making any chips in it as well.
|
|
thug626
Senior Member
   
Member since: January 2013
Posts: 2,030
Jan 15, 2013 13:05:28 GMT -5
Jan 15, 2013 13:05:28 GMT -5
|
Post by thug626 on May 10, 2018 0:36:14 GMT -5
Good evening T, That is a great idea. I'll have to try it on another project. I ended up rolling out some Milliput and hitting it with a zim roller. I tried the Vallejo putty, but lost patience with it/myself. I'll give it another go another time. Maybe i'll try a bit of feng shui at the bench before I try it next time.  Here's what I got done today. As you can see, I used Bondo for one on the panels. It was OK, but it had a small window in which to work with it. Jim at the LHS mentioned trying Milliput fine grain epoxy putty. It seemed to fill the bill. Unfortunately I got scope locked and forgot that the panels overlap each other a bit. I'll take care of that when the putty cures. One thing at a time.  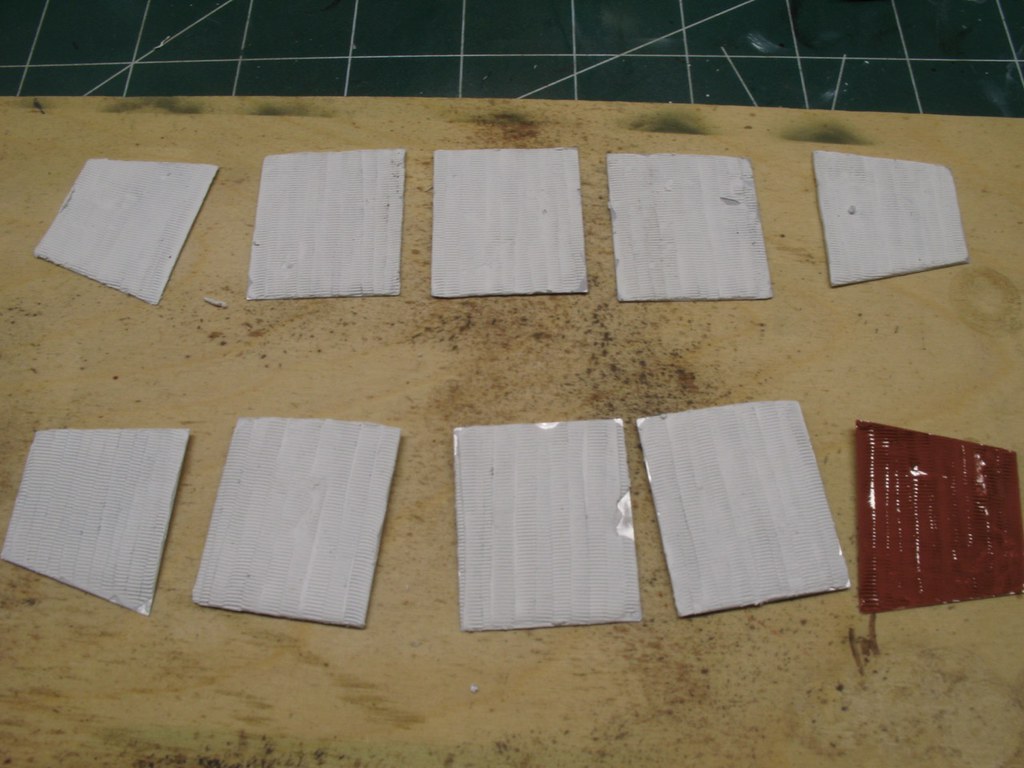 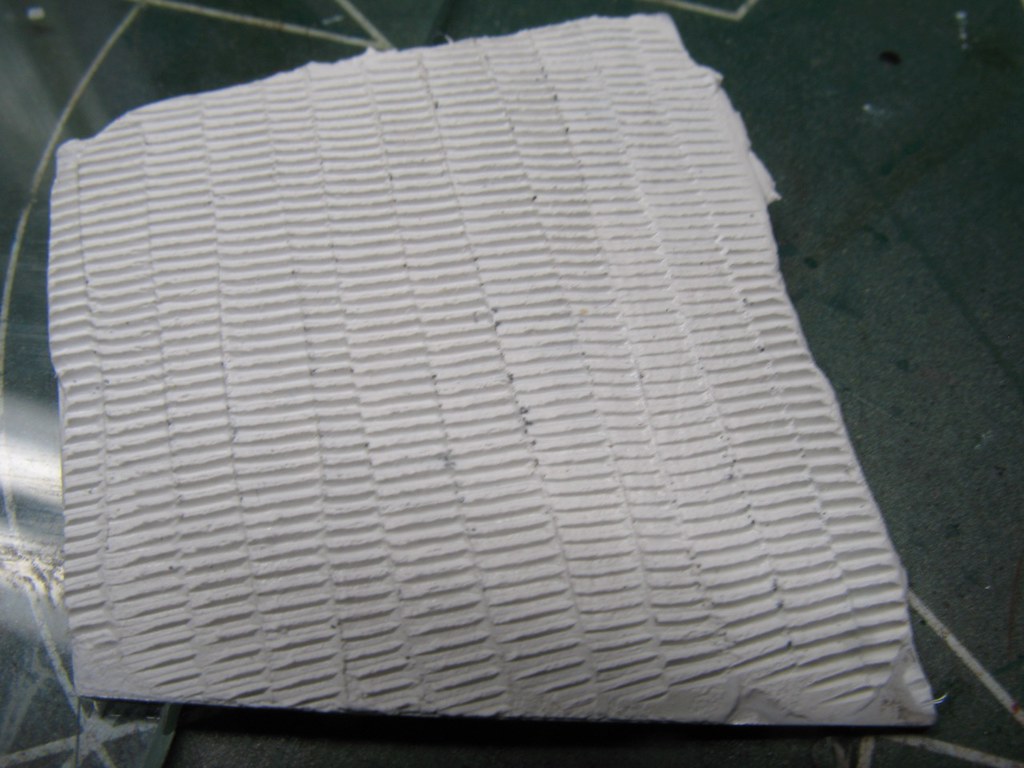 You get the idea here.  Just a mock up that reminded me of the overlap. Ooops. 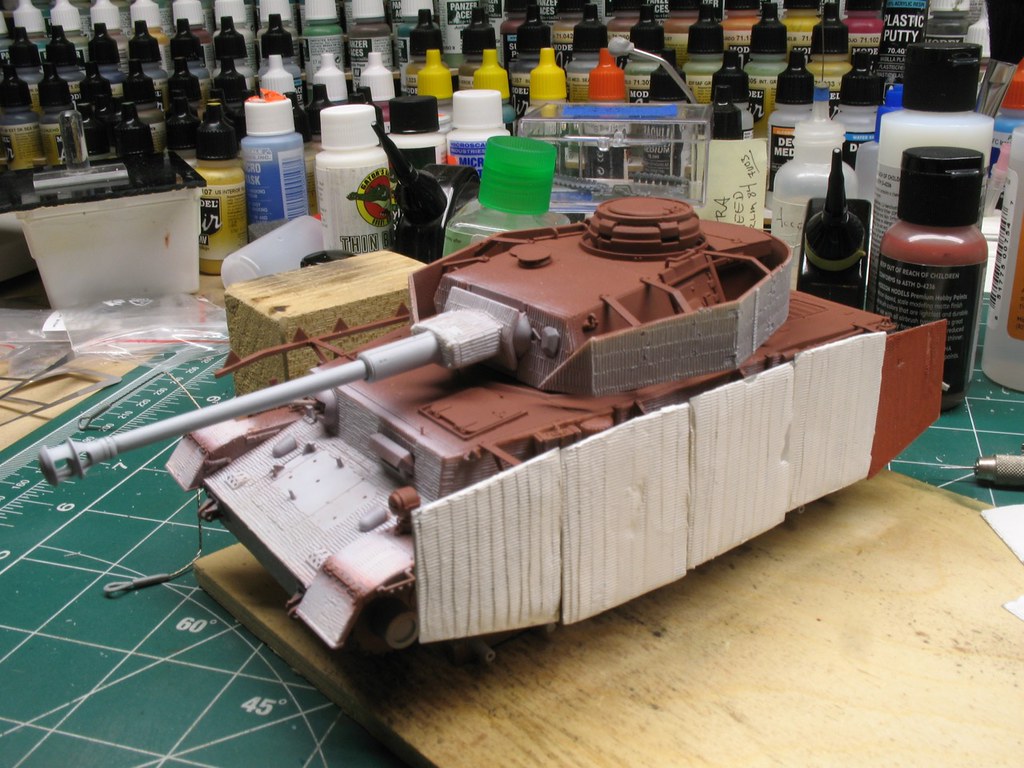 |
|
thug626
Senior Member
   
Member since: January 2013
Posts: 2,030
Jan 15, 2013 13:05:28 GMT -5
Jan 15, 2013 13:05:28 GMT -5
|
Post by thug626 on May 19, 2018 1:50:04 GMT -5
|
|
|
|
Post by Leon on May 19, 2018 4:49:53 GMT -5
Making really good progress Dave! Everything is looking good.  |
|
thug626
Senior Member
   
Member since: January 2013
Posts: 2,030
Jan 15, 2013 13:05:28 GMT -5
Jan 15, 2013 13:05:28 GMT -5
|
Post by thug626 on May 24, 2018 0:17:33 GMT -5
|
|
thug626
Senior Member
   
Member since: January 2013
Posts: 2,030
Jan 15, 2013 13:05:28 GMT -5
Jan 15, 2013 13:05:28 GMT -5
|
Post by thug626 on May 28, 2018 0:48:33 GMT -5
Here is yesterdays, and todays progress. It treated the green and brown with some oil paint, to vary the effect of the camo. I also painted the T-34 tracks that will rest on the glacis. 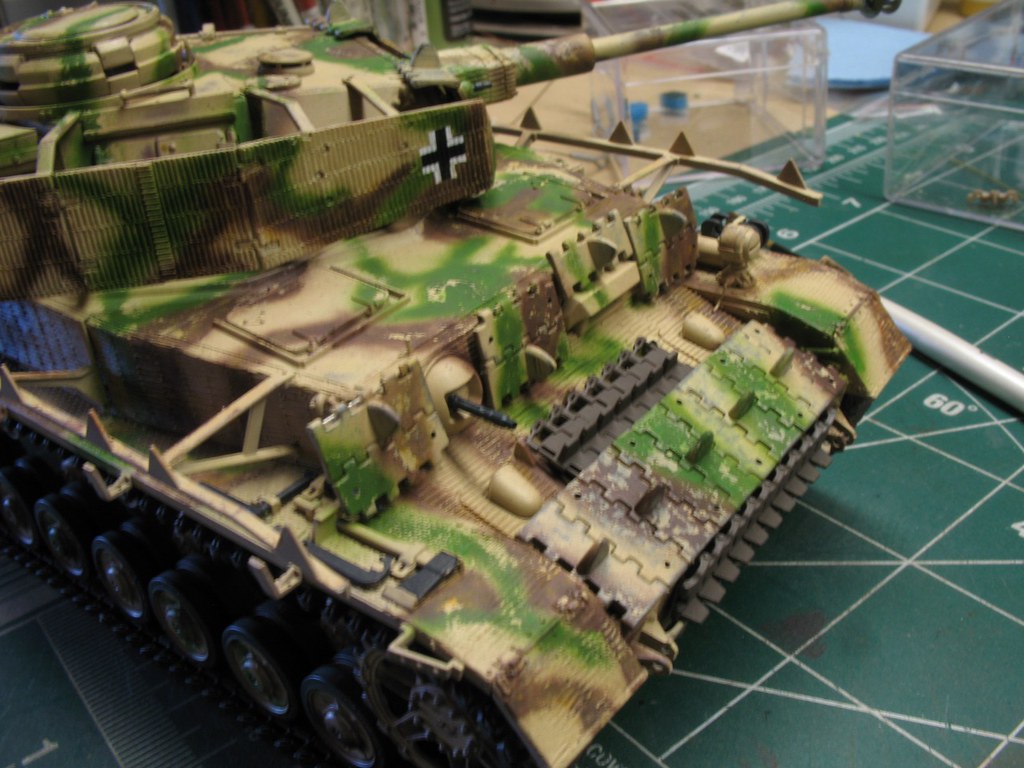
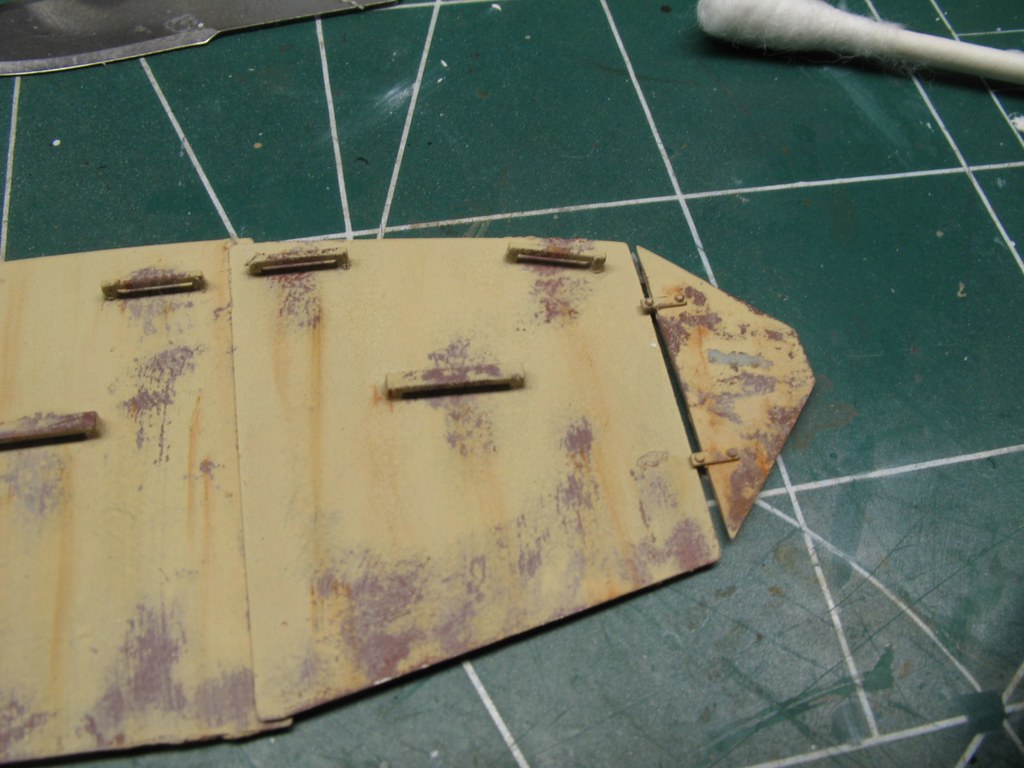
This is the inside aspect of the left side schürzen. The rust effects are Abteilung oils. 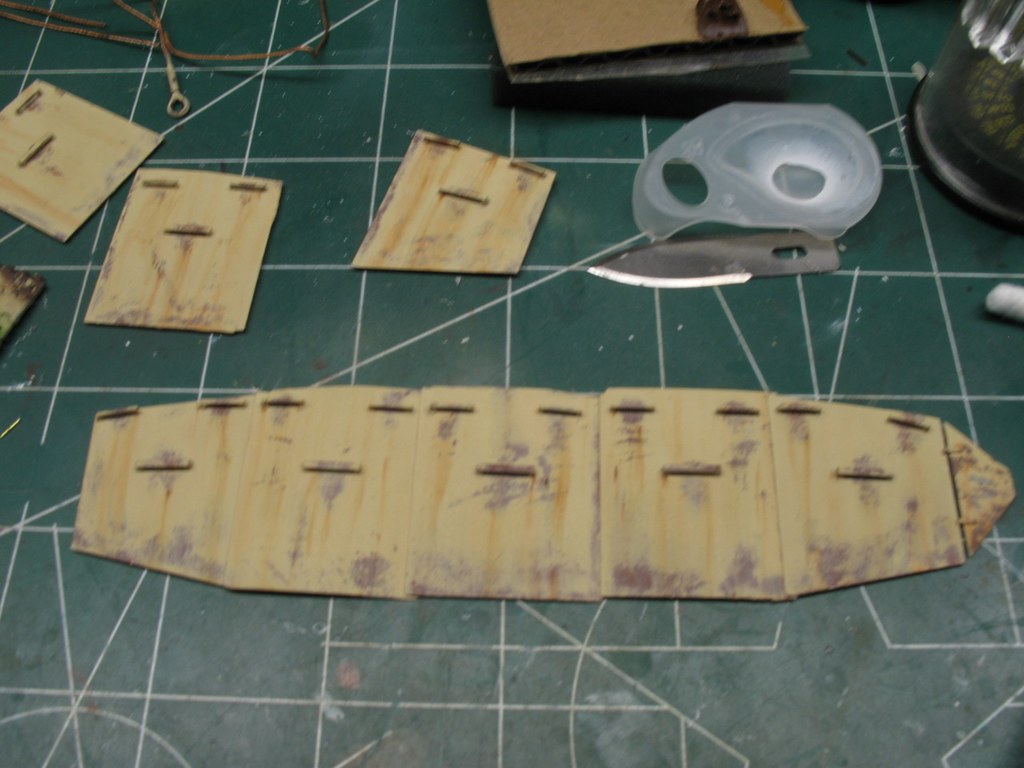
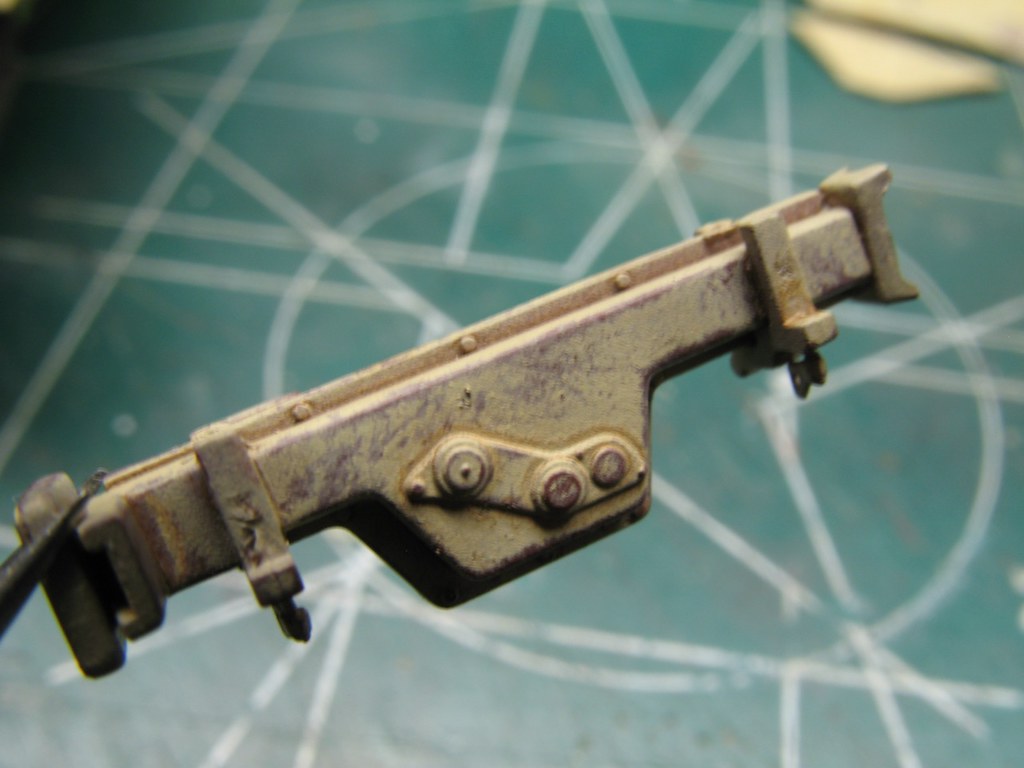
 The jack received its final touches today. 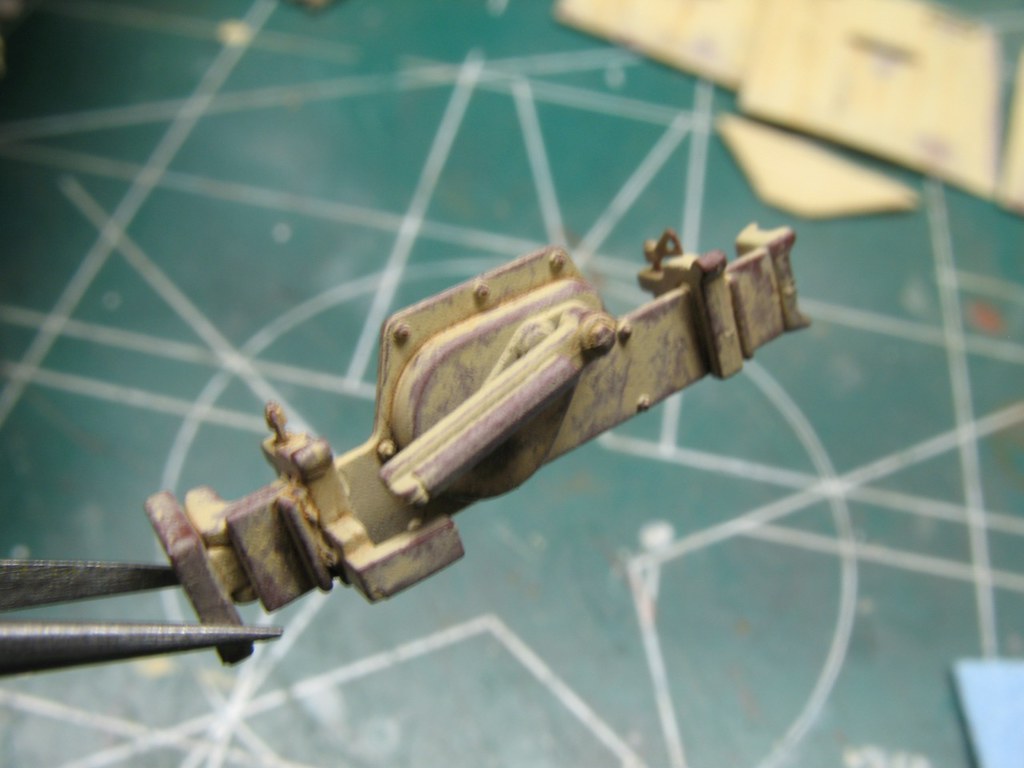
 Schürzen on the left side is now permanently mounted. The plan has been to paint the camo, once the schürzen was mounted. 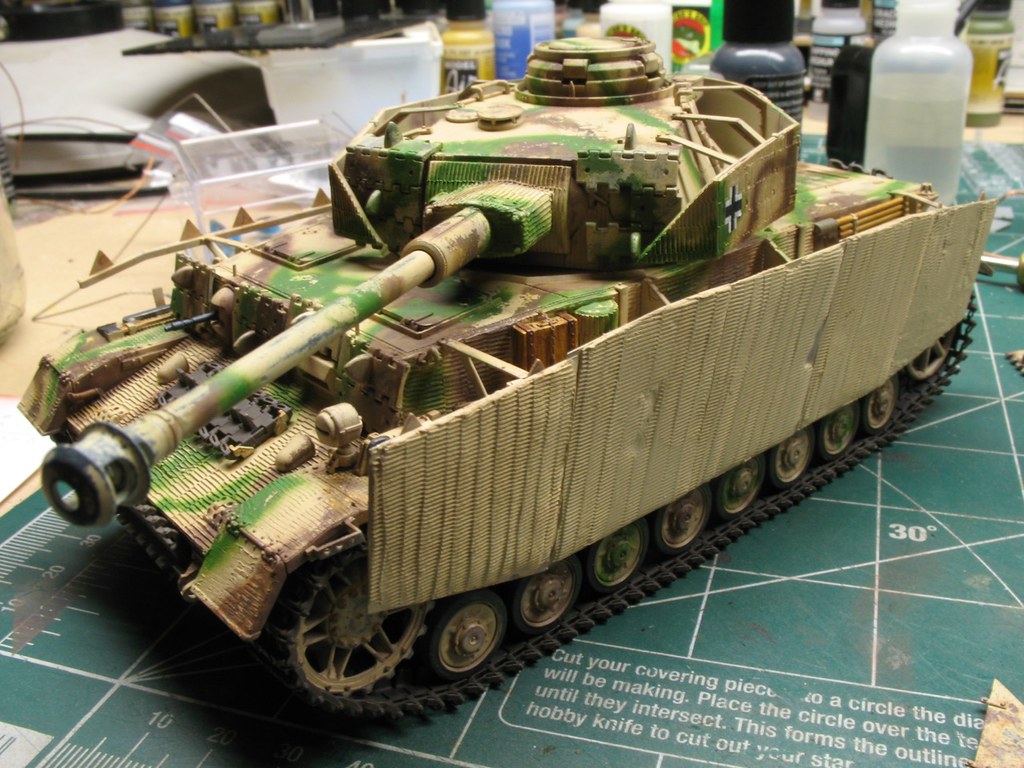 An "inside" view of the schürzen. I applied some Mig pigments prior to mounting. 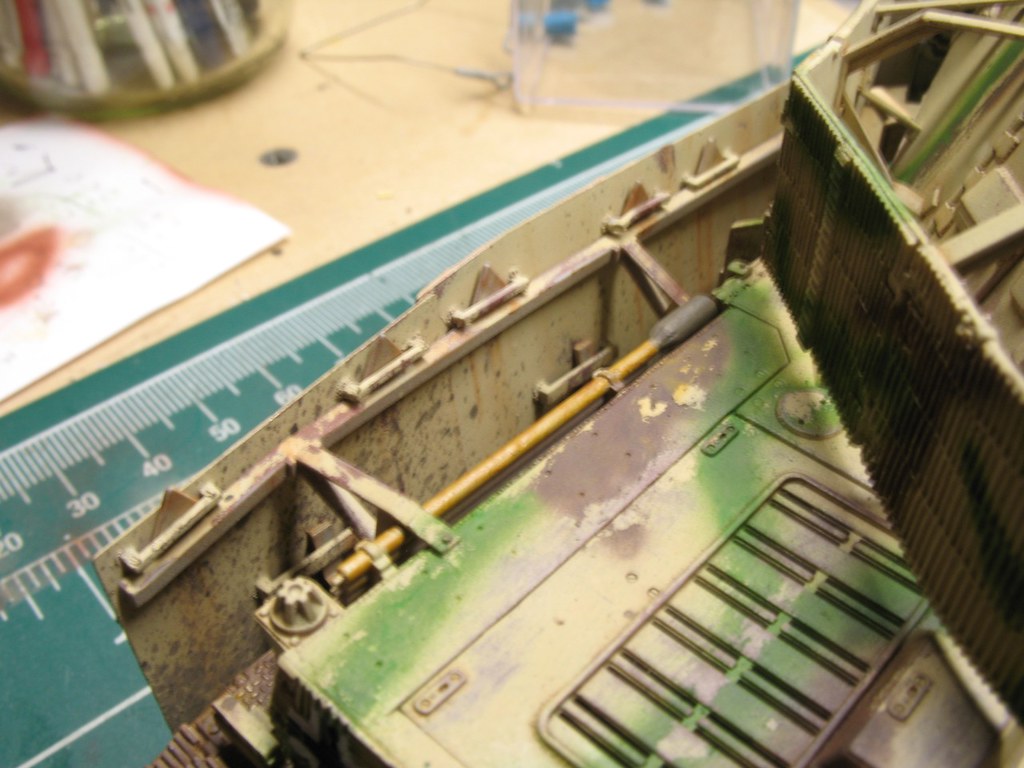 |
|
|
|
Post by panzerjager2 on May 28, 2018 2:20:41 GMT -5
Dave, She's really looking good..... I especially like the camo colors. 
PJ2
|
|
thug626
Senior Member
   
Member since: January 2013
Posts: 2,030
Jan 15, 2013 13:05:28 GMT -5
Jan 15, 2013 13:05:28 GMT -5
|
Post by thug626 on May 28, 2018 7:53:47 GMT -5
PJ2 Thank you very much buddy. The base camo colors are Mission Models line.
|
|
|
|
Post by Leon on May 28, 2018 10:37:28 GMT -5
Nice progress Dave! Camo and schurzen look good.
|
|
Tojo72
Forum Moderator      Sept '24 Showcased Model Awarded
Member since: November 2012
Posts: 5,313
Member is Online
MSC Staff
|
Post by Tojo72 on May 29, 2018 16:04:41 GMT -5
Very nice,will have to try some Mission paint,heard many good things.
|
|
thug626
Senior Member
   
Member since: January 2013
Posts: 2,030
Jan 15, 2013 13:05:28 GMT -5
Jan 15, 2013 13:05:28 GMT -5
|
Post by thug626 on May 31, 2018 1:52:23 GMT -5
Leon Thank you as always my good man for your support. Tojo72 It is nice to work with. It shoots just fine through my Iwata CM-C+ Today was far busier than I had thought it was going to be, so bench time was at a premium. Nonetheless, I got a fair bit done. The schürzen are permanently mounted. Also, painted and the beginnings of weathering. 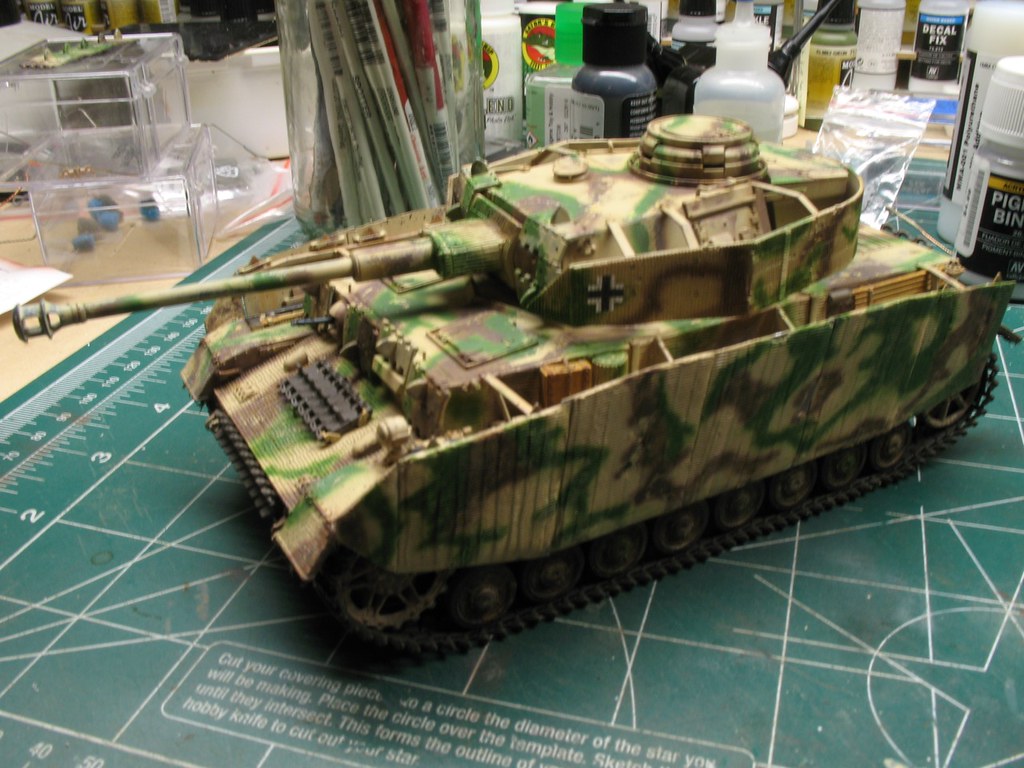
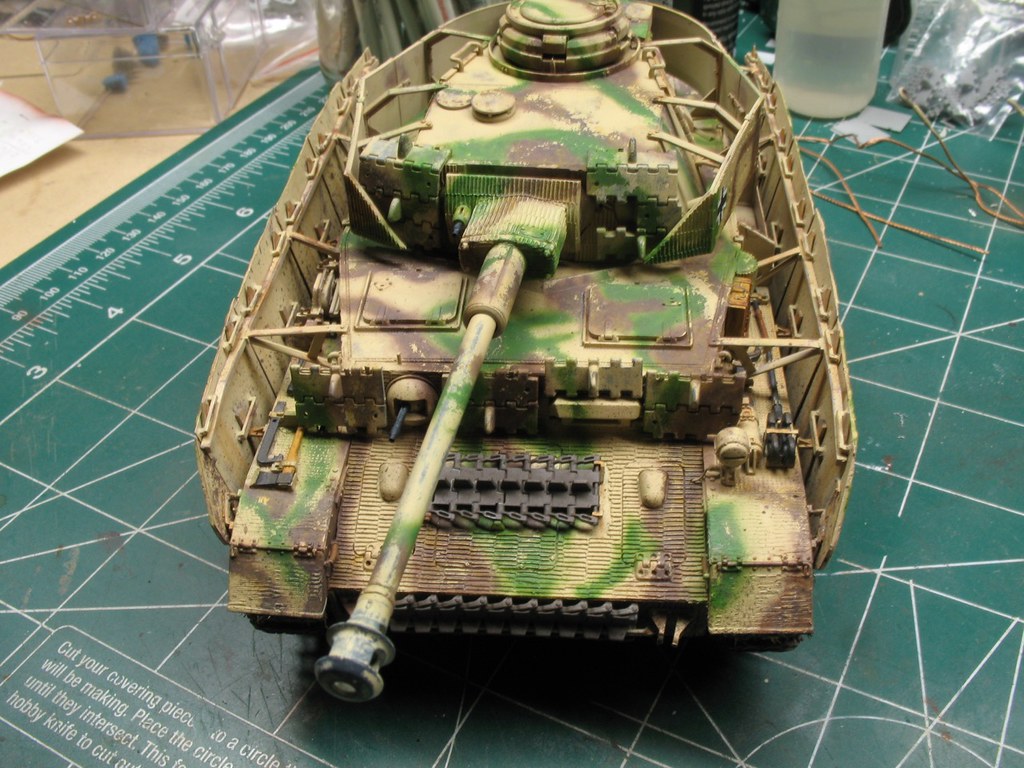
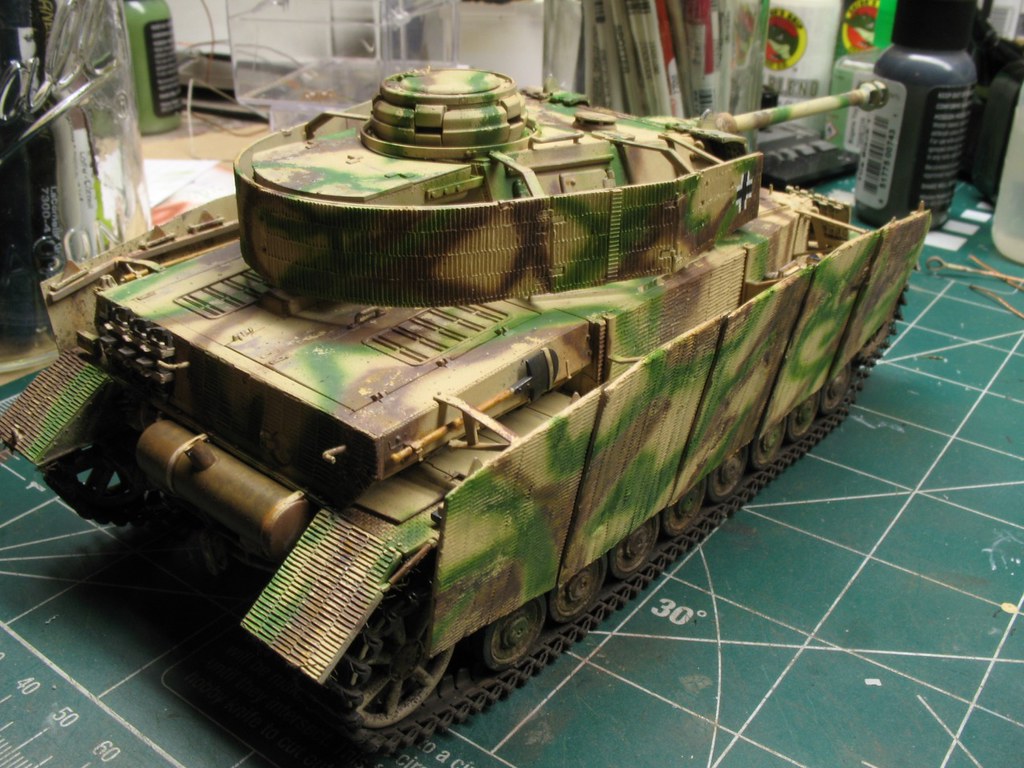 The rear end has started to receive its fair share of schmutz. 
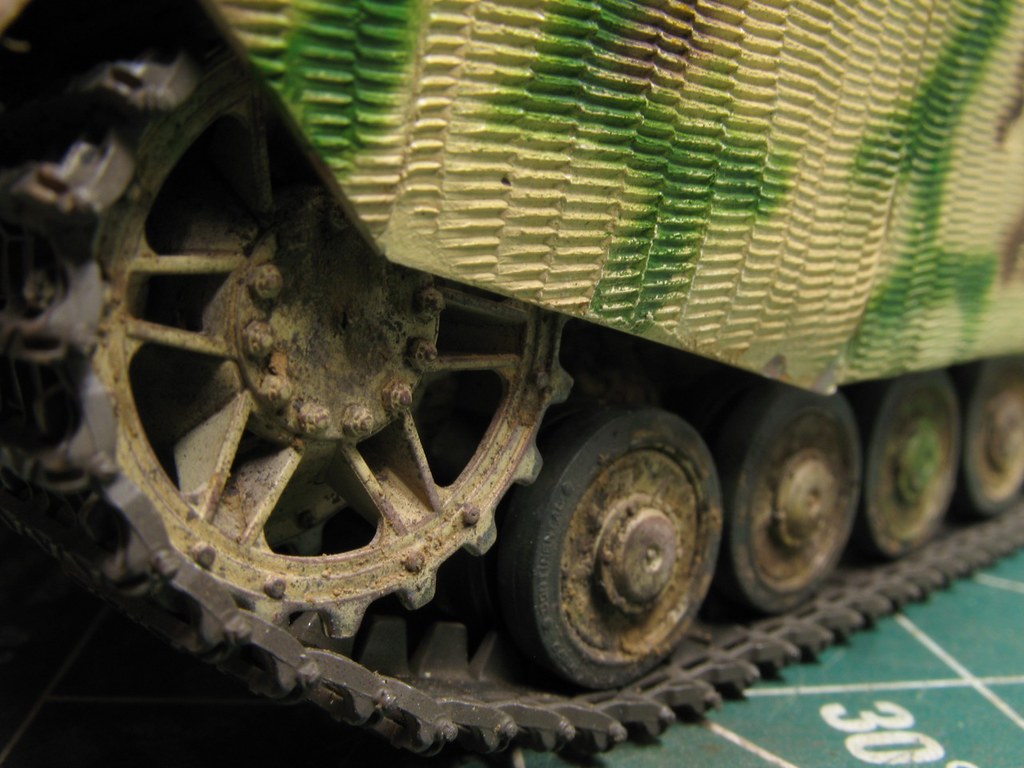
This pic looks off, as the schürzen has yet to get dirty like the road wheels and drive sprocket.
|
|
thug626
Senior Member
   
Member since: January 2013
Posts: 2,030
Jan 15, 2013 13:05:28 GMT -5
Jan 15, 2013 13:05:28 GMT -5
|
Post by thug626 on Jun 2, 2018 8:11:49 GMT -5
I got a bit of weathering done yesterday. Not as much as I had hoped. It was too nice a day to stay inside, so instead I went and played at the archery range instead. At least the schürzen look like they belong on this panzer. The schmutz along the bottom edge has yet to dry in this pic 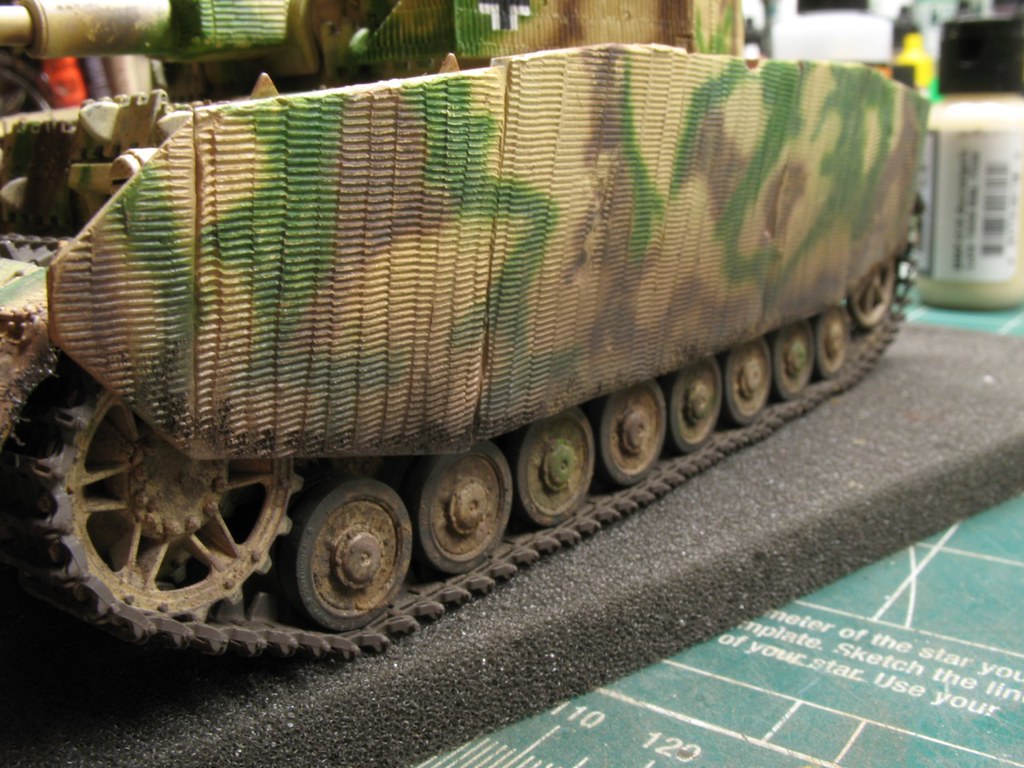
The tow cables are painted and mounted. Also the finishing touches on the muffler were done. 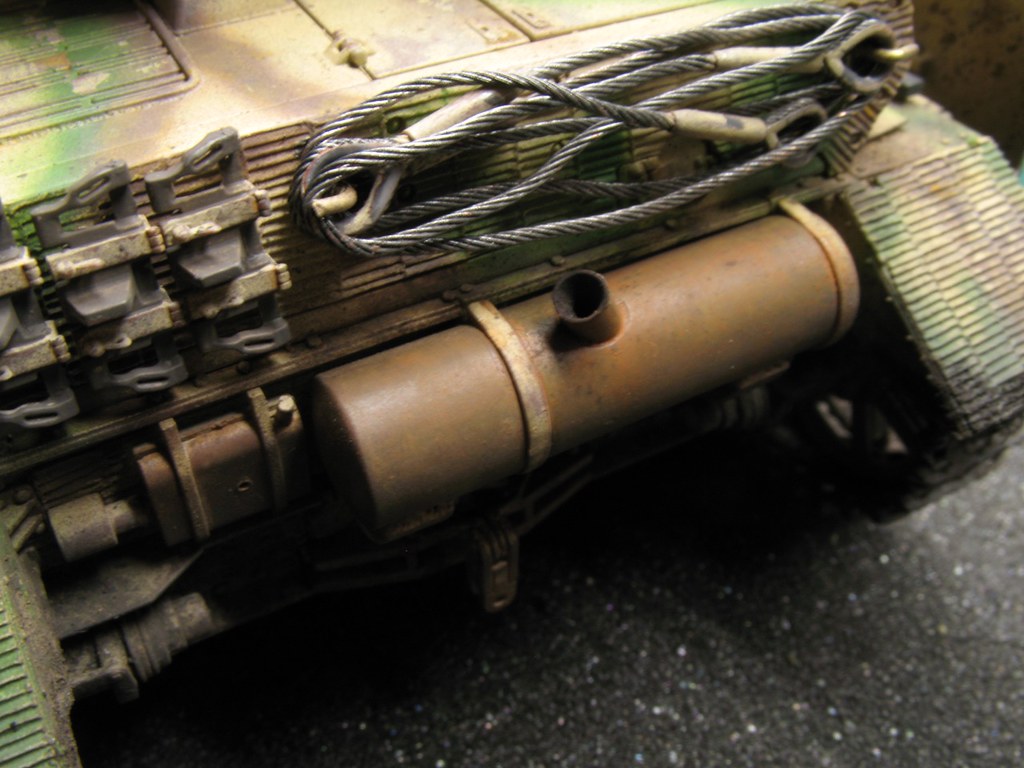 |
|
thug626
Senior Member
   
Member since: January 2013
Posts: 2,030
Jan 15, 2013 13:05:28 GMT -5
Jan 15, 2013 13:05:28 GMT -5
|
Post by thug626 on Jun 2, 2018 8:12:01 GMT -5
I got a bit of weathering done yesterday. Not as much as I had hoped. It was too nice a day to stay inside, so instead I went and played at the archery range instead. At least the schürzen look like they belong on this panzer. The schmutz along the bottom edge has yet to dry in this pic 
The tow cables are painted and mounted. Also the finishing touches on the muffler were done.  |
|
|
|
Post by Leon on Jun 2, 2018 9:23:08 GMT -5
Nice bit of progress Dave!
|
|
|
|
Post by dupes on Jun 2, 2018 20:14:07 GMT -5
Dupes It's fantastic. Every once in a while, I'll peruse through it over a morning cup of java. I've been using circle templates for many years now. The exception being the RMF Tiger I just built. Neither standard or metric would fit the road wheels. So, I ended up painting the 48 tires by hand. OUCH! That would drive me nuts! Really digging the camo - and applying the mud effects to the inside of the schurtzen is a great idea. Like, as in, how have I never tried that before?  |
|
thug626
Senior Member
   
Member since: January 2013
Posts: 2,030
Jan 15, 2013 13:05:28 GMT -5
Jan 15, 2013 13:05:28 GMT -5
|
Post by thug626 on Jun 10, 2018 13:53:27 GMT -5
|
|
pt109
Full Member
  
Member since: April 2013
Stop staring at me! heheheh
Posts: 491 
|
Post by pt109 on Jun 11, 2018 7:28:35 GMT -5
Really nice Pz IV
Cheers, Paul
|
|