Post by 406 Silverado on Jul 1, 2018 9:40:26 GMT -5
E-100 JagdPanzer - Build Review
Amusing Hobby - From MBK-USA
Kit #. 35A017 1/35 scale
After doing a quick In-Box review of this kit that I received from MBK-USA I just had to start building this model. The kit is very basic but does contain everything one would need to build a decent out of the box model, photo etch and indi workable track links are included. My goal is to build the model without adding anything extra other than what is in the box, so no weld beads added, no replacing grab handles ,unless I break one of the kit parts.
The Build:
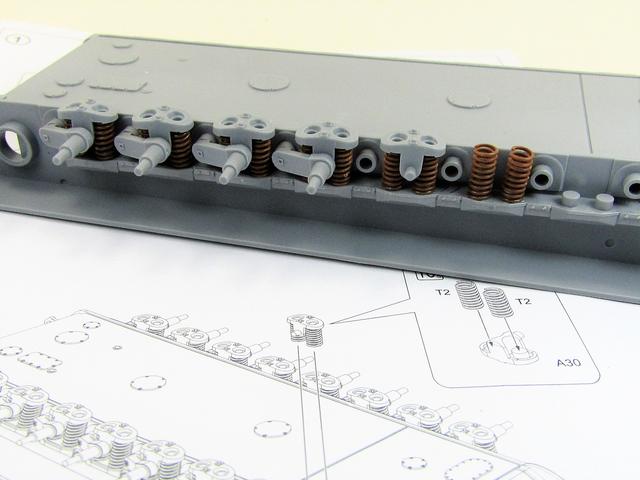
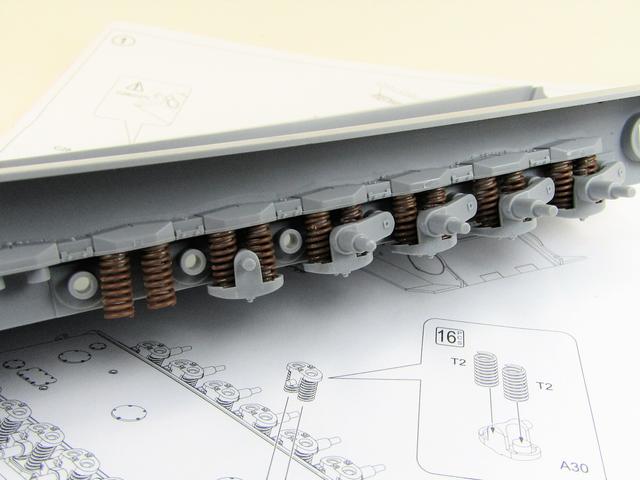
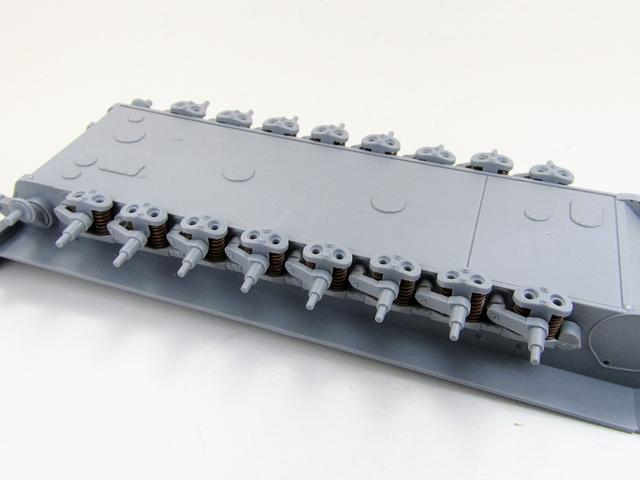
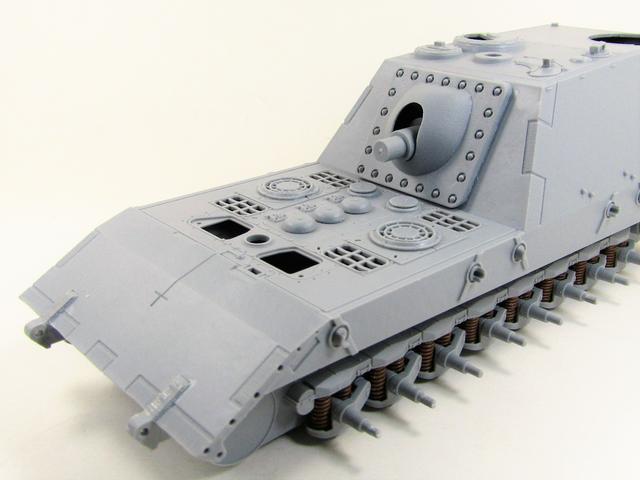
Following the kit instructions I started with the lower hull suspension. I decided to first glue the springs onto the ‘rail’ on the hull sides and then gluing the bottom mounting A30 as this was less fiddly than doing it as described in the instructions (Image 1). The swing arms are not glued so this will allow for up and down movement and functioning suspension (Images 2&3).
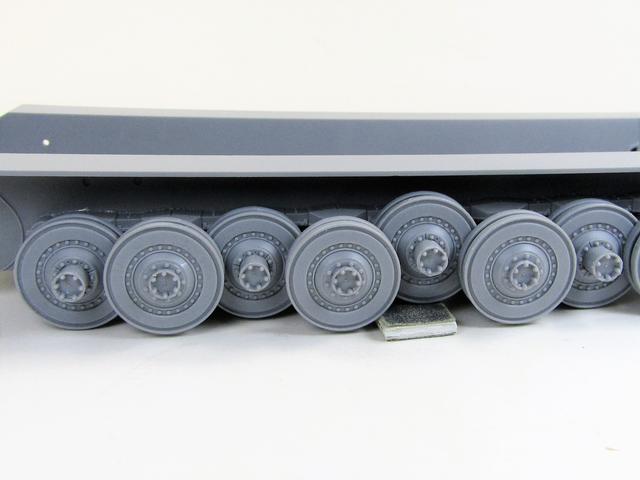
I then assembled all the road wheels and dry fitted them to test the suspension (Image 4). With a working suspension all the wheels sit flat and can positioned if you are mounting the model on a based with rough terrain. In this photo you can see the raised wheel sitting on a filing stick.
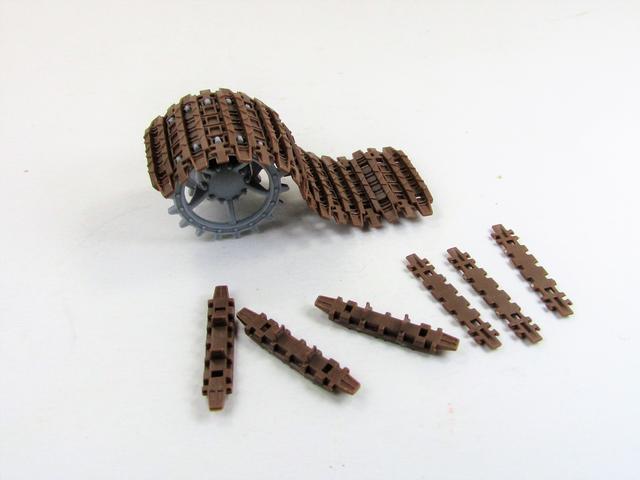
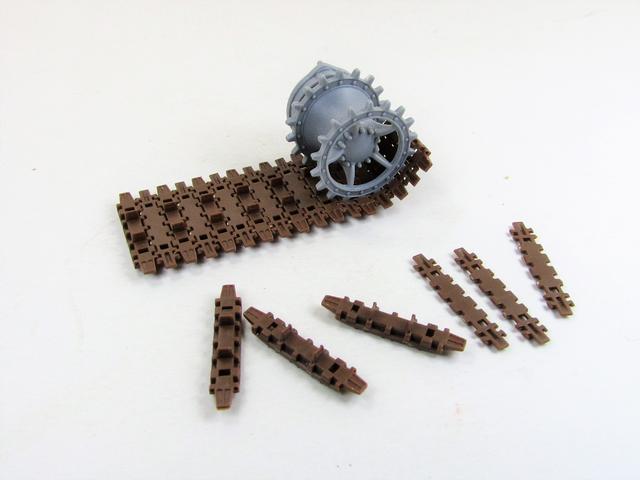
I usually leave doing tracks till the end but I had to assemble some tracks to see if they fit the sprocket and also if they are actually working or if I will have to glue them together (Images 5&6). The very small pins on the links are very fragile and I did manage to break one, but luckily Amusing Hobby supplies enough extra links in the kit. The fit of the tracks n the sprocket is very tight so lightly sanding down the sides of the sprocket teeth will fix that issue, otherwise the tracks look great on the sprocket. All I have to do now is assemble two runs of tracks, 102 links per side according to the instructions.
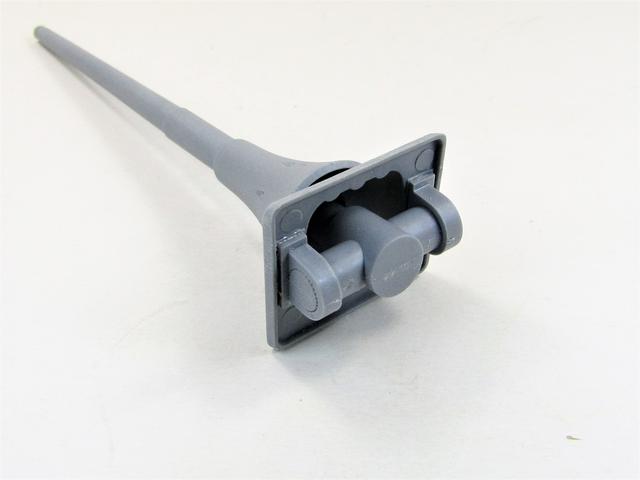
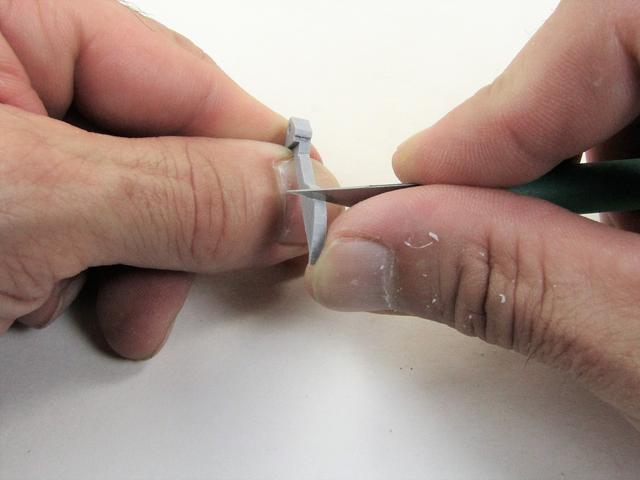
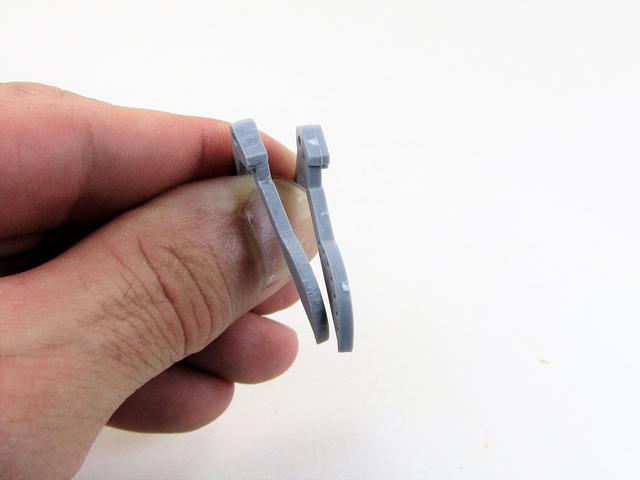
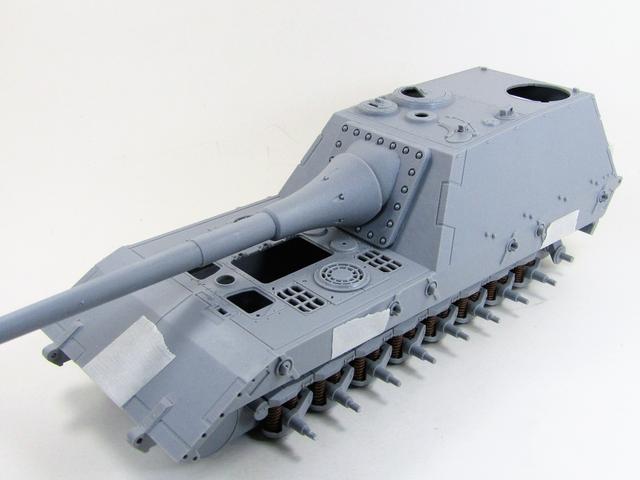
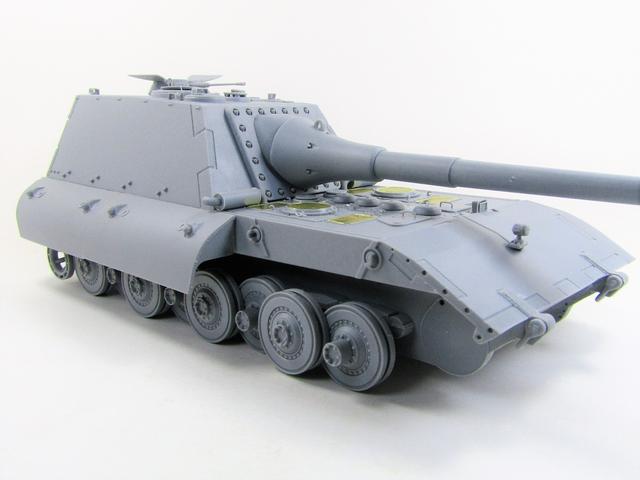
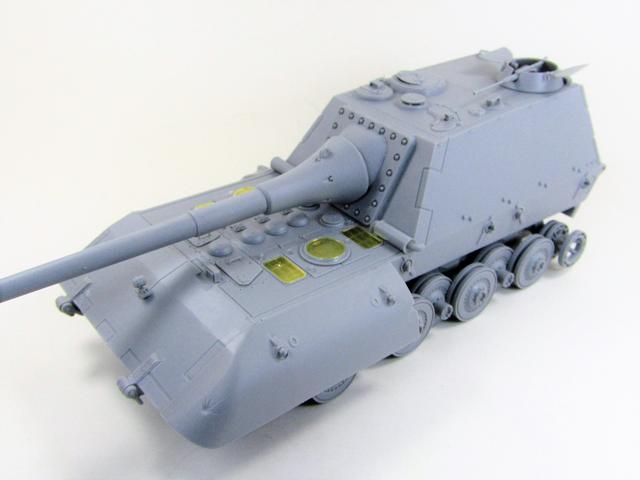
I deviated slightly from the instructions and worked on the gun barrel and mantlet so I could see if I had to modify the mount to keep the barrel from dripping (Image 7). The barrel and mantlet are only dry fitted and will be glued together after they are painted. There is no gun breech or any parts to add weight to the rear of the mount to balance the gun, but the designer of the kit was thinking ahead in this area. The mount and rear of the gun is designed with a locking type system that allows the gun to be lowered or raised (Image 8). The mount should be able to hold up the weight of a metal gun barrel if you decide to go with an aftermarket barrel if you choose not to use the kit supplied plastic barrel.
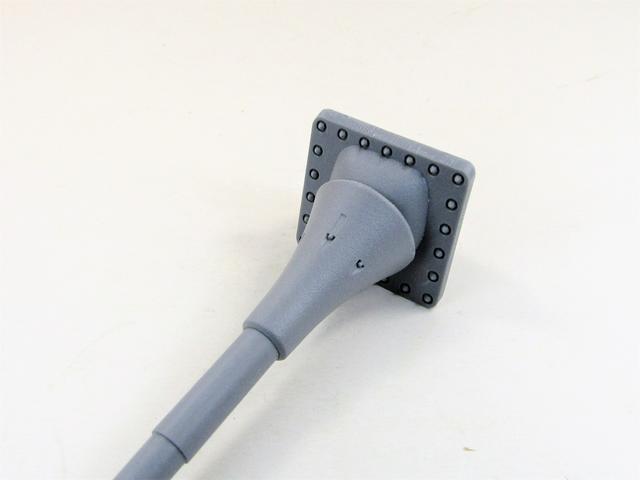
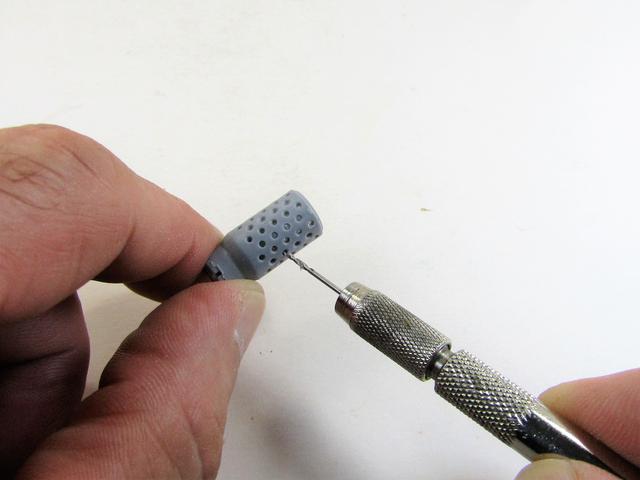
Moving onto to the flash suppressor, again the is an aftermarket brass flash suppressor if you want to swap this part out. Detailing here is not too bad, a very small amount of flash that is easily cleaned with a hobby knife. The holes on this part are not all open or just barely open. This is easily fixed with a pinwise (Image 9) and only took a couple of minutes to drill all the holes. The part looks ok in bare plastic and I think should look good once painted.
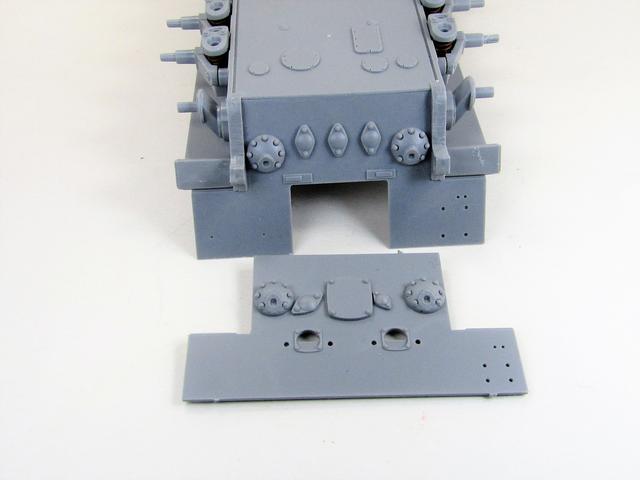
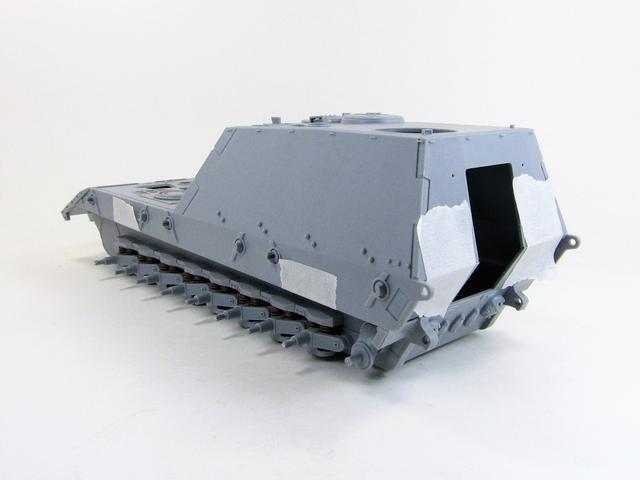
Now back to the lower hull, and something I am not too thrilled about and curious as to the logic of these parts being separate items. The lower hull sides extend forward to the lower bow plate, not a problem. Parts C8 & C9 are the separate parts that extend past the bow plate and have the holes for the towing shackles. Most kits do have these as separate parts and are placed onto the plate. Here we have the parts and the hull sides extended onto which C8 & 9 are glued to. My issue is that you then have to fill this seam that could have been avoided. This continues on the rear with parts C2 & 3, again a seam that needs to be filled when it could have easily been molded onto the hull sides. This is not a big deal and can be taken care of, but was just something that made me shake my head and wonder ‘why'. The above mentioned parts have large sprue gates and a mold line that need to be cleaned, and here I went ahead and started adding some torch cuts to these parts using a hobby knife (Image 10). Once glued in place I will refine the torch cuts. In this image (Image 11) you can see the part removed from the sprue along and after cleaning the part and adding light torch cuts.
As I mentioned in my In-Box review, this kit does contain extra parts, shared sprues from other E-100 variants. There are two rear lower hull plates and both are nicely detailed, so the spare plate will go into my spares box. Here we can see (Image 12) the rear plate glued in place, as well as the side plate extensions with lightly textured torch cuts.
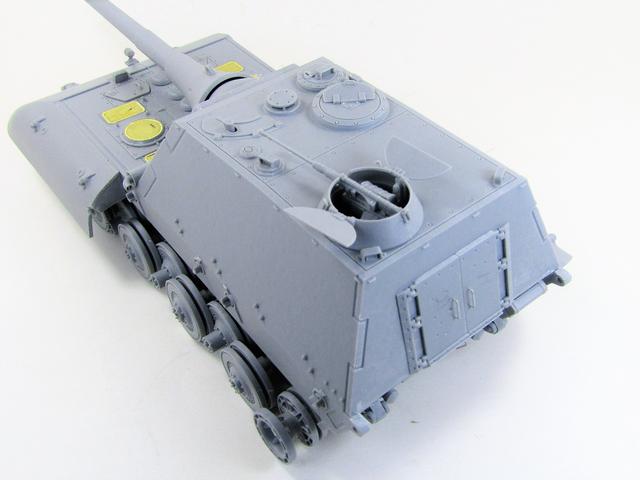
With the lower hull completed, which went surprisingly quick, I then added parts to the inside of the upper hull, just a few periscopes. The upper and lower hulls were then joined and glued, and here I used tape to hold these together while the glue sets up (Images 13 & 14). I do have to mention that the fit of the upper and lower hull is excellent with no gaps that would need filling. The only problem I could find is the horizontal seam where the upper and lower glacis plates meet when the two are joined. This seam goes through the interlocking plate detail and so some filling and touch ups are needed in this area, A dry fitting of the barrel (Image 15) shows the true size of this beast.
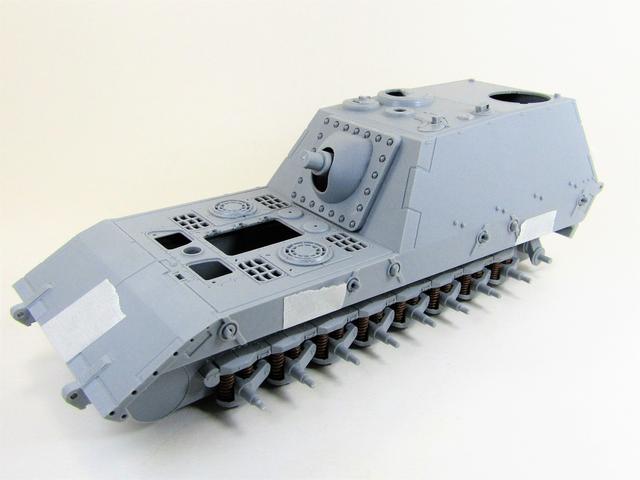
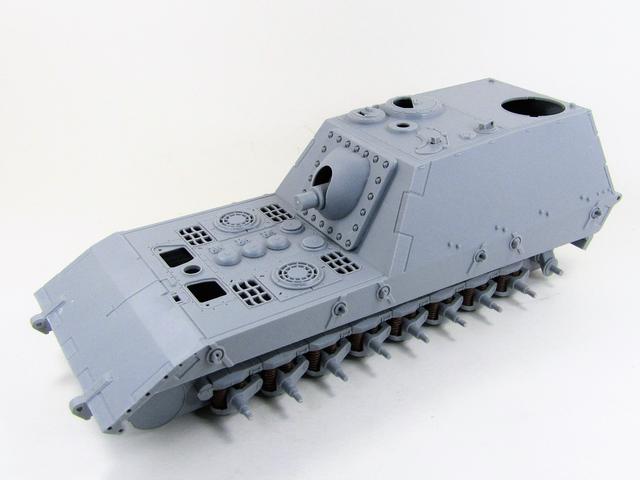
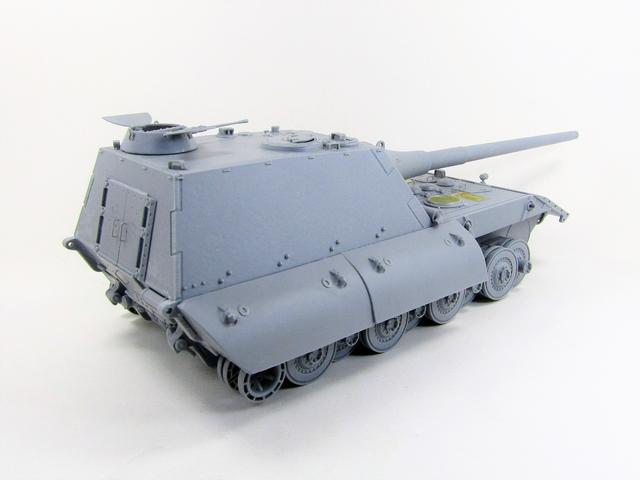
With the upper and lower hulls joined assembly of the rest of the model is a breeze (Images 16-18), and I followed my normal building sequence, assembly of larger parts onto the hull, such as the hatches, and then adding smaller more fragile parts to avoid damage while handling the model.
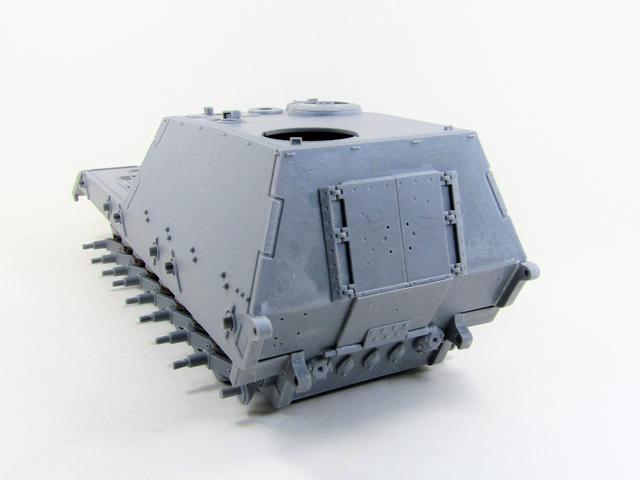
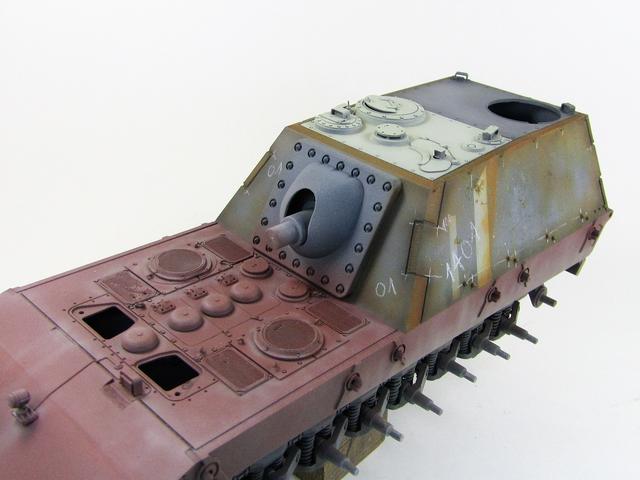
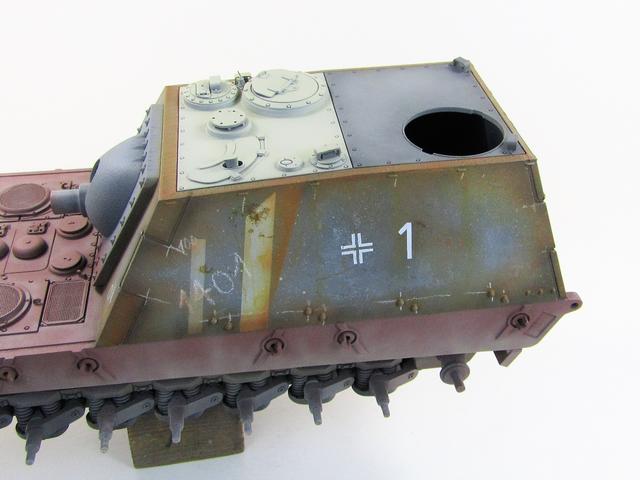
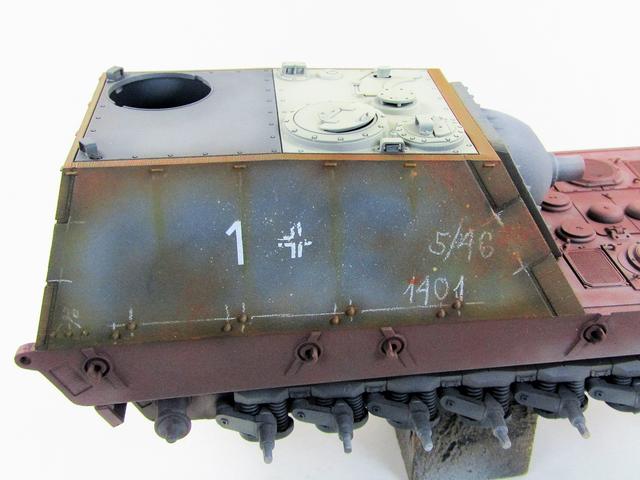
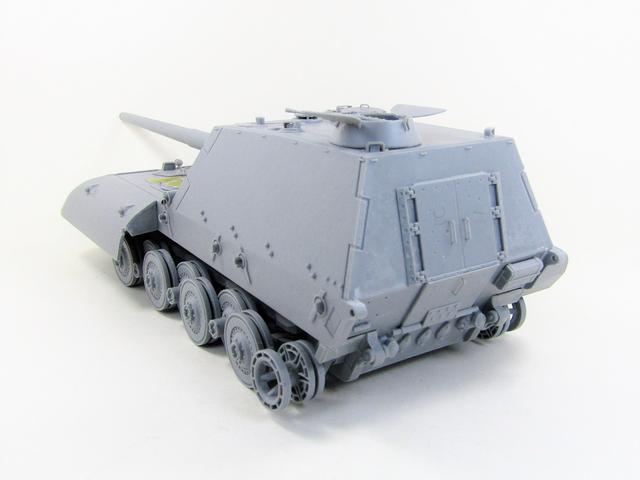
Conclusion: Overall I had the model built (not including the tracks) in about two days, with a large portion of that time spent on all the road wheels. (Images 19-24) I opted to only use three of the side skirt track guards and these will not be glued onto the model and only dry fitted that way they can be removed to view the hull sides and tracks, or if I decide later I don't like the look of the tank with these mounted. The roof mounted 2cm AA gun turret was straight forward to assemble as there aren't many parts.(Image 22) The 2cm gun is very basic in detail and of course one could exchange the barrel for and aftermarket metal barrel. The two hatch halves could use some extra detailing in the for of small grab handles, locking mechanism etc.

Note:
As I mentioned,it only took me about two days to assemble the model without tracks, it was easy to build and went together without any major issues. That was a few days ago and since then I started painting the model. Two more days of applying primer, base colors and some weathering effects.