roland66
Full Member

Member since: January 2013
at the workbench
Posts: 252
Jan 6, 2013 16:15:14 GMT -5
Jan 6, 2013 16:15:14 GMT -5
|
Post by roland66 on Dec 21, 2022 5:34:33 GMT -5
Hi, 2 years ago, i build Tamiyas Ford Mustang GT4. 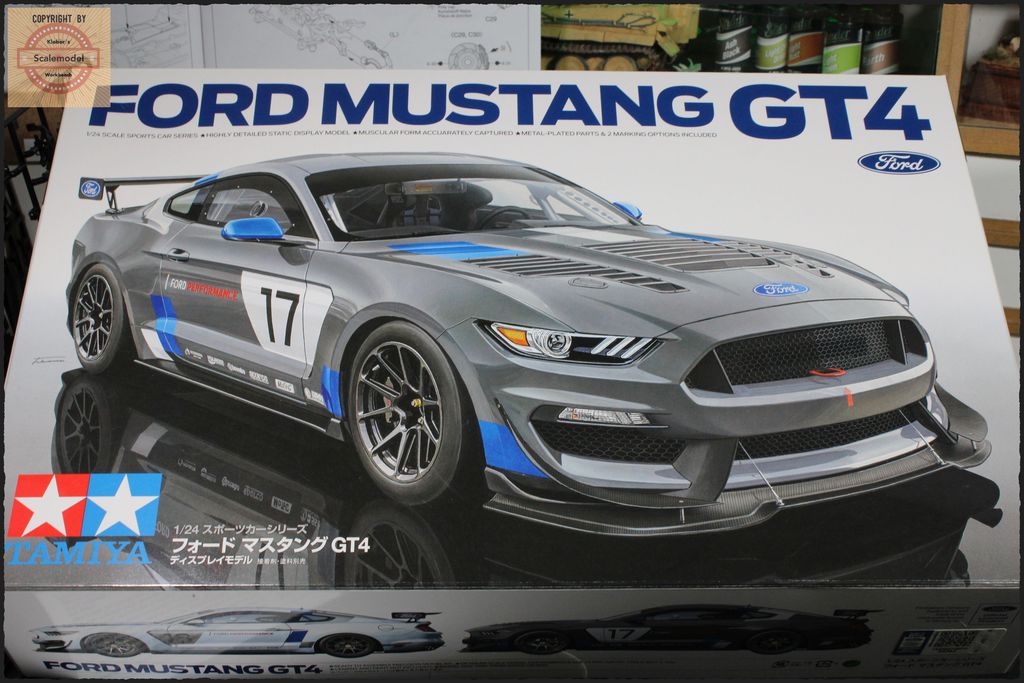 Not so much parts. 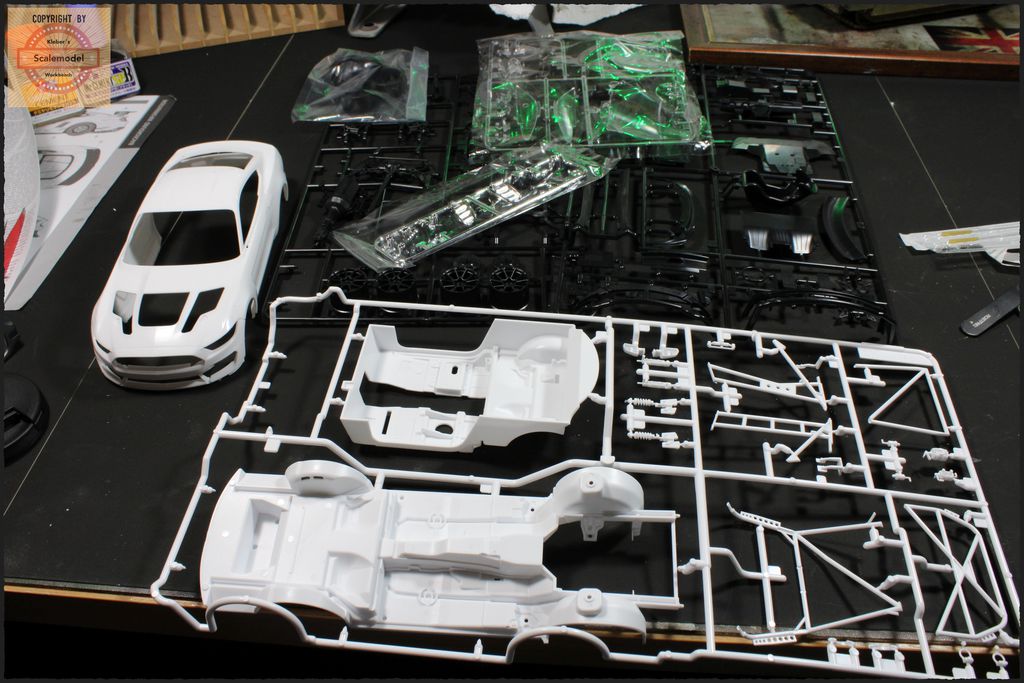 The Decals 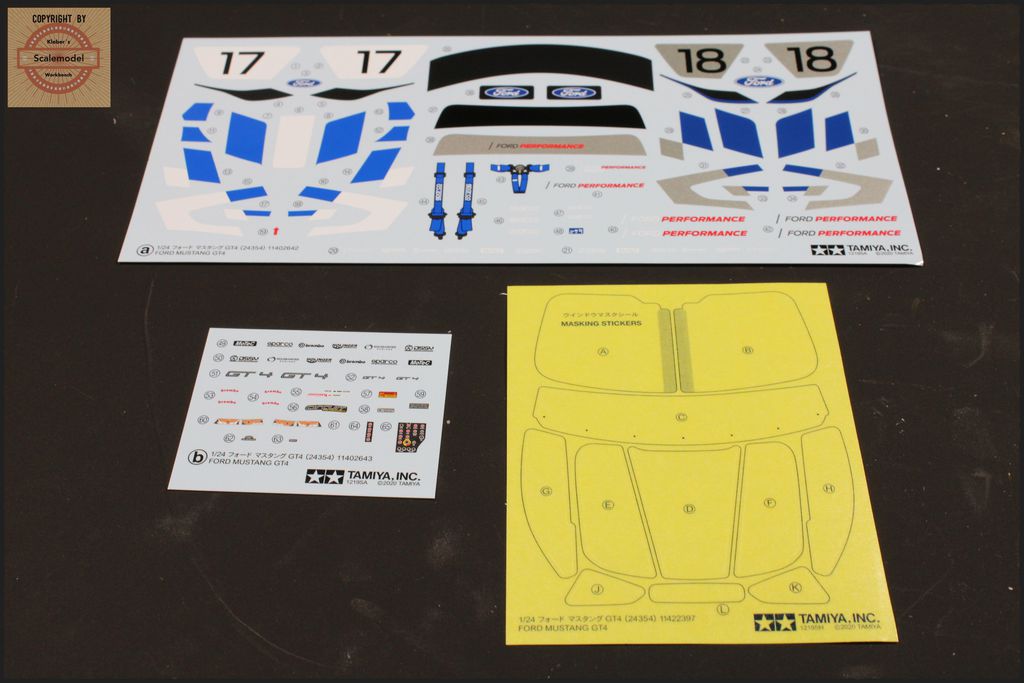 some stuff, Carbondecals from Studio 27 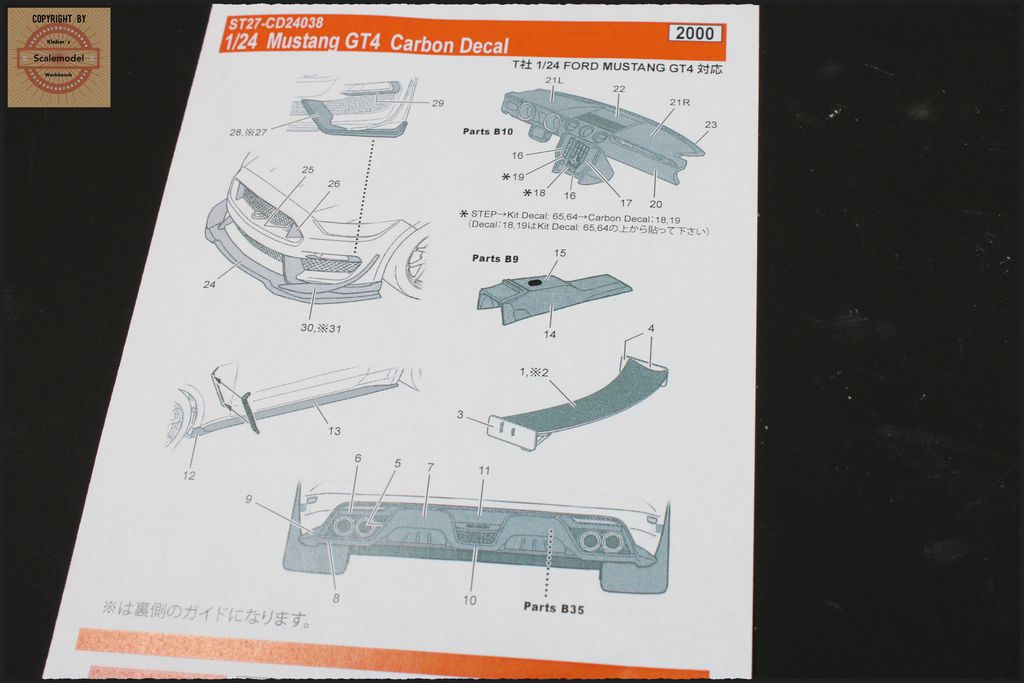 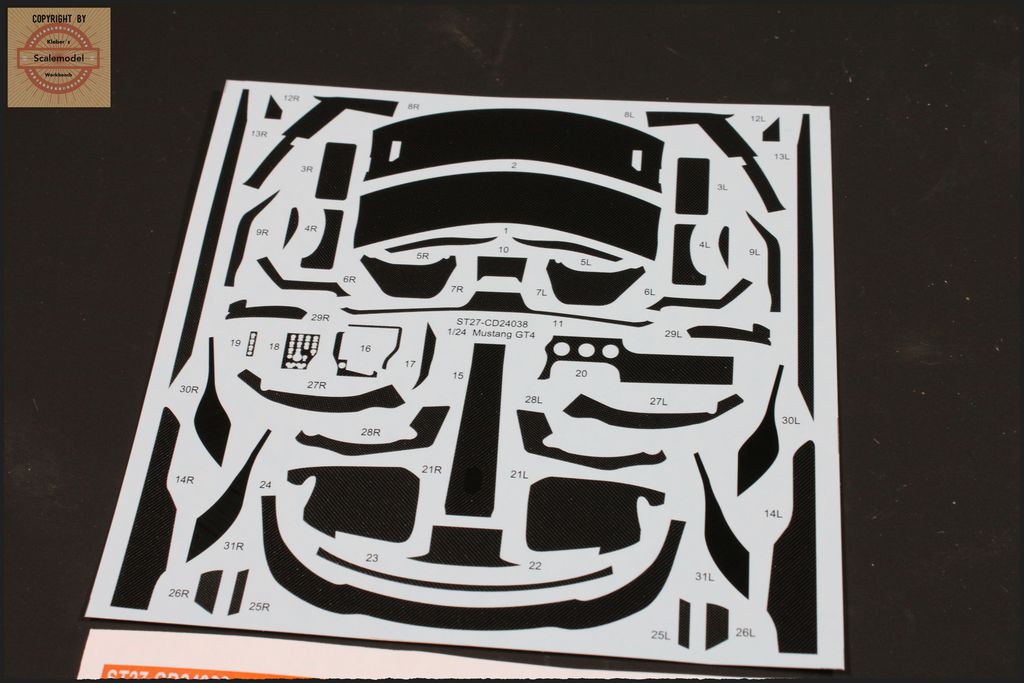 and some tire valves 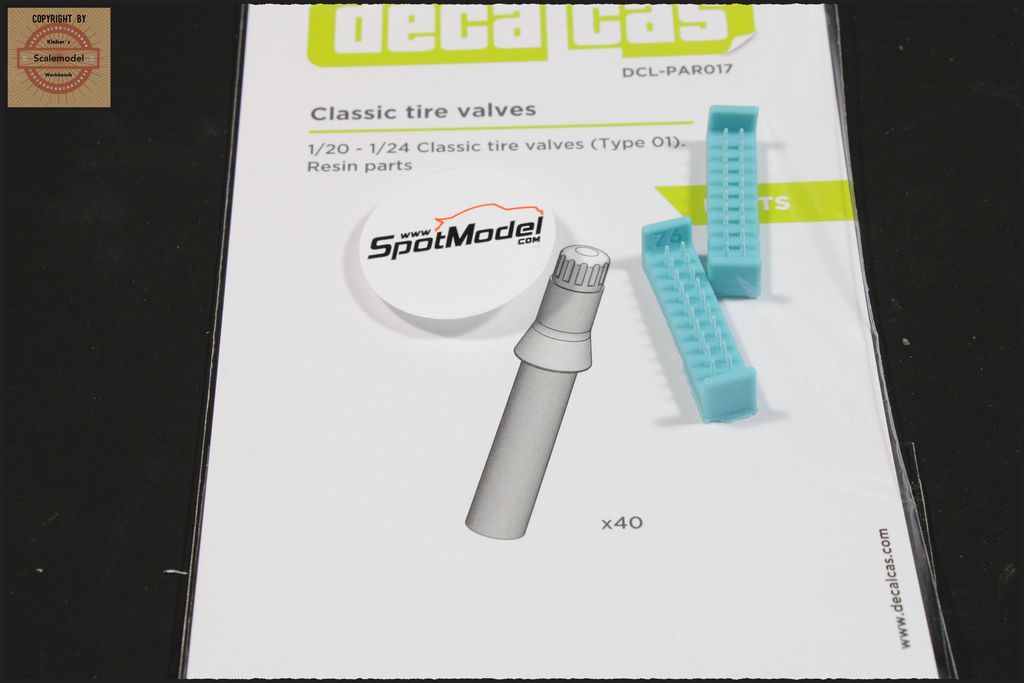 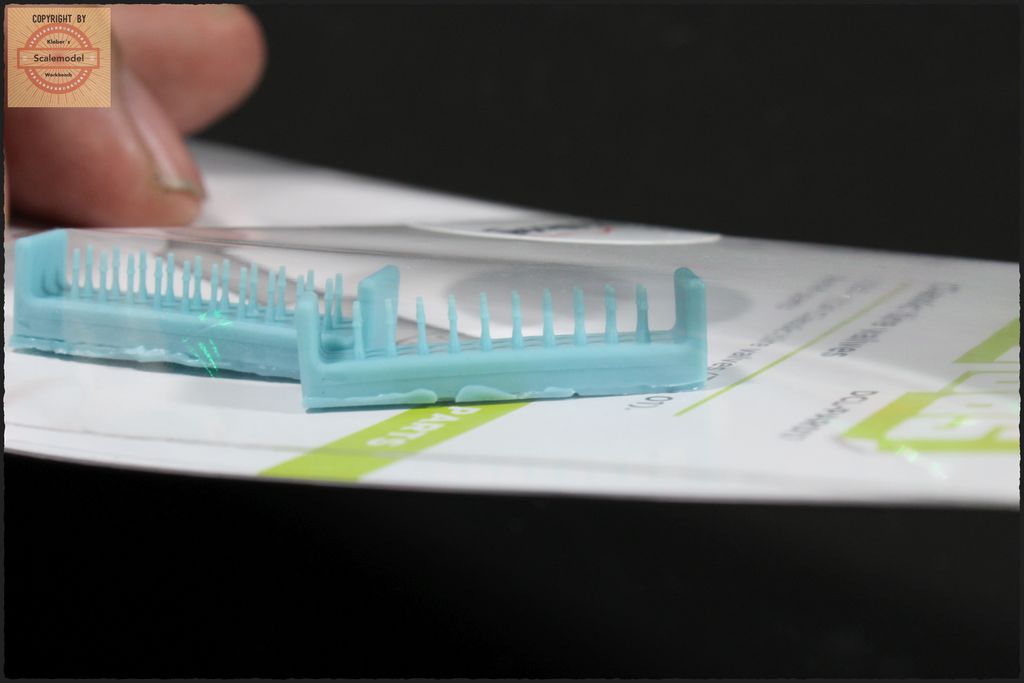 and German Grey.... 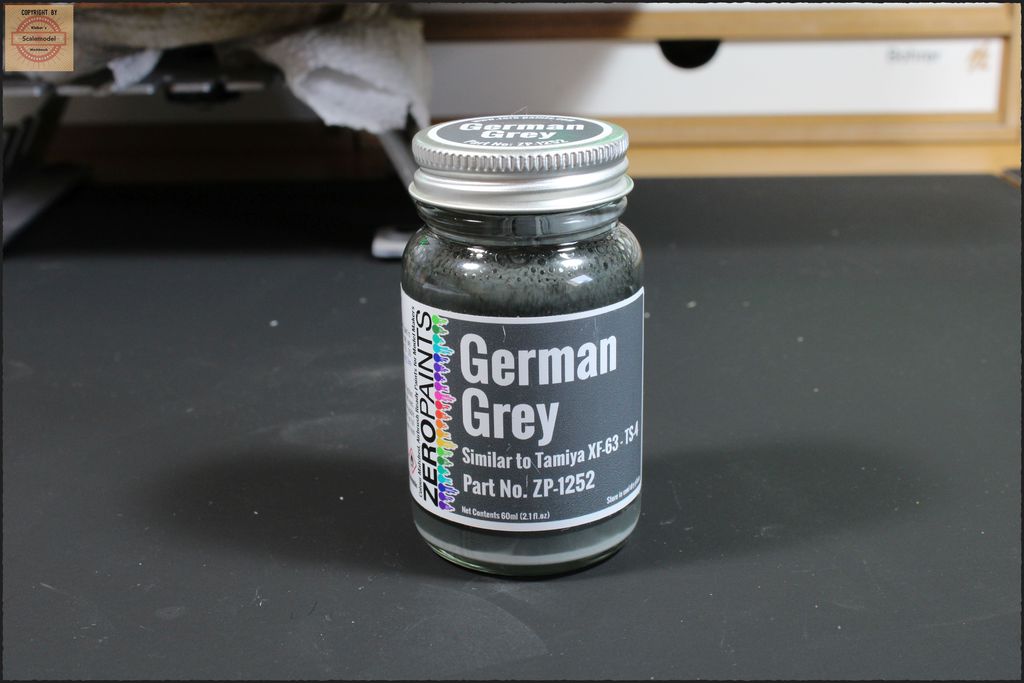 |
|
roland66
Full Member
Member since: January 2013
at the workbench
Posts: 252
Jan 6, 2013 16:15:14 GMT -5
Jan 6, 2013 16:15:14 GMT -5
|
Post by roland66 on Dec 21, 2022 5:39:55 GMT -5
|
|
roland66
Full Member
Member since: January 2013
at the workbench
Posts: 252
Jan 6, 2013 16:15:14 GMT -5
Jan 6, 2013 16:15:14 GMT -5
|
Post by roland66 on Dec 21, 2022 5:42:01 GMT -5
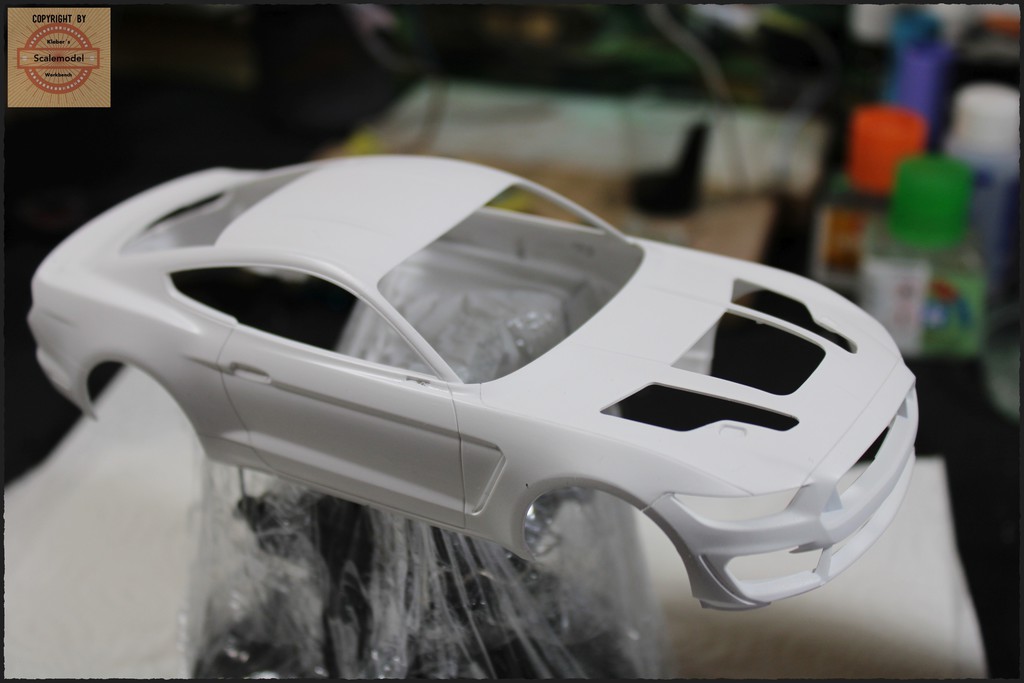 Primered with AK One Shot White After a good cleaning, let's start the Paint job. 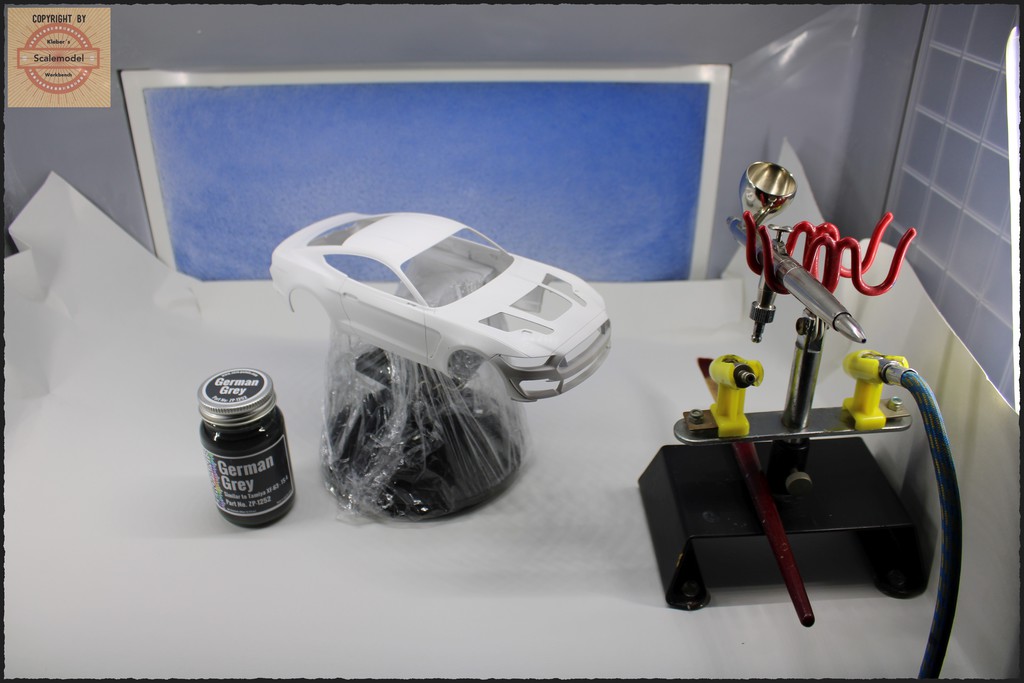 1. Layer 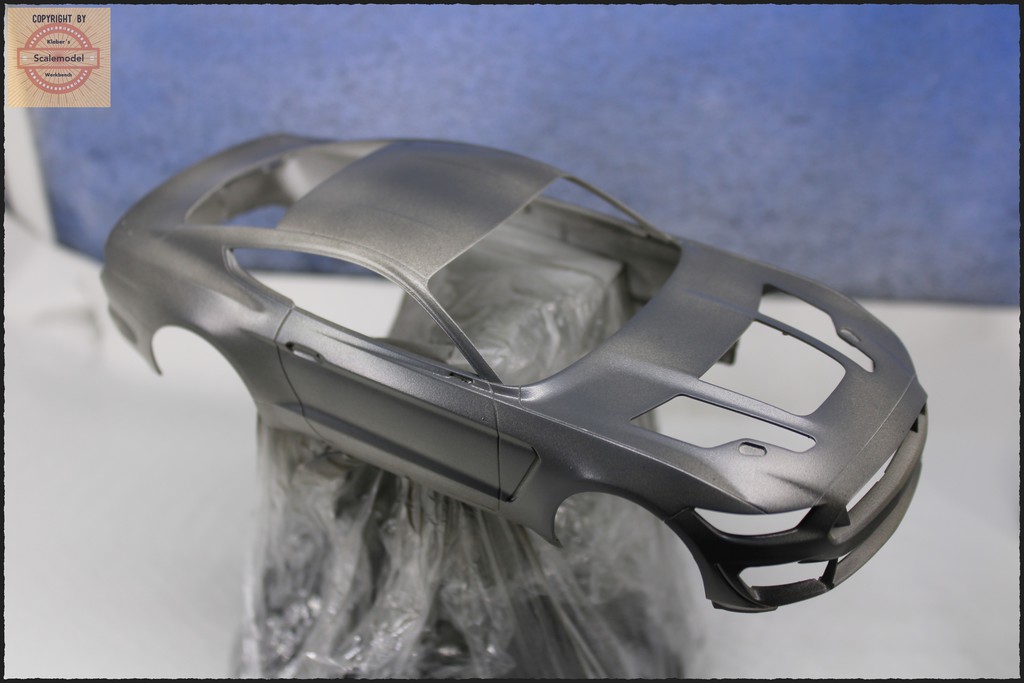 2. 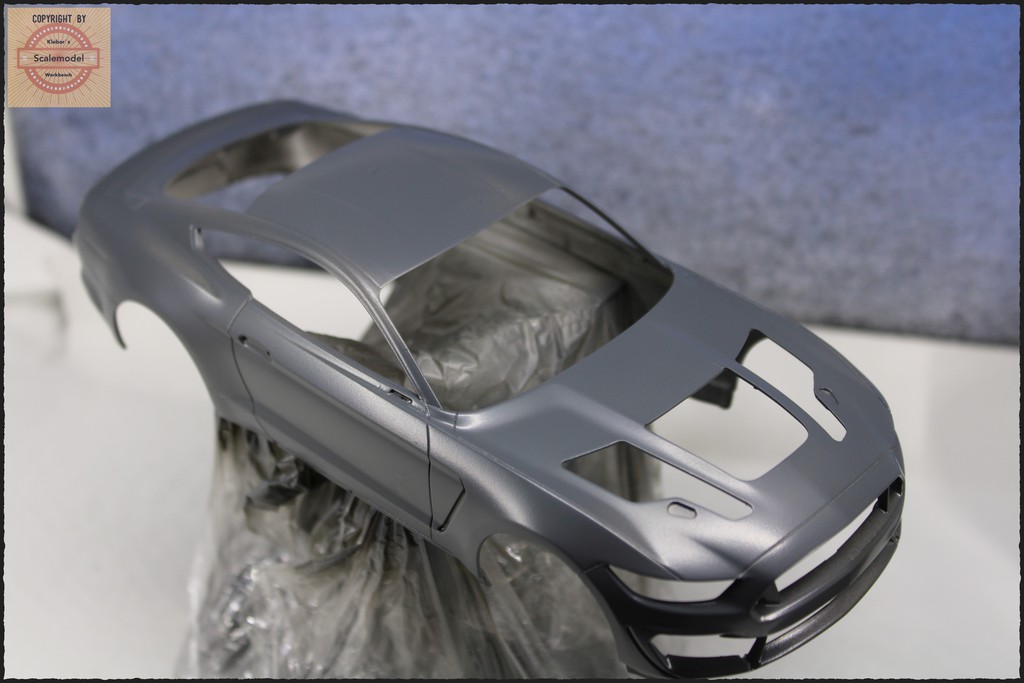 3.  So, the basic is done. |
|
|
|
Post by mustang1989 on Dec 21, 2022 6:12:52 GMT -5
This'll be fun to watch. I've already heard so many good things about this kit and then you add on all these cool "goodies" to the mix. Very much looking forward to seeing the rest of this build Roland.
And welcome back to the forums brother.
|
|
|
|
Post by chromdome35 on Dec 21, 2022 11:32:41 GMT -5
This is looking good!
|
|
|
|
Post by Tojo72 on Dec 21, 2022 13:24:26 GMT -5
You fooled me,when I saw the topic,I was thinking P-51
But the car looks good so far.
|
|
|
|
Post by Steve Zuleski on Dec 21, 2022 16:46:47 GMT -5
Wow, now that paint job does look good. A substitute for Tamiya paint, that's a new one, never heard of em. Well, Ruck On, I say, Ruck On!
Dang fine lookin kit, btw, and a good size, too.
|
|
Prop Duster
Full Member
Member since: January 2013
just learned to spell CA. workin' on PE now.
Posts: 242
Jan 27, 2013 19:17:30 GMT -5
Jan 27, 2013 19:17:30 GMT -5
|
Post by Prop Duster on Dec 22, 2022 0:02:34 GMT -5
Very Nice. You are making this one look like a winner  |
|
roland66
Full Member
Member since: January 2013
at the workbench
Posts: 252
Jan 6, 2013 16:15:14 GMT -5
Jan 6, 2013 16:15:14 GMT -5
|
Post by roland66 on Dec 22, 2022 14:00:13 GMT -5
Hi, thank you very much. The Zero Paints comes from England. @ Joe, I was never gone, just watching. @ Tojo,  Now, clear coat time.  2 parts clear coat + 1 part hardener = 3 parts + 10% thinner. After 3 thin layers, it looks like this... 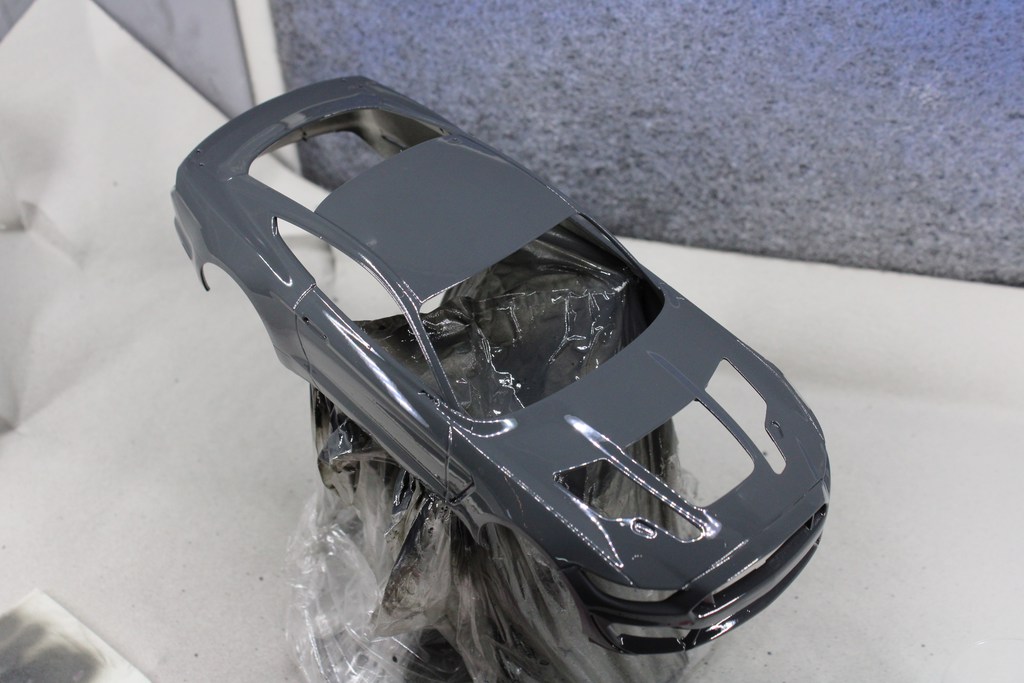 Then I let everything dry for 3 days and sanded it with 2000 wet sandpaper. After this, I applied the decals and 2 days later 2 thin layers clear coat. 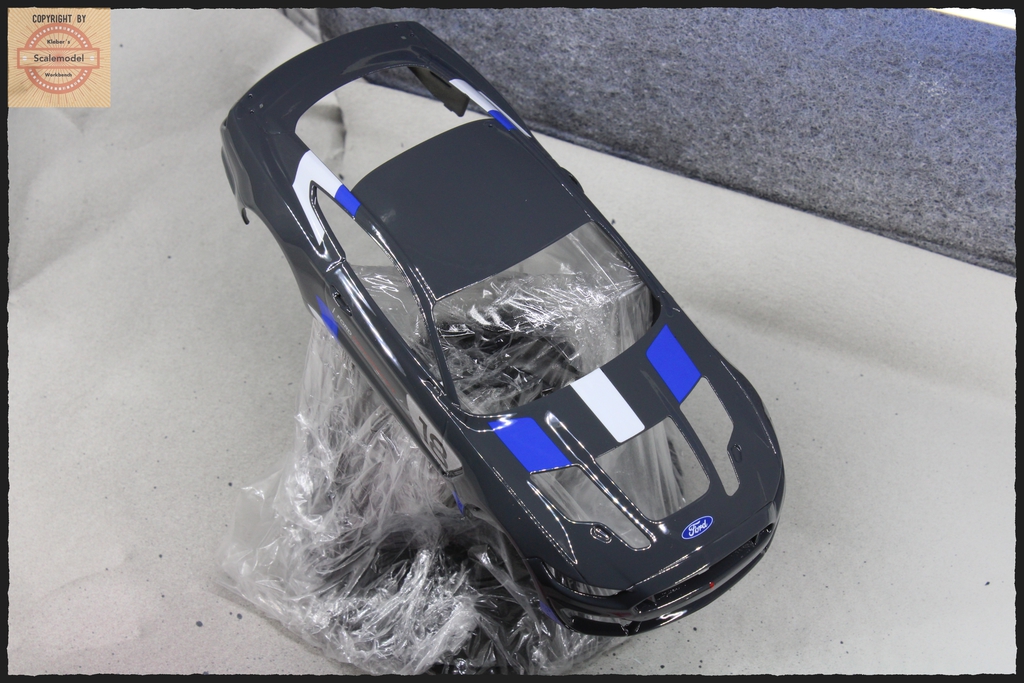 no dust...... |
|
roland66
Full Member
Member since: January 2013
at the workbench
Posts: 252
Jan 6, 2013 16:15:14 GMT -5
Jan 6, 2013 16:15:14 GMT -5
|
Post by roland66 on Dec 22, 2022 14:02:57 GMT -5
The compressed air tank is ok, except for the connections. There's more. 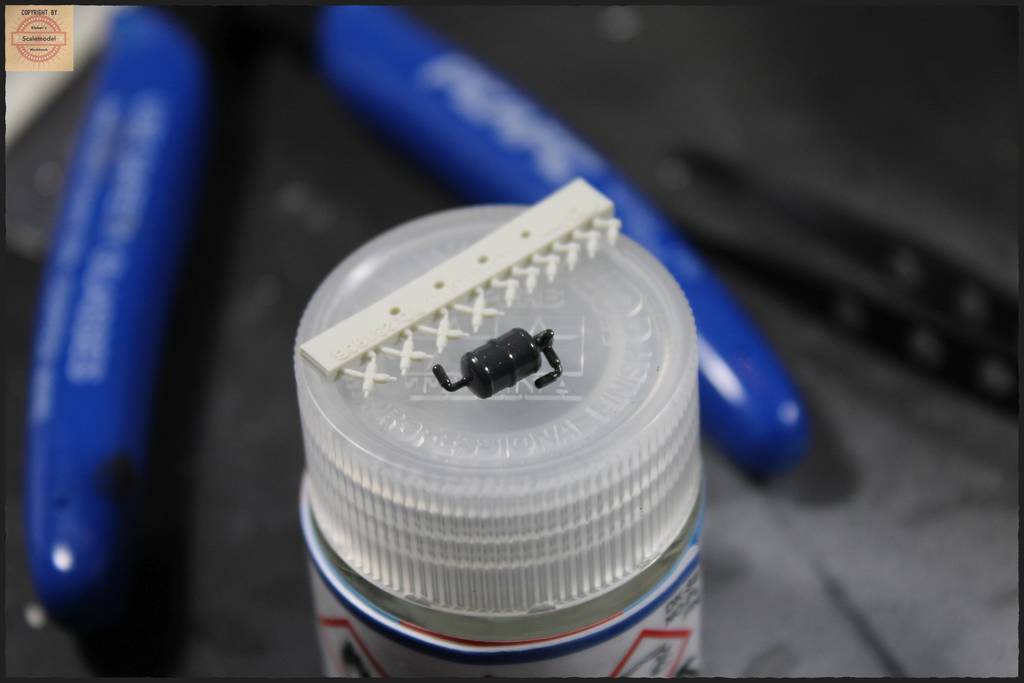 Better 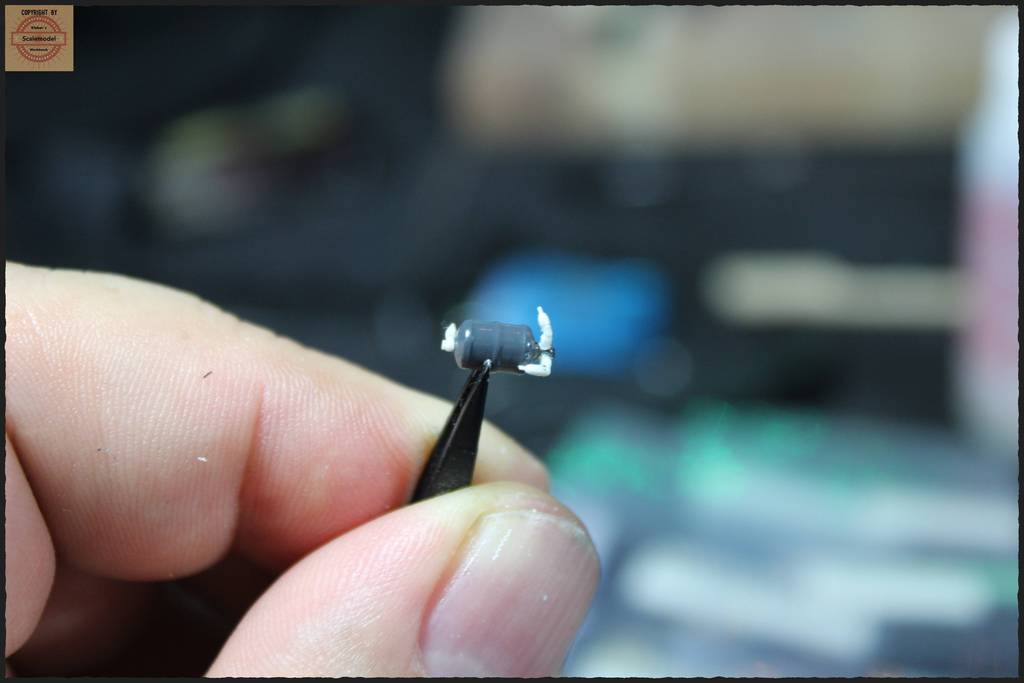 The unit with compressor, the drill has 0.3mm. 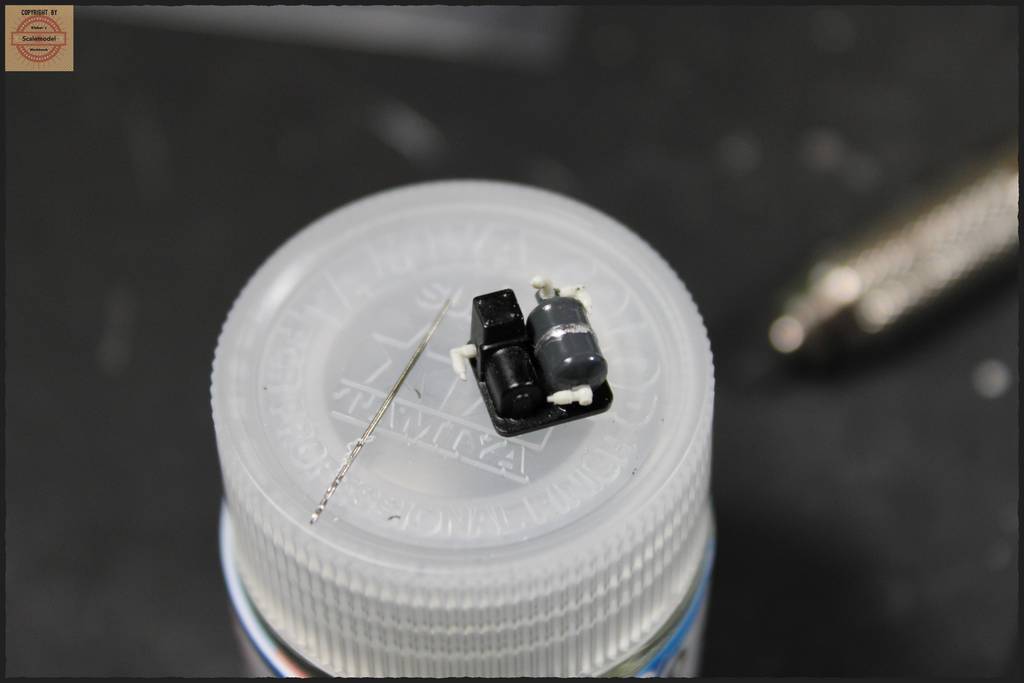 Air connections, check....... But something is still missing, electricity... But no problem.... 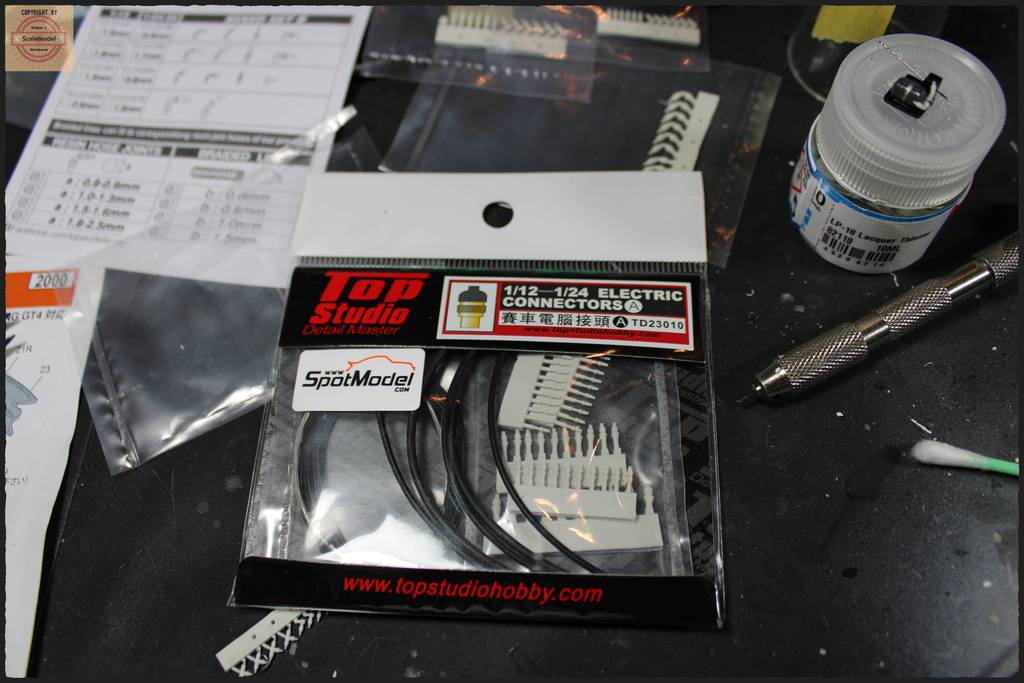 |
|
|
|
Post by mustang1989 on Dec 24, 2022 12:00:51 GMT -5
Oh HELL yeah!!! This is gonna be GOOD!!!
|
|
|
|
Post by Leon on Dec 25, 2022 6:12:26 GMT -5
Talk about detail!!!!!
This is looking really good.
|
|
roland66
Full Member
Member since: January 2013
at the workbench
Posts: 252
Jan 6, 2013 16:15:14 GMT -5
Jan 6, 2013 16:15:14 GMT -5
|
Post by roland66 on Jan 16, 2023 11:50:44 GMT -5
|
|
roland66
Full Member
Member since: January 2013
at the workbench
Posts: 252
Jan 6, 2013 16:15:14 GMT -5
Jan 6, 2013 16:15:14 GMT -5
|
Post by roland66 on Jan 16, 2023 11:53:11 GMT -5
|
|
roland66
Full Member
Member since: January 2013
at the workbench
Posts: 252
Jan 6, 2013 16:15:14 GMT -5
Jan 6, 2013 16:15:14 GMT -5
|
Post by roland66 on Jan 16, 2023 11:59:16 GMT -5
After the decals were applied to the body, I started polishing it. Unpolished 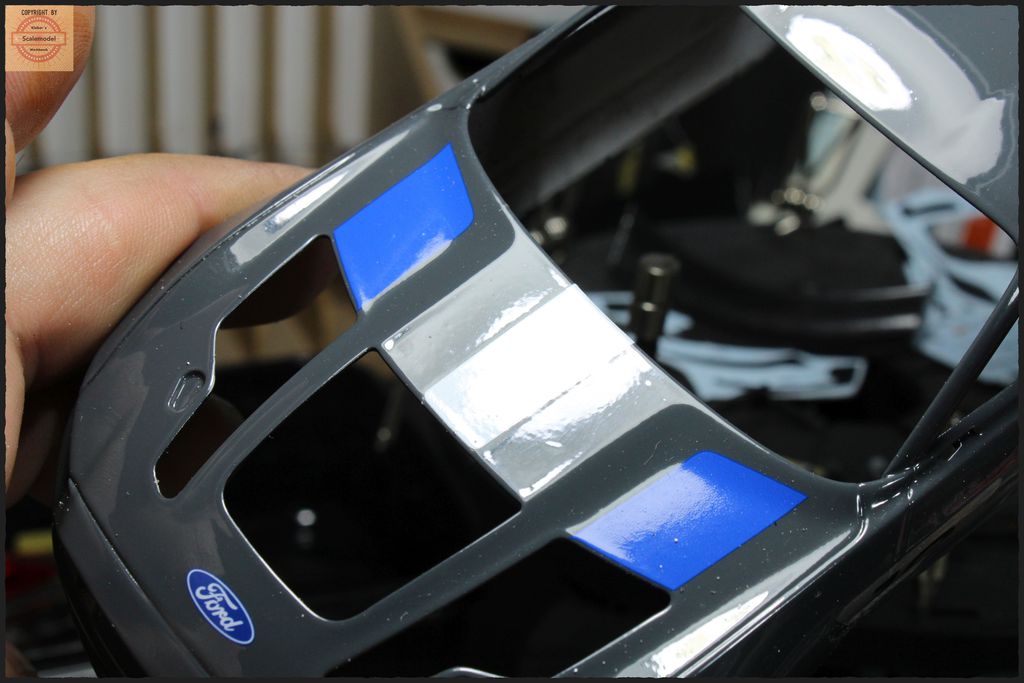 Step 1 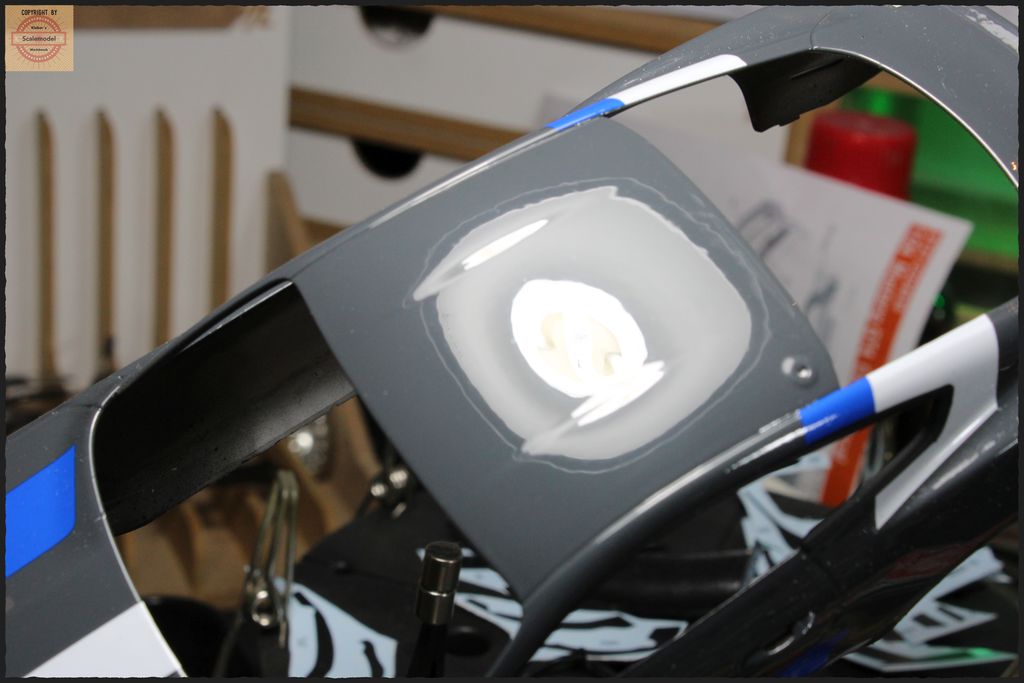 Step 2 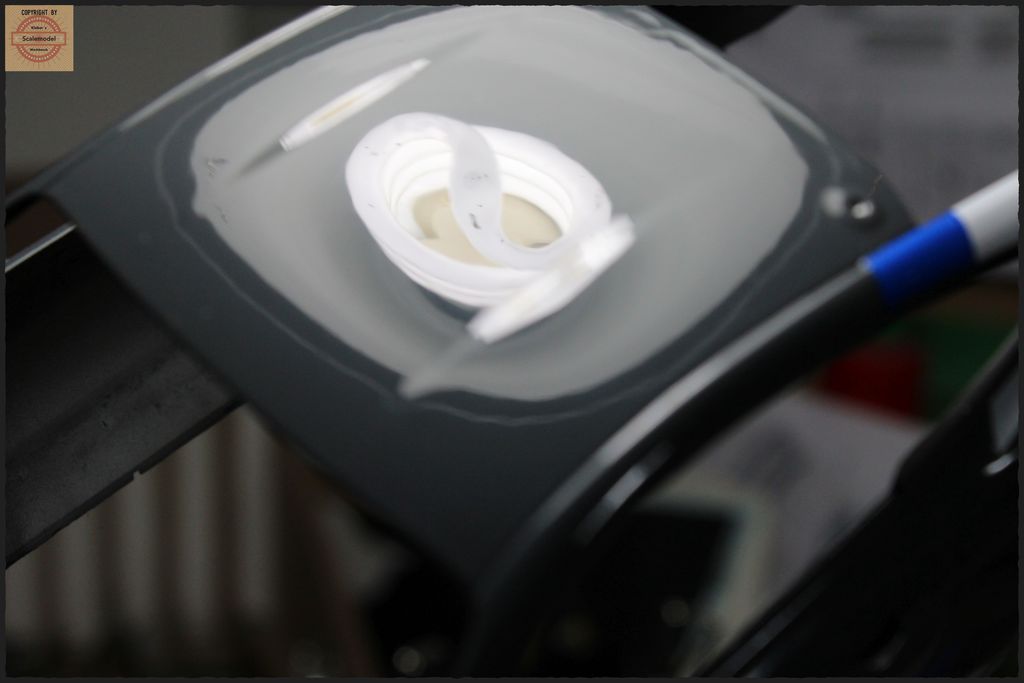 I think that's so good. |
|
|
|
Post by mustang1989 on Jan 17, 2023 6:13:15 GMT -5
The details man!! The DETAILS!! And just loogathat shine!!! Looks like you could just go for a swim in that!!! WOW!!!
|
|
Prop Duster
Full Member
Member since: January 2013
just learned to spell CA. workin' on PE now.
Posts: 242
Jan 27, 2013 19:17:30 GMT -5
Jan 27, 2013 19:17:30 GMT -5
|
Post by Prop Duster on Jan 19, 2023 14:49:19 GMT -5
WOW, you have got the "shine" part down  |
|
|
|
Post by Steve Zuleski on Jan 20, 2023 6:19:30 GMT -5
See, this is why I could never build a car kit worth a hoot, it's waaaaaaay too clean, I wouldn't know where to begin.  Ya, this is a different animal all together for me. Incredible work and I like the wiring and details, excellent! |
|
buddho
Forum Moderator 
Member since: February 2019
Posts: 1,066 
MSC Staff
|
Post by buddho on Mar 5, 2023 8:27:40 GMT -5
I do enjoy watching these kits come together, but this one is on a level onto its own. Amazing workmanship going into all the details. And that paintjob...yowsa.
|
|
roland66
Full Member
Member since: January 2013
at the workbench
Posts: 252
Jan 6, 2013 16:15:14 GMT -5
Jan 6, 2013 16:15:14 GMT -5
|
Post by roland66 on Mar 5, 2023 15:24:59 GMT -5
Hi,
thank you very much. I must post the rest…….
|
|
|
|
Post by mustang1989 on Mar 5, 2023 15:31:28 GMT -5
Hi, thank you very much. I must post the rest……. Well heck yeah!!!  |
|
roland66
Full Member
Member since: January 2013
at the workbench
Posts: 252
Jan 6, 2013 16:15:14 GMT -5
Jan 6, 2013 16:15:14 GMT -5
|
Post by roland66 on Mar 5, 2023 15:41:37 GMT -5
I am currently building the Takom German Wiesel with TOW in 1/16, with the Yoyager PE set. On 25/26.03.2023 is the first exhibition, I would like to have ready for it....
And the construction is not finished yet.
I had no time…….
|
|
garydavis
Full Member
Member since: March 2023
RIP- September 2023
Posts: 440
|
Post by garydavis on Mar 5, 2023 15:48:23 GMT -5
Dang...I posted on this and it didn't show up...must've hit the wrong button. Great paint and building skills Rolland. I have this kit also and you make me want to build it right now! But...It has to be on the low part of the build list for now.
|
|
Joe Rix
Forum Moderator
Member since: January 2023
Posts: 1,450
MSC Staff
|
Post by Joe Rix on Mar 5, 2023 19:07:30 GMT -5
It is wonderful to see you building this kit Roland. You are doing remarkable detailing and that pain job, absolutely stellar. I also have this kit along with the AM set and a couple of sets of decals from Indycal. You are definitely giving me some insight and inspiration. Can't wait to see the finished product.
|
|
|
|
Post by mustang1989 on Mar 5, 2023 19:09:59 GMT -5
It is wonderful to see you building this kit Roland. You are doing remarkable detailing and that pain job, absolutely stellar. I also have this kit along with the AM set and a couple of sets of decals from Indycal. You are definitely giving me some insight and inspiration. Can't wait to see the finished product. Wait........whut???!!! Ya mean you've been holdin' out on us Joe?  |
|
Joe Rix
Forum Moderator
Member since: January 2023
Posts: 1,450
MSC Staff
|
Post by Joe Rix on Mar 5, 2023 19:21:18 GMT -5
It is wonderful to see you building this kit Roland. You are doing remarkable detailing and that pain job, absolutely stellar. I also have this kit along with the AM set and a couple of sets of decals from Indycal. You are definitely giving me some insight and inspiration. Can't wait to see the finished product. Wait........whut???!!! Ya mean you've been holdin' out on us Joe? Yeeuup. I am always full of surprises.  |
|
roland66
Full Member
Member since: January 2013
at the workbench
Posts: 252
Jan 6, 2013 16:15:14 GMT -5
Jan 6, 2013 16:15:14 GMT -5
|
Post by roland66 on Mar 11, 2023 5:48:27 GMT -5
Hi, today, the rest.... 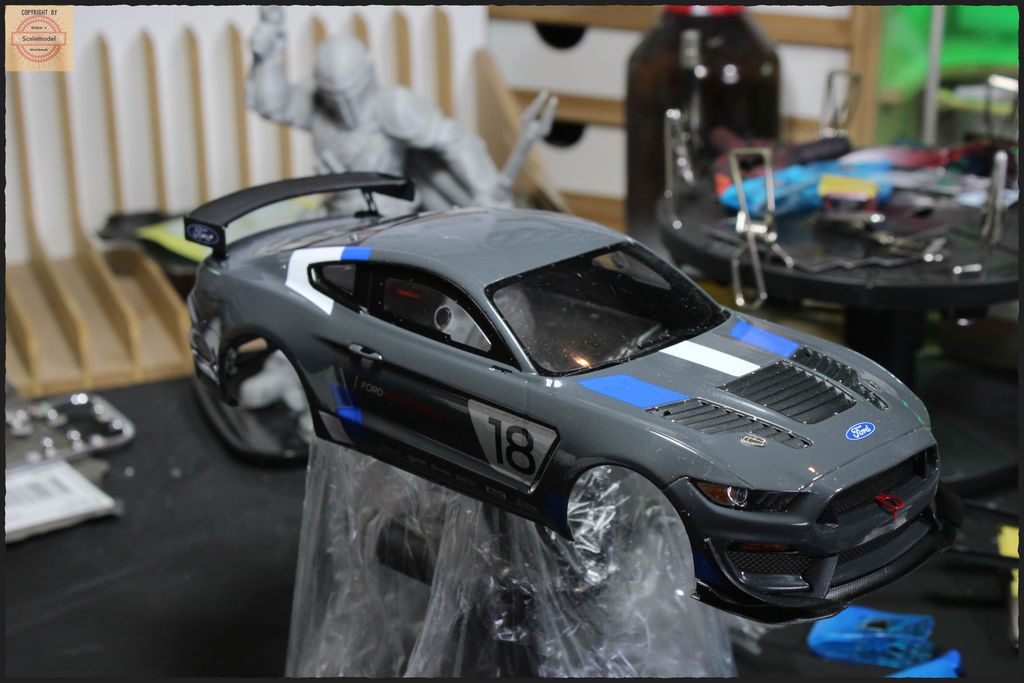 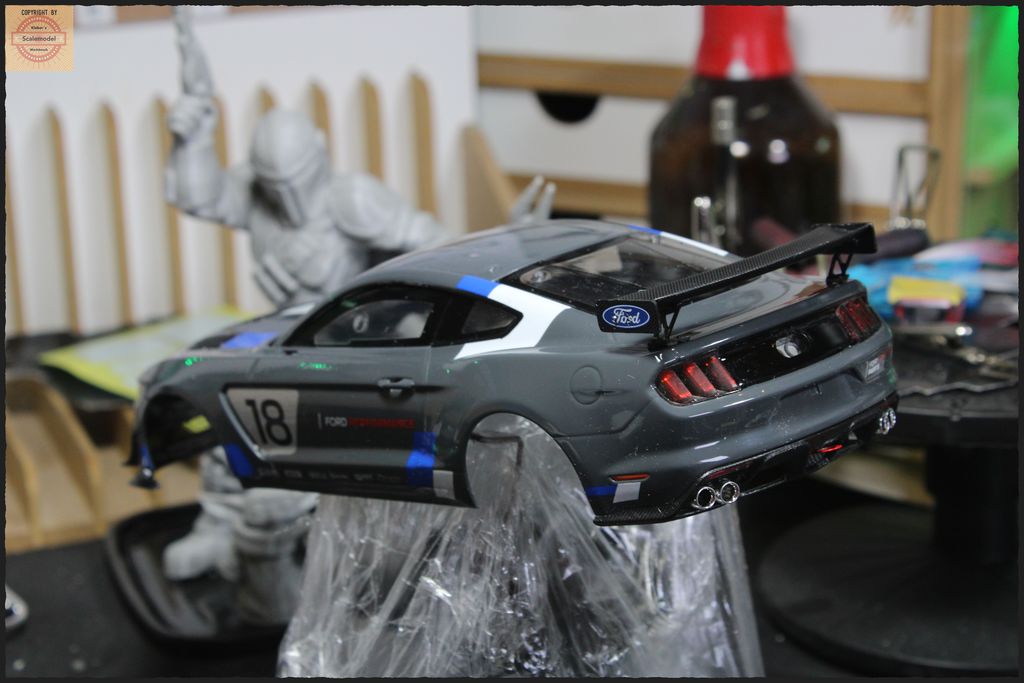  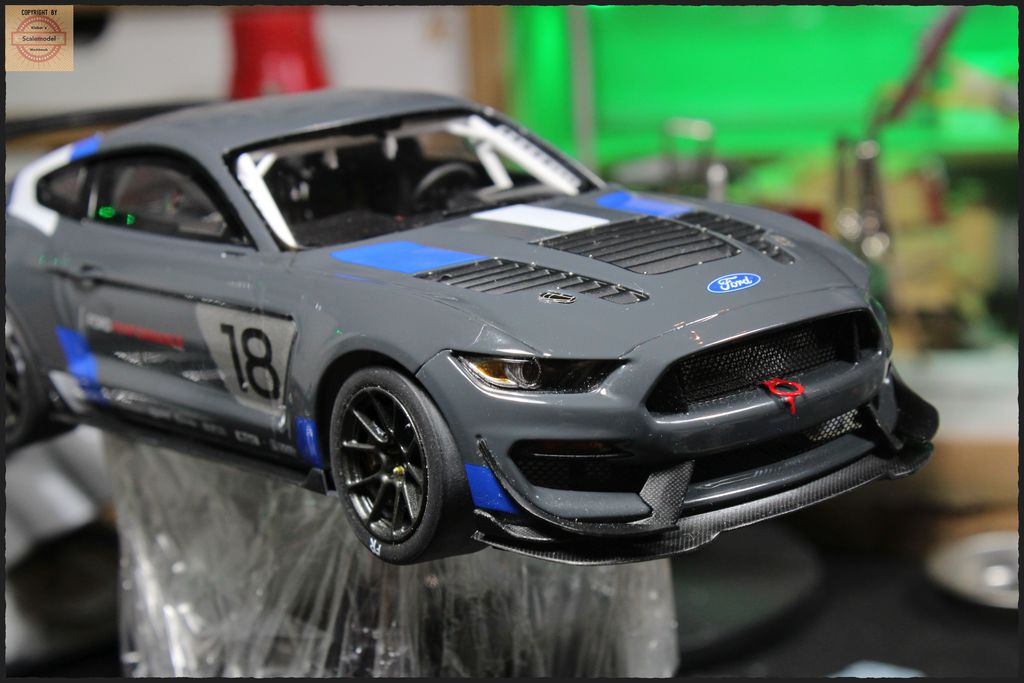 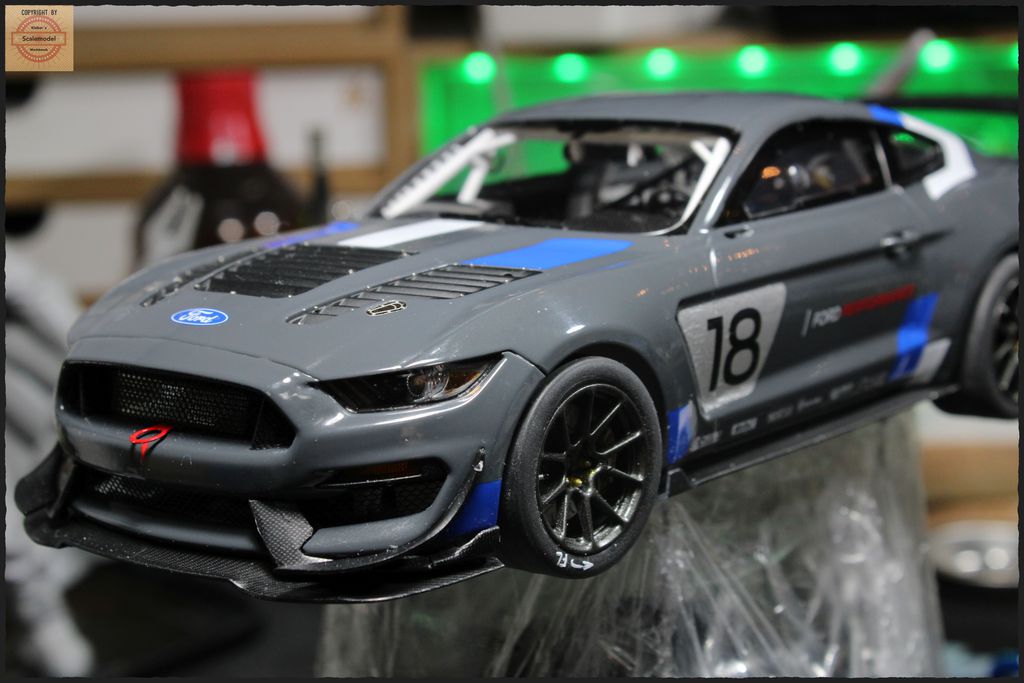 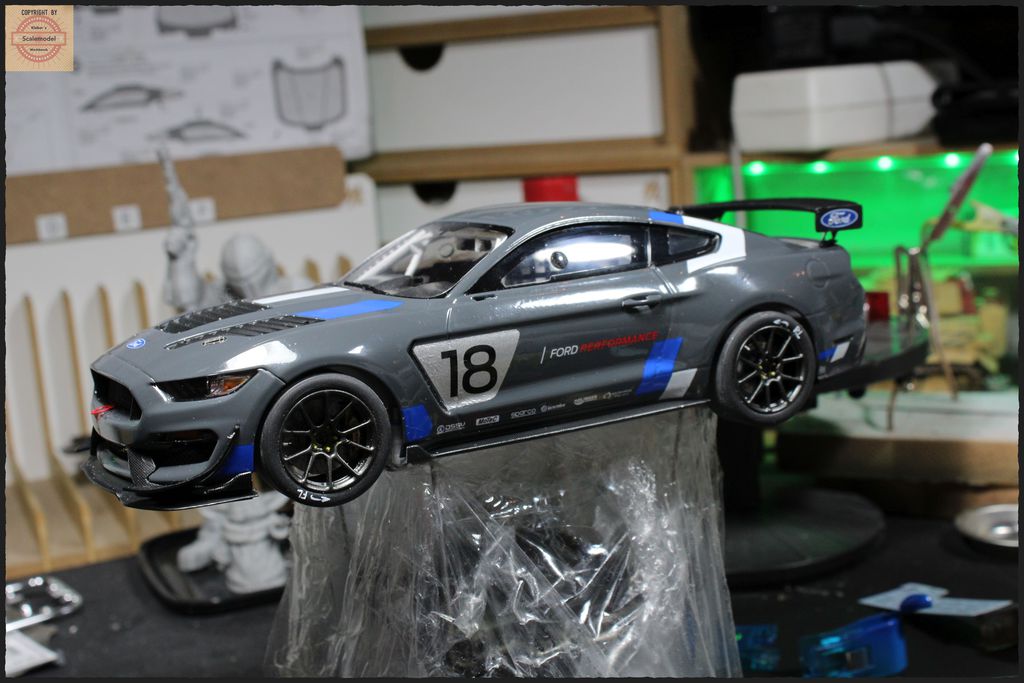  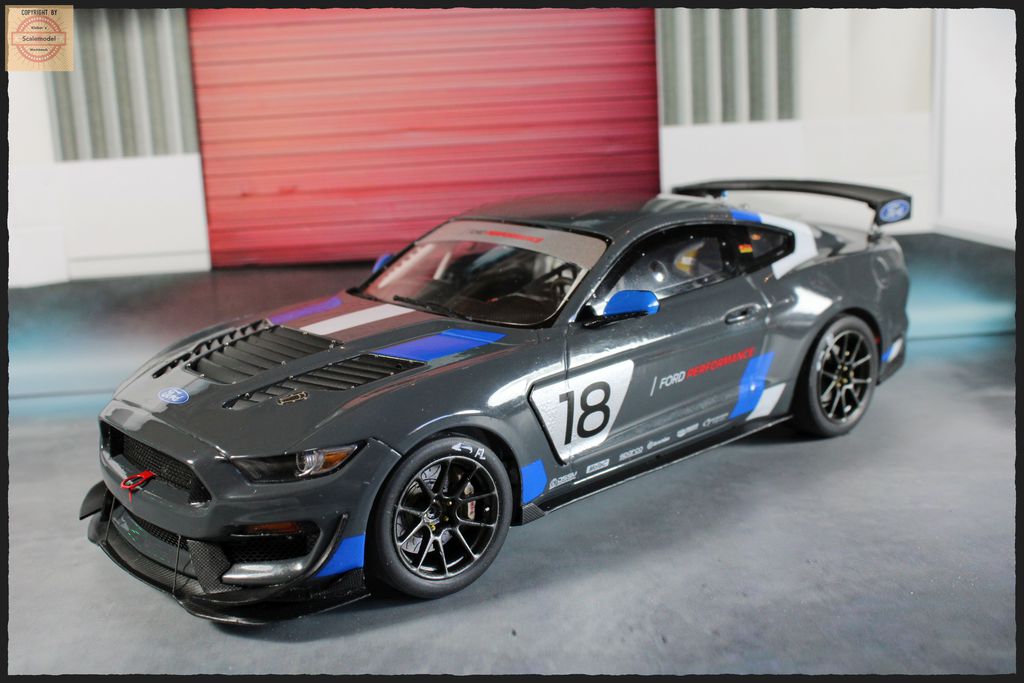 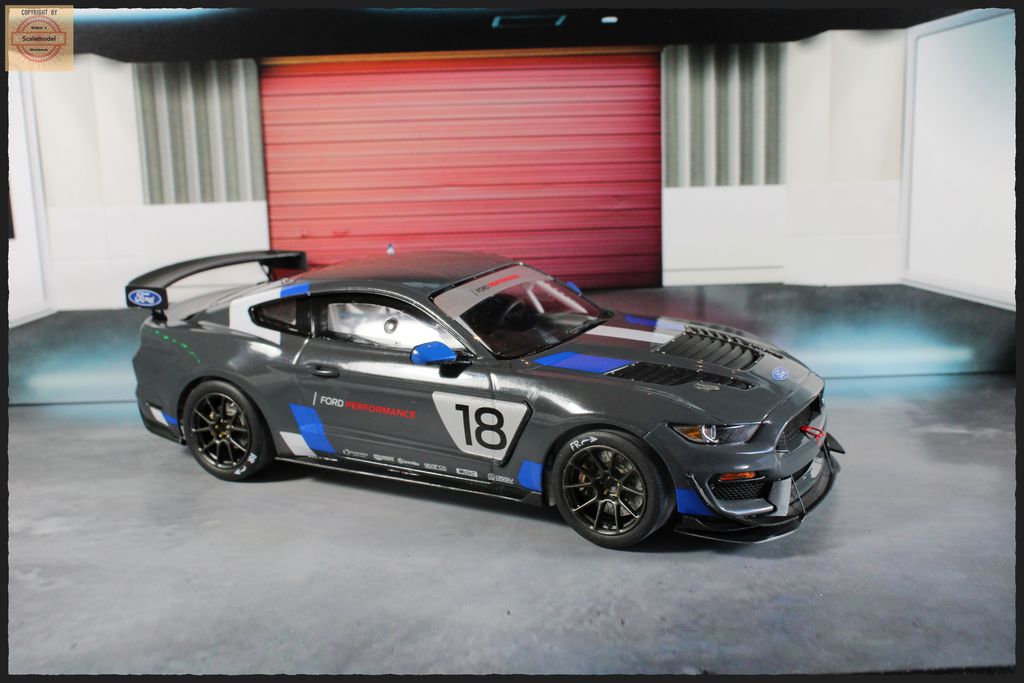  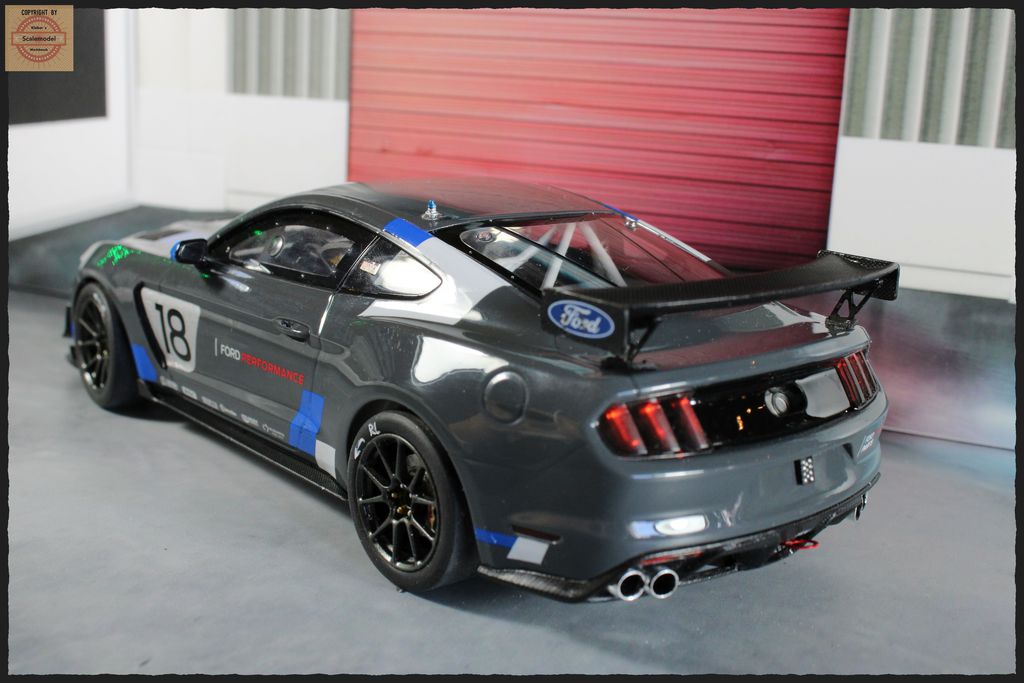 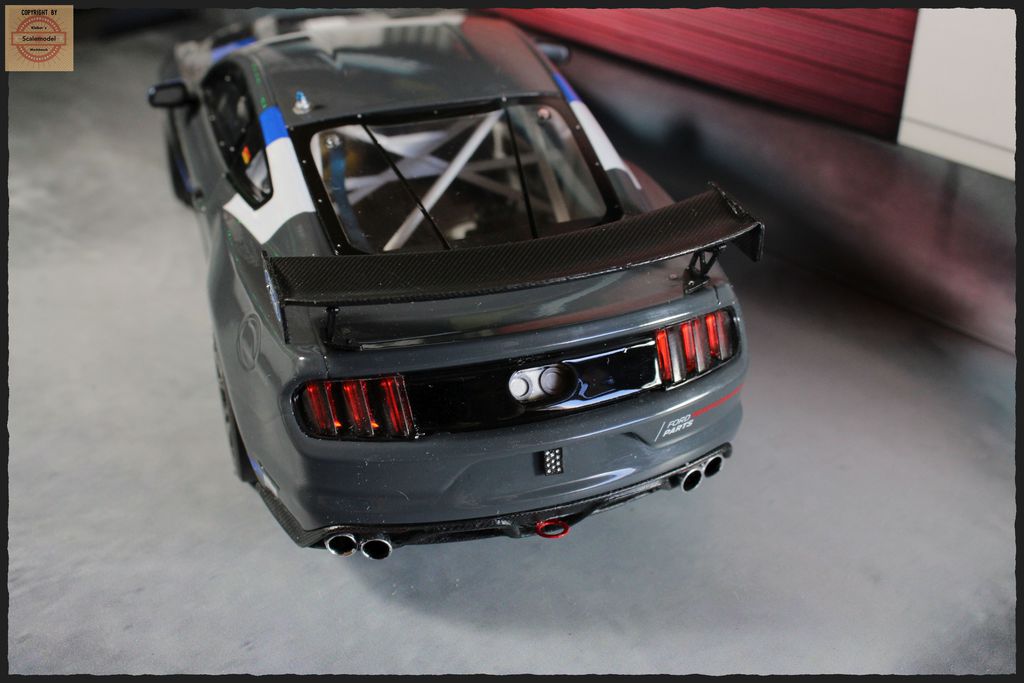 Conclusion The Tamiya kit is, except for two problems, recommended for the normal hobbyist. If you want to use the etched parts and carbon decals you should have some experience in car modeling. The first problem is the too wide rear axle. This can be corrected, but only with timely adjustment. When building the rear axle to the chassis, the body must be put on again and again, so that one can control the protrusion of the wheels. The second problem is the kit decals, it's nice if they are thin, but if they then tear while setting, no-go, absolutely. The white starting numbers are so thin, one pull too much, bang, broken. Also, the gray paint shines through. As a result, I had to resort to the silver ones.  They are thicker, but come up when drying, looked top when setting, no softener, in the morning it looked like someone was at it with a too hot hair dryer. Really super. A little bit I could save it with the clear coat. It's just the way it is, it stays that way.... Otherwise, the construction was fun. |
|
|
|
Post by mustang1989 on Mar 11, 2023 7:37:53 GMT -5
Thank you for those comments at the end of the post Roland. I tend to do that as well so anyone who wants to build any given subject that I've built will have a heads up. Despite the decal issues you turned out a great product. I'm a bit surprised at the wheel/ tire location being an issue on a Tamiya kit. I usually go through that on an AMT kit where just about every one needs a stance and wheel / tire location change. I can't get over the shine on this one............WOW!!!
|
|
garydavis
Full Member
Member since: March 2023
RIP- September 2023
Posts: 440
|
Post by garydavis on Mar 11, 2023 13:45:21 GMT -5
Now that's a GREAT looking Mustang, Roland. Great job!
|
|
ogrejohn
Full Member
Member since: June 2012
Go away or I shall taunt you a second time!
Posts: 1,259
Jun 1, 2012 17:33:59 GMT -5
Jun 1, 2012 17:33:59 GMT -5
|
Post by ogrejohn on Mar 18, 2023 12:31:41 GMT -5
Jeez that is one sweet looking ride!
|
|


 Ya, this is a different animal all together for me. Incredible work and I like the wiring and details, excellent!


