|
|
Post by TRM on Feb 2, 2013 22:08:30 GMT -5
WOW...missed that one Gary...lOL, looks like that was answered!! LOL!!! My meager update on this one. I finally cleaned the final parts for the hull as well as scratch building another support for the prop shaft...yeah, I lost it somewhere. 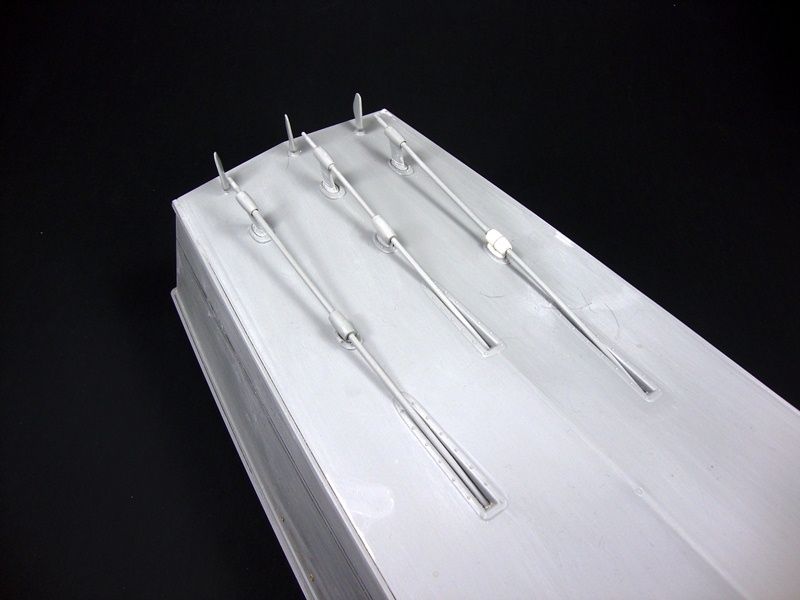 I managed to finish the mufflers too! 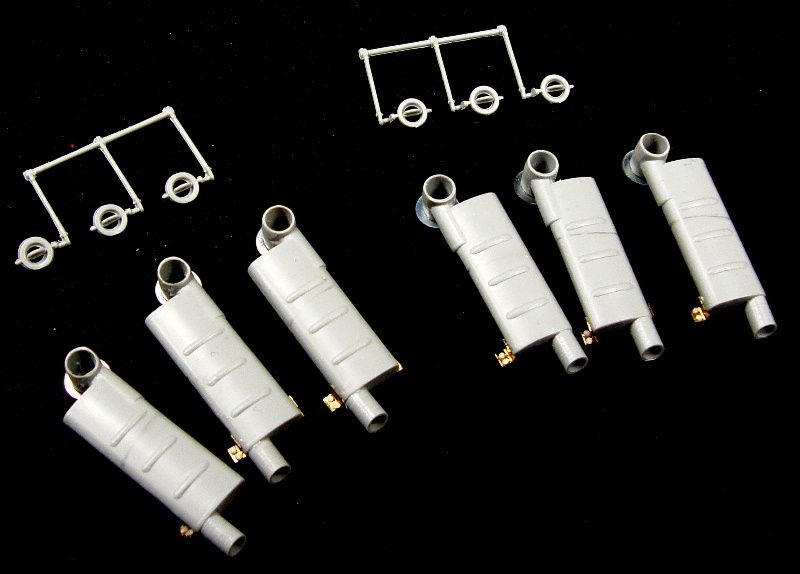 And last but not least, I sot some primer down. I have the paint on order and should be here hopefully this week. I will give the lower end a coat tomorrow I think. 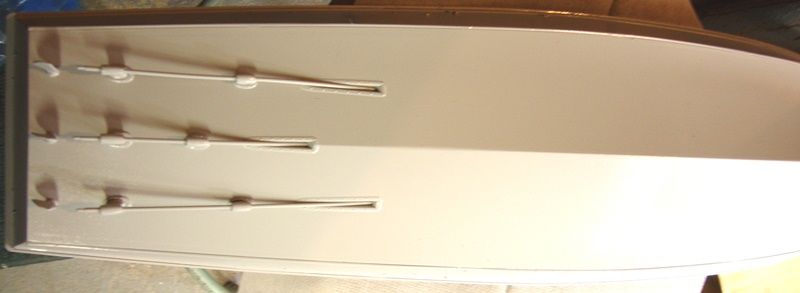 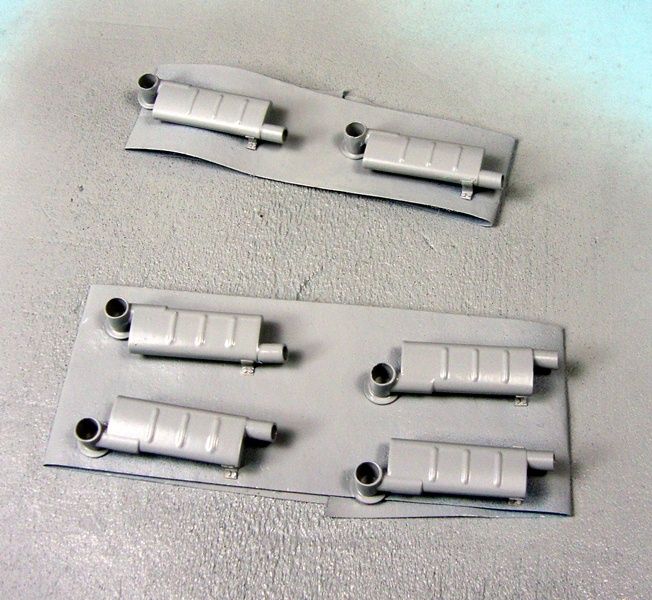 I will take some time tonight to clean up some of the first deck pieces that need to be placed. As always thanks for dropping in!! |
|
|
|
Post by Leon on Feb 2, 2013 22:31:46 GMT -5
Coming along nicely T
|
|
|
|
Post by TRM on Feb 2, 2013 22:41:58 GMT -5
Thank you Leon!!!  |
|
|
|
Post by deafpanzer on Feb 3, 2013 0:05:58 GMT -5
The replacement part looks exactly alike... no way I can tell after painted. Glad you are working on it now!
|
|
modelfreak72
Full Member
  
Member since: January 2012
Why worry, each of us is wearing an unlicensed nuclear accelerator on his back.
Posts: 1,479
Jan 28, 2012 23:21:46 GMT -5
Jan 28, 2012 23:21:46 GMT -5
|
Post by modelfreak72 on Feb 3, 2013 0:31:46 GMT -5
Meager update?! At least you have one!  I'm still trying to get something done so I can put up more than one pic! LOL!! Looking good bud! |
|
|
|
Post by Mence on Feb 3, 2013 2:41:57 GMT -5
Not such a meagre update, great work as usual.
|
|
|
|
Post by TRM on Feb 3, 2013 6:43:48 GMT -5
Thanks fellas! The encouragement is great! I cleaned up several parts last night, so as she makes her way through the downstairs canal back up, I can begin application of various mounted deck items!!
|
|
|
|
Post by TRM on Feb 3, 2013 14:37:56 GMT -5
Hello mlbrsx...Welcome to MSC!!! Glad to see the bread crumb trail worked to lure you over...LOL!! Great plan wanting to do the movie version! Looking forward to seeing you have at it. Thanks for the kind words btw! All about having some fun!!
|
|
|
|
Post by fightnjoe on Feb 3, 2013 20:19:47 GMT -5
t you have a way with understatement. meager my butt.
looks like great progress to me.
joe
|
|
|
|
Post by TRM on Feb 3, 2013 21:13:13 GMT -5
LOL..Thank you Joe!! I am a bit critical with my own stuff...thinking I should be much farther along than I am...it's all the other stuff I am working on slowing this up!!  |
|
|
|
Post by `Boots` on Feb 4, 2013 14:27:17 GMT -5
Nothing meagre about that update bro.............those mufflers have turned out the business!!!, this has got your trademark stamp of perfection written all over it bud........keep her rollin`/ floatin`  |
|
|
|
Post by robbo on Feb 5, 2013 7:45:10 GMT -5
Slow or not mate it's looking very nice
|
|
|
|
Post by deafpanzer on Feb 5, 2013 10:07:06 GMT -5
Slow or not mate it's looking very nice Was afraid it was going to take him little longer to build because it is so huge that he has to make at least ten footsteps from the bow to stern this time... no hurry it will be fun to watch the whole thing even if it will take Todd years to complete. |
|
|
|
Post by TRM on Feb 5, 2013 10:22:03 GMT -5
Boots - Thanks buddy! I was a bit worried on the mufflers as I had no pics of the brackets and I was committed.....or was that I SHOULD be committed? LOL!! I found the Elco Parts manual on line the other day....pretty darn close!!  Thanks Ian!! Keep thinking there is some sort of rush....too much going on I suppose. Kicking back and relaxing from here on out!! At least on the build!!  LOL...thanks Andy, glad to see your OK with the long haul....should be not too bad. It is about 10 step from the bow to the stern....I have to set it aside on another table while I work on stuff...dry fitting I need to get up, That thr fit, walk back to the table....like modeling calisthenics!!!  |
|
|
|
Post by bullardino on Feb 6, 2013 2:08:48 GMT -5
I like the scratchbuilt support, great one  The mufflers look great too. Looks like it'll be a looooong build  |
|
|
|
Post by TRM on Feb 6, 2013 5:52:25 GMT -5
Thanks Dicky!! LOL...I can only wish my friend!! You figure I would be that already for the running up and down stairs to "paint this" or "picture that" not to mention surviving on coffee and M&M's for a month and a half at the daughter's basketball games!! Only two or three more to go!!! Unfortunately I coach the town's Girls Softball league too....practices started last night!!!   Thanks Luigi! I hope not tooooo long. But not rushing. Not very complicated (or as much as I can make it I suppose) but fun an there is a time and a place for that sort of thing!! Like with the T-62 burn-out. Hope to put that and the L/70 to rest this weekend. I can concentrate on this and a review of two coming up! |
|
|
|
Post by wbill76 on Feb 8, 2013 15:11:32 GMT -5
I need to get down to this area of the boards more often. Some nice work you've got going on here T!
|
|
modelfreak72
Full Member
  
Member since: January 2012
Why worry, each of us is wearing an unlicensed nuclear accelerator on his back.
Posts: 1,479
Jan 28, 2012 23:21:46 GMT -5
Jan 28, 2012 23:21:46 GMT -5
|
Post by modelfreak72 on Feb 10, 2013 19:24:55 GMT -5
Them mufflers are lookin good! The prop shafts are alright to I guess.   |
|
|
|
Post by TRM on Feb 10, 2013 21:17:23 GMT -5
Glad to have you come downtown and check it out Bill!!! Thank you for the kind words!! Thanks Pete! Worked a bit on her today! The Wheel house needed a little attention before I , especially the 109, had some armor plating to the left of the wheel. I cut a piece of 0.015" sheet stock to replicate what was on the 109. 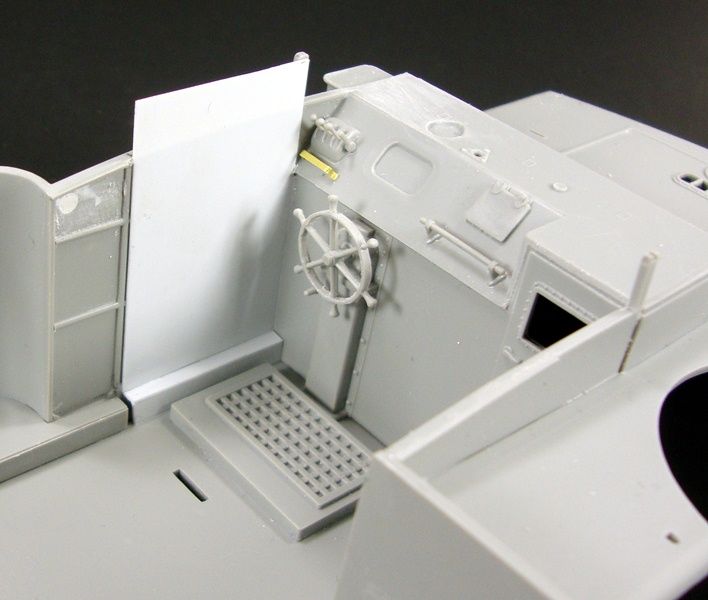 After slapping up the sheet I thought I was home free....then I noticed another small anomaly. The rear wall to the wheel section in the kit part is a little chunky and there were two pin marks I did not catch till now. In itself, not a big deal as you could just sand the pin marks down and continue on. I decided to scratch a new back plate to remove the thicker lower part. Old Part.... 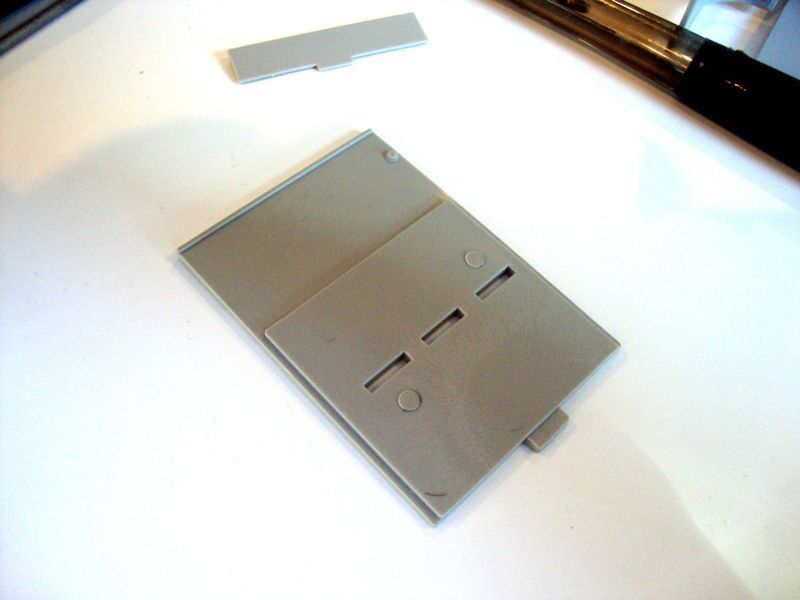 Making the new... 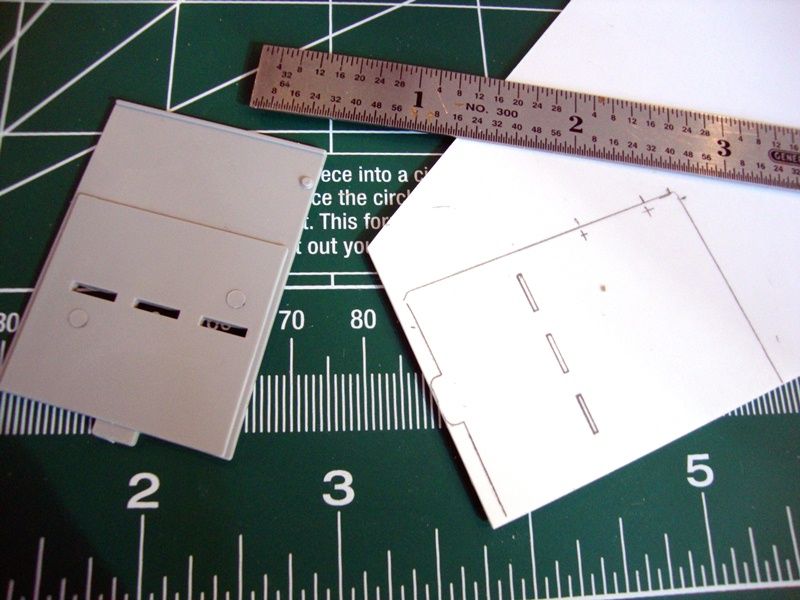 Not a very complex shape this took little time to replicate. I noticed some rivets on the small return section at the entrance, with a quick look at some picture online there are some small brackets that hold the whole thing together. The rivets are on the side plate, but were never on the rear plate. A couple of quick lines and voila. 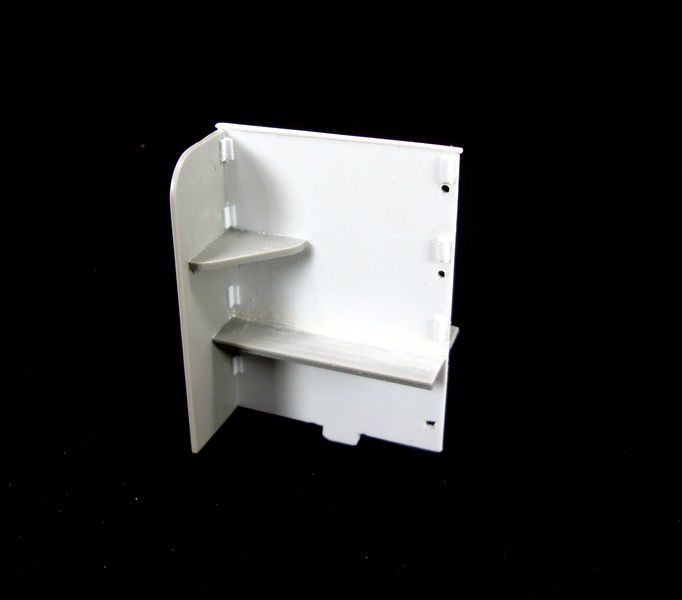 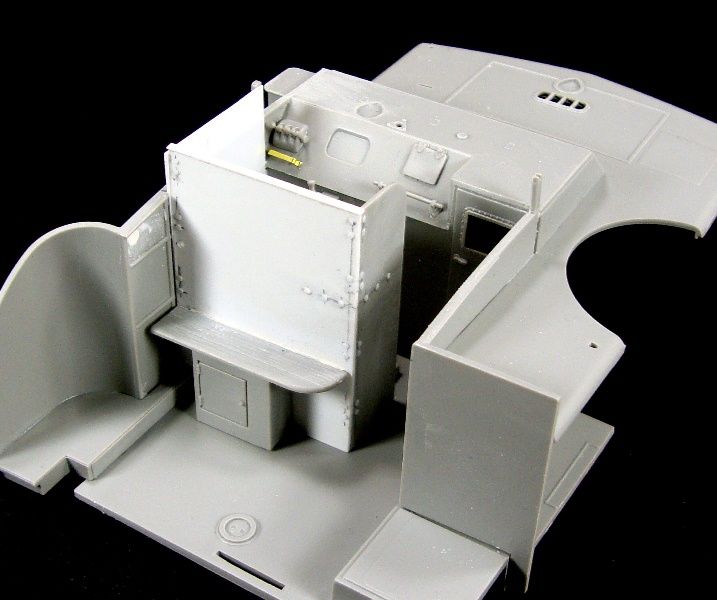 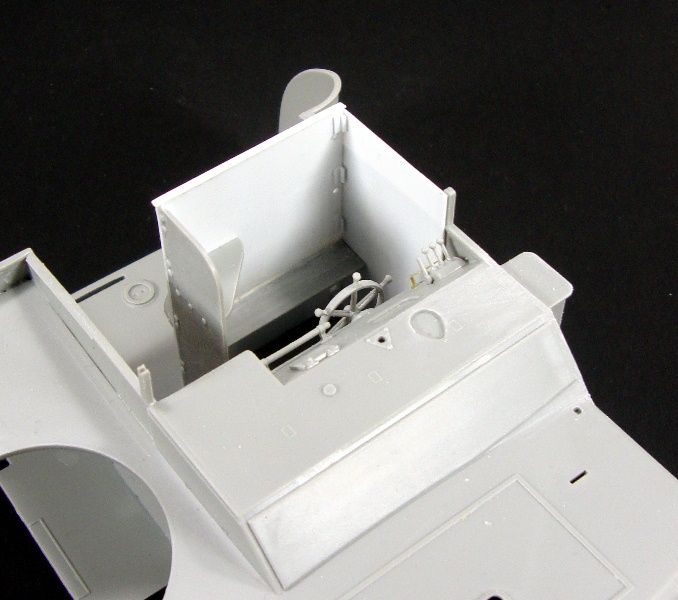 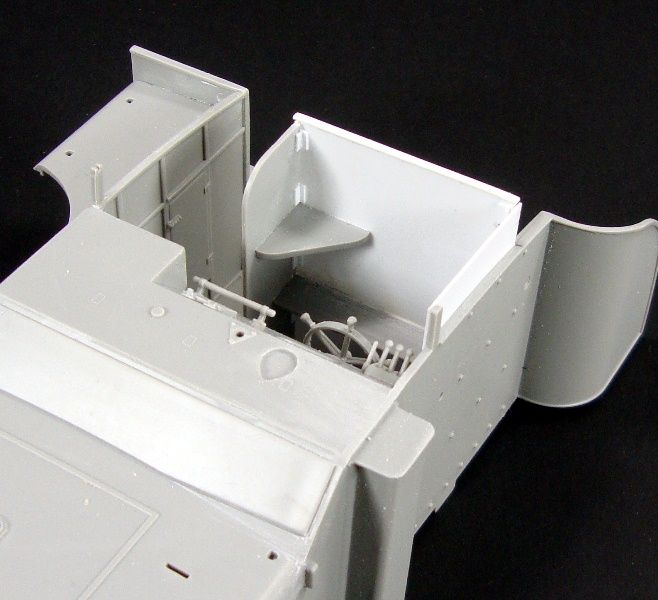 In addition to playing around with the bridge, I was able to sit and fire up the AB and attack the lower hull. 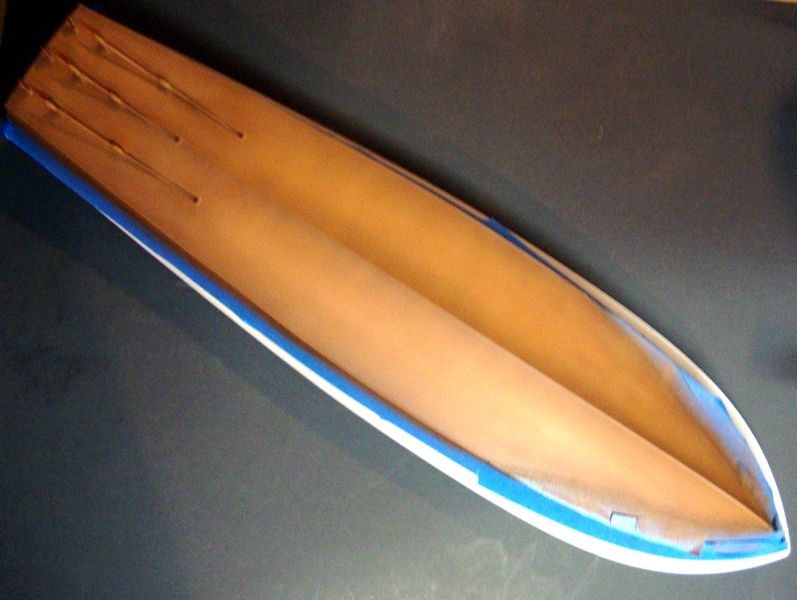 I also wanted to get a jump on the linkage and props since the AB was all warmed up! A little Alclad Chrome for the linkage. Not wanting them to be bright and shinny, I laid down one good coat. The black base shows ever so slightly and the chrome give the appearance of metal shine to them. 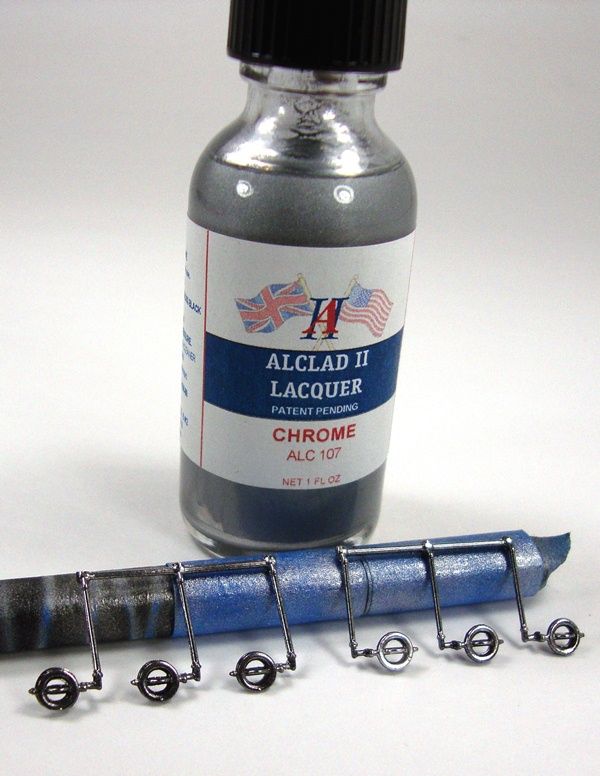 The props were pretty much the same except brass Alclad. Again with the black base it kept these with a slightly bronze appearance. 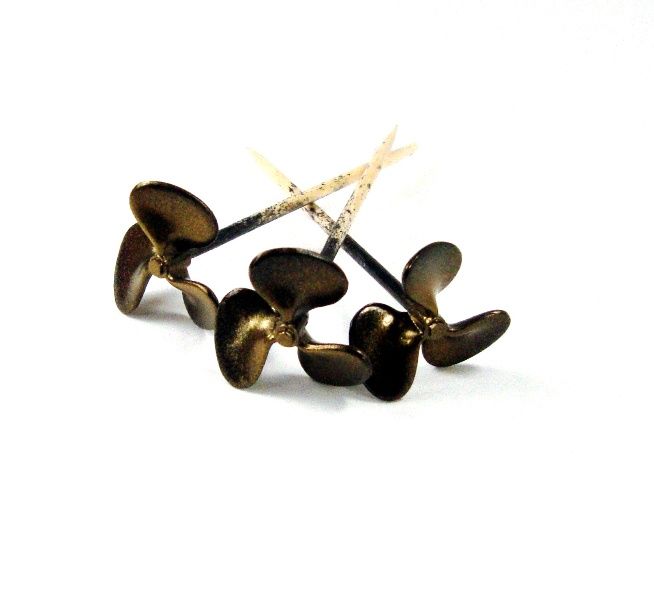 That's it for tonight. Back at her throughout the week. Thanks for tuning in!! |
|
modelfreak72
Full Member
  
Member since: January 2012
Why worry, each of us is wearing an unlicensed nuclear accelerator on his back.
Posts: 1,479
Jan 28, 2012 23:21:46 GMT -5
Jan 28, 2012 23:21:46 GMT -5
|
Post by modelfreak72 on Feb 10, 2013 21:40:58 GMT -5
Scratch building and paint in one sitting!? How can one handle that! LOL! Looking buddy!
|
|
|
|
Post by TRM on Feb 10, 2013 22:34:22 GMT -5
Time management Pete!  Thanks BTW! You can tell I am itching to get to full painting!! LOL!!!! |
|
|
|
Post by 406 Silverado on Feb 11, 2013 0:02:31 GMT -5
Scratchbuilding and painting all in one update, can't beat that brotha. All looks very good to me.
|
|
|
|
Post by Mence on Feb 11, 2013 5:36:38 GMT -5
Nice detailing T, all looking good.
|
|
|
|
Post by TRM on Feb 11, 2013 6:01:42 GMT -5
Thanks fellas! Only wish there were more time to the weekend!! Once I started painting the hull, it finally set iin the fact of how huge this tub actually is!! I bought the paint a couple weeks ago...should have picked up some Tamiya by the gallon!! LOL!!!
|
|
|
|
Post by deafpanzer on Feb 11, 2013 10:14:34 GMT -5
Looking real good... did you have to use maybe five or six bottles of paint just for the hull?  |
|
|
|
Post by TRM on Feb 11, 2013 10:17:08 GMT -5
Thanks Andy! LOL...I thought I would have!! Good thing it was one of the modulation sets...a little out of each bottle!!
|
|
|
|
Post by wbill76 on Feb 11, 2013 20:26:46 GMT -5
Nice job on the wheelhouse plates T! Paintwork looks the part as well, moving right along with this one.
|
|
|
|
Post by TRM on Feb 12, 2013 22:33:08 GMT -5
Thanks for the kind words Bill! This one is relaxing for me I think. Fitting it in between a few other projects. Breaks everything up nicely!
|
|
|
|
Post by `Boots` on Feb 13, 2013 15:02:30 GMT -5
Oh boy thats some neat work there broski.......what a mahoooosive improvement on that rear wall and executed to ya usual fine standard  ..................underneathy bit is looking topper as well............especially those props  .............now i`m gonna go see if i can find that 55 hull ya been working on, mean`t to comment the other night.........forgot............now i can`t remember where it was   |
|
|
|
Post by TRM on Feb 13, 2013 15:13:45 GMT -5
Thanks Dicky!! You must be talking about the bridge pictures...LOL...the hul does not fit in the booth!! I had it sitting on a large piece of posterboard on a stool! I have been looking at a few pics lately on the layout and there is some wiring that can be done to this that will show up nicely I think!!
Thanks Boots!! Appreciate you swinging by!! After finifhing the PA build you have some nice R&R and some time on your hands!! "Day in the SUn...T-62" is what you might be looking for!! Reminds me though I do have a T-55 going on the shelf that is getting scratchified!! Nope, too many other to finish at the moment!!!
|
|