|
|
Post by `Boots` on Nov 23, 2011 13:51:00 GMT -5
Show me how it`s done CB ;D
|
|
|
|
Post by robbo on Nov 23, 2011 13:54:31 GMT -5
Yeah, the KGB takes a step in the right direction chaps  |
|
|
|
Post by 406 Silverado on Nov 23, 2011 22:51:01 GMT -5
good job there Sean....now get cracking CB
|
|
stevereid
Full Member

Member since: November 2011
Posts: 556
Nov 16, 2011 16:17:33 GMT -5
Nov 16, 2011 16:17:33 GMT -5
|
Post by stevereid on Nov 24, 2011 22:43:15 GMT -5
My first update since we switched to the new forum. For you guys that don't know me- getting a model done within a typical Group Build window is rare. This one is going to meet the deadline ! Here is the inspiration pic again: 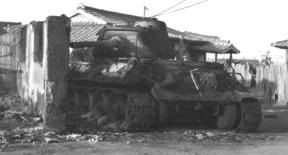 This is how I left it today- Rear 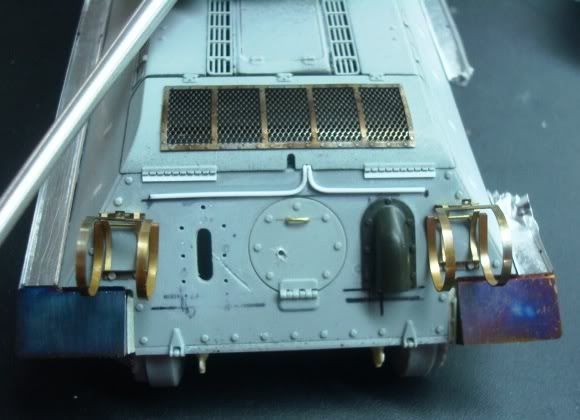 Front 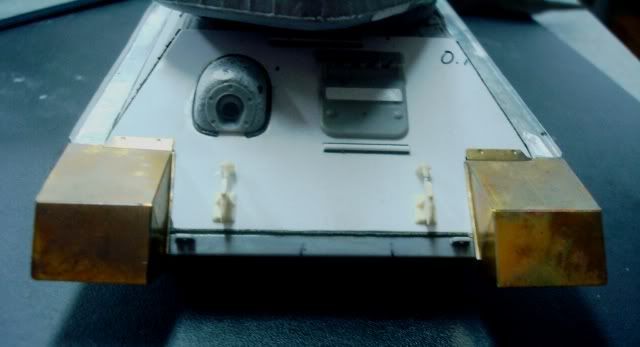 Overall shot: 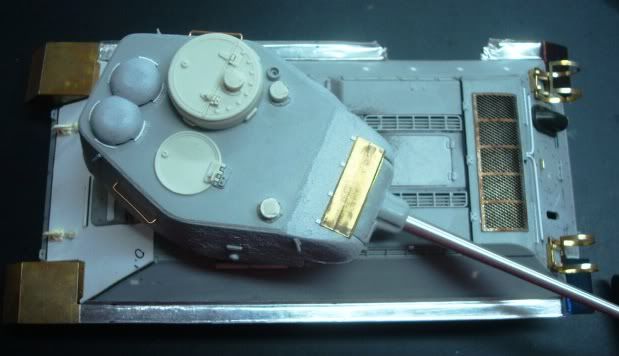 Side view. I made the side fenders out of aluminum sheet- the front are Aber and the rear are Dragon kit parts.  Rear engine deck- the air intakes are widely available as Photo-etch parts. But I like the kit parts- takes a while to sand them down- but worth it I think. 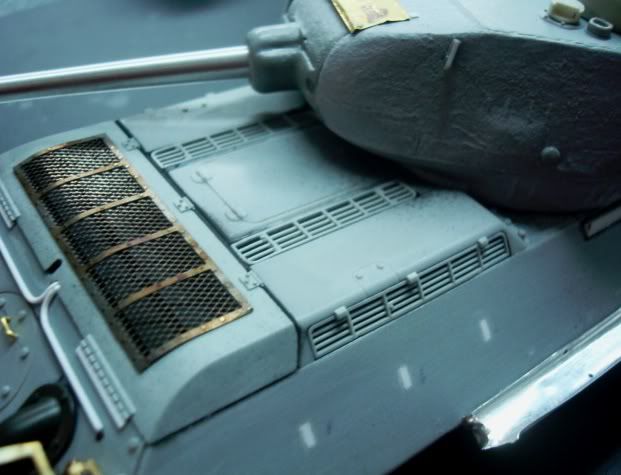 Here is a side view with the suspension in place. The roadwheels are from Tank workshop. the rubber is burnt off- which is just what I needed for this one. 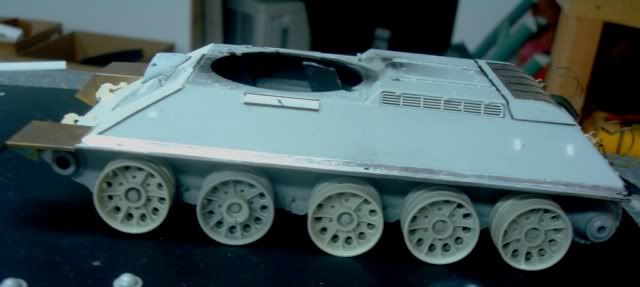 The suspension is deliberately lowered because if you look at the inspiration pic you can see the suspension springs failed with the heat of the fire. Last but not least- fruil tracks ready to go on. 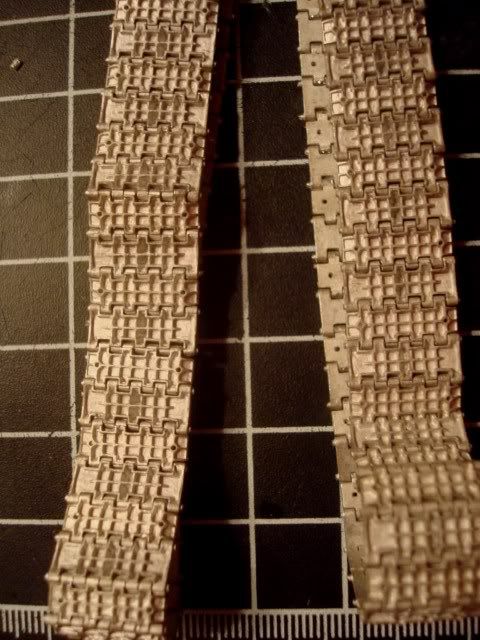 It is getting there! So I am a happy guy . Steve |
|
|
|
Post by 406 Silverado on Nov 25, 2011 10:50:21 GMT -5
|
|
|
|
Post by tonylee on Nov 25, 2011 16:11:18 GMT -5
Hey All The bench and surrounding area surfaced after cleaning up the debris from the Diana dio. All the paints and brushes were put away,sand,rocks,kitty litter and pigments swept up. Do you guys just let stuff pile up around the perimeter of your work site while building like I do? Once the clean up was completed the search for the SU-76 remaining parts commenced. Not an easy task, the wife had rearranged things since putting it away. The 76 was here,the kit box with the rest of the parts and pieces over there and my reference book under a stack of papers in a file cabinet. 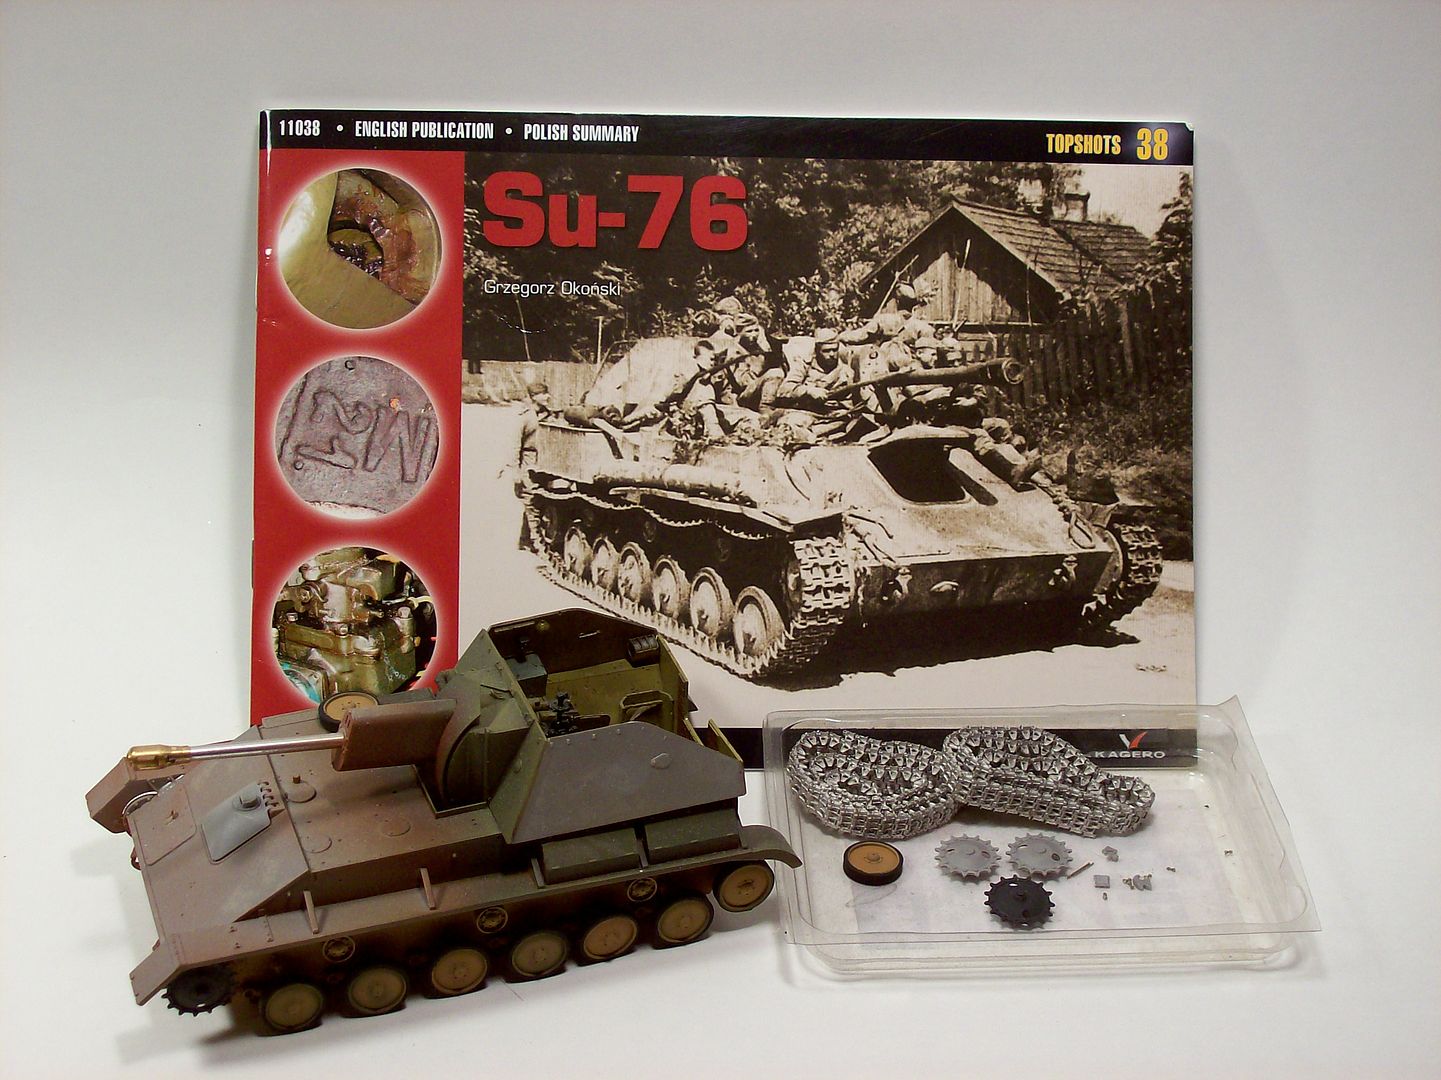 Tomorrow i'll be ready to make another mess now that i've found everything. See Ya Then Tony lee |
|
|
|
Post by `Boots` on Nov 25, 2011 16:52:12 GMT -5
That is one good lookin` T34 fella......................ya just gotta love them `Fruils`....................they do do a build justice and this certainly deserves that..........  , great work Steve |
|
|
|
Post by 406 Silverado on Nov 25, 2011 19:47:48 GMT -5
Looking foward to the mess Tony
|
|
|
|
Post by 406 Silverado on Nov 26, 2011 0:13:23 GMT -5
Now look at that...Chris done snuck a shiny wingie thing in here. Nice work Chris....one of my fav jet aircraft...the F 80 and F86....something about those first jets that stands out.
|
|
|
|
Post by wouter on Nov 26, 2011 7:36:13 GMT -5
Nice work on the bird Chris. Color look great I must say ^^
Cheers
|
|
Deleted
Member since: January 1970
Posts: 0
Apr 18, 2024 19:57:31 GMT -5
Apr 18, 2024 19:57:31 GMT -5
|
Post by Deleted on Nov 26, 2011 12:06:33 GMT -5
Jeeez '67......Cracking job on this my friend ;D....I think I'll just resign my commission,and join Prof,butterfly collecting!!!!!   |
|
Deleted
Member since: January 1970
Posts: 0
Apr 18, 2024 19:57:31 GMT -5
Apr 18, 2024 19:57:31 GMT -5
|
Post by Deleted on Nov 26, 2011 13:18:09 GMT -5
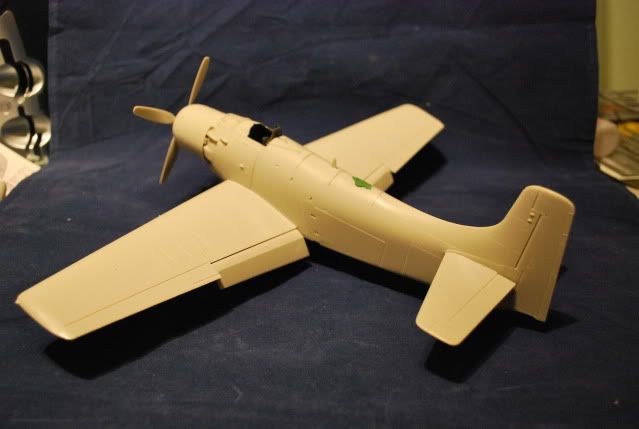
Evening all, Well....I said I'd kick off the 'Raider straight away,and here is the result of a few hours today 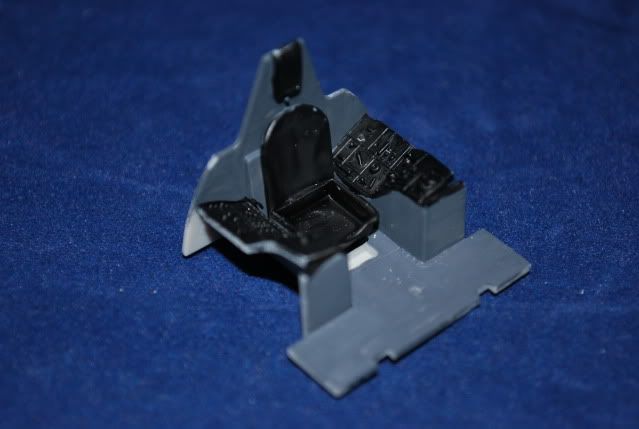 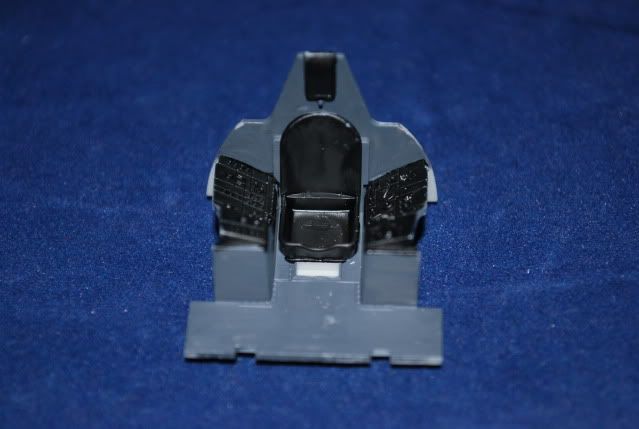 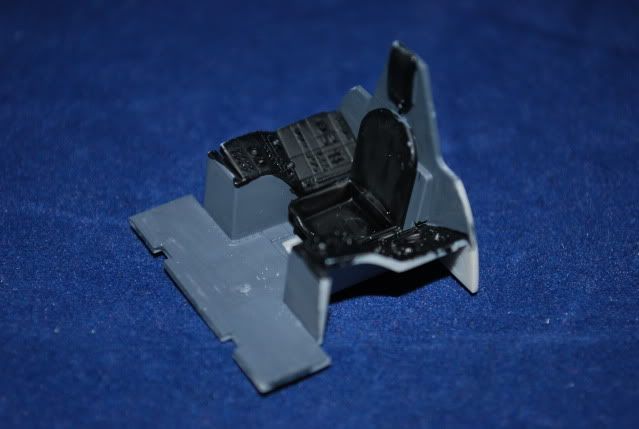 Still have to add detail,and the IP,and some generic seat belts,if I can find refs. 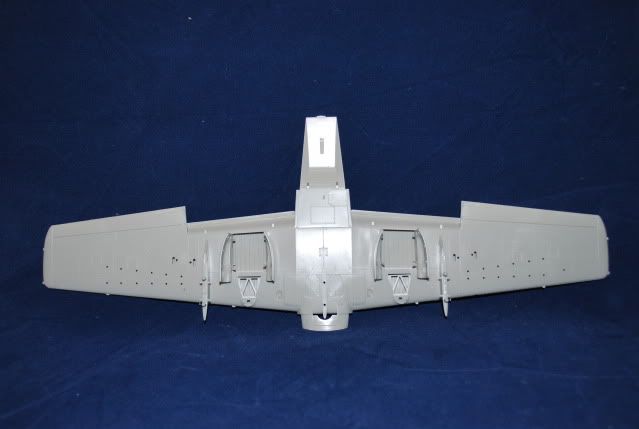  Wings started and U/C bays sorted.  Ordnance load ready for a little clean up and paint,and finally,both halves of the fuselage,with a couple of minor sinks repaired,and side airbrakes fitted closed.   The external tweaks I need to do,will happen when the 'pit is in,and the fuselage is joined. |
|
|
|
Post by `Boots` on Nov 26, 2011 15:01:24 GMT -5
Oooh CS that was a sneaky one bud..................she`s a real beaut`, great finish to her and nice job on the masking bro... ;D CB..............way to go mucka  , some tidy work ya done so far bud ;D |
|
rm6239
Full Member
Member since: November 2011
Ross Moore
Posts: 252
Nov 19, 2011 5:04:13 GMT -5
Nov 19, 2011 5:04:13 GMT -5
|
Post by rm6239 on Nov 27, 2011 4:15:26 GMT -5
Steve, some nice work happening there mate, looking forward to the next update.
Tony, glad you found your parts. I confess I let everything build up around me as well when I'm building and then a big clean up before the next build and I have to get it all out again, I think I would be happier with a bigger table ;D.
Chris, looking good mate and the time spent masking really paid off.
ChrisB, nice start, looks and interesting office.
cheers
Rossco
|
|
|
|
Post by robbo on Nov 27, 2011 9:04:07 GMT -5
Looks like the KGB is rolling along nicely, well done chaps
|
|
|
|
Post by 406 Silverado on Nov 27, 2011 10:29:58 GMT -5
Looking good so far Herr Raidermeister...
|
|
Deleted
Member since: January 1970
Posts: 0
Apr 18, 2024 19:57:31 GMT -5
Apr 18, 2024 19:57:31 GMT -5
|
Post by Deleted on Nov 27, 2011 11:39:02 GMT -5
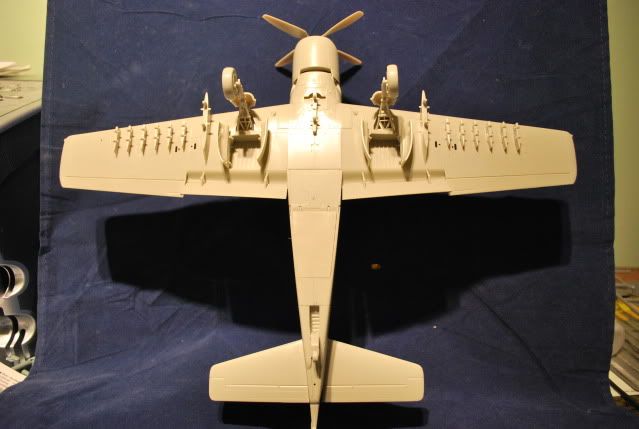
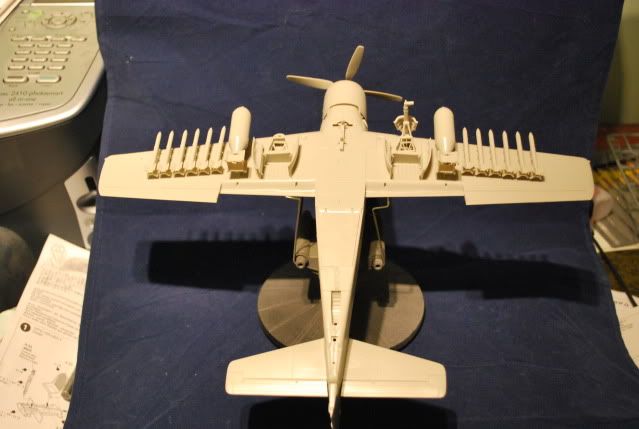
OK,gentlemen,...as promised,my first update of the day. I drybrushed the 'pit added the IP,and belts   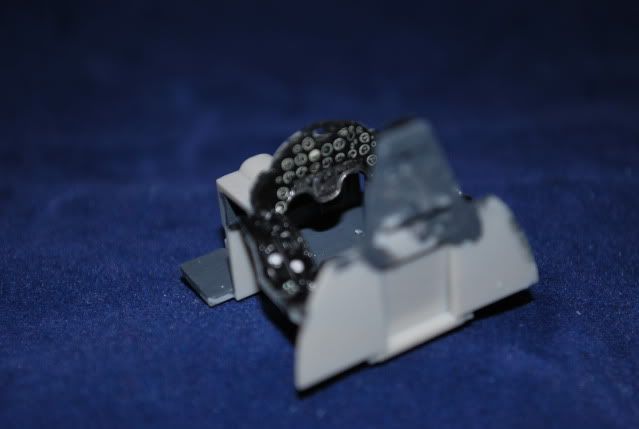 I then fitted the pit,and joined the fuselage together 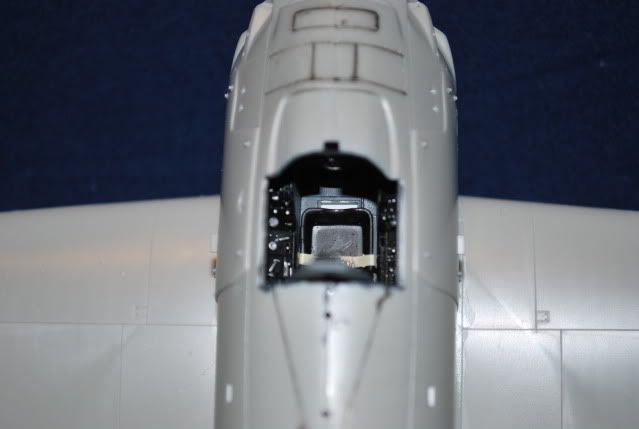 Can't see much now  Next a couple of shots of the main airframe,minus the antennae not needed,and the beacon on top of the tailplane 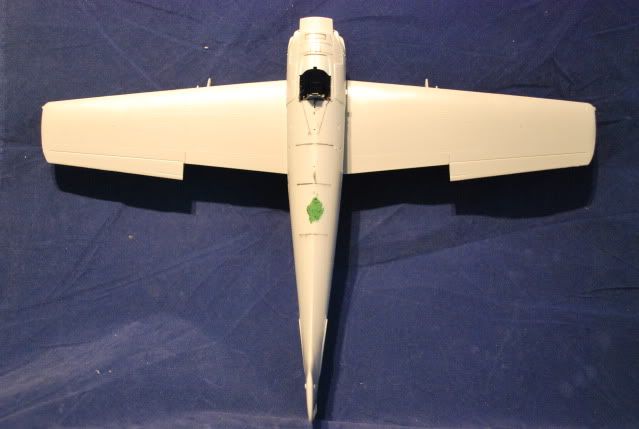 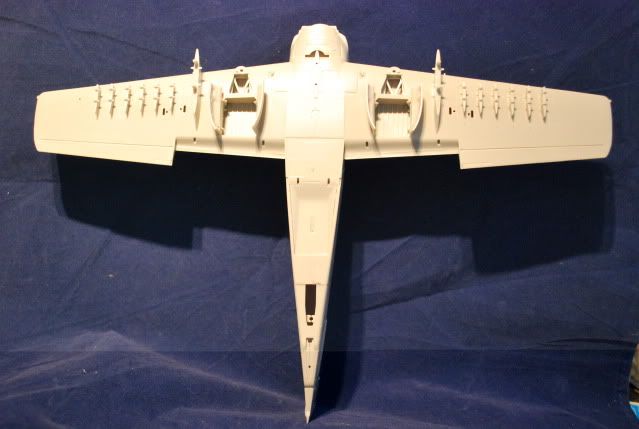 The putty in the top view,is where I removedthe rectangular part seen in the early piccies....and you'll also note that all the weapons pylons are fitted. There might be a bit more to come a bit later ;D |
|
|
|
Post by robbo on Nov 27, 2011 12:19:22 GMT -5
Nice one CB, I've just found I've got quite a liking for these Raider jobbies, don't know why though
|
|
Deleted
Member since: January 1970
Posts: 0
Apr 18, 2024 19:57:31 GMT -5
Apr 18, 2024 19:57:31 GMT -5
|
Post by Deleted on Nov 27, 2011 12:52:57 GMT -5
|
|
|
|
Post by robbo on Nov 27, 2011 14:05:53 GMT -5
Wonderful building mucka |
|
Deleted
Member since: January 1970
Posts: 0
Apr 18, 2024 19:57:31 GMT -5
Apr 18, 2024 19:57:31 GMT -5
|
Post by Deleted on Nov 27, 2011 14:11:16 GMT -5
Cheers,mate ....just noticed,I posted 2 of the same pic |
|
Deleted
Member since: January 1970
Posts: 0
Apr 18, 2024 19:57:31 GMT -5
Apr 18, 2024 19:57:31 GMT -5
|
Post by Deleted on Nov 27, 2011 14:48:32 GMT -5
Cheers Dicky mate ...sorry,I forgot that not all of you are up on the tech speak for the wingy thingies |
|
|
|
Post by robbo on Nov 27, 2011 14:50:11 GMT -5
Didn't even notice them mate, shows how observent I am .... tut |
|
Deleted
Member since: January 1970
Posts: 0
Apr 18, 2024 19:57:31 GMT -5
Apr 18, 2024 19:57:31 GMT -5
|
Post by Deleted on Nov 27, 2011 15:52:18 GMT -5
Maybe not paint tomorrow,Chris....I'm using rattles on this as much as poss,cos the AB is out of order at the mo,so this has to be done outside!!...plus there are still a few ickle bits to fit!!!
|
|
|
|
Post by 406 Silverado on Nov 27, 2011 20:19:39 GMT -5
|
|
stevereid
Full Member
Member since: November 2011
Posts: 556
Nov 16, 2011 16:17:33 GMT -5
Nov 16, 2011 16:17:33 GMT -5
|
Post by stevereid on Nov 27, 2011 21:33:57 GMT -5
Moving beyond Primer Rob. :-) Here is the hull in Tamiya Black and Brown mix- thinned 1:1 with Tamiya's yellow cap thinner. 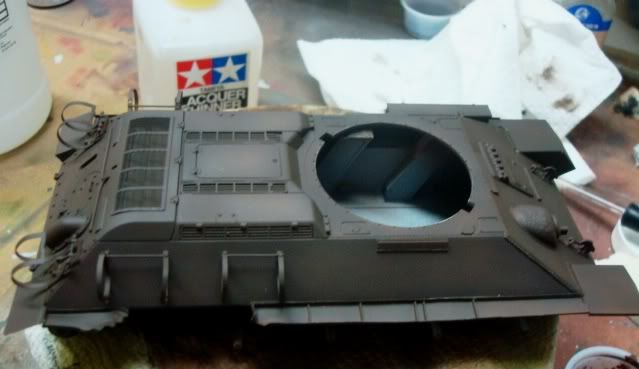 The turret: 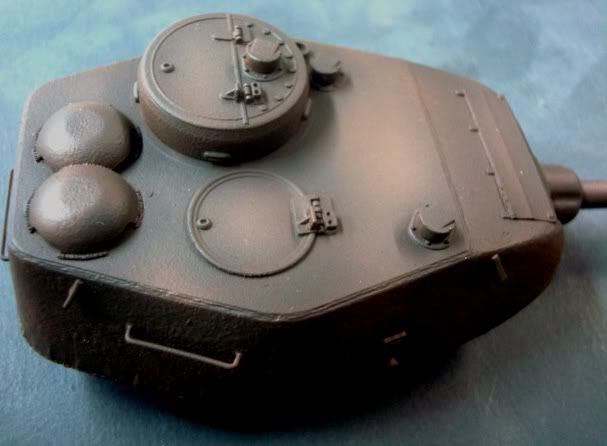 The wheels: 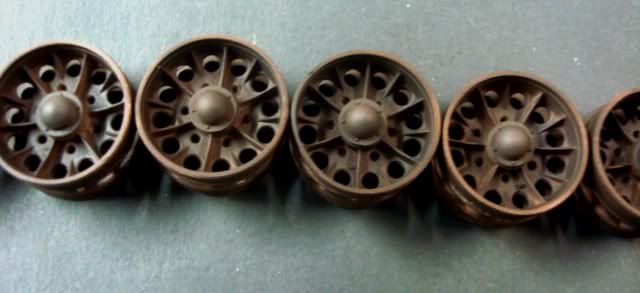 I let that cure for an hour while I figured out where the charred metal was going to stop and the painted metal was going to start. Then I sprayed on AK Interactive 4BO green base from the Russian modulation set. 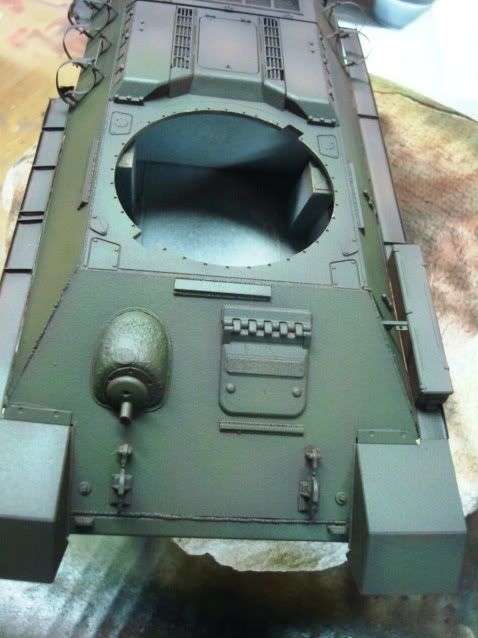  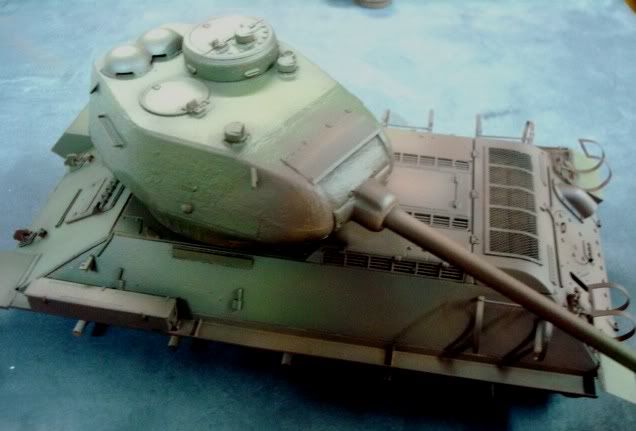 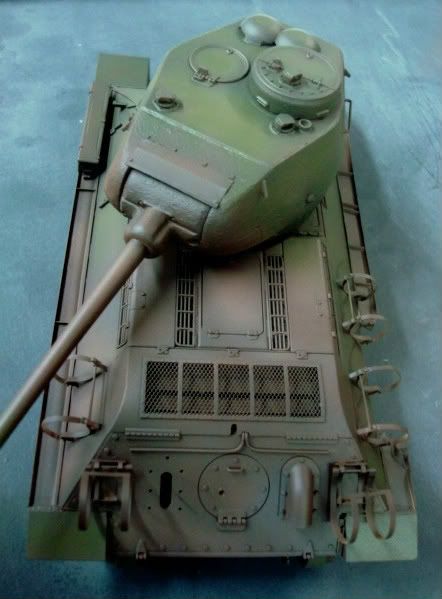 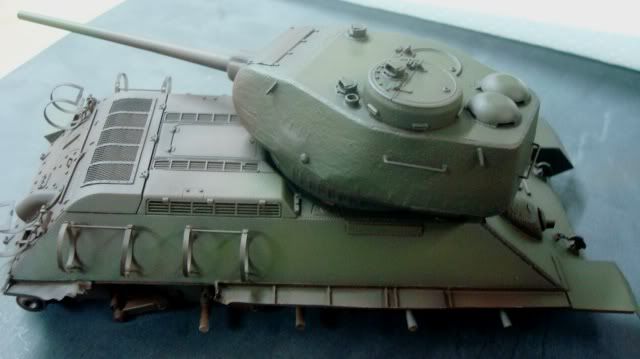 Rob is coaching me through this so thanks Rob! I have never scorched a tank so I would appreciate any tips anyone wants to throw out. Next step is hairspray! Steve |
|
|
|
Post by TRM on Nov 27, 2011 21:36:26 GMT -5
Oooo Paint!!! Looking very nice Sir!!! Sitting back to watch this!!!
|
|
|
|
Post by 406 Silverado on Nov 27, 2011 21:56:18 GMT -5
Good to see the paint on her Steve. The dark brown is perfect...same color I use. Don't think you need the HS now, unless it's under the green. Now you can go to town on the burnt areas. Just mix things up and add the layers. Check out the post by Edi on his knocked out T-34 in the rusty category. There is also a great ref pic for you.
|
|
|
|
Post by TRM on Nov 27, 2011 22:02:18 GMT -5
LOL...sneaky Steve!!! I checked in here and there was one pic!!! Come back and there was a slew posted!!! Yeah, Check out Edi's stuff!! Key word...layers! Time to start the crispy section(s)!! ;D ;D ;D ;D
|
|
|
|
Post by 406 Silverado on Nov 27, 2011 22:09:30 GMT -5
Got to watch out for Steve...sneaks right in with a load of pics...nice ones too
|
|


 , some tidy work ya done so far bud ;D


 ;D
;D

