Rick
Full Member
  
Member since: March 2013
what to build, what to build . . . Ok THAT one!
Posts: 854 
|
Post by Rick on Jul 28, 2013 17:28:07 GMT -5
|
|
|
|
Post by wbill76 on Jul 28, 2013 20:01:45 GMT -5
Cool! Looking forward to seeing this one come together.
|
|
|
|
Post by deafpanzer on Jul 28, 2013 22:18:16 GMT -5
Haven't heard or seen this plane before. It shows how much I know little about wingy thing. Looking forward to learn more about it and follow your build. Good luck!
|
|
venom1
Full Member
  
Member since: October 2012
Posts: 1,369
Oct 10, 2012 2:40:03 GMT -5
Oct 10, 2012 2:40:03 GMT -5
|
Post by venom1 on Jul 28, 2013 23:25:58 GMT -5
Looks sweet Rick! Do you get any "hardware" to drive in theback, or is that extra? If not, Academy has a pretty good range of 1/72 vehicles to drive up the ramp!  Cheers, Sam  |
|
thug626
Senior Member
   
Member since: January 2013
Posts: 2,035
Jan 15, 2013 13:05:28 GMT -5
Jan 15, 2013 13:05:28 GMT -5
|
Post by thug626 on Jul 28, 2013 23:29:56 GMT -5
Outstanding Rick! Way to go....dusting off and old kit and breathing some new life into it. Count me in on this one!
Dave
|
|
Rick
Full Member
  
Member since: March 2013
what to build, what to build . . . Ok THAT one!
Posts: 854 
|
Post by Rick on Jul 29, 2013 6:11:52 GMT -5
Thanks Guys, I'll save ya'll a seat in back of this thing if you dare to ride along. Not sure I would trust it's ability to stay airborne given the way it was built. Andy, I have no doubt the main reason you haven't heard of this one is because there was nothing memorable about it. I think Dave's last line sums it up best - "With enough thrust, pigs fly just fine". It WAS a pig. Only 133 were converted from gliders. Mostly used in Crete and North Africa, where the RAF made bacon out of them. They cruised at 155mph. RAF pilots had to slow down just to get a shot at them. The few survivors were withdrawn by the end of 1943. Hope I can build this one up faster than it could fly! Sam, Academy did package it up with a Kubelwagen, which was close to the max payload this thing could carry.
|
|
Thomas_M/
Full Member
  
Member since: May 2013
Don´t panic! I am German!
Posts: 217 
|
Post by Thomas_M/ on Jul 29, 2013 7:37:17 GMT -5
Oldie but goodie! I like the shape of these Gotha´s. Wished someone would do a large scale kit of them some day.
|
|
bish
Full Member
  
Member since: January 2013
Horatio Nelson 'I am a Norfolk man, and i glory in being so'
Posts: 555
Jan 13, 2013 8:57:43 GMT -5
Jan 13, 2013 8:57:43 GMT -5
|
Post by bish on Jul 31, 2013 5:33:58 GMT -5
Looking forward to this one. I bult the glider version many years ago, its one of the few that survived from my early days. Not a bad build from what I remember.
|
|
destrozas.
Full Member
  
Member since: August 2012
Posts: 240
Aug 28, 2012 8:30:14 GMT -5
Aug 28, 2012 8:30:14 GMT -5
|
Post by destrozas. on Jul 31, 2013 10:47:03 GMT -5
interesting glider has to see that this is in case you want to include shopping list ...
|
|
|
|
Post by Mence on Jul 31, 2013 10:48:29 GMT -5
Wow, never seen one of these done before, great stuff!
|
|
Rick
Full Member
  
Member since: March 2013
what to build, what to build . . . Ok THAT one!
Posts: 854 
|
Post by Rick on Aug 2, 2013 19:11:42 GMT -5
First update. Spent a good bit of time cleaning up parts and test fitting before launching into this oldie. As mentioned, the original release was in 1974 so it lacks all of the improvements that have come along since then. Even so, it really isn't all that back. Some scaling issues, for instance I figure given the thickness of the fabric fuselage would be about 5.5 inches if original size. Hey, it's an oldie and I'll attempt to improve what I can but I am not going to go into the ultra detailing to try to make it a museum piece. So, here we go: First up, much of the parts have been removed from the sprues for cleanup and seam removal. 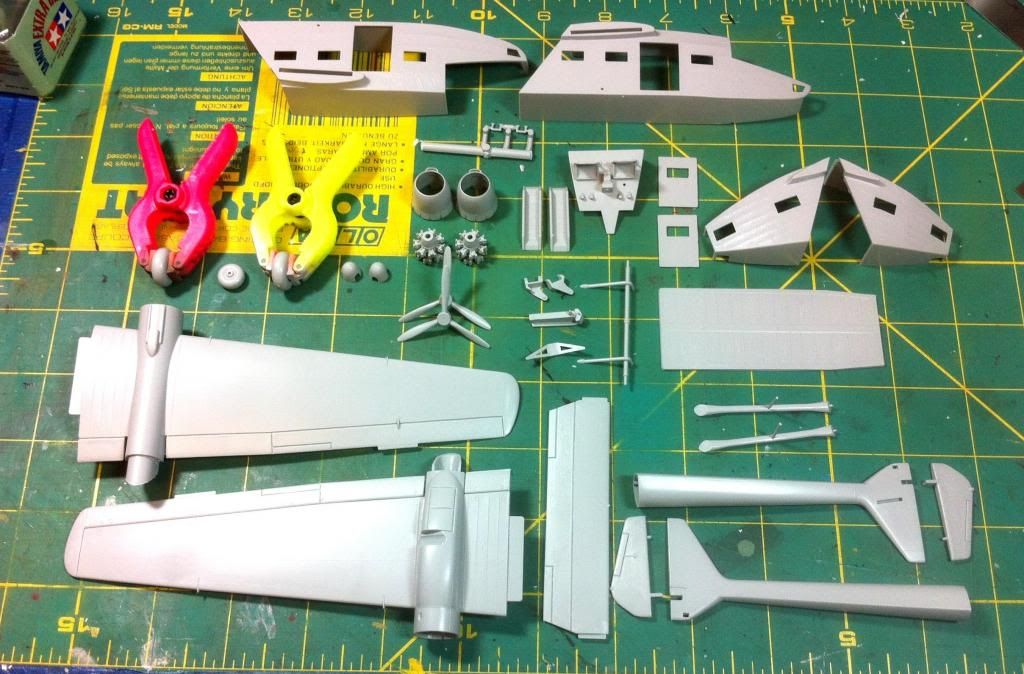 A bit of fuselage action. Some canvas texture and sink marks to highlight the interior. Will fill those in as visibility indicates the need. 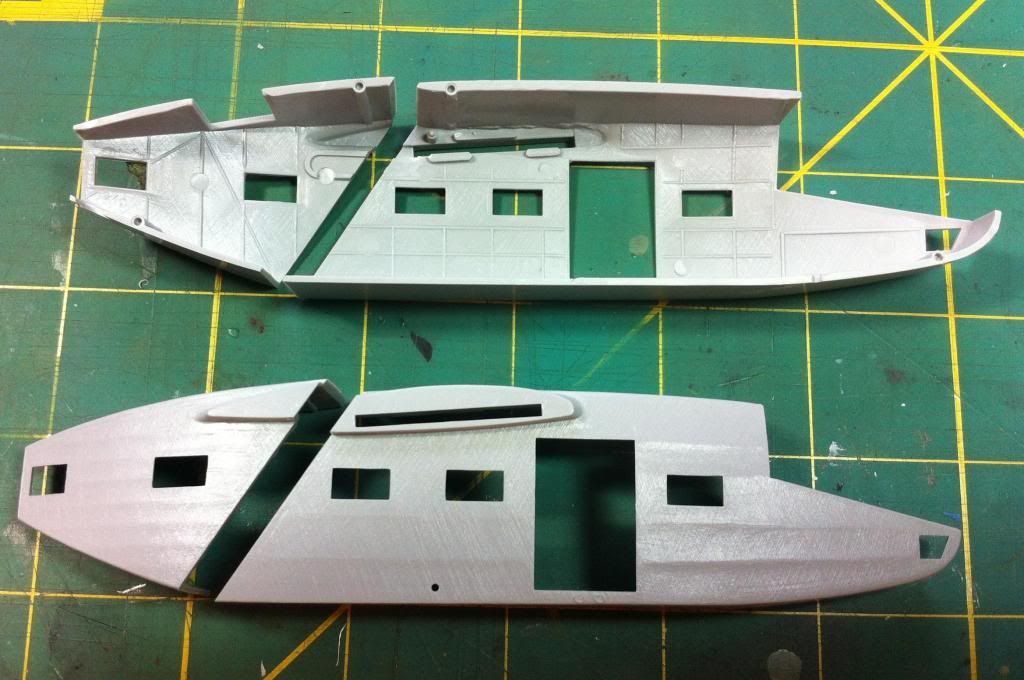 Typical of 1970's era kits, giant attachment pins. Easy enough to fix this eyesore! 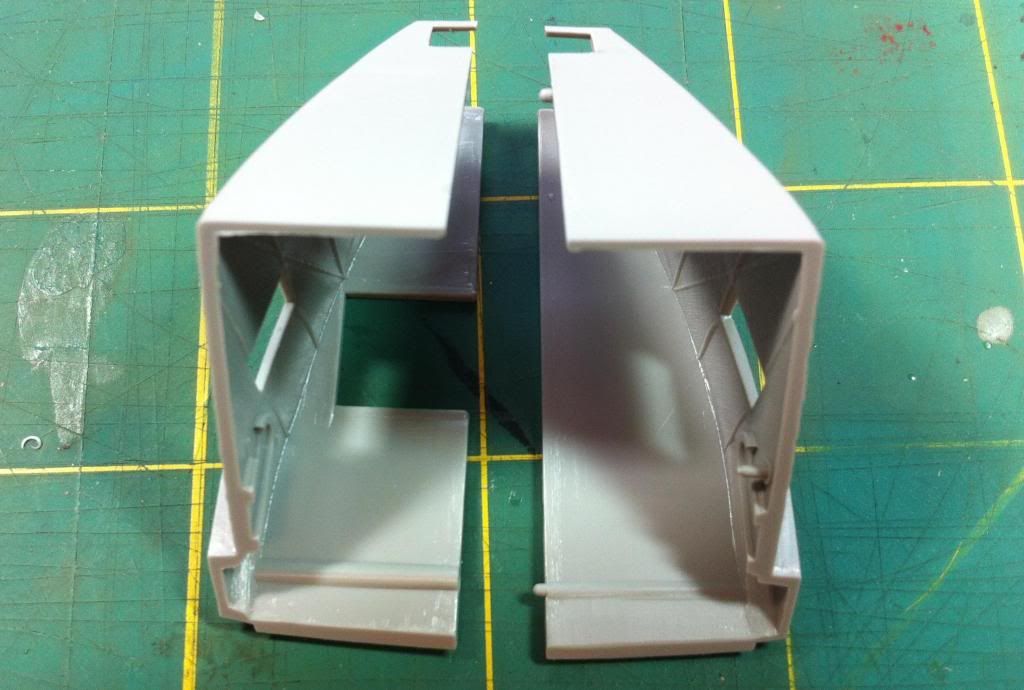 The exacto wins! 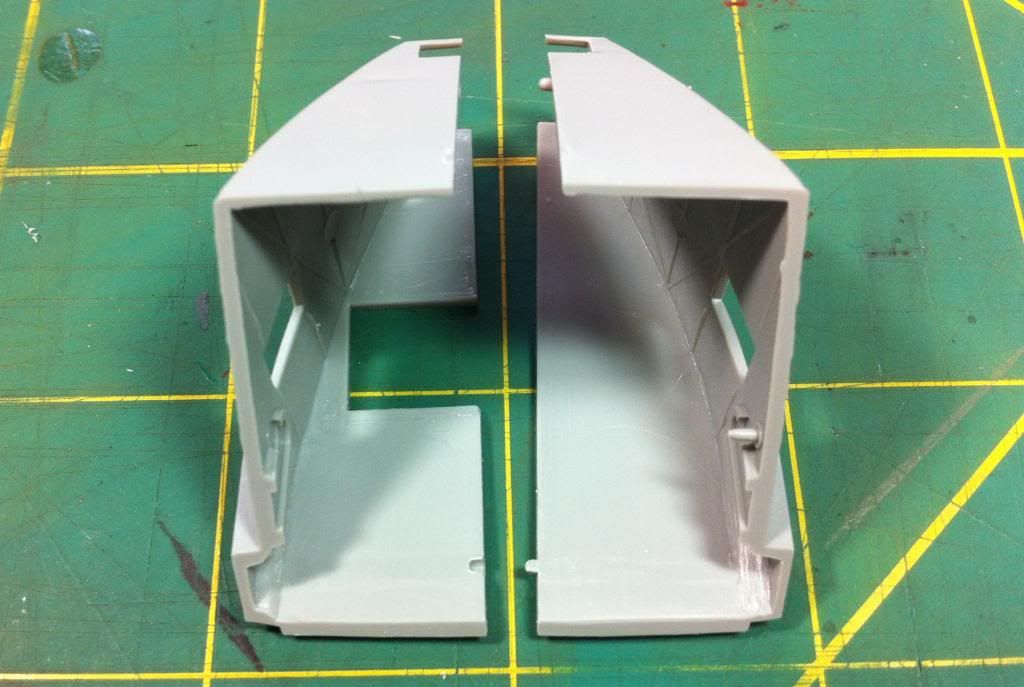 Interior floor and flight deck and the twin booms glued together. Good fit, no filler. 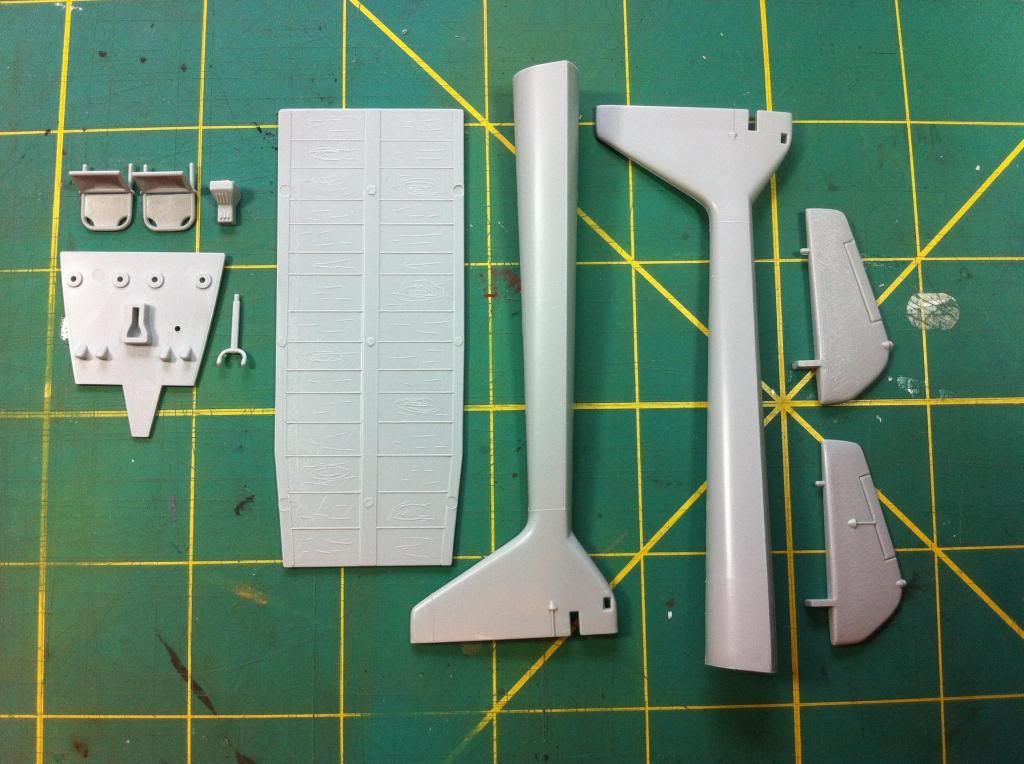 That's it for now. Ready for the weekend. |
|
Rick
Full Member
  
Member since: March 2013
what to build, what to build . . . Ok THAT one!
Posts: 854 
|
Post by Rick on Aug 2, 2013 19:35:50 GMT -5
Sorry about the sucky pics. They were fixed in photo box. Guess changes don't transfer!
|
|
|
|
Post by TRM on Aug 2, 2013 19:40:34 GMT -5
Missed this one Rick....Sweet! Looking forward to you building away!! No worries on the pics...they look fine! Nothing wrong with bench pics!! Are you building the Kub too?
|
|
|
|
Post by Leon on Aug 2, 2013 21:18:35 GMT -5
Count me in Rick,this looks very interesting.Off to a good start.  |
|
|
|
Post by fightnjoe on Aug 2, 2013 22:31:12 GMT -5
interesting project for sure.
joe
|
|
Rick
Full Member
  
Member since: March 2013
what to build, what to build . . . Ok THAT one!
Posts: 854 
|
Post by Rick on Aug 3, 2013 9:31:48 GMT -5
Glad to have you along. Yes Todd, i will be building the Kubelwagen. After all, what good is a transport unless its delivering the goods!
Rick
|
|
|
|
Post by wbill76 on Aug 4, 2013 13:16:27 GMT -5
Pics look fine on my screen, nice progress on this older classic so far Rick.
|
|
Rick
Full Member
  
Member since: March 2013
what to build, what to build . . . Ok THAT one!
Posts: 854 
|
Post by Rick on Aug 4, 2013 19:46:41 GMT -5
Quick update for the weekend. Continued clean up on various parts. Attached the engine nacelles to the wings. Top and bottom fit was excellent. No filler needed. Remarkable in my opinion for such an old kit. The booms attached to the nacelles behind the trailing edge. I attached both and filled the seam with epoxy sculpt. After sanding the dried epoxy sculpt, the surface was still a bit uneven so I painted over the join and in low spots Mr. Surfacer 500 in the jar. After drying overnight, I sanded the excess off with 3200,4000, then 8000 grit sanding sticks. Then gave it a light spray of Mr. Surfacer 500 primer in a rattle can followed by a light sanding with 8000 grit. Before I paint, I'll hit it again with Mr. Surfacer 1200 for hopefully a smooth finish. Plane parts cleaned up and waiting. A couple of seams masked and filled with epoxy sculpt. Repeated for the opposite side too. 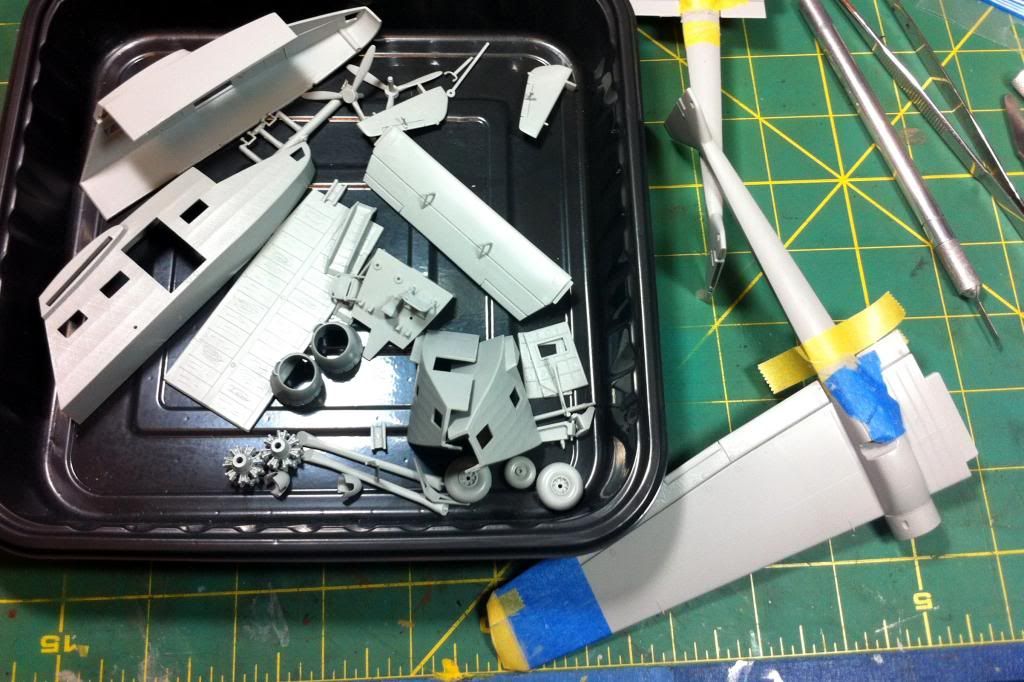 One wing and boom assembly. Flap and aileron hinges added: 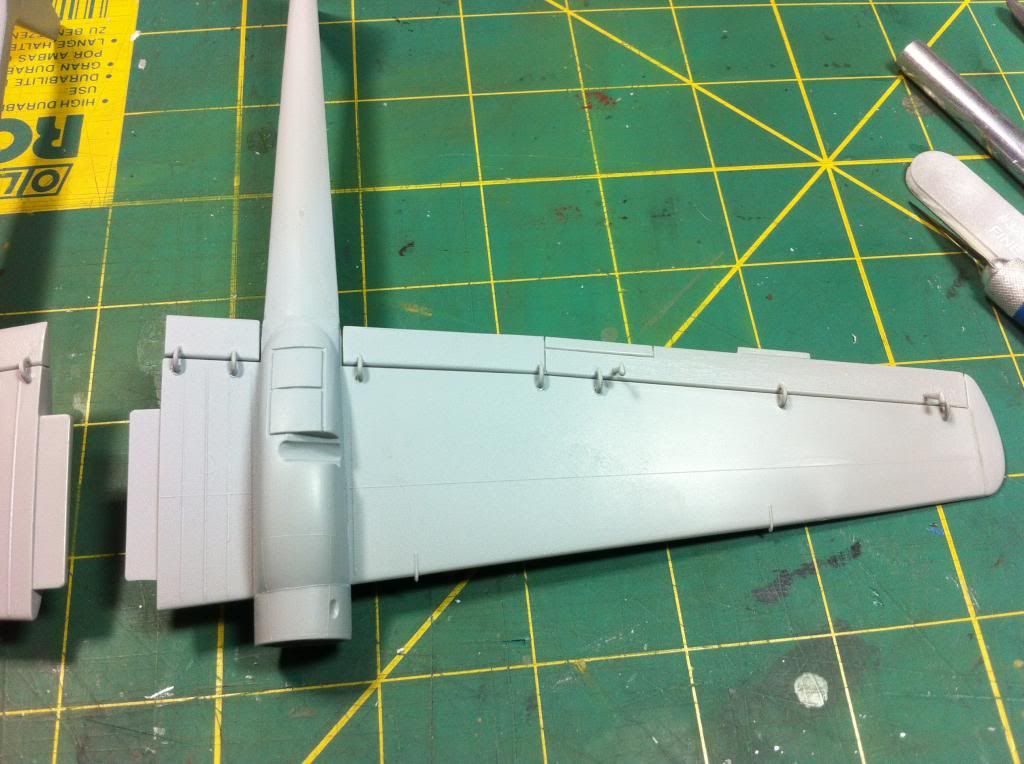 Both booms attached with gaps filled and sanded, flap hinges attached: 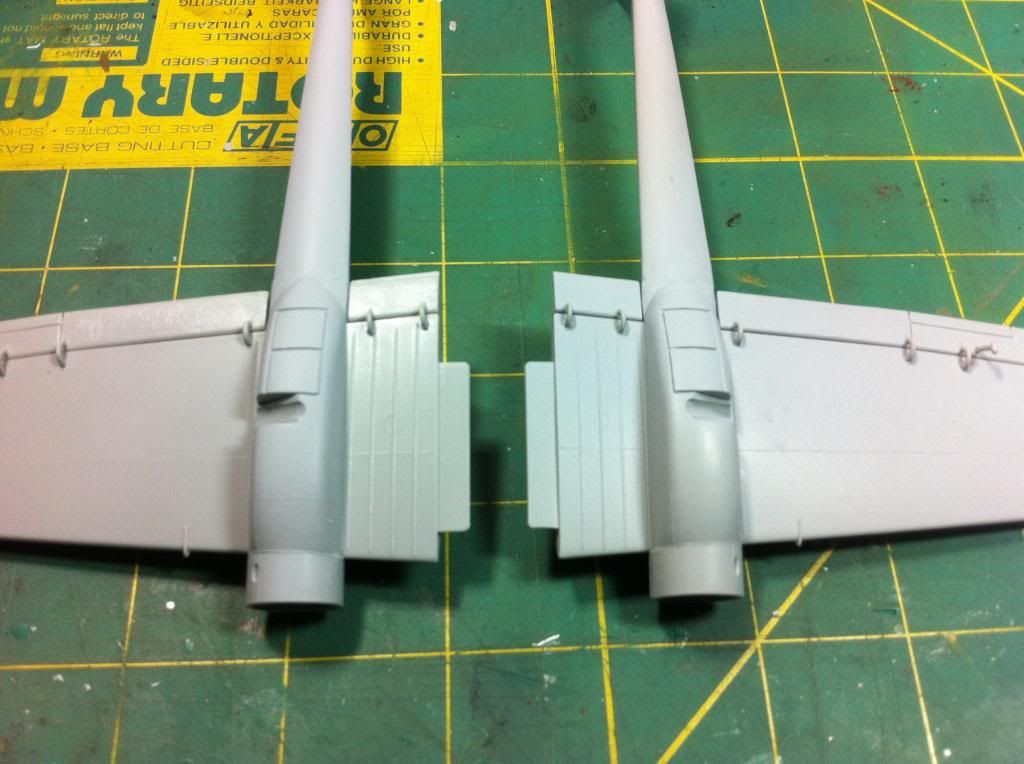 That's about it for the weekend. Feel like progress is moving along faster than my normal pace. Next up, I'm going to work on some interior design and try to dress it up before closing the fuselage together. Thanks for looking in. Rick |
|
|
|
Post by Leon on Aug 4, 2013 20:31:07 GMT -5
Making really good progress Rick.Nice work on the wing and boom assemblies.
|
|
venom1
Full Member
  
Member since: October 2012
Posts: 1,369
Oct 10, 2012 2:40:03 GMT -5
Oct 10, 2012 2:40:03 GMT -5
|
Post by venom1 on Aug 5, 2013 0:09:25 GMT -5
Coming along nicely Rick!  Cheers, Sam  |
|
DeafStuG
Full Member
  
Member since: May 2013
..
Posts: 1,283 
|
Post by DeafStuG on Aug 5, 2013 9:22:50 GMT -5
Rick, Nice work !  |
|
|
|
Post by wbill76 on Aug 5, 2013 17:56:55 GMT -5
Moving along at a good pace here Rick, nice!
|
|
bish
Full Member
  
Member since: January 2013
Horatio Nelson 'I am a Norfolk man, and i glory in being so'
Posts: 555
Jan 13, 2013 8:57:43 GMT -5
Jan 13, 2013 8:57:43 GMT -5
|
Post by bish on Aug 6, 2013 3:25:10 GMT -5
Nice start on this.
|
|
|
|
Post by fightnjoe on Aug 8, 2013 20:22:37 GMT -5
very nice.
joe
|
|
Rick
Full Member
  
Member since: March 2013
what to build, what to build . . . Ok THAT one!
Posts: 854 
|
Post by Rick on Aug 12, 2013 6:47:57 GMT -5
Gotha, give a weekend update on the Gotha. Mostly focused on doing some interior design work. Did some painting, added a few windows, put in a flight deck, worked on some flooring. Here's a few pic's: Cargo doors. Windows have blue mask to protect them from later paint and weathering. 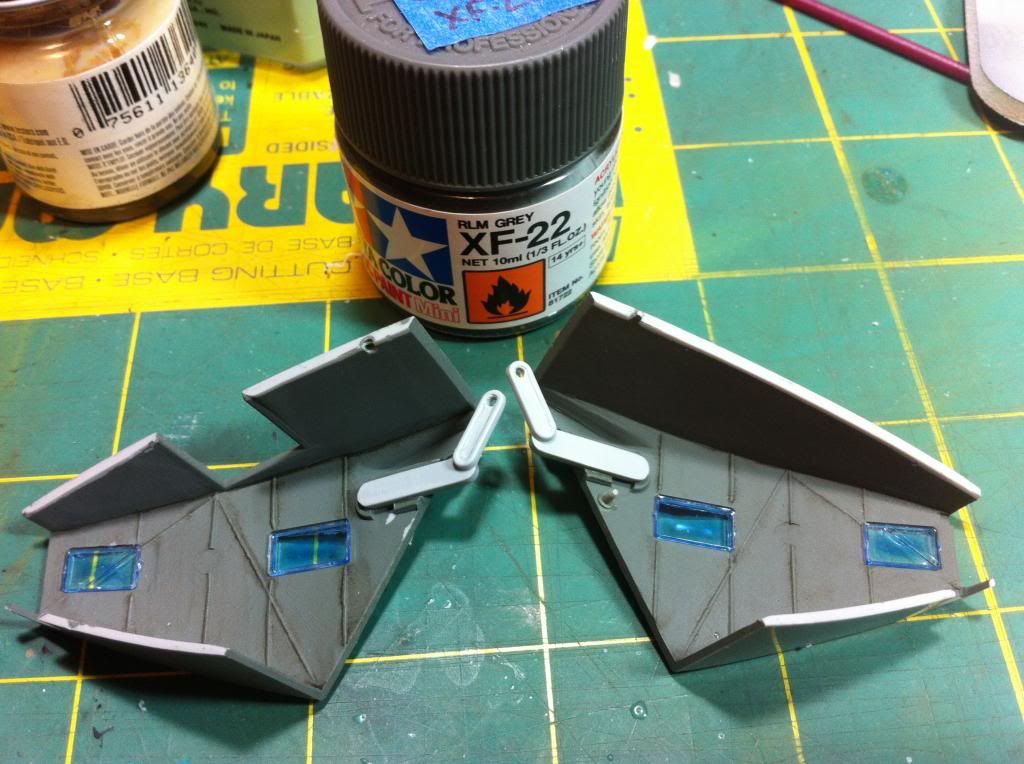 Fuselage gets the same treatment. Not terribly concerned with the mold sinks that will not be visible. Filled the visible ones before painting. Used some AK wash to pick out the framing. More practice with it than anything since it was the first time I've used it. dust and grime comes a bit later. 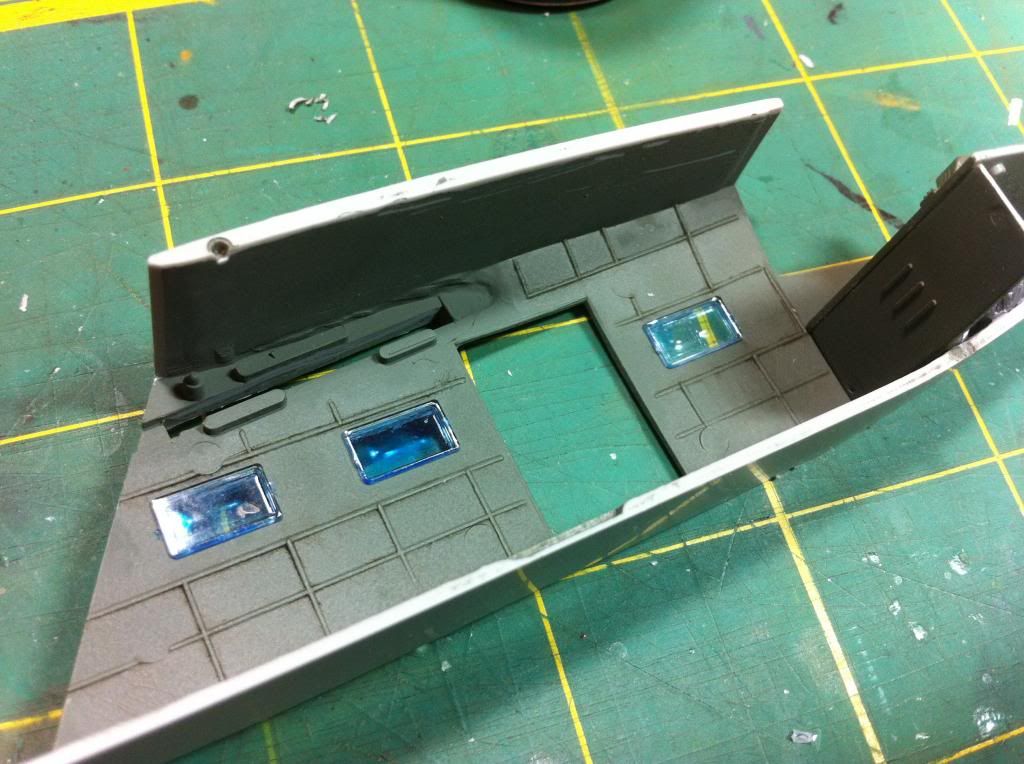 A bit of flooring action for the cargo area  Joined the fuselage and cargo door halves together. Need to work on some seams and internal weathering. Flight deck needs some furniture but it's pretty sparse to begin with. Since the motorized version was converted from the glider version, weight was kept at a minimum. 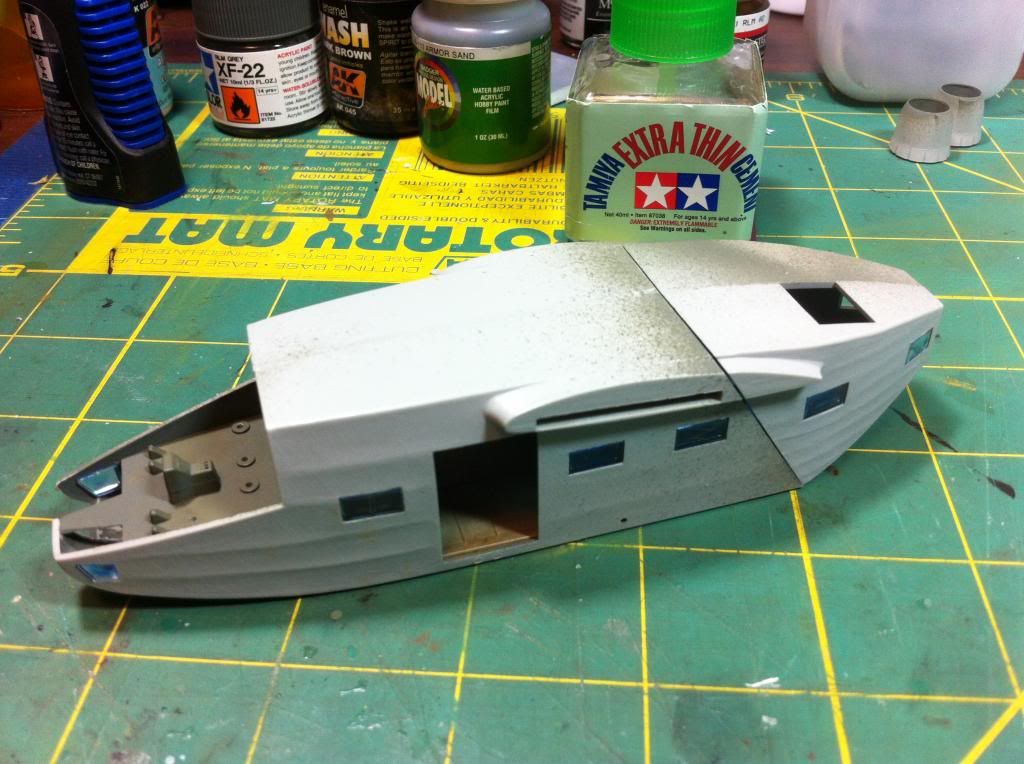 Couldn't resist a peak with the back door up. It's dry fit for now. Weathering a bit later. 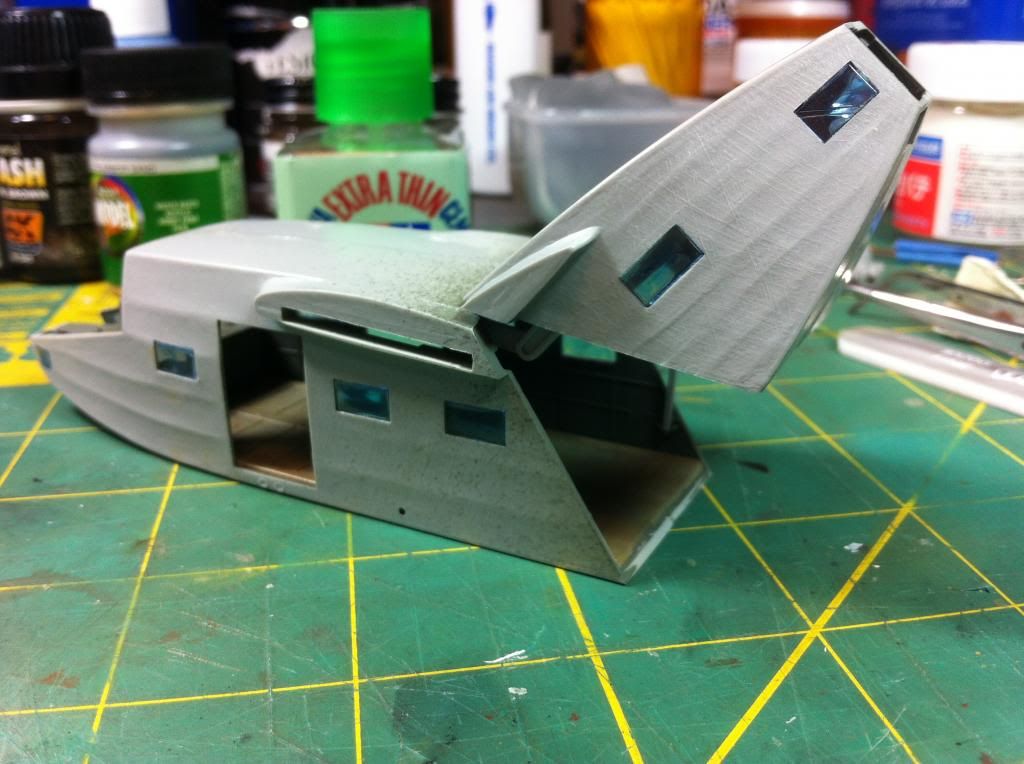 There you go. I'll be working on filling the seams on the fuselage if time permits this week and starting on some engine work. MAybe with luck, some internal weathering. This particular flugzeug participated in the dusty world of Crete and North Africa so dust will be a big part of weathering. More to come. Rick |
|
|
|
Post by Deano on Aug 12, 2013 7:02:52 GMT -5
Cool project , watching with interest  Deano |
|
|
|
Post by wbill76 on Aug 12, 2013 17:59:19 GMT -5
Nice progress Rick! The hatchback open looks cool.
|
|
Rick
Full Member
  
Member since: March 2013
what to build, what to build . . . Ok THAT one!
Posts: 854 
|
Post by Rick on Aug 12, 2013 19:04:00 GMT -5
Thanks Deano and Bill. Just wait till I stick a Kubel' up it's hatch!  |
|
venom1
Full Member
  
Member since: October 2012
Posts: 1,369
Oct 10, 2012 2:40:03 GMT -5
Oct 10, 2012 2:40:03 GMT -5
|
Post by venom1 on Aug 12, 2013 19:44:01 GMT -5
Looking good Rick! What are you using for the window mask? Cheers, Sam  |
|
Rick
Full Member
  
Member since: March 2013
what to build, what to build . . . Ok THAT one!
Posts: 854 
|
Post by Rick on Aug 12, 2013 20:26:39 GMT -5
Thanks Sam. Using a coat of micro mask painted on both sides. The inside is big enough to pull it off after I'm done weathering
|
|