
Post by destrozas on Feb 22, 2014 2:11:53 GMT -5
A while ago a colleague asked me to put how to make homemade belts, also because I have put and I have done I have taken some photos of the process, I'm not really that into this to make a step by step process for me so it is very obvious that there are steps that are easy to intuit that did not do photos.
starting from these pictures start the process


materials:
foil
copper wire this case 0'2mm
scissors and cutter
tweezers
caliper
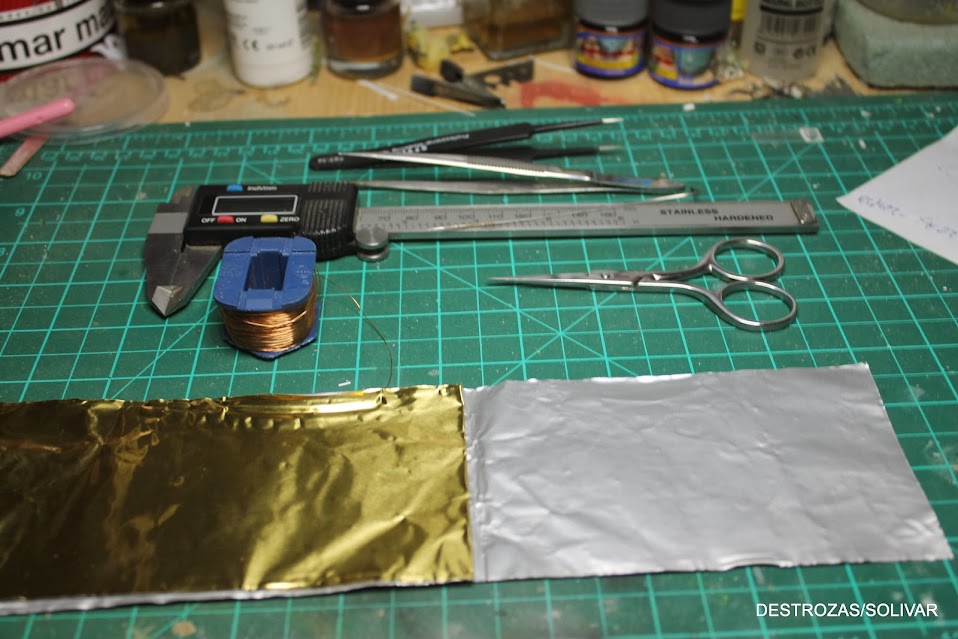
Photo (especially the photo-etched) I get the width you have to have the belts climbing photo in photo-shop.frame with two-piece caliper but first frame and make a cut and after the second frame and do.

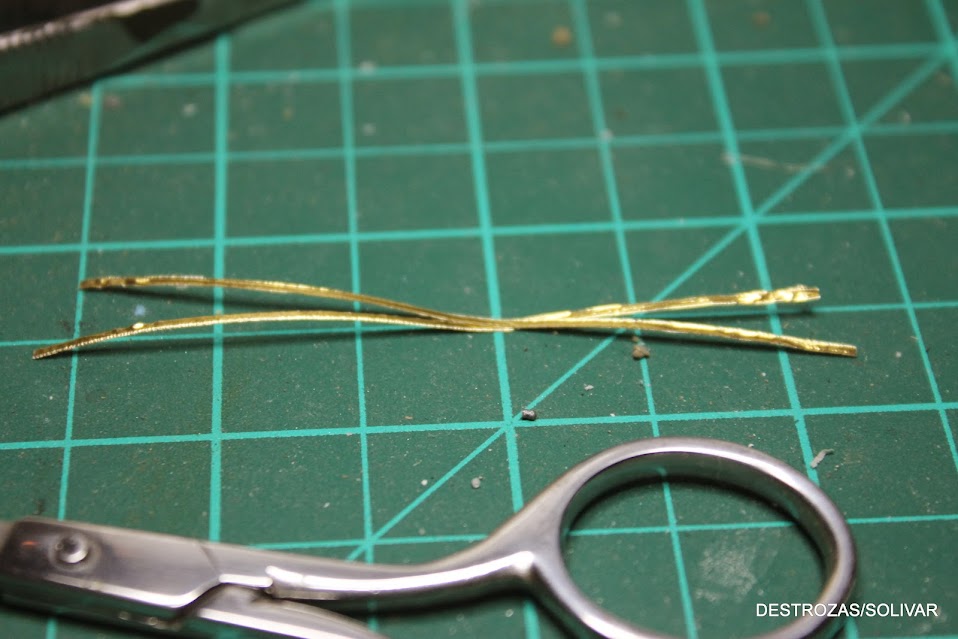
done with tweezers and magnifying glass increases (7 increases that have), I'm doing supporting me way back in the photos and a drawing in auto-cad shape (I made earlier in another model) when part looks like and / or want to do like the cut out, but first you stand up a little masking tape is a piece of which I got to use it somewhere after I masked in another model, so in this way no flies and losing itself. Ask a piece so small with the time it takes me bothers me

I repeat the same make and keep the piece, each one is different to do the two upper and two different identical to each other and different lower to higher.
made all placed one by one in the aluminum strips before cutting.
I give tips on loctite only a few millimeters to make the buckles have a natural fall


each part has its position the top two and the bottom two together just stick in the same strip

short short measure to the lower and upper longest for

the last step is to make the catch and cushion is simple to do, just the cushion piece of aluminum cut to size and glued above the belt and pulling the thread engagement is 0'2mm that shaped bend but u only have 1mm in diameter and two triangles in this wide meanwhile glued to the straps and cables close this.
pickled the universal solvent, acid and after welding, clean for 3 hours in caustic soda, clarify and paint, so even paint with watercolors paint set well on metal

starting from these pictures start the process
materials:
foil
copper wire this case 0'2mm
scissors and cutter
tweezers
caliper
Photo (especially the photo-etched) I get the width you have to have the belts climbing photo in photo-shop.frame with two-piece caliper but first frame and make a cut and after the second frame and do.
done with tweezers and magnifying glass increases (7 increases that have), I'm doing supporting me way back in the photos and a drawing in auto-cad shape (I made earlier in another model) when part looks like and / or want to do like the cut out, but first you stand up a little masking tape is a piece of which I got to use it somewhere after I masked in another model, so in this way no flies and losing itself. Ask a piece so small with the time it takes me bothers me
I repeat the same make and keep the piece, each one is different to do the two upper and two different identical to each other and different lower to higher.
made all placed one by one in the aluminum strips before cutting.
I give tips on loctite only a few millimeters to make the buckles have a natural fall
each part has its position the top two and the bottom two together just stick in the same strip
short short measure to the lower and upper longest for
the last step is to make the catch and cushion is simple to do, just the cushion piece of aluminum cut to size and glued above the belt and pulling the thread engagement is 0'2mm that shaped bend but u only have 1mm in diameter and two triangles in this wide meanwhile glued to the straps and cables close this.
pickled the universal solvent, acid and after welding, clean for 3 hours in caustic soda, clarify and paint, so even paint with watercolors paint set well on metal


