Deleted
Member since: January 1970
Posts: 0
Nov 22, 2024 14:36:52 GMT -5
Nov 22, 2024 14:36:52 GMT -5
|
Post by Deleted on Mar 23, 2012 16:25:10 GMT -5
How do all, Well i have a couple of figures on the bench to finnish and to be honest i'm missing a bit of scratch building so here goes. I've been wanting to do a Sci/fi kind of thing so when this came out i thought it would be ideal. 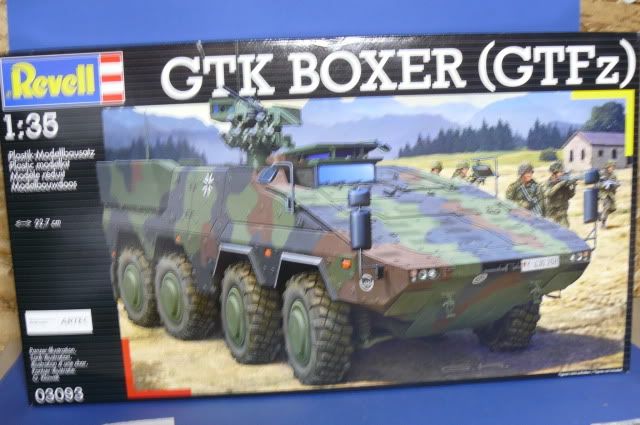 The basic idea is chop it in half and do an APC or a MMWS. I'm not as good as dicky or as fast as most but i'll give it a bash. all ideas or comments welcome guys. mack. |
|
Deleted
Member since: January 1970
Posts: 0
Nov 22, 2024 14:36:52 GMT -5
Nov 22, 2024 14:36:52 GMT -5
|
Post by Deleted on Mar 23, 2012 16:27:22 GMT -5
Give it a go Mack.. I had a similar thought myself  Cheers Steve |
|
|
|
Post by TRM on Mar 23, 2012 16:51:52 GMT -5
Definitely a cool thought there buddy!!! Count me in!!!  |
|
Deleted
Member since: January 1970
Posts: 0
Nov 22, 2024 14:36:52 GMT -5
Nov 22, 2024 14:36:52 GMT -5
|
Post by Deleted on Mar 23, 2012 17:06:27 GMT -5
Good to have you looking in guys.
|
|
multicam
Senior Member
   
Member since: January 2012
Nate
Posts: 2,039
Jan 10, 2012 14:35:41 GMT -5
Jan 10, 2012 14:35:41 GMT -5
|
Post by multicam on Mar 23, 2012 23:32:52 GMT -5
Sounds fun mack! I like the idea of speculative building. Have some ideas percolating myself:) this will be cool:)
|
|
|
|
Post by Mence on Mar 24, 2012 13:21:38 GMT -5
Quite like these, I shall be watching...
|
|
|
|
Post by robbo on Mar 24, 2012 13:22:59 GMT -5
Sounds interesting Mack  |
|
Deleted
Member since: January 1970
Posts: 0
Nov 22, 2024 14:36:52 GMT -5
Nov 22, 2024 14:36:52 GMT -5
|
Post by Deleted on Mar 24, 2012 17:59:01 GMT -5
Hi All, Well i got the ball rolling tonight and got the tub put together it comes in three parts realy. The bottom and two sides. I haven't built a revell kit for about 20 years, The dark green plastic is easy to work with. I don't know about you guys but i've seen more kits ripped apart than built on some other site so as i'm goingto chop this one up i can't realy comment on the fit but so far it all seem to be going fine. I've decided to build the tub then cut it up, no white stuff yet but it's on the bench screaming at me. 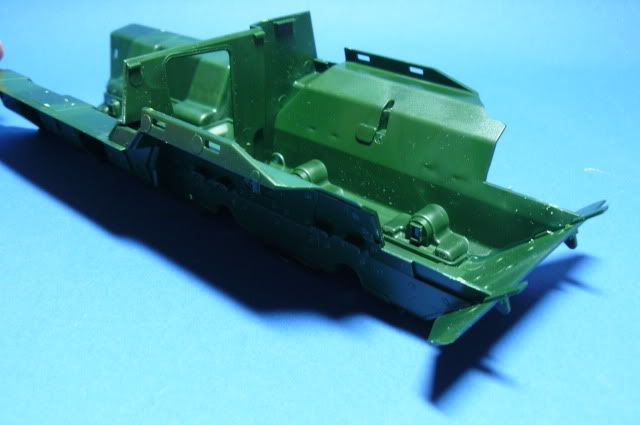 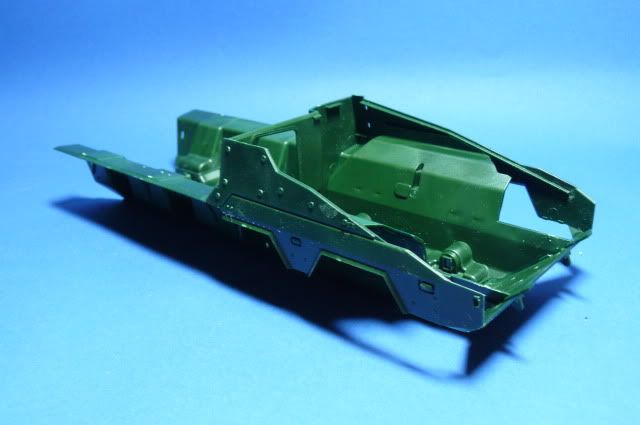 the front armour is only popped on as i couldn't resist.  Again cheers for looking in |
|
gerald44
Junior Member
 
Member since: February 2012
Posts: 85
Feb 6, 2012 18:40:08 GMT -5
Feb 6, 2012 18:40:08 GMT -5
|
Post by gerald44 on Mar 24, 2012 20:47:16 GMT -5
it is already a real competition in this'm even starting in the Scratch and that's why I will follow this project with great interest!
like that, I also learn the techniques you use to get out your model!
I personally find more interresting to'm even changes, this allows to acquire an additional master, which can be more in the future draw sheet assemblies!
good editing and hope to read you for the rest!
friendly gerlald
|
|
Deleted
Member since: January 1970
Posts: 0
Nov 22, 2024 14:36:52 GMT -5
Nov 22, 2024 14:36:52 GMT -5
|
Post by Deleted on Mar 25, 2012 16:42:12 GMT -5
Hi Gerald, It's good to have you looking in. jackwagon, Plans, drawings err no i'm winging it matey. The white shtuff will be started on tomorrow. I wasn't going to do the drivers compartment but as it come with a basic one i'll have a play with it. 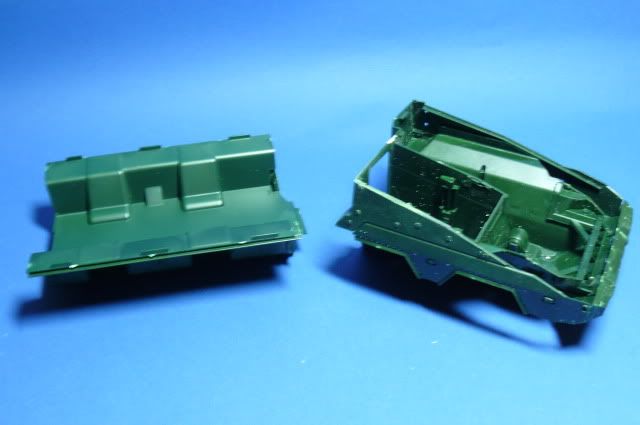 I thought the kit came with a door, it dosen't so thats another job. Or i may just blank it off and have the access for the driver at the Hatch itself. 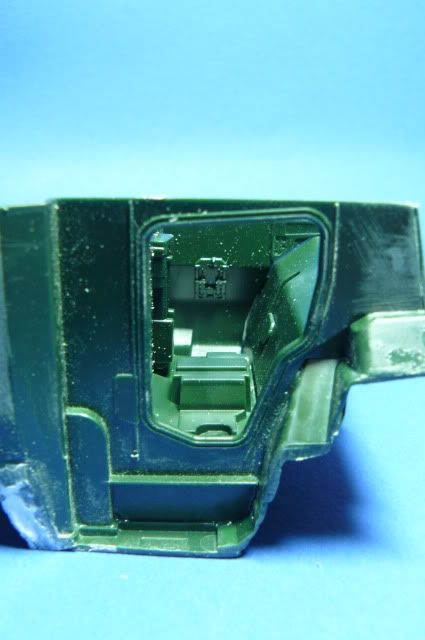 I have chopped some of the kit away as it didn't go with my plan, but this is the basic layout.  If any of you want to have a go at the boxer, good look with the Suspension!! I'm glad i'm choppin this up. |
|
Deleted
Member since: January 1970
Posts: 0
Nov 22, 2024 14:36:52 GMT -5
Nov 22, 2024 14:36:52 GMT -5
|
Post by Deleted on Mar 26, 2012 16:13:40 GMT -5
Well guys, I've spent all night on something your not going to see that well when it's all done. I'm doing a basic drivers compartment, after reading Dicks Twister thread i thought i'd give it a go. That means the drivers hatch will be open. As Harrison ford once said "i'm making this up as i go" 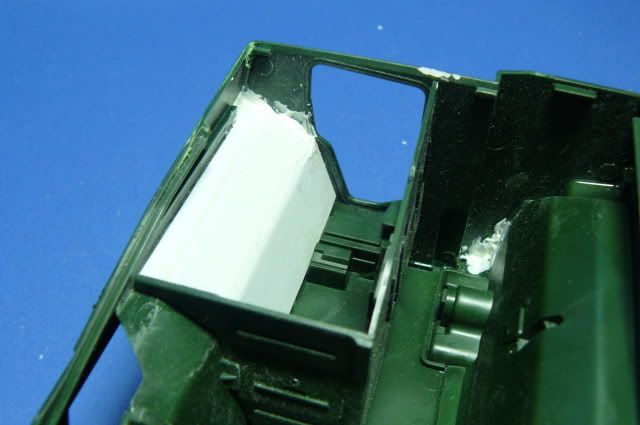 I took the nubbin off the upper hull, this will give me a better area for the drivers hatch. 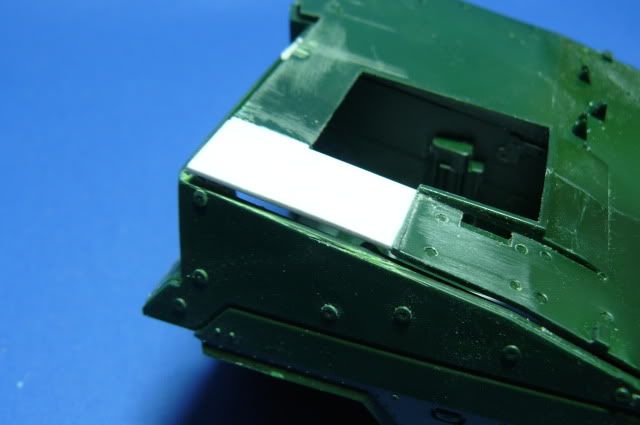 cheers for looking in. Chunky susspension will follow soon. mack |
|
Deleted
Member since: January 1970
Posts: 0
Nov 22, 2024 14:36:52 GMT -5
Nov 22, 2024 14:36:52 GMT -5
|
Post by Deleted on Mar 26, 2012 16:27:00 GMT -5
Dicky,
You must shudder when you read this thread!! I have allready messured twice and cut once and got it wrong!
I'm a little ham fisted to start but i'm hoping it'll look better soon.
|
|
Deleted
Member since: January 1970
Posts: 0
Nov 22, 2024 14:36:52 GMT -5
Nov 22, 2024 14:36:52 GMT -5
|
Post by Deleted on Apr 1, 2012 16:11:32 GMT -5
Hi Guys, Just a short up date, I've spent more time fixing screw ups than getting shtuff done i guess i'm a little out of practice. I never intended to use the front end lights so i've added a bumper to the front. 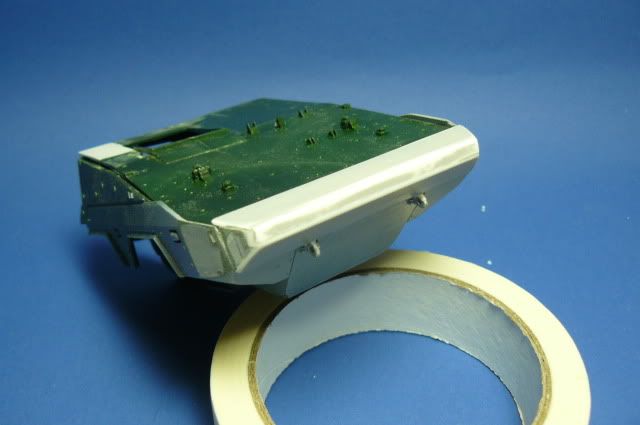 The drivers kit racks done( i think) 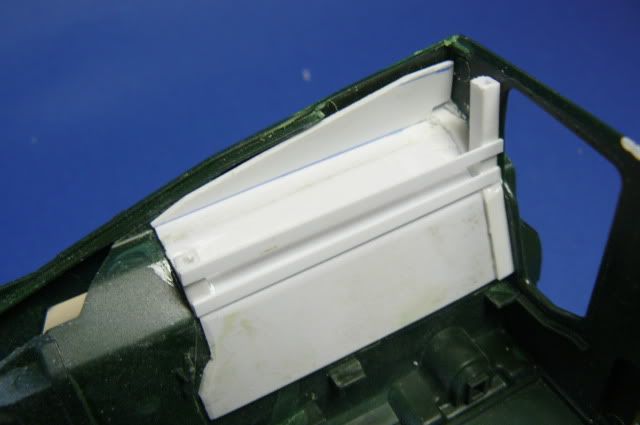 A poor view of the drivers compartment, i've added a, what will be a lcd type screen. (it's the future) 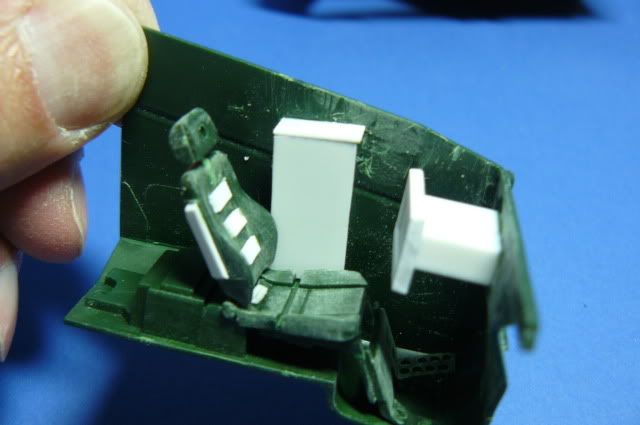 And a shot through the door, i wasn't going to hash an interior but i've ended up doing it. 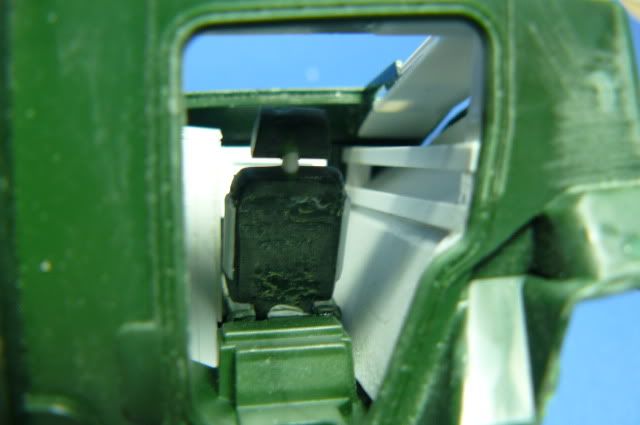 chhers for looking guys |
|
Deleted
Member since: January 1970
Posts: 0
Nov 22, 2024 14:36:52 GMT -5
Nov 22, 2024 14:36:52 GMT -5
|
Post by Deleted on Apr 1, 2012 16:40:25 GMT -5
Hi jackwagon,
Cheers matey, If you see anything that isn't right shout out dude.
|
|
Deleted
Member since: January 1970
Posts: 0
Nov 22, 2024 14:36:52 GMT -5
Nov 22, 2024 14:36:52 GMT -5
|
Post by Deleted on Apr 1, 2012 16:55:55 GMT -5
Yep, theres another screen to add yet and plenty of wires,
For steering i was thinking a joy stick.
It might be sci fi but it's got to be mechanically right if you know what i meen, I was going to put a comanders hatch to the left of the driver but that would leave no room for the power plant and gear box.
cheers
|
|
Deleted
Member since: January 1970
Posts: 0
Nov 22, 2024 14:36:52 GMT -5
Nov 22, 2024 14:36:52 GMT -5
|
Post by Deleted on Apr 4, 2012 17:03:38 GMT -5
All night i've been on with this and i have very little to show for it. To be honest i got carried away only to find the roof wouldn't fit. (oops) heres what new, redone the drivers control screen and added one to his left. 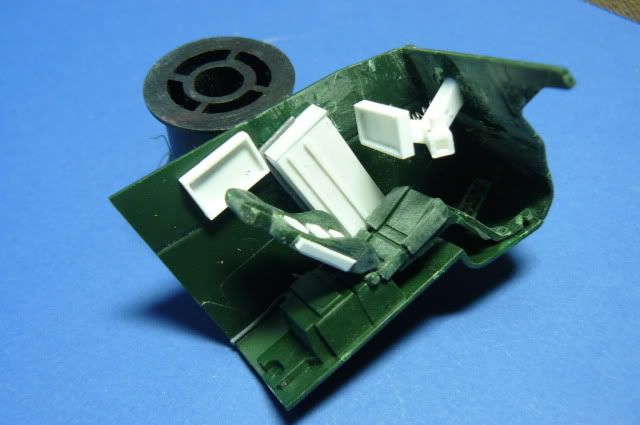 i put some paint on the other bit i've done just to tidy it up. 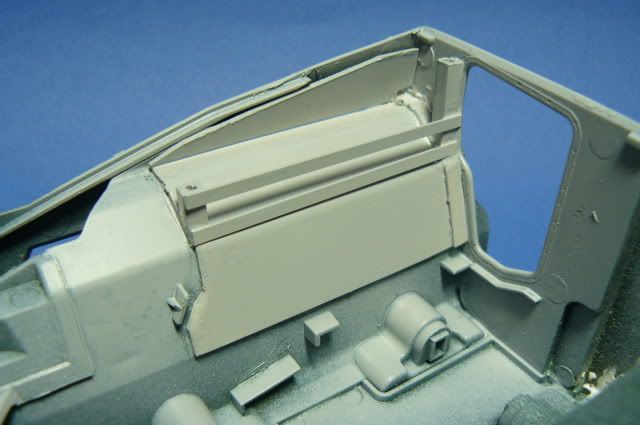 cheers |
|
Deleted
Member since: January 1970
Posts: 0
Nov 22, 2024 14:36:52 GMT -5
Nov 22, 2024 14:36:52 GMT -5
|
Post by Deleted on Apr 4, 2012 17:15:05 GMT -5
Hell that was a quick reply, Thank you Chris. I'm learning as i go again!
|
|
Deleted
Member since: January 1970
Posts: 0
Nov 22, 2024 14:36:52 GMT -5
Nov 22, 2024 14:36:52 GMT -5
|
Post by Deleted on Apr 4, 2012 17:19:56 GMT -5
How do jackwagon,
Yeah i should have offered the part up to the bulk head a couple more time during the buil. Shame as i thought i was onto a winner. Hence the pannel on the left of seat.
|
|
multicam
Senior Member
   
Member since: January 2012
Nate
Posts: 2,039
Jan 10, 2012 14:35:41 GMT -5
Jan 10, 2012 14:35:41 GMT -5
|
Post by multicam on Apr 6, 2012 10:30:48 GMT -5
I'm digging this mack! Cant wait to seewhere you.go with it:)
|
|
|
|
Post by `Boots` on Apr 6, 2012 11:12:54 GMT -5
Watchya Ian.................good too see ya back at it in full swing bud ;D................neat work so far fella and just let ya imagination run wild.................top stuff sir ;D
|
|
jackh.
Full Member
  
Member since: December 2011
Posts: 1,195
Dec 15, 2011 2:51:27 GMT -5
Dec 15, 2011 2:51:27 GMT -5
|
Post by jackh. on Apr 6, 2012 12:39:53 GMT -5
Well Mack count me in I have to see where this go   . |
|
Deleted
Member since: January 1970
Posts: 0
Nov 22, 2024 14:36:52 GMT -5
Nov 22, 2024 14:36:52 GMT -5
|
Post by Deleted on Apr 6, 2012 15:32:06 GMT -5
Hey Nate, Boots,Jack. Noce to have you looking in. Heres where i'm up to. I wasn't going to do any scratchin tonight but i just couldn't stop looking at this thing. I've been thinking of how i was going to do the drivers hatch and the head lights. I was strugling on working around th detail on the kit part so after looking in on Paul H's beach thread i thought sod it i'll cut a new plate. Blank canvas and all that. so, 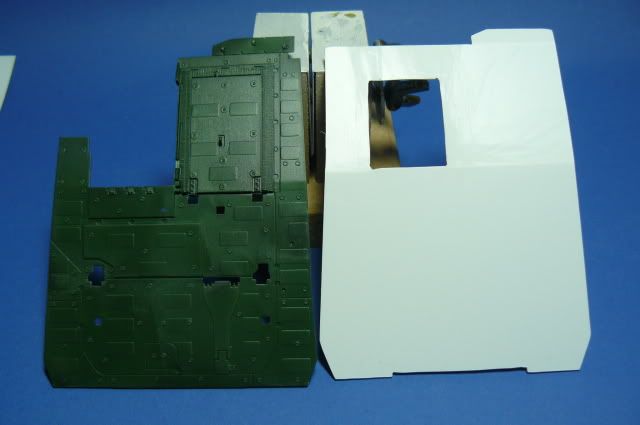 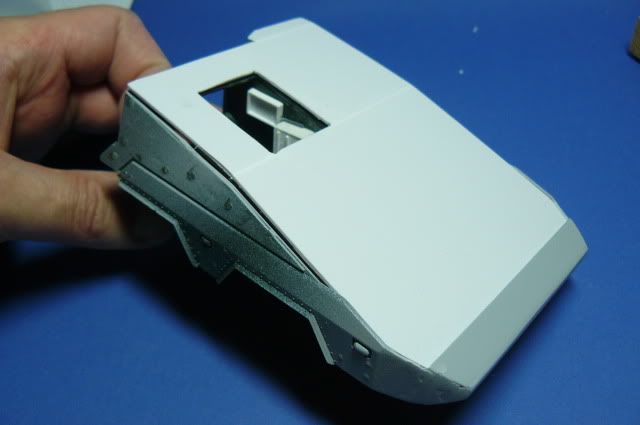 as usual comments welcom. Has any body said this is a great forum yet!! (he he) |
|
Deleted
Member since: January 1970
Posts: 0
Nov 22, 2024 14:36:52 GMT -5
Nov 22, 2024 14:36:52 GMT -5
|
Post by Deleted on Apr 6, 2012 18:59:55 GMT -5
If i'm on the slippery slope jackwagon, i have me spedo's and arm bands at the ready!!
More tomorrow i hope!
mack
|
|
multicam
Senior Member
   
Member since: January 2012
Nate
Posts: 2,039
Jan 10, 2012 14:35:41 GMT -5
Jan 10, 2012 14:35:41 GMT -5
|
Post by multicam on Apr 7, 2012 22:39:46 GMT -5
Cool mack, good one mate. Now you can detail it as you see fit:) = more scratching! Keep on keeping on.
|
|
Deleted
Member since: January 1970
Posts: 0
Nov 22, 2024 14:36:52 GMT -5
Nov 22, 2024 14:36:52 GMT -5
|
Post by Deleted on Apr 8, 2012 15:48:54 GMT -5
Hi MC, Yeah the more detail the better, I can put the hatch on that i've thought about. Now guys i'm not saying for one minute we haven't all had bad nights but if you want to see what one hour ten minutes of effin and jeffin in Macks shed looks like? 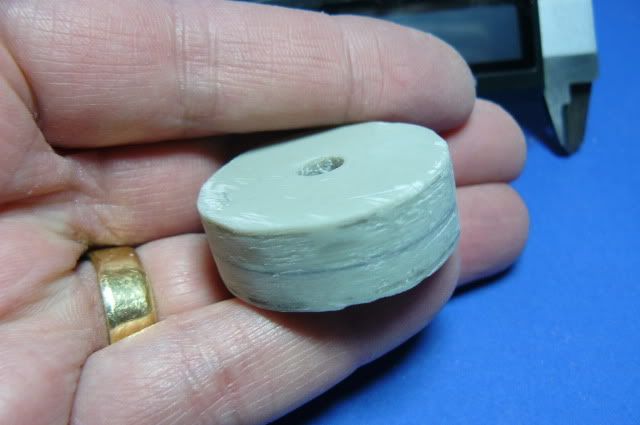 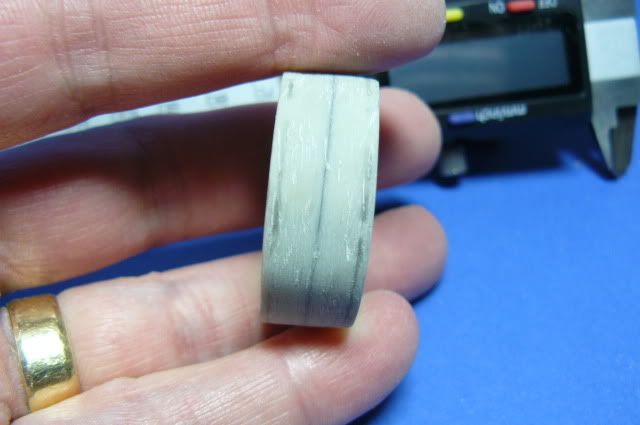 It's the plug for the wheels, More to come tomorrow when i've calmed down.!!! Thanks jackwagon for the idea on your Twister thread. |
|
Deleted
Member since: January 1970
Posts: 0
Nov 22, 2024 14:36:52 GMT -5
Nov 22, 2024 14:36:52 GMT -5
|
Post by Deleted on Apr 9, 2012 15:57:18 GMT -5
HI Guys, Well I'm working as fast as i can on this puppy, and i'm sorry if it's a little scetchy on detail and detailing but i think once the basic shap come together it'll come on quite quickly. I was in the middle of me tea and an idea for the spare wheel popped into my head. Whats that about it's getting obsesive. Heres where i'm up to. The Master for the wheel has been shaped (badly) Just the tread to add later this week. The hub cap is the top of a childs juice bottle (fruit shoot type thingy) 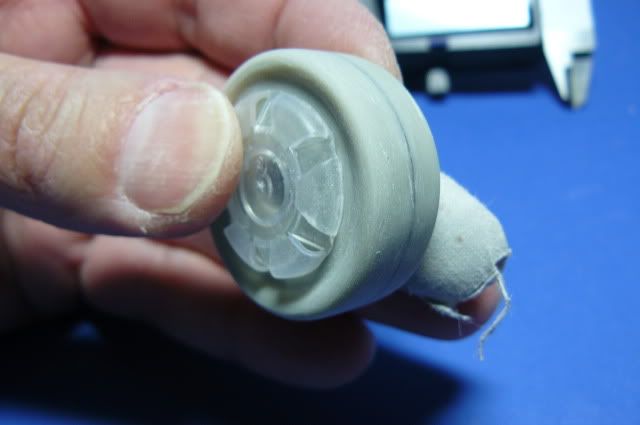 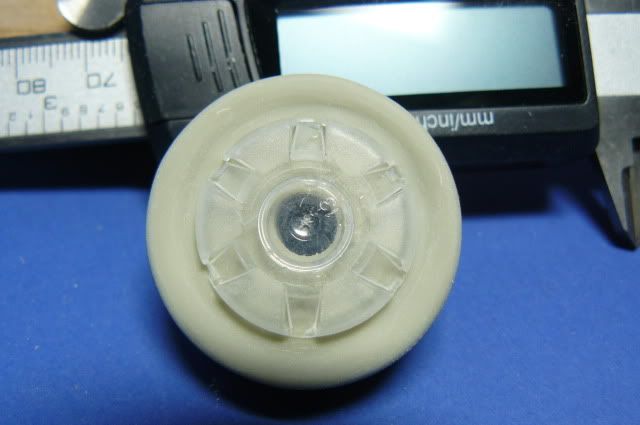 I've started to prepare the lower hull for the rear suspension arms ( now theres a clue?) 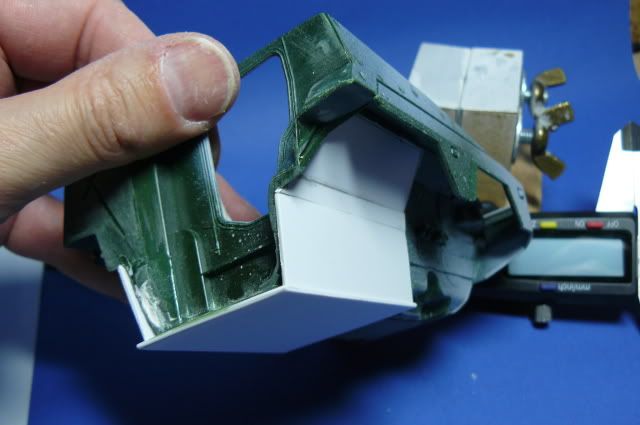 cheers for looking mack |
|
|
|
Post by robbo on Apr 9, 2012 16:12:22 GMT -5
Nice bit of improving there fella
|
|
Deleted
Member since: January 1970
Posts: 0
Nov 22, 2024 14:36:52 GMT -5
Nov 22, 2024 14:36:52 GMT -5
|
Post by Deleted on Apr 9, 2012 16:29:23 GMT -5
Chris, Robbo cheers lads, not a patch on Dicky but this is fun.
jackwagon, I can't lie i sliced my finget cutting the bath seal shuft i spent an hour on this aft. At least it was nice and deep and worth crying about!!
|
|
Deleted
Member since: January 1970
Posts: 0
Nov 22, 2024 14:36:52 GMT -5
Nov 22, 2024 14:36:52 GMT -5
|
Post by Deleted on Apr 9, 2012 16:52:36 GMT -5
Hey Mack.....I can't quite see what your trying to achieve here yet,  ,but I really admire the way you're going about it,and knowing you it'll come out a stunner!! ;D |
|
Thom
Full Member
  
Member since: November 2011
Models Impossible (There is more to come.)
Posts: 439
Nov 16, 2011 12:47:25 GMT -5
Nov 16, 2011 12:47:25 GMT -5
|
Post by Thom on Apr 9, 2012 19:51:35 GMT -5
Mack that is looking great so far, following this along.  It looks a bit like the Space Marines APC from Aliens... Cheers, Thom |
|