madairbrush
Full Member
 November 2012 MoM Winner
Member since: May 2012
Cheers!! Matt
Posts: 488
May 30, 2012 14:22:05 GMT -5
May 30, 2012 14:22:05 GMT -5
|
Post by madairbrush on Feb 14, 2015 8:21:06 GMT -5
Hi MSCers! It`s time for the next project - a SU-100. I took the cheap Revell version, which sucks!!! (costs 17 bugs)  IMG_2723 IMG_2723 by mad_airbrush, on Flickr After I opened the box, I was very disappointed. Ugly rubber tracks and the model itself is not very detailed, too. I don`t want to buy pe parts for such a poor model. I will try to make some of them by my own (with the help of some brass sheets...) 8) Building the engine cover of the tank was really tricky. I justed took a picture of the Aber pe parts for the engine cover, printed it in the right size and used it as a mask for the brass sheet.  IMG_2703 IMG_2703 by mad_airbrush, on Flickr  IMG_2704 IMG_2704 by mad_airbrush, on Flickr  IMG_2714 IMG_2714 by mad_airbrush, on Flickr Because I had no metal grid for it. So I used something else  |
|
|
|
Post by Leon on Feb 14, 2015 8:30:44 GMT -5
Nice work on the engine grill Matt! |
|
sabre
Full Member
Member since: September 2013
Posts: 414 
|
Post by sabre on Feb 14, 2015 8:35:00 GMT -5
The engine cover looks great, nice idea to use a stainer to replicate the grills.
|
|
Jelly
Junior Member

Member since: February 2015
Posts: 84
|
Post by Jelly on Feb 14, 2015 11:01:08 GMT -5
Cool ! Very good job replicating the grill. Good hands with the welder  |
|
madairbrush
Full Member
November 2012 MoM Winner
Member since: May 2012
Cheers!! Matt
Posts: 488
May 30, 2012 14:22:05 GMT -5
May 30, 2012 14:22:05 GMT -5
|
Post by madairbrush on Feb 15, 2015 12:59:20 GMT -5
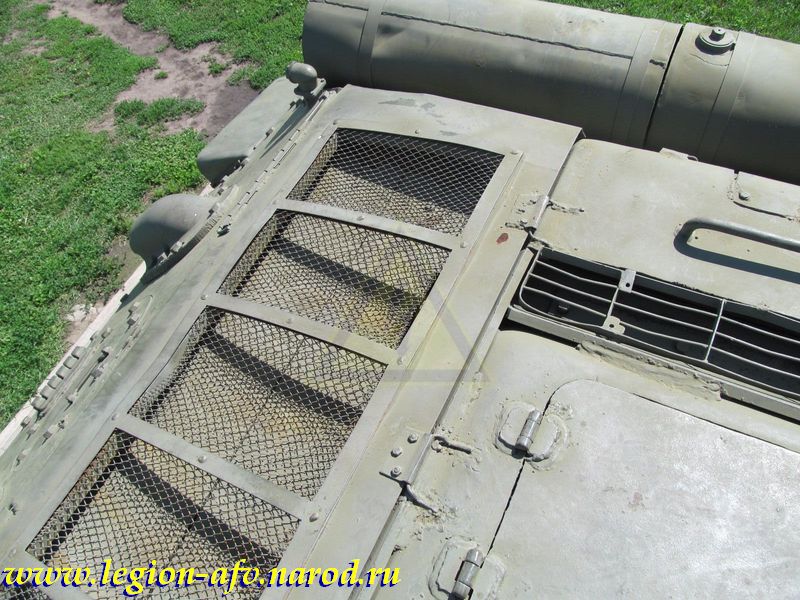
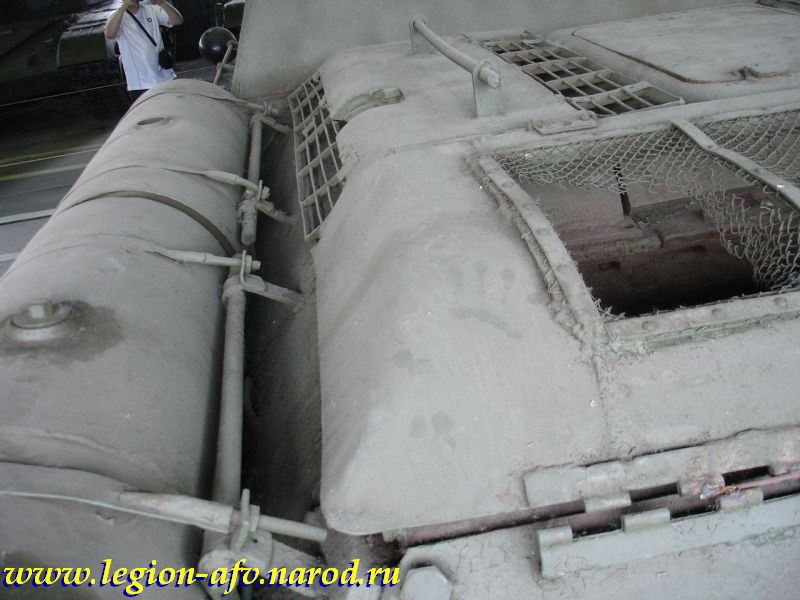
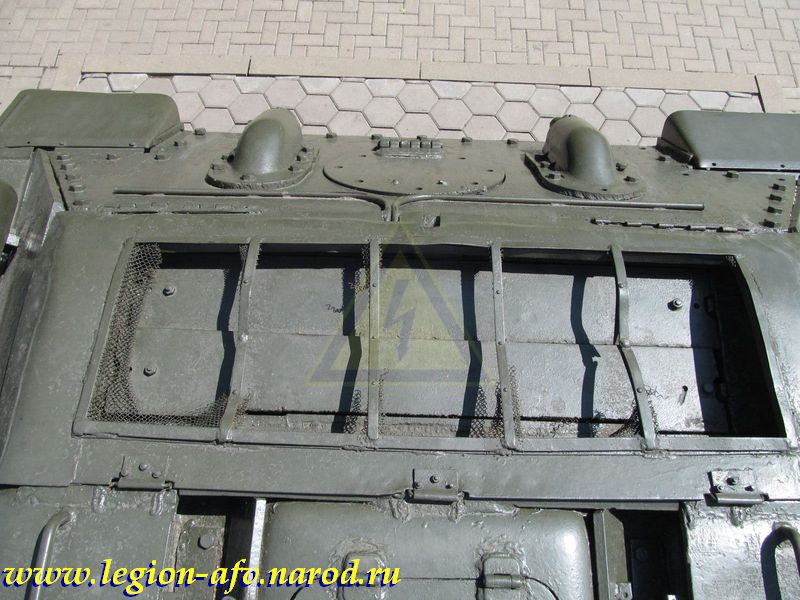
Thanks my friends for the comments. The next step was to make the grills on the sides of the tank. The original plastic version looks terrible. I made my own one. With the help of the DVD "DEALING WITH PHOTOETCH" from Adam Wilder I have seen, how these grills will be made. My version is not as accurate as the pe version in the DVD, but much better than the plastic version of the Revell kit...  IMG_2707 IMG_2707 by mad_airbrush, on Flickr  IMG_2709 IMG_2709 by mad_airbrush, on Flickr  IMG_2712 IMG_2712 by mad_airbrush, on Flickr  IMG_2718 IMG_2718 by mad_airbrush, on Flickr  IMG_2724 IMG_2724 by mad_airbrush, on Flickr  IMG_2726 IMG_2726 by mad_airbrush, on Flickr |
|
|
|
Post by bullardino on Feb 15, 2015 13:12:11 GMT -5
Interesting project, I'm in |
|
S e r z h
Full Member
Member since: November 2014
RIP- December 2023
Posts: 650
|
Post by S e r z h on Feb 15, 2015 13:58:02 GMT -5
madairbrush - hello. On the model of the strip and the frame around the mesh is very broad. Successes in the building!   
|
|
madairbrush
Full Member
November 2012 MoM Winner
Member since: May 2012
Cheers!! Matt
Posts: 488
May 30, 2012 14:22:05 GMT -5
May 30, 2012 14:22:05 GMT -5
|
Post by madairbrush on Feb 15, 2015 14:17:31 GMT -5
@serzh: That`s right, but I didn`use pe part, which are in the correct form, size and all the details. I made the parts with brass, and cutting this stuff with scissors is not so easy. So the size and amount of detail is limited. I used the plastic engine cover from the kit as reverence and it is nearly the same thickness...
I`m not sure, weather I should add the tiny rivets, too.
|
|
sabre
Full Member
Member since: September 2013
Posts: 414
|
Post by sabre on Feb 15, 2015 19:46:59 GMT -5
It's definitely an improvement over the kit's parts that's for sure Matt and I reckon it turned out pretty good but I'm no rivet counter. There's a Walk Around on Prime Portal that might be of interest to you, I thought the grab rails might be nice touch and look easy enough to make. That's a invaluable tutorial that Adam Wilder has put together if you are new to working with PE like myself, there's a Russian Version floating around on YouTube and I see Adam is bringing out some interesting new products. |
|
|
|
Post by wbill76 on Feb 15, 2015 20:50:39 GMT -5
Looks like a nice DIY fixer-upper! Off to a good start with those grilles and intakes. While they may not be 100% to-scale, that's still some nice assembly work. |
|
S e r z h
Full Member
Member since: November 2014
RIP- December 2023
Posts: 650
|
Post by S e r z h on Feb 16, 2015 3:13:00 GMT -5
Hi to all! On the complexity of working with copper or brass materials as I know. I'm not talking about the small (0.1) photo etching, and a thick piece of metal (0.2 0.3), the one that you used. Yes, it is twisted in the spring. It's a long and hard to fix. As an alternative, suggested not to cut with scissors, and cut scriber. Although it is not easy to rectify than the spring. Possible to use thinner metal. Or cut from a thin plastic - is possible. You get a lovely little grid. On their background framing a large grid does not look so good. But this is my opinion, and only mine. You like the result - is the most important thing !!! 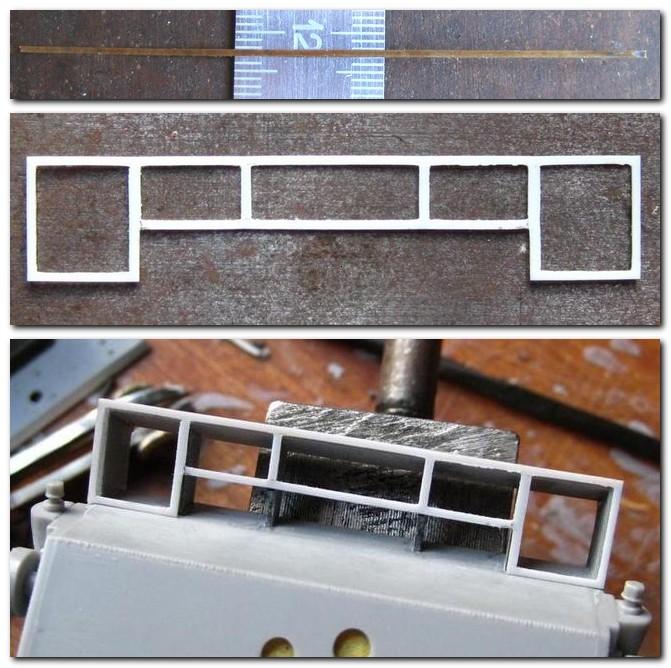 |
|
madairbrush
Full Member
November 2012 MoM Winner
Member since: May 2012
Cheers!! Matt
Posts: 488
May 30, 2012 14:22:05 GMT -5
May 30, 2012 14:22:05 GMT -5
|
Post by madairbrush on Feb 16, 2015 17:03:03 GMT -5
|
|
|
|
Post by Leon on Feb 16, 2015 17:11:35 GMT -5
Great improvement over the kit grill Matt! Looking good. |
|
|
|
Post by wbill76 on Feb 16, 2015 17:15:15 GMT -5
V2 looks even better Matt. |
|
|
|
Post by deafpanzer on Feb 16, 2015 19:12:13 GMT -5
BRILLIANT PE work!
|
|
coro69
Full Member
Member since: January 2015
Posts: 351
|
Post by coro69 on Feb 16, 2015 19:30:31 GMT -5
respect for your scratch brass work...
|
|
S e r z h
Full Member
Member since: November 2014
RIP- December 2023
Posts: 650
|
Post by S e r z h on Feb 17, 2015 3:14:41 GMT -5
Respect!!! Without a doubt, the version 2.0 is much better! I'm glad that you heard me |
|
|
|
Post by bullardino on Feb 17, 2015 3:17:35 GMT -5
I agree this one looks much better. Great job!
|
|
madairbrush
Full Member
November 2012 MoM Winner
Member since: May 2012
Cheers!! Matt
Posts: 488
May 30, 2012 14:22:05 GMT -5
May 30, 2012 14:22:05 GMT -5
|
Post by madairbrush on Feb 17, 2015 11:35:55 GMT -5
Thanks to all of you, especially to you, Serzh. I am glad, making the second version of the engine cover.
The result is, that I will make much more improvments with brass, to make this poor Revell kit more interesting. I will also make the fenders and the storage boxes...
But there is one big question: How shall the tank look in the end?
I like the rustbuckets and I have seen many interesting pictures of rusted SU-100. But a used aged tank is interesting, too. The russion version, a winter camo or a german "Beute SU-100". I don`t know...
What do you guys think, what`s your favour?
|
|
|
|
Post by TRM on Feb 17, 2015 12:41:47 GMT -5
Beat it up!!! But then again, you knew I would say that. Lol. Great job so far Matt. Adam ' s dvd is great it's a shame someone pirated it and put it on you tube....still good though. Keep up the good work my friend. Clean, beat or abandoned, I know it will look great!
|
|
madairbrush
Full Member
November 2012 MoM Winner
Member since: May 2012
Cheers!! Matt
Posts: 488
May 30, 2012 14:22:05 GMT -5
May 30, 2012 14:22:05 GMT -5
|
Post by madairbrush on Feb 21, 2015 17:13:12 GMT -5
Hi folks, the last days, I spent with the engine grills and a few details under the engine cover/ grills. It`s not perfect, but with my limited scratch build skills, I think it comes out pretty well. The question is, how much is visible when it`s finished... I am sure with a pe set it would be much easier and faster ... !  IMG_2744 IMG_2744 by mad_airbrush, on Flickr  IMG_2747 IMG_2747 by mad_airbrush, on Flickr |
|
|
|
Post by bullardino on Feb 21, 2015 17:46:43 GMT -5
Very nice |
|
|
|
Post by Leon on Feb 21, 2015 18:36:41 GMT -5
Nice scratch work Matt! |
|
|
|
Post by TRM on Feb 21, 2015 19:06:37 GMT -5
Grills look great Matt! Nice bit of scratchin'!! |
|
madairbrush
Full Member
November 2012 MoM Winner
Member since: May 2012
Cheers!! Matt
Posts: 488
May 30, 2012 14:22:05 GMT -5
May 30, 2012 14:22:05 GMT -5
|
Post by madairbrush on Feb 22, 2015 13:44:01 GMT -5
I do my best, but I will never reach the skills of Dicky or Serzh...  But I learn more and more about these technique. |
|
S e r z h
Full Member
Member since: November 2014
RIP- December 2023
Posts: 650
|
Post by S e r z h on Feb 22, 2015 14:07:15 GMT -5
Why so pessimistic? Although I am often believe that I could never do what others are doing ... But after numerous attempts all turns))) Not always of course))) I read your answer. Experiment with the proportions. Little soda - featureless terrain. Many - not durable coating may begin to crumble. At times, the shortage of soda, I'm just rolling in her hands, as if salt to eggs... "correct" relief, untreated surface, which can be seen that after drying the mixture can be seen in the first photo. The second - after treatment with sandpaper. Plus, liquid paint to control quality. Especially this method is good, unlike epoxy putty - the procedure can be repeated again and again, forever. Adding relief or vice versa smoothing.  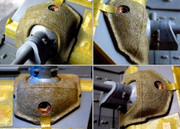 |
|
|
|
Post by wbill76 on Feb 22, 2015 15:25:34 GMT -5
Making good progress here! The only way forward is to try and sometimes try, and try, then try again! At the very least you then learn what doesn't work... |
|
coro69
Full Member
Member since: January 2015
Posts: 351
|
Post by coro69 on Feb 22, 2015 15:49:48 GMT -5
only doin makes us better... your scratch work looks great
|
|
madairbrush
Full Member
November 2012 MoM Winner
Member since: May 2012
Cheers!! Matt
Posts: 488
May 30, 2012 14:22:05 GMT -5
May 30, 2012 14:22:05 GMT -5
|
Post by madairbrush on Feb 23, 2015 16:21:33 GMT -5
Good evening gents, today I tried the technique of Serzh to get a rough structure... With the Revell putty/ tinner these effect didn`t work as good as the work of Serzh. The funny point is, the thinner and the putty are not really compatible. As I mixed it together, it starts to react, but after a few seconds it looks like an old chewing gum... So I mixed only the soda with the putty and used it on the tank to get a rough structure. I also used platic glue and an old brush to add some more fine structures.  IMG_2757 IMG_2757 by mad_airbrush, on Flickr  IMG_2756 IMG_2756 by mad_airbrush, on Flickr |
|
|
|
Post by Leon on Feb 23, 2015 17:06:30 GMT -5
Nice work on the texturing Matt! |
|