|
|
Post by dupes on Mar 26, 2015 12:45:04 GMT -5
Looks real solid for 1/72! I agree...it would be awfully easy to convert 100% to braille scale a la Deano.  |
|
|
|
Post by deafpanzer on Mar 26, 2015 12:49:04 GMT -5
Scary about those tiny wheels... looking pretty cool!
|
|
desertrat
Full Member
  
Member since: October 2013
Posts: 934 
|
Post by desertrat on Mar 26, 2015 15:00:24 GMT -5
wooohh, this is looking fantastic!!!
|
|
|
|
Post by wing_nut on Mar 26, 2015 15:46:53 GMT -5
Since I'm not doing a "7" there is no pressure  but I did make a start. Pics later. Looks good. |
|
|
|
Post by Deano on Mar 26, 2015 19:30:09 GMT -5
Looks real solid for 1/72! I agree...it would be awfully easy to convert 100% to braille scale a la Deano.  Its the likes of Dragon and Revell that keep me so keen , having said that there are a few brands coming up through the ranks . IBG do some great Brit and Polish stuff , also modelcollect are bring out loads of cold war soviet kits along with Paper Panzers . I have examples of these kits in the stash , the detail and quality is outstanding . Once they get better ranges then Dragon , Revell better watch out ! or up thier game  |
|
|
|
Post by wing_nut on Mar 27, 2015 8:54:28 GMT -5
Jeez I didn't realize how tiny this thing is until I realized how tiny it is  And freakin' delicate. I've already had to make some things I broke getting the parts off the sprues. A couple of tiny details that I thought would be easier the add back on than try to sand around. A few sink holes to fill here and but so far flash free. A part count that belies it's puny size and very well detailed. A few parts I would have engineered differently so get rid of some seams but it's a sweet little kit. 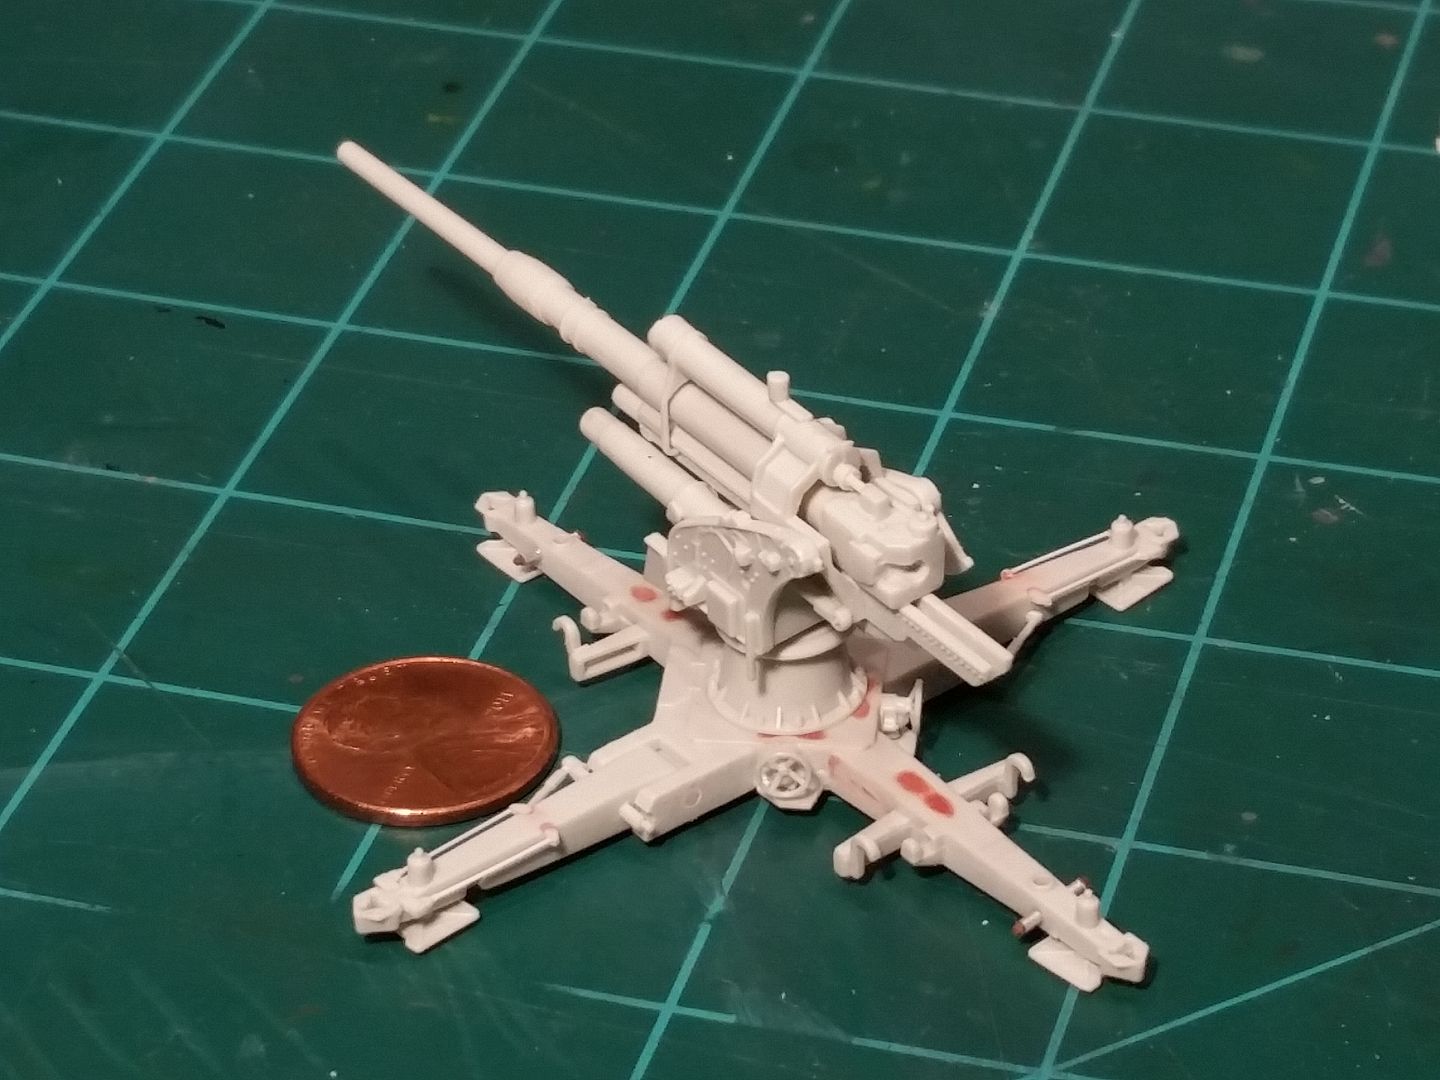 The instructions are a Little confusing though. The steps get most o the gun and cradle built with a couple small parts, some sort of piston, that moves as the gun raises and lowers. There isn't any provision to make these workable but it's not until the next page that gun position,"Firing" or "Driving", is discussed. Because of the high velocity and flat trajectory that made the Germans decide this would work well as an anti-tank weapon I am going with the what they call driving for my firing configuration and the barrel pointing flat down range. Dennis, since we are both doing this for the Barbarossa GB should we ask a mod to move the thread there? |
|
BJ---Rest In Peace
Full Member
   Oct '24 Showcased Model Awarded
Member since: July 2014
Posts: 378
Jul 24, 2014 12:31:35 GMT -5
Jul 24, 2014 12:31:35 GMT -5
|
Post by BJ---Rest In Peace on Mar 27, 2015 9:03:44 GMT -5
Looking great,, I have no clue how you can even see all that..
|
|
|
|
Post by wing_nut on Mar 27, 2015 9:57:36 GMT -5
Thanks Billjean. yes it's small but it can also be said that it's huge... 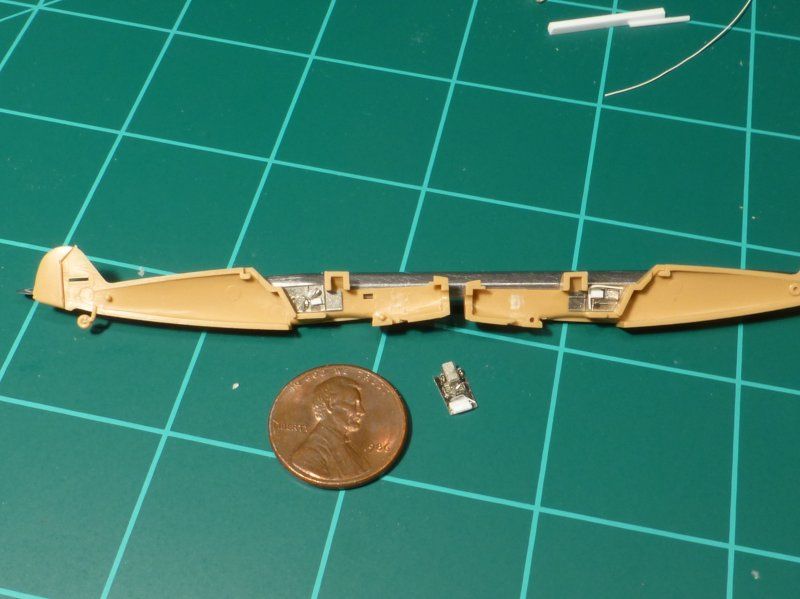 |
|
|
|
Post by Deano on Mar 27, 2015 10:54:13 GMT -5
In like Flyn Marc , you are banging this one out mate , good job !
|
|
|
|
Post by wbill76 on Mar 27, 2015 15:08:17 GMT -5
Didn't imagine it would take long for you to catch up Marc. Looking good on the 88!
|
|
|
|
Post by wing_nut on Mar 27, 2015 21:08:43 GMT -5
Deano, Bill.... Thanks lads. Had a little time before my jobs today to play around with the spent shells that will be strewn around the emplacement. Did some figurin' and some gozintas and came up with a diameter of about 1.2mm and a length of about 3/8". I just happen to have some 1.2 mm brass tube. I punched some little circles for the base and they're ready convincing. Deano., that idea of casting them won't work I don't think due to the tiny size. I'll get a pic up soon.
|
|
|
|
Post by TRM on Mar 27, 2015 22:42:20 GMT -5
Wow fellas...both of your guys are doing a fine job! Excellent looking set of 88's fir sure!
|
|
|
|
Post by wing_nut on Mar 28, 2015 11:40:59 GMT -5
|
|
|
|
Post by Deano on Mar 28, 2015 12:11:40 GMT -5
Nice work Marc , the shield is going to look much better and I can imagine the finish with all those shells littered !
|
|
|
|
Post by Leon on Mar 28, 2015 13:30:20 GMT -5
Nice work on the shield and shells Marc  ! Going to look great littered about.  |
|
|
|
Post by wing_nut on Mar 28, 2015 19:26:42 GMT -5
Deano, Leon... thanks guys.
|
|
|
|
Post by deafpanzer on Mar 28, 2015 23:25:50 GMT -5
Love those shells!!!
|
|
|
|
Post by TRM on Mar 29, 2015 5:48:05 GMT -5
Nice bid on the plate Marc!! Much better! Same with the shells!! Beats buying and waiting for them for sure!!  |
|
|
|
Post by wbill76 on Mar 29, 2015 11:40:54 GMT -5
Can't beat that solution for your own shells, nice! As for doing things the 'easy way', I don't think that's in your vocabulary...I mean after the whole drip pan incident and all...  |
|
|
|
Post by wing_nut on Mar 30, 2015 14:05:05 GMT -5
Thanks guys. Ah yes, the drip pan incident LOL Me thinks you know me too well.  Okidoki I'll have to go over the sheet again but I think I finally got all the gun done. Again I have to say... some superb detailing in this kit. Might even get some gray on this tonight. maybe a black primer 1st to get some depth down in there. 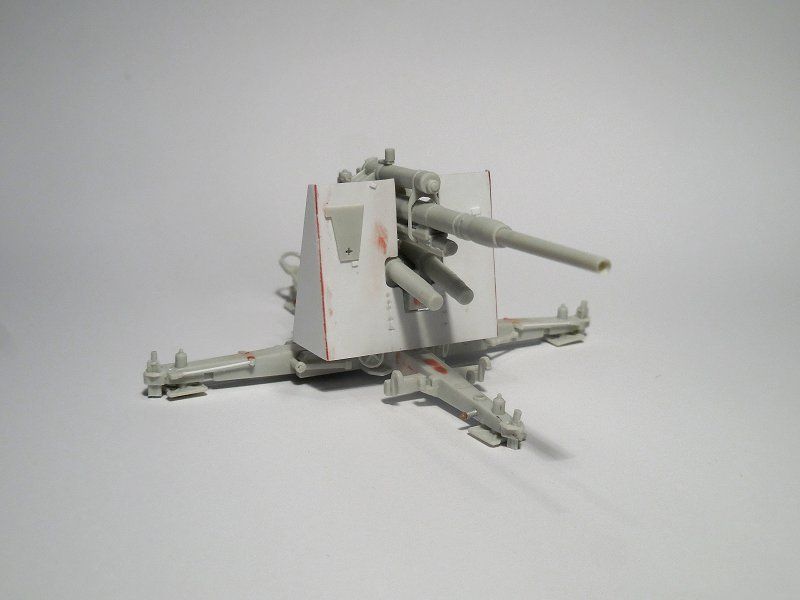 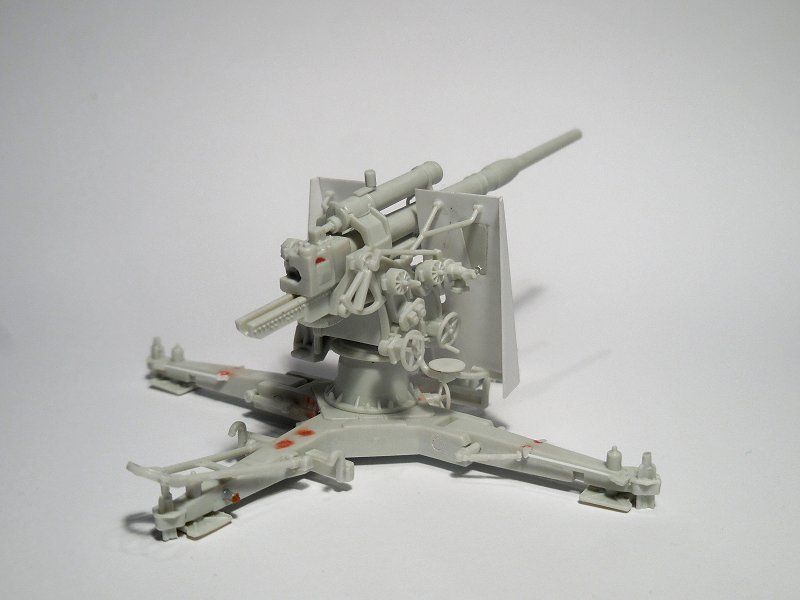 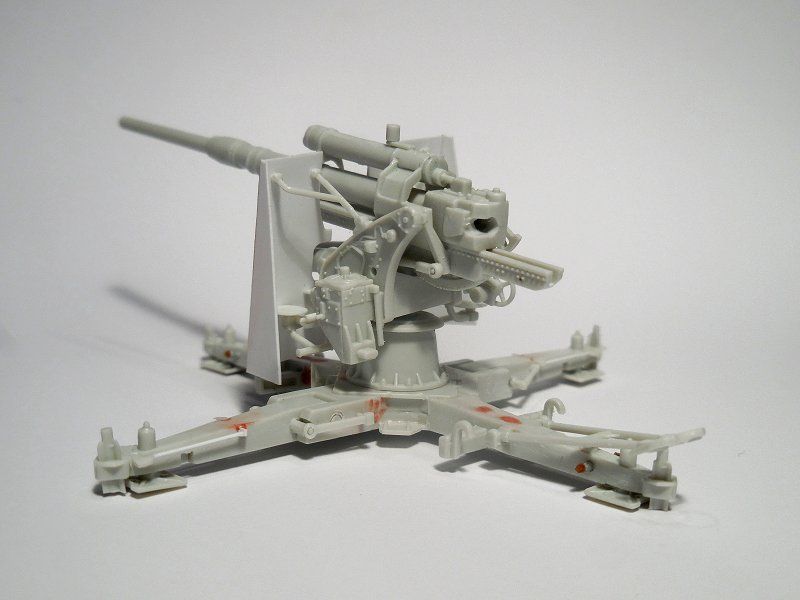 |
|
|
|
Post by dupes on Mar 30, 2015 16:50:08 GMT -5
Looks good man!
|
|
|
|
Post by bbd468 on Mar 30, 2015 18:29:59 GMT -5
great works fellas! Some spiffy scratch work there Marc.  |
|
|
|
Post by wbill76 on Mar 30, 2015 18:57:07 GMT -5
Looking good Marc, bring on the paint!
|
|
|
|
Post by wing_nut on Mar 31, 2015 6:01:08 GMT -5
Marc, Gary, Bill... thanks so much fellas. Fell asleep  early last night so no paint  But I am full of piss and vineagar this morning. Interesting expression. How did that get from, "I STINK!" to "I ready for anything." |
|
|
|
Post by wing_nut on Apr 1, 2015 11:02:06 GMT -5
All righty then... primer and paint. First Mr. Surfacer 1200 black primer. The Tamiya German Gray lightened a bit for scale effect and very "directionally" (yeah, I made that word up... what of it?  ) sprayed to leave some shadowy areas. Then even lighter gray sprayed even more "directionallyer"  Finally lightened again and very thin, almost filter dilution, spraying a cloud straight down from the top. No clue how to get it show in the pics but the effect worked well. Lots of depth for a tiny little thing. Had to haul out the giant penny. 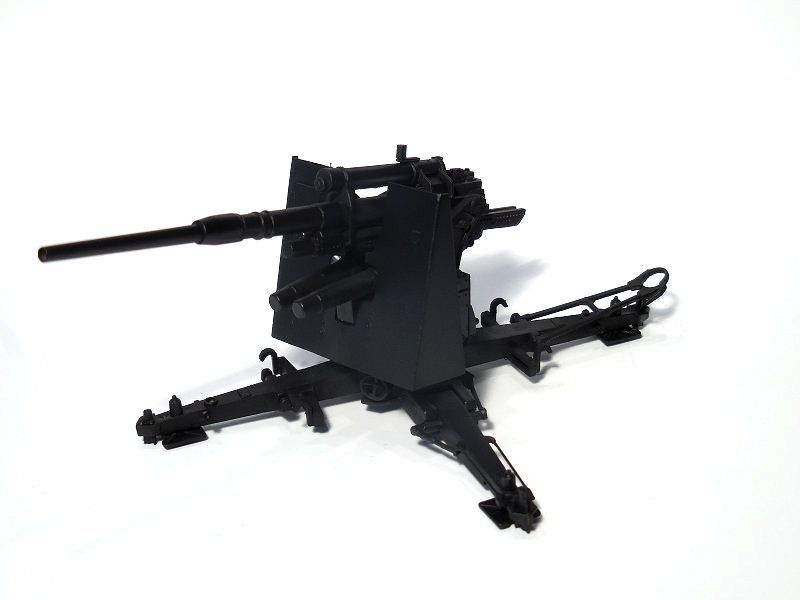 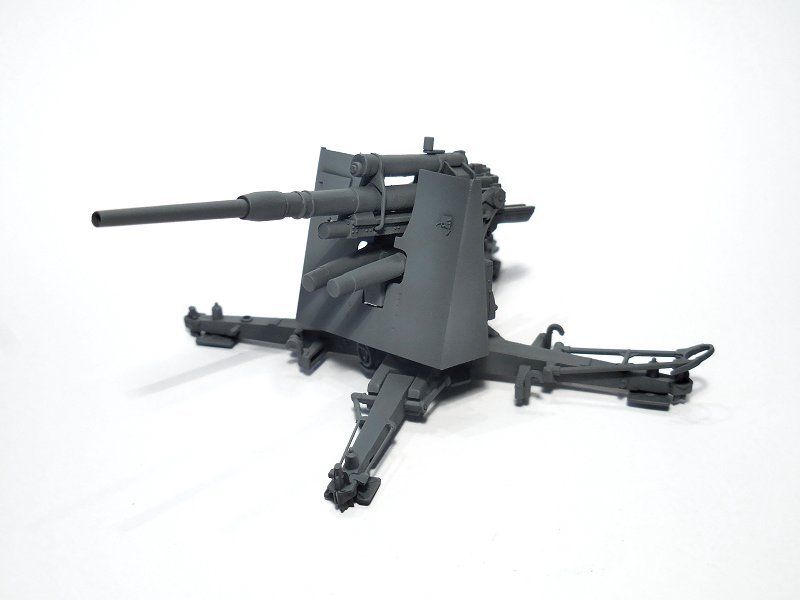 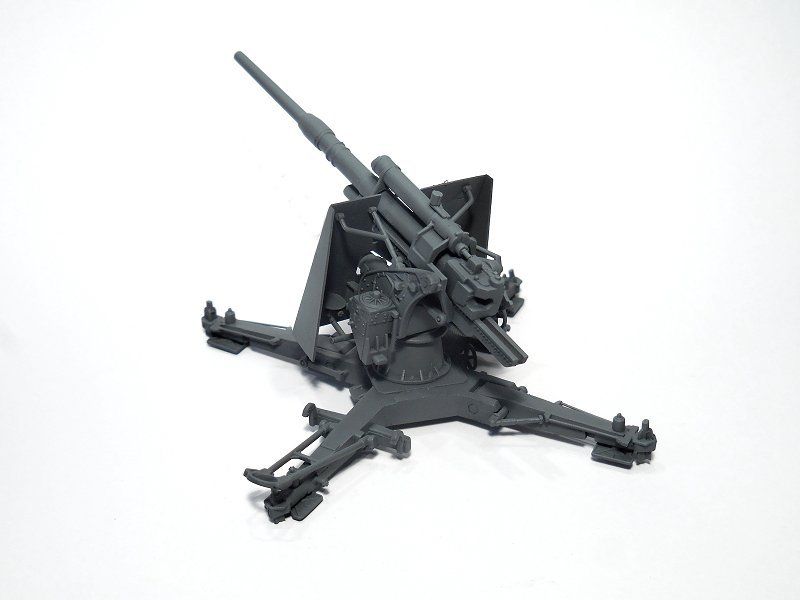 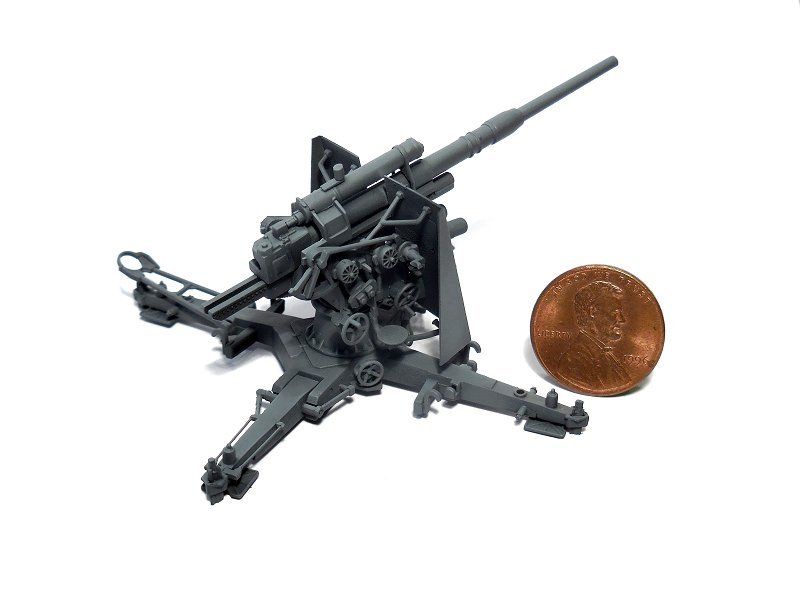 |
|
|
|
Post by wbill76 on Apr 1, 2015 19:01:08 GMT -5
Looks good with paint on even if you're inventing new vocabulary in the process!
|
|
|
|
Post by Leon on Apr 1, 2015 19:28:45 GMT -5
Looking really good with paint on Marc!  |
|
|
|
Post by JimD on Apr 1, 2015 23:25:09 GMT -5
That impressive for its size. Wow...I'd just have pieces glued to my fingers. Paint looks great.  |
|
DennisM
Full Member
  
Member since: January 2012
Posts: 214
Jan 24, 2012 8:18:54 GMT -5
Jan 24, 2012 8:18:54 GMT -5
|
Post by DennisM on Apr 2, 2015 6:15:50 GMT -5
Uh-Oh. It looks like I am the one that has some catching up to do.
Actually I have made some progress on the Sdkfz. 7 and will get some pics up soon.
Marc, are you going to be building the trailers for the gun?
|
|
|
|
Post by wing_nut on Apr 2, 2015 8:15:32 GMT -5
Thanks Bill. Glad you enjoyed the verballificationness. Oh yeah, and the paint too.
Thanks Leon. I always like the part of getting that first layer down.
Thanks Jimmy. The trick is to glue the tweezers to you fingers 1st.
Dennis, there you are! Was wondering where you had gotten off to. I've been looking at emplacement pics on line. The good part is having that references tool available. the bad is trying to make a decision once you've looked at dozens and dozens of pics. Some have the wheels, some don't. I am leaning towards putting them off to the side.
Question. What was wound up on the 2 large spools on the fenders of one of the sets of wheels? Rope? Cable? Any idea what they would have used that much of ether for?
|
|