multicam
Senior Member
   
Member since: January 2012
Nate
Posts: 2,039
Jan 10, 2012 14:35:41 GMT -5
Jan 10, 2012 14:35:41 GMT -5
|
Post by multicam on Apr 5, 2012 23:31:15 GMT -5
Allright guys, finally gonna give this rusting thing a go! I've been thinking about it for weeks... Here's the subject. I got specifically to rustify then later learned (through one of our MSCers) that the outside panels of the bed are made of fiberglass. What the h#%& are the chances of that! So, then I thought well there's a new challenge, rusty front end and rusty interior bed with worn in fiberglass exterior? havn't seen that before:). So, I"m going to follow the teachings of Master Scratchmod and see what kind of destructirustification I can pull off:)  These are huge compared to 1/35! Ok, so I started with the engine. Pretty good detail, if I did have to remove a lot of flash and the pieces didn't line up perfectly. 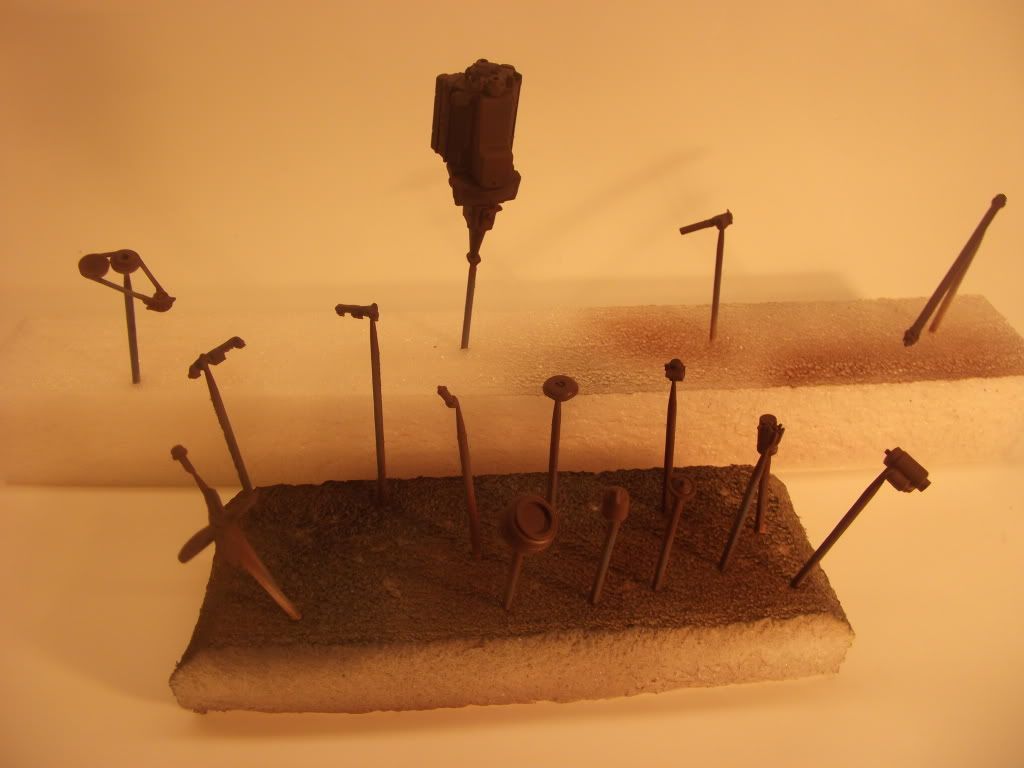 I primed these and then put down a base coat of tamiya flat brown and on the engine block and transmission I hit it with some variety red brown, and hull red. Just for variation. 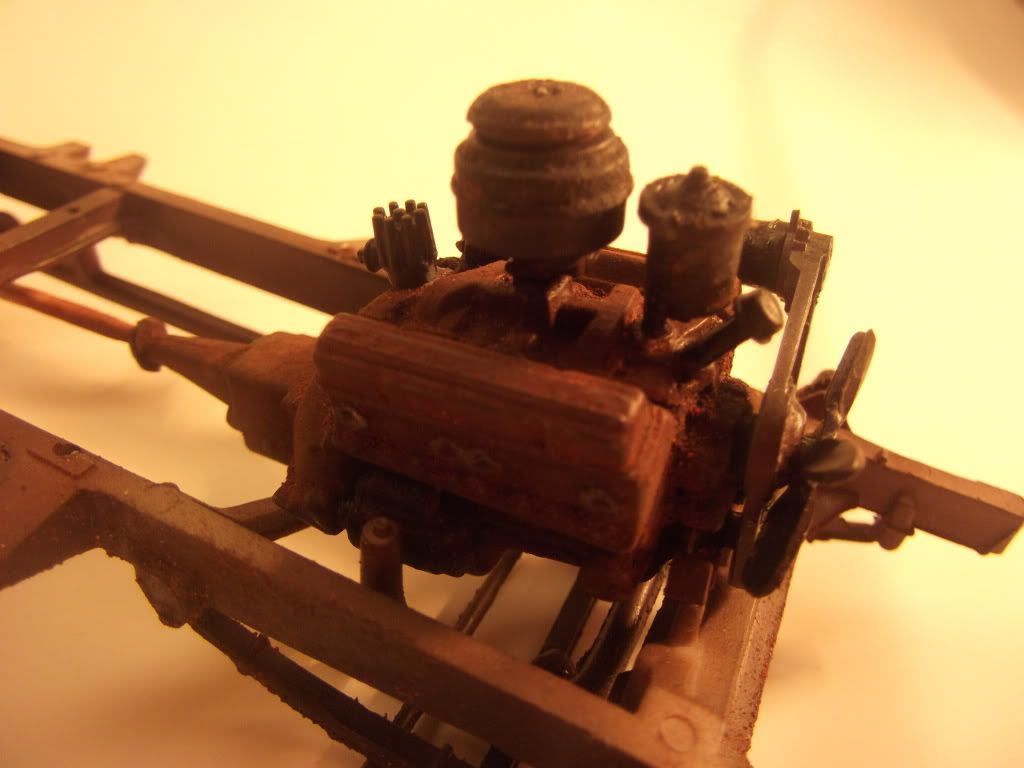 The chassis went together well and is fairly well-detailed. I primed this and hit it with flat brown as well, then added some rust pigments, scratchmod style (oil wash, pigs, dryer) except I then clear coated to make the pigs stick. 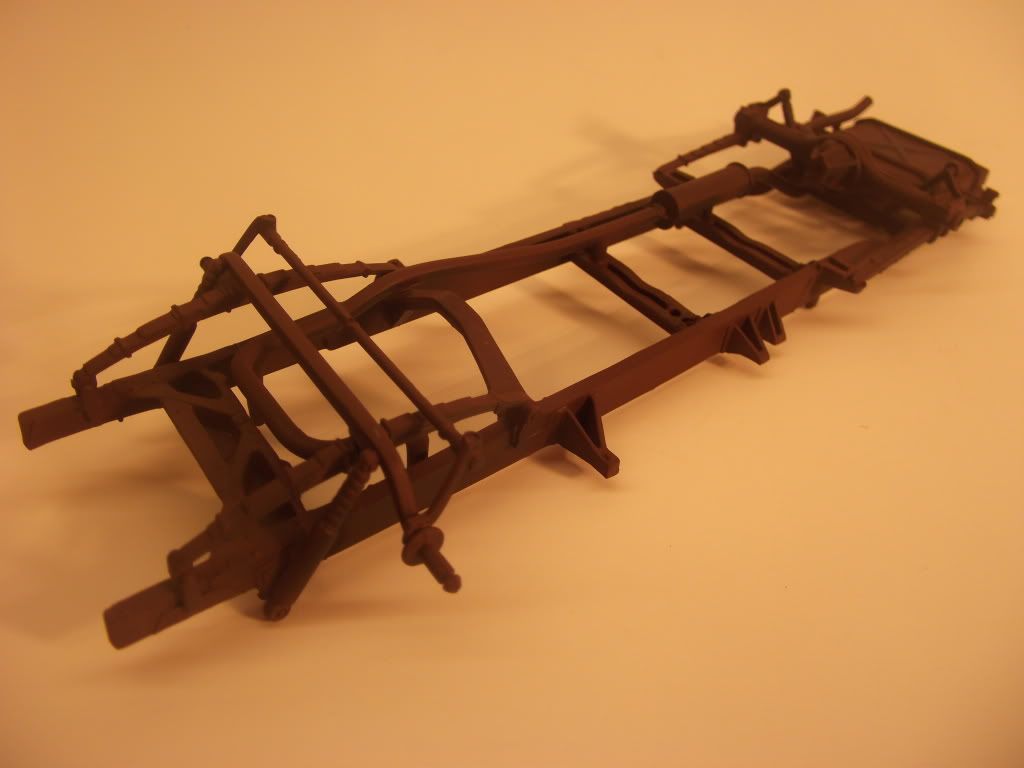 Chassis and engine 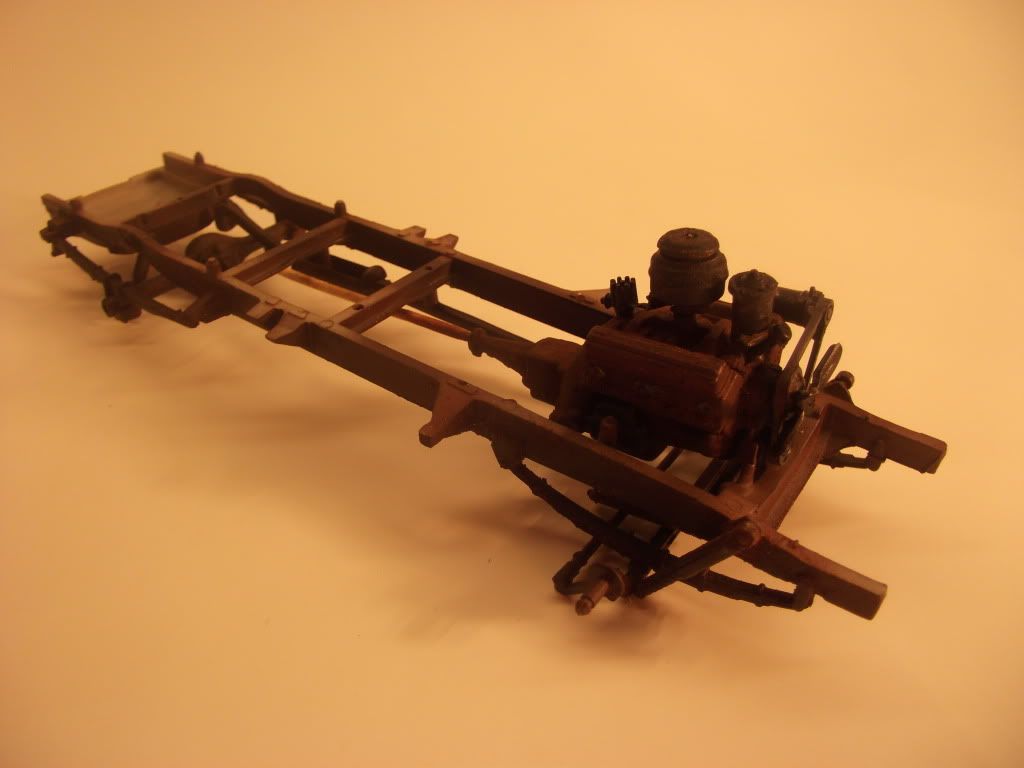 I thinned and perforated the lower part of the body (doors and quarterpanels) and removed the solid flat headlight holes.     Then did the same for the interior floorboards in the same area, as if they were rusted out/through.    I then primed all this  I thought the seats needed some extra attention...  ... so I tried the miliput cushion technique.  and then added some stuffing and primed it. Pretty pleased with the results.  Then I base coated all of this in tamiya flat brown.  That's pretty much where it stands tonight. gonna do some spray paint and chipping experiments tomorrow. All comments are welcome. Man, this is fun! Cheers. Nate |
|
|
|
Post by TRM on Apr 6, 2012 4:54:18 GMT -5
An dthat is pretty much how its done Multi! Have at it! Looking good for starters!! Can't wait to see some chipping going on!!
|
|
|
|
Post by Mence on Apr 6, 2012 8:26:50 GMT -5
Great start, looking really neat already!
|
|
406 Silverado
Global Administrator     
Member since: November 2011
Posts: 10,293
Member is Online
MSC Staff
|
Post by 406 Silverado on Apr 6, 2012 9:03:46 GMT -5
ahhh a rusty pick up, very cool and great start so far. Just need to change the setting on the camera, still too yellow.
Look forward to the rust part
|
|
|
|
Post by `Boots` on Apr 6, 2012 10:16:29 GMT -5
Hey MC that looks well sweeet bud, great start too her so far fella, look forward to seeing this progress ;D
|
|
multicam
Senior Member
   
Member since: January 2012
Nate
Posts: 2,039
Jan 10, 2012 14:35:41 GMT -5
Jan 10, 2012 14:35:41 GMT -5
|
Post by multicam on Apr 7, 2012 10:38:34 GMT -5
Here's an update guys. I got some hairspray down on this then a coat of white. Then, I commenced the chipping. Fun. I'm kinda letting the story of this one unfold as I build, since I can't make a decision as to how I want to display it and thus just how rusty I want to make it. Suggestions are welcome.     I like the way this looks, but I can't decide whether I want a truck that has been partially exposed in a barn for years with bird doo on it and everything with a lightly rusted finish like this or really go for it and have it parked by a fence in a pasture with tall grass around it rusting in the earth. I'll consider any suggestions. Here's the seat   Let me know what you think guys! |
|
|
|
Post by armorguy on Apr 8, 2012 2:32:33 GMT -5
Very realistic rust spots multicam ! The hood looks so great !
|
|
multicam
Senior Member
   
Member since: January 2012
Nate
Posts: 2,039
Jan 10, 2012 14:35:41 GMT -5
Jan 10, 2012 14:35:41 GMT -5
|
Post by multicam on Apr 19, 2012 21:02:38 GMT -5
Here' s a short update guys. The kids started baseball this week, so been otherwise occupied  . I've been able to get the bed of the truck constructed and primed. Also did a little damage to the side with what's supposed to be a "tear" in the fiberglass based on a barnfind pic I saw online. I was also questioning whether I should put it together or do the bed floor (which is going to be mostly rotted wood) seperate and then build it. I may yet end up tearing it apart and doing it that way.   I was also able to work a little on the interior. I had done a flat brown base coat earlier so I put down some pigments then some hairspray à la the boss, and put a base coat of tamiya sky grey on.  I then proceeded to rub it away and chip it up. fun.   Still needs more work and I'm not entirely satisfied, but I'll fiddle with it some more soon. Will take suggestions  Let me know what you think. Cheers. |
|
|
|
Post by TRM on Apr 19, 2012 21:09:54 GMT -5
Looking pretty smart there!!! Keep it going!!! I know what your going through...Older girl is playing JV Softball and I couch the younger one....eats into the bench time (worth it though  ) |
|
|
|
Post by bullardino on Apr 20, 2012 5:37:33 GMT -5
Nice job  I dunno why, but as I saw it, I was sure it was found in a barn. |
|
BowTied
Junior Member
 
Member since: February 2012
Need to get off my butt on a couple of old 1/25 scale Tamiya Tigers I've had laying around.
Posts: 48
Feb 27, 2012 18:20:44 GMT -5
Feb 27, 2012 18:20:44 GMT -5
|
Post by BowTied on Apr 20, 2012 7:05:33 GMT -5
Suh-WEET! I've got a '50 Ford pick'em up truck sitting in the box. It came missing the chrome parts, so I'm doggoned tempted to pulling a similar effort on that! Last year, not far from Gatlinburg, Tennessee, near the Little Pigeon River, I saw a '50-something pickup truck rusting out in a field. Weeds were growing UP through rust-holes in the bed! THAT would have made a hell of a project.
|
|
406 Silverado
Global Administrator     
Member since: November 2011
Posts: 10,293
Member is Online
MSC Staff
|
Post by 406 Silverado on Apr 21, 2012 8:07:31 GMT -5
Cooool, nice work so far Nate.
Frank, go for it, you know you want to ..(LOL)
|
|
|
|
Post by armorguy on Apr 21, 2012 13:10:31 GMT -5
I like this kit and I will buy one too soon ! The trunk looks good already !
|
|
bigjohn
Reviews member    
Member since: December 2011
John Hale
Posts: 3,438
Dec 21, 2011 2:17:45 GMT -5
Dec 21, 2011 2:17:45 GMT -5
|
Post by bigjohn on Apr 22, 2012 7:19:19 GMT -5
Truck is looking good so far Nate! Keep at it.
|
|
multicam
Senior Member
   
Member since: January 2012
Nate
Posts: 2,039
Jan 10, 2012 14:35:41 GMT -5
Jan 10, 2012 14:35:41 GMT -5
|
Post by multicam on Apr 24, 2012 21:10:43 GMT -5
Hey guys. Been busy on the cameo. First off, I thought the bed was looking way too pristine, so I took the side panels off to allow easier access and had at it with my dremel and some pokey things. It's closer to what I had in mind now.   After making the holes, I repainted the primer and brown base, had at it with some burnt umber oil wash and pigments, then some hairspray, then the white top coat.    I also painted some other necessities. the wheels, the dash, and the radiator.    Also did some work on the tires. Stuck them in the dremel, to take the newness away.  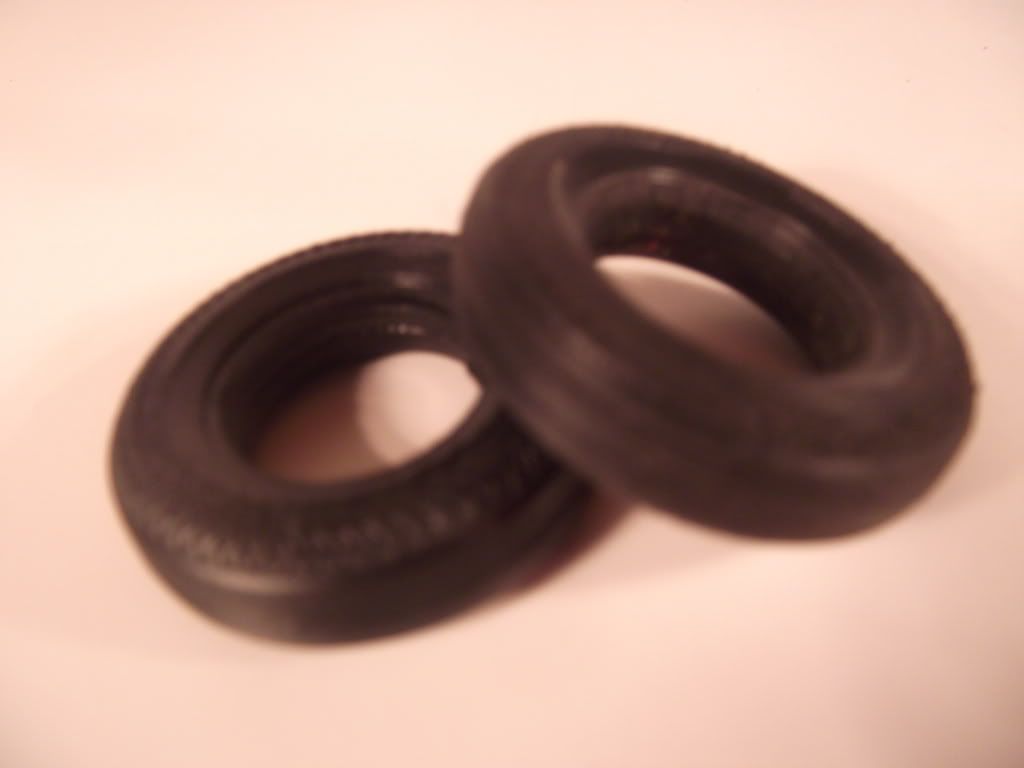 and also experimented with a sagging effect.  What I did was cut the bottom off then cut a slit on the bottom in the middle of the tire (lengthwise) and proceeded to stuff it with paper towel to force each side out.  Painted the rear side (fiberglass:( ) panels. They're intentionally thinly painted to add to the worn fiberglass effect. Oil dot streaking and weathering should take care of the rest.   And a couple of dry-fitted teaser shots. This is far from finished, but I'm diggin the direction so far. However, i'll still take constructive criticism      Haven't quite decided what I'll do with the tailgate yet, maybe in the bed or perhaps installed. In these pics, the floor of the bed is still masked. I'll get going on the rotted wood aspect soon. Ok, something I've been putting off. I need everyone's advice. There are alot of shiny "chrome" bits on this. Now, I plan on simply leaving some off, as victims of time etc. , but the wheels are chrome and the grill, front and rear lights, chevy "bowtie" emblem, etc. What I'm wondering is, do I just rust weather the chrome pieces like the test piece below or do I take off the chrome with some chemical process like I've read (boots or prof, I think) some of the car guys talking about, and then build back the little peaks at shiny bits with paint?  Let me know what you think. Cheers and happy modeling   |
|
multicam
Senior Member
   
Member since: January 2012
Nate
Posts: 2,039
Jan 10, 2012 14:35:41 GMT -5
Jan 10, 2012 14:35:41 GMT -5
|
Post by multicam on May 3, 2012 16:58:45 GMT -5
Allright guys, here's a quick update. I did some work on the wood in the bed floor. I like the direction this is heading though I think it needs something. I'm gonna stew on this a while and see what I come up with. suggestions welcomed   Oh, and help me out on the previous chrome rusting question. Happy modeling  |
|
|
|
Post by armorguy on May 3, 2012 17:05:14 GMT -5
multicam, this bed floor looks G R E A T ! Rotting wood however soaks up lots of water, and often the planks show wet, dark areas.
I like the chipped paint too, and the wholes add realism to it.
|
|
multicam
Senior Member
   
Member since: January 2012
Nate
Posts: 2,039
Jan 10, 2012 14:35:41 GMT -5
Jan 10, 2012 14:35:41 GMT -5
|
Post by multicam on May 4, 2012 16:08:51 GMT -5
Thanks fellas. I appreciate the comments and the helpful advice:) I'll give the cleaning off the chrome a try this weekend  . Cheers |
|
|
|
Post by TRM on May 4, 2012 19:00:51 GMT -5
Looking sweet Nate!! Love the bed shoot there!!!
|
|
|
|
Post by wouter on May 5, 2012 3:23:10 GMT -5
I agree Nate, this is lookin' saweet!
Cheers
|
|
406 Silverado
Global Administrator     
Member since: November 2011
Posts: 10,293
Member is Online
MSC Staff
|
Post by 406 Silverado on May 5, 2012 9:35:32 GMT -5
Good to see you back at this one Nate, love the wood effects on the bed.
|
|
multicam
Senior Member
   
Member since: January 2012
Nate
Posts: 2,039
Jan 10, 2012 14:35:41 GMT -5
Jan 10, 2012 14:35:41 GMT -5
|
Post by multicam on May 21, 2012 21:33:07 GMT -5
|
|
bigjohn
Reviews member    
Member since: December 2011
John Hale
Posts: 3,438
Dec 21, 2011 2:17:45 GMT -5
Dec 21, 2011 2:17:45 GMT -5
|
Post by bigjohn on May 21, 2012 21:40:21 GMT -5
Looks good Nate, starting to look like a truck thats been sitting out in a feild for years.
|
|
multicam
Senior Member
   
Member since: January 2012
Nate
Posts: 2,039
Jan 10, 2012 14:35:41 GMT -5
Jan 10, 2012 14:35:41 GMT -5
|
Post by multicam on Jun 1, 2012 14:20:34 GMT -5
Hello Gents, here’s an update. Been really busy with life as of late and have still found some time to model, just not much time to post and share  . I’ve been busy with the 55’. Put the wheels on. Did a Burnt Umber oil wash over all the white/rust areas. Then I added some Mig old rust pigments and Highlighted with Mig standard rust pigs and shaded with black pigs. I think it’s coming together, but I still have a lot to do with it. Everything you see is simply dryfitted for the pic.    I still have the unique situation of the Fiberglass side-panels of the bed/box. Yesterday, I did a black oil wash and then added an AK dark wash today. It’s getting there, but I will happily take suggestions. ;D  I also did the interior of the bed in the same way that I did the front cab.  |
|
Aiden.
Full Member
  
Member since: February 2012
Posts: 103
Feb 27, 2012 15:10:19 GMT -5
Feb 27, 2012 15:10:19 GMT -5
|
Post by Aiden. on Jun 1, 2012 14:43:21 GMT -5
looking good buddy.interesting subject ,have plans to rust an old vehicle myself aswell,will be following this .
|
|
WigWag Workshop
Reviews member    
Member since: May 2012
"Keep The Glue On The Styrene"
Posts: 720
May 22, 2012 7:25:45 GMT -5
May 22, 2012 7:25:45 GMT -5
|
Post by WigWag Workshop on Jun 1, 2012 16:57:56 GMT -5
Looking Great! I love rust and junkers, and I think this build is top notch!
|
|
406 Silverado
Global Administrator     
Member since: November 2011
Posts: 10,293
Member is Online
MSC Staff
|
Post by 406 Silverado on Jun 1, 2012 17:49:59 GMT -5
man the wood in the bed looks perfect. Well done bud
|
|
|
|
Post by TRM on Jun 1, 2012 22:04:22 GMT -5
Finally playing catchup here...looking tops Multi!!! That wood in the bed is killer!!! Looks the part!! Keep it going!!!  |
|
multicam
Senior Member
   
Member since: January 2012
Nate
Posts: 2,039
Jan 10, 2012 14:35:41 GMT -5
Jan 10, 2012 14:35:41 GMT -5
|
Post by multicam on Jun 16, 2012 22:31:36 GMT -5
|
|
|
|
Post by TRM on Jun 16, 2012 23:13:41 GMT -5
I think it's coming along fine Nate! Don't over think what is going on. White is tough, but you are getting it. At this point you effectively have a few layers with paint and the rusting looks pretty good. I am thinking that you are ready to move onto a filter/wash and /or some oils...streaking! each one in it self with build the depth you are looking for! depp breath, take a break and work the weathering!  |
|





 . I've been able to get the bed of the truck constructed and primed. Also did a little damage to the side with what's supposed to be a "tear" in the fiberglass based on a barnfind pic I saw online. I was also questioning whether I should put it together or do the bed floor (which is going to be mostly rotted wood) seperate and then build it. I may yet end up tearing it apart and doing it that way.


 )
)


