|
|
Post by wbill76 on Dec 1, 2015 23:08:19 GMT -5
So my next project involves a small wingy...the Meng 1/72 F-102A Case X. I've started looking over the instructions and immediately have a key question for those more knowledgeable than I. The aircraft I will be building belongs to the 327th FIS in 1958 and is sporting an overall gray scheme. The finishing guide just calls it 'aircraft gray'...but is there an FS # that is the real gray these would've used? I'm trying to figure out what paint I need to finish it properly and am drawing a blank due to poor Google-foo this evening.  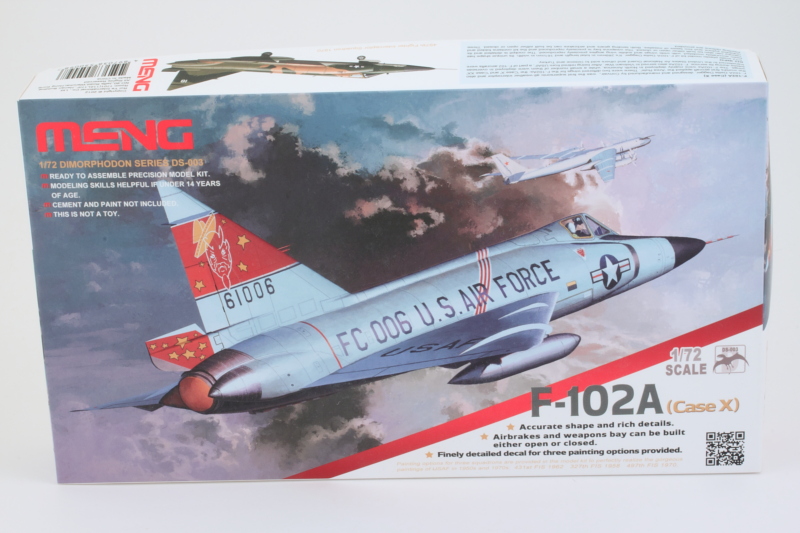 |
|
|
|
Post by JimD on Dec 1, 2015 23:33:47 GMT -5
Model Master makes it FS16473 I used it on the F-106 seen here.  Look forward to this one. I really wish it was in 1/48 at least. I love the 102 and 106 |
|
|
|
Post by wbill76 on Dec 1, 2015 23:41:05 GMT -5
Model Master makes it FS16473 Look forward to this one. I really wish it was in 1/48 at least. I love the 102 and 106 Excellent! Model Master conveniently calls it Aircraft Gray too.  |
|
|
|
Post by wbill76 on Dec 2, 2015 2:10:40 GMT -5
One more question. The instructions call for an Interior Green for the weapons bay and landing gear doors and bays. Any idea what that should be?  Edit: This one I was able to find out since MENG provides Hobby Color codes in the booklet. H58 translates to FS34151 and Model Master has that too as 1715 Interior Green. Got to love the Internet.  |
|
|
|
Post by Leon on Dec 2, 2015 4:57:13 GMT -5
I'll be following along Bill!  |
|
|
|
Post by JimD on Dec 2, 2015 11:14:23 GMT -5
I've used the Model Master Interior Green for years. I don't know the FS number off the top of my head, or the product number, but it is indeed called "Interior Green" in their line.
|
|
|
|
Post by wbill76 on Dec 2, 2015 11:23:41 GMT -5
I've used the Model Master Interior Green for years. I don't know the FS number off the top of my head, or the product number, but it is indeed called "Interior Green" in their line. Thanks Jimmy. Found the Ipms Stockholm website last night that had all the codes cross referenced and that was a big help. I guess Testors has gotten better with their paint names. Some of their armor colors have wierd made up combinations so I have never relied on them at face value as a result!  |
|
|
|
Post by deafpanzer on Dec 2, 2015 11:24:54 GMT -5
OMG! Bill is building something outside typical Dragon/Tamiya kits! You have my attention as usual... Saw the real thing a week ago at Air Force museum in Peru, Indiana. Sorry about the snow! LOL  I thought its tail paint was pretty cool! |
|
|
|
Post by wbill76 on Dec 2, 2015 11:28:25 GMT -5
At least I have a great dio option now Andy if I screw it up!  |
|
|
|
Post by JimD on Dec 2, 2015 14:06:58 GMT -5
Yeah, Andy, if next time you could shovel the airplane off before the pic that would be great. Haha.
I'm liking Texas a lot as I look at this pic. Snow is fun...for like the first hour...then I'm over it.
|
|
thug626
Senior Member
   
Member since: January 2013
Posts: 2,030
Jan 15, 2013 13:05:28 GMT -5
Jan 15, 2013 13:05:28 GMT -5
|
Post by thug626 on Dec 2, 2015 16:48:51 GMT -5
Yeah, Andy, if next time you could shovel the airplane off before the pic that would be great. Haha. I'm liking Texas a lot as I look at this pic. Snow is fun...for like the first hour...then I'm over it. Use a broom Andy! Otherwise the curator might drop you like a bad habit. Dave |
|
|
|
Post by wing_nut on Dec 2, 2015 16:58:25 GMT -5
A Century jet.
SCHWING!
|
|
|
|
Post by wbill76 on Dec 4, 2015 18:37:43 GMT -5
Kicked things off with this little project in the usual place starting in Step 1 with the cockpit. The pilot's ejector seat was assembled and the tub, seat, and panel were airbrushed with Model Master enamel Aircraft Gray per the instructions directions. The instrument panel received the decal for the gauge faces and the radar scope was detailed with Tamiya Clear Yellow. The seat was detailed by hand as were the cockpit side switch and throttle panels. Then the whole cockpit was assembled. 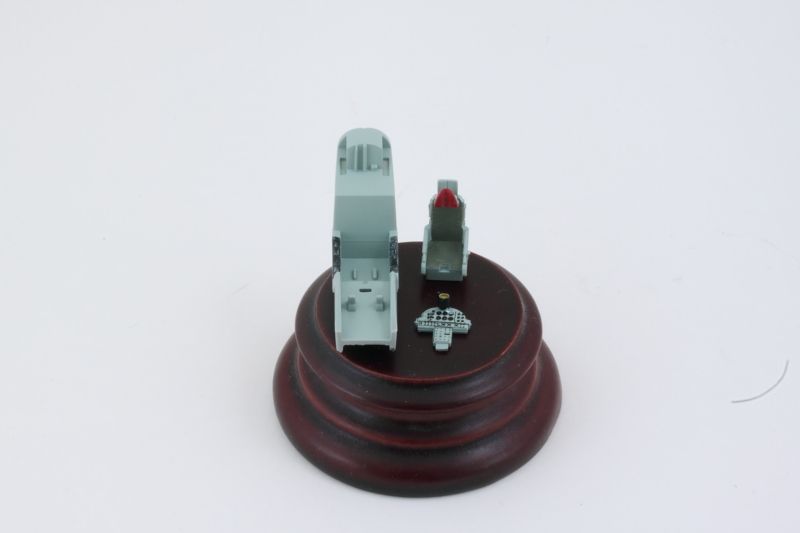 The intent is to model this one with the canopy closed so there's not a whole lot of concern over missing details like the pilot's harness. The canopy on the F-102 won't leave very much visible but just in case the canopy does need to be left open, I did enough details to leave that option possible when we get there. 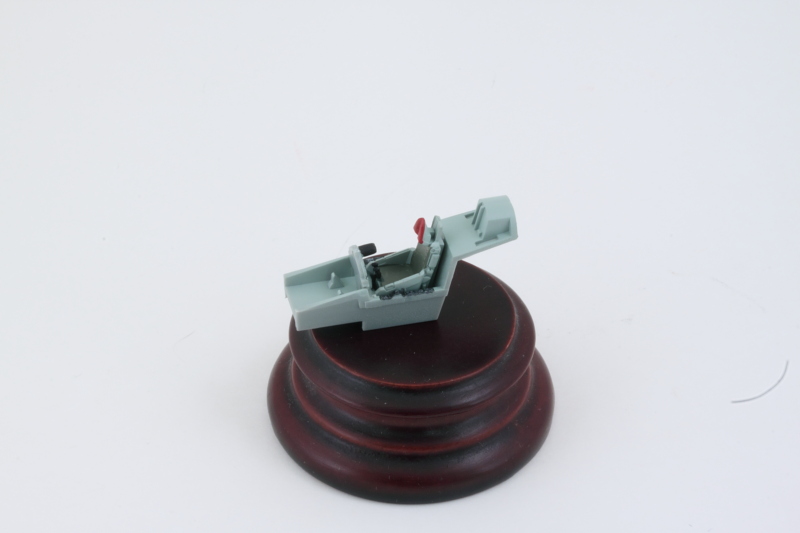 While I had the airbrush out, I also applied the Aircraft Gray to the visible areas around the cockpit section. All of the unnecessary antennas were removed as called out in Step 4 since I'm not doing the SEA scheme version that is the 'C' choice on the finishing guide.  Next up will be working on the engine components in Step 3, I'll come back to the landing gear stuff in Step 2 later on |
|
|
|
Post by Leon on Dec 4, 2015 20:25:57 GMT -5
Nice work on the office Bill!  |
|
|
|
Post by Deano on Dec 4, 2015 20:27:28 GMT -5
Up and running already Bill , nice start !
|
|
|
|
Post by wbill76 on Dec 4, 2015 20:28:18 GMT -5
Thanks Leon! A necessary first step with any aircraft build.  |
|
|
|
Post by wbill76 on Dec 4, 2015 21:02:52 GMT -5
Up and running already Bill , nice start ! Can't leave the bench idle Deano otherwise I get into trouble.  |
|
sturmbird
Full Member
  
Member since: June 2012
Posts: 1,406
Jun 21, 2012 13:51:45 GMT -5
Jun 21, 2012 13:51:45 GMT -5
|
Post by sturmbird on Dec 5, 2015 15:45:25 GMT -5
OMG! Bill is building something outside typical Dragon/Tamiya kits! You have my attention as usual... Saw the real thing a week ago at Air Force museum in Peru, Indiana. Sorry about the snow! LOL  I thought its tail paint was pretty cool! Andy, next time your up that way (in warmer weather of course), take a side trip over to Fairmont. Look for the local American Legion Post. Out front you'll see a Phantom. That airframe is supposed to have shot down the first Mig in the Vietnam war! gary |
|
|
|
Post by wbill76 on Dec 5, 2015 19:31:11 GMT -5
Working on an aircraft often requires bouncing around a little bit at the beginning and this one's no exception. I got the parts for the tailpipe all cleaned up as called for in Step 3. MM non-buffing Metalizer Steel did the job for the insides of the pipe and the bulkhead along with the end section. MM non-buffing Metalizer Gunmetal was used for the afterburner can. 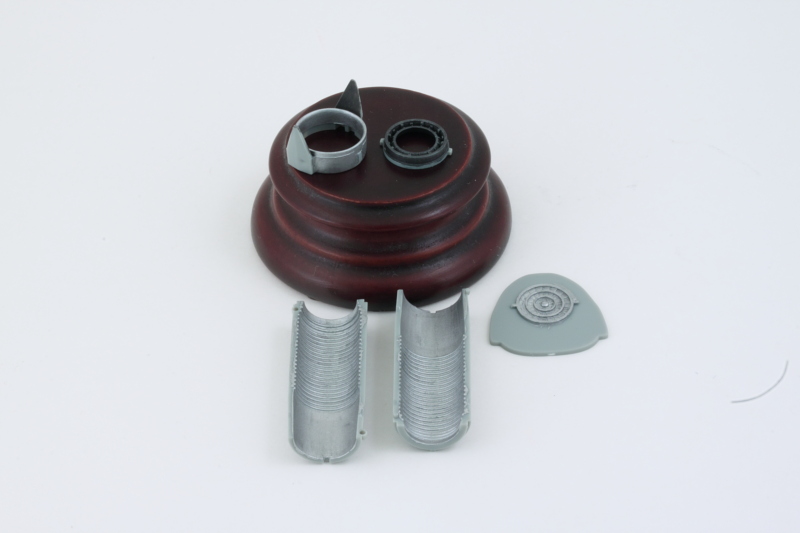 Then the whole thing was assembled. Not a whole lot visible of the tail pipe when fully built unless you stick a penlight in there.  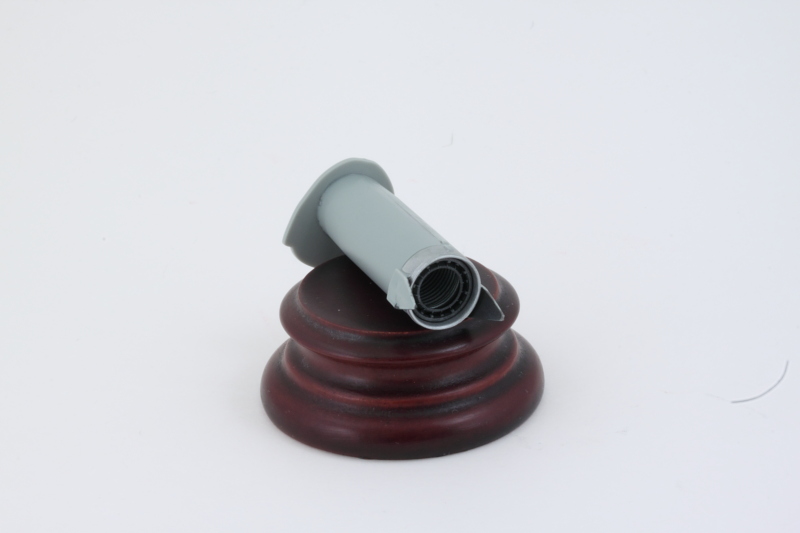 With that out of the way, I shifted my focus to the components that will need some Interior Green treatment. The biggest chunk is the internal weapons bay for the AIM-4 Falcon missiles, so I installed the 6 launch rails for them under the Weapons Option A variation in Step 10 in the instructions. 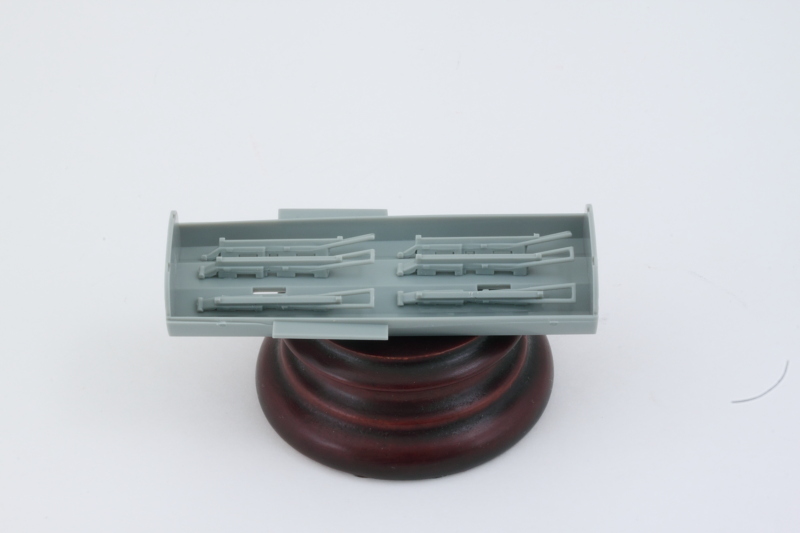 Next batch of stuff involved all the gear bays, the gear doors, and the complicated set of doors that make up the open configuration for the weapons bay. 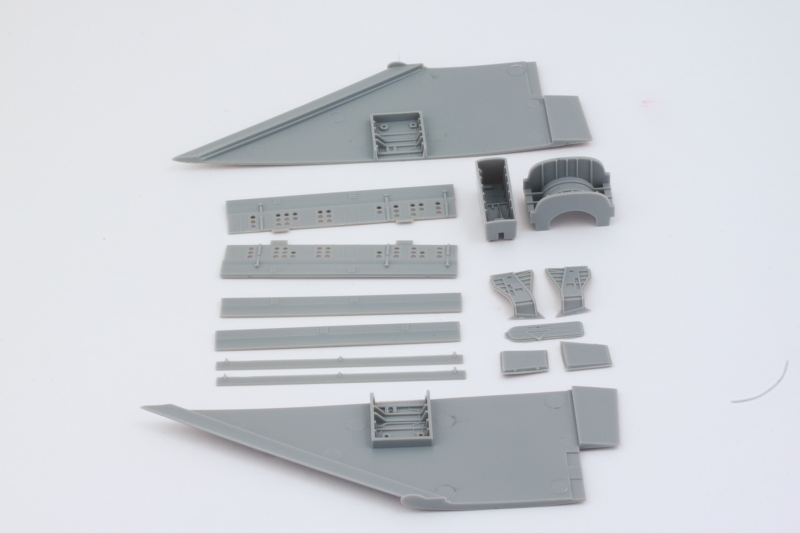 Model Master enamel Interior Green was airbrushed into all the nooks and crannies to get things rolling. 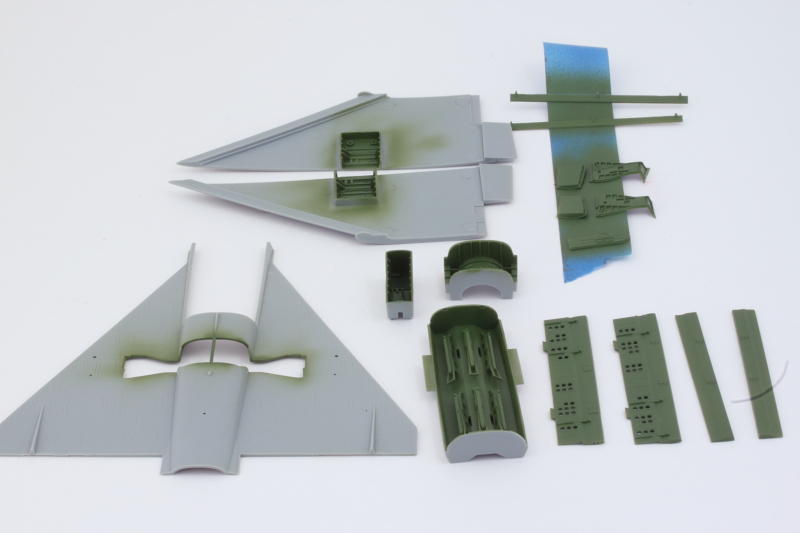 All of the doors needed to have Aircraft Gray on their exteriors, so some quick masking was in order. I airbrushed the gray at an angle to preserve the Interior Green on all of the exposed edges. For the interior pair of doors on the weapons bay, the doors are integrated into the bay dividers. This called for specific masking on the interior portions but nothing too fancy. 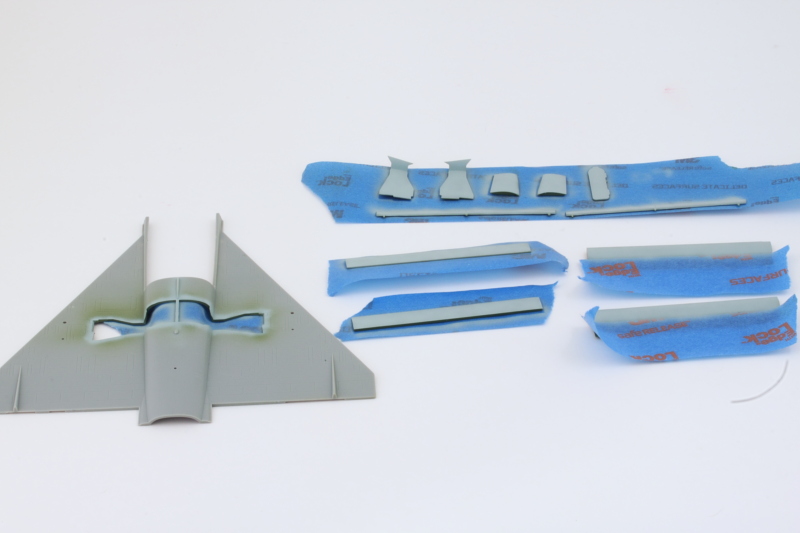 At the end of things, a nice set of two tone doors with the Interior Green and Aircraft Gray confined to their respective arenas. 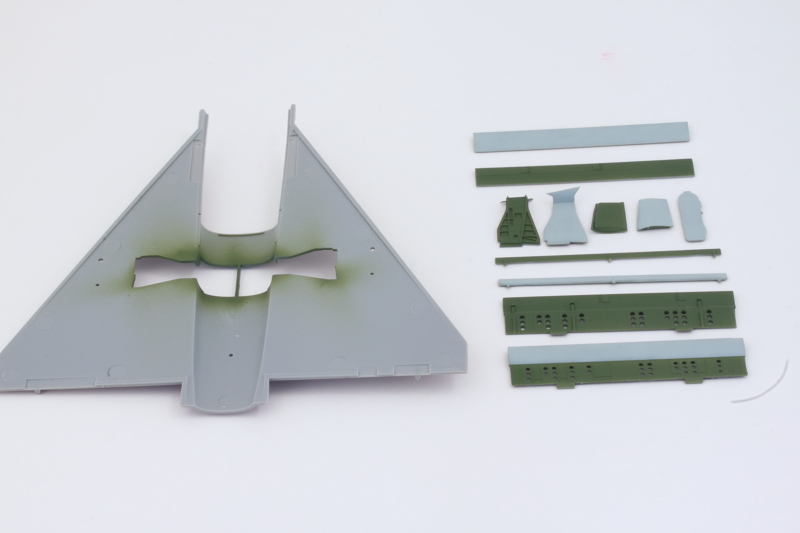 That will clear the way for getting the fuselage halves together and the wings assembled next. |
|
|
|
Post by Leon on Dec 5, 2015 19:57:52 GMT -5
Nice to see a bit of color going on Bill!  |
|
|
|
Post by wbill76 on Dec 5, 2015 20:13:50 GMT -5
Thanks Leon. Always good to check off the early paint stages without incident.  |
|
|
|
Post by armorguy on Dec 6, 2015 3:27:34 GMT -5
Nice one Bill, and a great kick off ! Have fun my friend !
|
|
|
|
Post by wing_nut on Dec 6, 2015 7:56:18 GMT -5
Ah yes, the "tedious" painting. Handled well as usual.
|
|
|
|
Post by wbill76 on Dec 6, 2015 11:53:12 GMT -5
Thanks AG and Marc! So far so good!  |
|
|
|
Post by wbill76 on Dec 6, 2015 20:09:56 GMT -5
I tried out something new today on the F-102, the MM metalizer Gunmetal that is buffable. Airbrushed some on the tail cone area as well as the bottom part of the speed brake, waited the requisite 10-15 minutes, then buffed it lightly with a soft cotton cloth. It produces an interesting shine/result that's different from its non-buffing cousin of course. 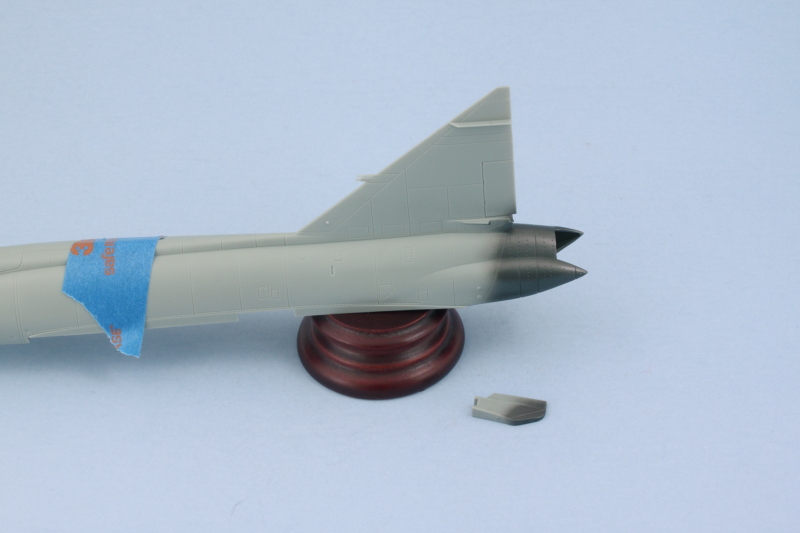 With that out of the way, I decided to add some weight to the nose area to avoid any tail-sitting issues with the big delta wing configuration. I happened to have a ball bearing laying around that was the perfect size and diameter to fit nicely into the area forward of the landing gear bay. I glued it in place first with some CA and then added some Aves Expoy-sculpt putty to ensure it didn't shift around in the future. The putty has the added advantage of upping the weight in addition to securing the bearing permanently, a two-for-one! 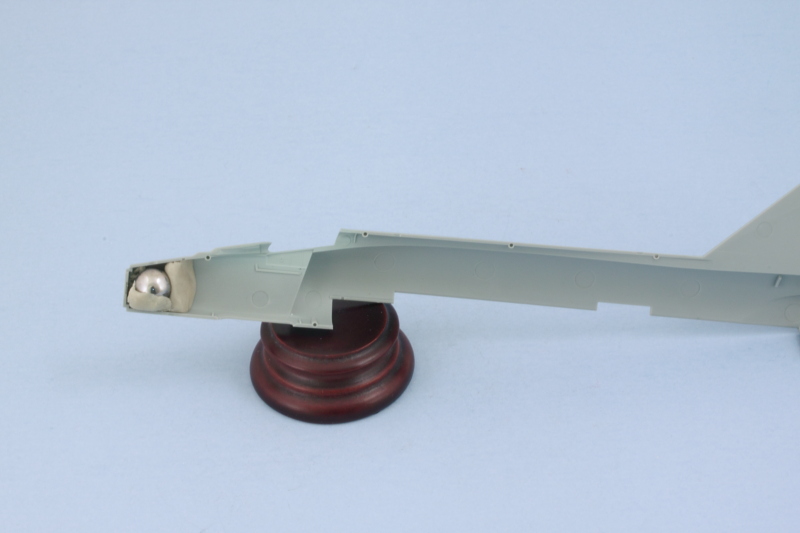 With that taken care of, it was time to join the fuselage halves together. I used liquid glue for this as the join is pretty tight to begin with due to some nice engineering for the kit parts. Just a couple of smooth jaw copper clamps towards the tail end were needed and the rubber band at the nose was more of an extra precaution than an absolute requirement. 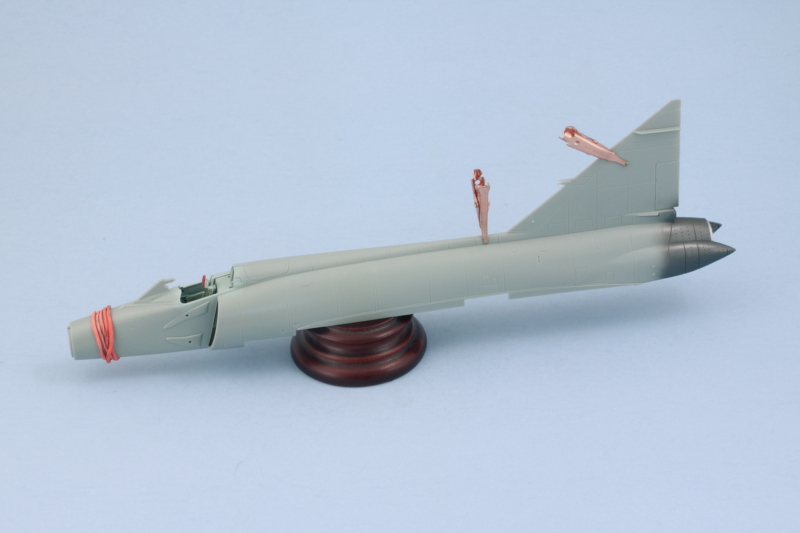 Once the glue has thoroughly set, I'll take care of the slight join seam and move on to adding the wings. |
|
|
|
Post by deafpanzer on Dec 7, 2015 13:28:44 GMT -5
You happen to have a ball bearing in a perfect size for this? Why am I have the feeling that you have like a ball bearing in EVERY size in an organizer? Hmm...
You are making a great process... but slow down because it took you 200 hours to finish the ship, remember?
|
|
|
|
Post by wbill76 on Dec 7, 2015 18:55:22 GMT -5
A lot done at the bench today, the fuselage join seam was sanded down and then the nose masked for the Flat Black anti-glare strip. I had hand painted the portion that sits inside the canopy first so that I wouldn't run the risk of over-spray into the cockpit. Then MM enamel Flat Black was airbrushed and the nose cone taken care of since it will get attached later. 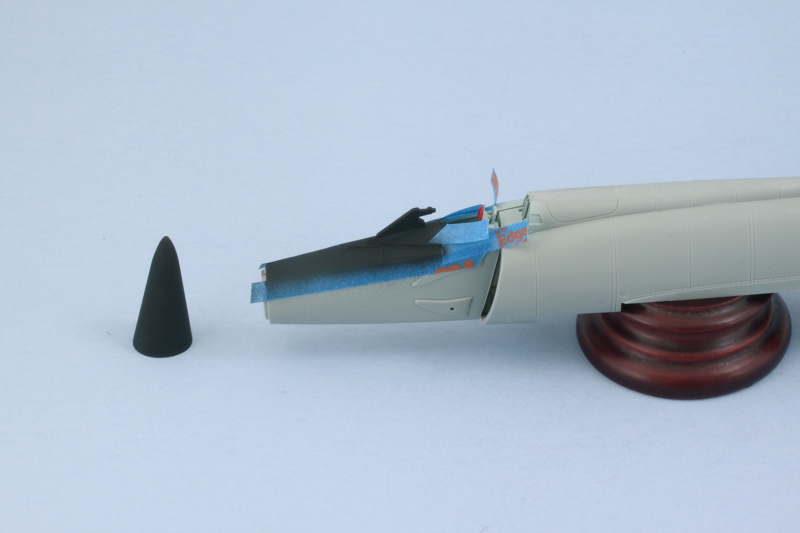 I also airbrushed some Flat Black inside the front air intakes since the area behind them is mostly empty/blank. 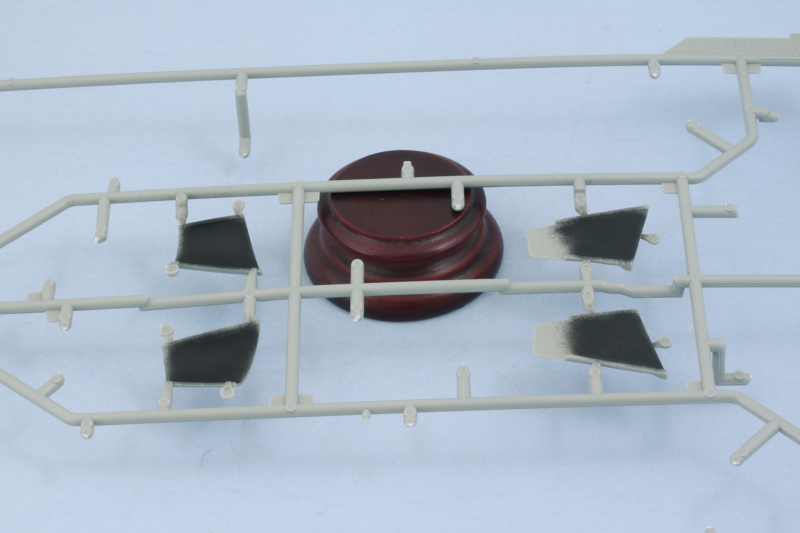 Step 5 in the instructions has you install the weapons bay into the lower wing half and then attaches the upper wings, but I decided to add the upper wings later to help ensure they mated up properly with the fuselage. The wing section fits pretty snugly into place at the rear but relies heavily on the weapons bay for the front attachment, making things a little trickier in terms of getting it all lined up and sitting correctly. 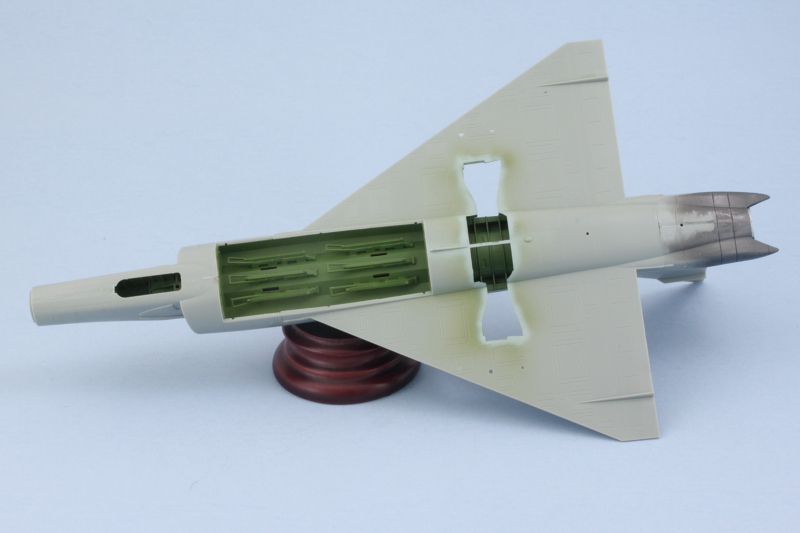 For the top halves of the wings, I opted for a two-stage approach. First I glued them in place with the bottom wing element and let that set up. Some small clamps helped out a bit with that. 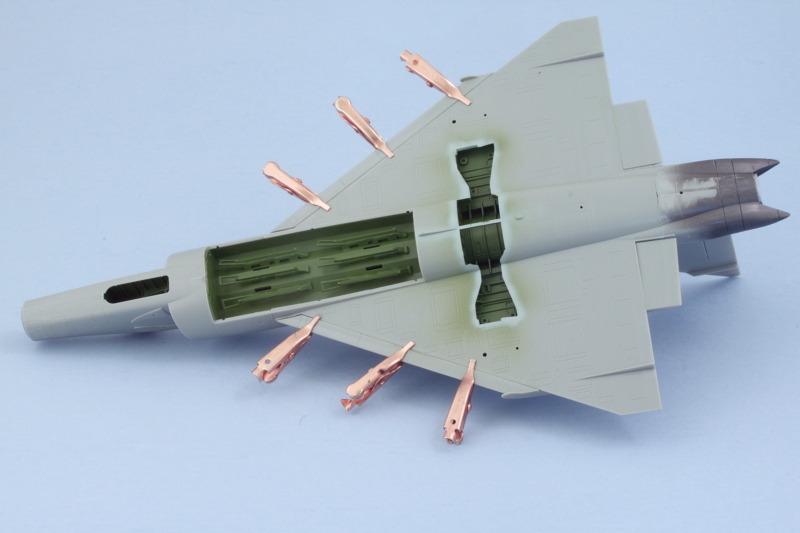 For the top join into the fuselage, I used liquid glue and finger pressure to coax the wings into contact to get a seamless join. I did one wing side at a time and deliberately left off the wing tips to give me plenty of leverage to work with until the glue set. There wasn't any way to use rubber bands or similar as different sections of the wing top need to be either slightly pushed down or inward (or both in some spots) to get the join together. Good old patience and a solid grip provided the solution.  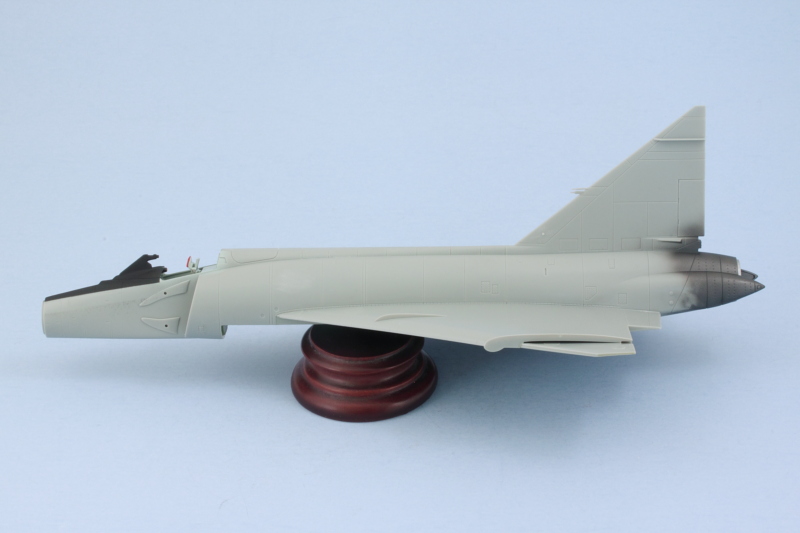 Once the wings were set, the tips and ailerons came next. Same drill as the wing tops, I did one side at a time and used liquid glue and small clamps where necessary to get everything to line up. 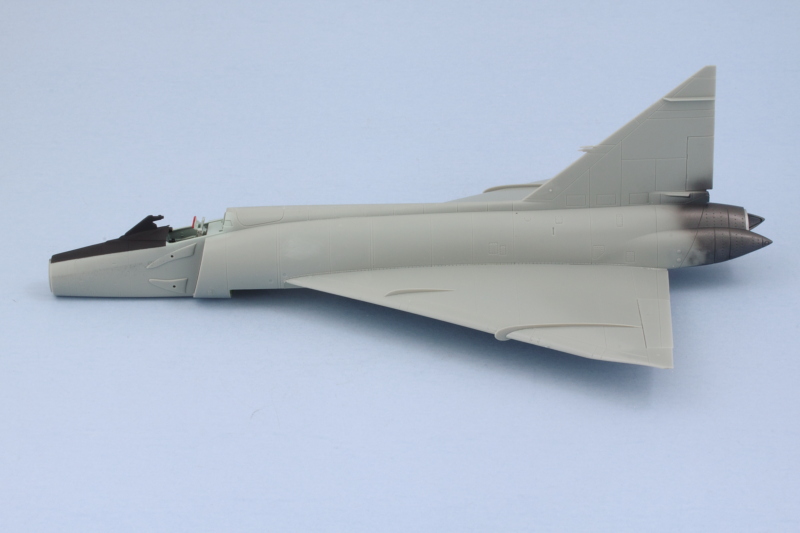 I also discovered throughout this process that the buffable Metalizer is a lot more fragile and intolerant of much handling than its non-buffable cousin. A quick trip to the spray booth patched up a couple of spots where it had rubbed off or gotten nicked/scratched but otherwise it's all back where it should be. Next up will be getting the intakes together and then doing the major paint work on the body. |
|
|
|
Post by wbill76 on Dec 7, 2015 18:59:41 GMT -5
You happen to have a ball bearing in a perfect size for this? Why am I have the feeling that you have like a ball bearing in EVERY size in an organizer? Hmm... You are making a great process... but slow down because it took you 200 hours to finish the ship, remember? The ironic thing, in this case, is I really did just happen to have it. I had picked it up somewhere a while back thinking it might come in handy sometime in the future and it had just been sitting on the shelf above my bench ever since. I don't really have a need for this kind of thing usually, but it worked out! My 2nd go-to option was some birdshot out of a 20-gauge shotgun shell if the bearing didn't do the trick or if more weight was needed.  I'm just going at normal speed on this one. You have to remember that 1/72 aircraft just don't have all that much to them as a rule. The whole kit is only about 50 parts give or take.  |
|
|
|
Post by Leon on Dec 7, 2015 19:19:21 GMT -5
Nice work on the wing assembly Bill!  Starting to look like a aircraft now.  |
|
|
|
Post by wbill76 on Dec 7, 2015 19:25:46 GMT -5
Thanks Leon! Always a plus when you can get the lifting apparatus attached.  |
|