Post by paulh on Jan 27, 2012 17:31:08 GMT -5
I know there are a multitude of ways of making tarps, Milliput, A&B, Tissue & white glue, latex gloves etc., but the truth is, it’s been a bit hit and miss for me.
Now it needs to be said from the outset- this is NOT my original idea! I found it somewhere on the net, but can not remember where, so if this is yours- apologies ;-)
Here’s what’s needed:
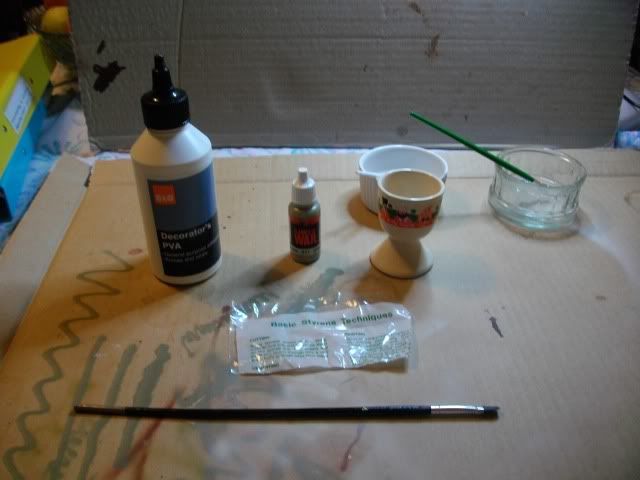
PVA glue, Acrylic paint, paintbrush, and most importantly a glossy, non-absorbent surface. In this instance I’ve used a piece of an evergreen styrene packet, but you could also use kitchen foil.- or even the glossy side of styrene sheet. For this example I’ve made some folds and some crumples- these will all be present in the finished item.
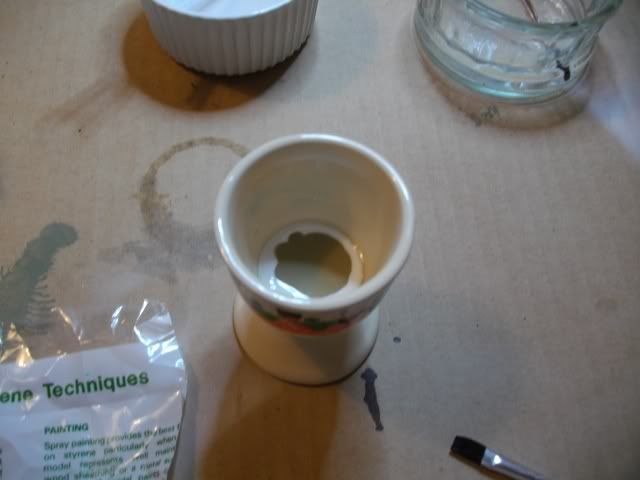
Step one: Mix even amounts of glue and paint, in this instance about a tea spoon of each, which is more than enough for what I’m going to produce
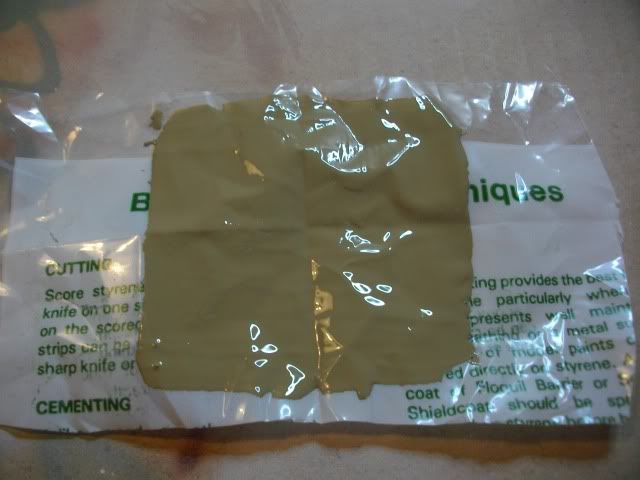
Step two: Paint the mix onto your non-absorbent surface. No need to be to exact it can be trimmed up la
ter. Leave it aside to dry- may take up to 24 hours. This can often be enough, but it may take a second coat.
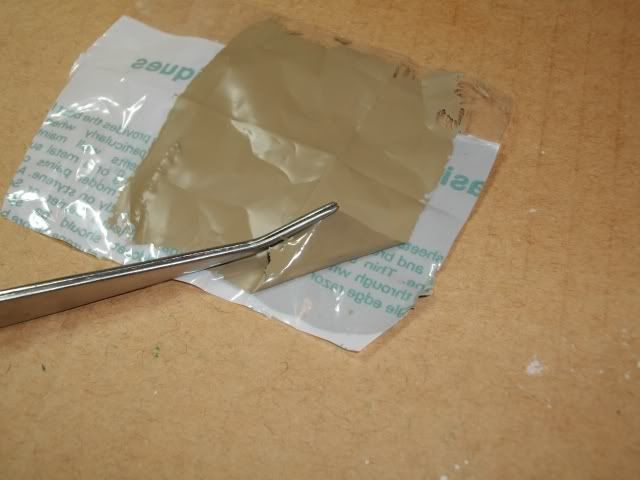
Step three: Once dry, peel it and use it!
I’ve tried this a few times now and it has worked everytime -well almost- tonight as I peeled the tarp off it fell to pieces- most likely because I painted on to the suide of the plastic with writting on it! acted as a key that gripped the tarp and would'n't allow it to come away cleanly- and also because I took it off to soon
Obviuosly more layers of “paint” will give a thicker/heavier tarp, the choice is. Try it with orange paint instead to create air ID panels etc.
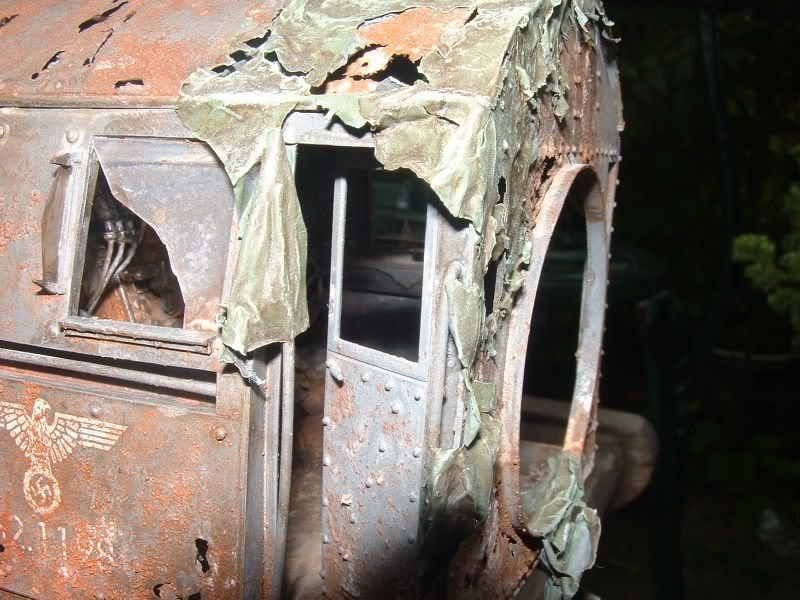
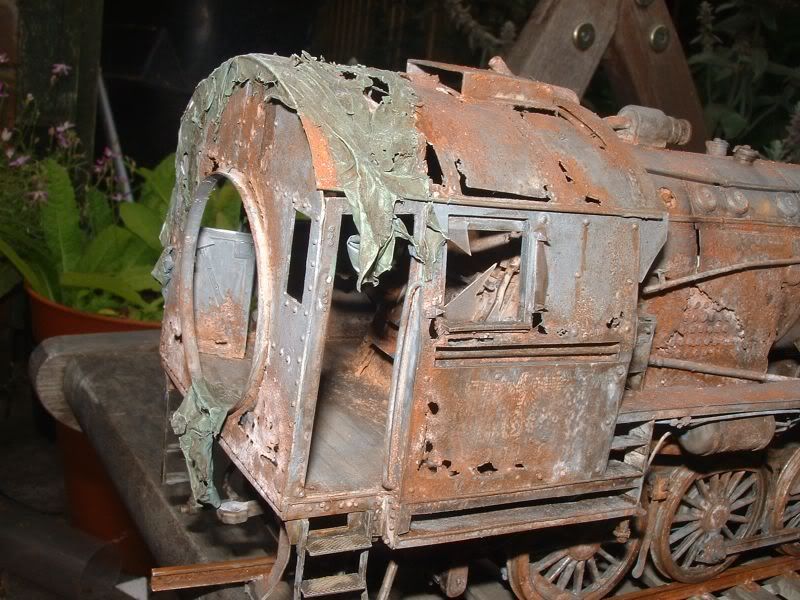
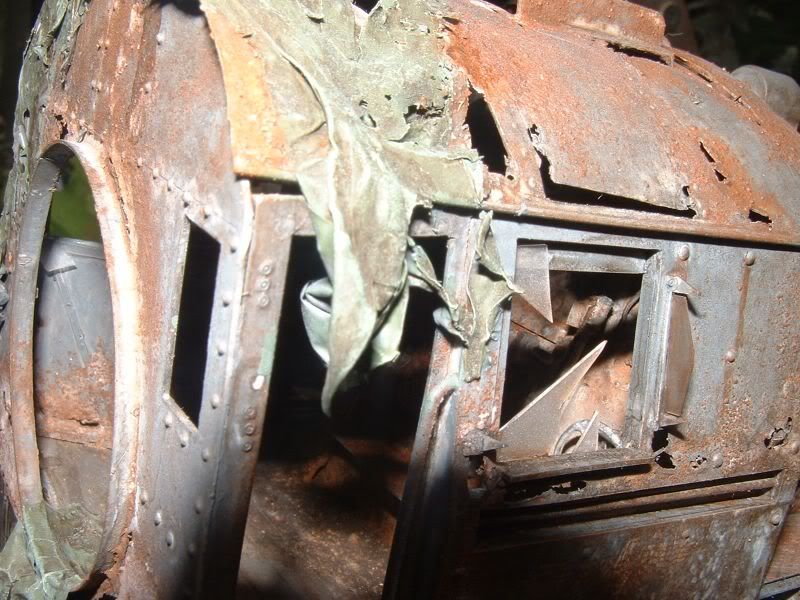
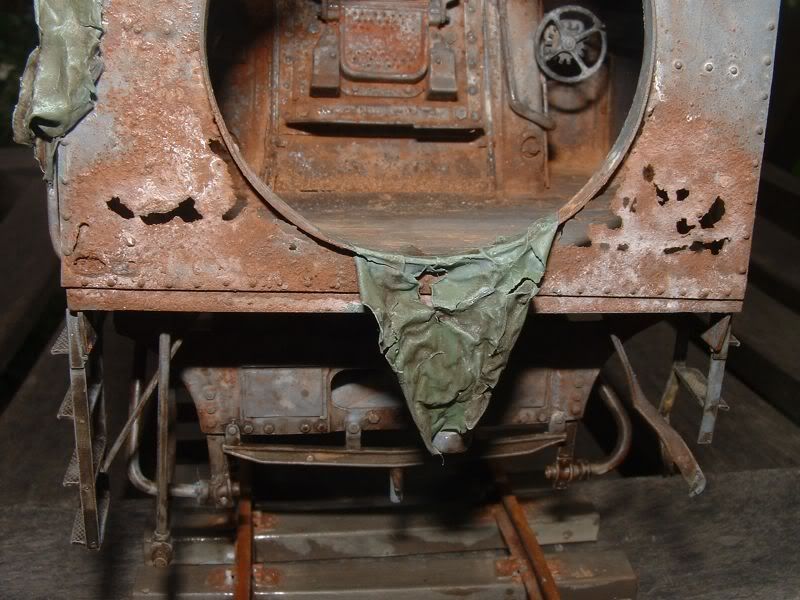
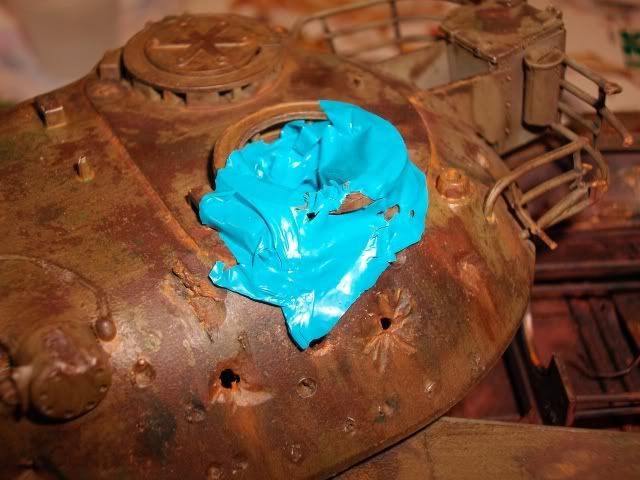
Here's a version of it on my leo range target, just to show how it can look.
ACSW
P
Now it needs to be said from the outset- this is NOT my original idea! I found it somewhere on the net, but can not remember where, so if this is yours- apologies ;-)
Here’s what’s needed:
PVA glue, Acrylic paint, paintbrush, and most importantly a glossy, non-absorbent surface. In this instance I’ve used a piece of an evergreen styrene packet, but you could also use kitchen foil.- or even the glossy side of styrene sheet. For this example I’ve made some folds and some crumples- these will all be present in the finished item.
Step one: Mix even amounts of glue and paint, in this instance about a tea spoon of each, which is more than enough for what I’m going to produce
Step two: Paint the mix onto your non-absorbent surface. No need to be to exact it can be trimmed up la
ter. Leave it aside to dry- may take up to 24 hours. This can often be enough, but it may take a second coat.
Step three: Once dry, peel it and use it!
I’ve tried this a few times now and it has worked everytime -well almost- tonight as I peeled the tarp off it fell to pieces- most likely because I painted on to the suide of the plastic with writting on it! acted as a key that gripped the tarp and would'n't allow it to come away cleanly- and also because I took it off to soon

Obviuosly more layers of “paint” will give a thicker/heavier tarp, the choice is. Try it with orange paint instead to create air ID panels etc.
Here's a version of it on my leo range target, just to show how it can look.
ACSW
P


 Haven't been doing this long enough for it to be a problem