danb.
Reviews member     March 2013 MoM Winner
Member since: November 2011
Posts: 2,808
Nov 17, 2011 9:22:52 GMT -5
Nov 17, 2011 9:22:52 GMT -5
|
Post by danb. on Oct 18, 2013 15:22:56 GMT -5
Right MSC'ers here is my latest project its part 2 of my review on one of Broncos latest releases i will be making a start on this tomorrow as the weekend is upon us  as this tank was a prototype and there is not a lot of reference material on this tank out there i am a little stumped on how this model will end up so i will build it out of the box for review purposes then i will make a plan on how i want to finish it ie battle damage and paint job im thinking of a winter scheme and maybe some camo  a bit of a what if tank Here is the link to part 1 of the review : modelerssocialclub.proboards.com/thread/6050/bronco-zrinyi-hungarian-75mm-assault?page=1&scrollTo=169486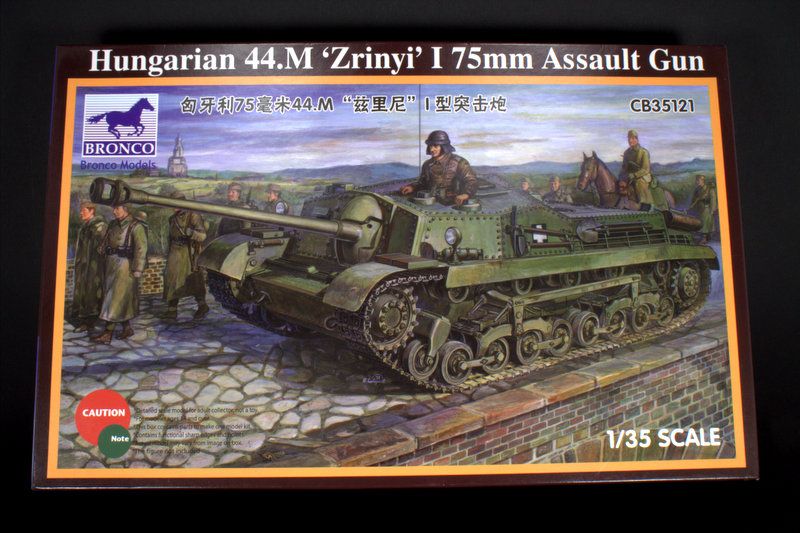 Dan B |
|
|
|
Post by TRM on Oct 18, 2013 15:43:52 GMT -5
Oh yeah, I'm in!! Popcorn anyone?  |
|
|
|
Post by wbill76 on Oct 18, 2013 16:58:28 GMT -5
Definitely in, especially if T's supplying the popcorn!  |
|
|
|
Post by deafpanzer on Oct 18, 2013 20:52:21 GMT -5
Count me in! Now where is Uncle Tony?!?!? I thought he'd be first in the line because its a SPG.
|
|
|
|
Post by wouter on Oct 19, 2013 2:17:21 GMT -5
Looking forward to see some more DanB magic happening, I'm in mate!
Cheers
|
|
|
|
Post by tonylee-Rest In Peace on Oct 19, 2013 10:00:24 GMT -5
I'm here so never fear  Tony lee |
|
|
|
Post by bbd468 on Oct 20, 2013 13:27:39 GMT -5
YEAH, Im all over this Dan! Bring it on fella!  |
|
danb.
Reviews member     March 2013 MoM Winner
Member since: November 2011
Posts: 2,808
Nov 17, 2011 9:22:52 GMT -5
Nov 17, 2011 9:22:52 GMT -5
|
Post by danb. on Oct 20, 2013 14:21:02 GMT -5
Im liking the sound of that strapping loads of Neb rockets to it have you any photos Christophe? i have the 1st installment tonight on the progress i have made i will post it up a bit later  Dan B |
|
danb.
Reviews member     March 2013 MoM Winner
Member since: November 2011
Posts: 2,808
Nov 17, 2011 9:22:52 GMT -5
Nov 17, 2011 9:22:52 GMT -5
|
Post by danb. on Oct 20, 2013 17:52:40 GMT -5
Right fellow MSC'ers as promised here is some progress i have made on the build so far I have followed the instructions and have finished stages 1,2,3 in the 1st and 2nd step you construct the drivers area the detail in this area is a little sparse and IMHO there is not enough parts to call it a detailed interior but with some reference photos and some scratch work this can be achieved i will not be doing this as this is a build review and i want this tank to be built how it comes OOB Step 1,2 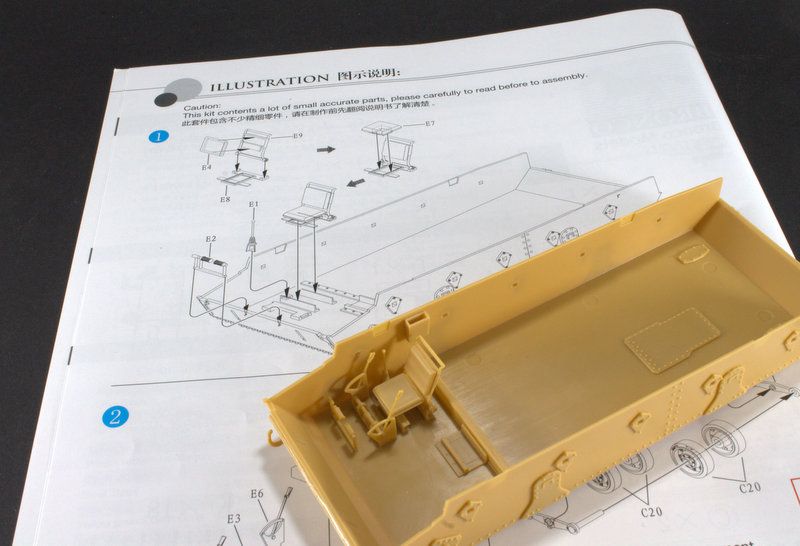  Step 3 Now we move onto the cleaning of the road wheels and suspension arms there are a lot of wheels in the kit but to the excellence of Broncos sprue moldings there is zero flash, there are only 2 spots to sand where they are attached to the sprue the styrene is a little brittle so care must be taken when sanding and cutting these connection points. Suspension arms These come in 3 parts you have to make up 4 pairs the molding of these parts are good again with only a small amount of flash but when gluing the 2 halves together i found they left a very prominent joint which has to be filled i recommend doing this as when you come to painting this will show up through the paint. 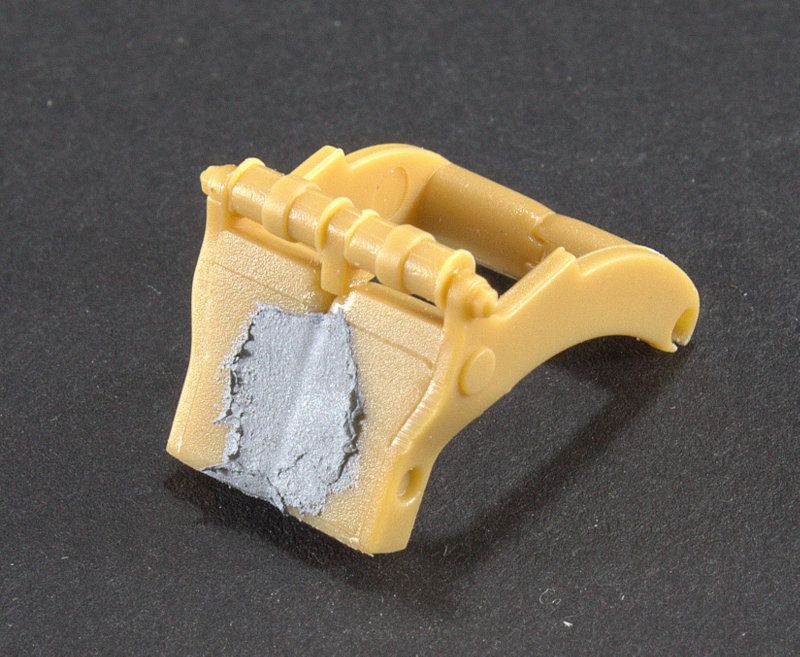 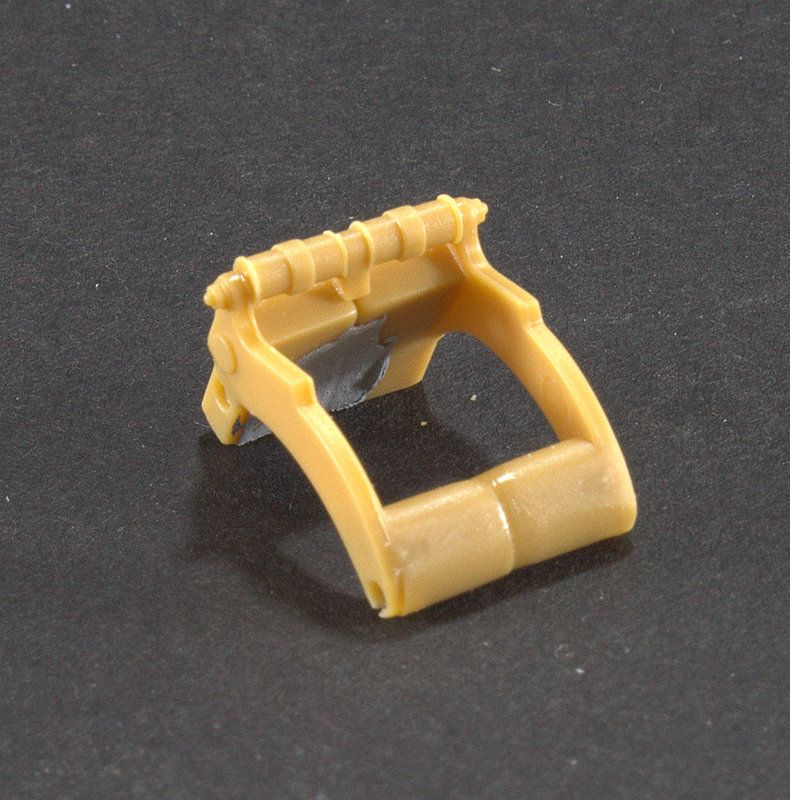 Along with these arms i cleaned up the axles and then gave the road wheels and axles a coat of primer as these units will need to be painted before assembly as i feel painting the wheels assembled would be difficult. Instructions for step 3 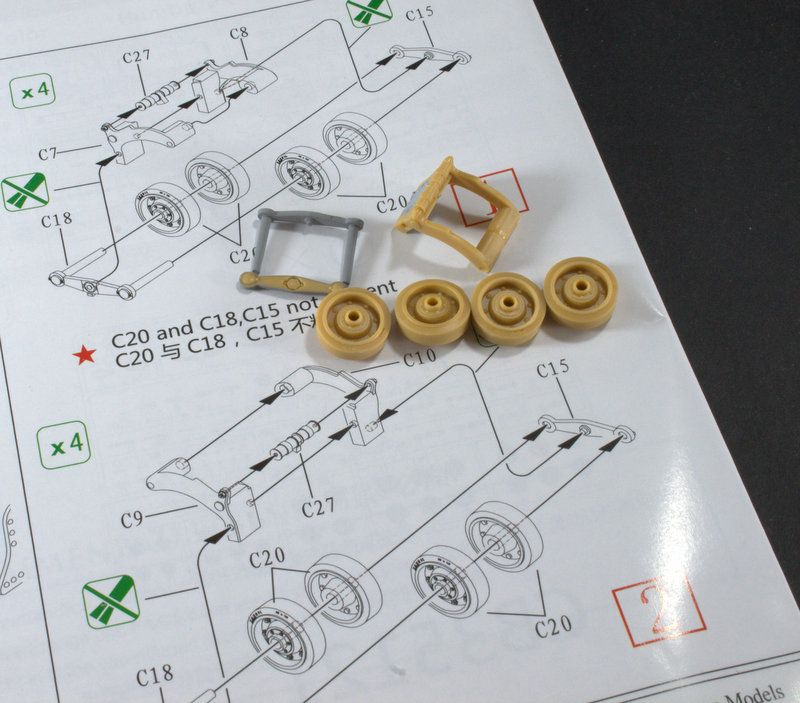 Return rollers These are part of step 4 in the instructions i started these while i was priming the previous parts and waiting for filler on the arms to dry there are 10 to construct each having 6 parts axle,inner roller,2 track tooth guides,outer roller and hub cover great details and no flash caution has to be used again when cutting and cleaning up as the parts are small and fragile also as instructions display glue is only needed to secure hub cover to leave the rollers and guides floating.  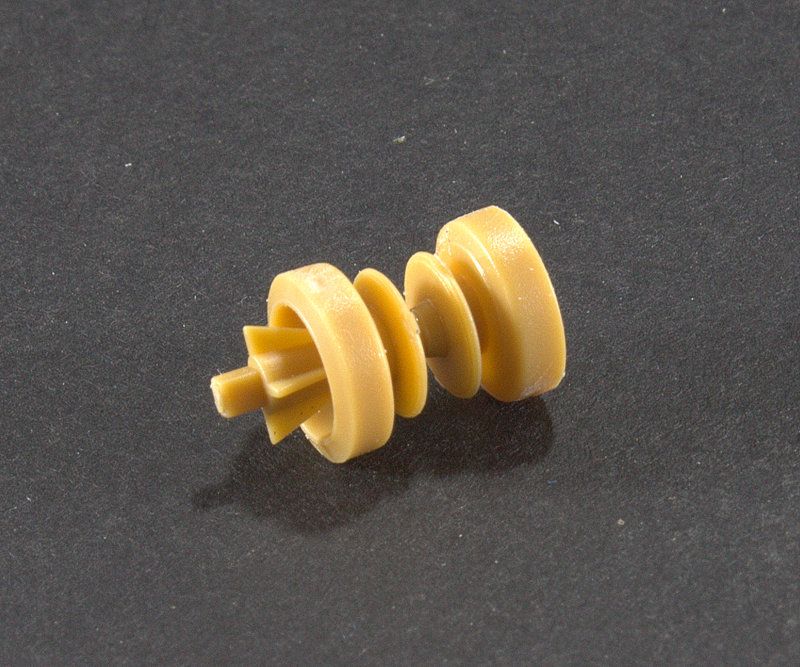 Now a overview picture of all parts constructed so far 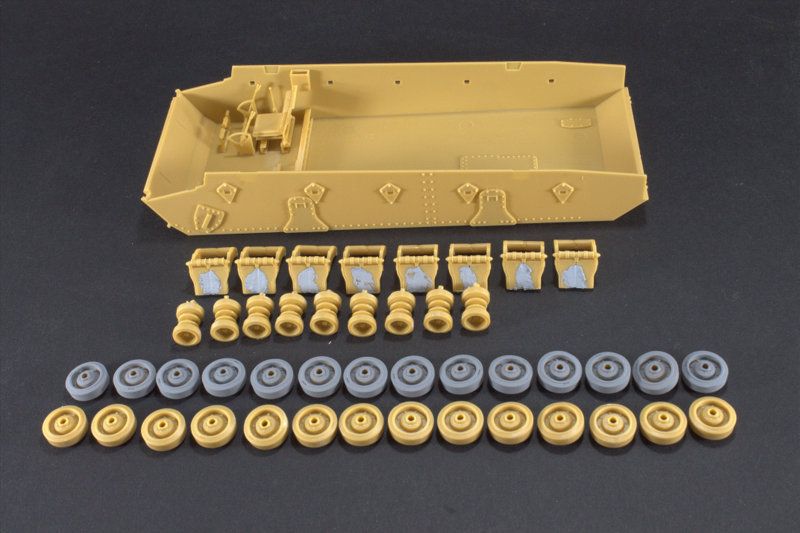 Thoughts on this kit so far It has been a fun start with no hassles IMHO i really think the interior needs more detailing that would complete this kit and there is a huge amount of parts in the running gear which at times can be quite fiddly and tedious and due to its construction the running gear needs painting first IMHO i would not advice this kit for a beginner Next update will be finishing cleaning parts for the suspension arms a spot of painting and moving onto the tracks Total construction time so far 3 hours Dan B |
|
|
|
Post by tonylee-Rest In Peace on Oct 20, 2013 19:40:44 GMT -5
Hey Dan is there a bulkhead at the cross member? If there is that map case is going to be close huh?  ?? Tony lee |
|
|
|
Post by wbill76 on Oct 20, 2013 20:09:03 GMT -5
Nice progress Dan, that's a lot of wheels but better to get them out of the way right at the start vs. putting 'em off.  |
|
danb.
Reviews member     March 2013 MoM Winner
Member since: November 2011
Posts: 2,808
Nov 17, 2011 9:22:52 GMT -5
Nov 17, 2011 9:22:52 GMT -5
|
Post by danb. on Oct 21, 2013 1:34:53 GMT -5
Tony thanks for the heads up fella i will have a look tonight at the instructions again and see if there will be any problems just when attaching the bin there is no location points so its down to doing it by eye :? also what colours did you use for the interior i was planning on closing up the interior but after seeing yours i like the look of the hatches open any help would be greatly appreciated buddy Bill i wanted to start with the gun but as its a review im trying to follow the instructions step by step but im happy with getting the boring bit done 1st  Dan B |
|
|
|
Post by tonylee-Rest In Peace on Oct 21, 2013 9:59:14 GMT -5
I used the same off white I mixed that I use for German interiors Dan. White with a little Buff mixed in.
Tony lee
|
|
danb.
Reviews member     March 2013 MoM Winner
Member since: November 2011
Posts: 2,808
Nov 17, 2011 9:22:52 GMT -5
Nov 17, 2011 9:22:52 GMT -5
|
Post by danb. on Oct 21, 2013 13:45:44 GMT -5
Thanks Tony i will give it a try
Dan B
|
|
|
|
Post by Leon on Oct 21, 2013 17:18:22 GMT -5
Dan,your doing a great review and making really good progress.  |
|
danb.
Reviews member     March 2013 MoM Winner
Member since: November 2011
Posts: 2,808
Nov 17, 2011 9:22:52 GMT -5
Nov 17, 2011 9:22:52 GMT -5
|
Post by danb. on Oct 27, 2013 12:52:52 GMT -5
Evening chaps a small update for ya all the roadwheels and running gear have been primered ready for paint and suspension units have been built ready for paint im working on the gun at the moment so that will be the next update and hopefully some colouring in.   Dan B |
|
|
|
Post by tobias5555 on Oct 27, 2013 13:07:12 GMT -5
Looking very good so far.
|
|
Deleted
Member since: January 1970
Posts: 0
Nov 23, 2024 7:39:31 GMT -5
Nov 23, 2024 7:39:31 GMT -5
|
Post by Deleted on Oct 27, 2013 15:33:41 GMT -5
I'm in, looks like a nice kit
|
|
danb.
Reviews member     March 2013 MoM Winner
Member since: November 2011
Posts: 2,808
Nov 17, 2011 9:22:52 GMT -5
Nov 17, 2011 9:22:52 GMT -5
|
Post by danb. on Oct 27, 2013 15:54:22 GMT -5
Thanks chaps once i get the lower half done the rest will come together fast well thats what im hoping for  Dan B |
|
|
|
Post by tonylee-Rest In Peace on Oct 27, 2013 17:36:26 GMT -5
Quicker on the top side Dan.
I did fiddle and do some wiggling with the front casement plate to get it to sit flush so heads up.
Tony lee
|
|
|
|
Post by wbill76 on Oct 27, 2013 20:08:19 GMT -5
Moving right along Dan, looking good so far.
|
|
|
|
Post by Leon on Oct 27, 2013 21:18:22 GMT -5
Making really good progress Dan.Primer is always a good sign.
|
|
Deleted
Member since: January 1970
Posts: 0
Nov 23, 2024 7:39:31 GMT -5
Nov 23, 2024 7:39:31 GMT -5
|
Post by Deleted on Oct 27, 2013 21:51:03 GMT -5
I had my eye on this kit Dan ......man that hurts ...... good to see it bein built .
|
|
danb.
Reviews member     March 2013 MoM Winner
Member since: November 2011
Posts: 2,808
Nov 17, 2011 9:22:52 GMT -5
Nov 17, 2011 9:22:52 GMT -5
|
Post by danb. on Oct 28, 2013 2:18:41 GMT -5
Tony thanks buddy seems to be a dry fit first then glue after kinda kit so far  Bill its going ok so far but i bet there will be a snag somewhere there always is lol Leon love the sign of primer but far from finished with this beast its a first for me to be priming so soon :/ Carl Its a good kit but only for those with a bit of patience as it can get a bit fiddly and time consuming at times Dan B |
|
|
|
Post by bbd468 on Oct 28, 2013 11:56:52 GMT -5
Zyrinyi is comin along a treat Dan! I did get this on MHI wish list shortly after your first postings. Hmm...."Zyrinyi" sounds like it would be delicious with Alfredo Sauce on it!  |
|
|
|
Post by Deano on Oct 28, 2013 16:46:49 GMT -5
Dunno how I missed this one but Im here now , nice work so far Dan ! really like this Beastie .
Deano
|
|
danb.
Reviews member     March 2013 MoM Winner
Member since: November 2011
Posts: 2,808
Nov 17, 2011 9:22:52 GMT -5
Nov 17, 2011 9:22:52 GMT -5
|
Post by danb. on Nov 4, 2013 17:00:52 GMT -5
Evening all Heres an update for ya all on the Zrinyi i have not made a start on the painting as yet due to a unproductive week at the bench but yesterday i managed to grab some construction time. with the interior done i then moved onto steps 5,6 and 7 in these steps you construct the Pak 40 gun mount which is connected to the Glacis plate to which you can add some spare tracks these will be added when i have completed the painting stage. Then we move onto step 6 where the Glacis plate/gun mount is installed to the lower hull the fit was excellent and with a few dots of glue and some Tamiya tape this was left to dry, in this step you can also add the suspension units and the drive covers i have left the roadwheels off as these will be fitted after painting. Step 7 Now the return rollers can be attached along with the front idler sprocket covers on these some tools can be attached the quality of these were amazing with a tiny amount of flash while these parts were drying i made up the 4 sprockets using Uncle Tonys track alignment system  Pic of the above steps 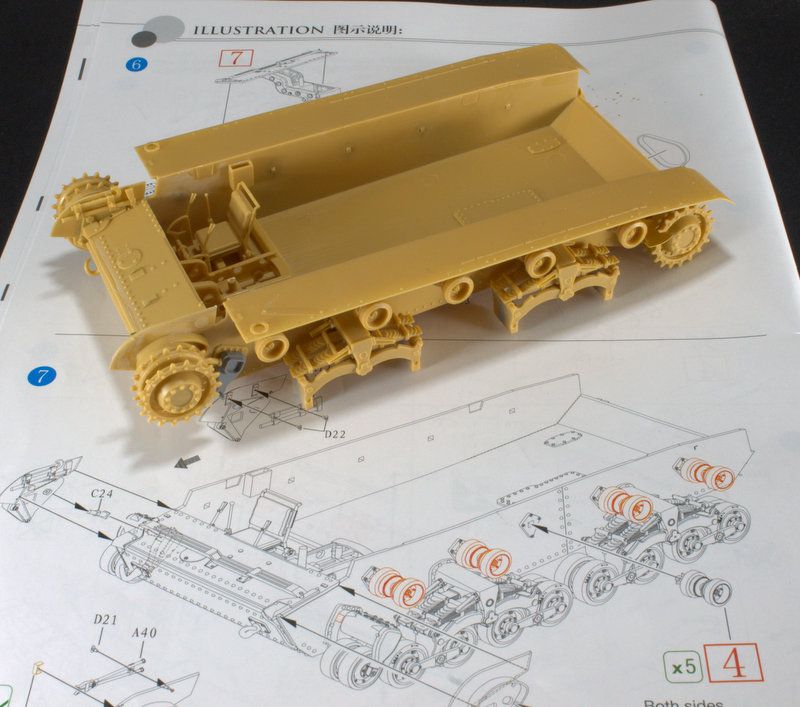 I skipped steps 9,10,11 due to this being the parts for adding fenders, sprockets and making up the tracks i will be using Fruils on my build as i love em and not because the kit tracks are rubbish i just dont get on with plastic tracks but i will be showing how good the kit tracks are in a future post watch this space  Steps 12,13 This was detailing the upper hull lots of tiny pieces here so optivisor to the ready   Then i finally put the Pak 40 together in stages 19,20 its very basic with minimal detailing but as with the rest of the kit it went together without a hitch with minimal cleaning up another great feature is it elevates too once it is installed onto its gun mount in the lower hull if it is built correctly. Steps 19,20 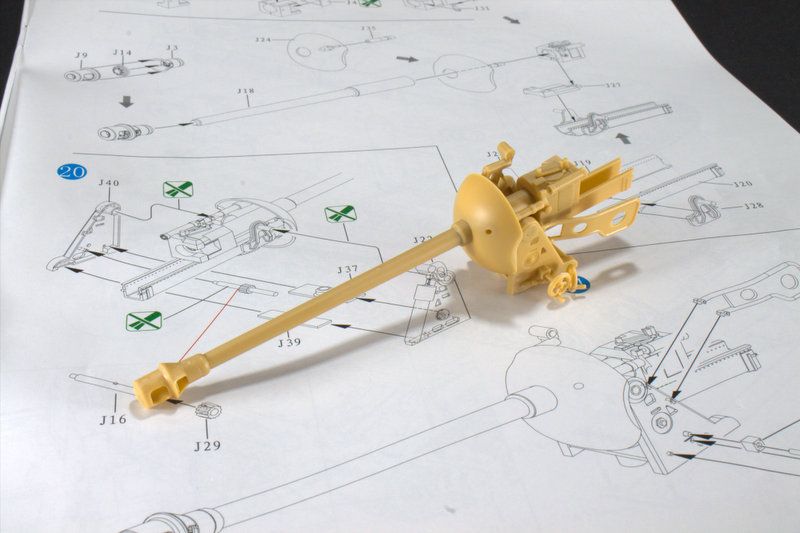 Pak 40 in detail 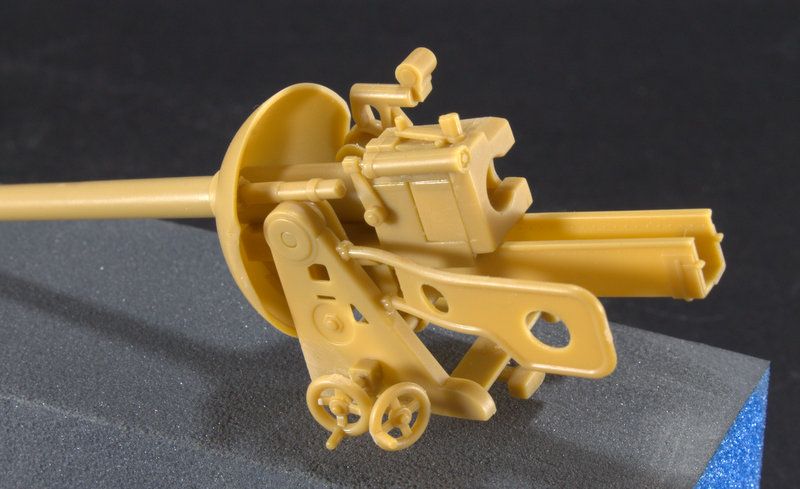 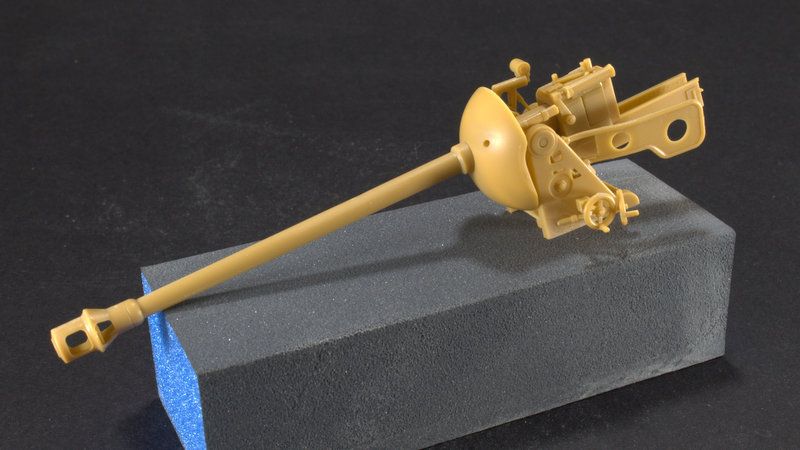 Installed on its mount 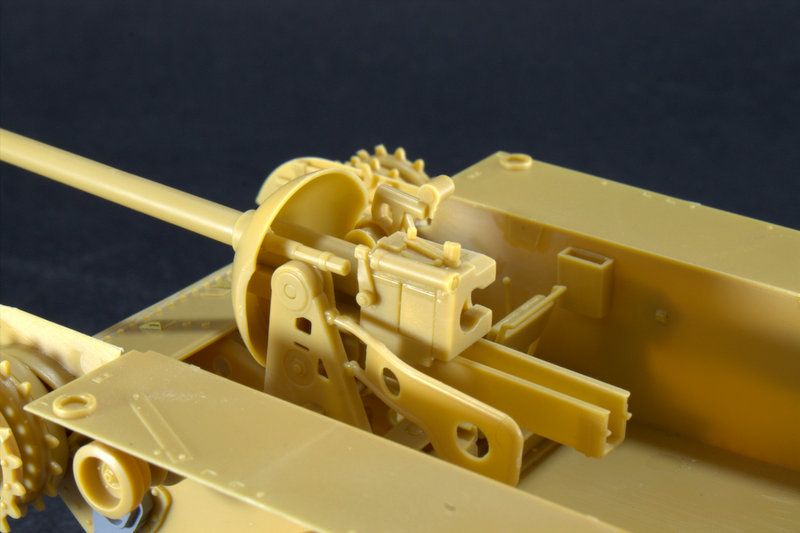 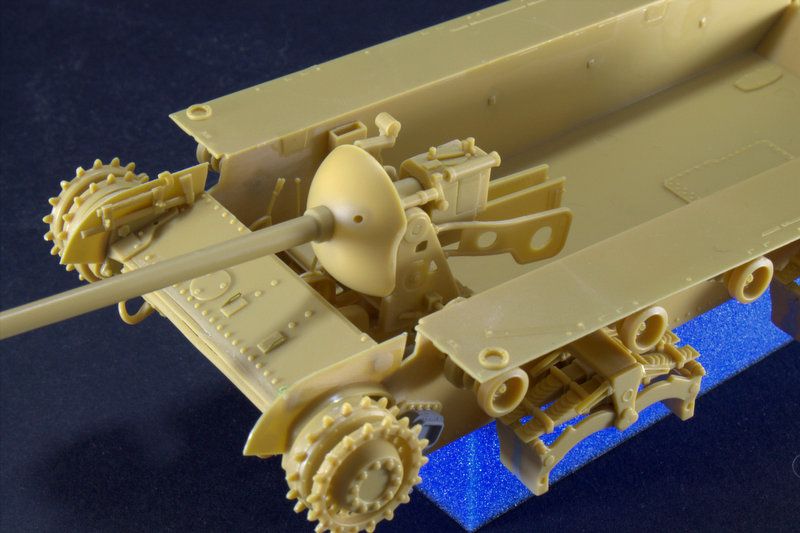  Sprocket, return roller and PE mud remover plate 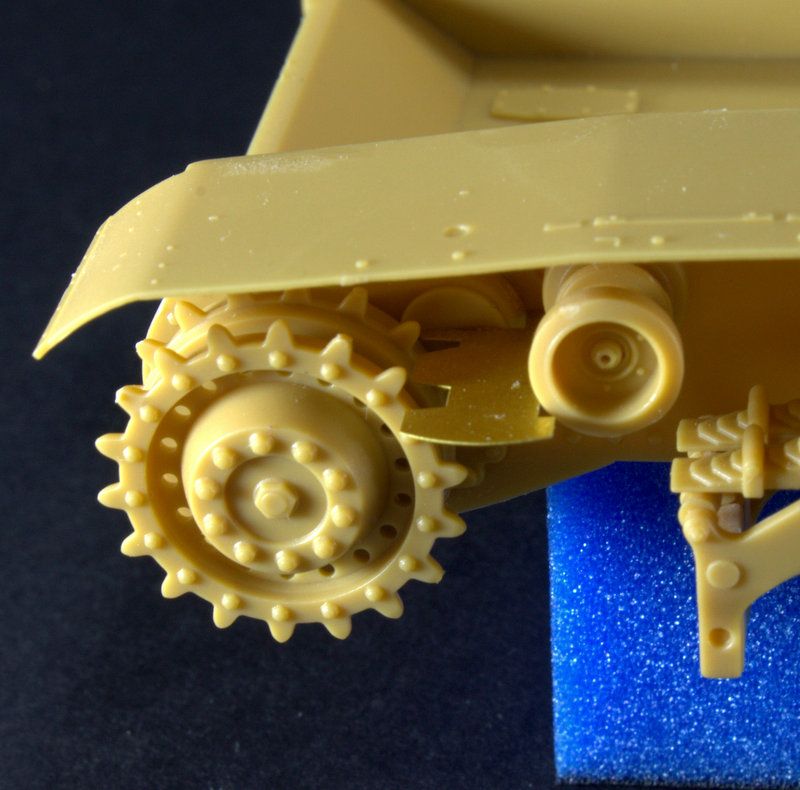 All steps so far as a dry fit starting to look like a Hungarian tank killer  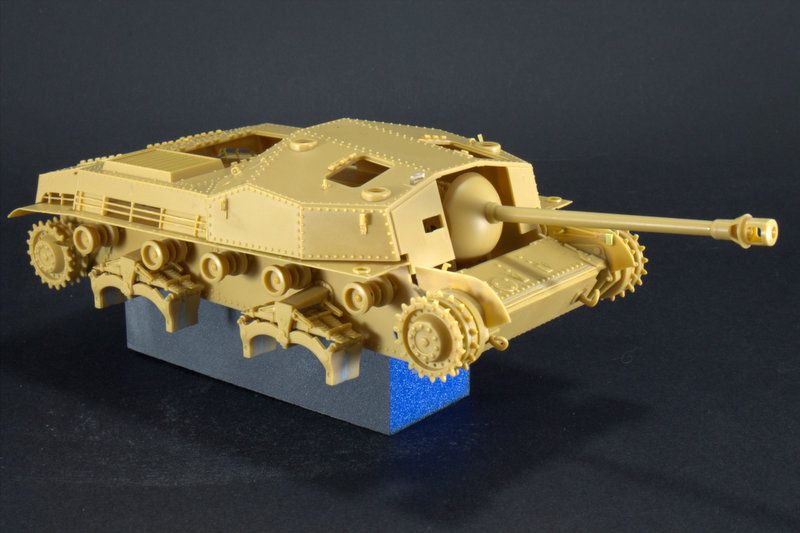 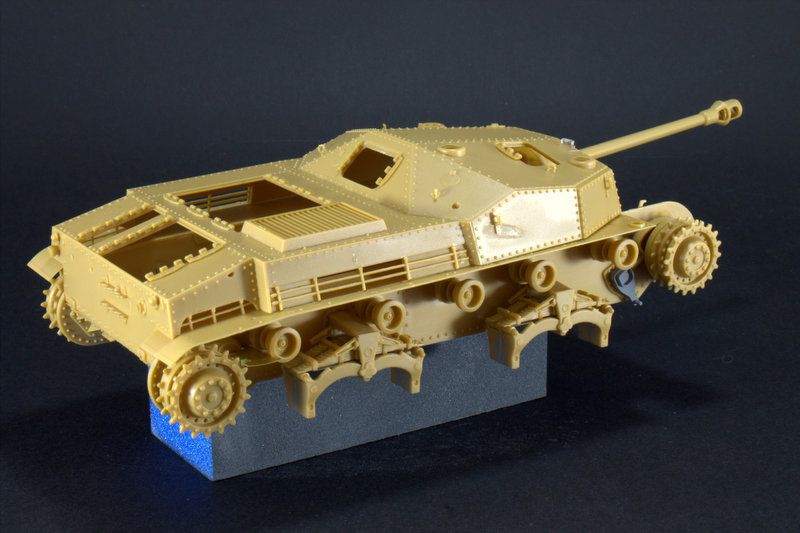 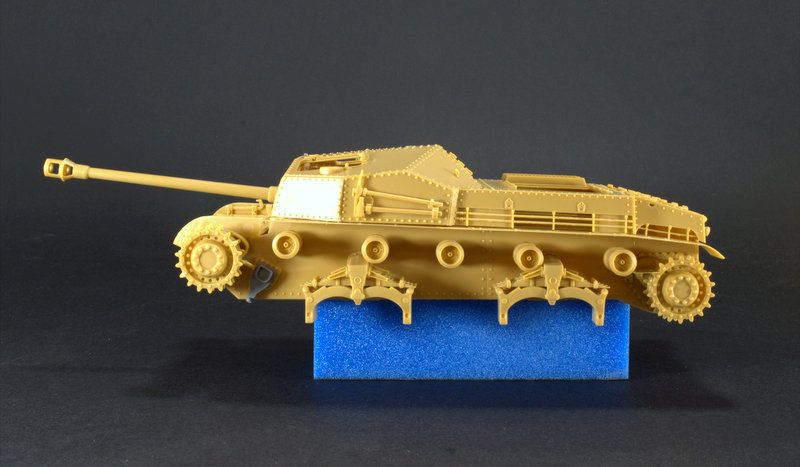  As in the last update i said what i liked and disliked and in these latest steps im still impressed with this kit it has some really frustrating fiddly bits and the instructions have taken a bit of understanding in places especially working out where some pieces have to be placed so if you have a go with this kit take your time and dry fit most parts 1st before gluing. im still not 100% sure if im going to paint the interior yet so i will make a start on the wheels and lower hull then see where the mood takes me  Dan B |
|
|
|
Post by tonylee-Rest In Peace on Nov 4, 2013 17:39:58 GMT -5
You've got some rivets to cut off the trees and place them here and there so don't forget.  You're progressing along very well Dan. Tony lee  |
|
|
|
Post by deafpanzer on Nov 4, 2013 19:03:02 GMT -5
WOW! It is on some kind of rivet steroid!!! I really like this...
|
|
|
|
Post by wbill76 on Nov 4, 2013 21:16:56 GMT -5
Making good progress Dan! Didn't realize this one was armed with the Pak 40 but makes sense when you think about it. It's a Hungarian StuG!  |
|