Post by remarc777 on Nov 11, 2013 13:48:23 GMT -5
Hello all,
I hesitated to place this tread in the "introduce yourself"- subforum because this is not a WIP anymore, but the dio sort of introduces me: it shows what I like to do and share. Also, it's the last dio I finished (in october)
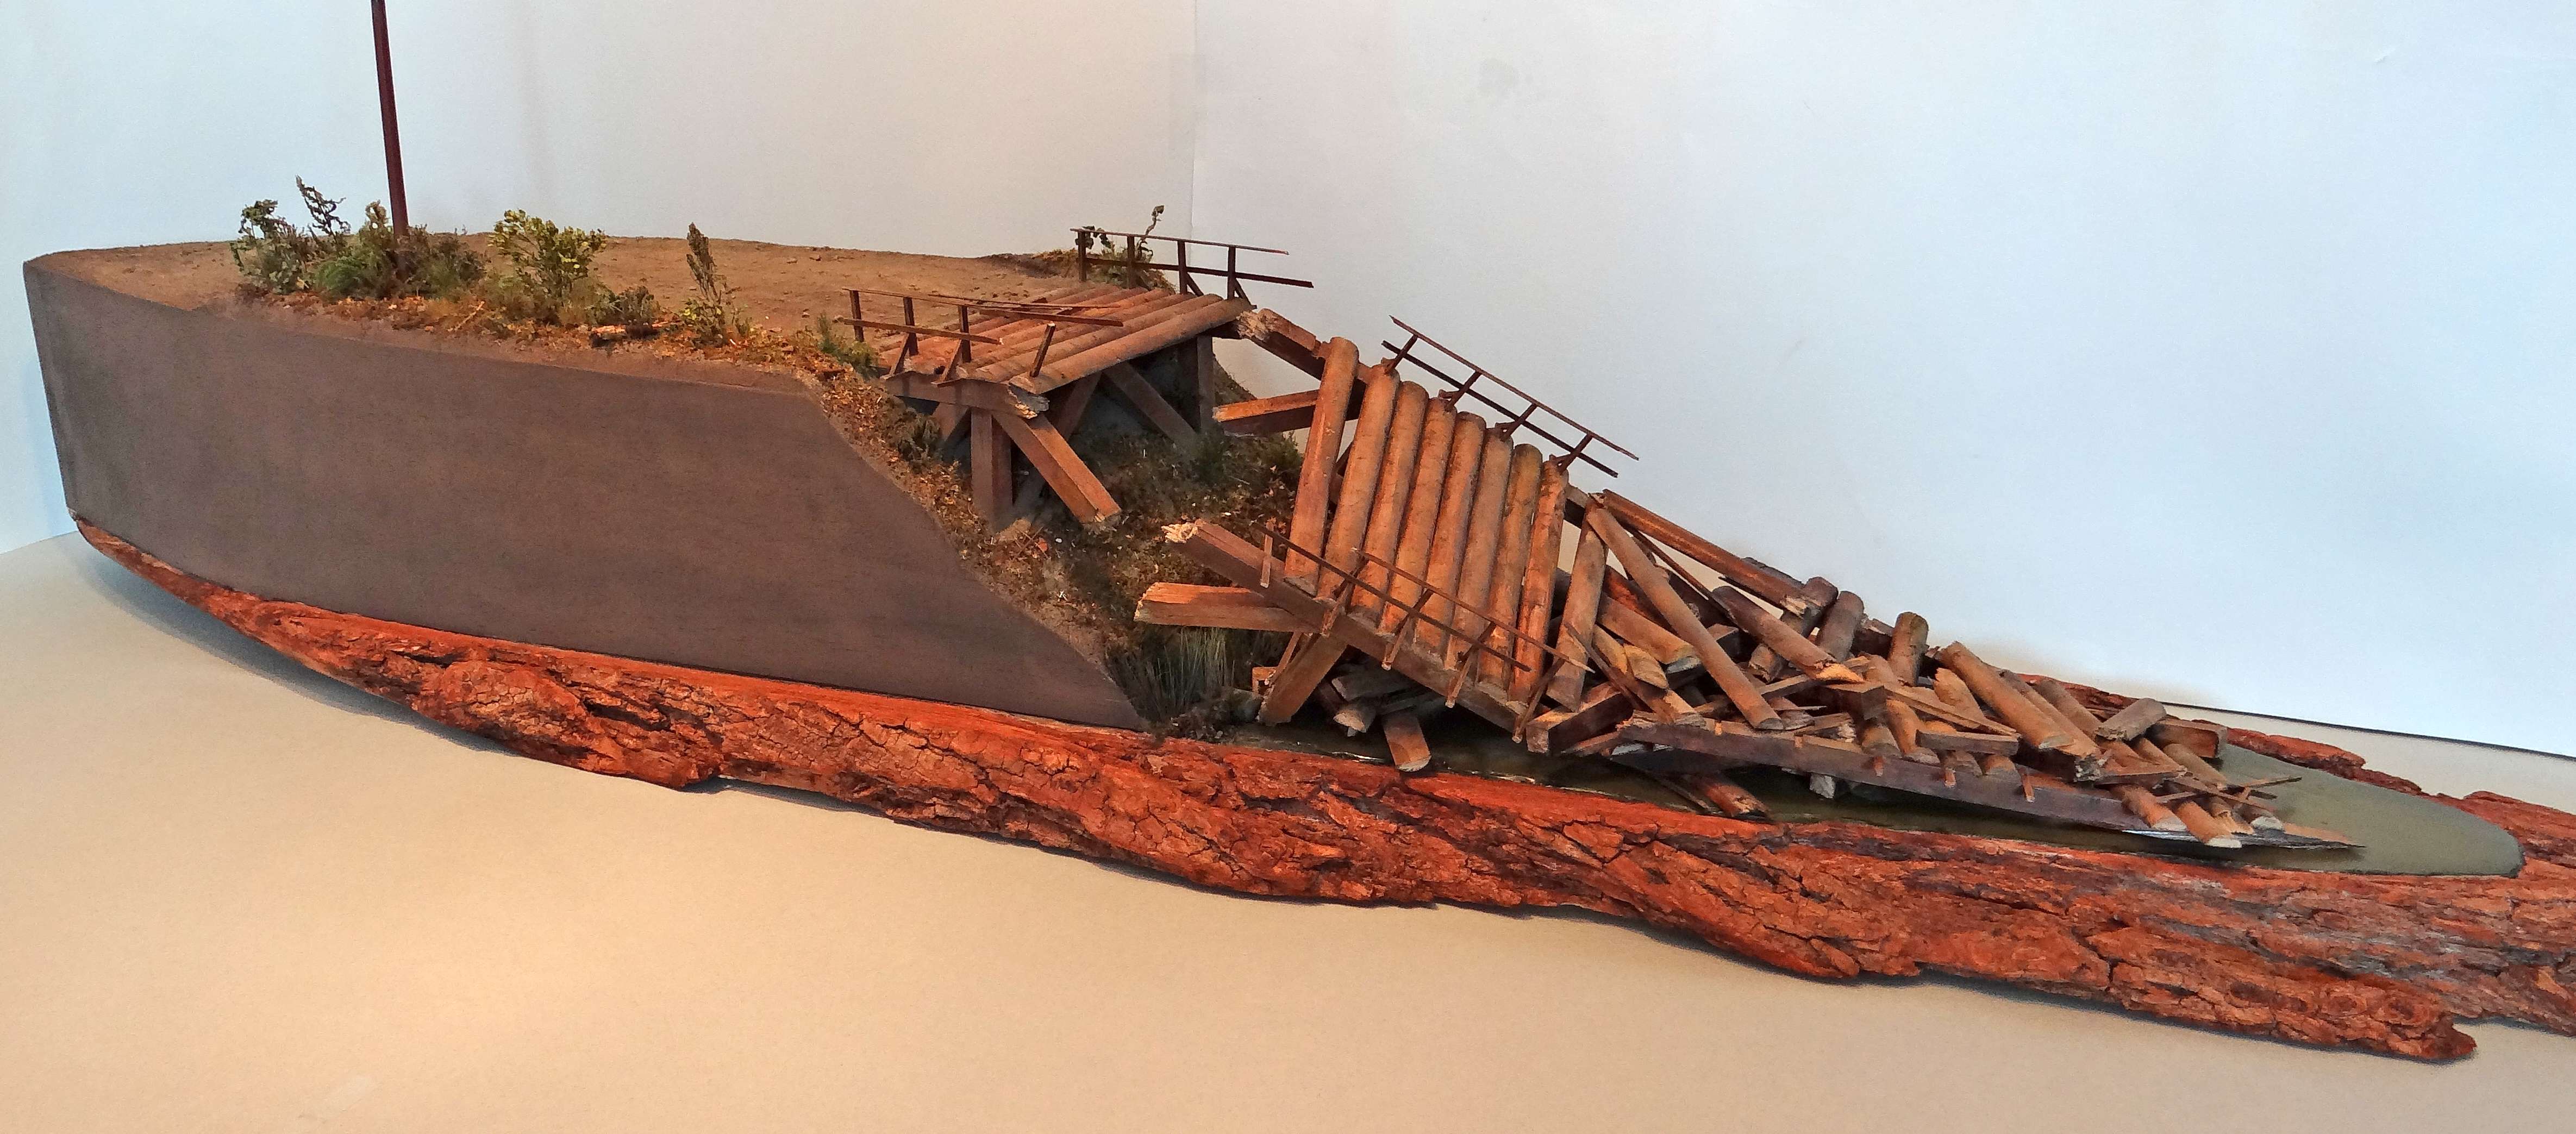
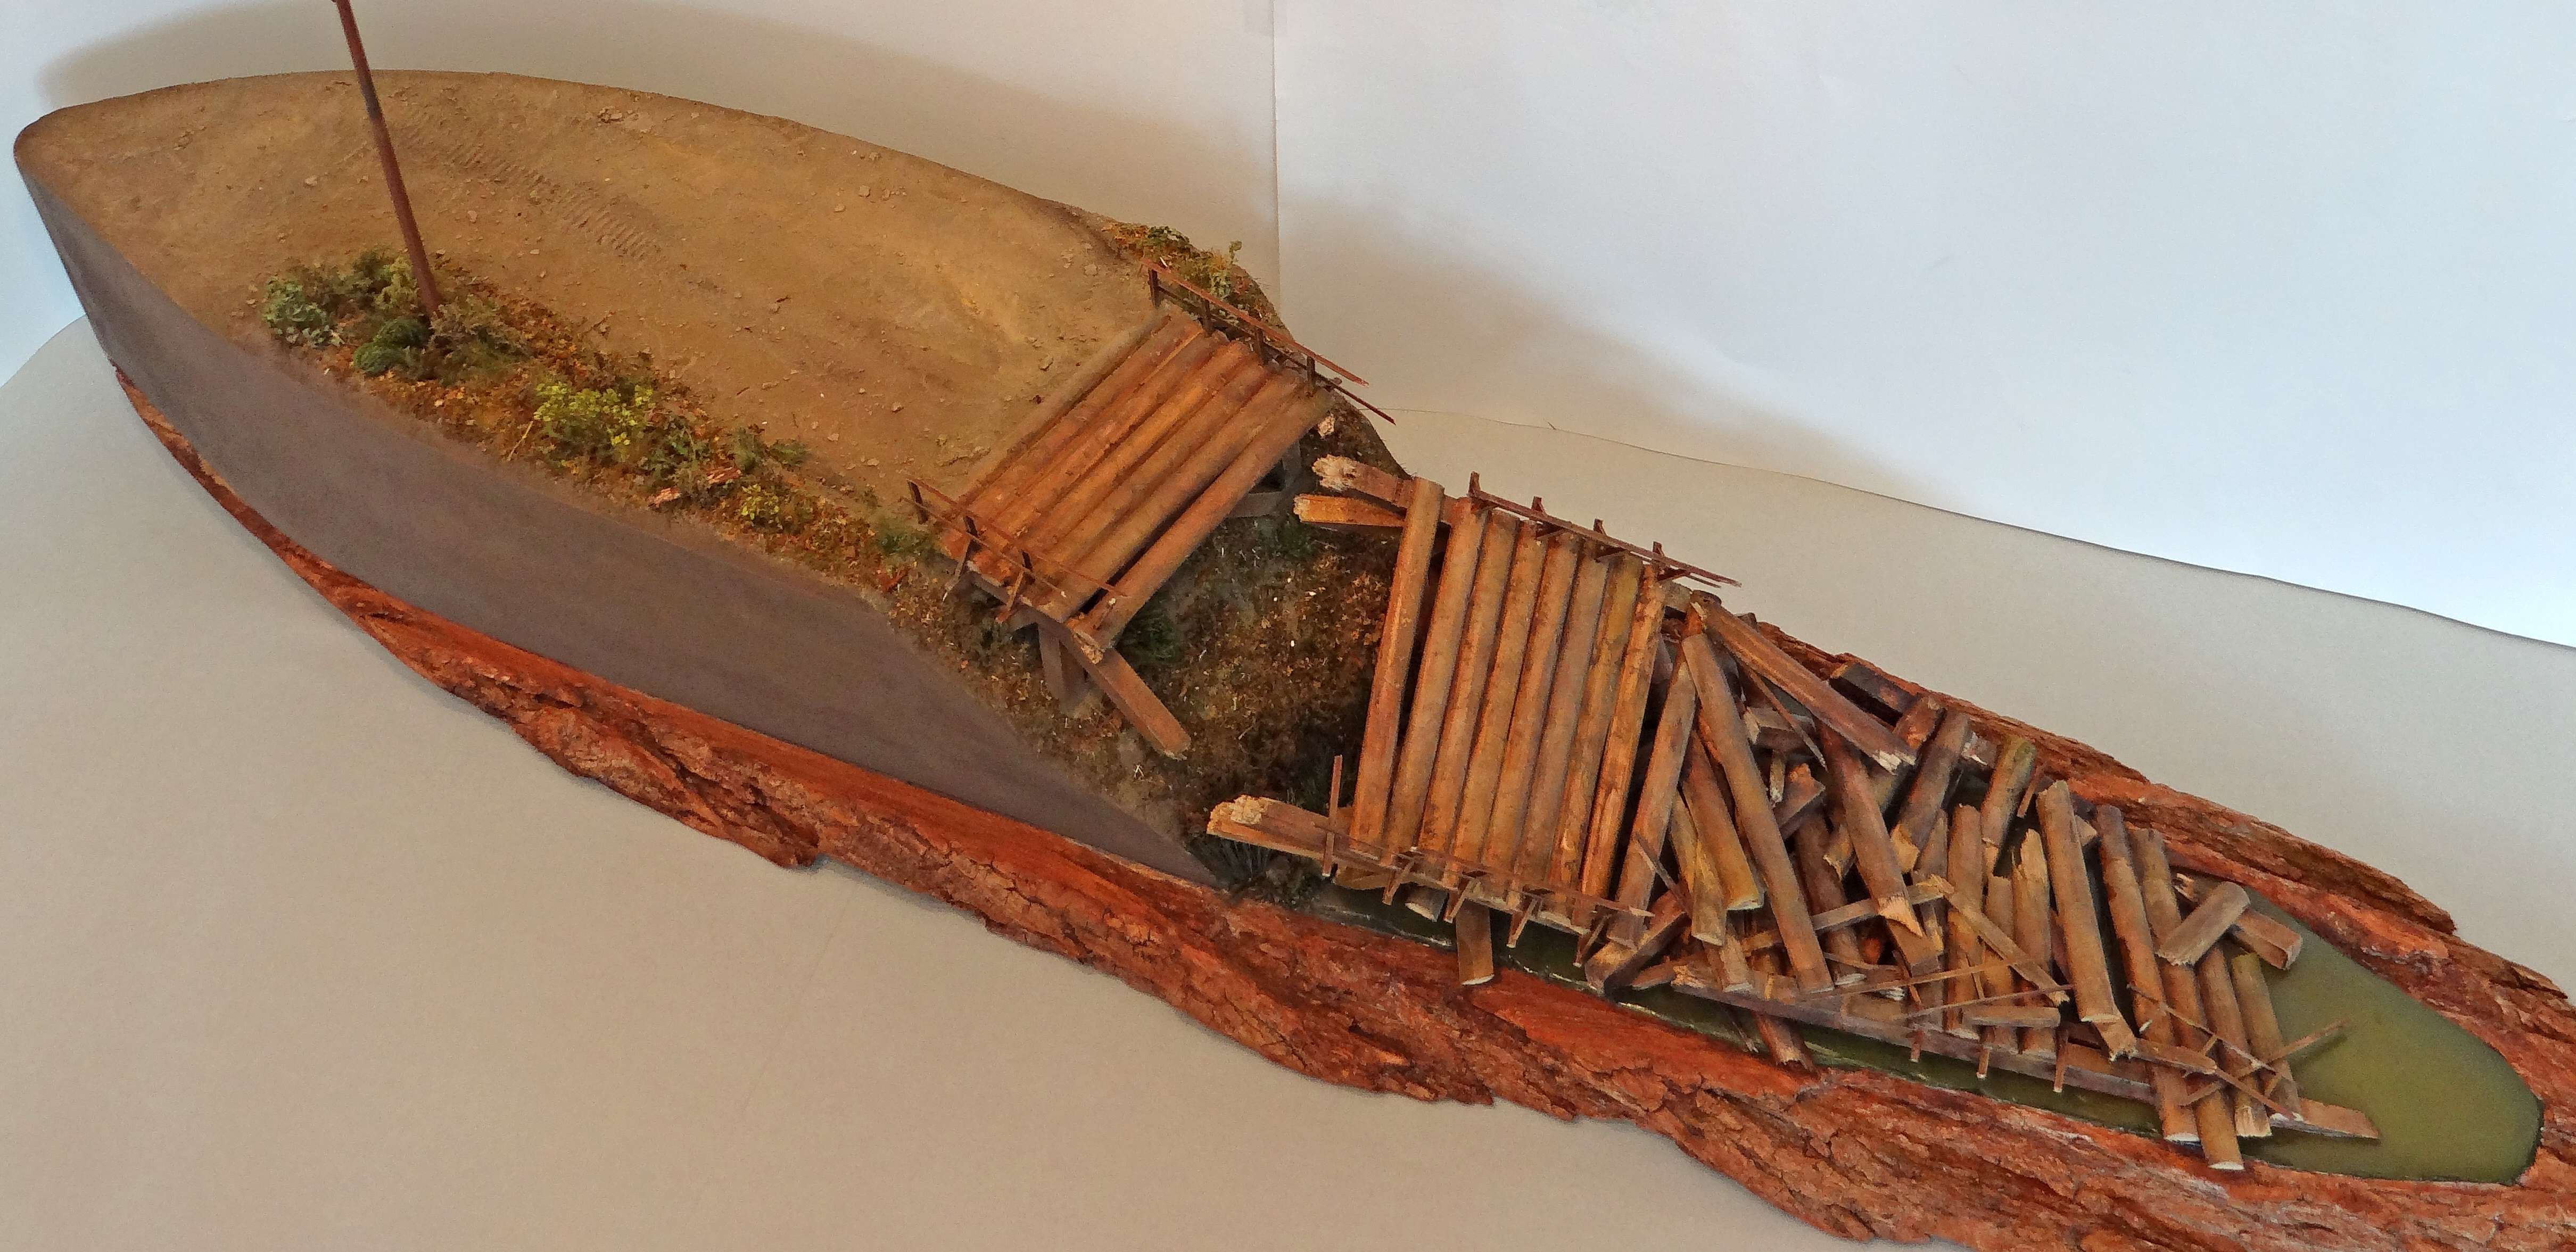
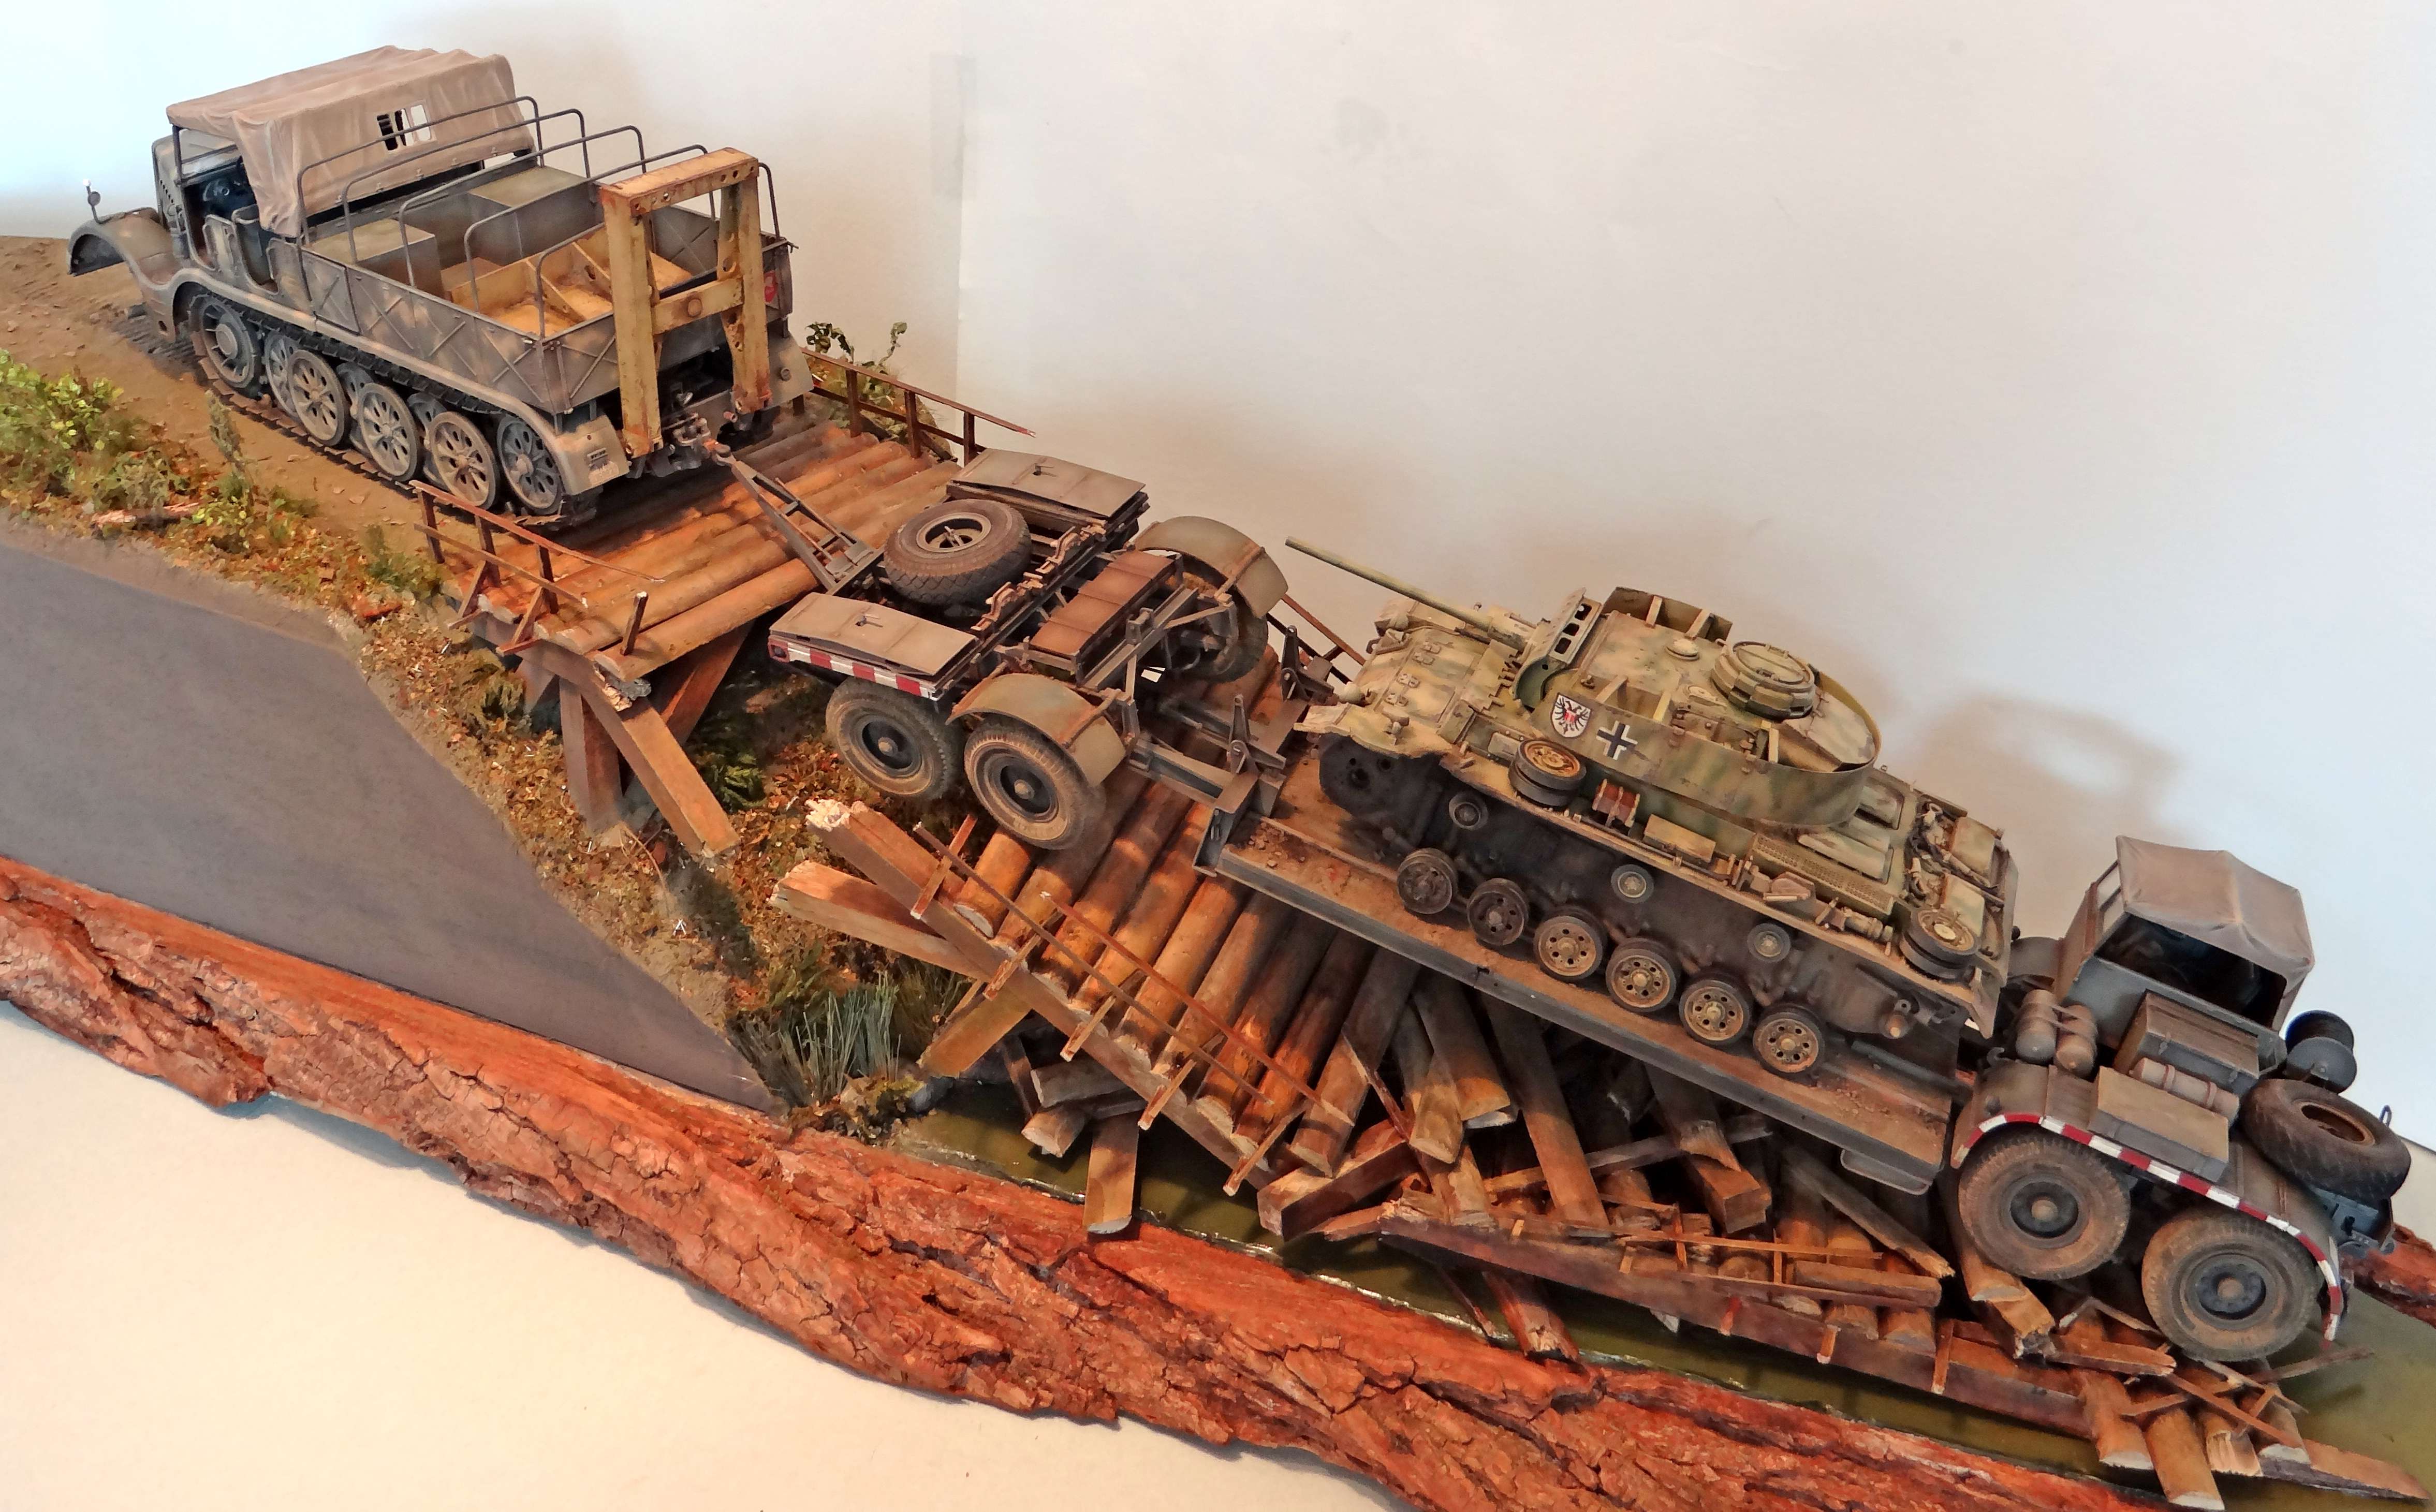
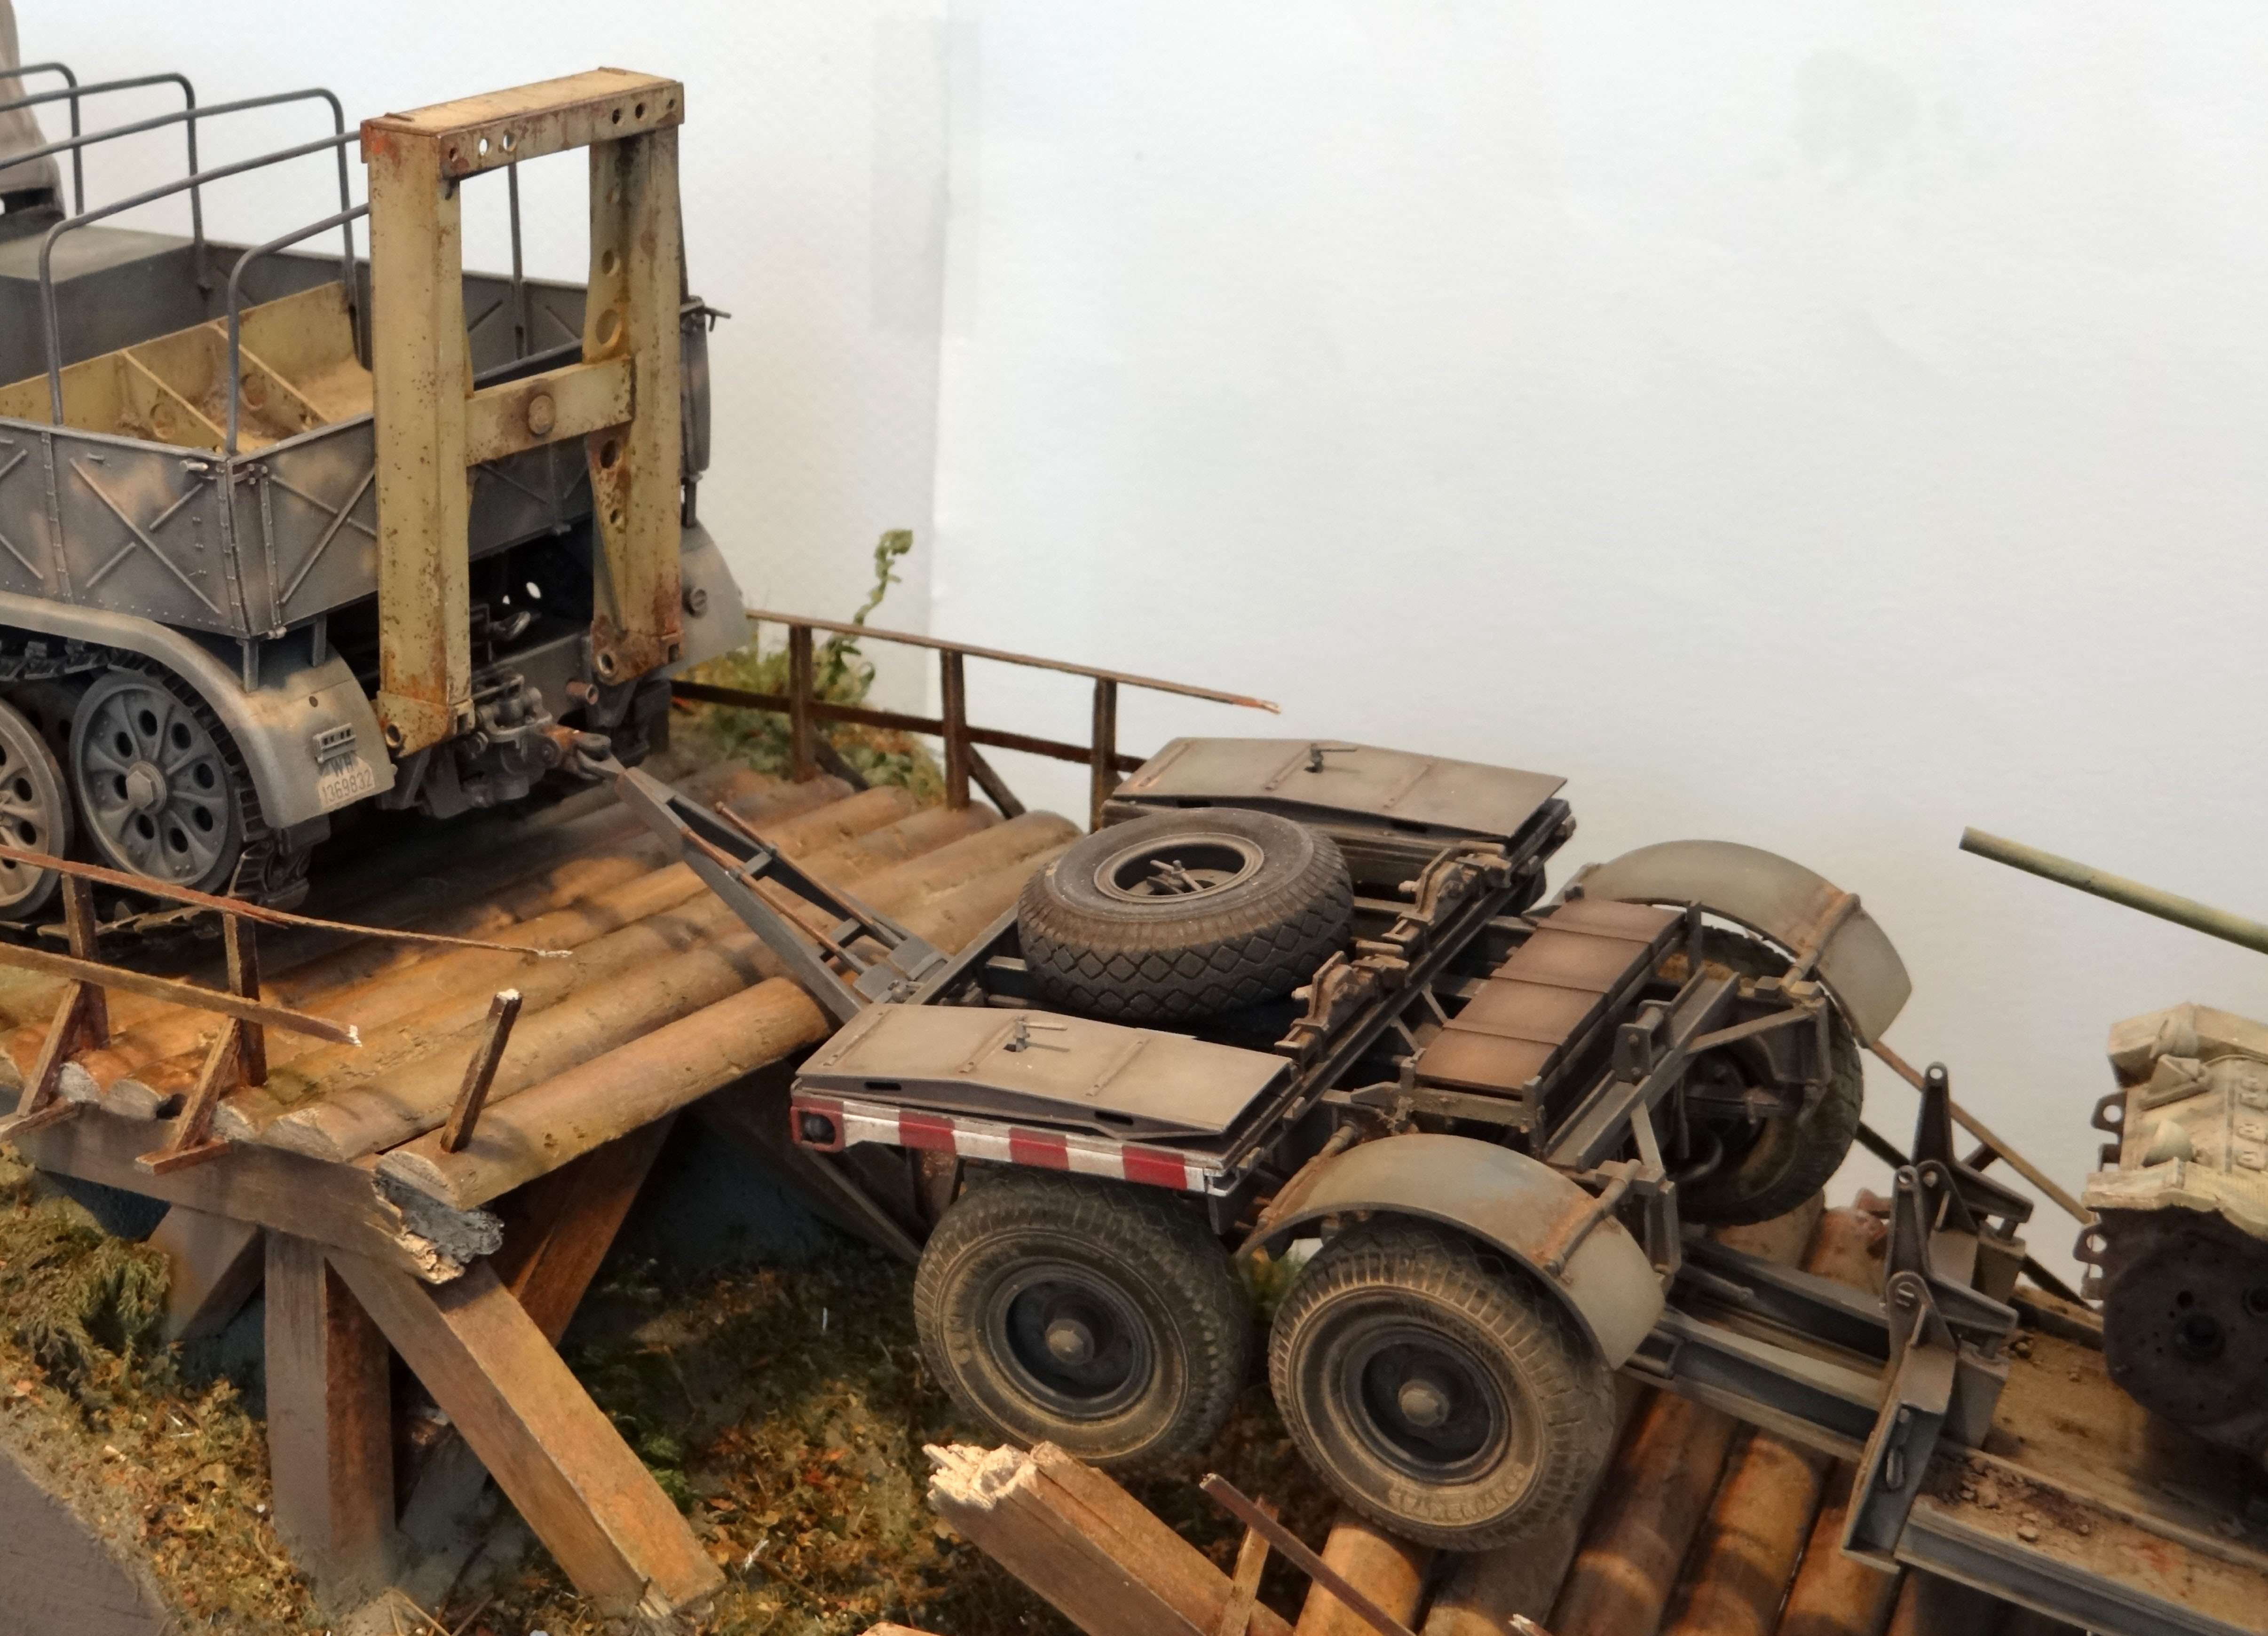
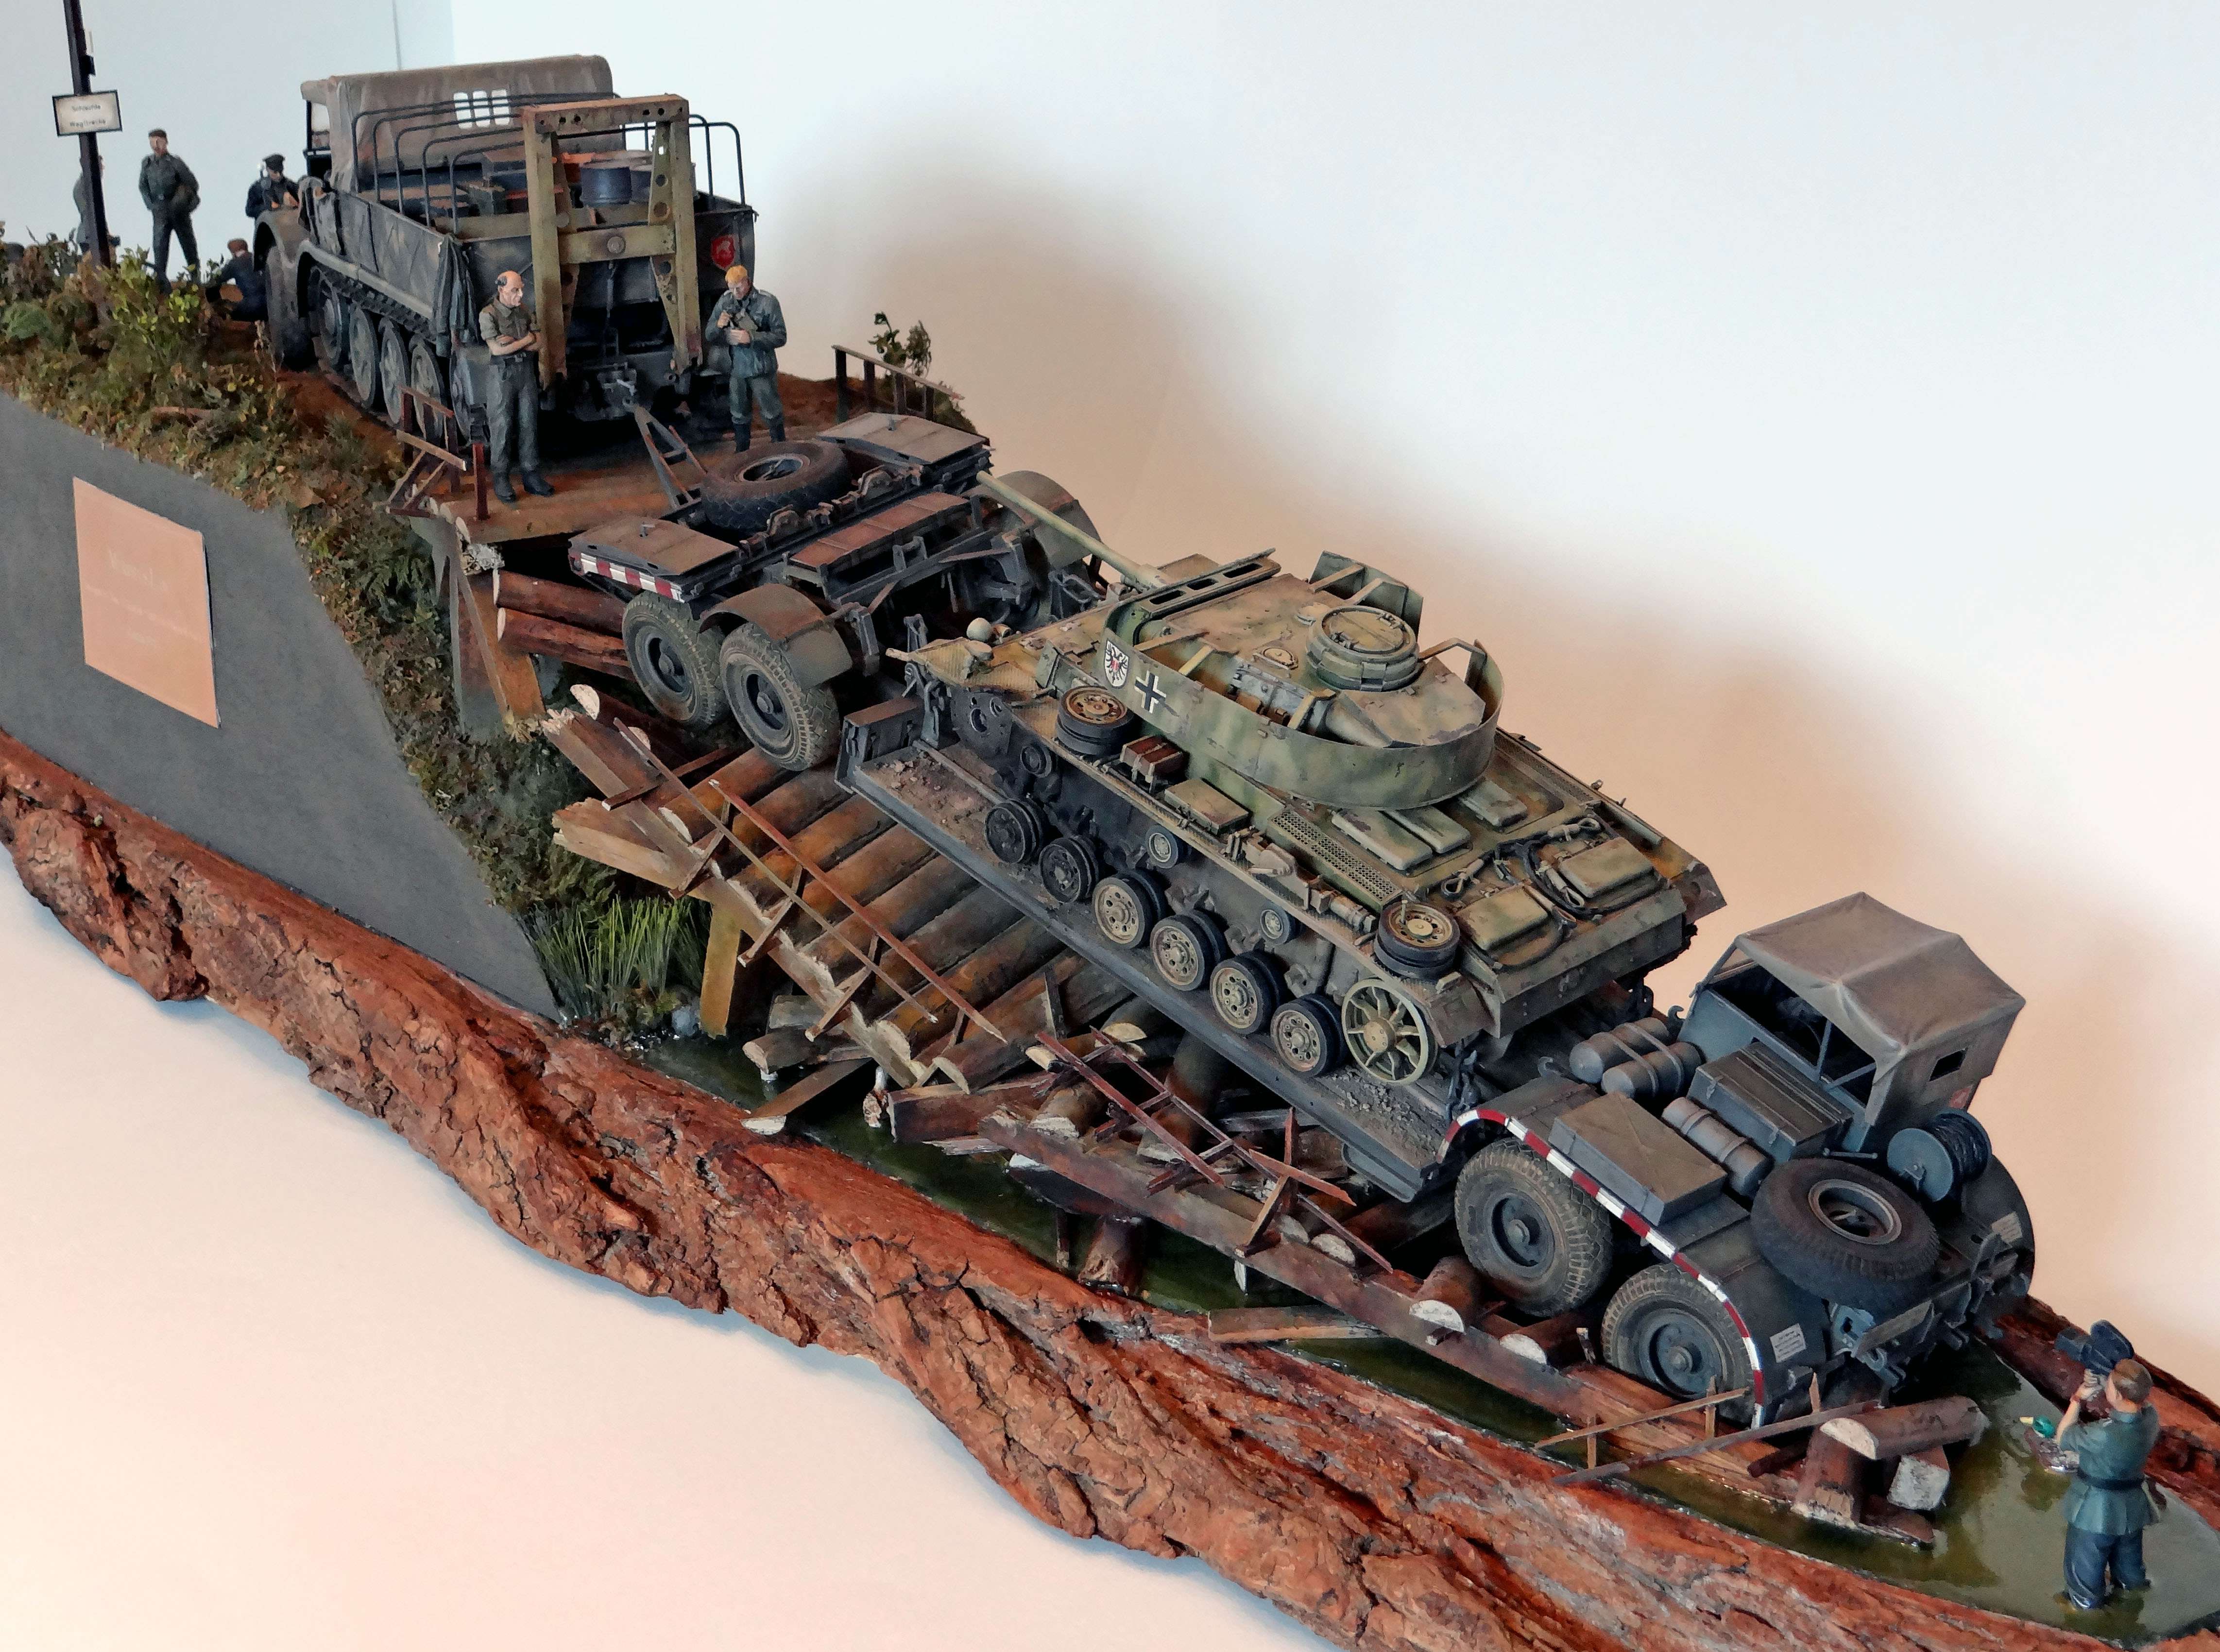
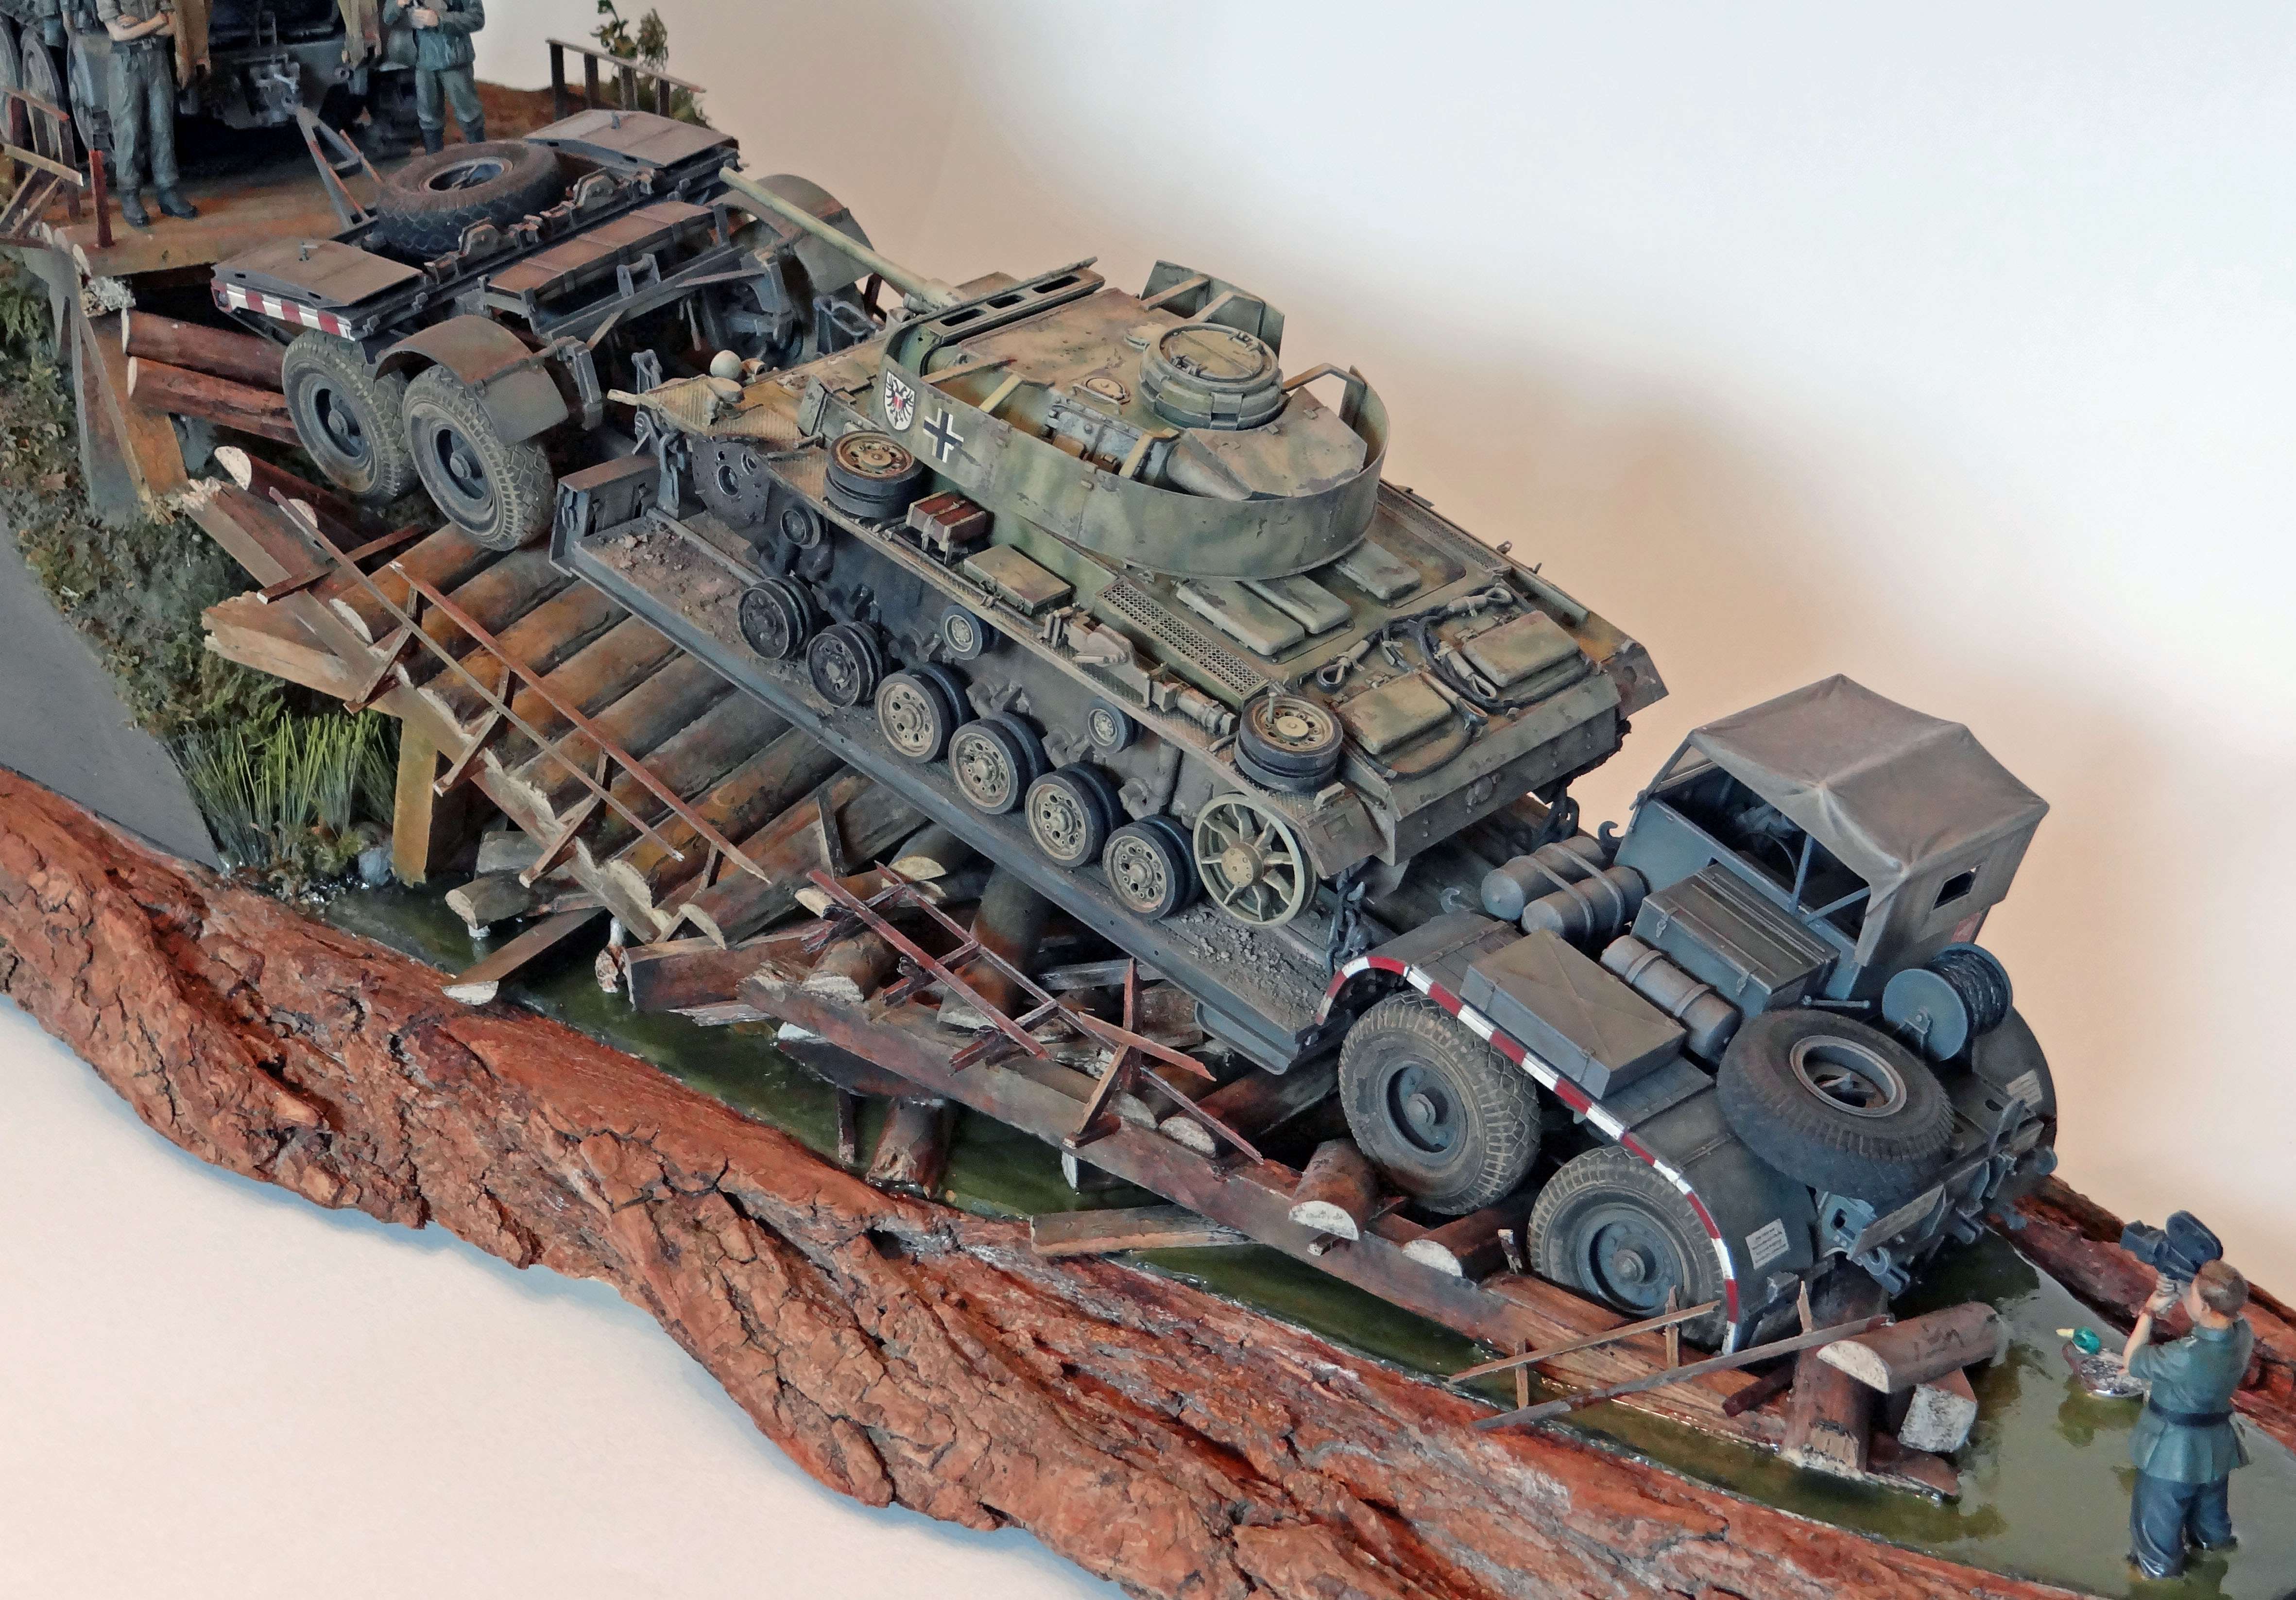
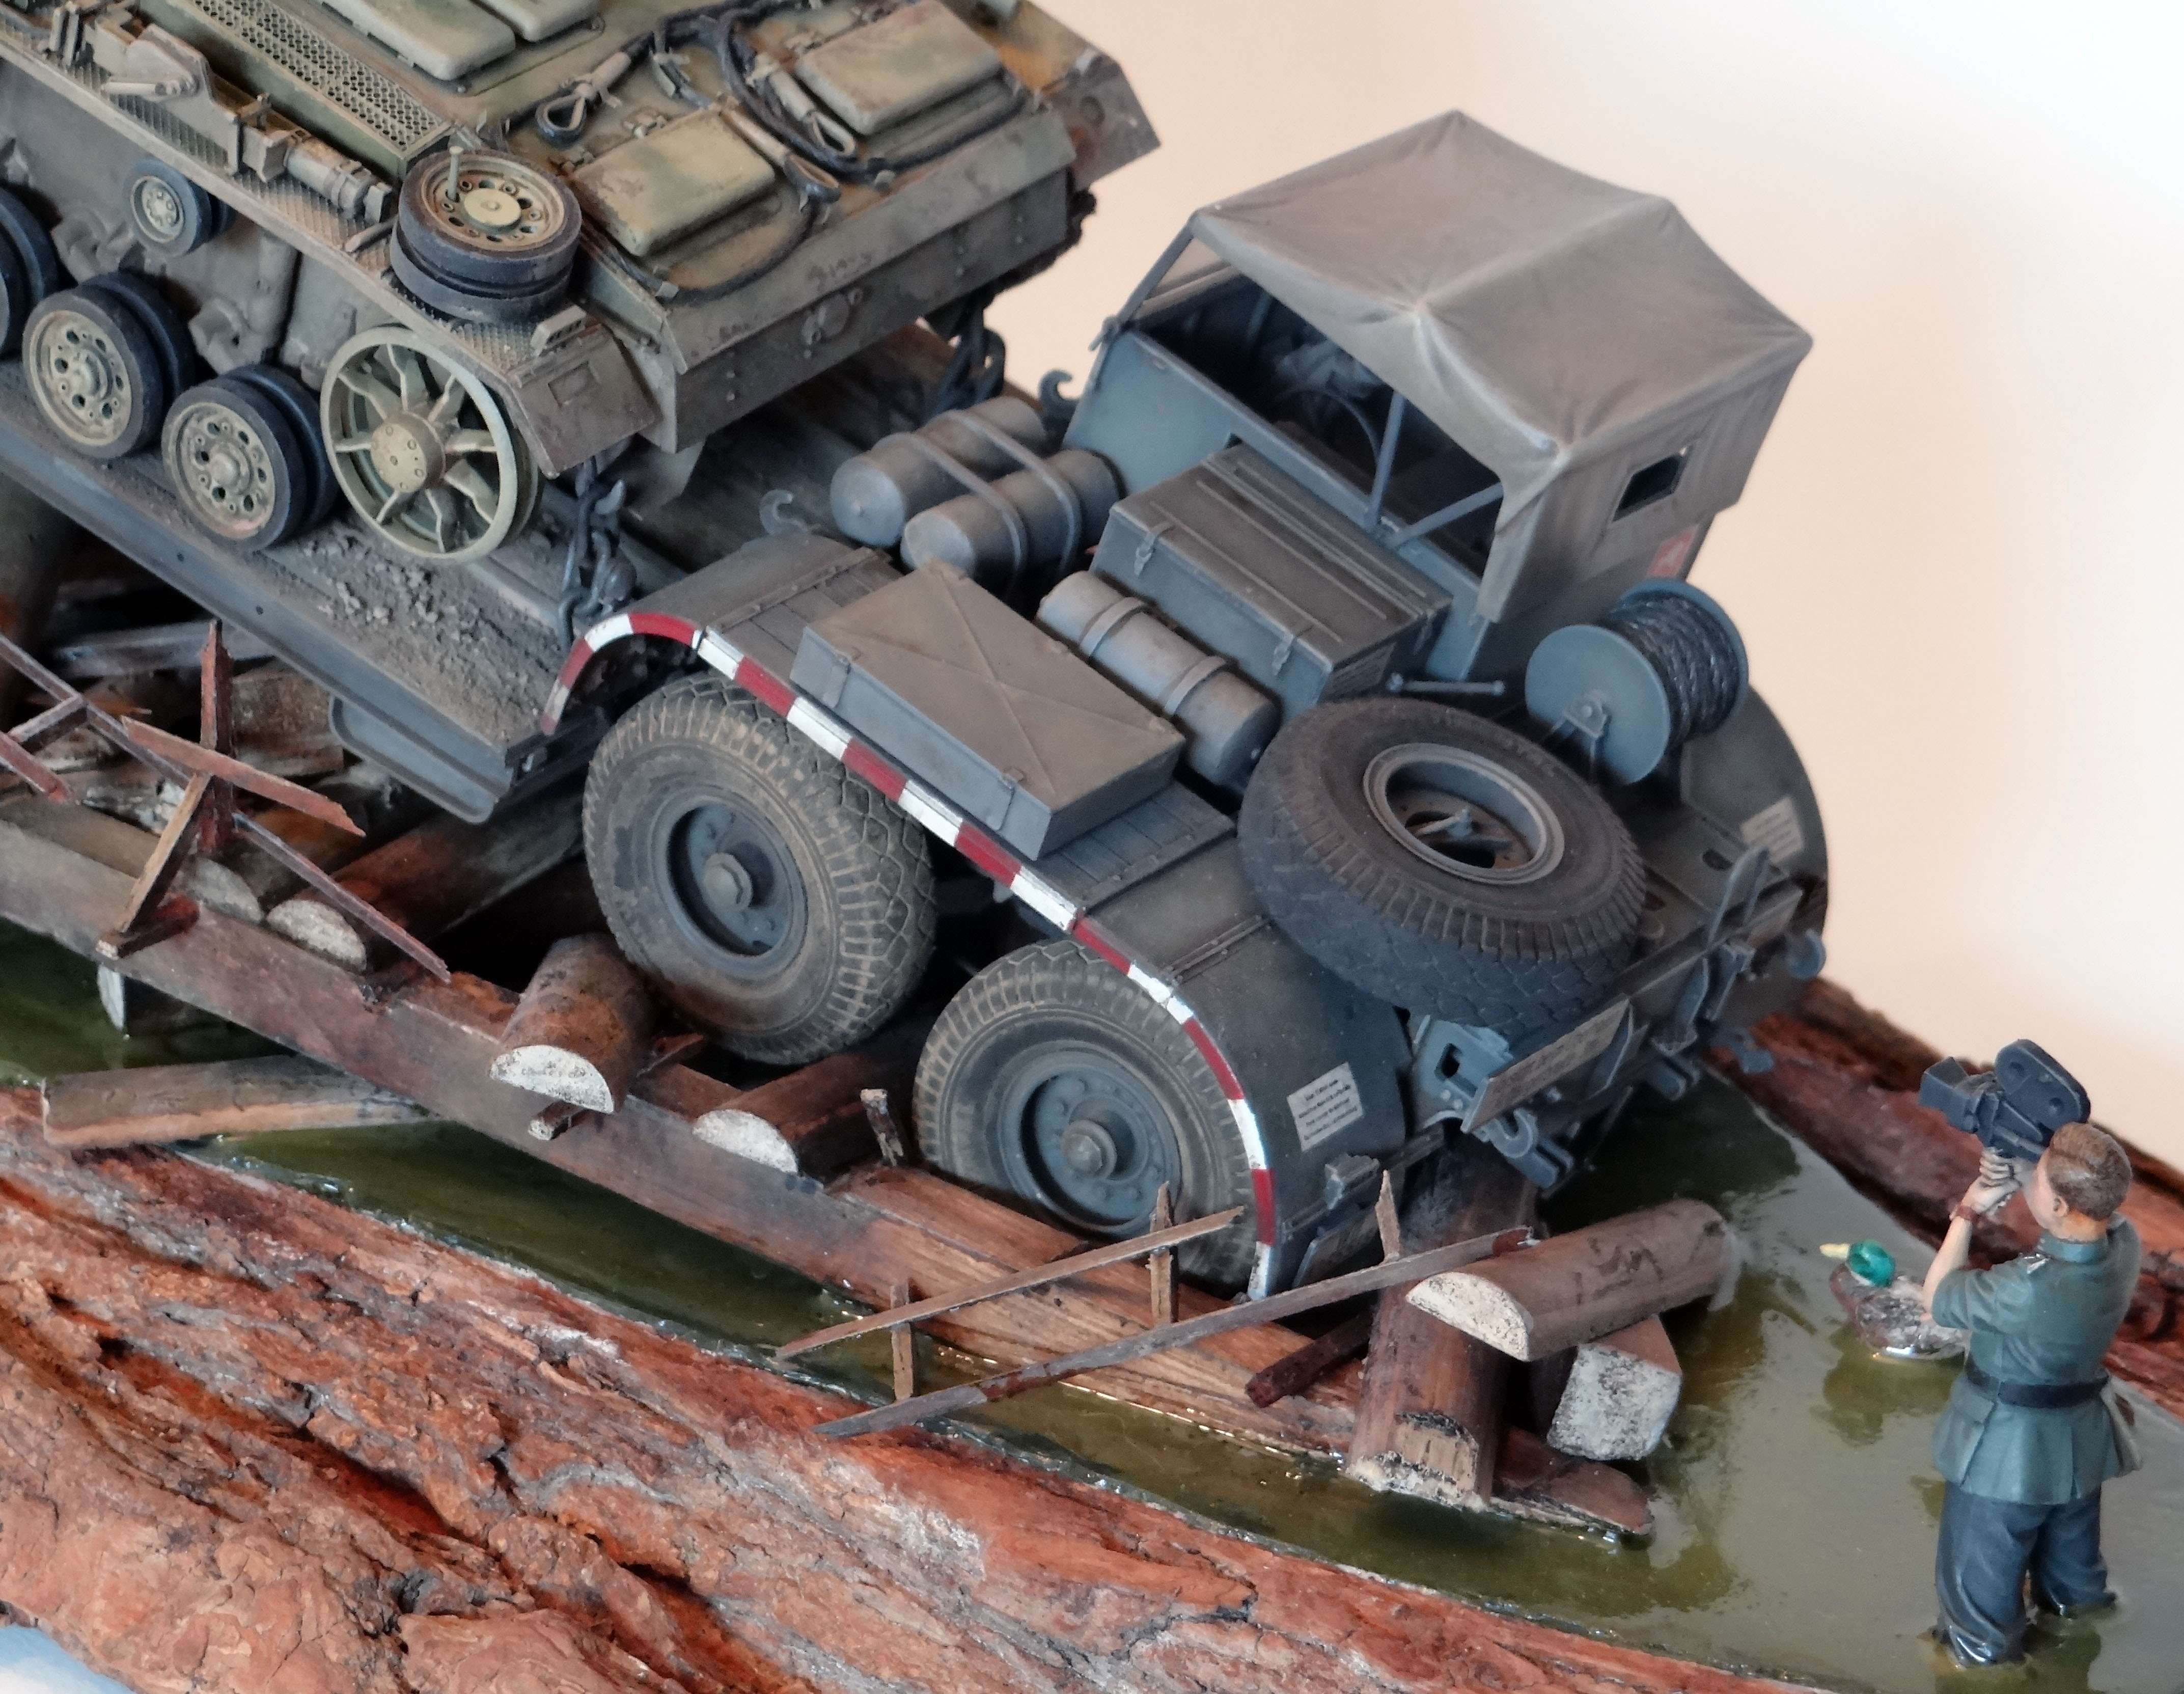
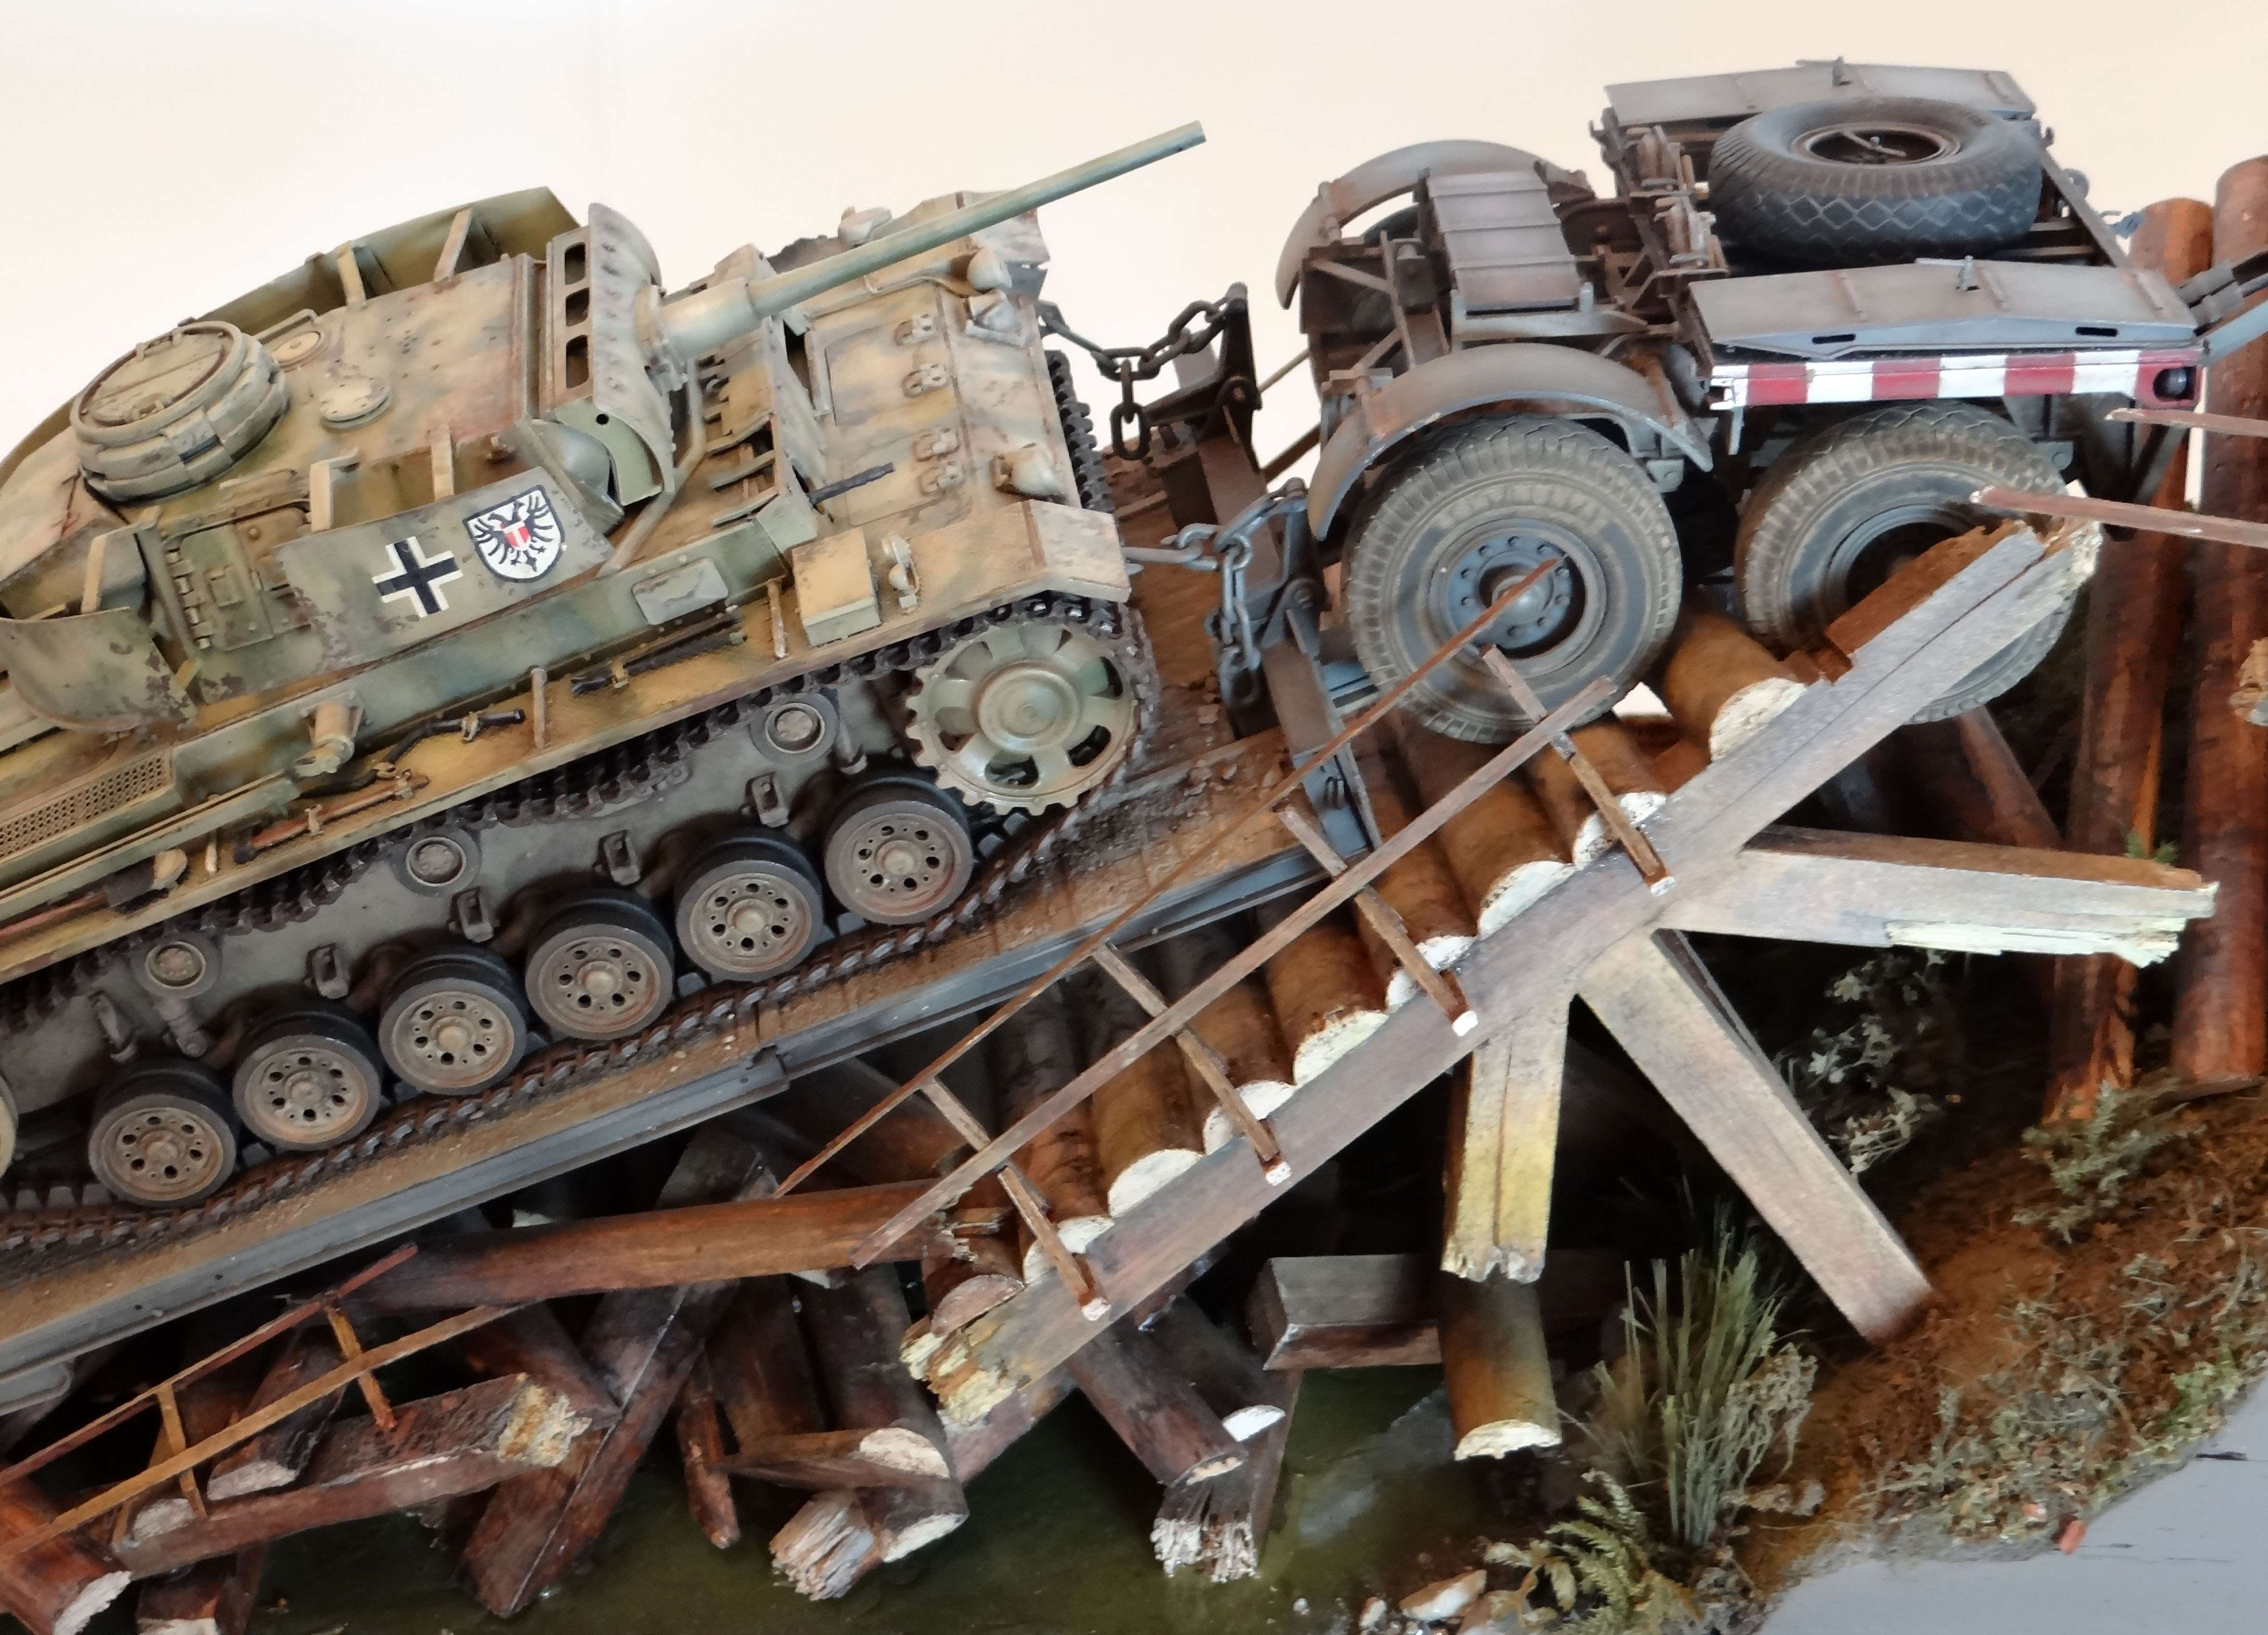
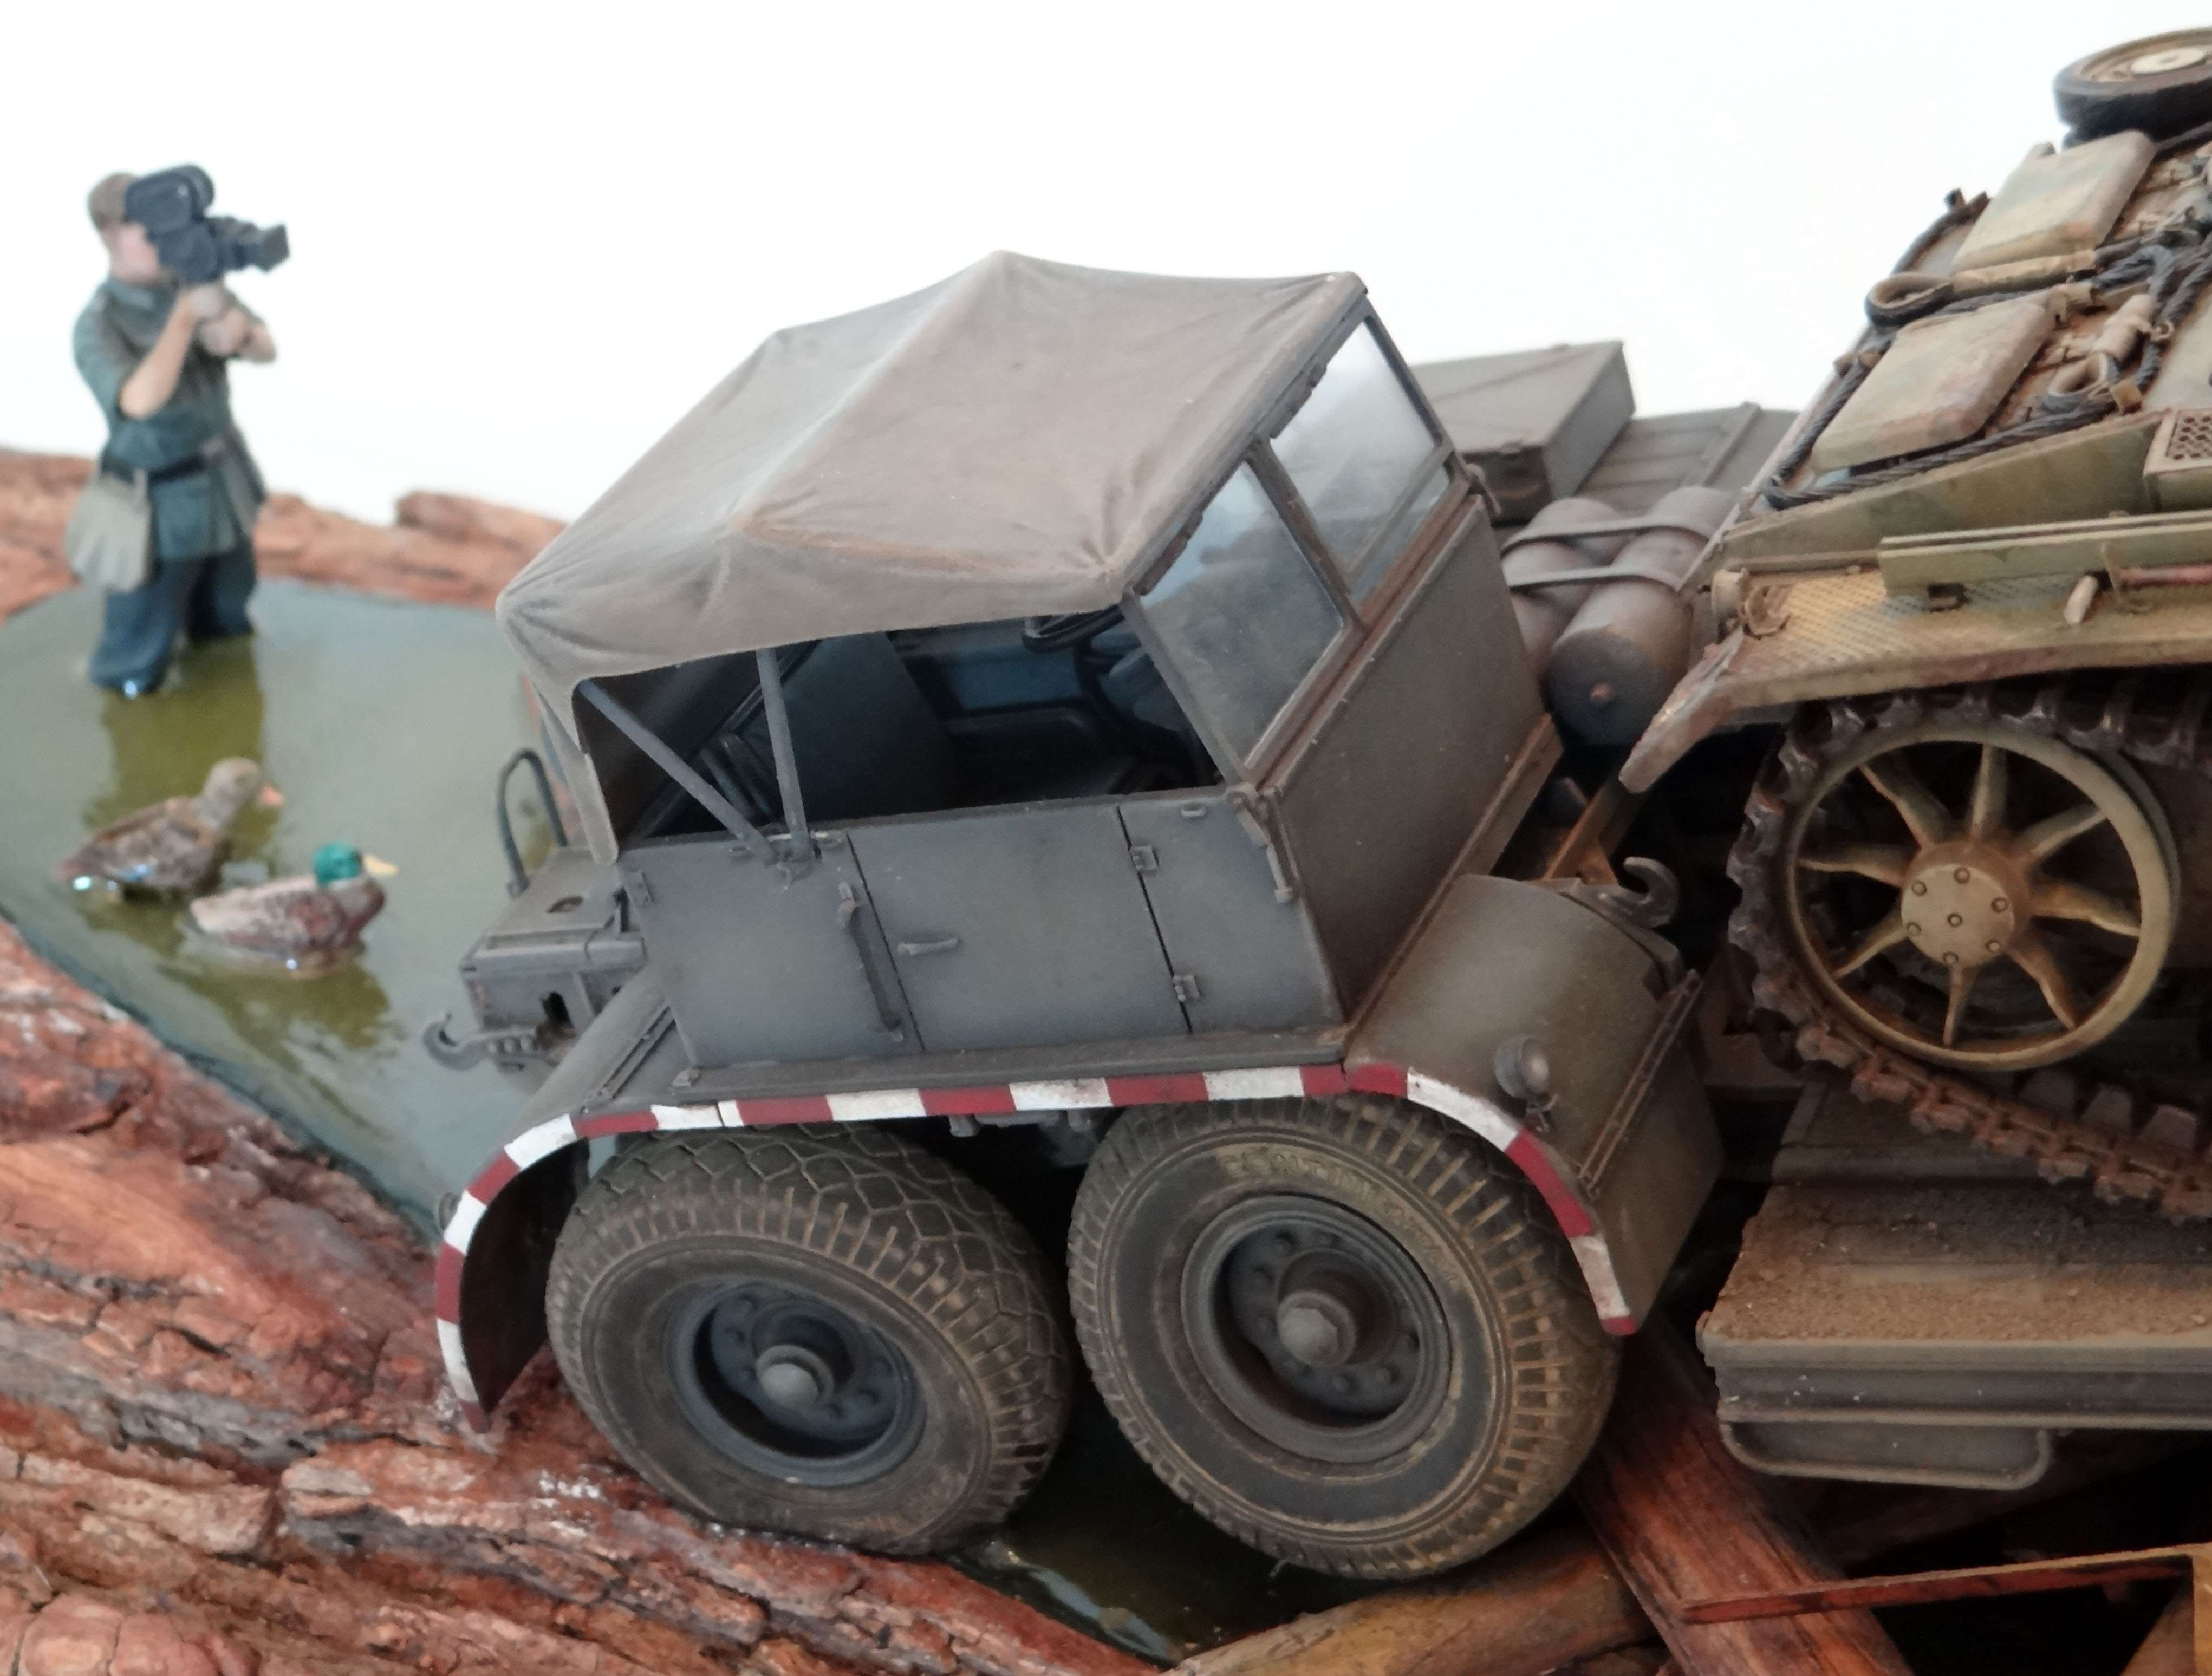
The dio is called "Murphy's Law" and is situated in Russia, 1943. I spent about 500 hours in seven months of time. The dio won silver in the "diorama standard class" in Veldhoven this year, which is a fairly well known European contest.
I will not bother you with (a lot of) text, just a lot of pictures. Enjoy...
Murphy's Law
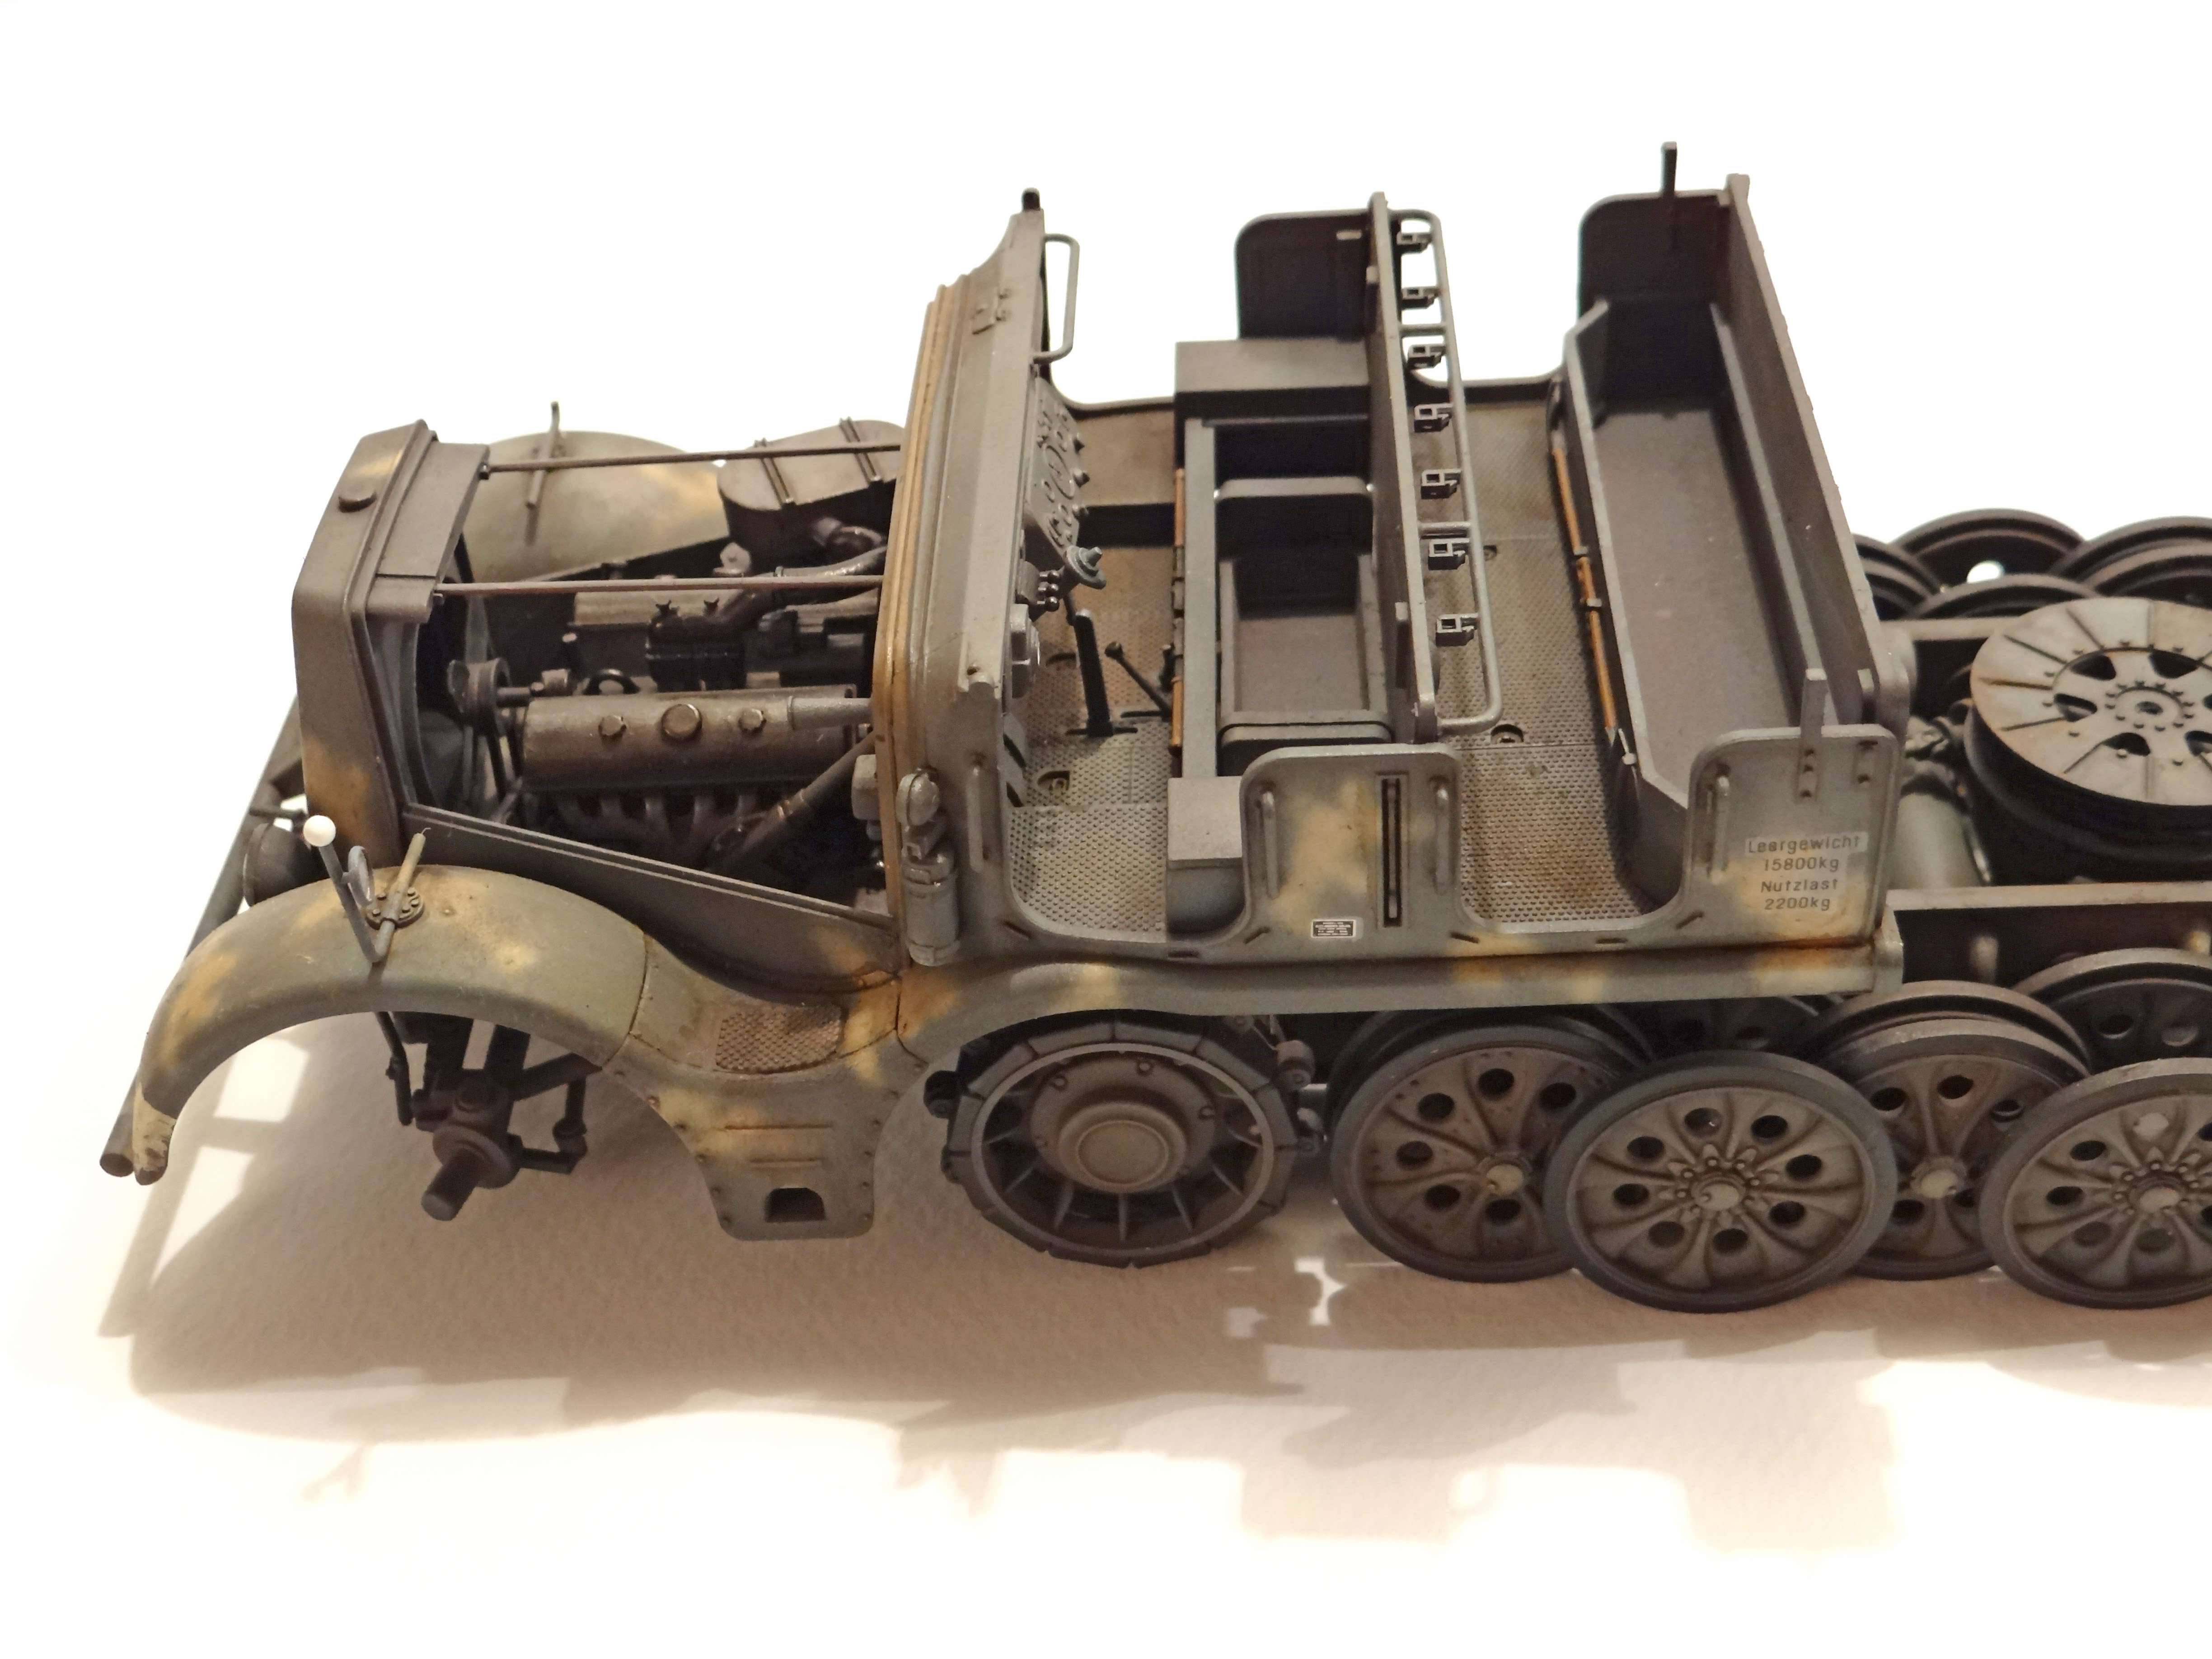
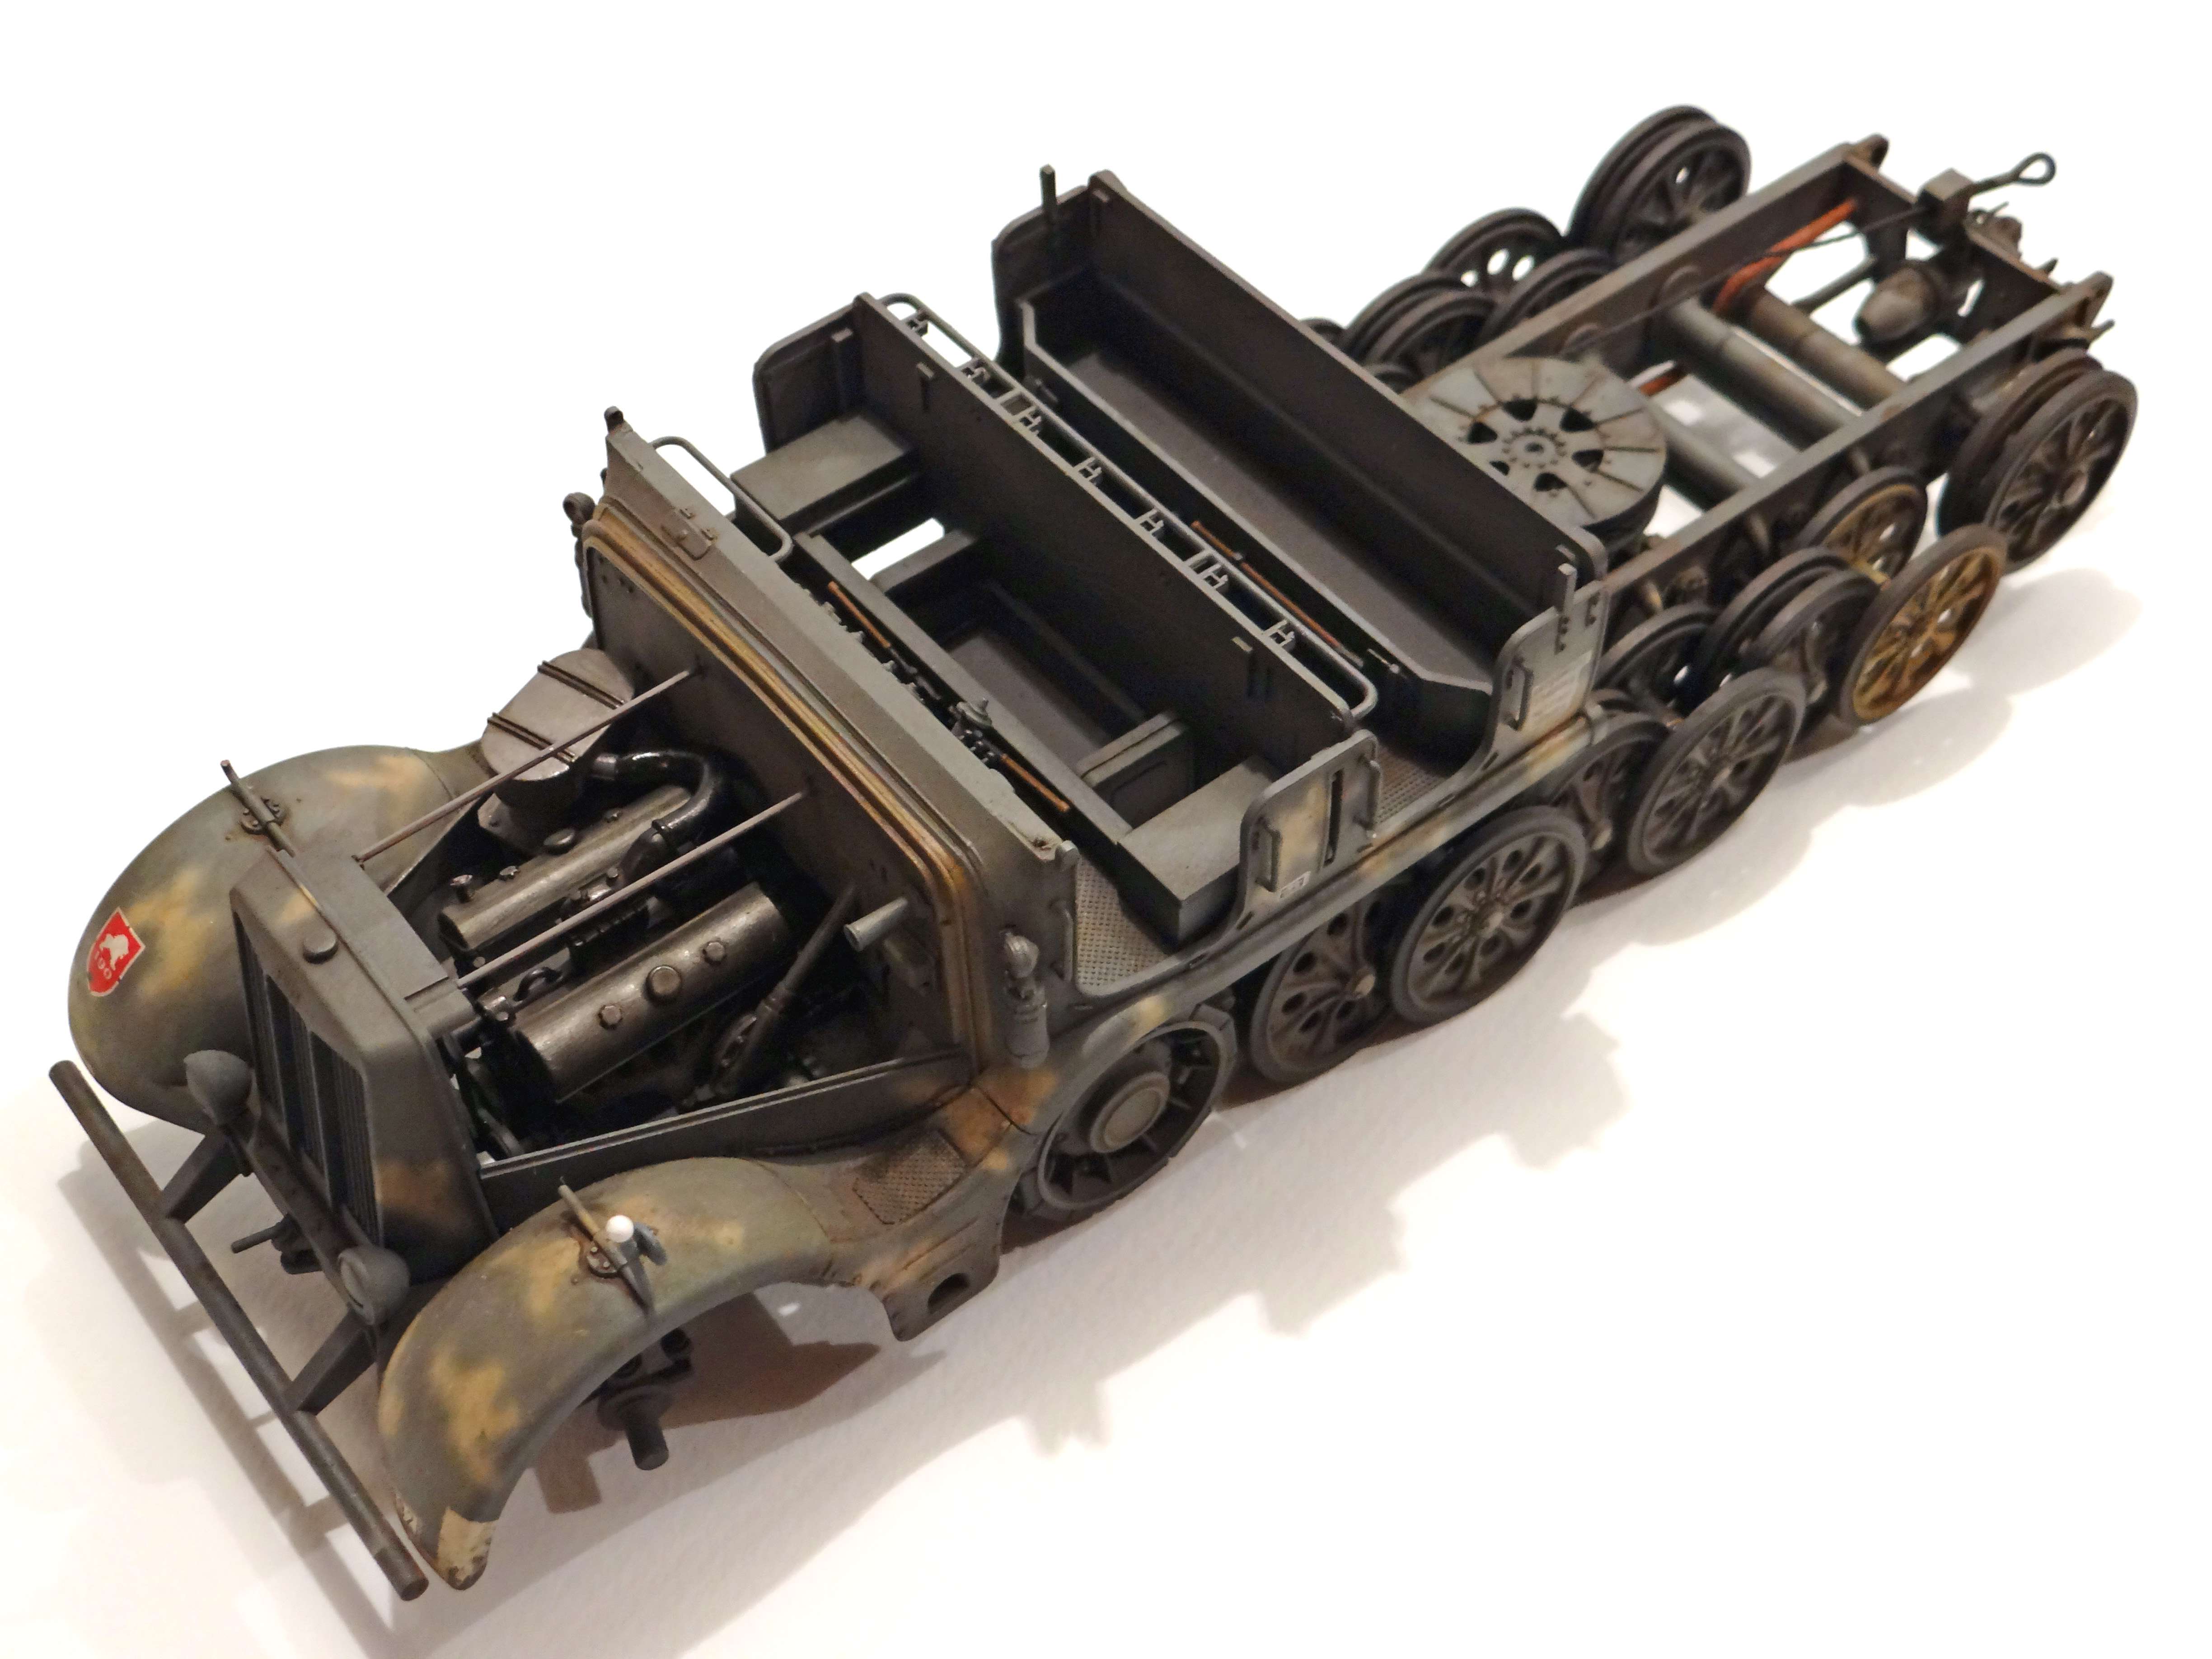
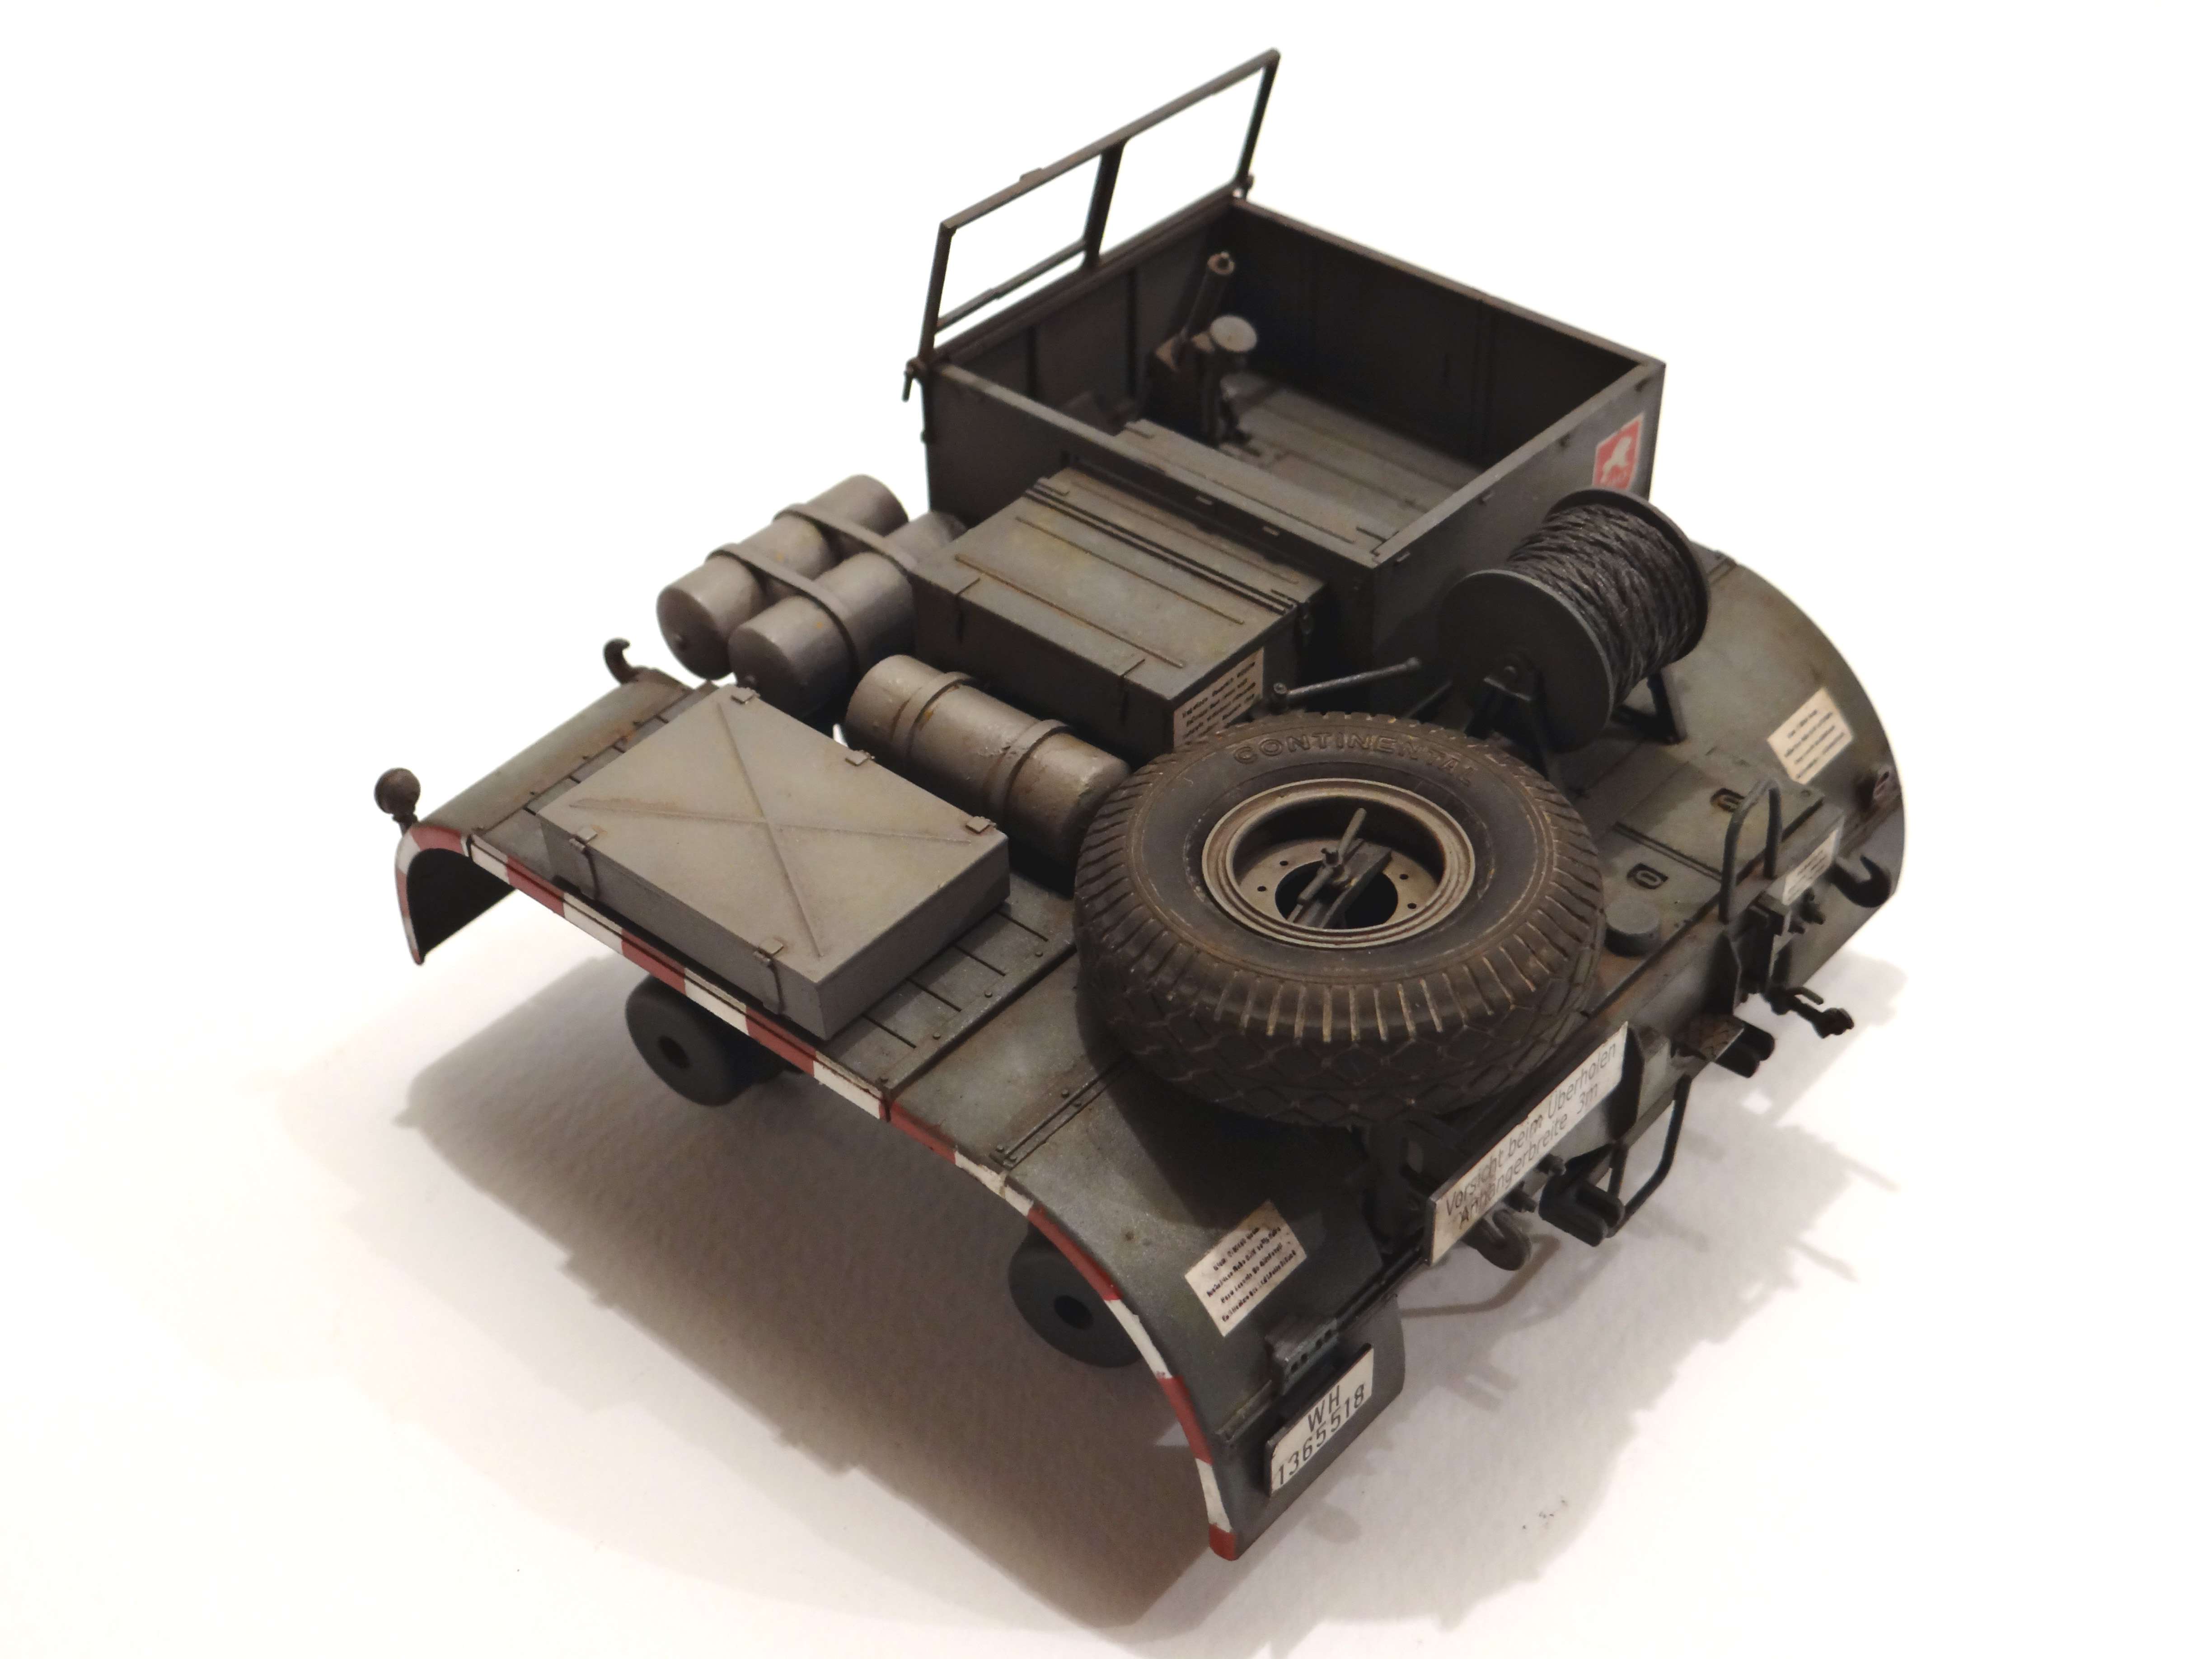
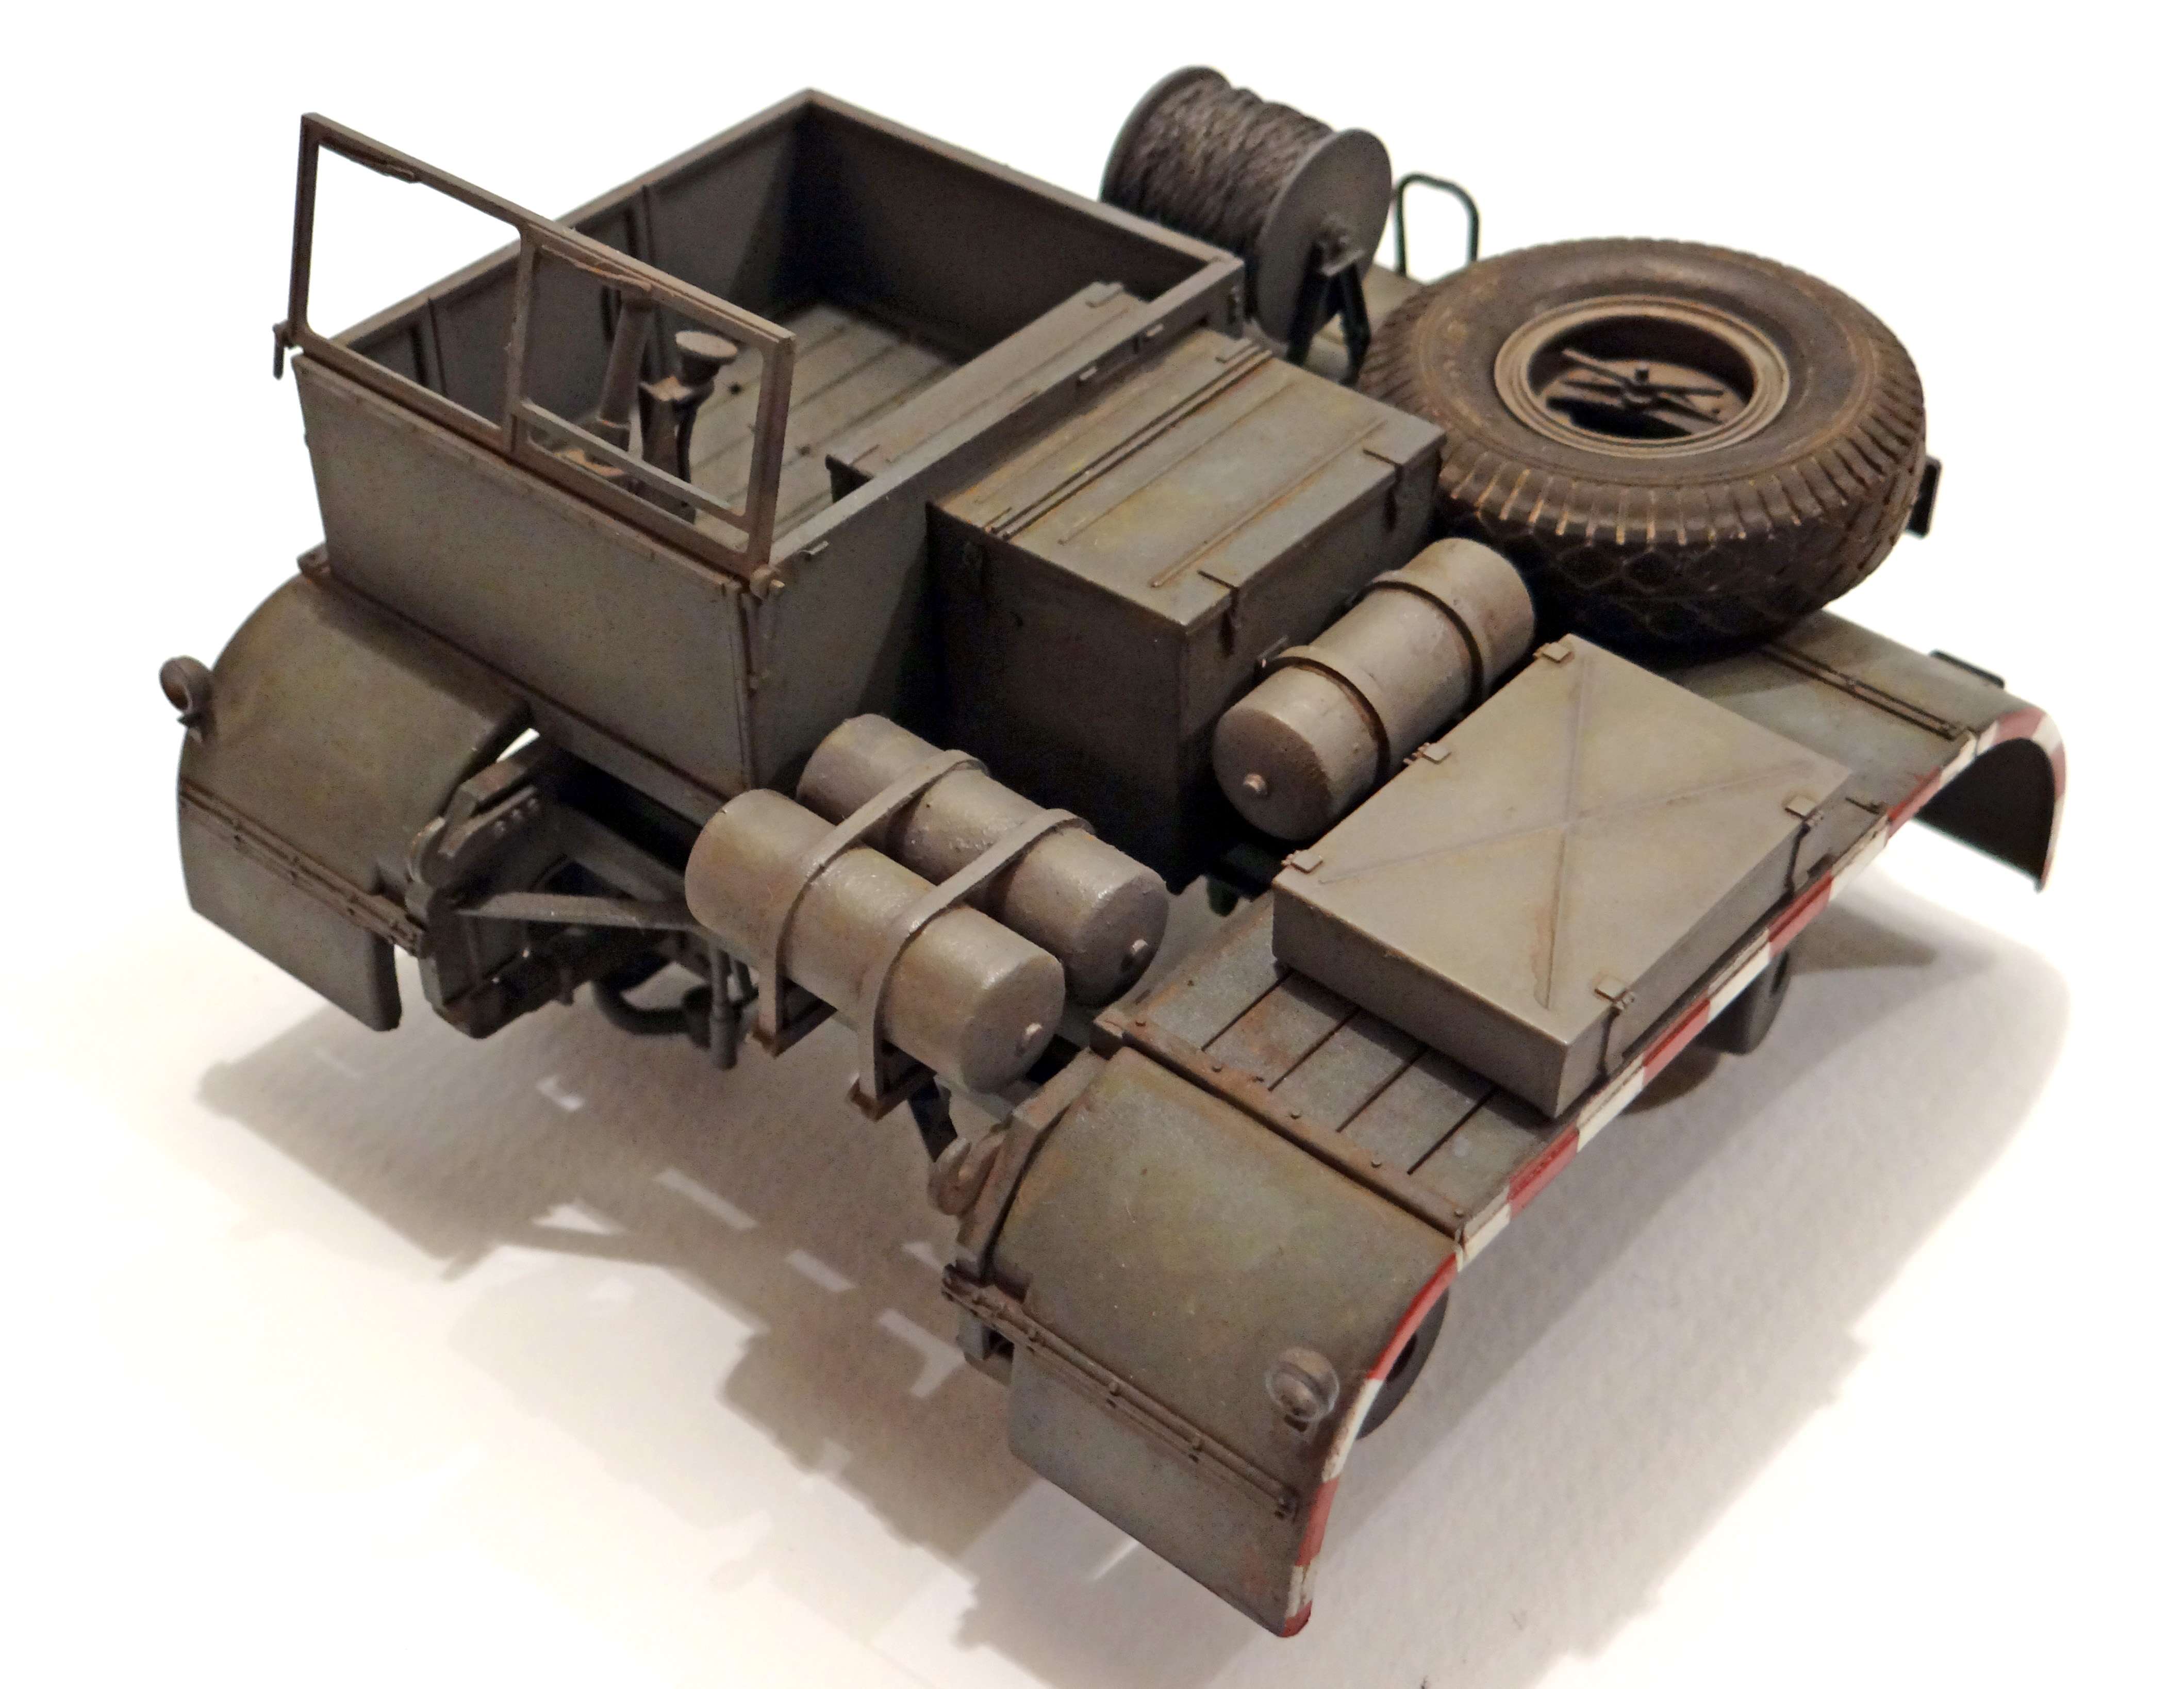
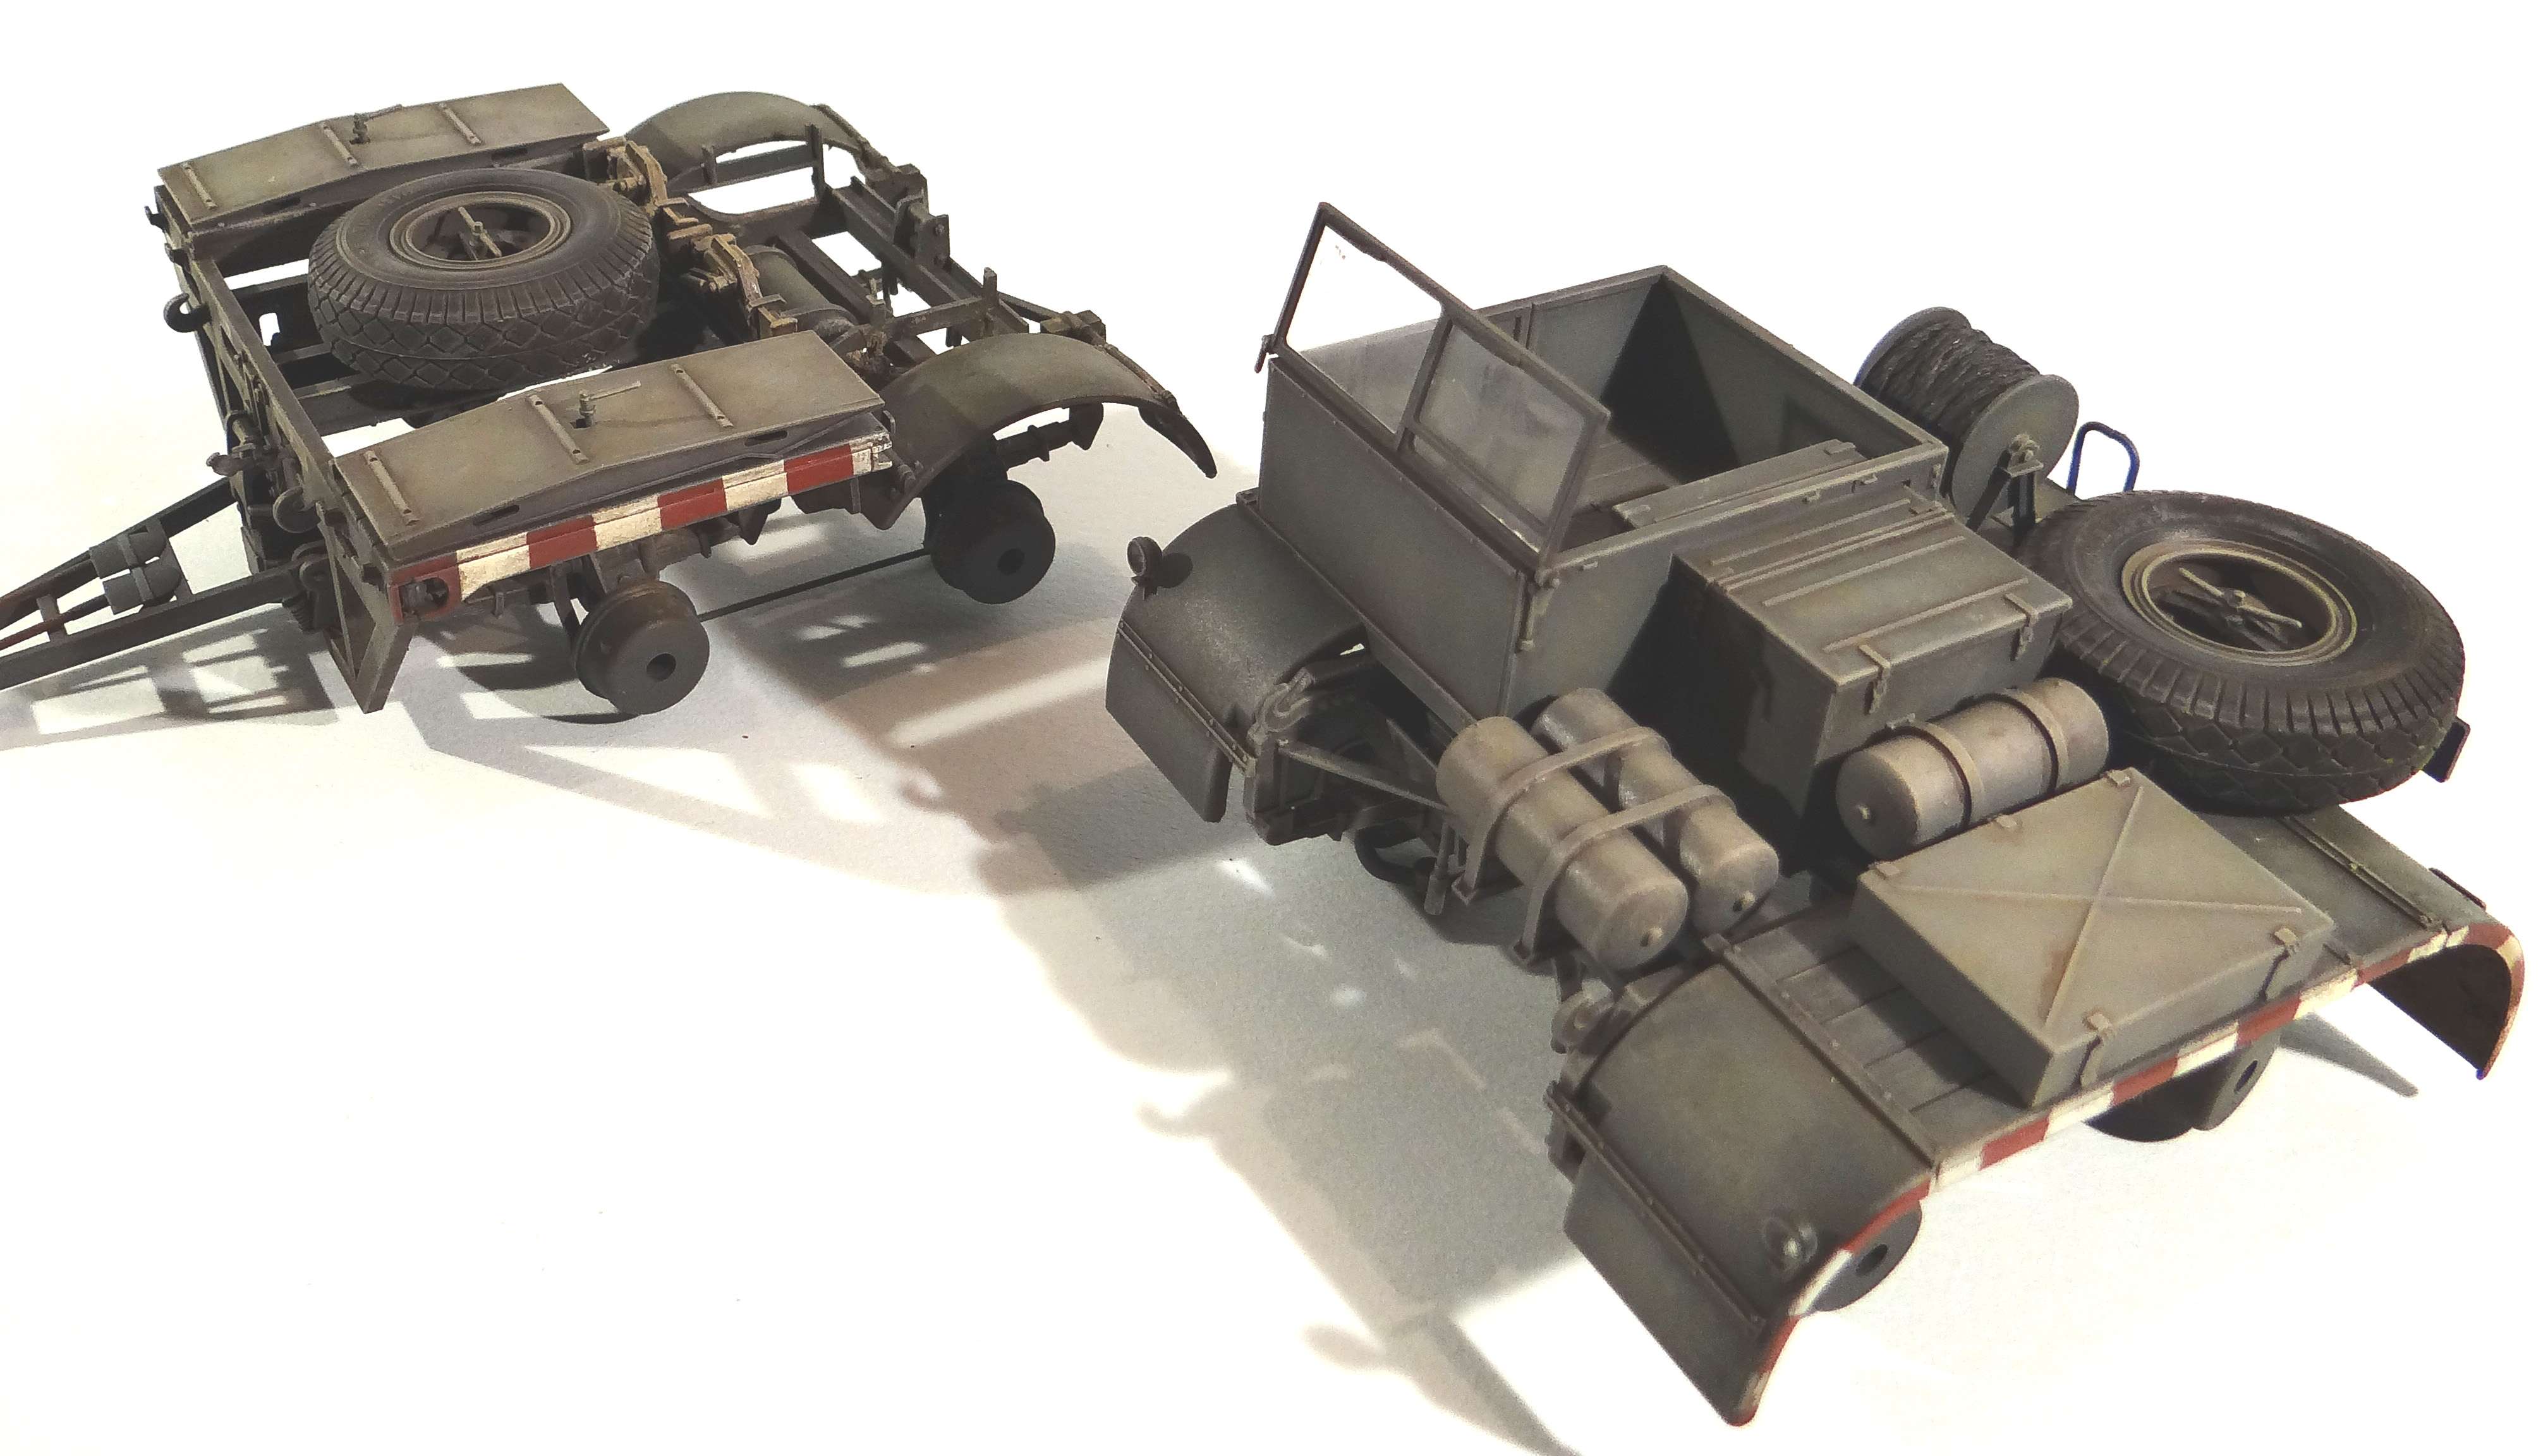
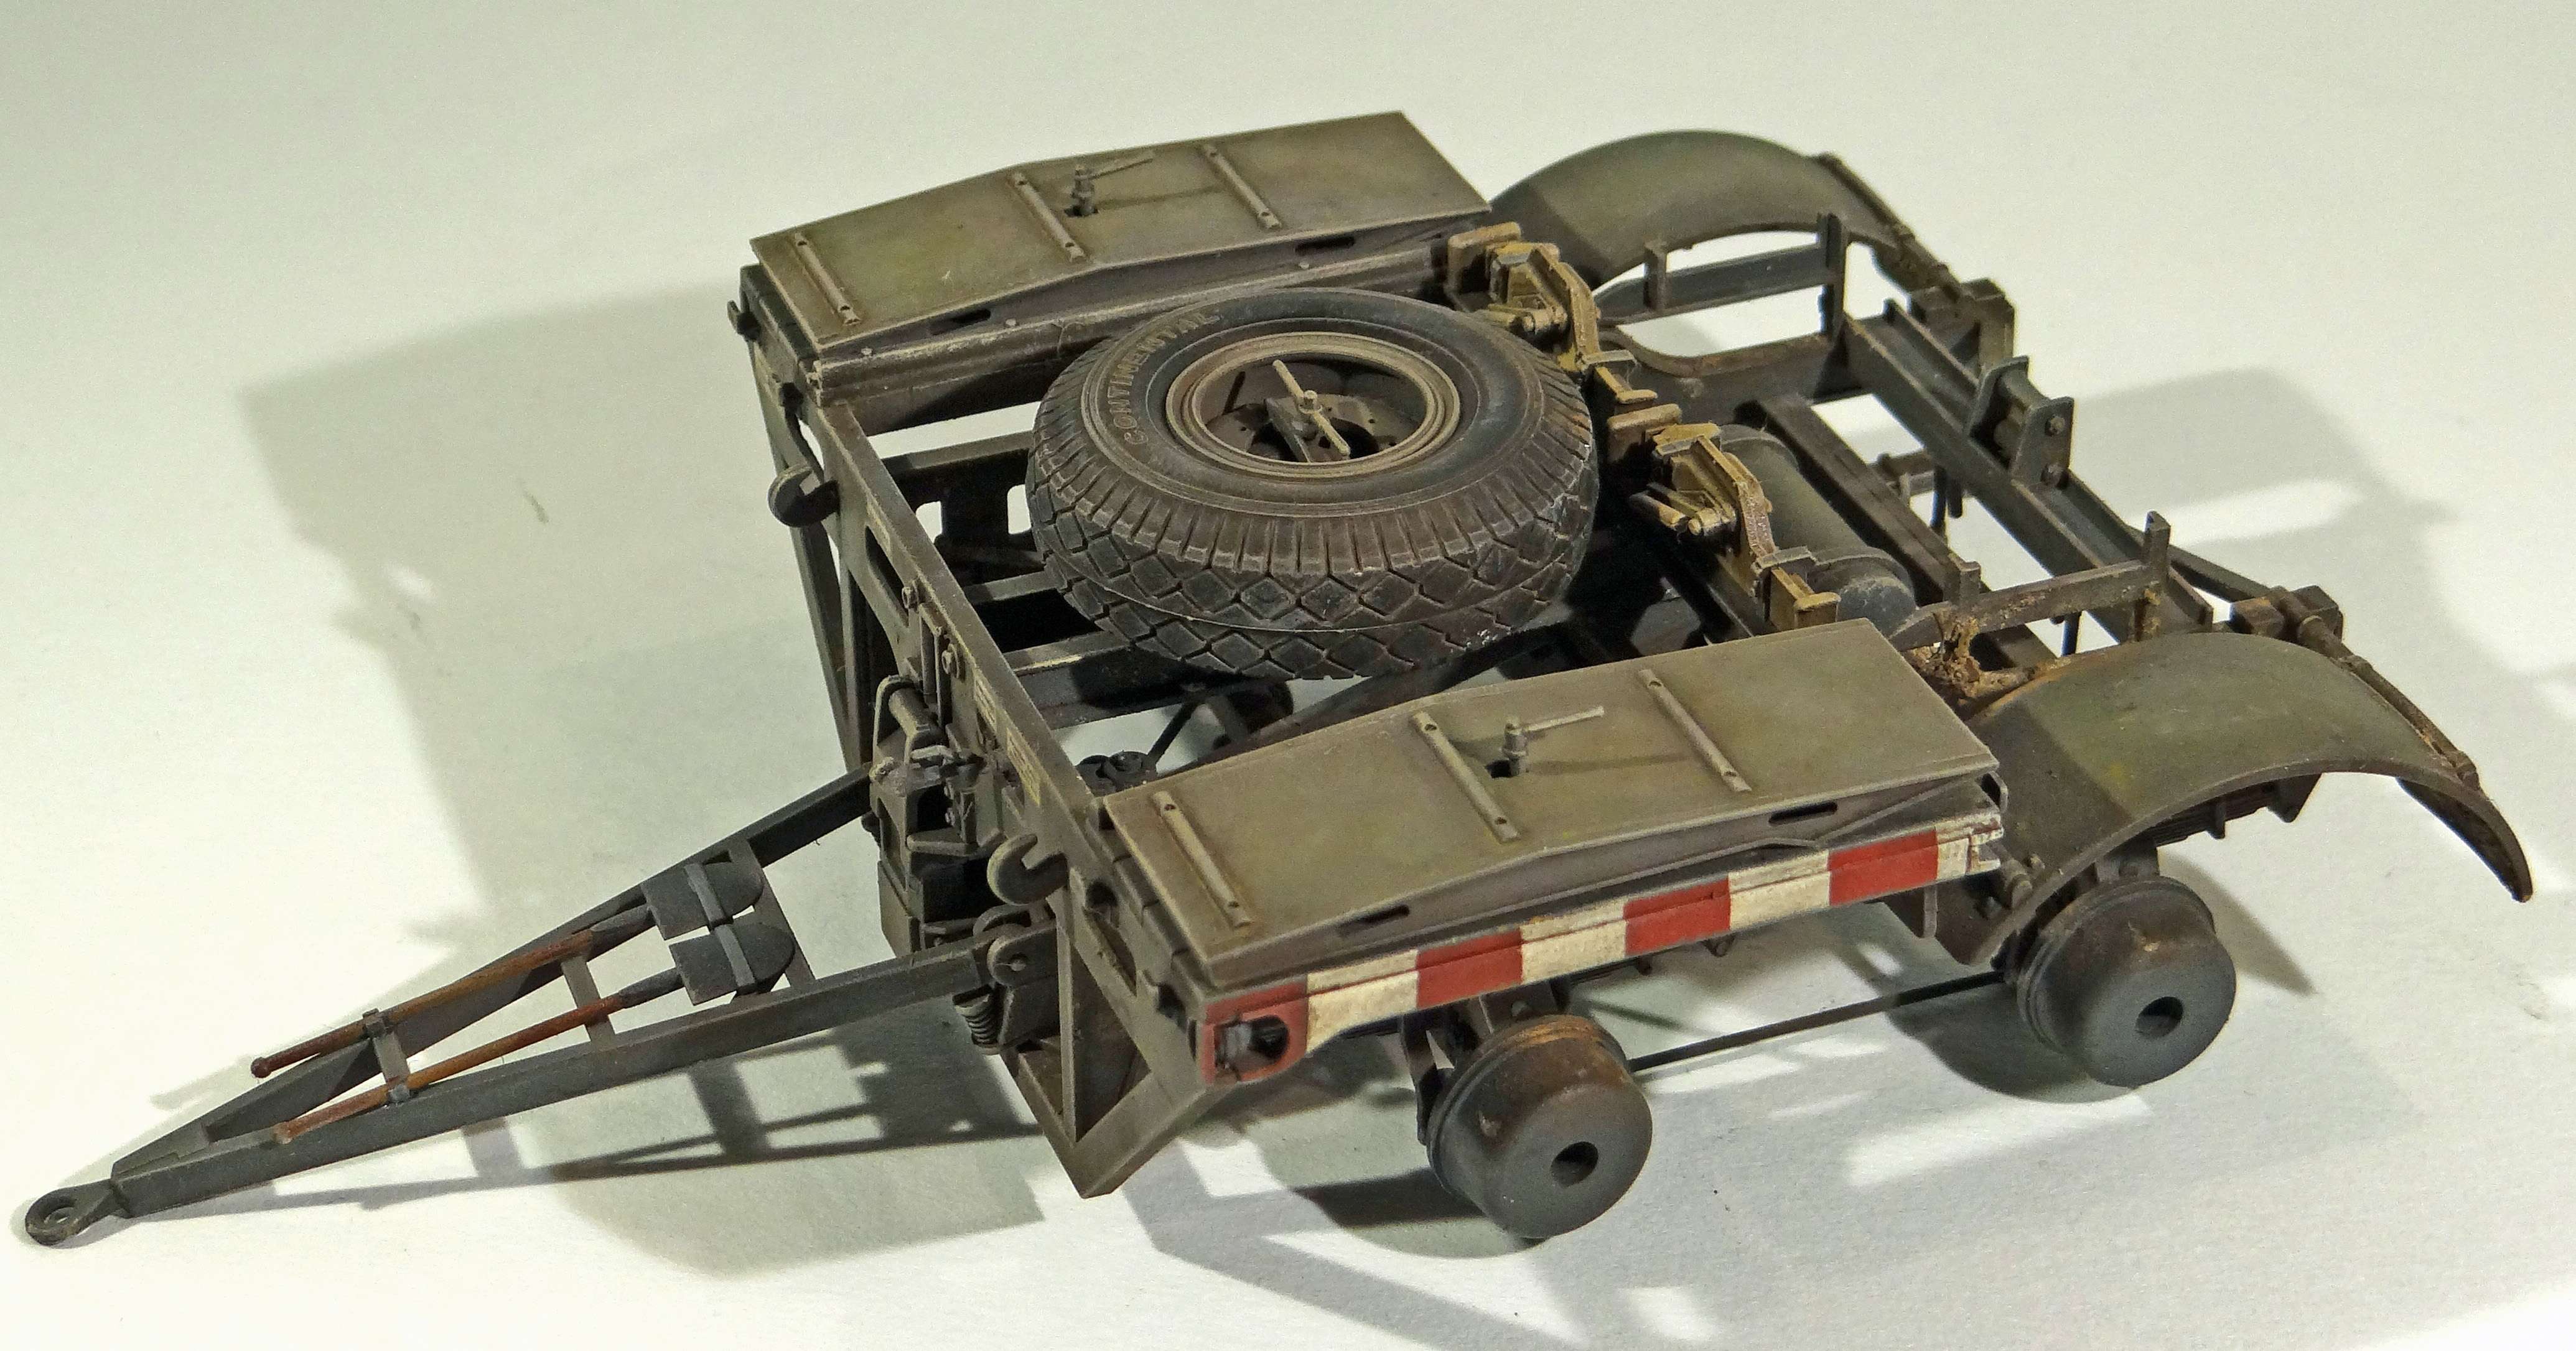
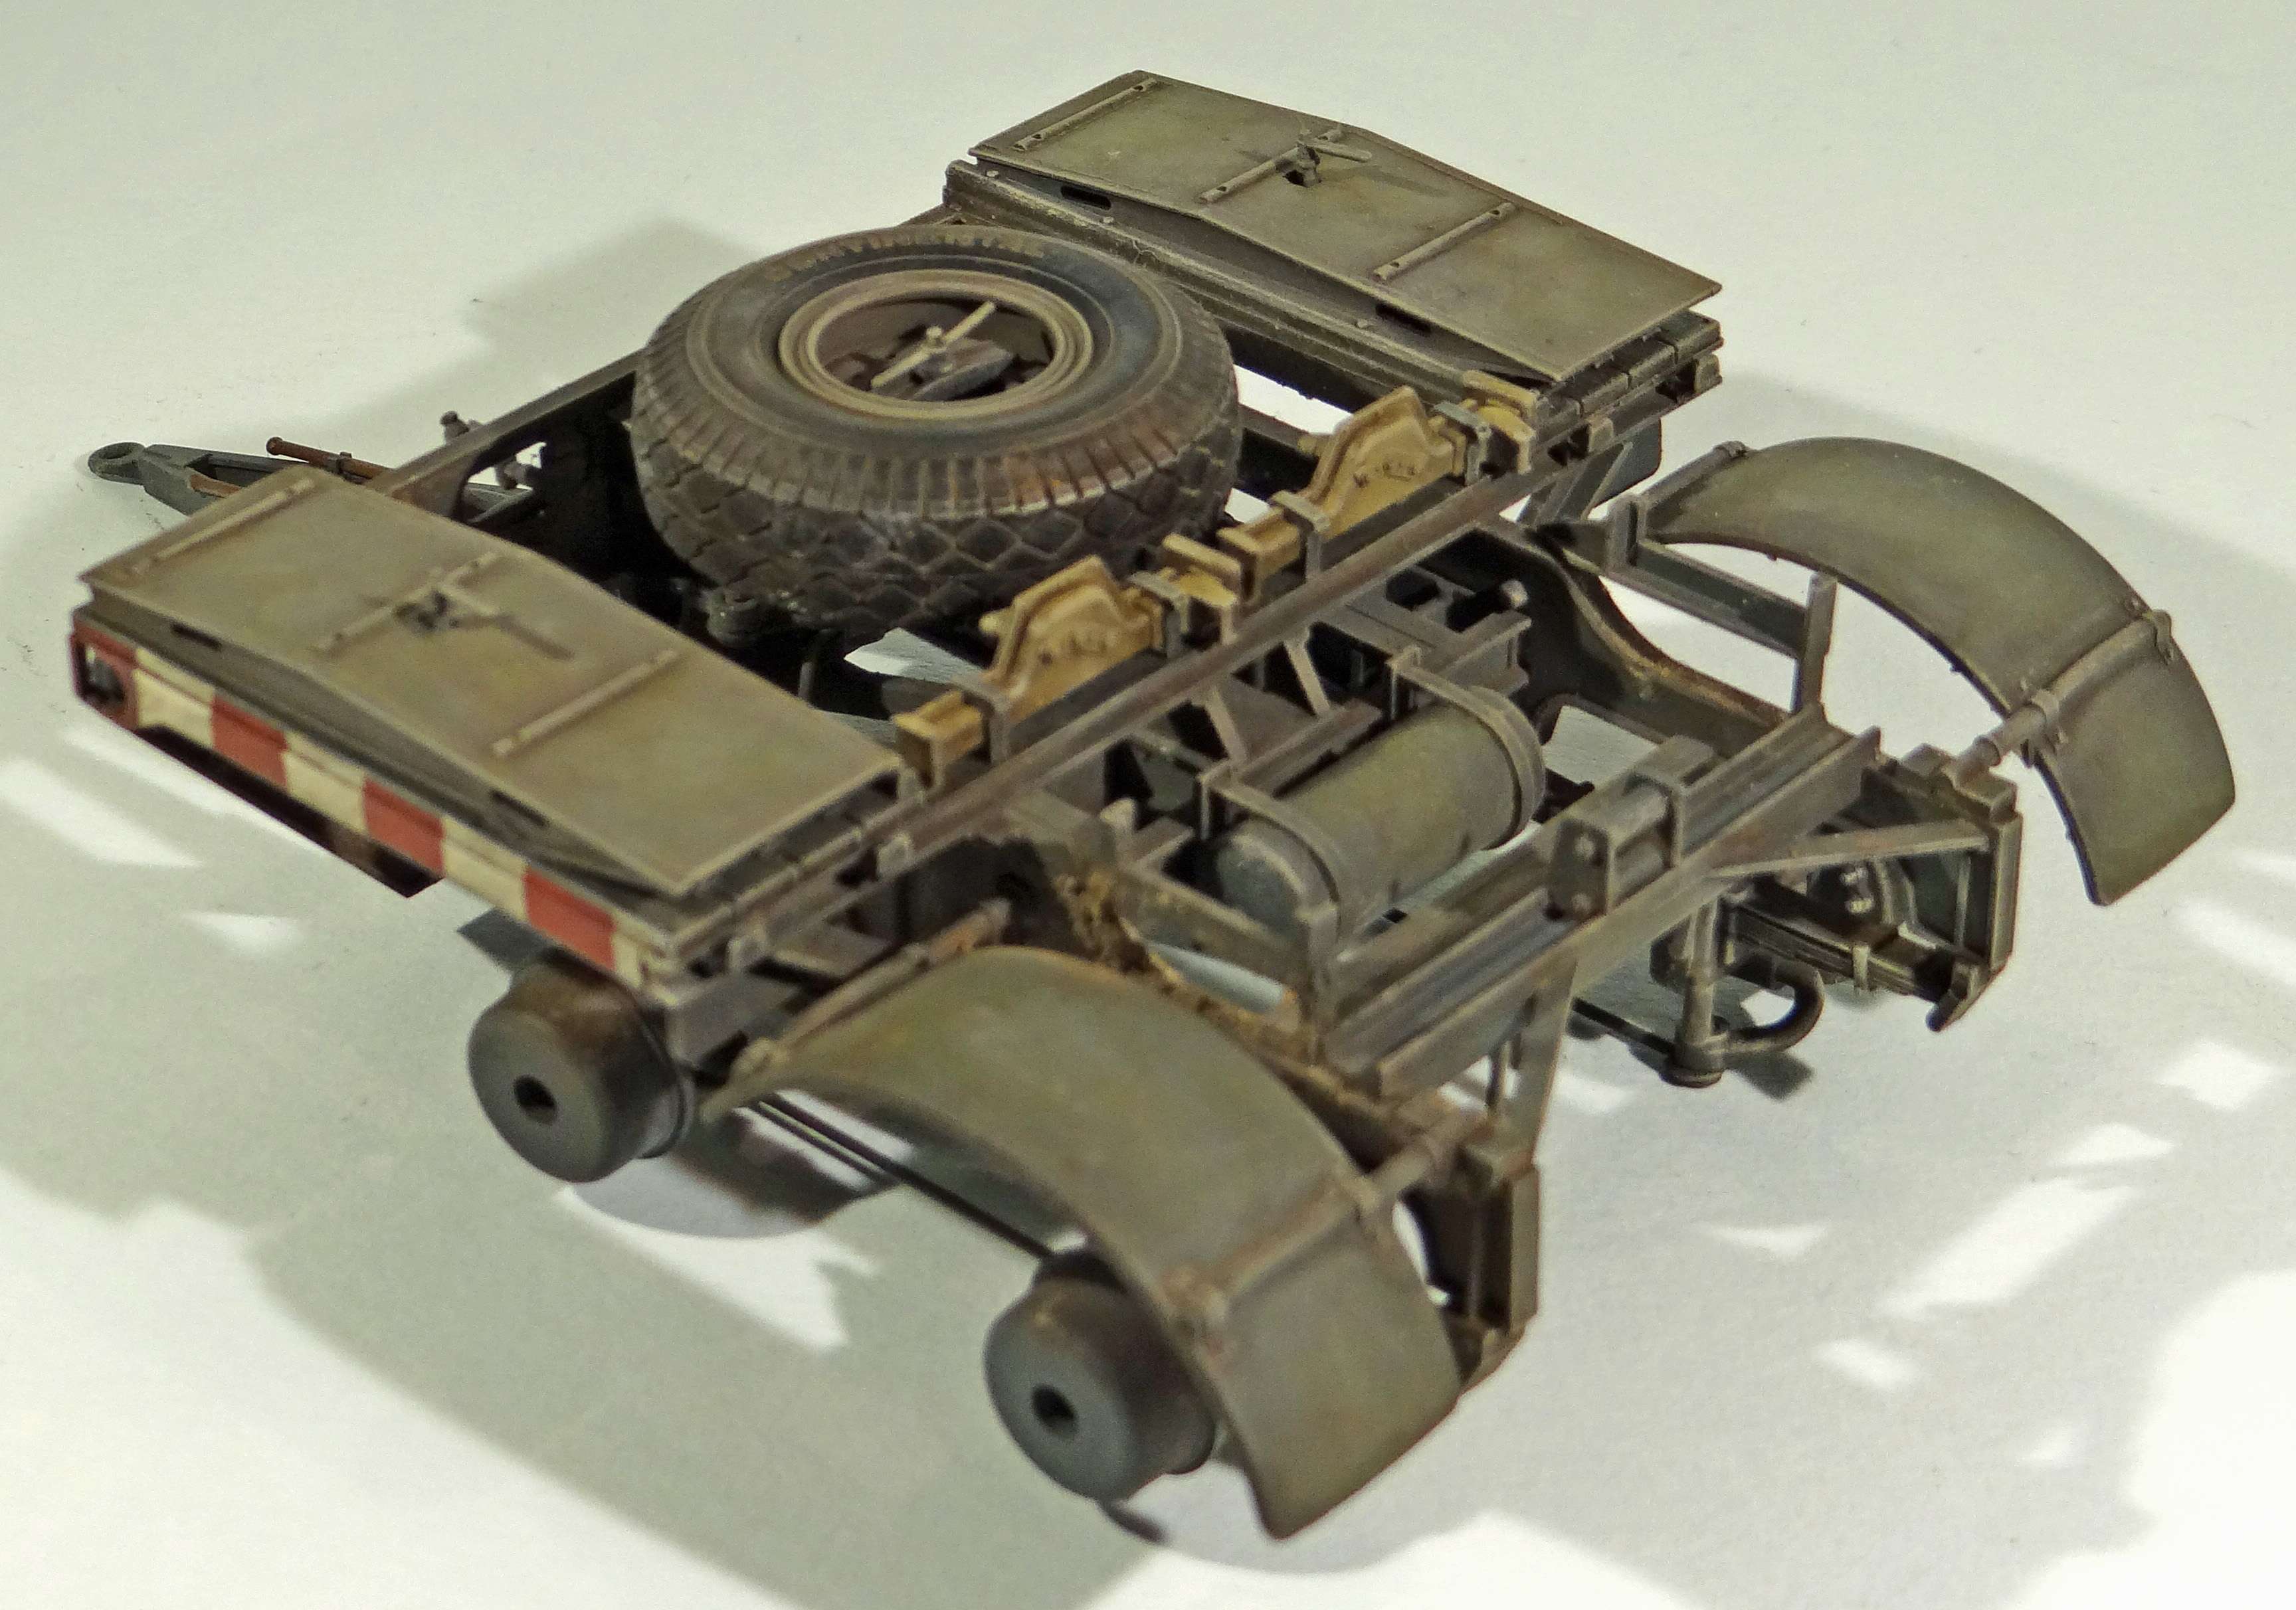
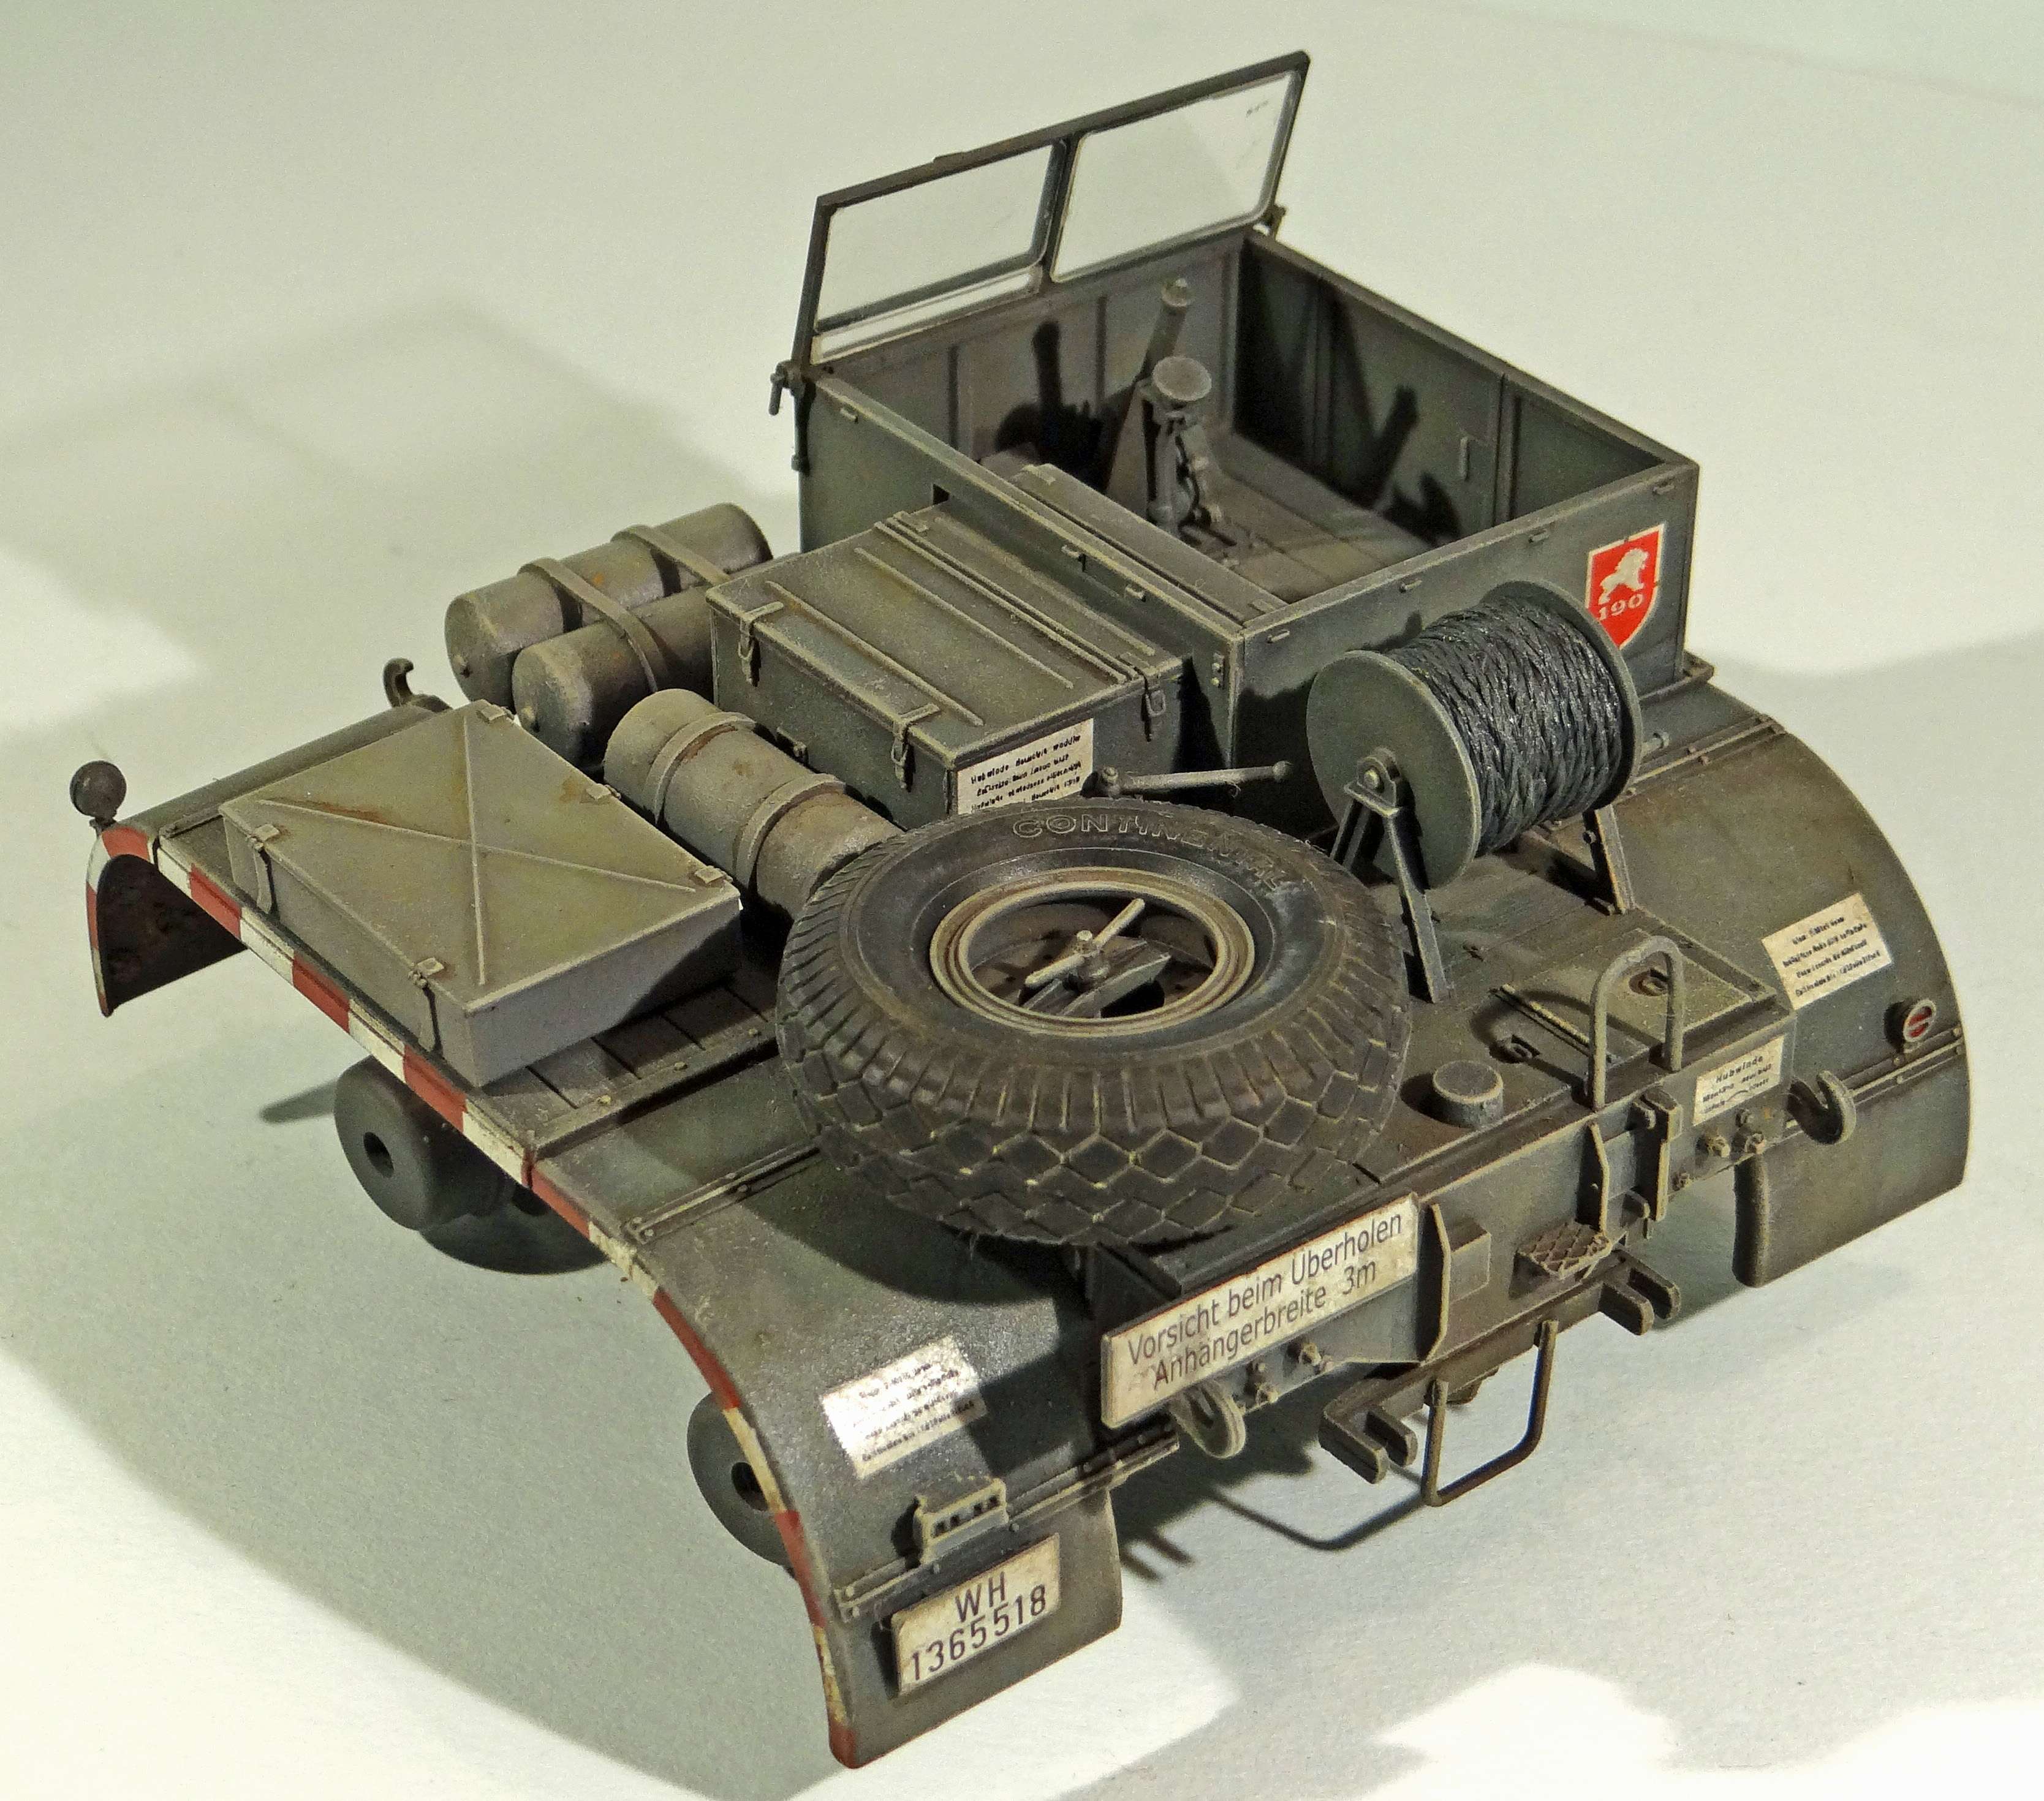
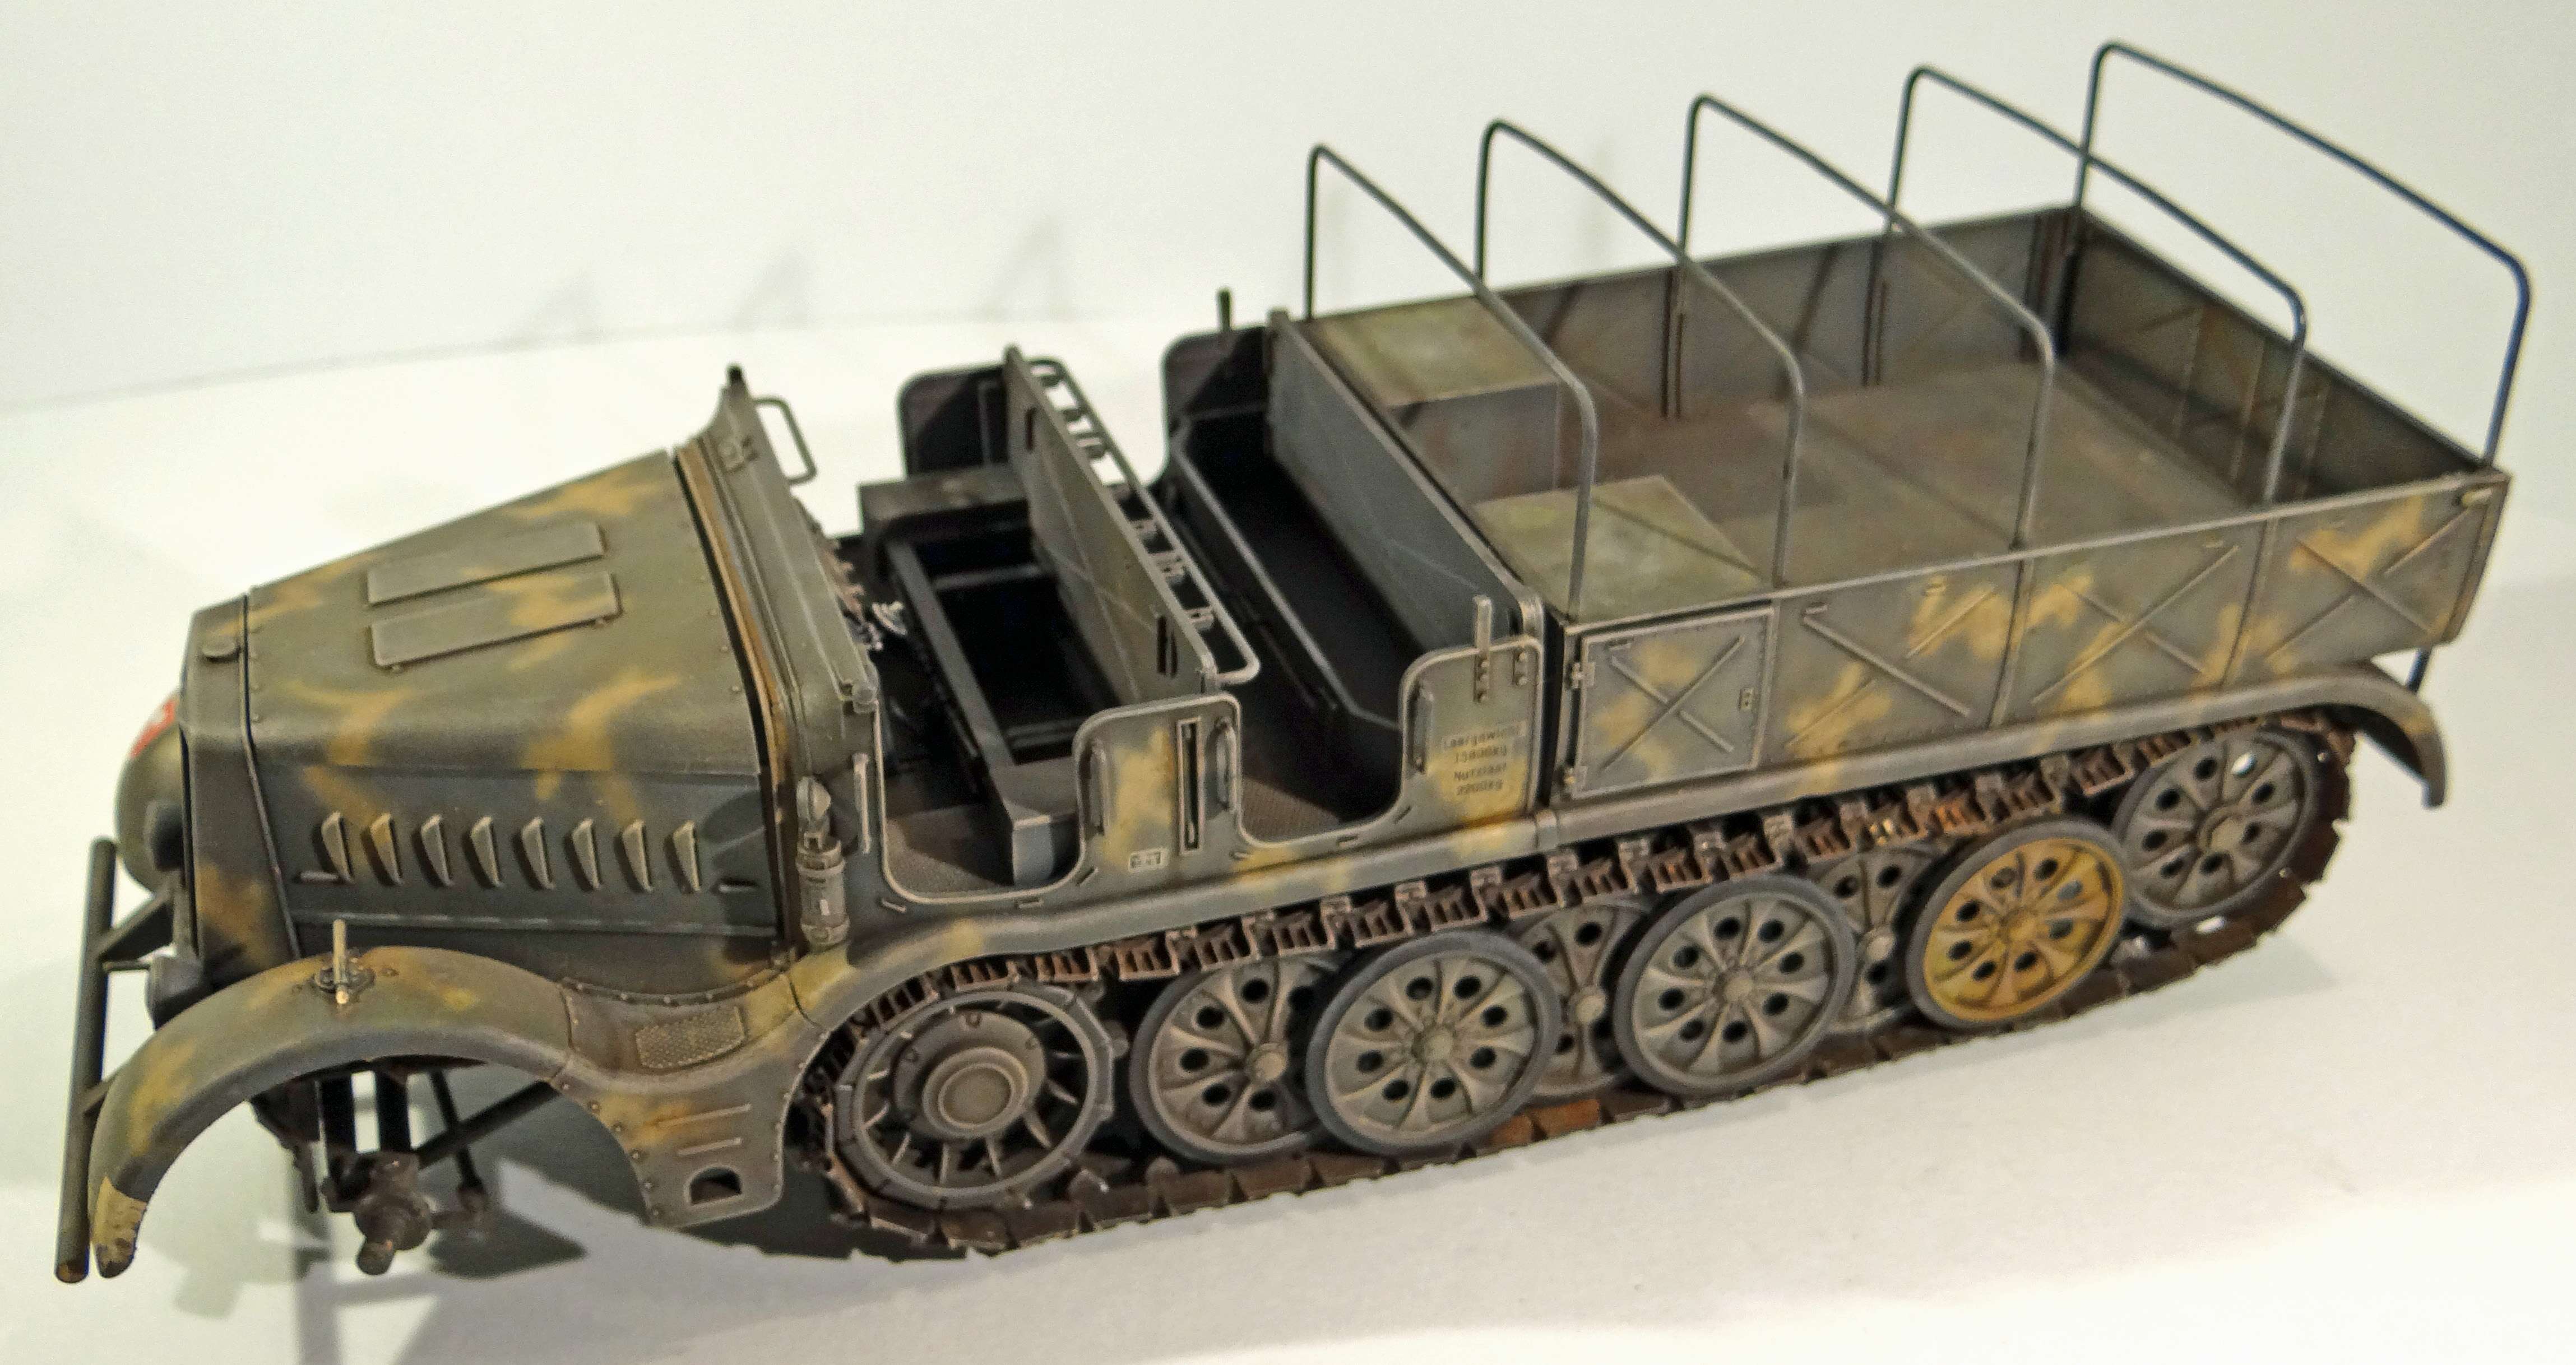
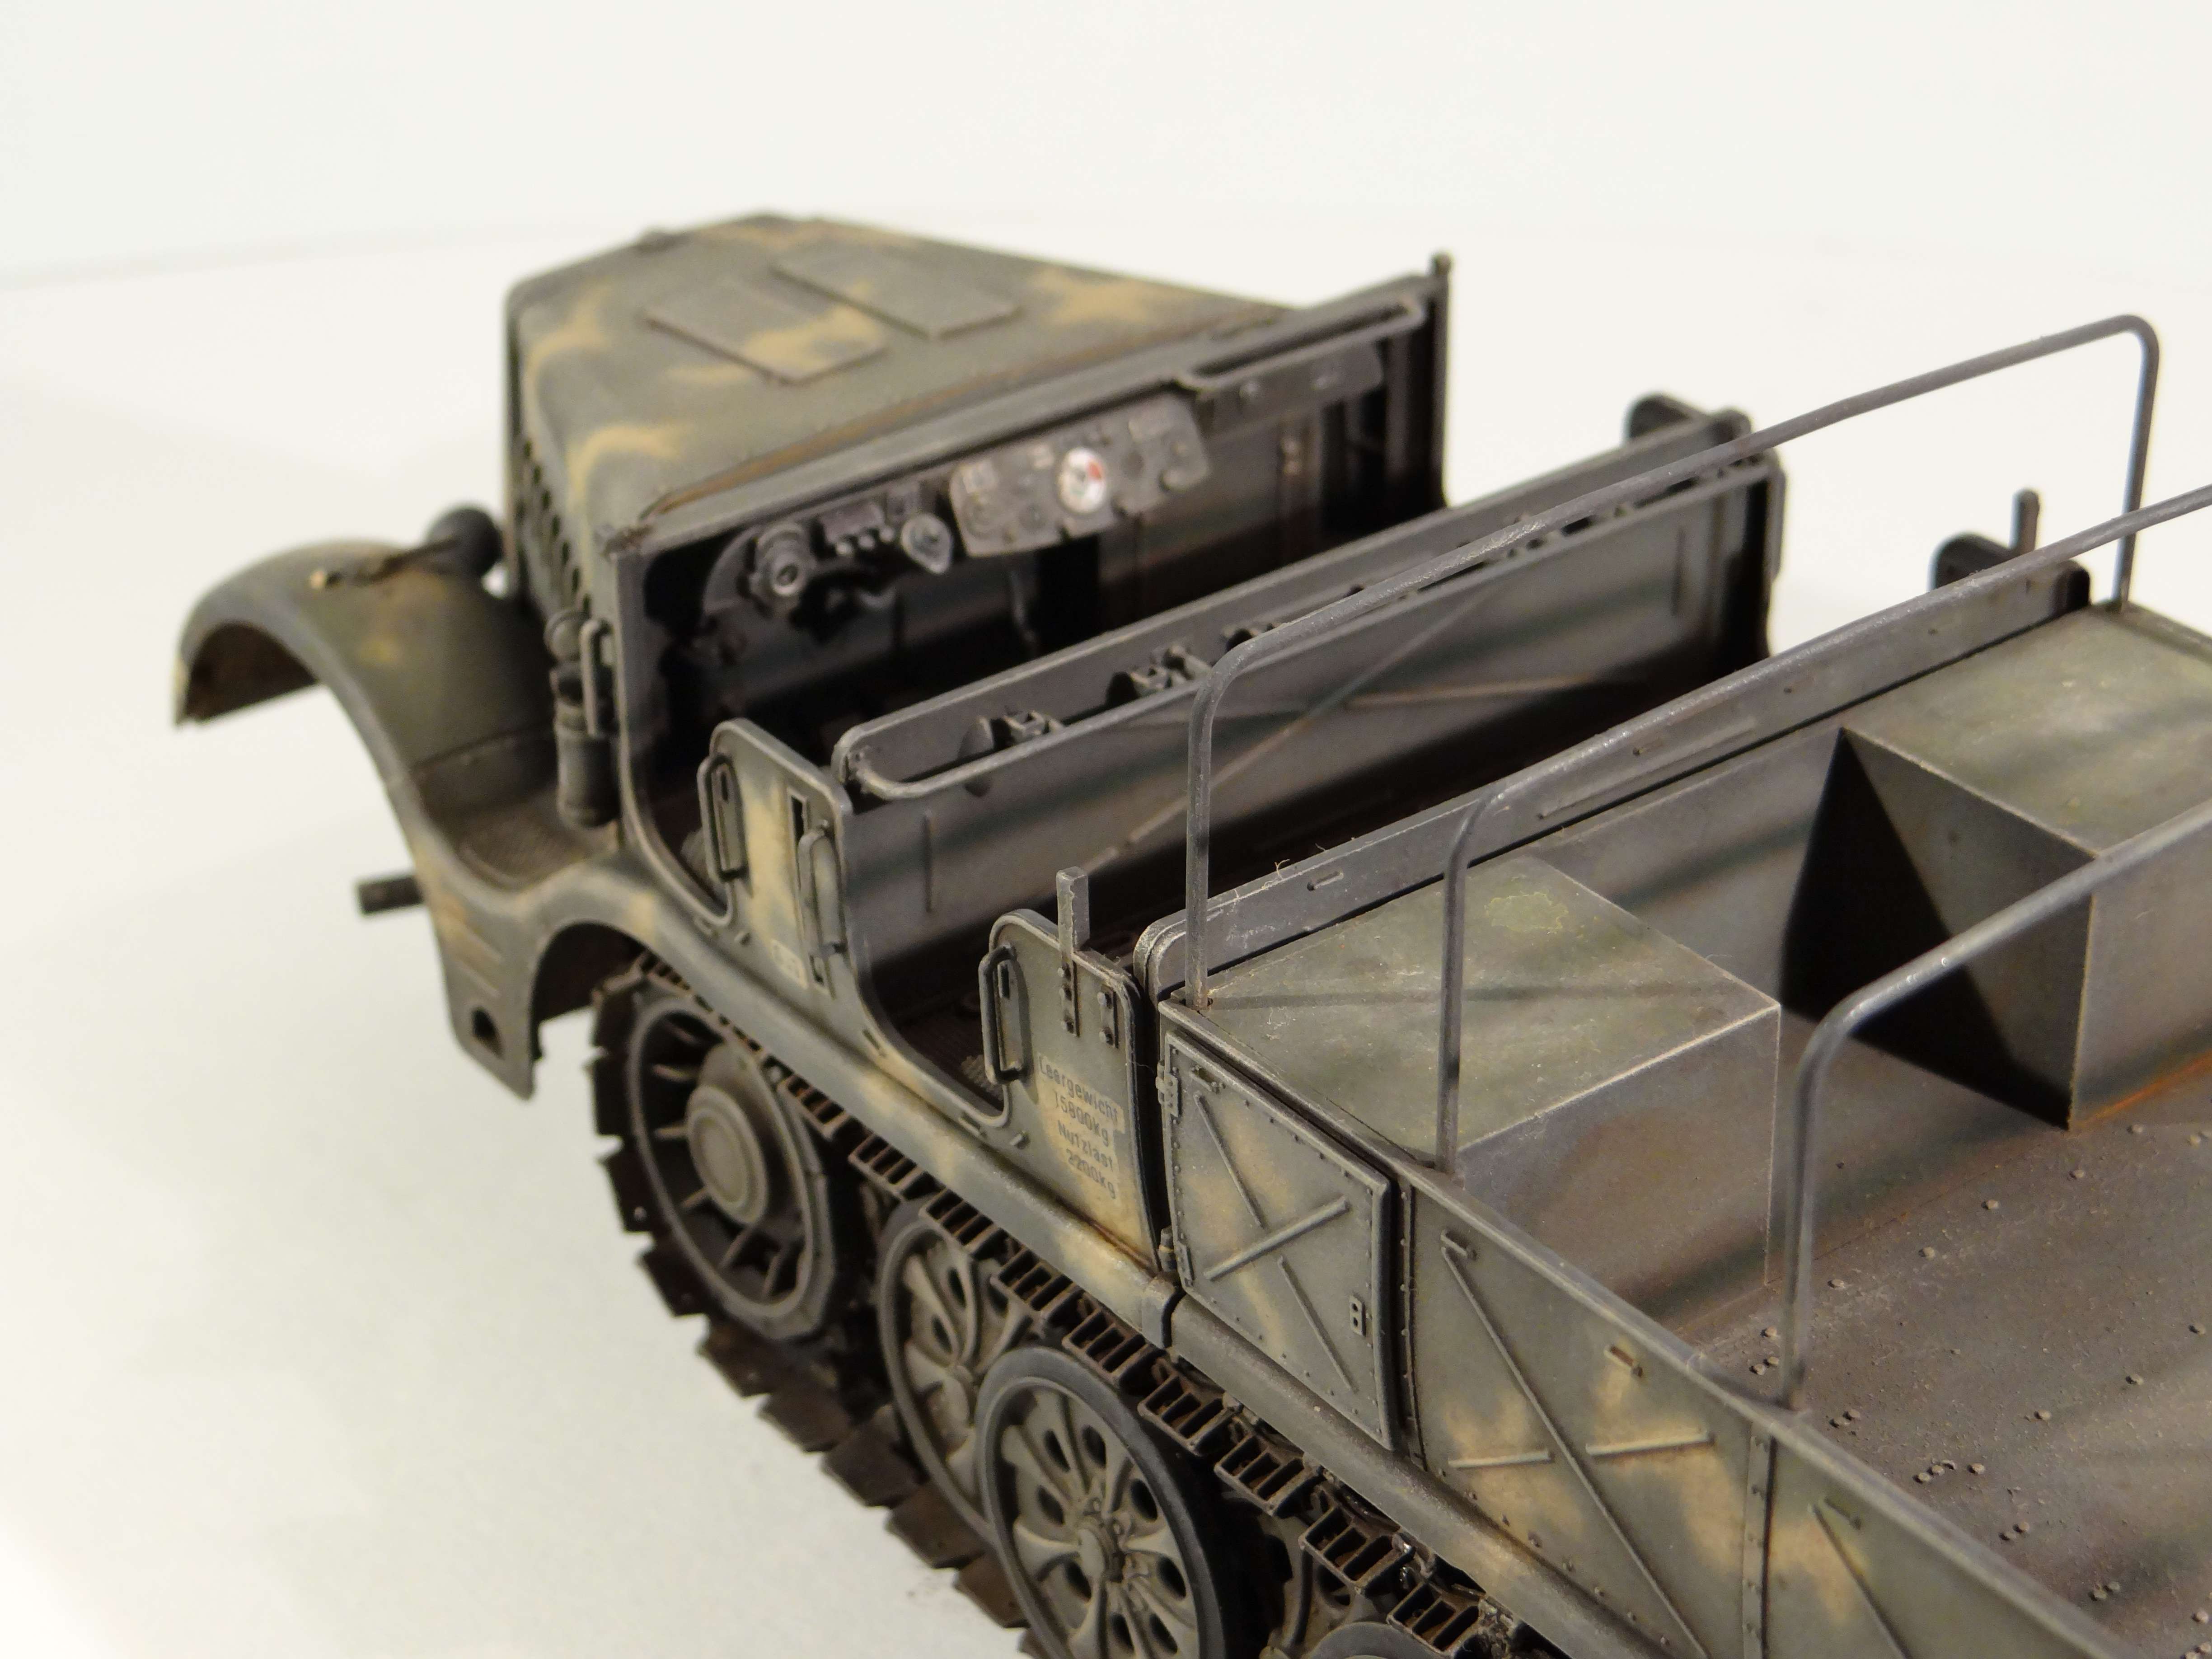
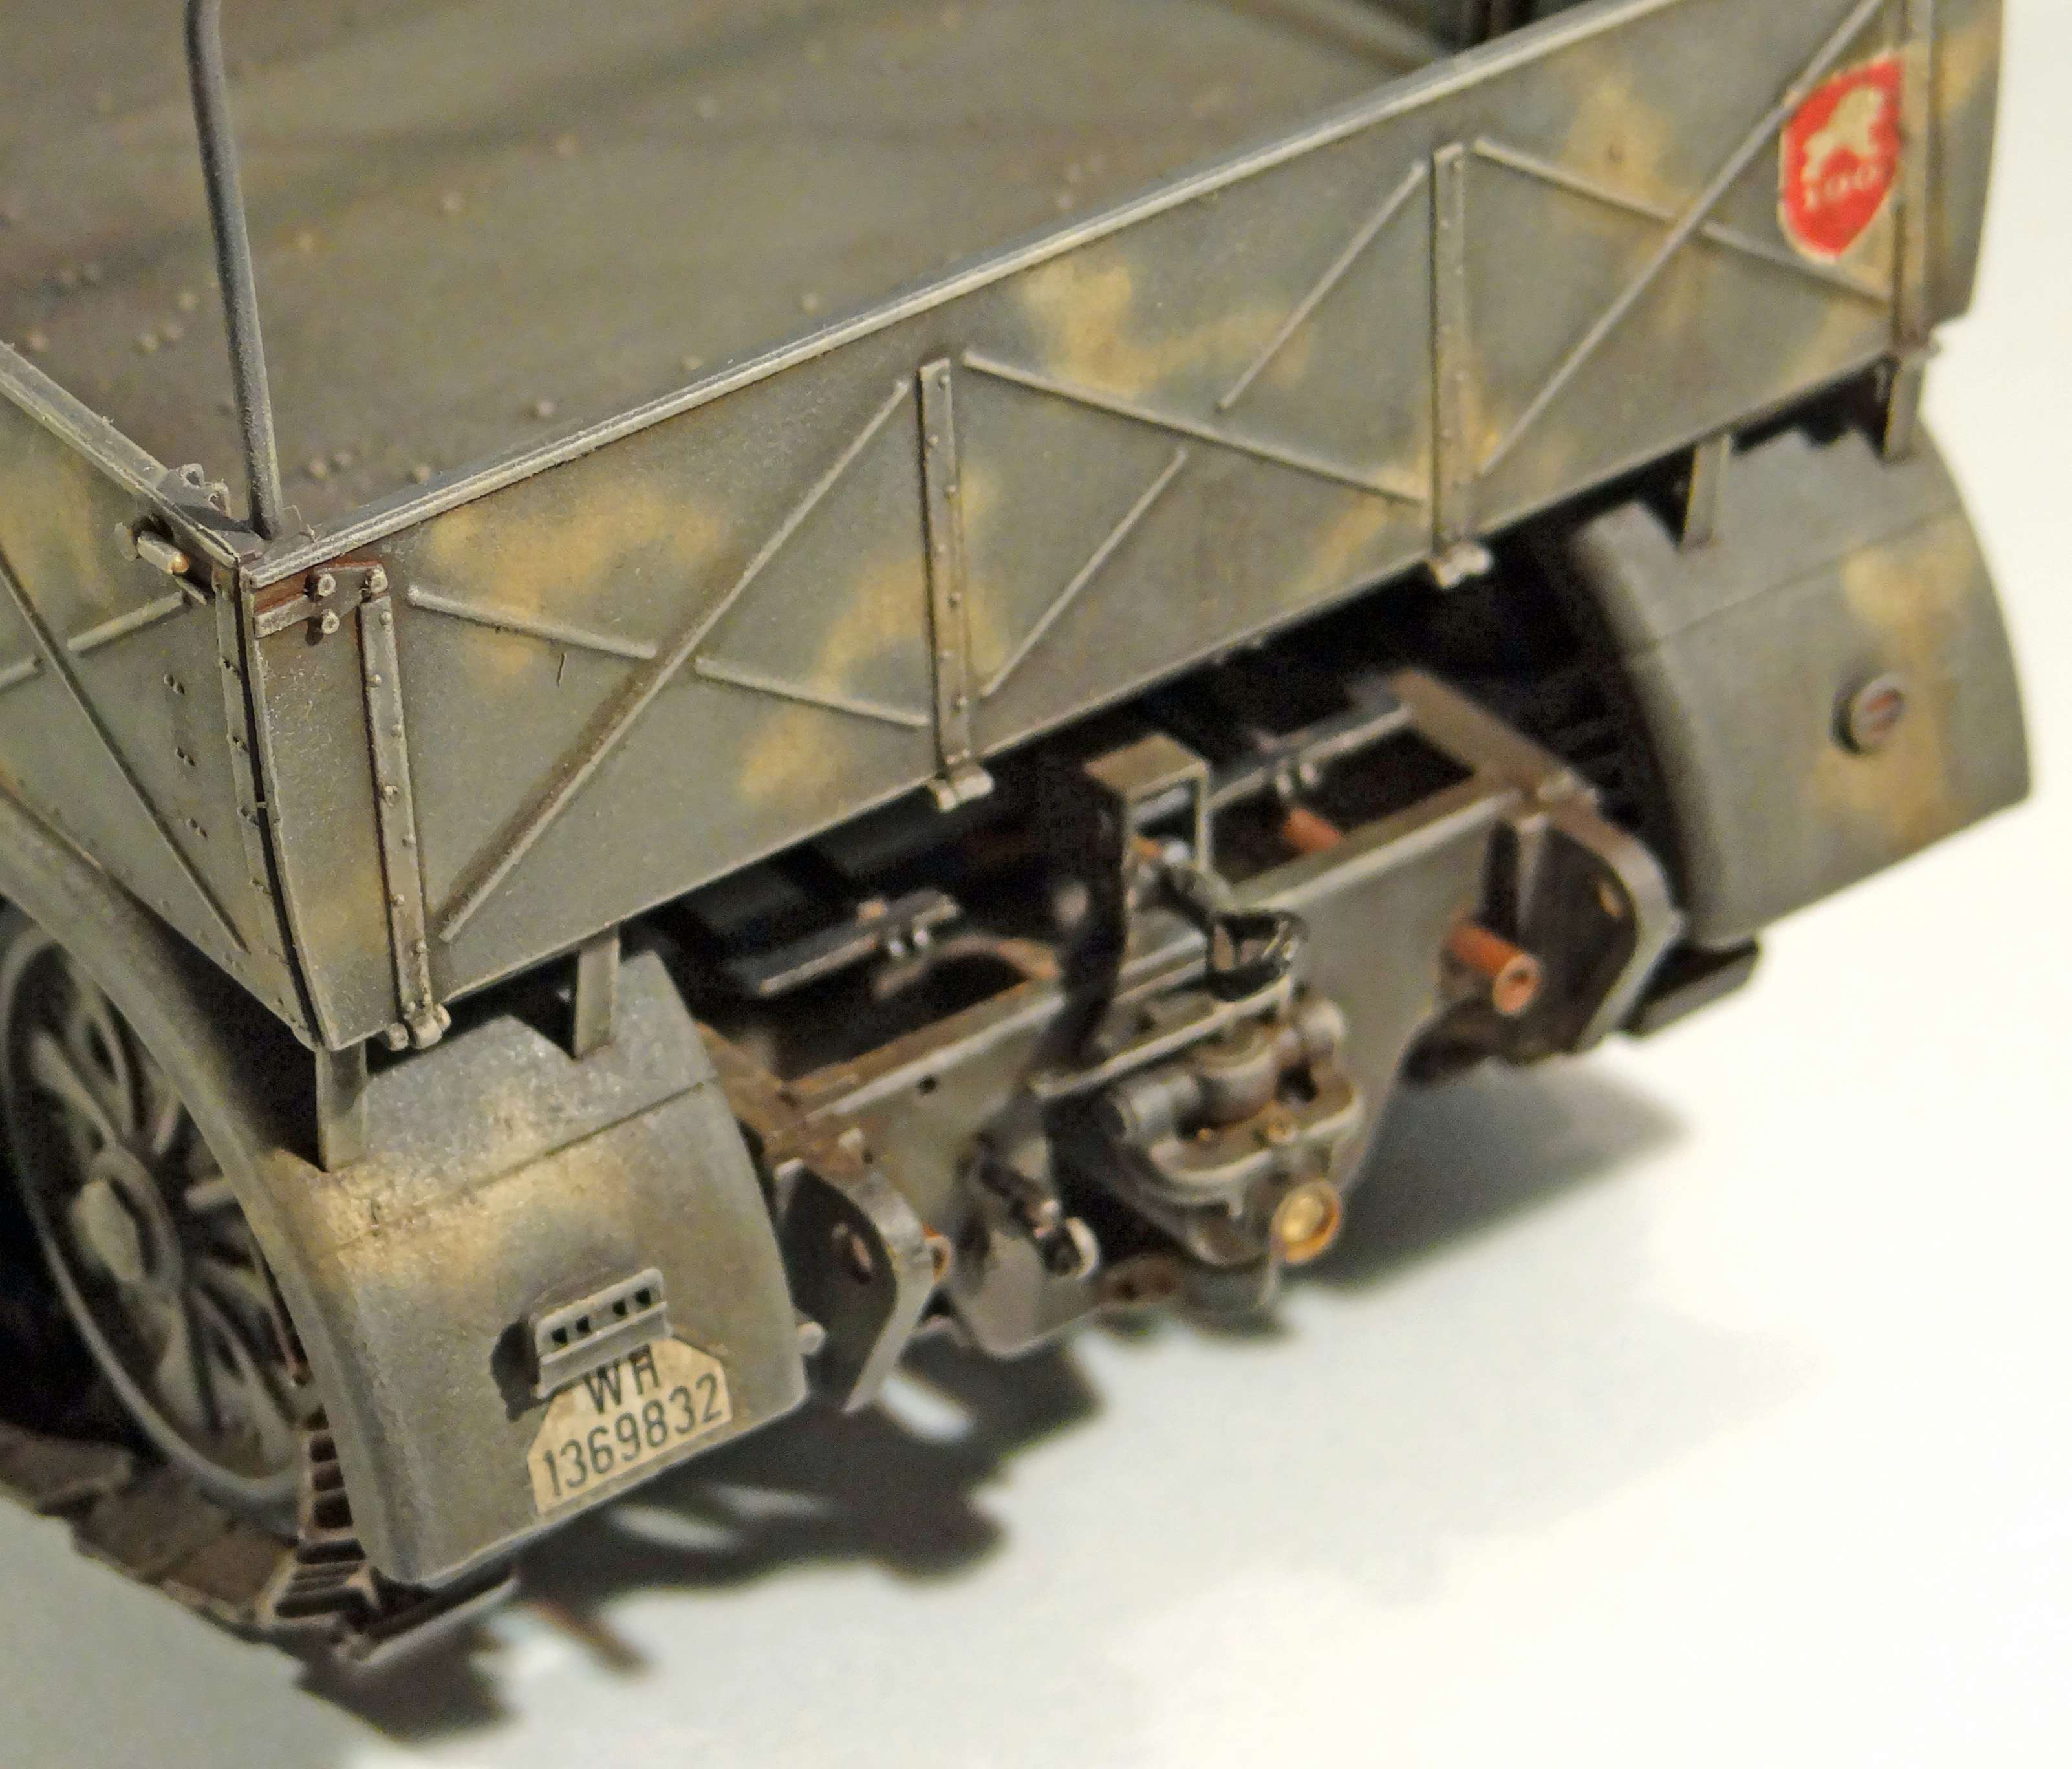
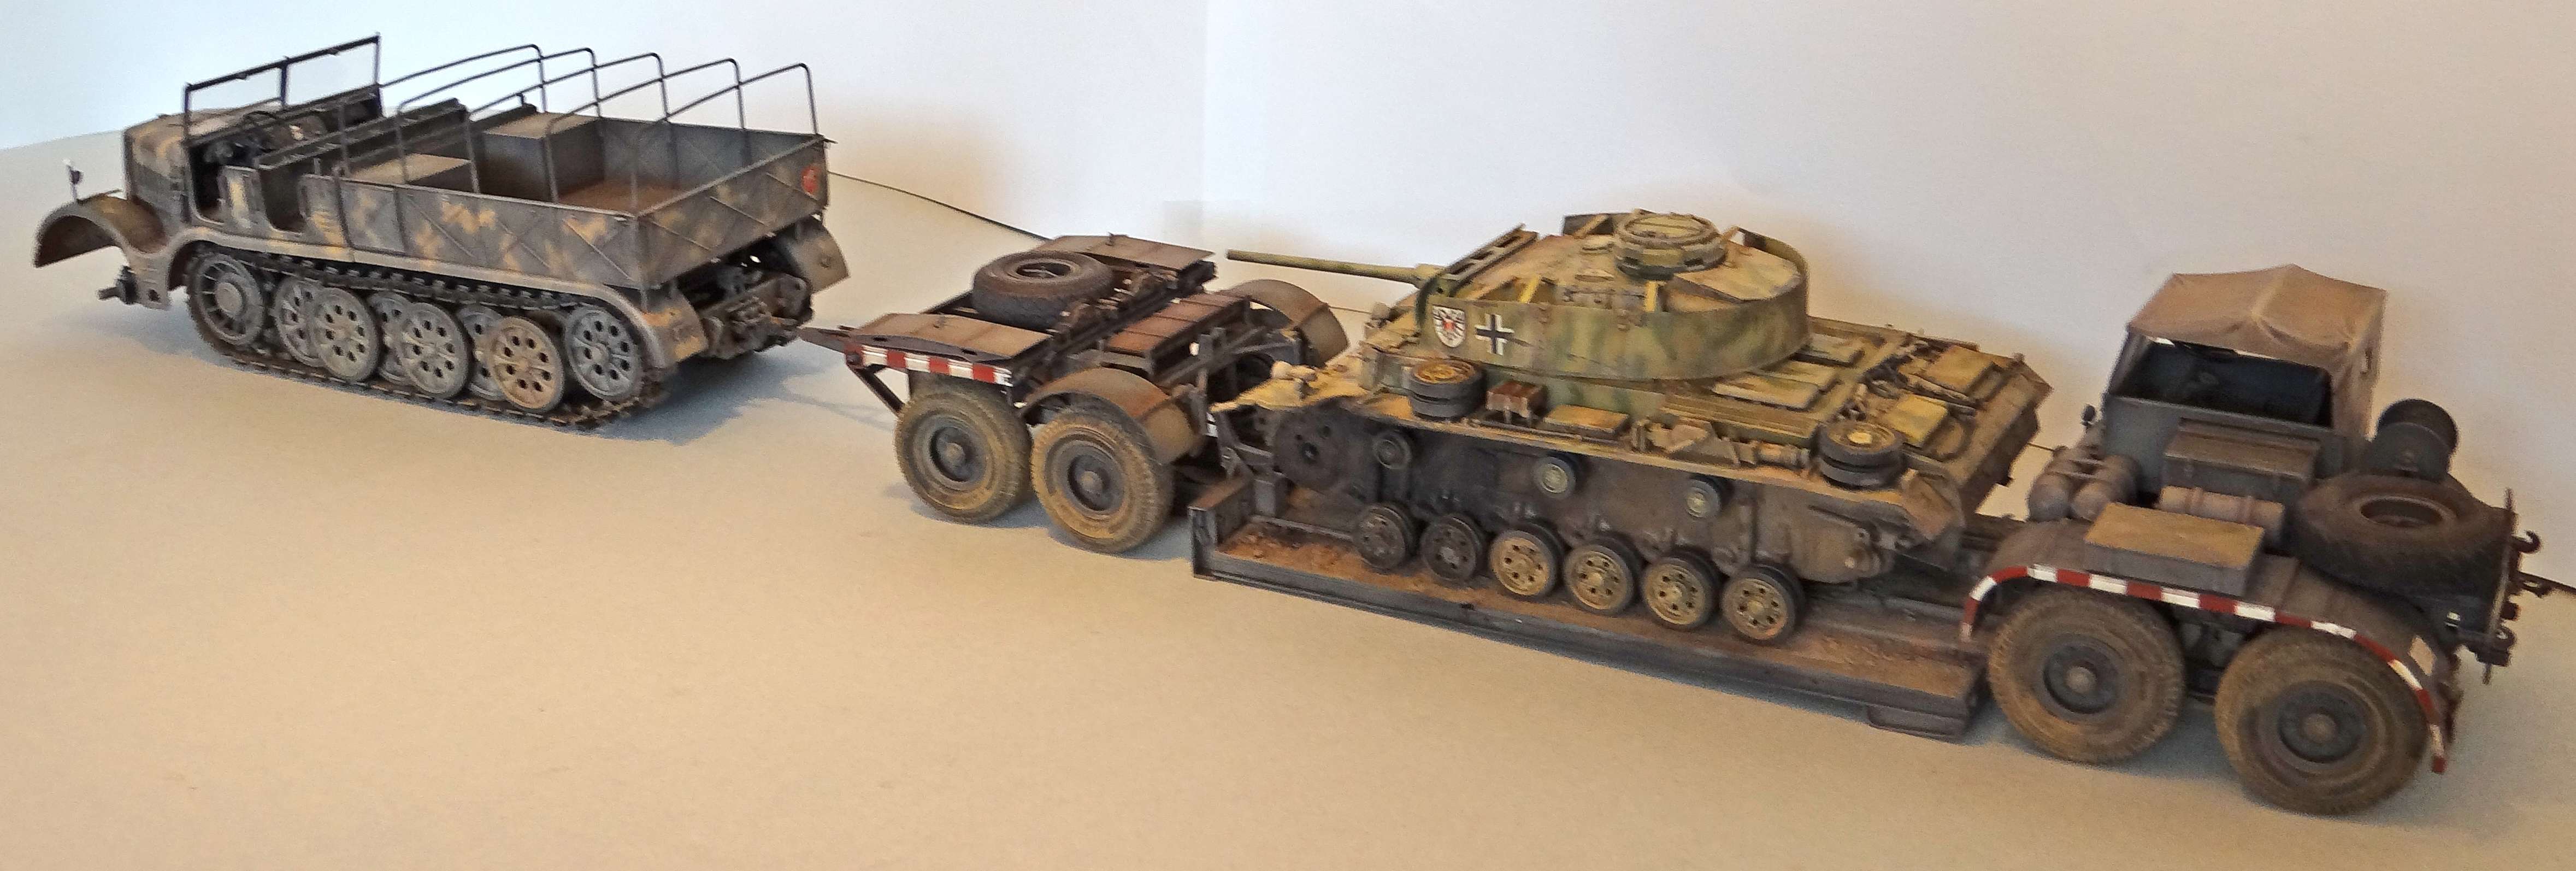
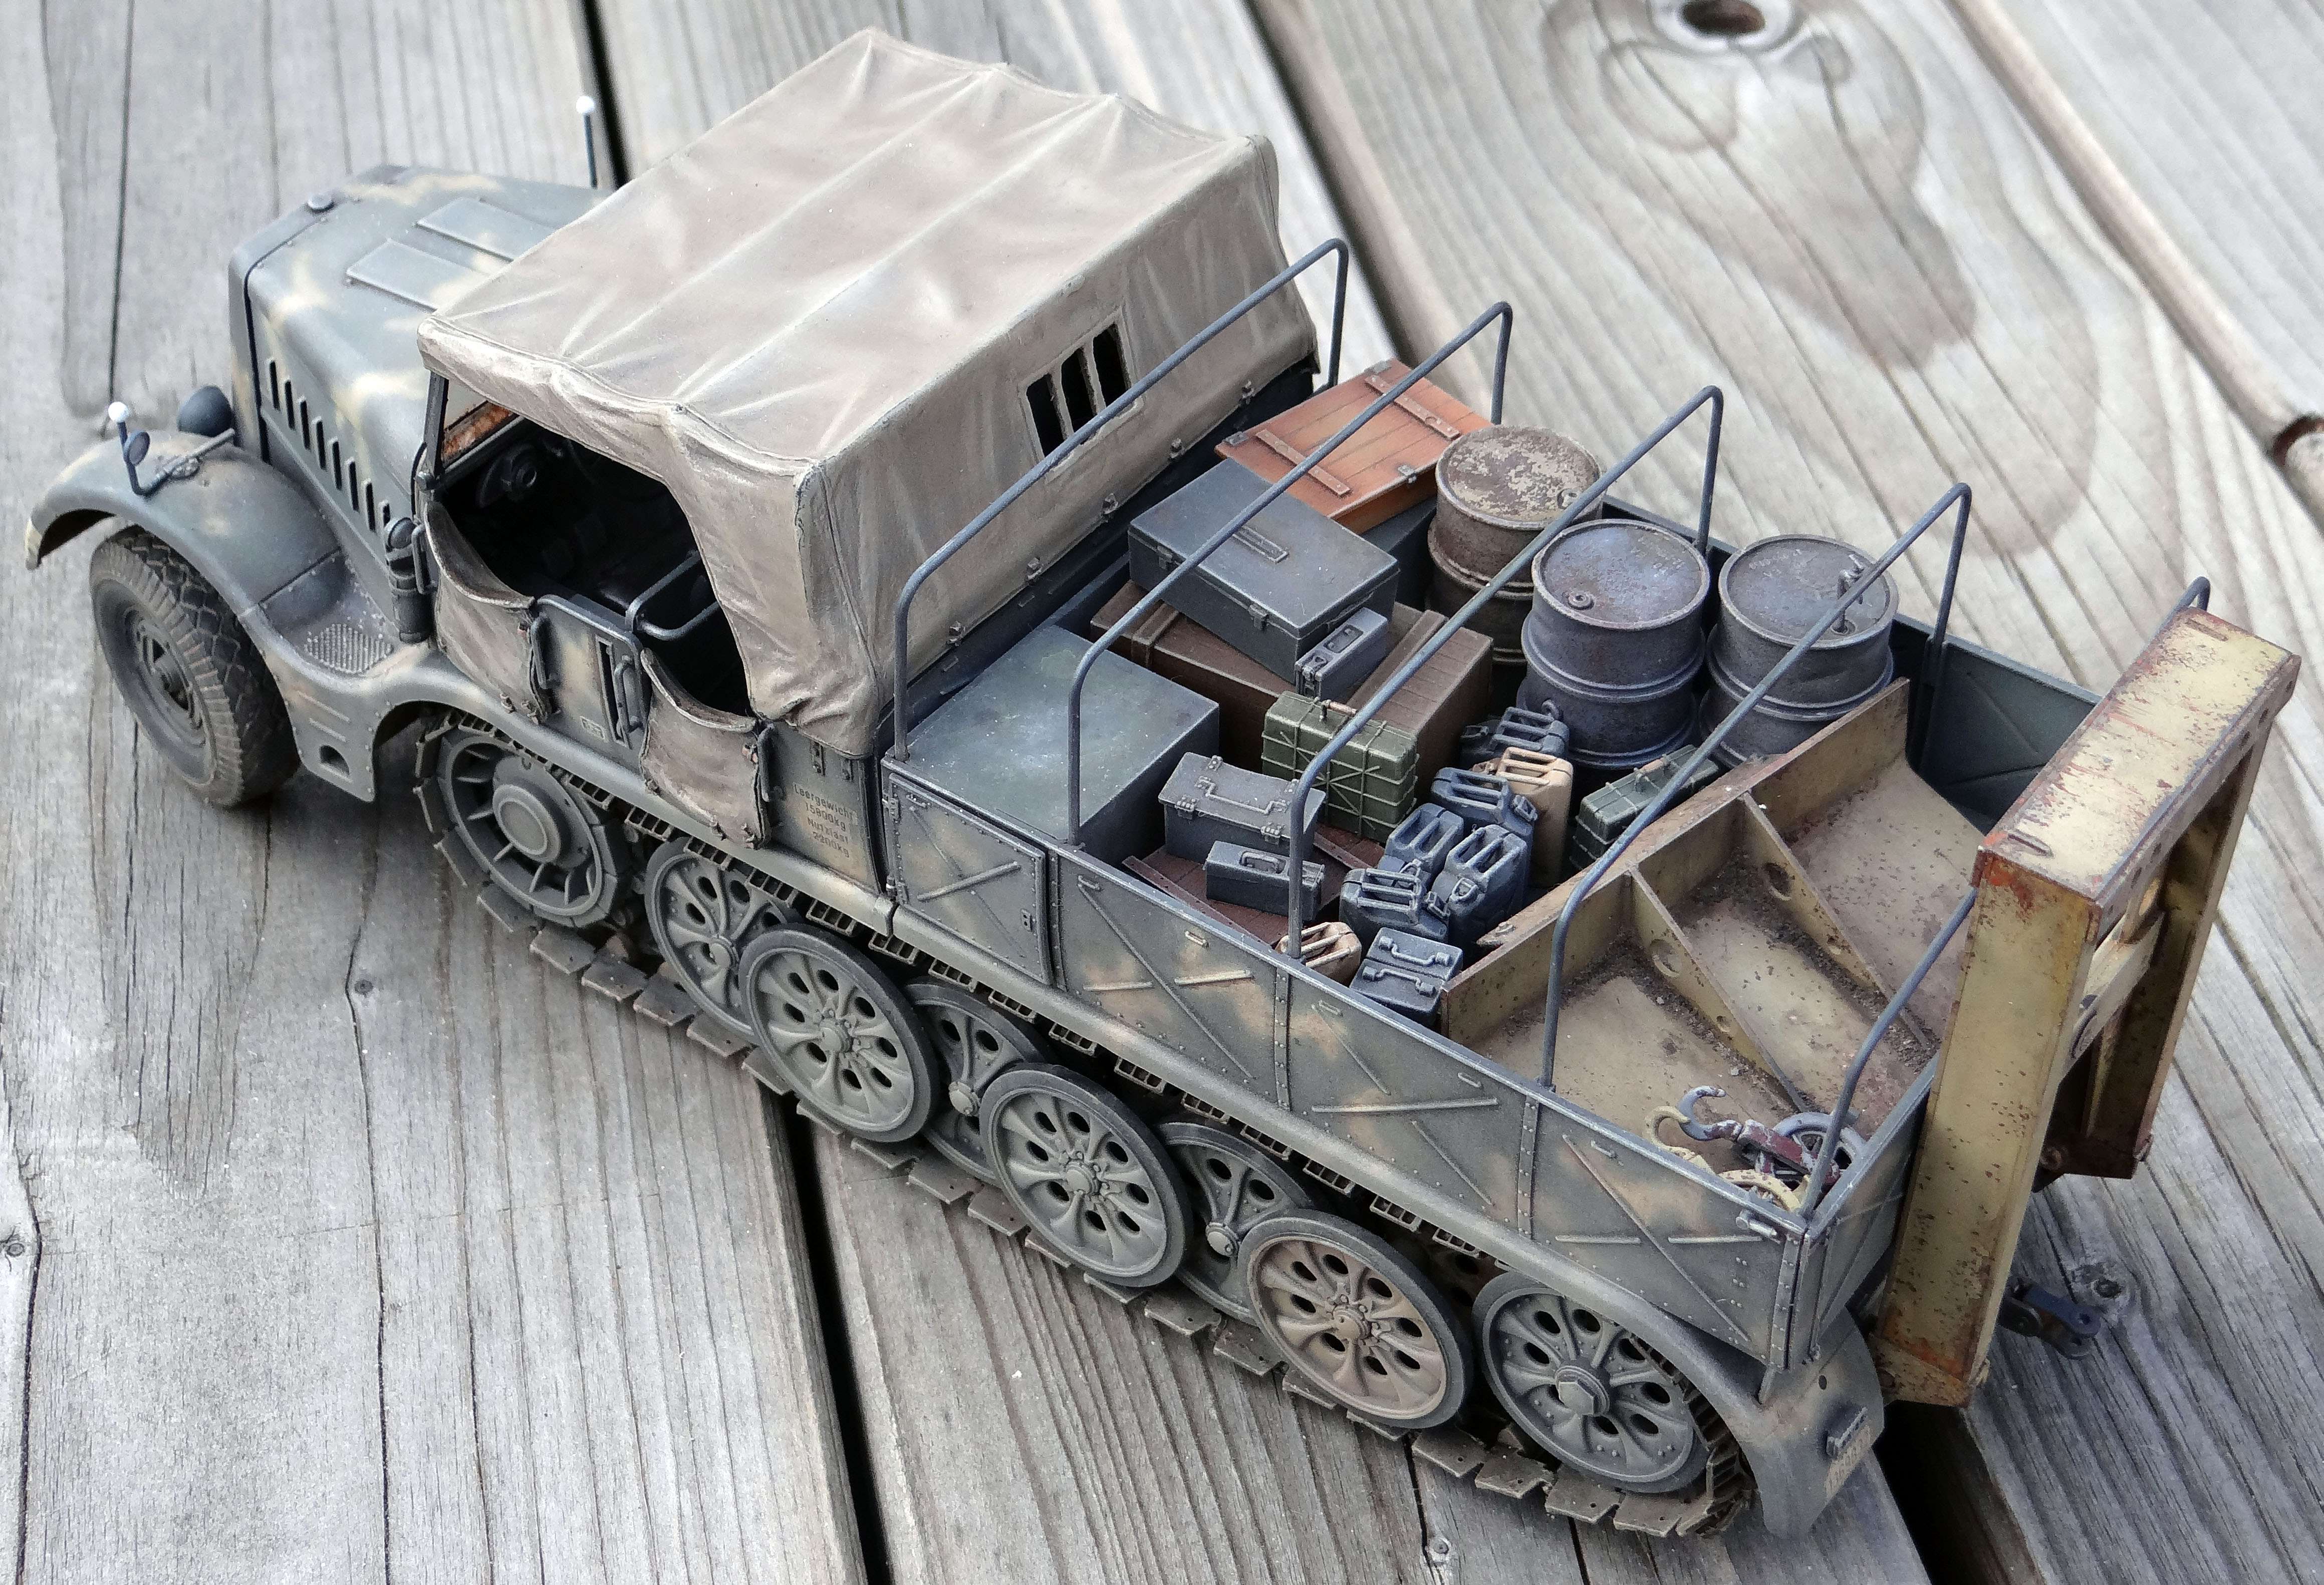
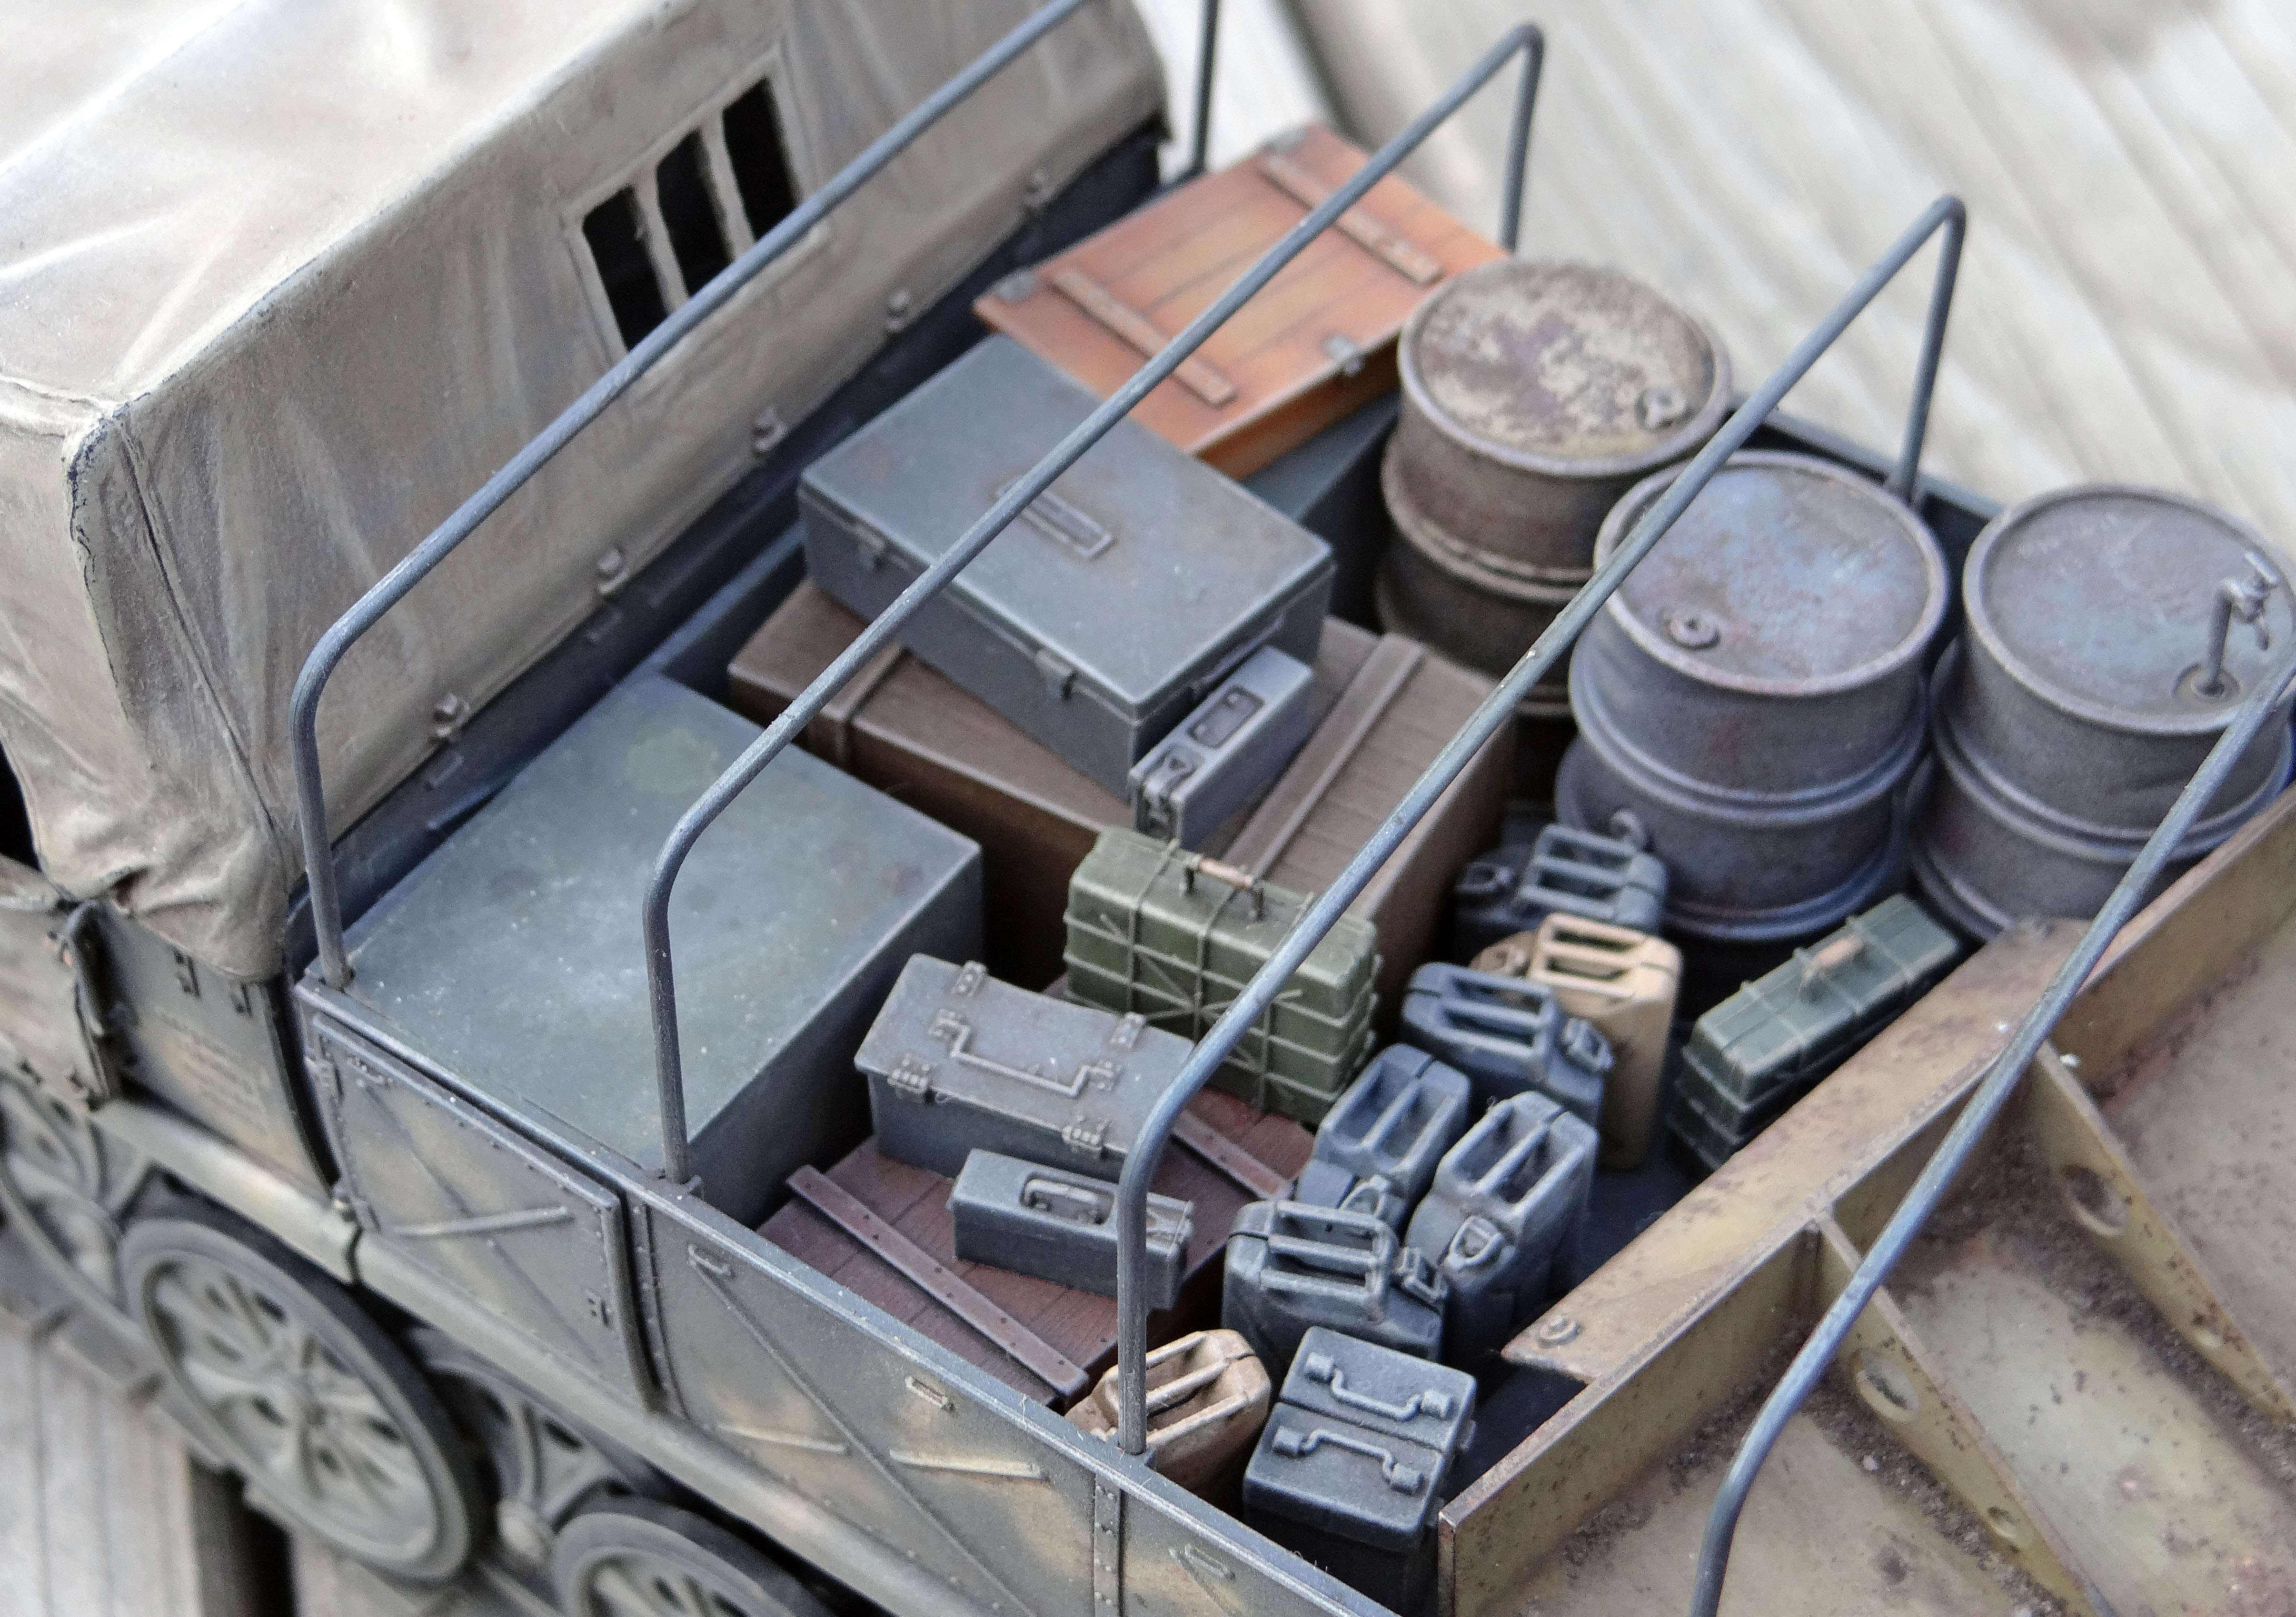
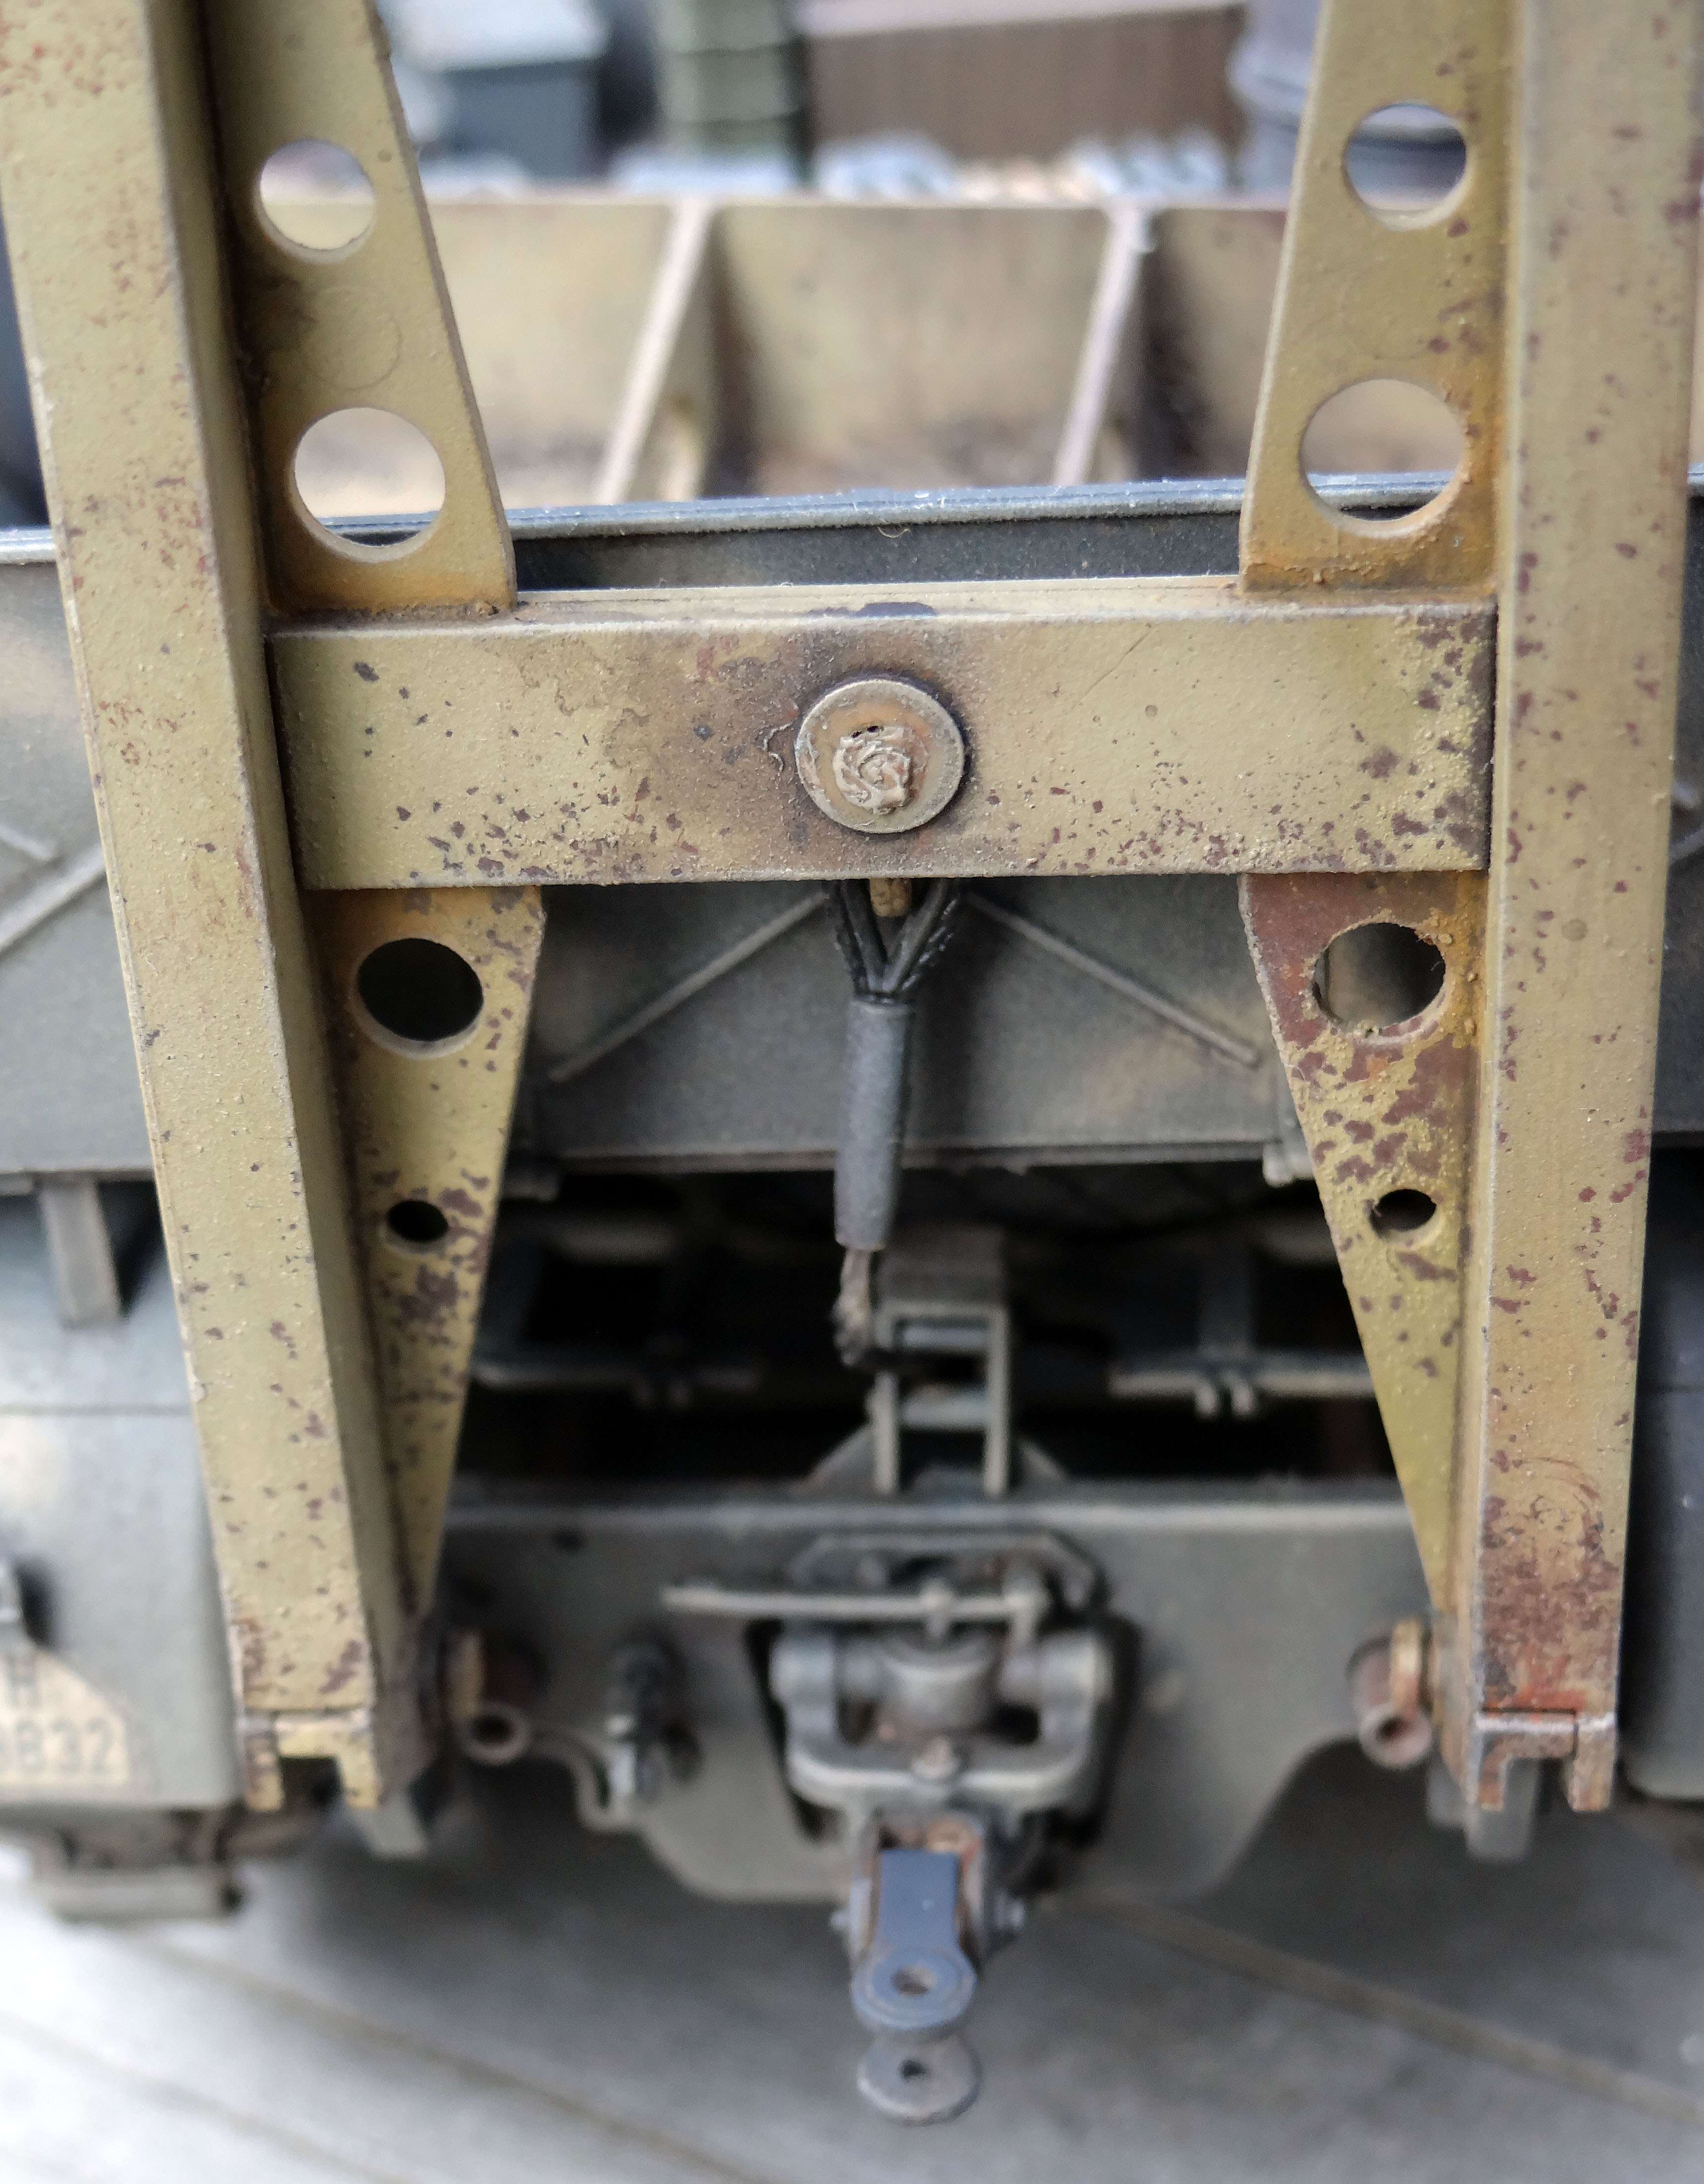
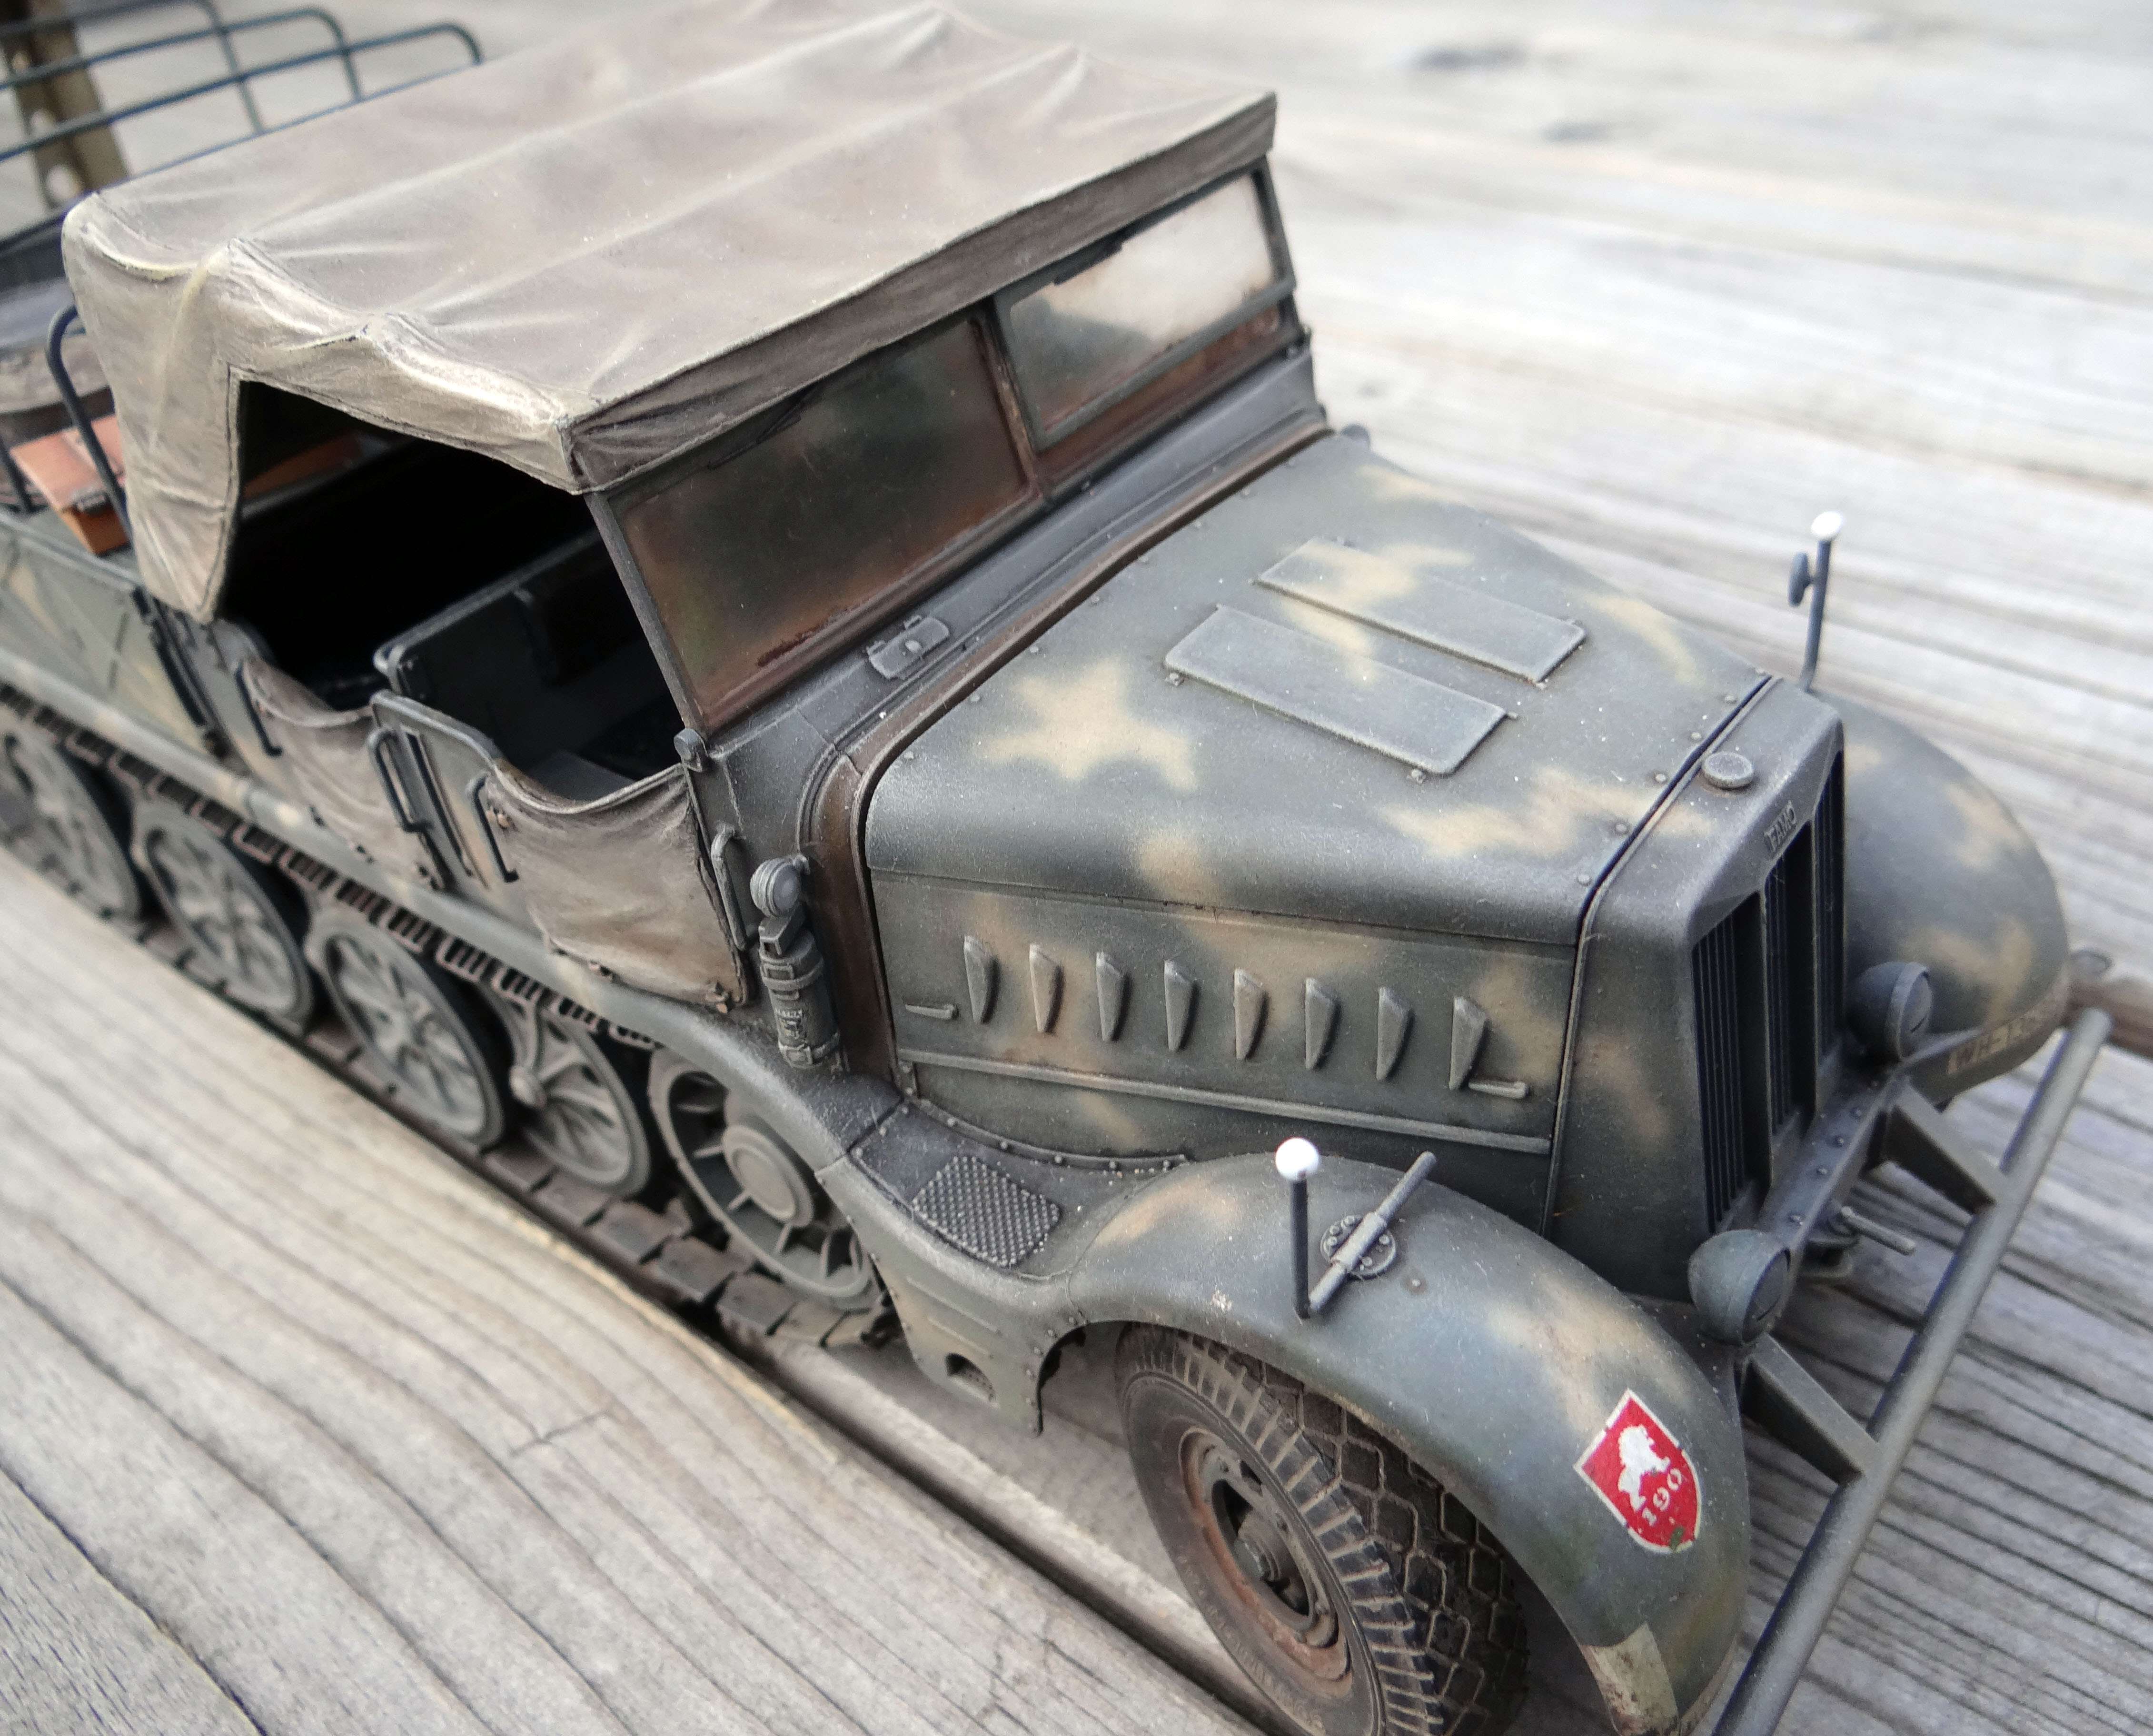
Tamiya’s Schwere Zugkraftwagen 18t. Famo & Sdkfz. 116 Tieflade-anhänger (kit # 35246) +
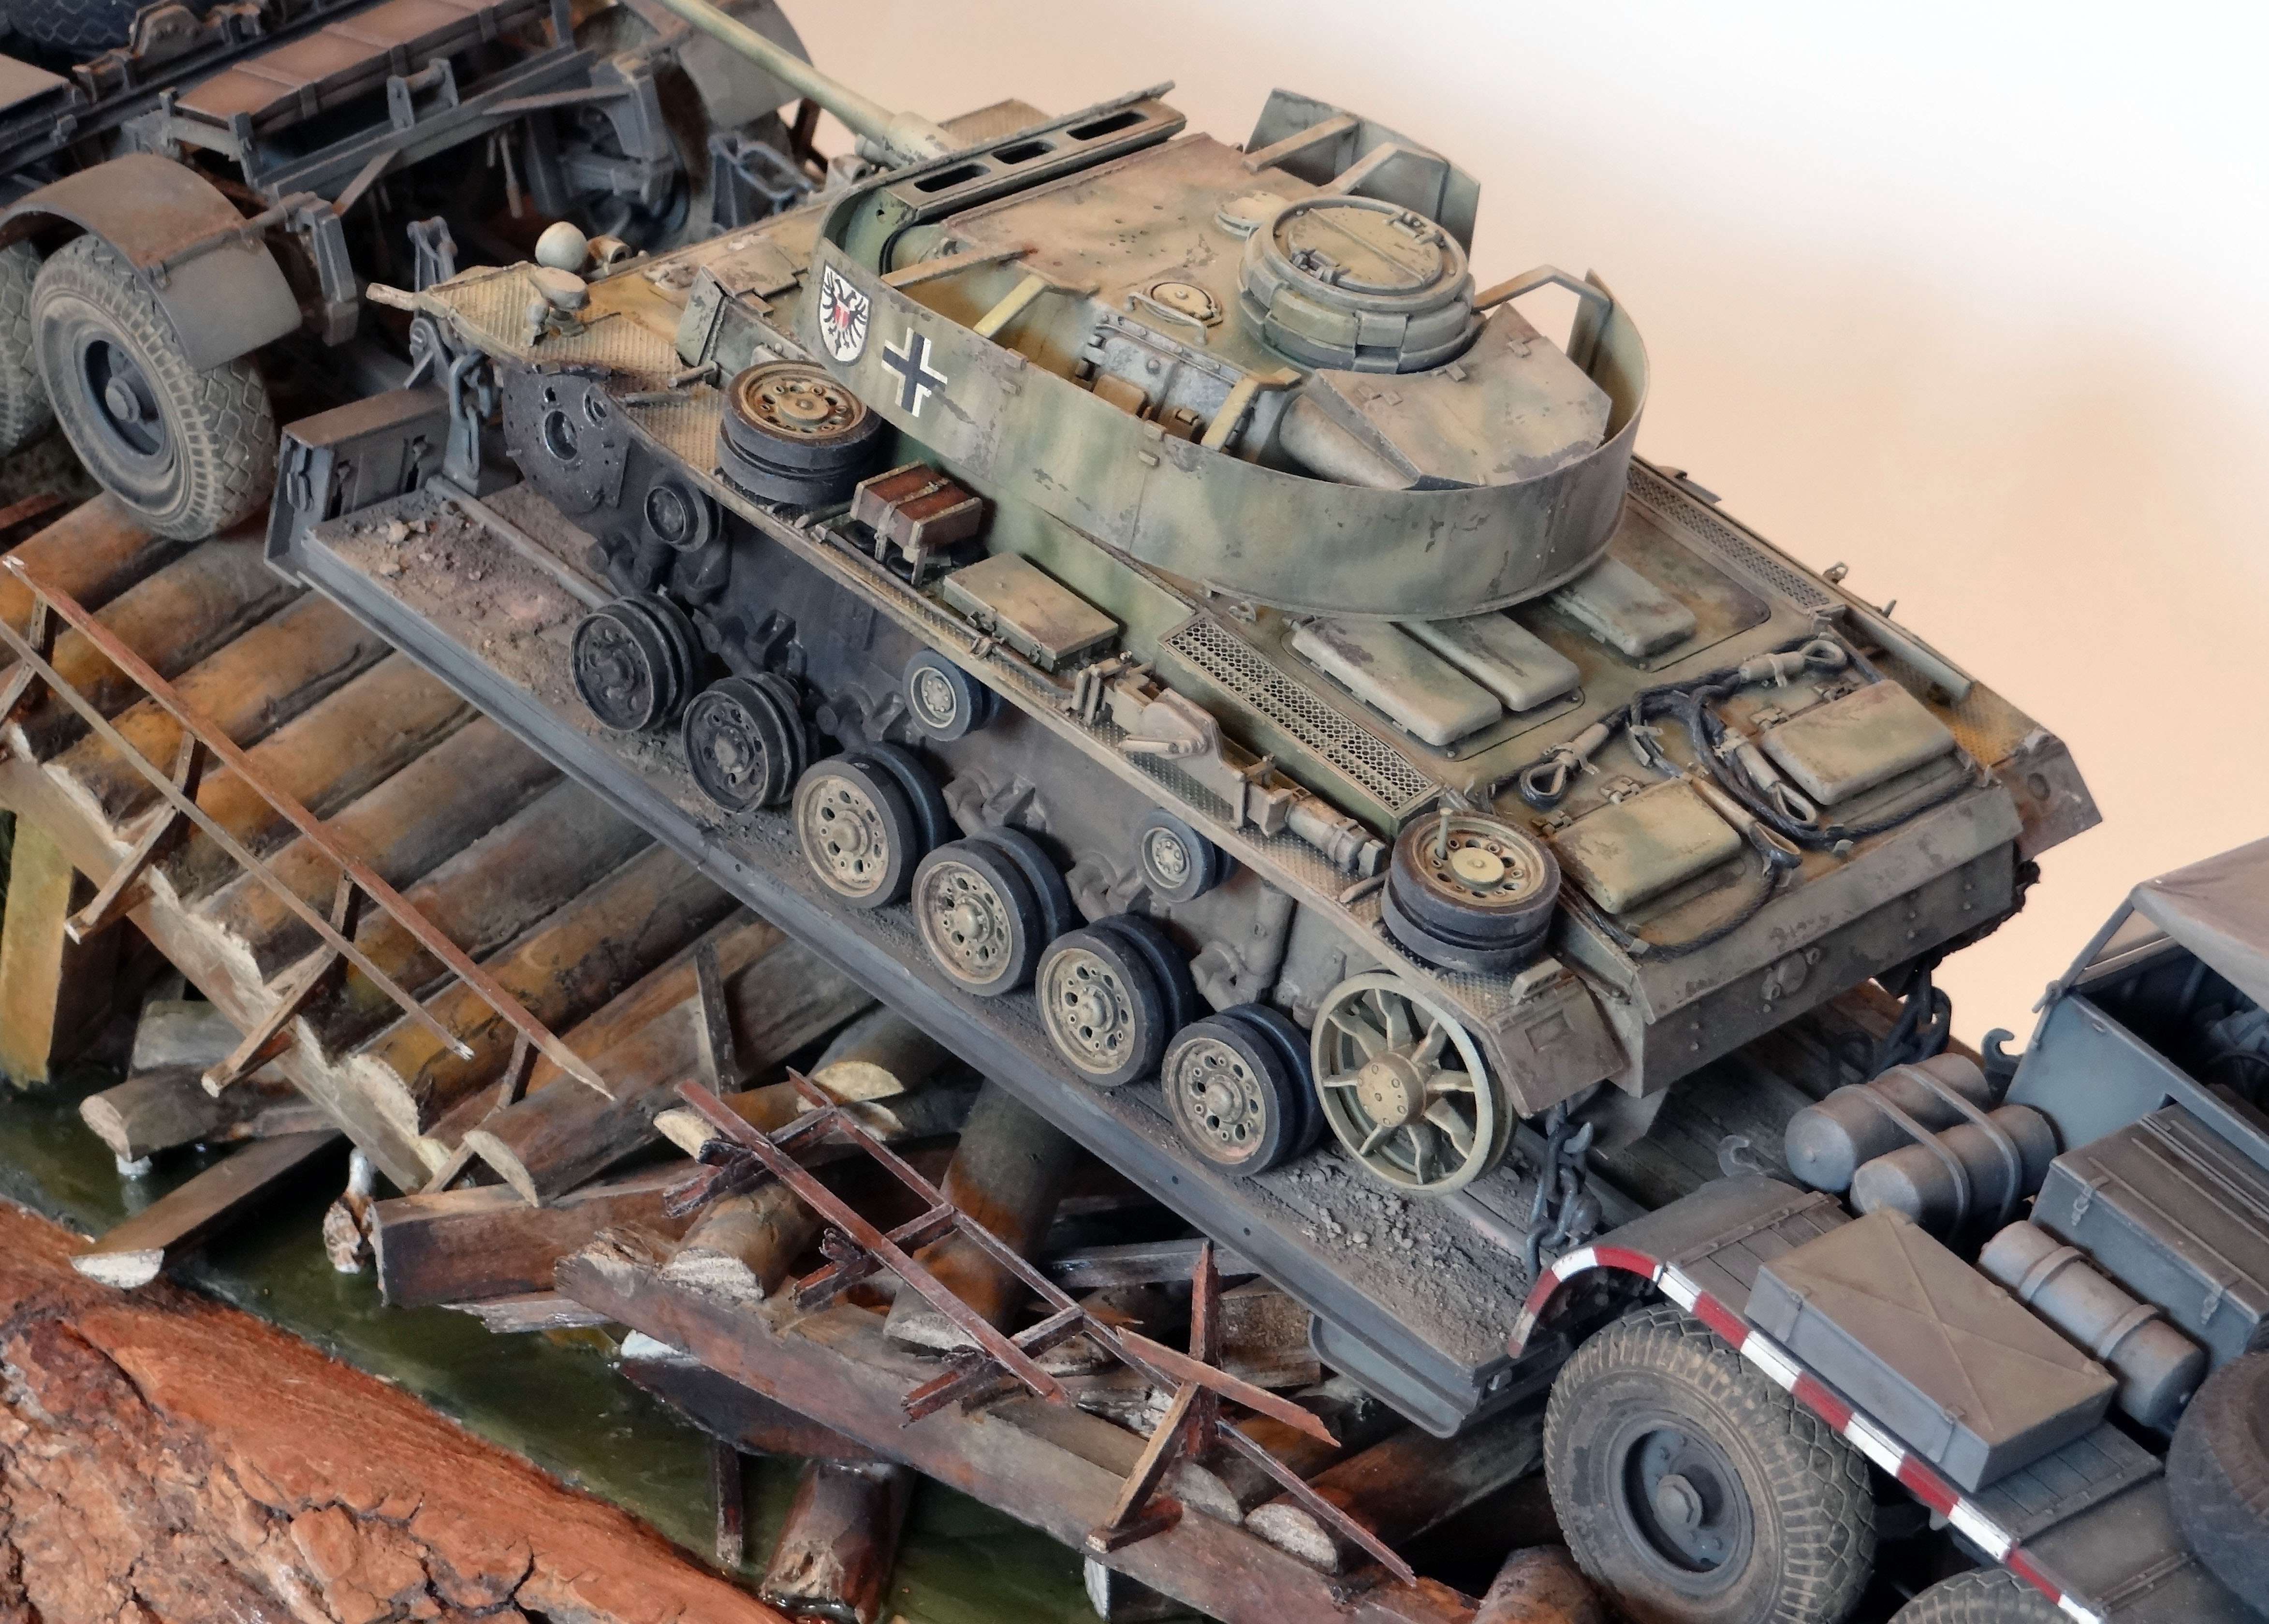
Tamiya’s Panzer III ausf. L (kit # 35215), Russia 1943.
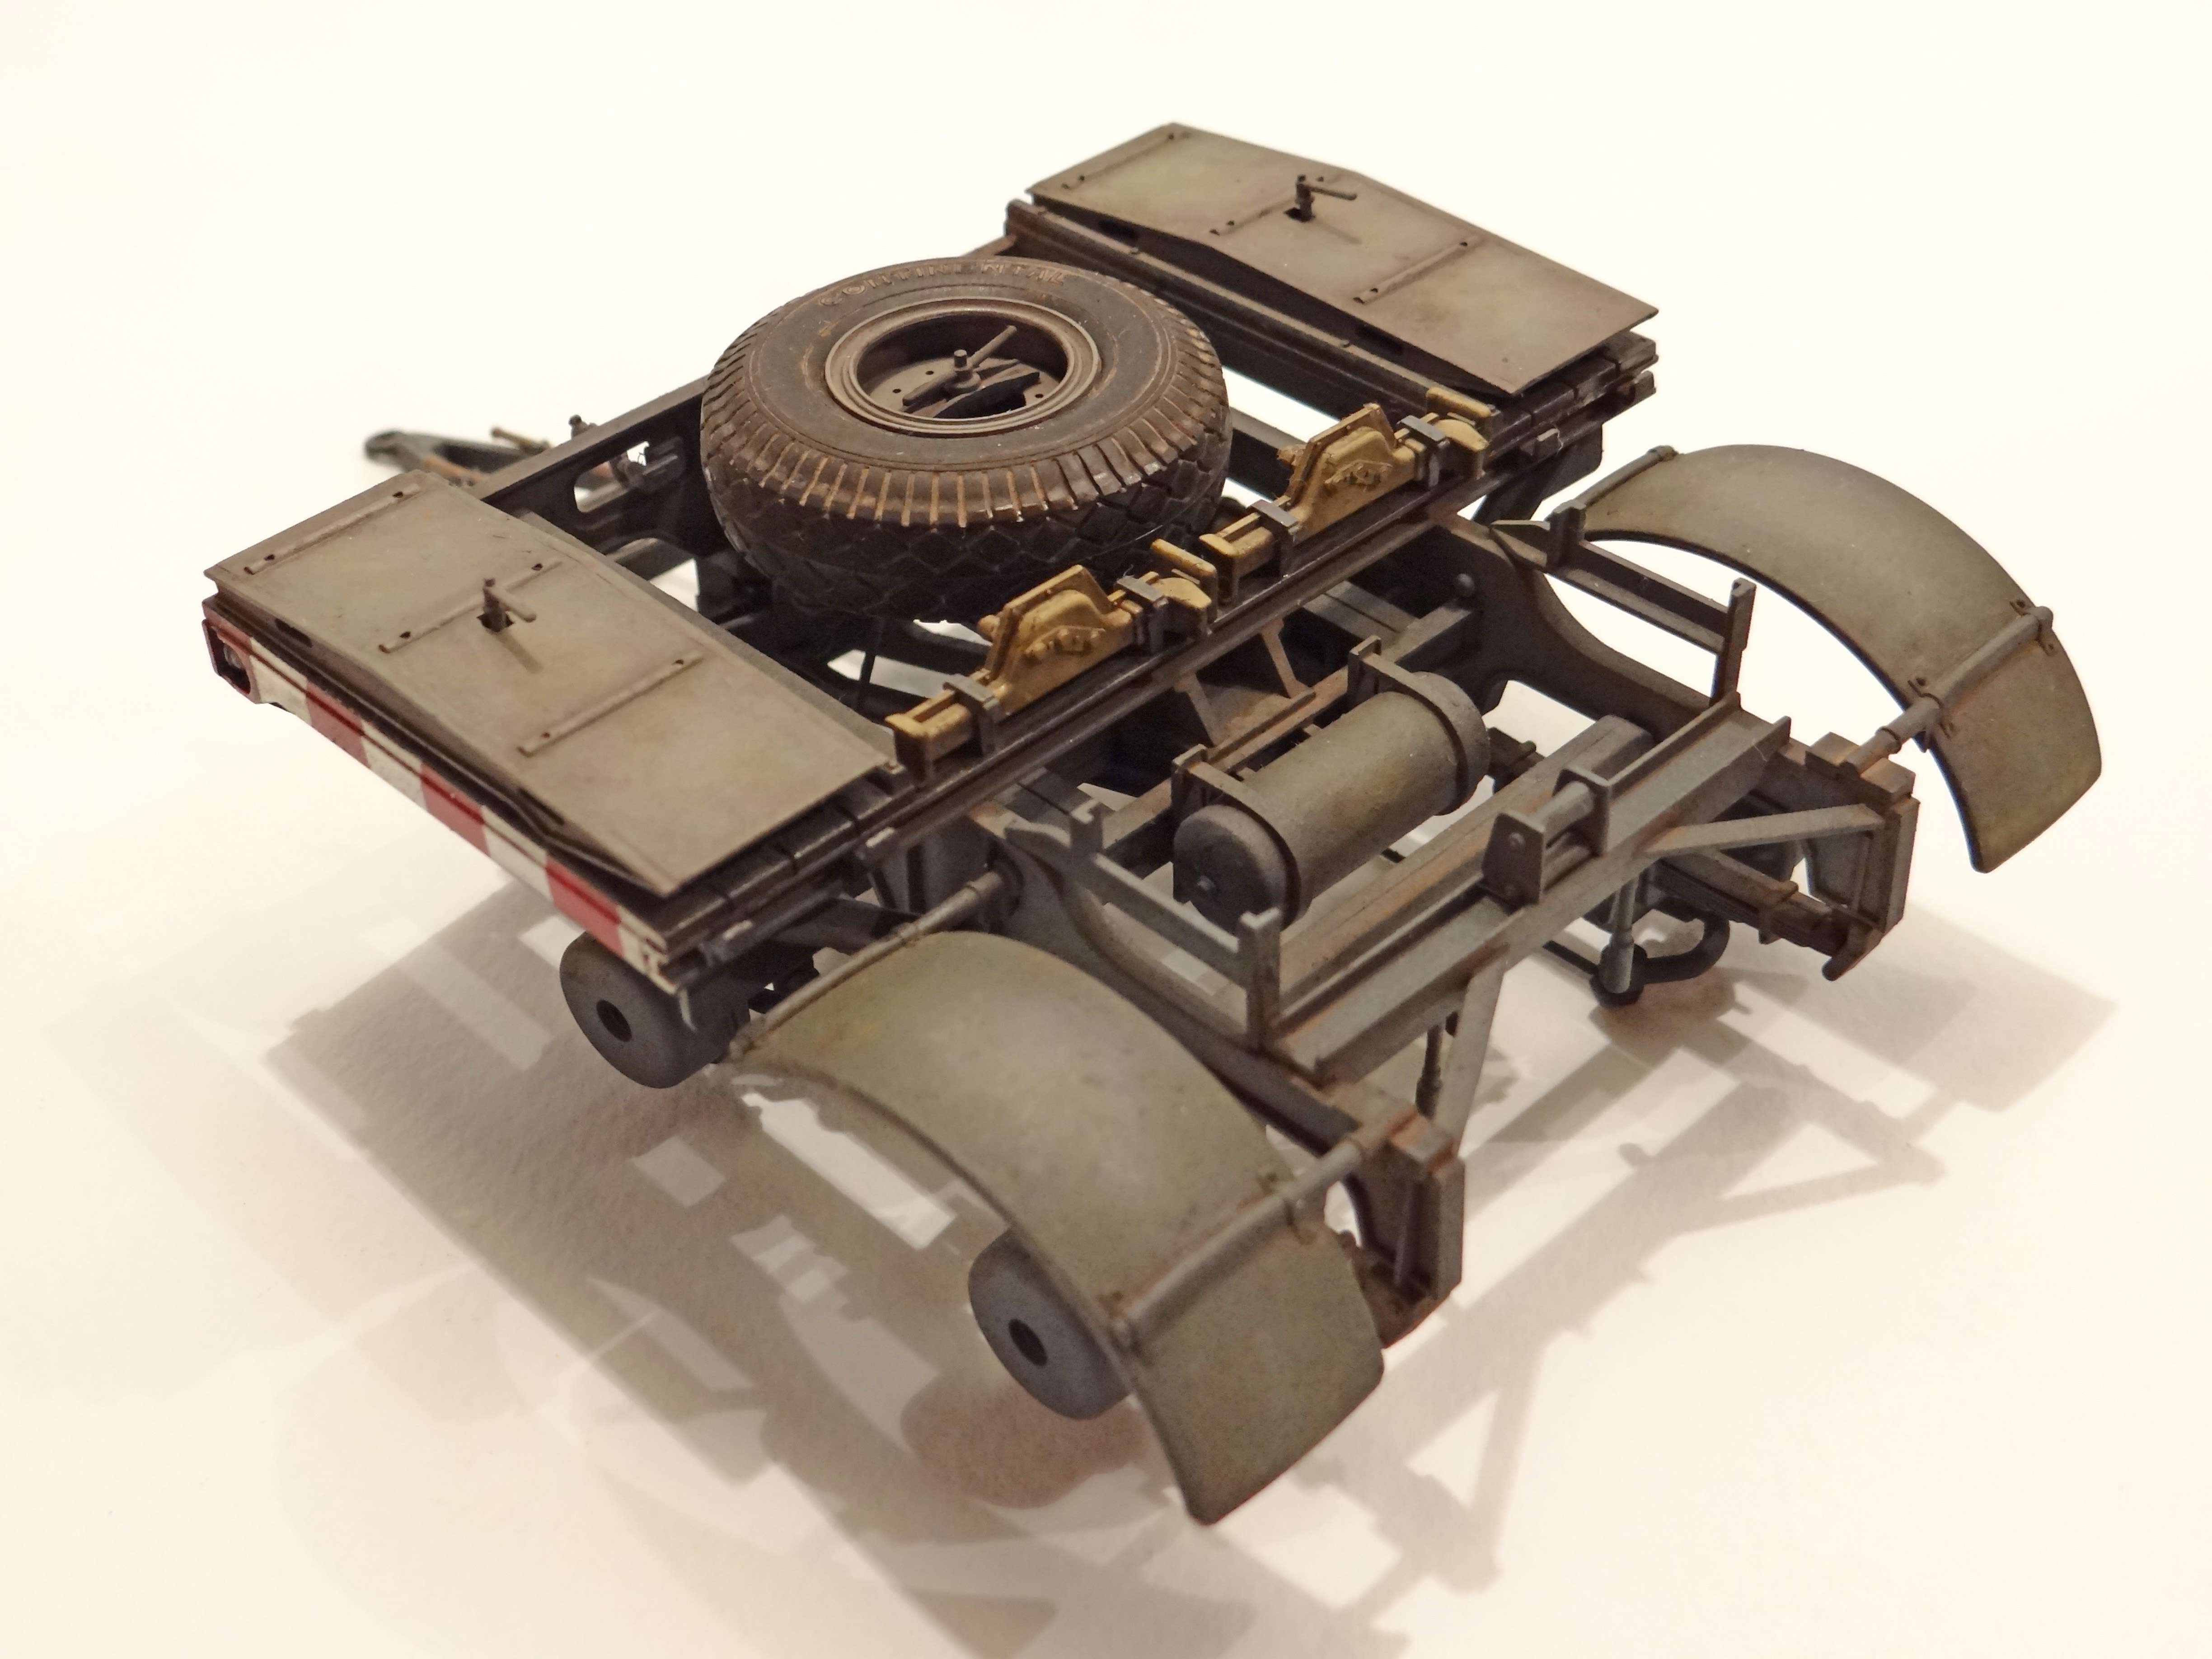
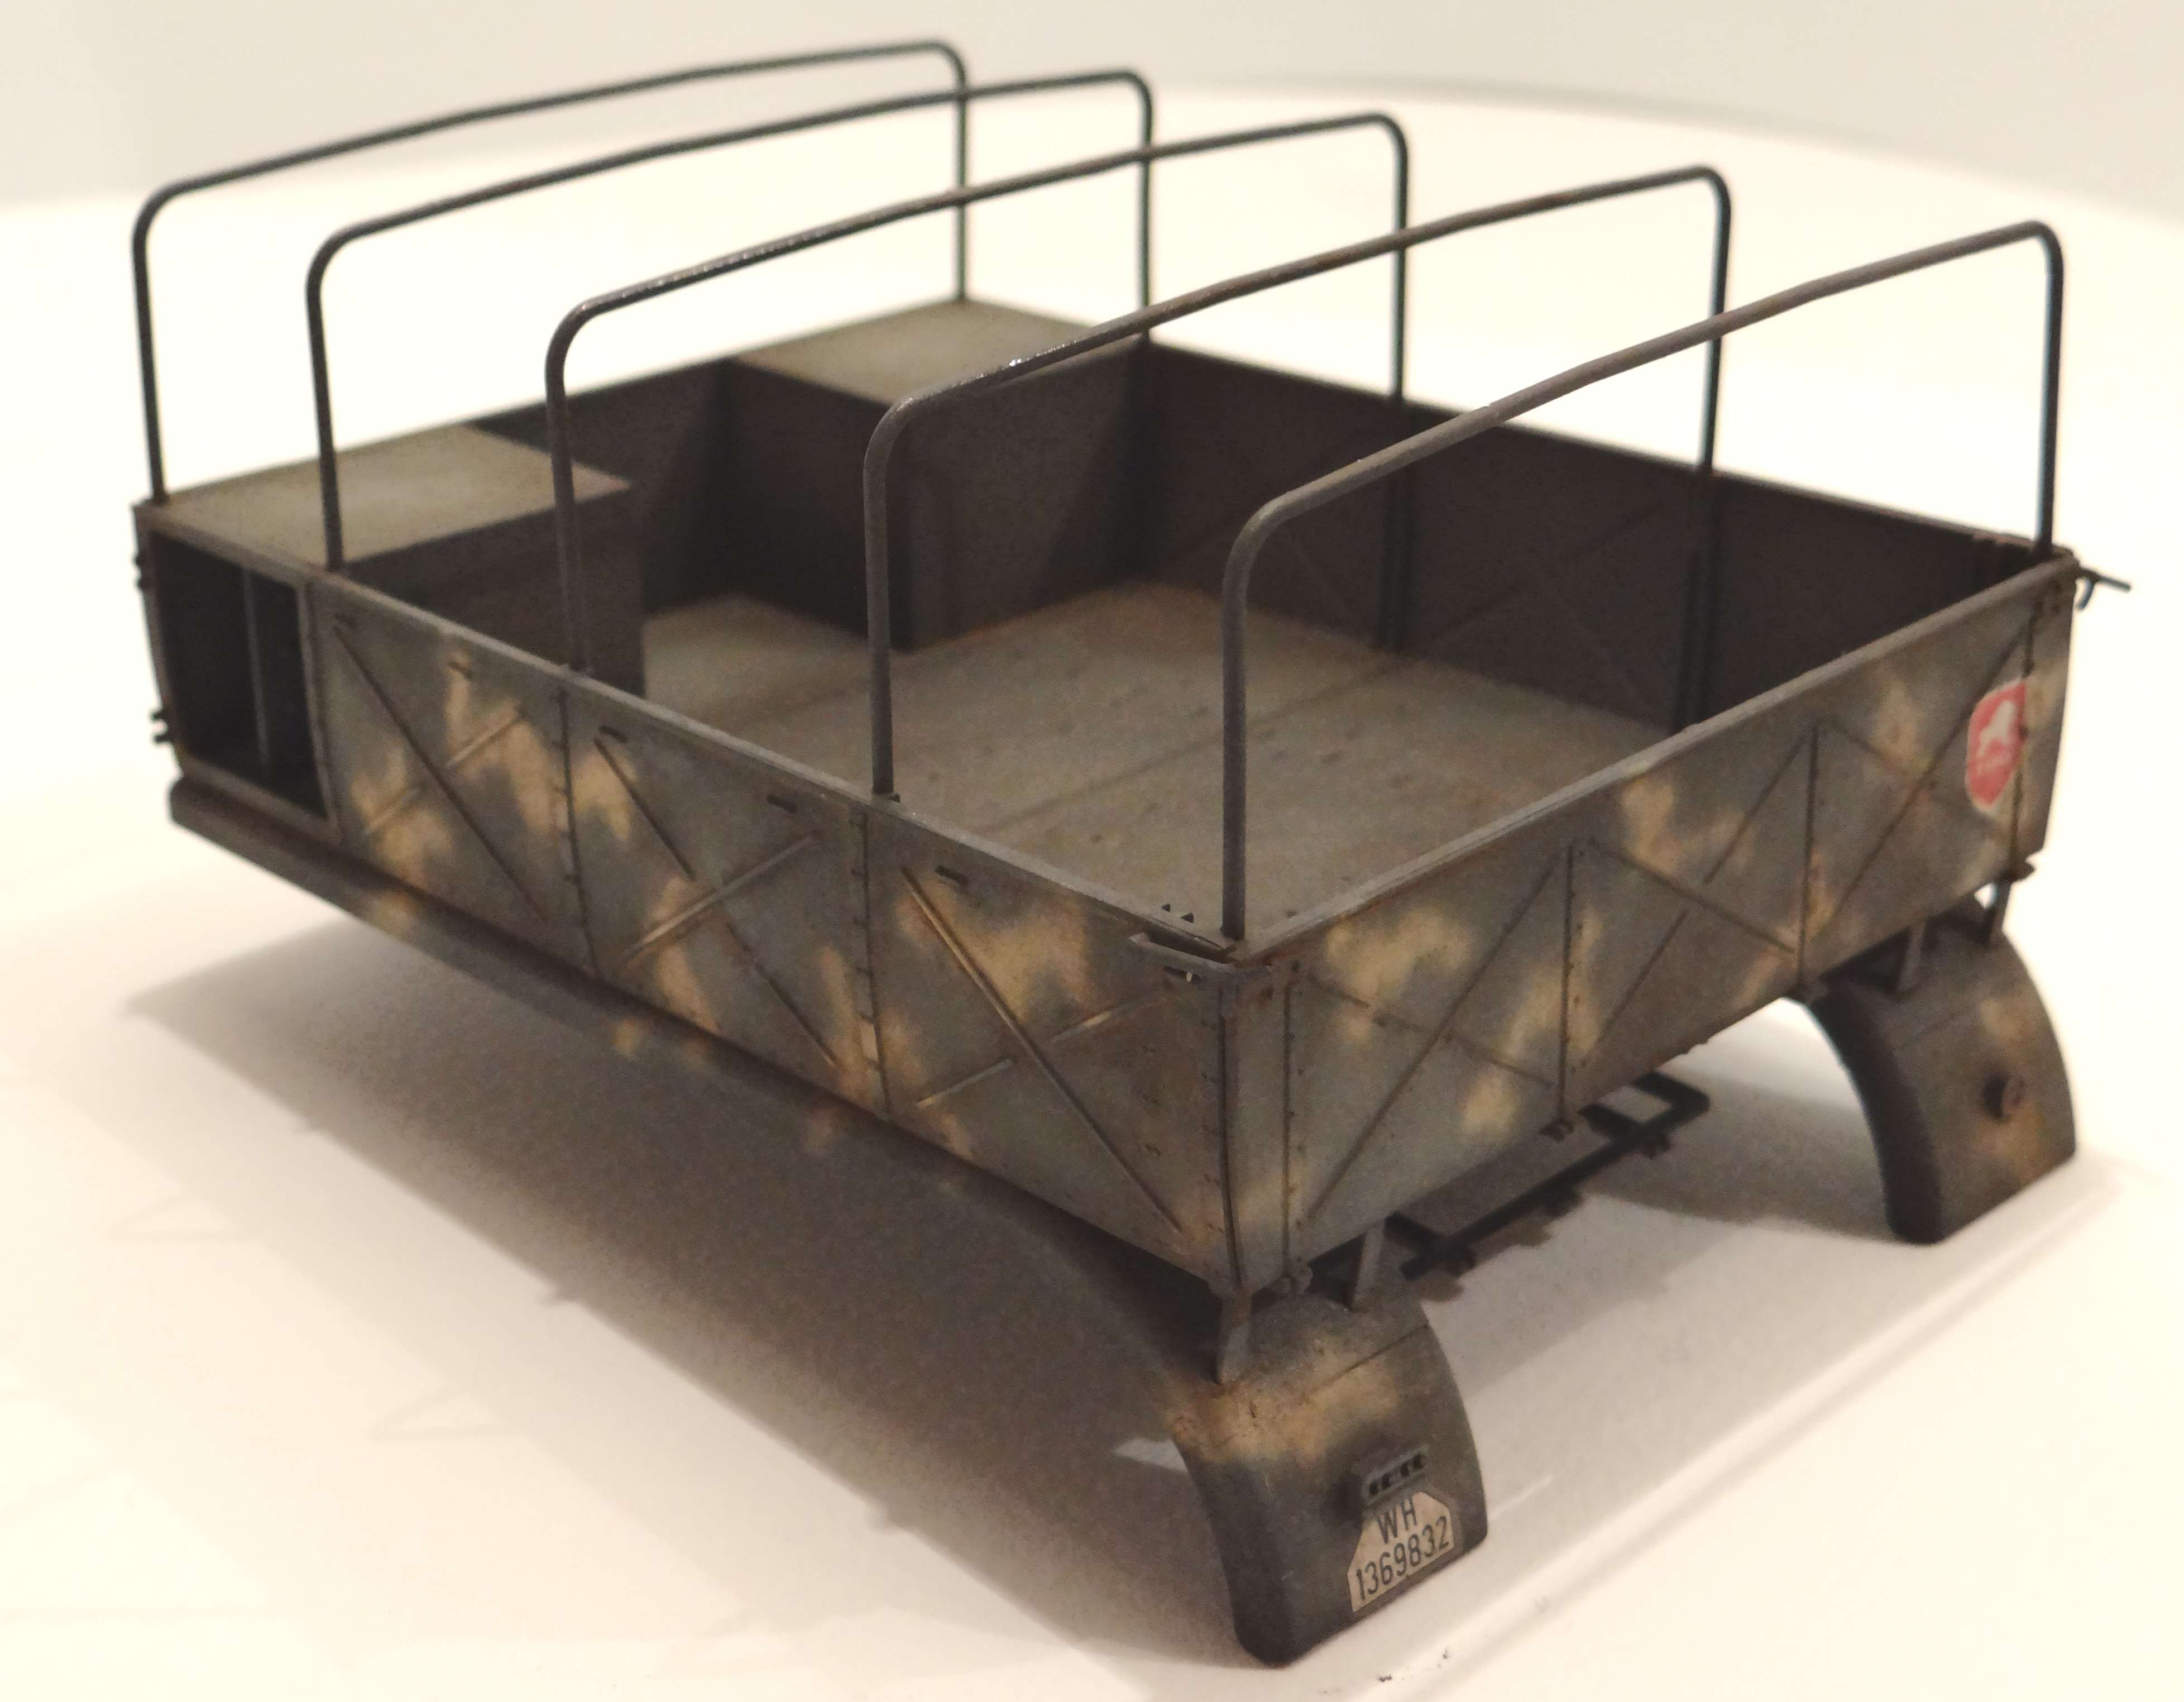
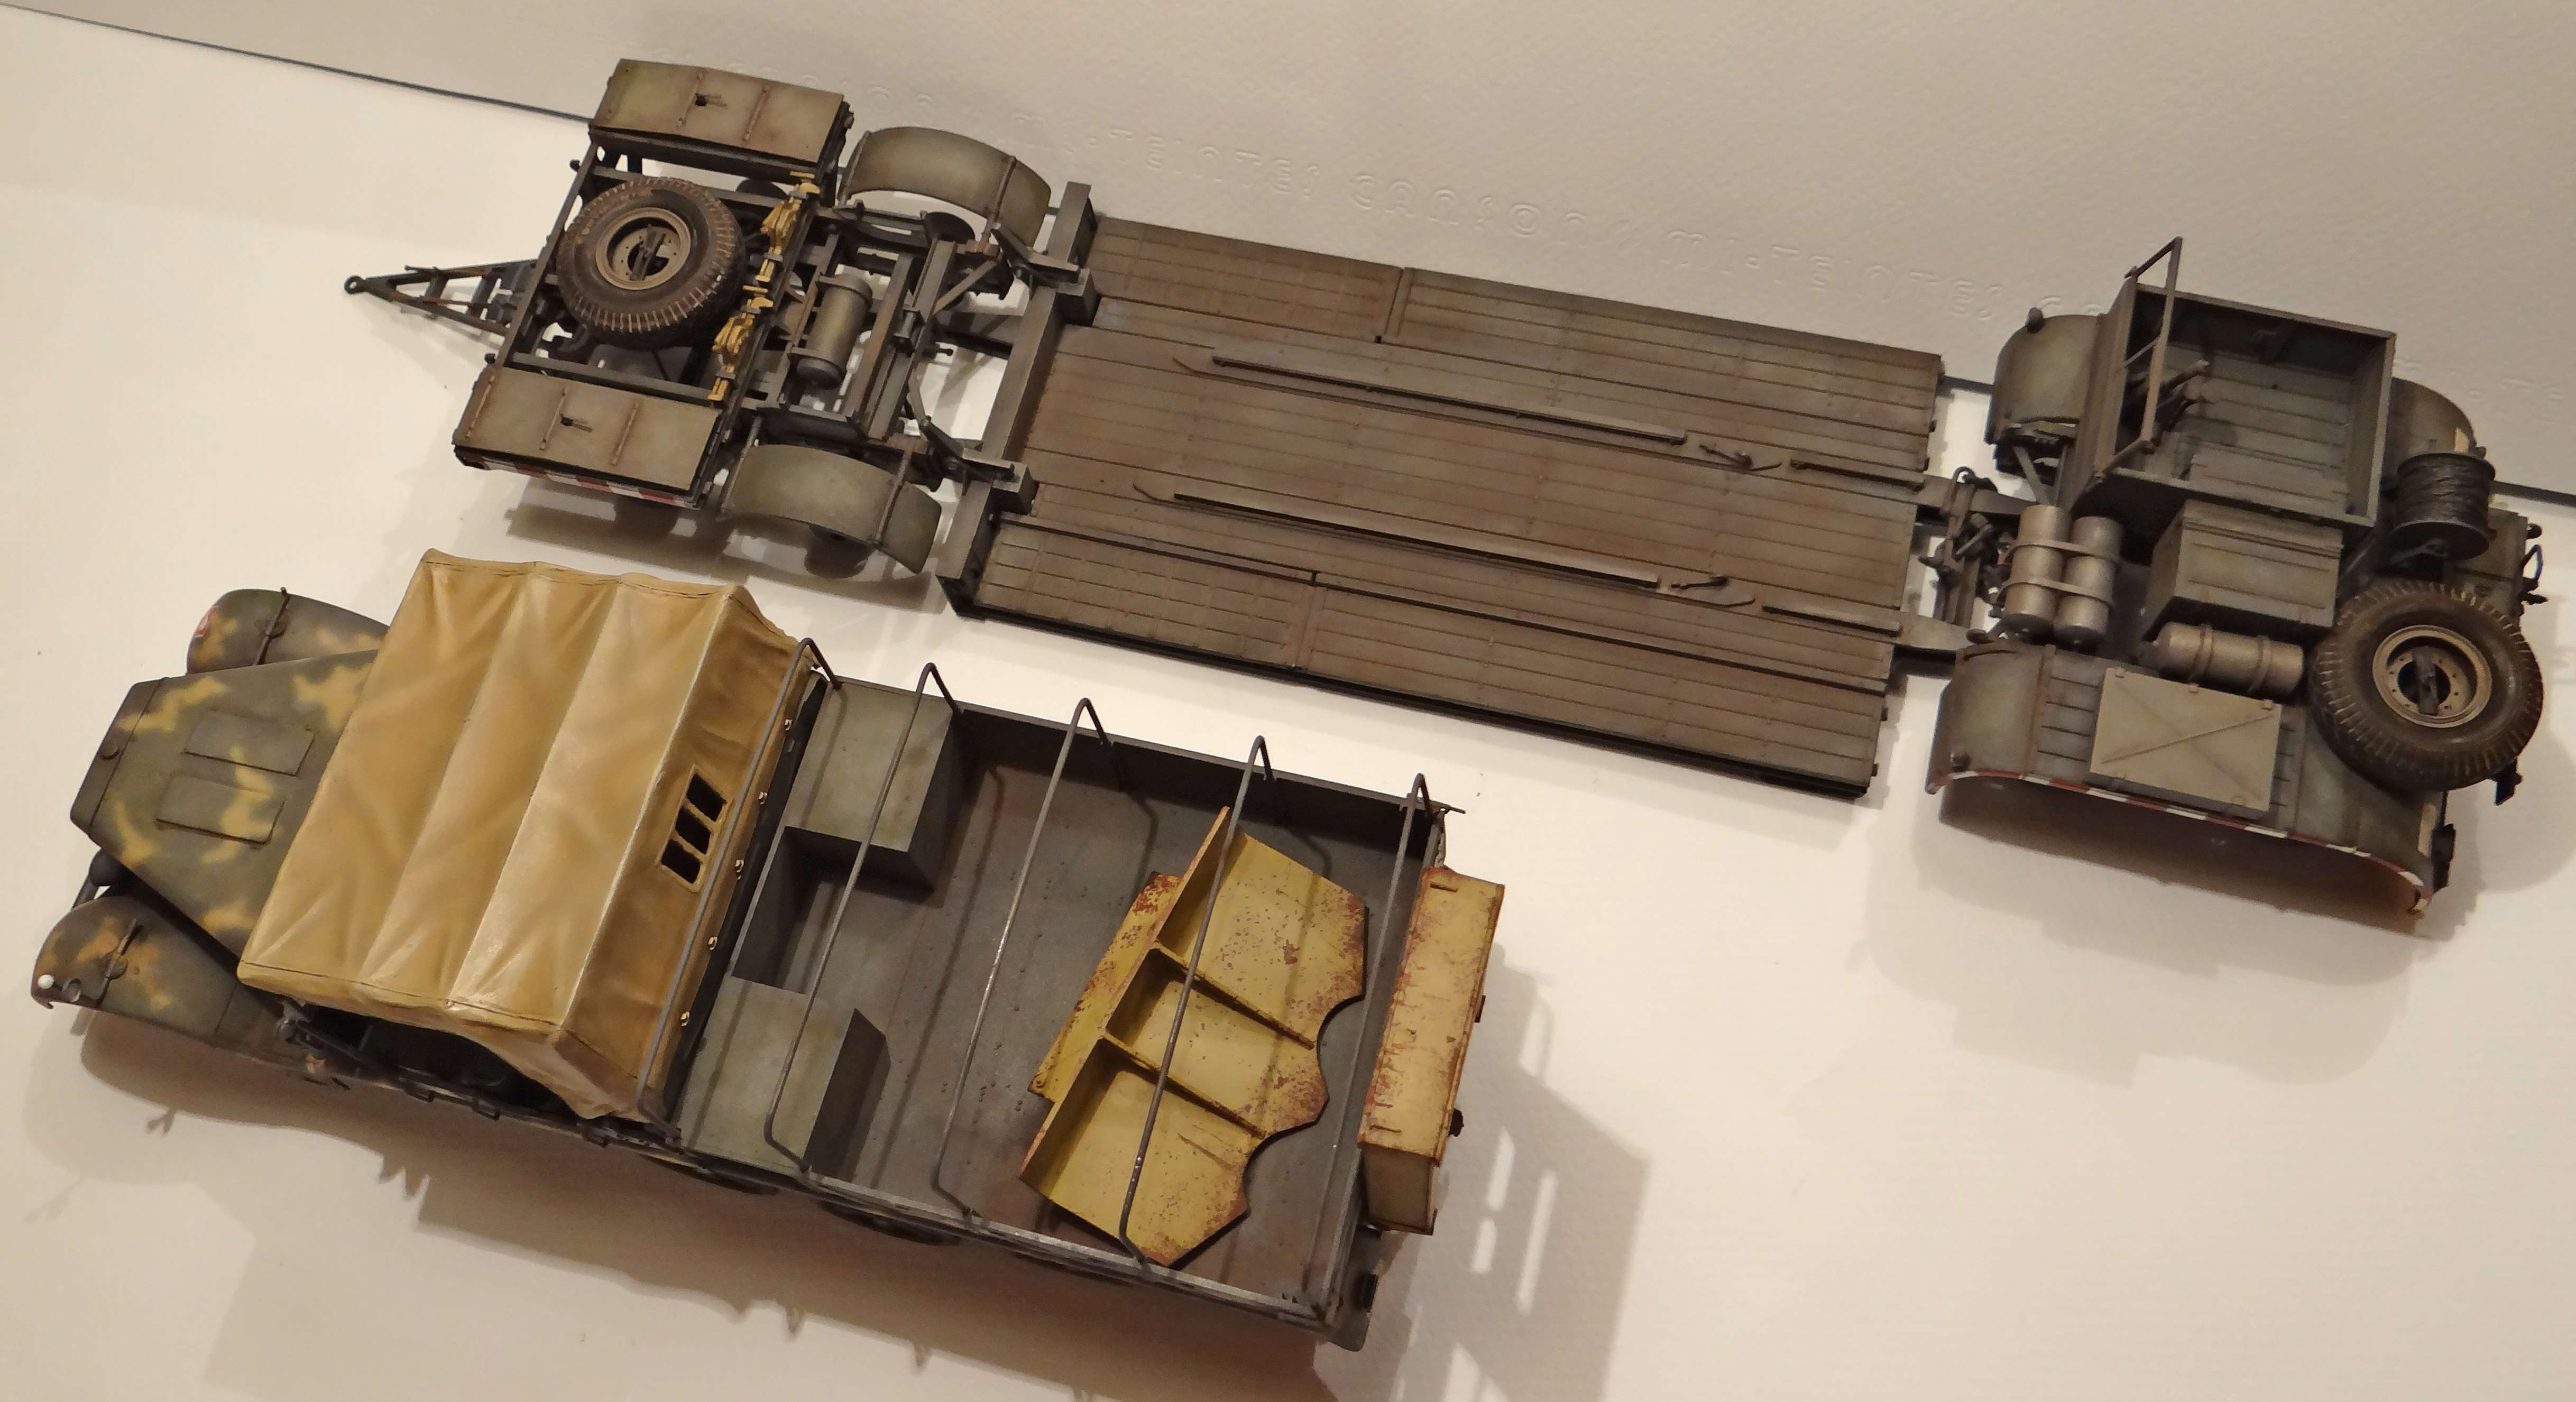
Famo build:
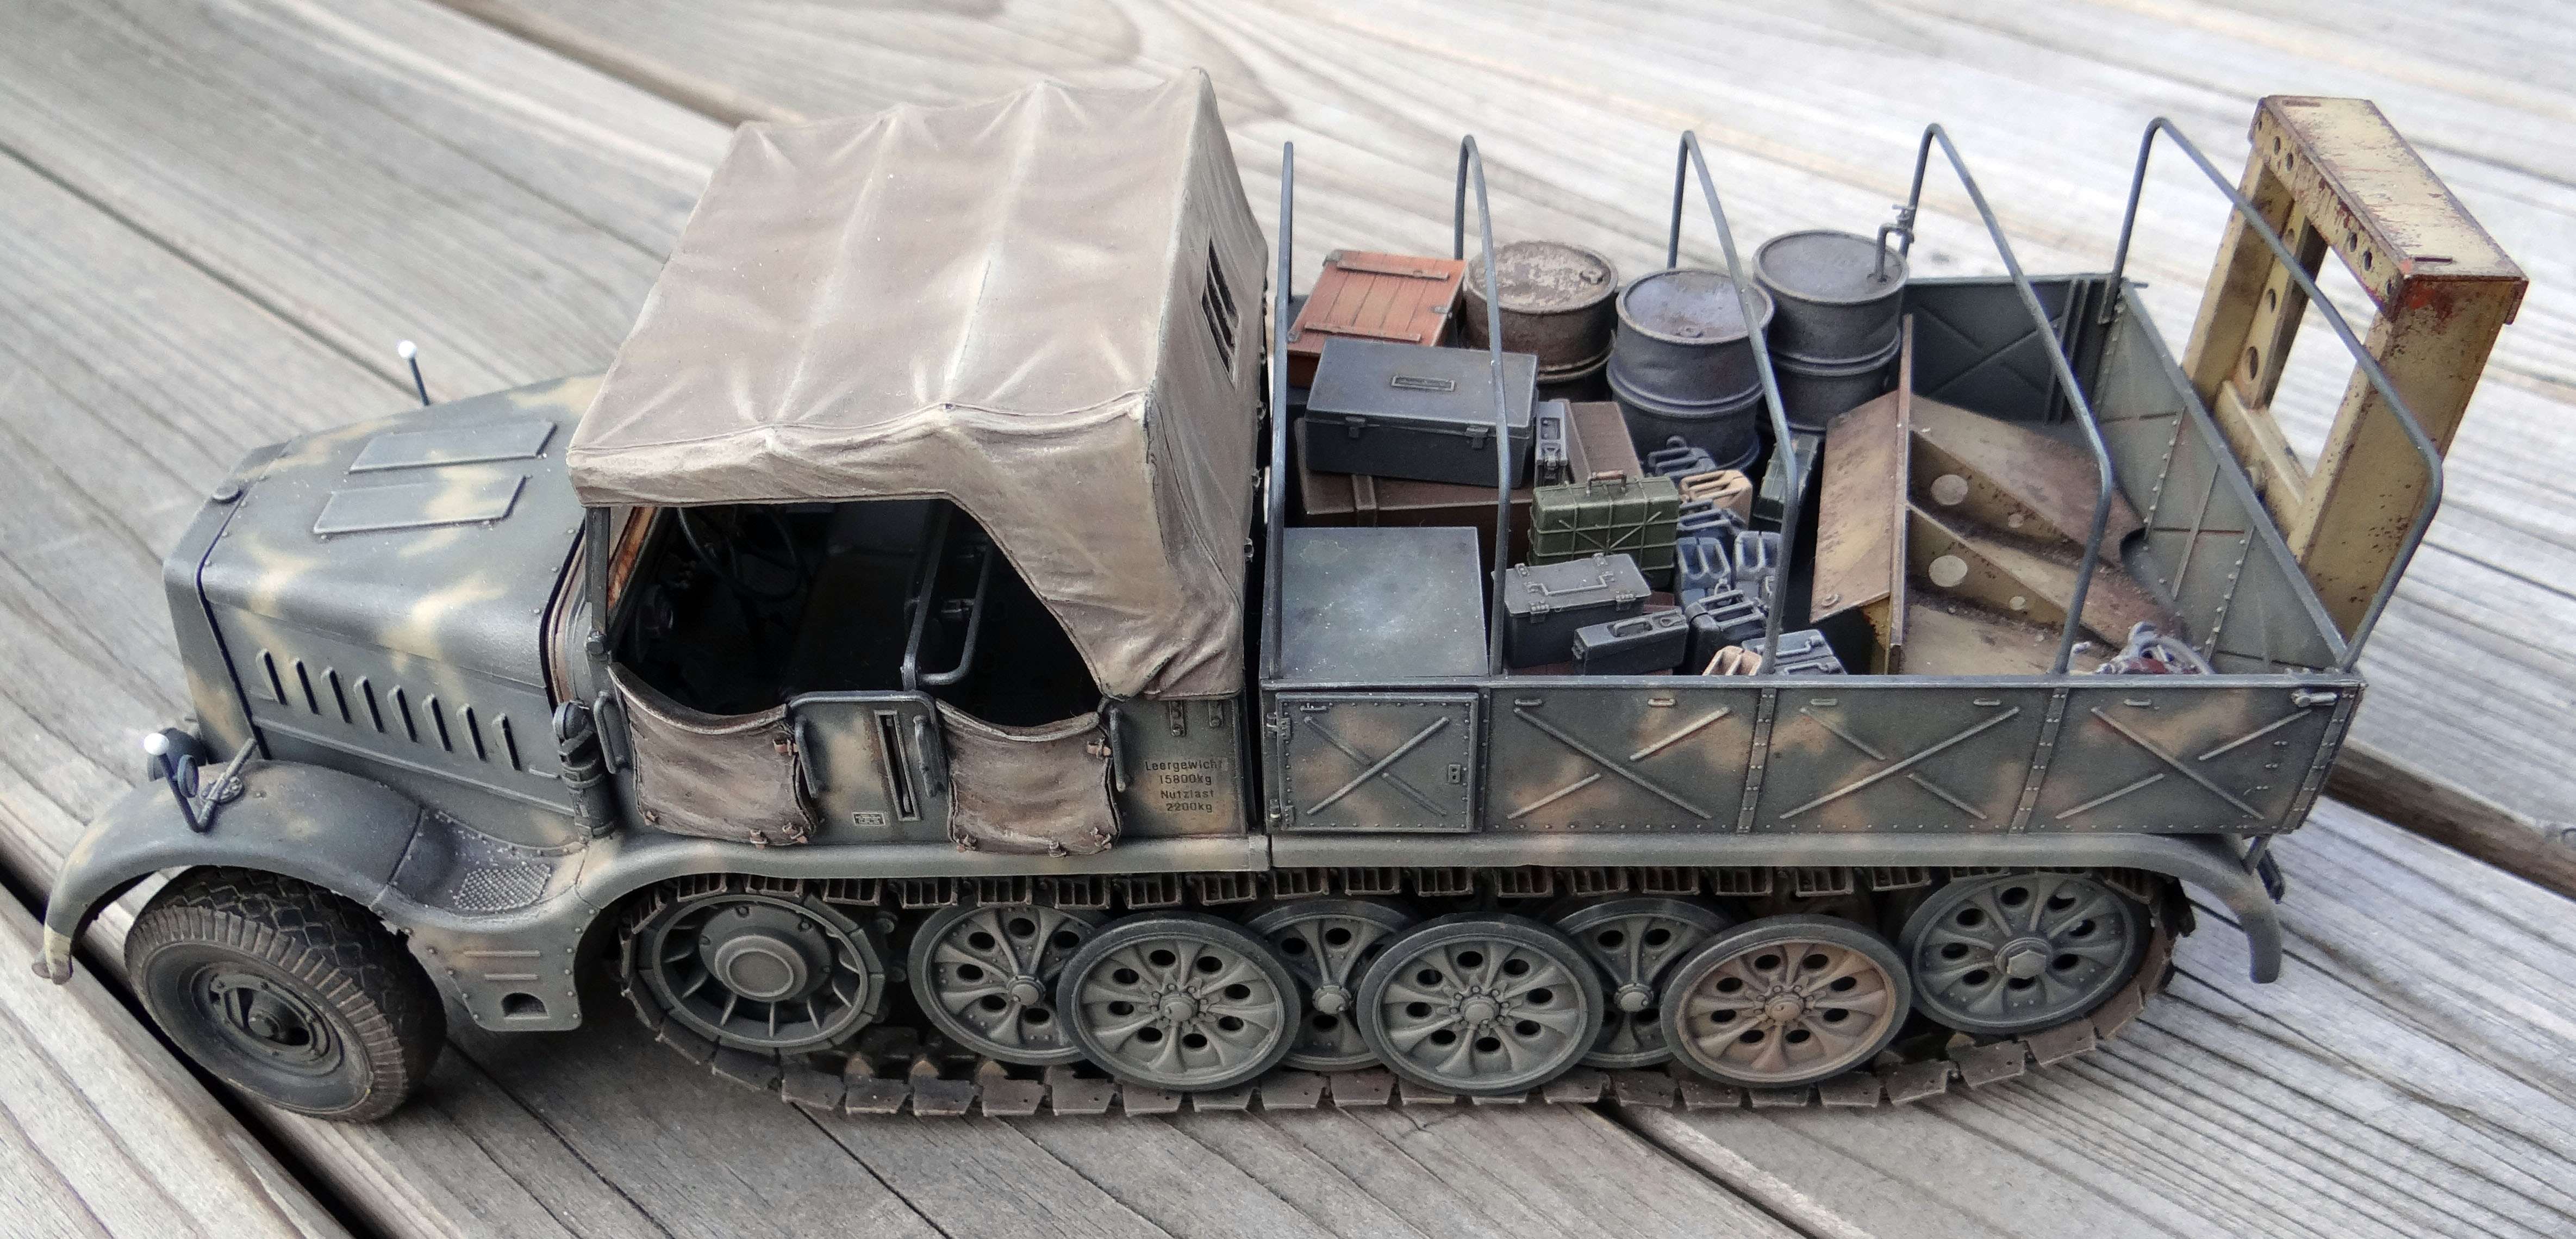
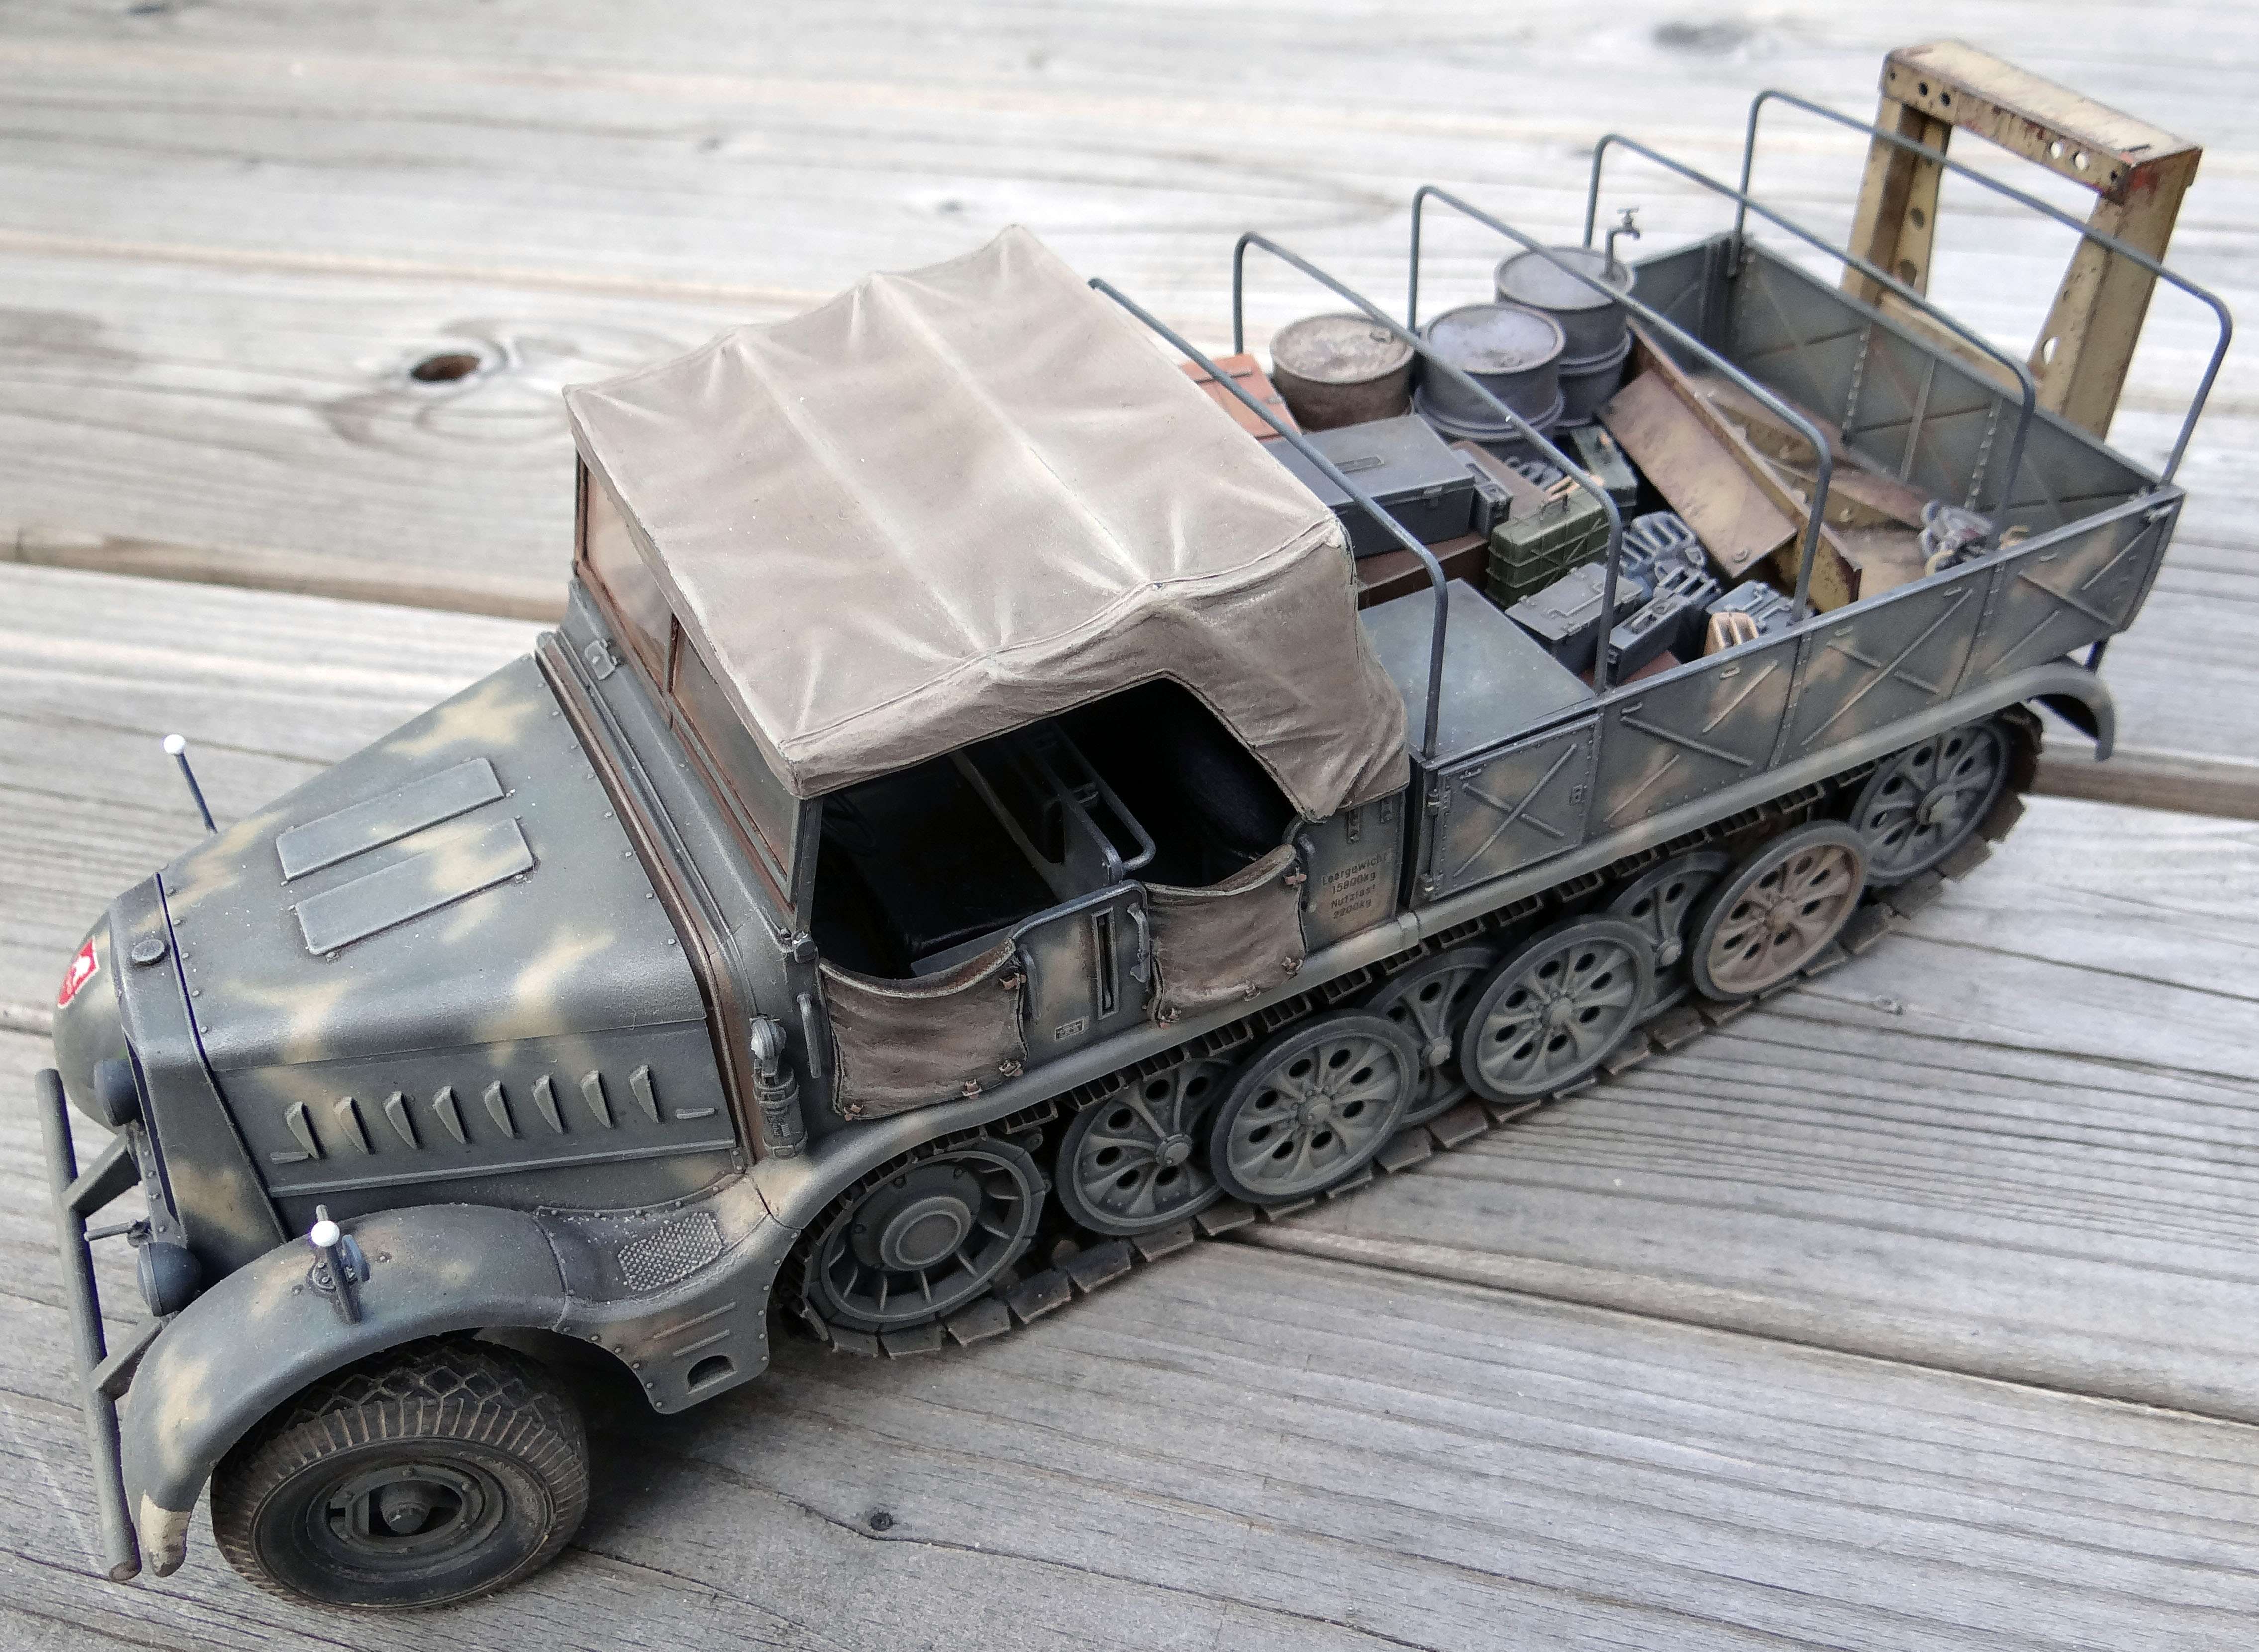
Panzergrey is made by mixing Tamiya XF18, XF55 en XF70 in a ratio of 1:1:2, postshade is made by adding XF15. The Panzer yellow is “Sail”-color by Gunze.

Panzer III ausf. L (kit # 35215): the build:
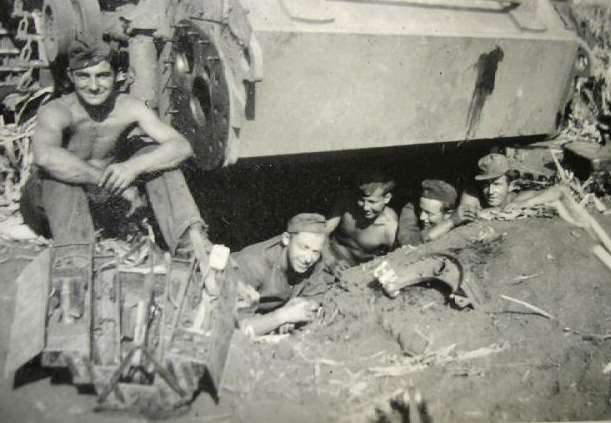
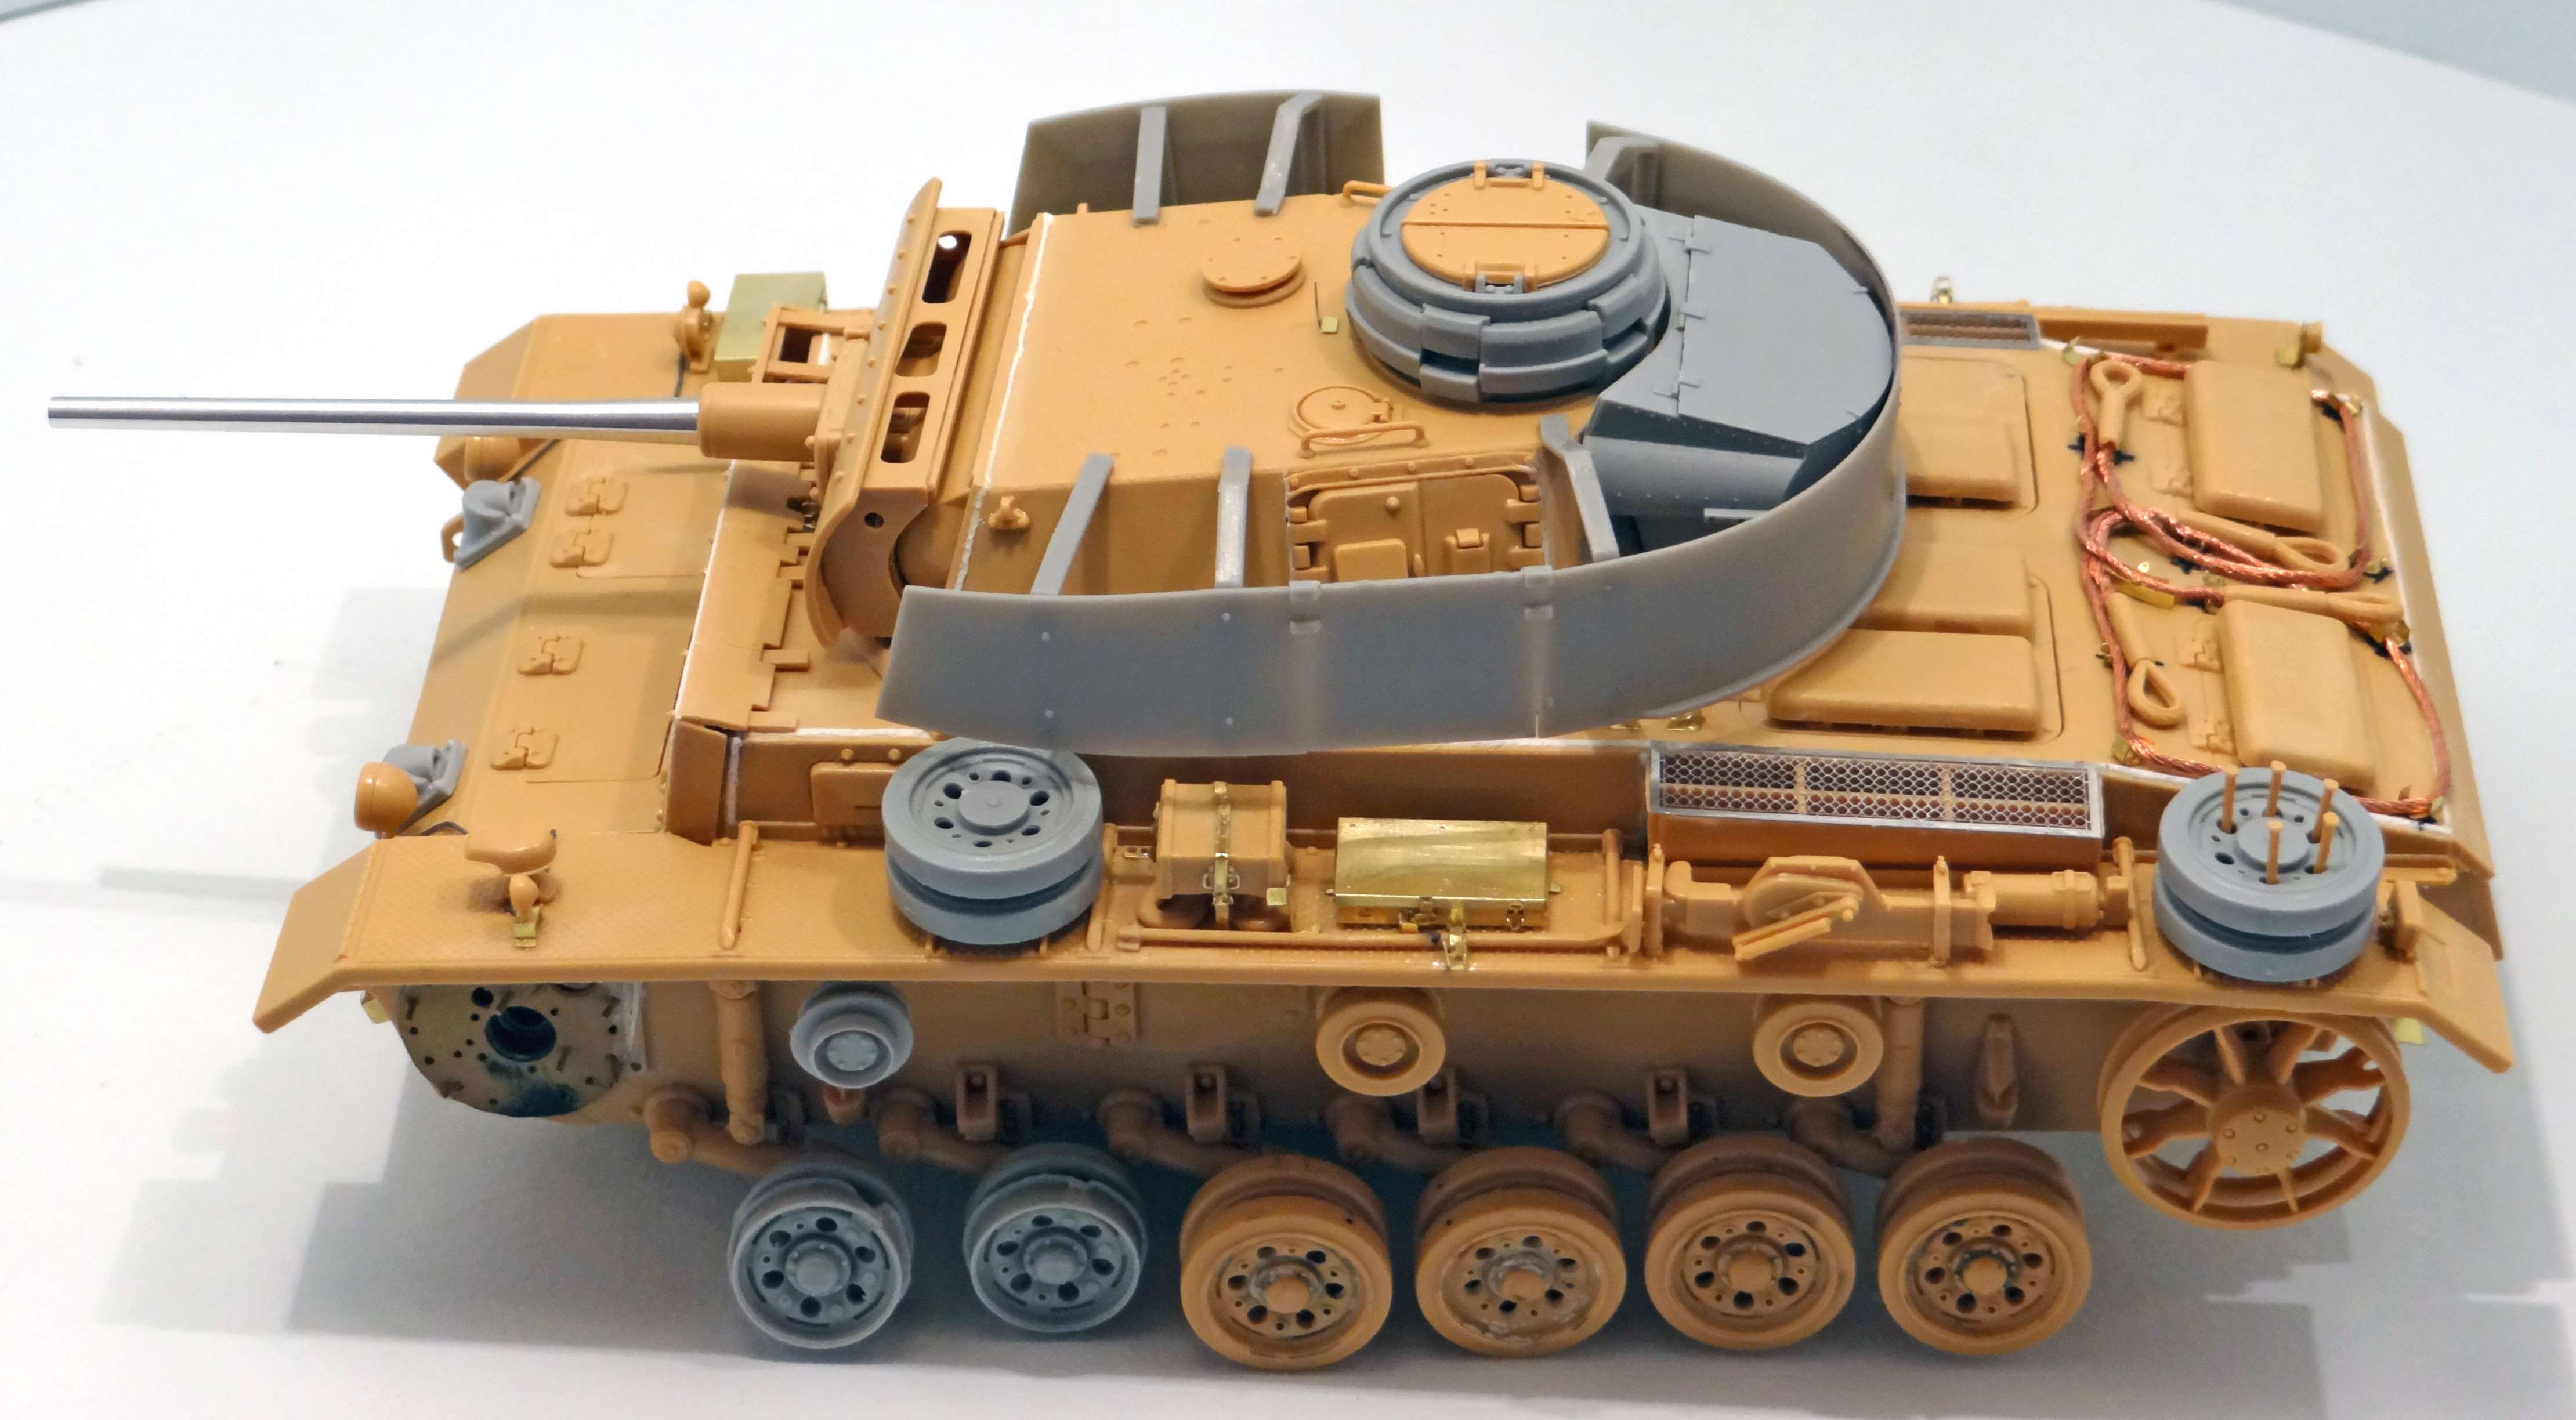
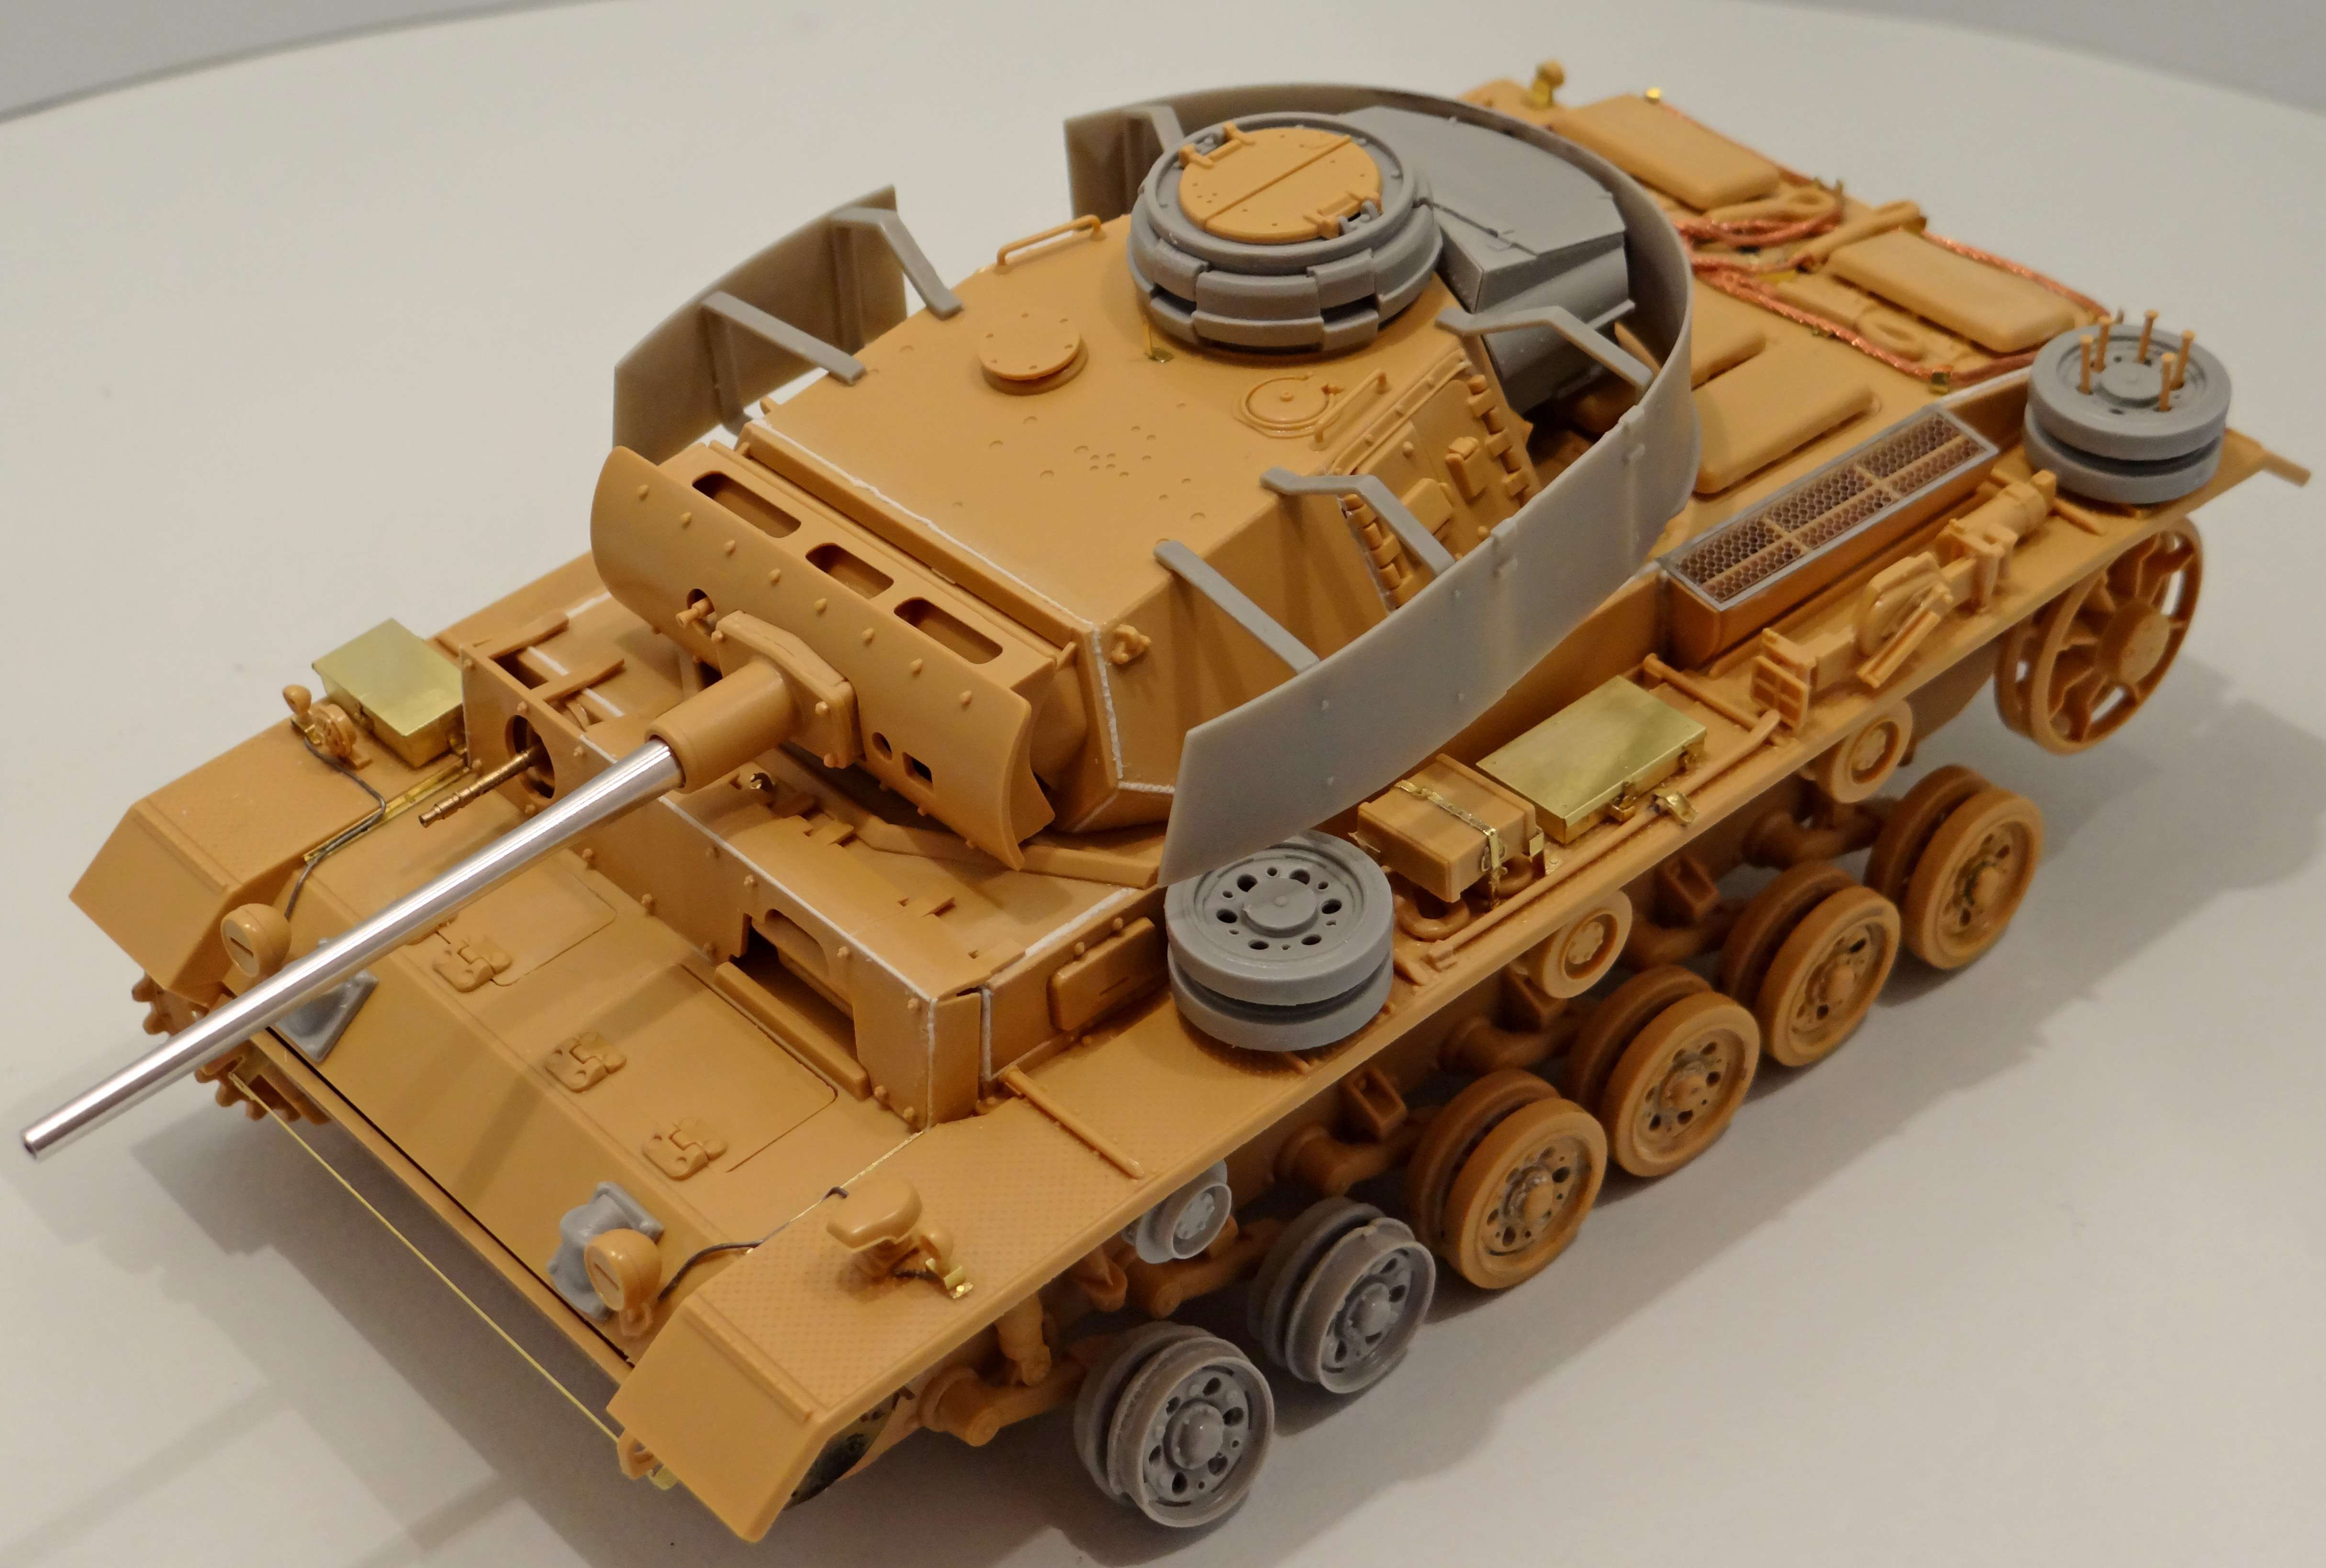
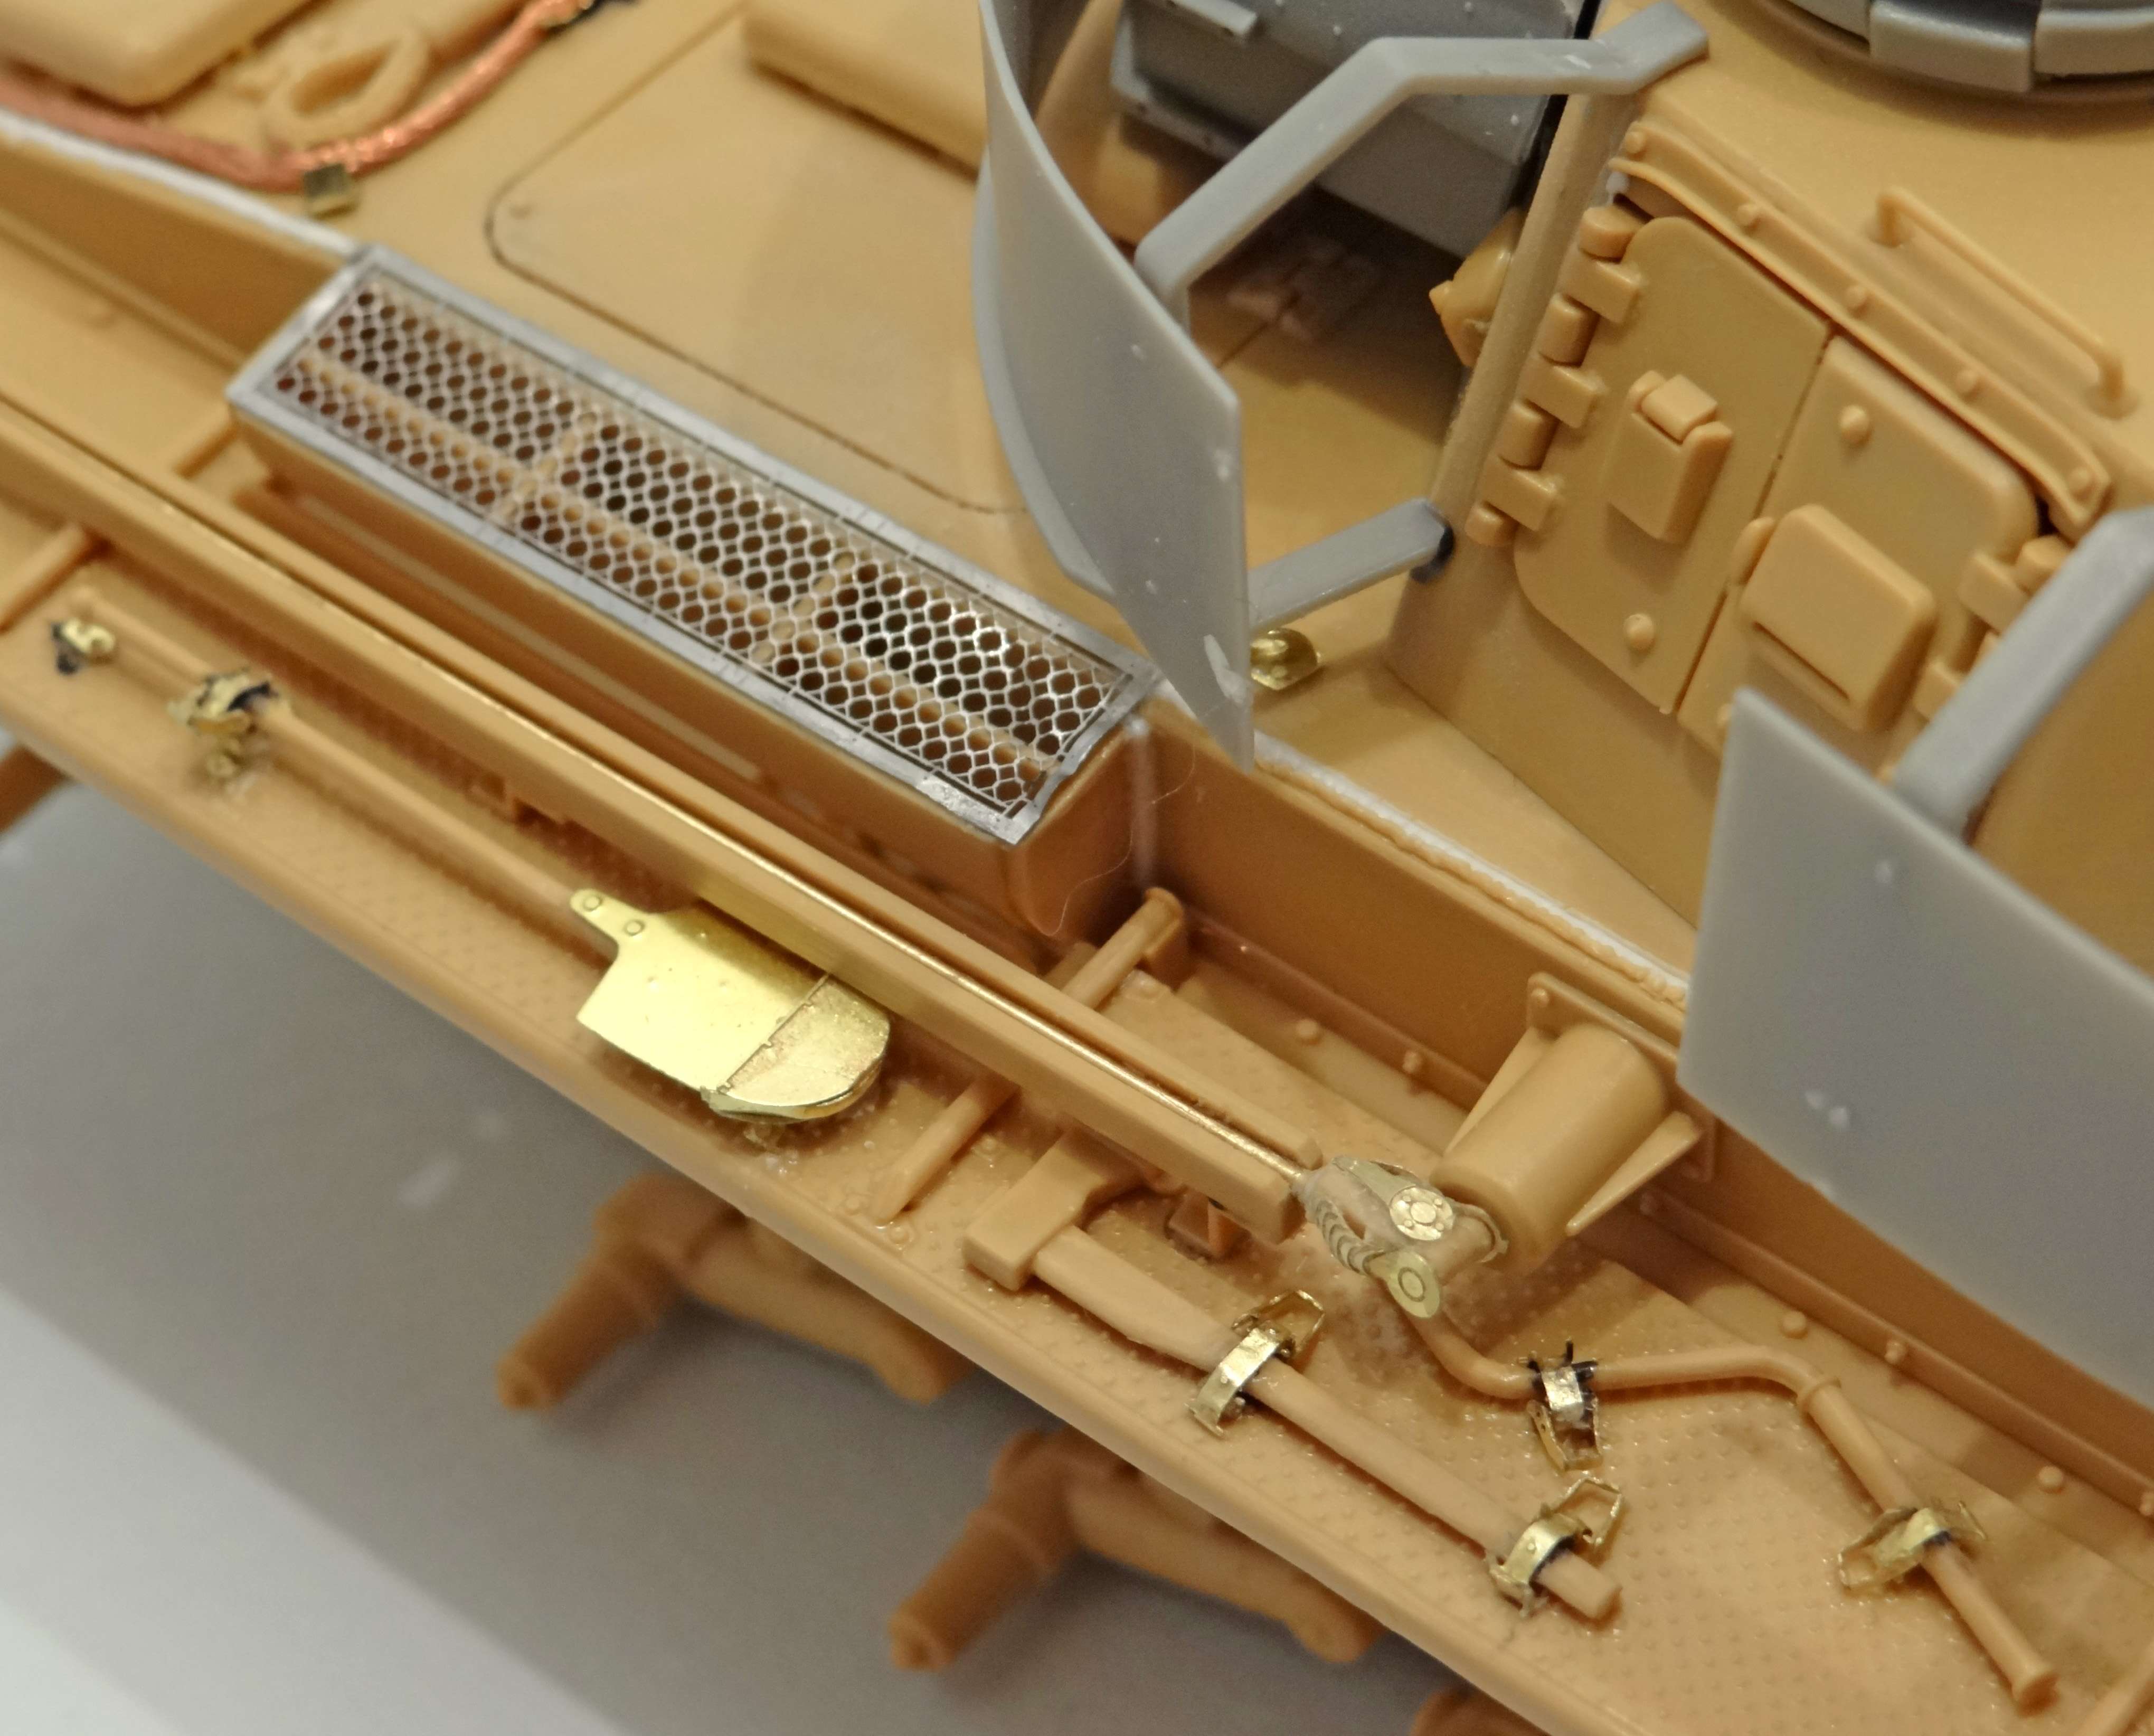
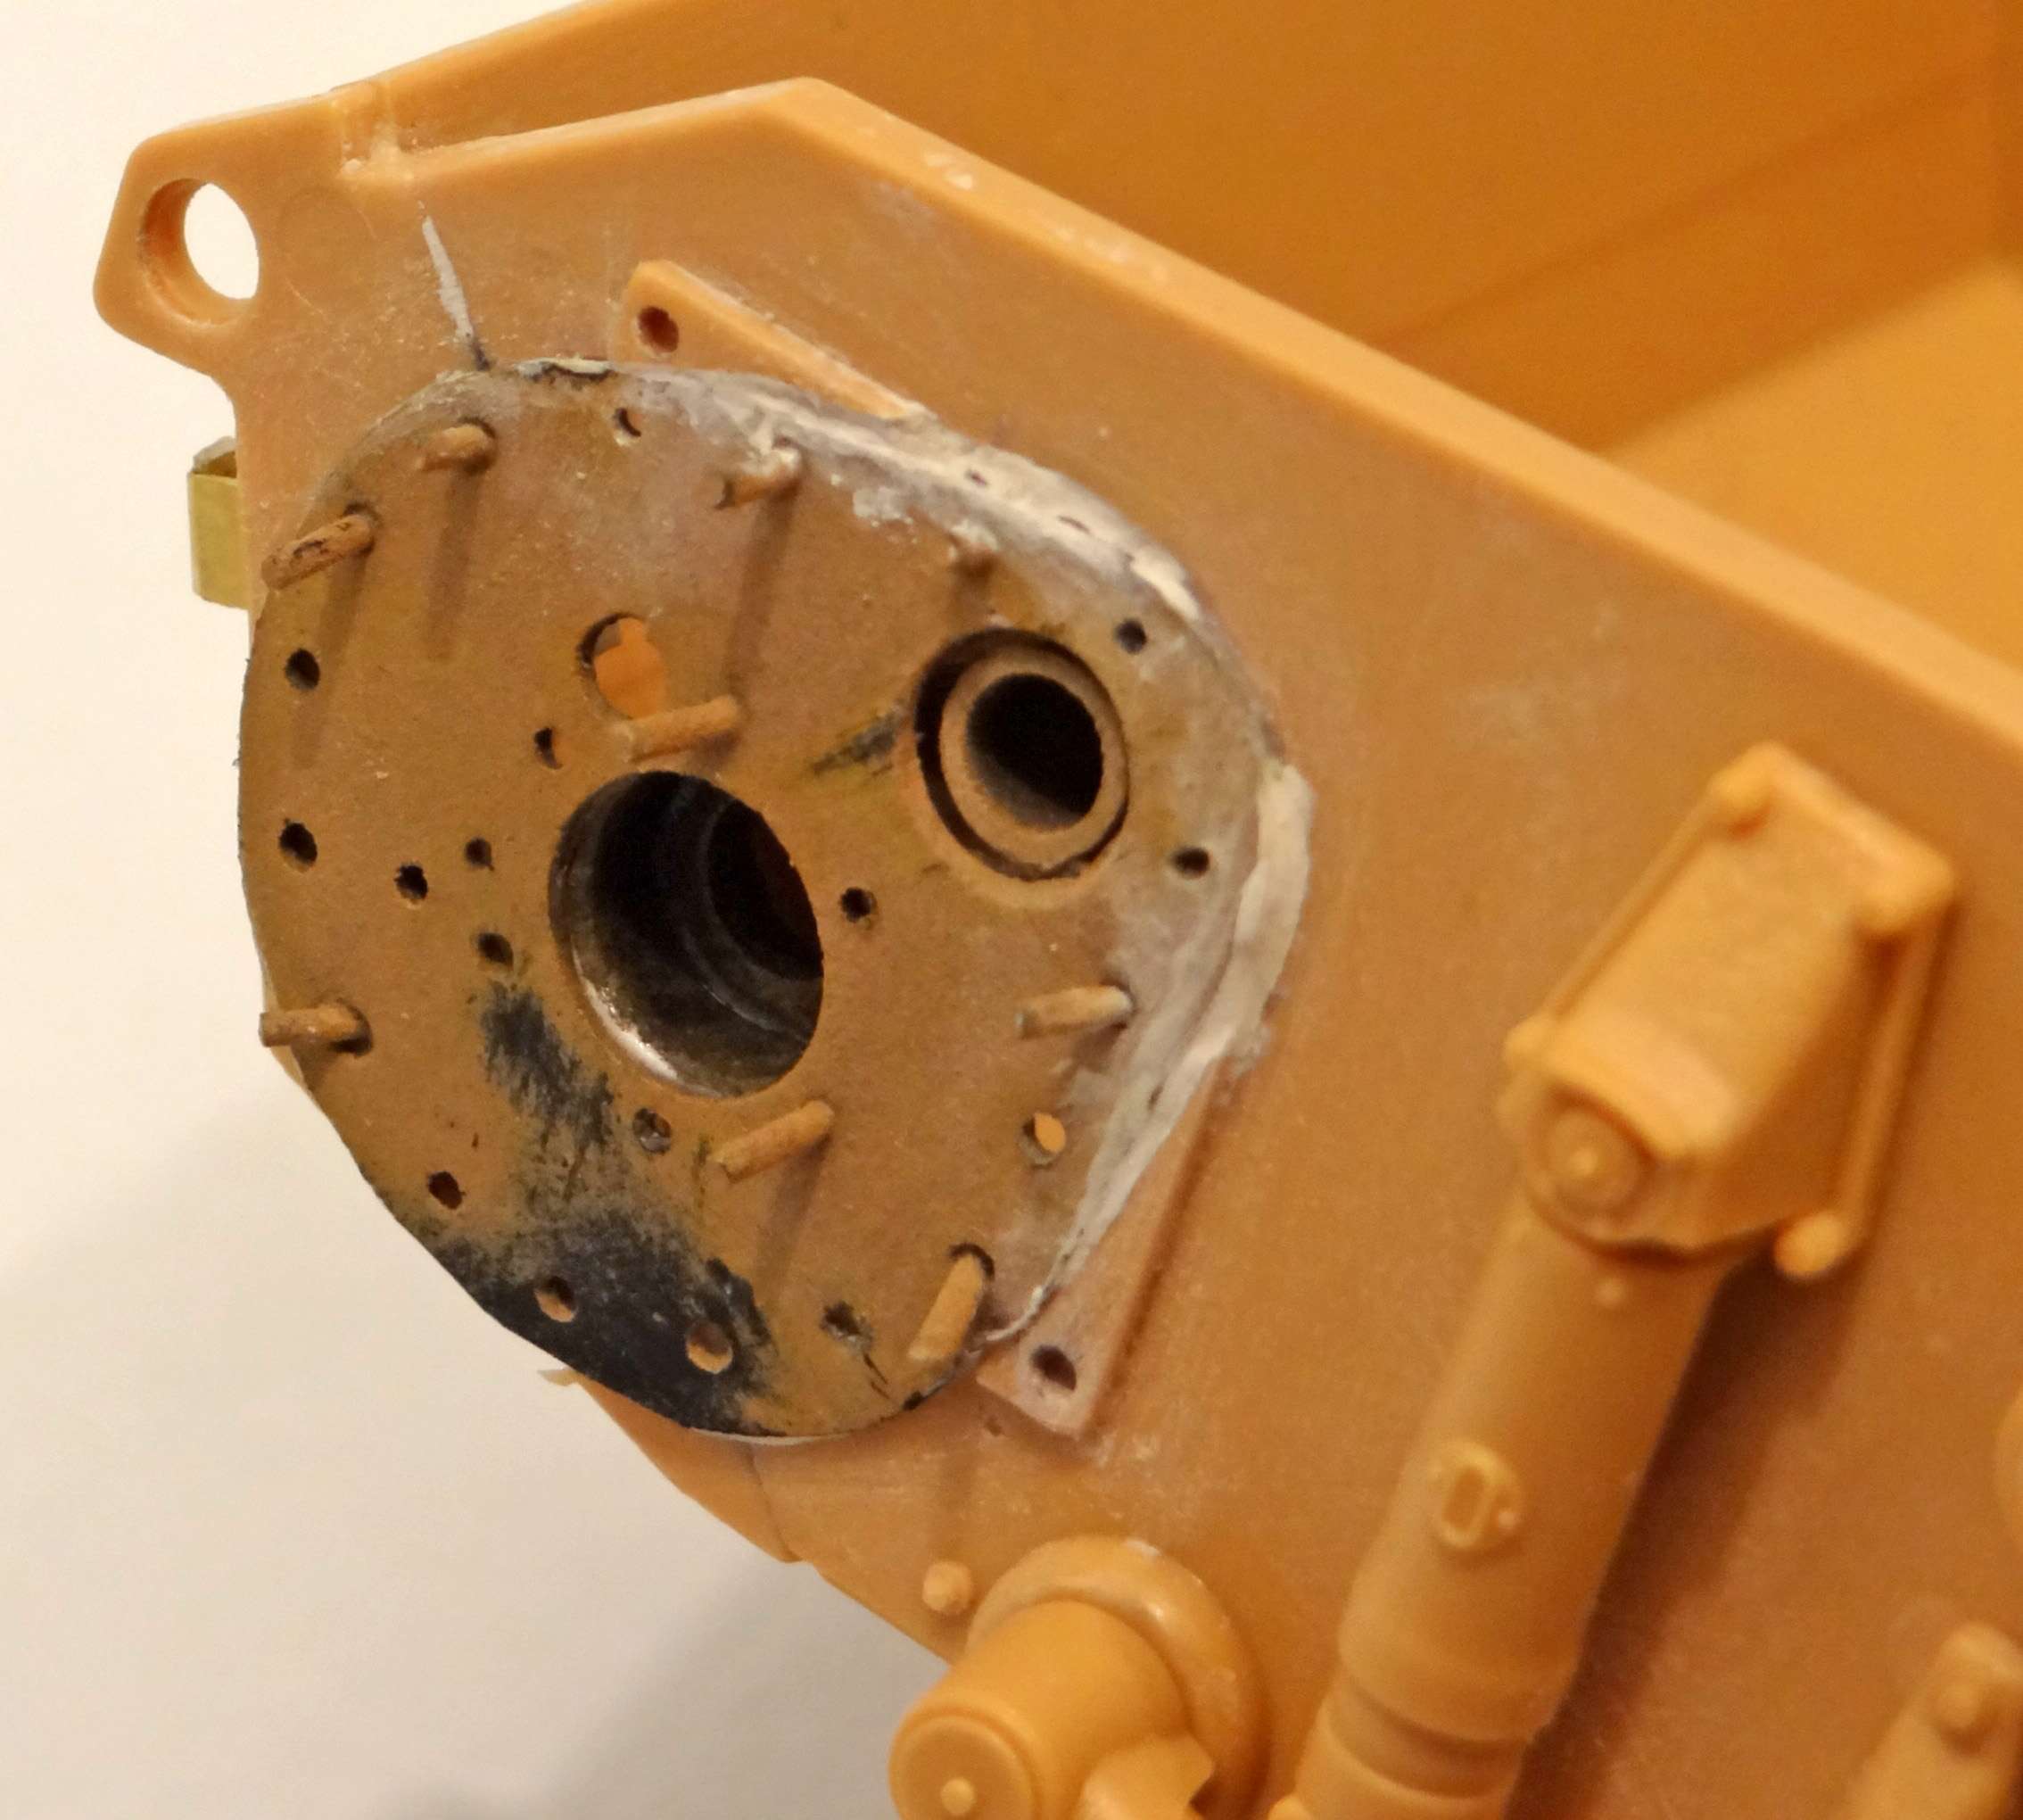
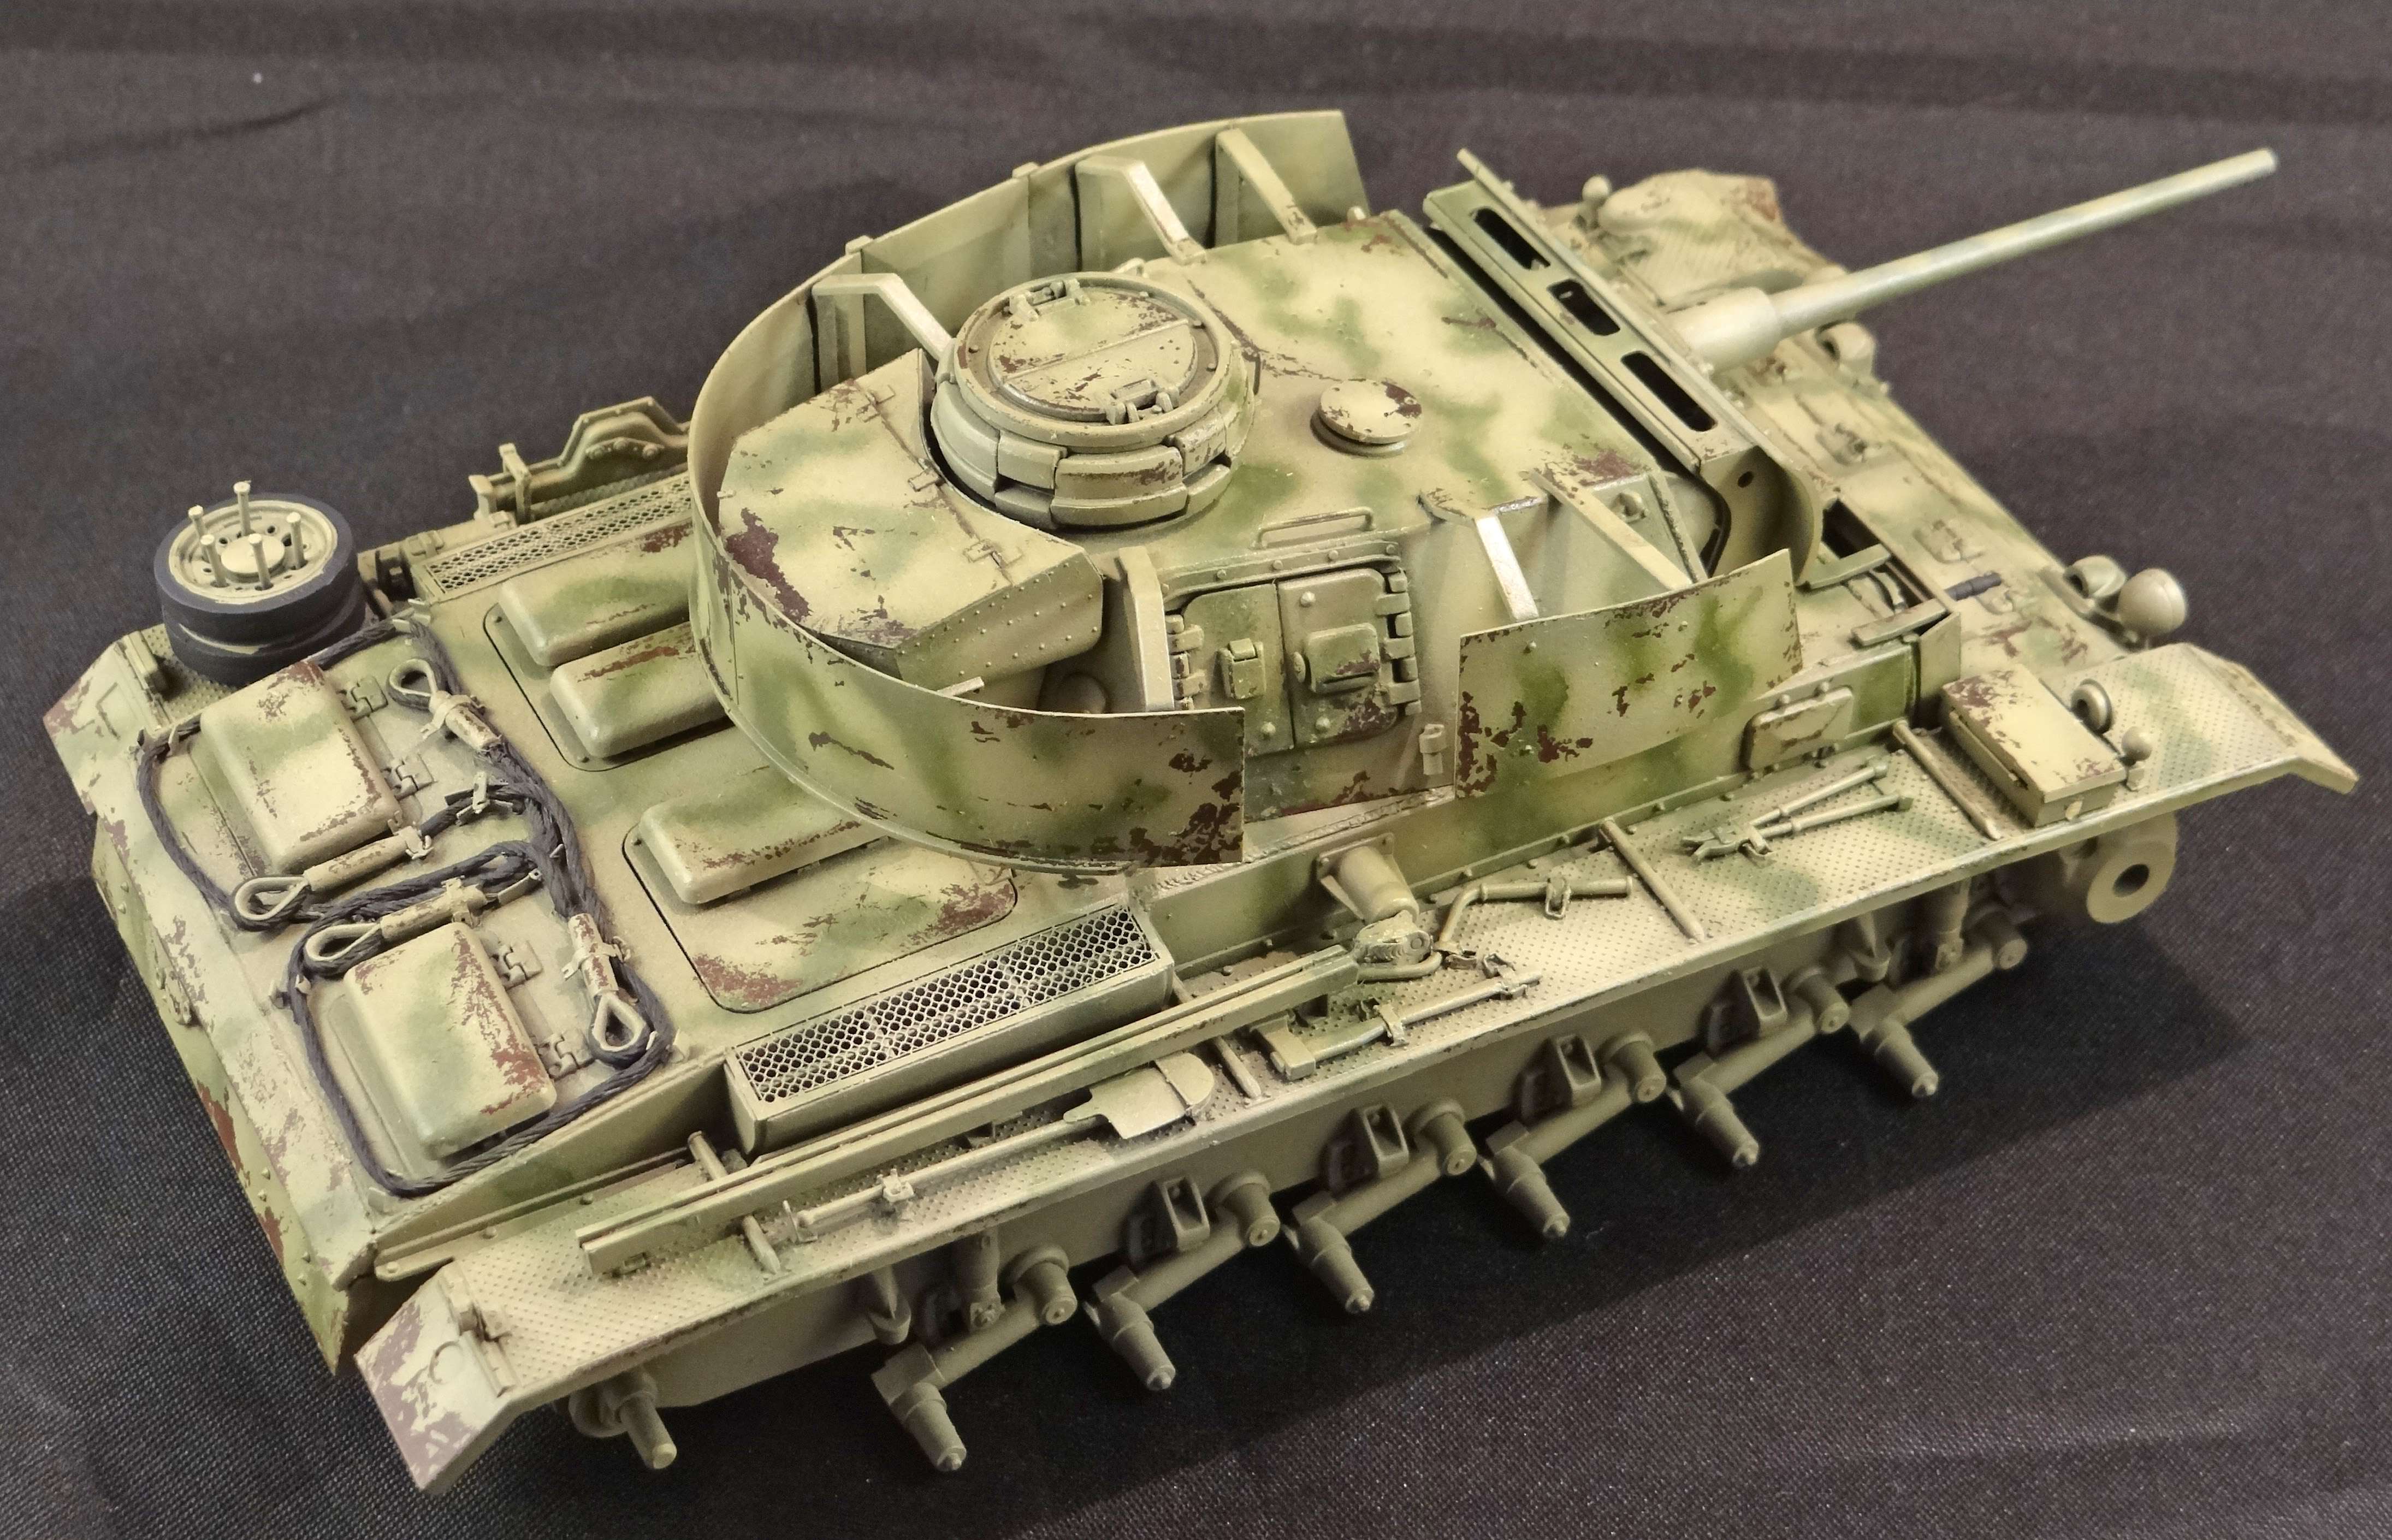
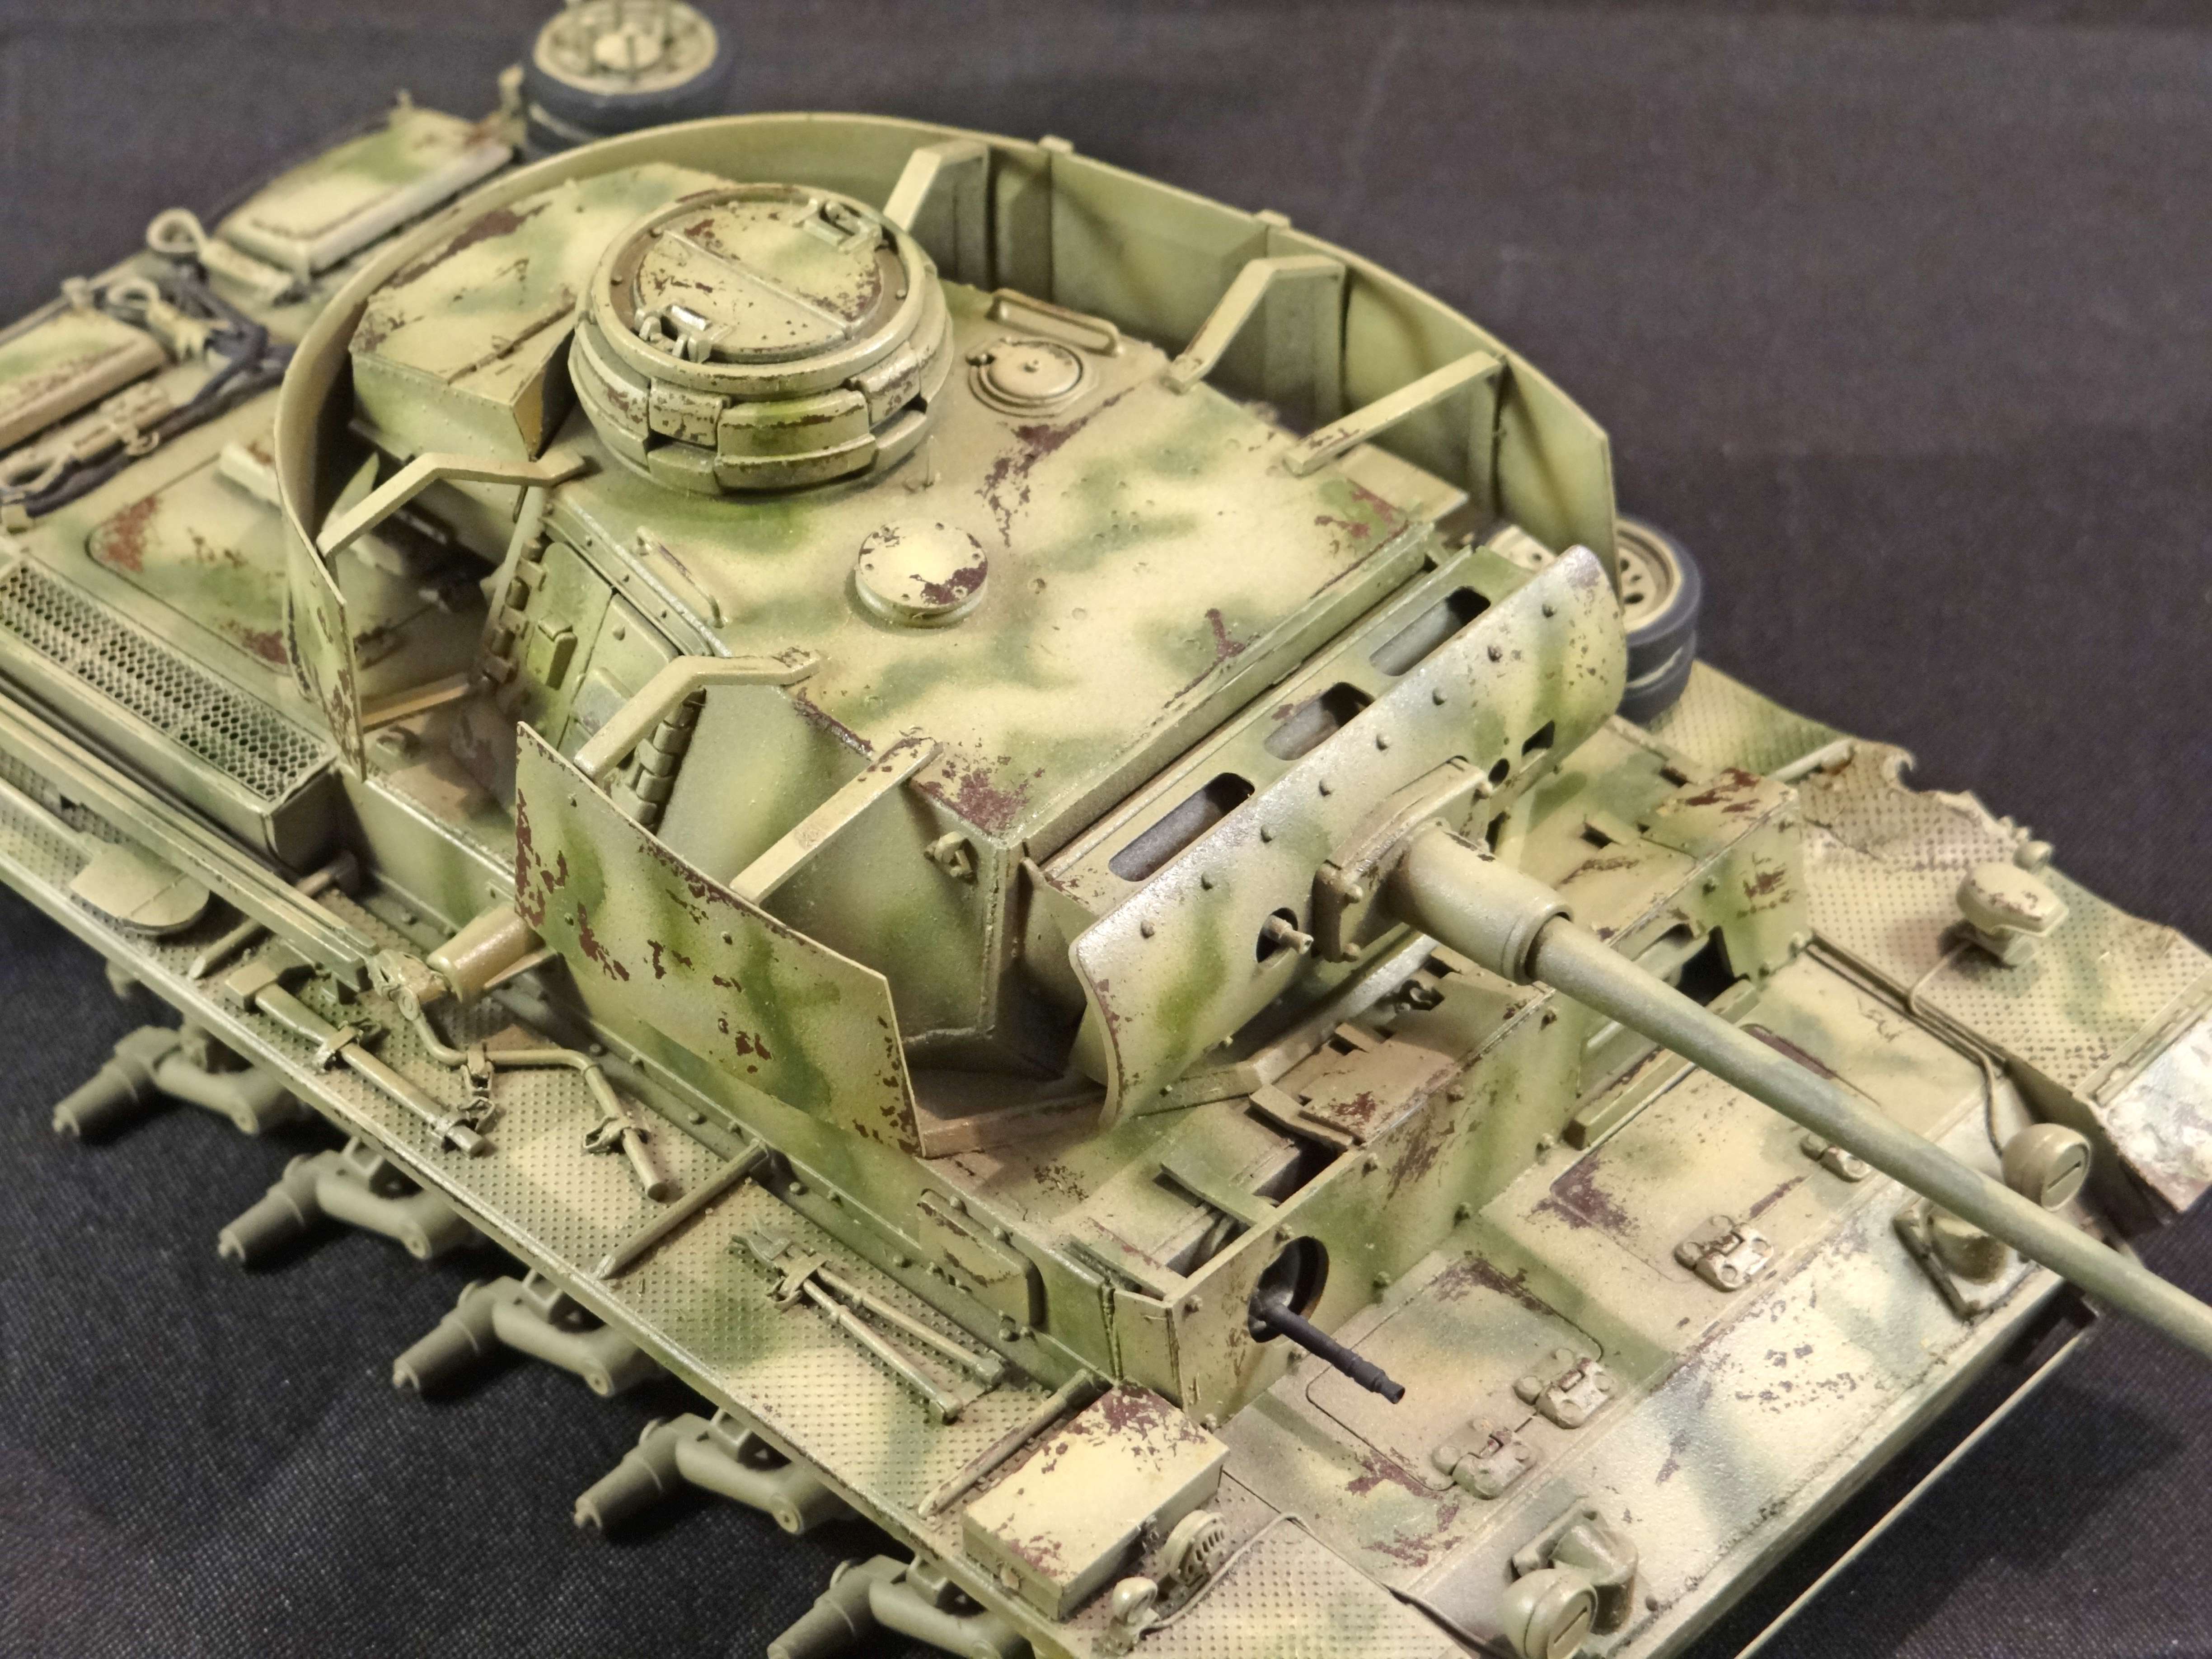
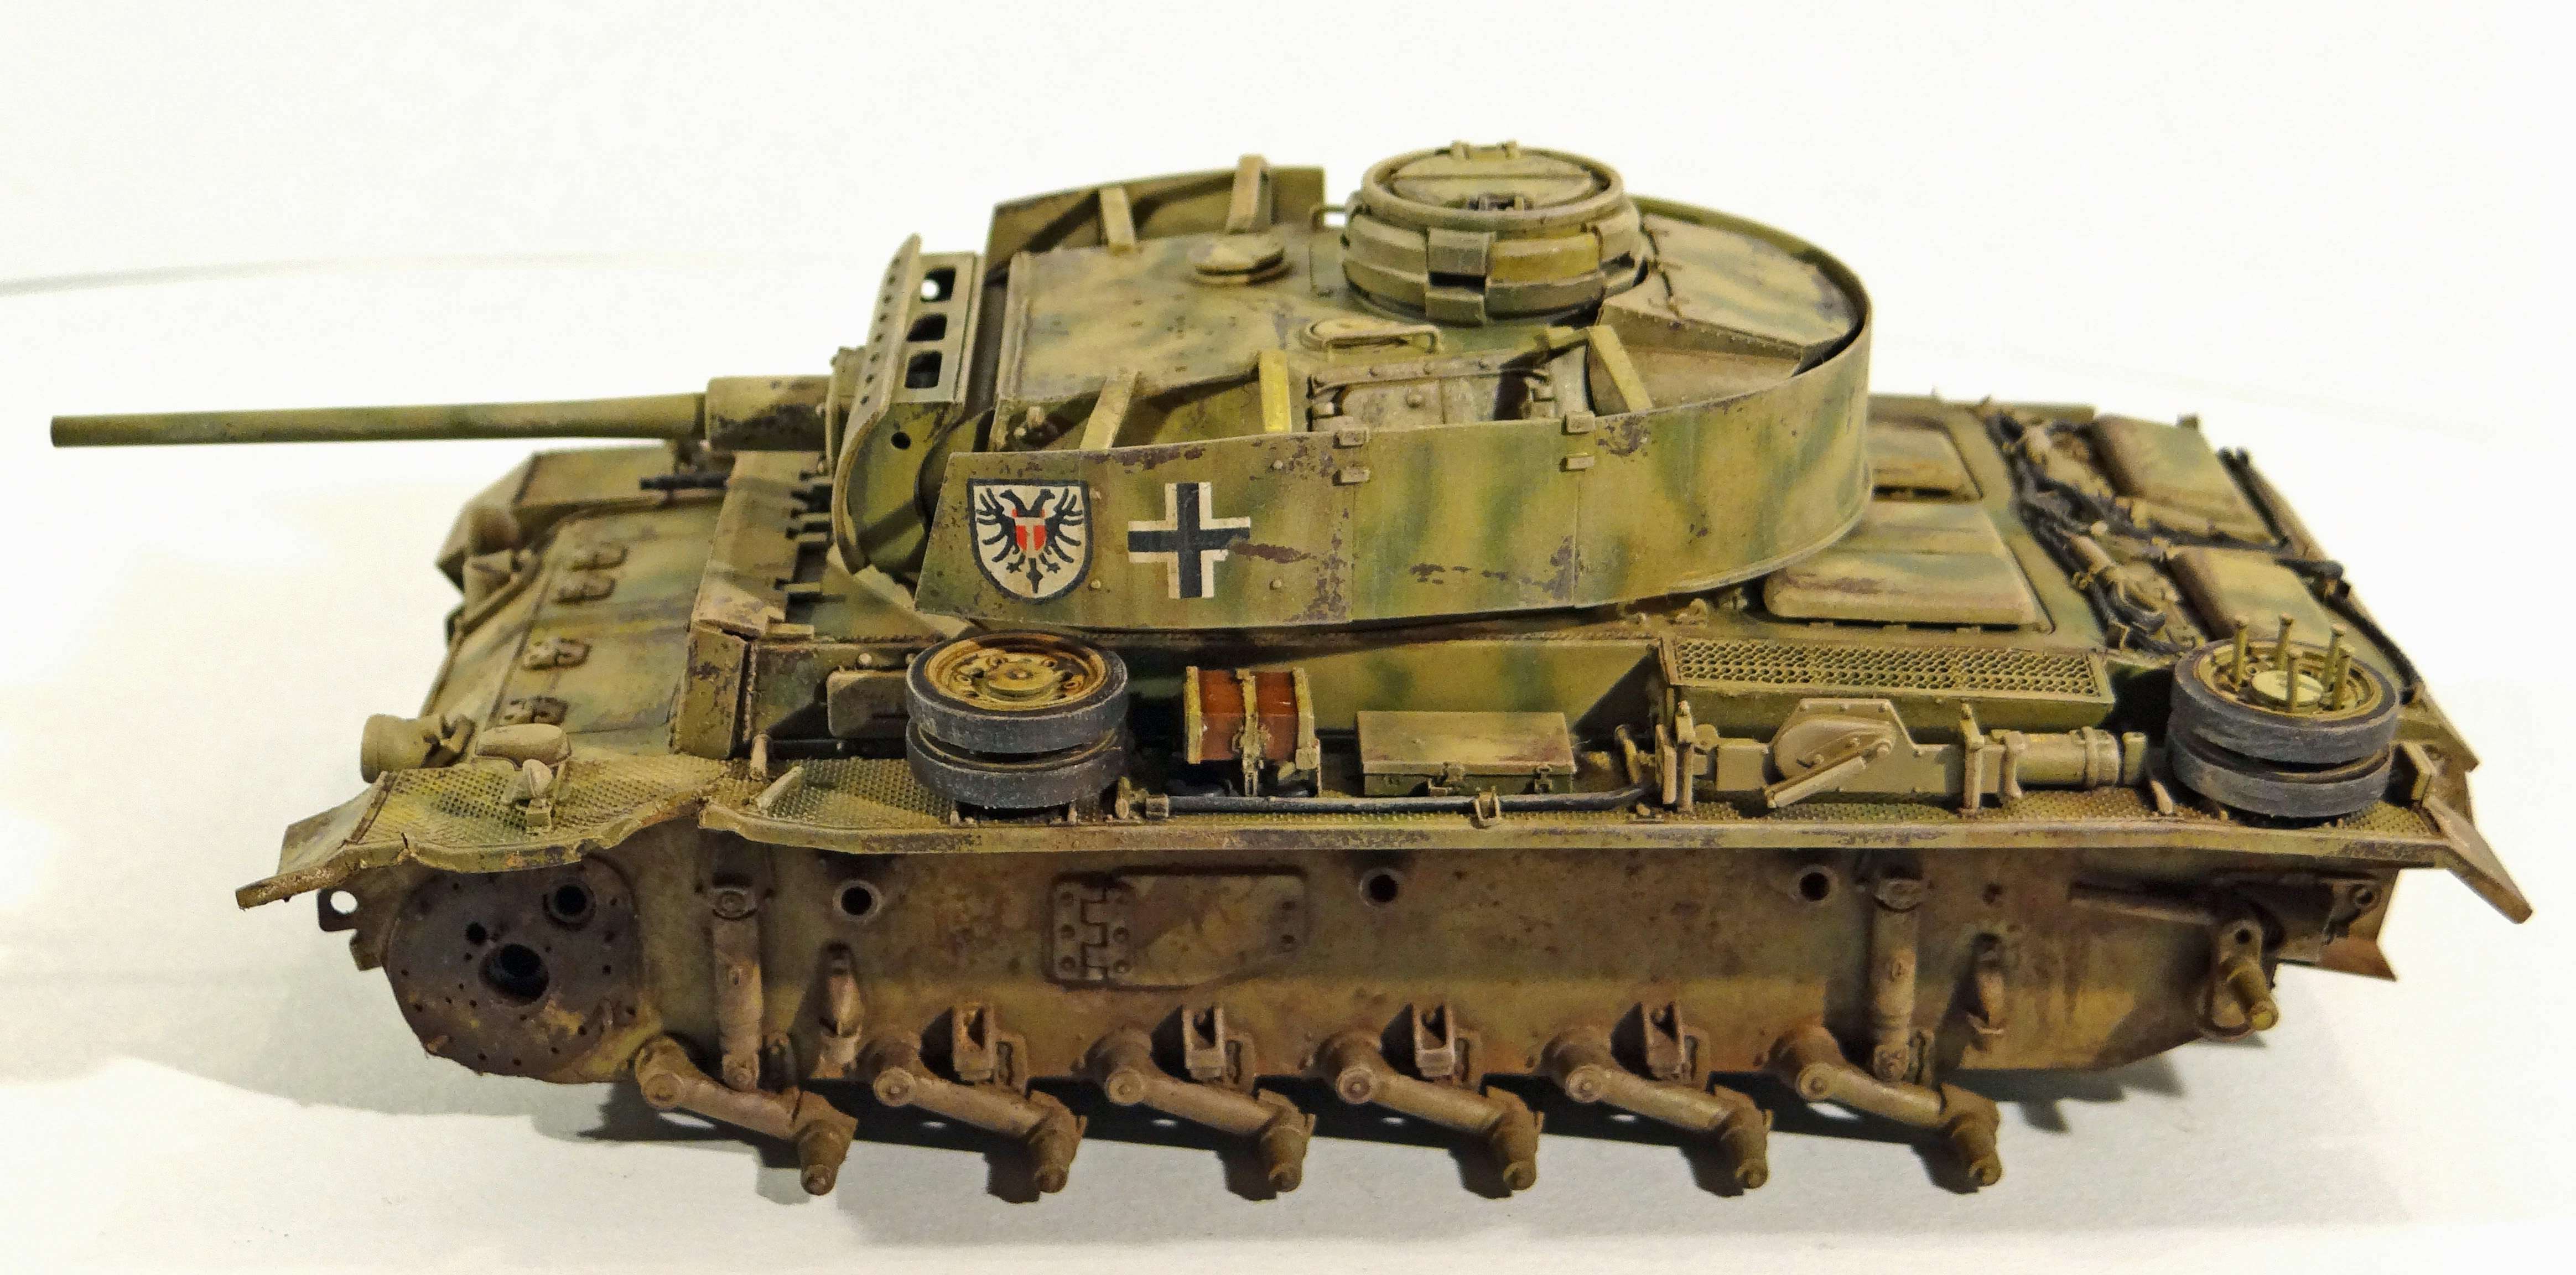
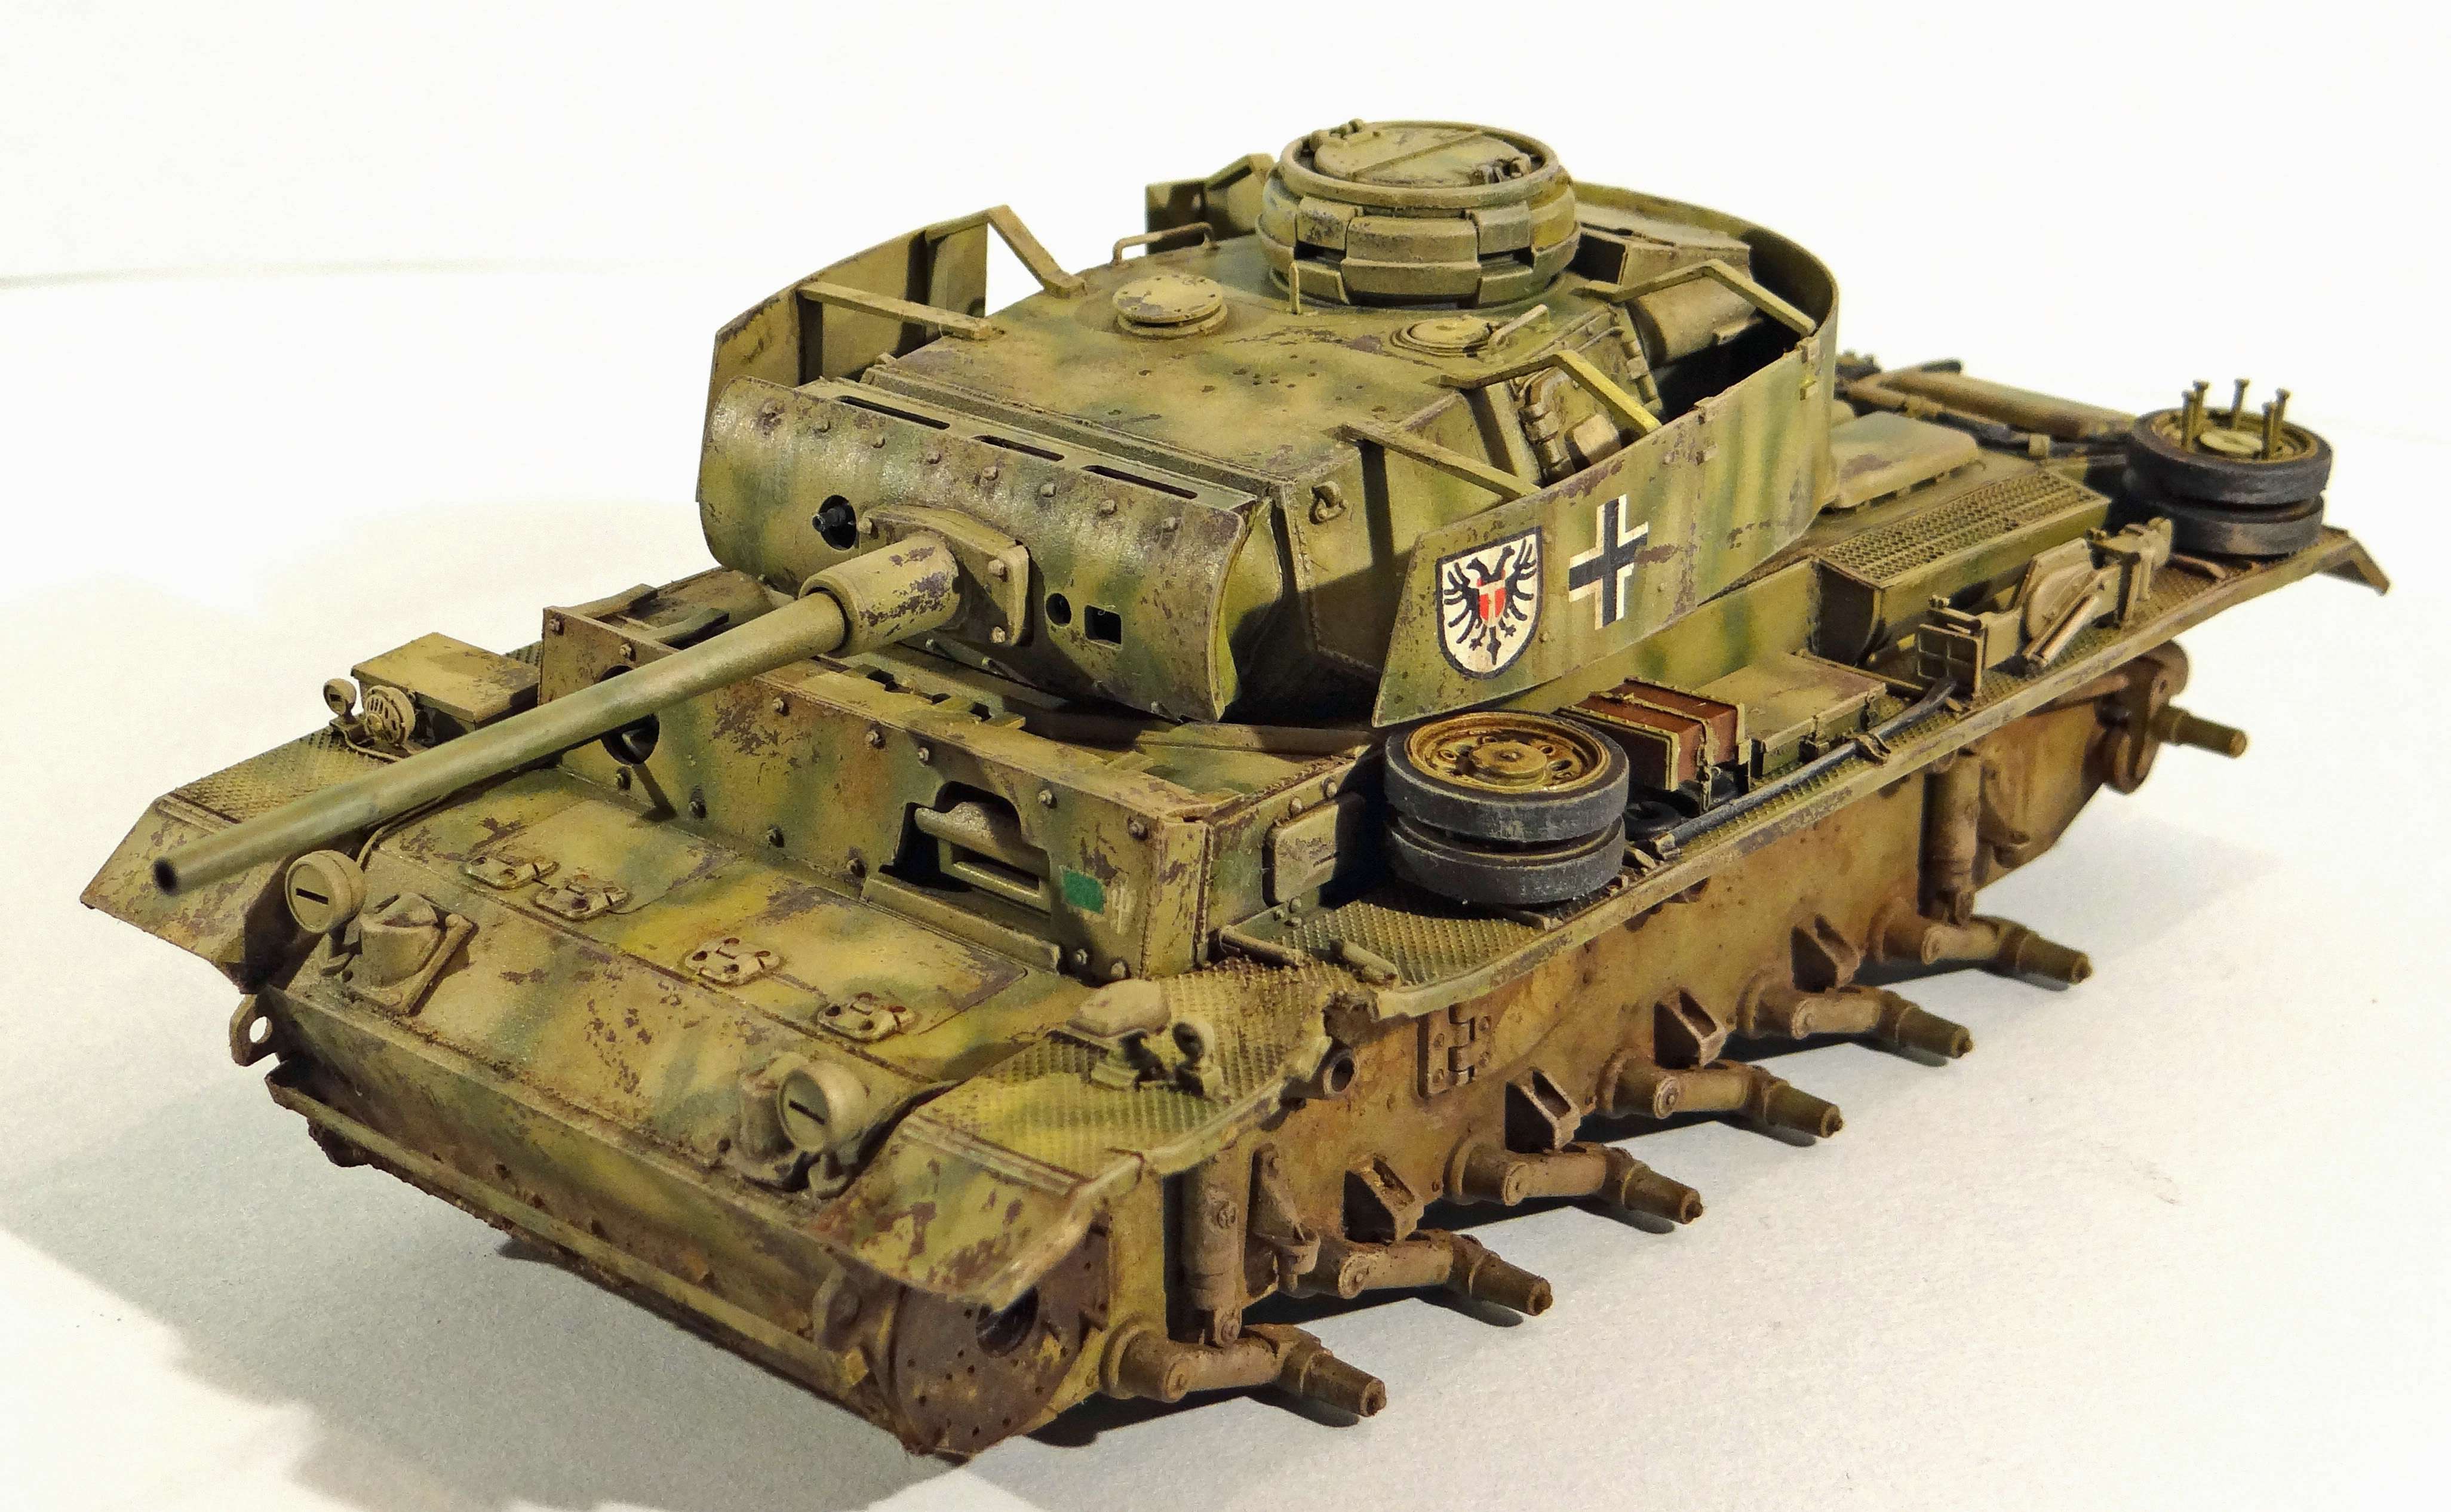
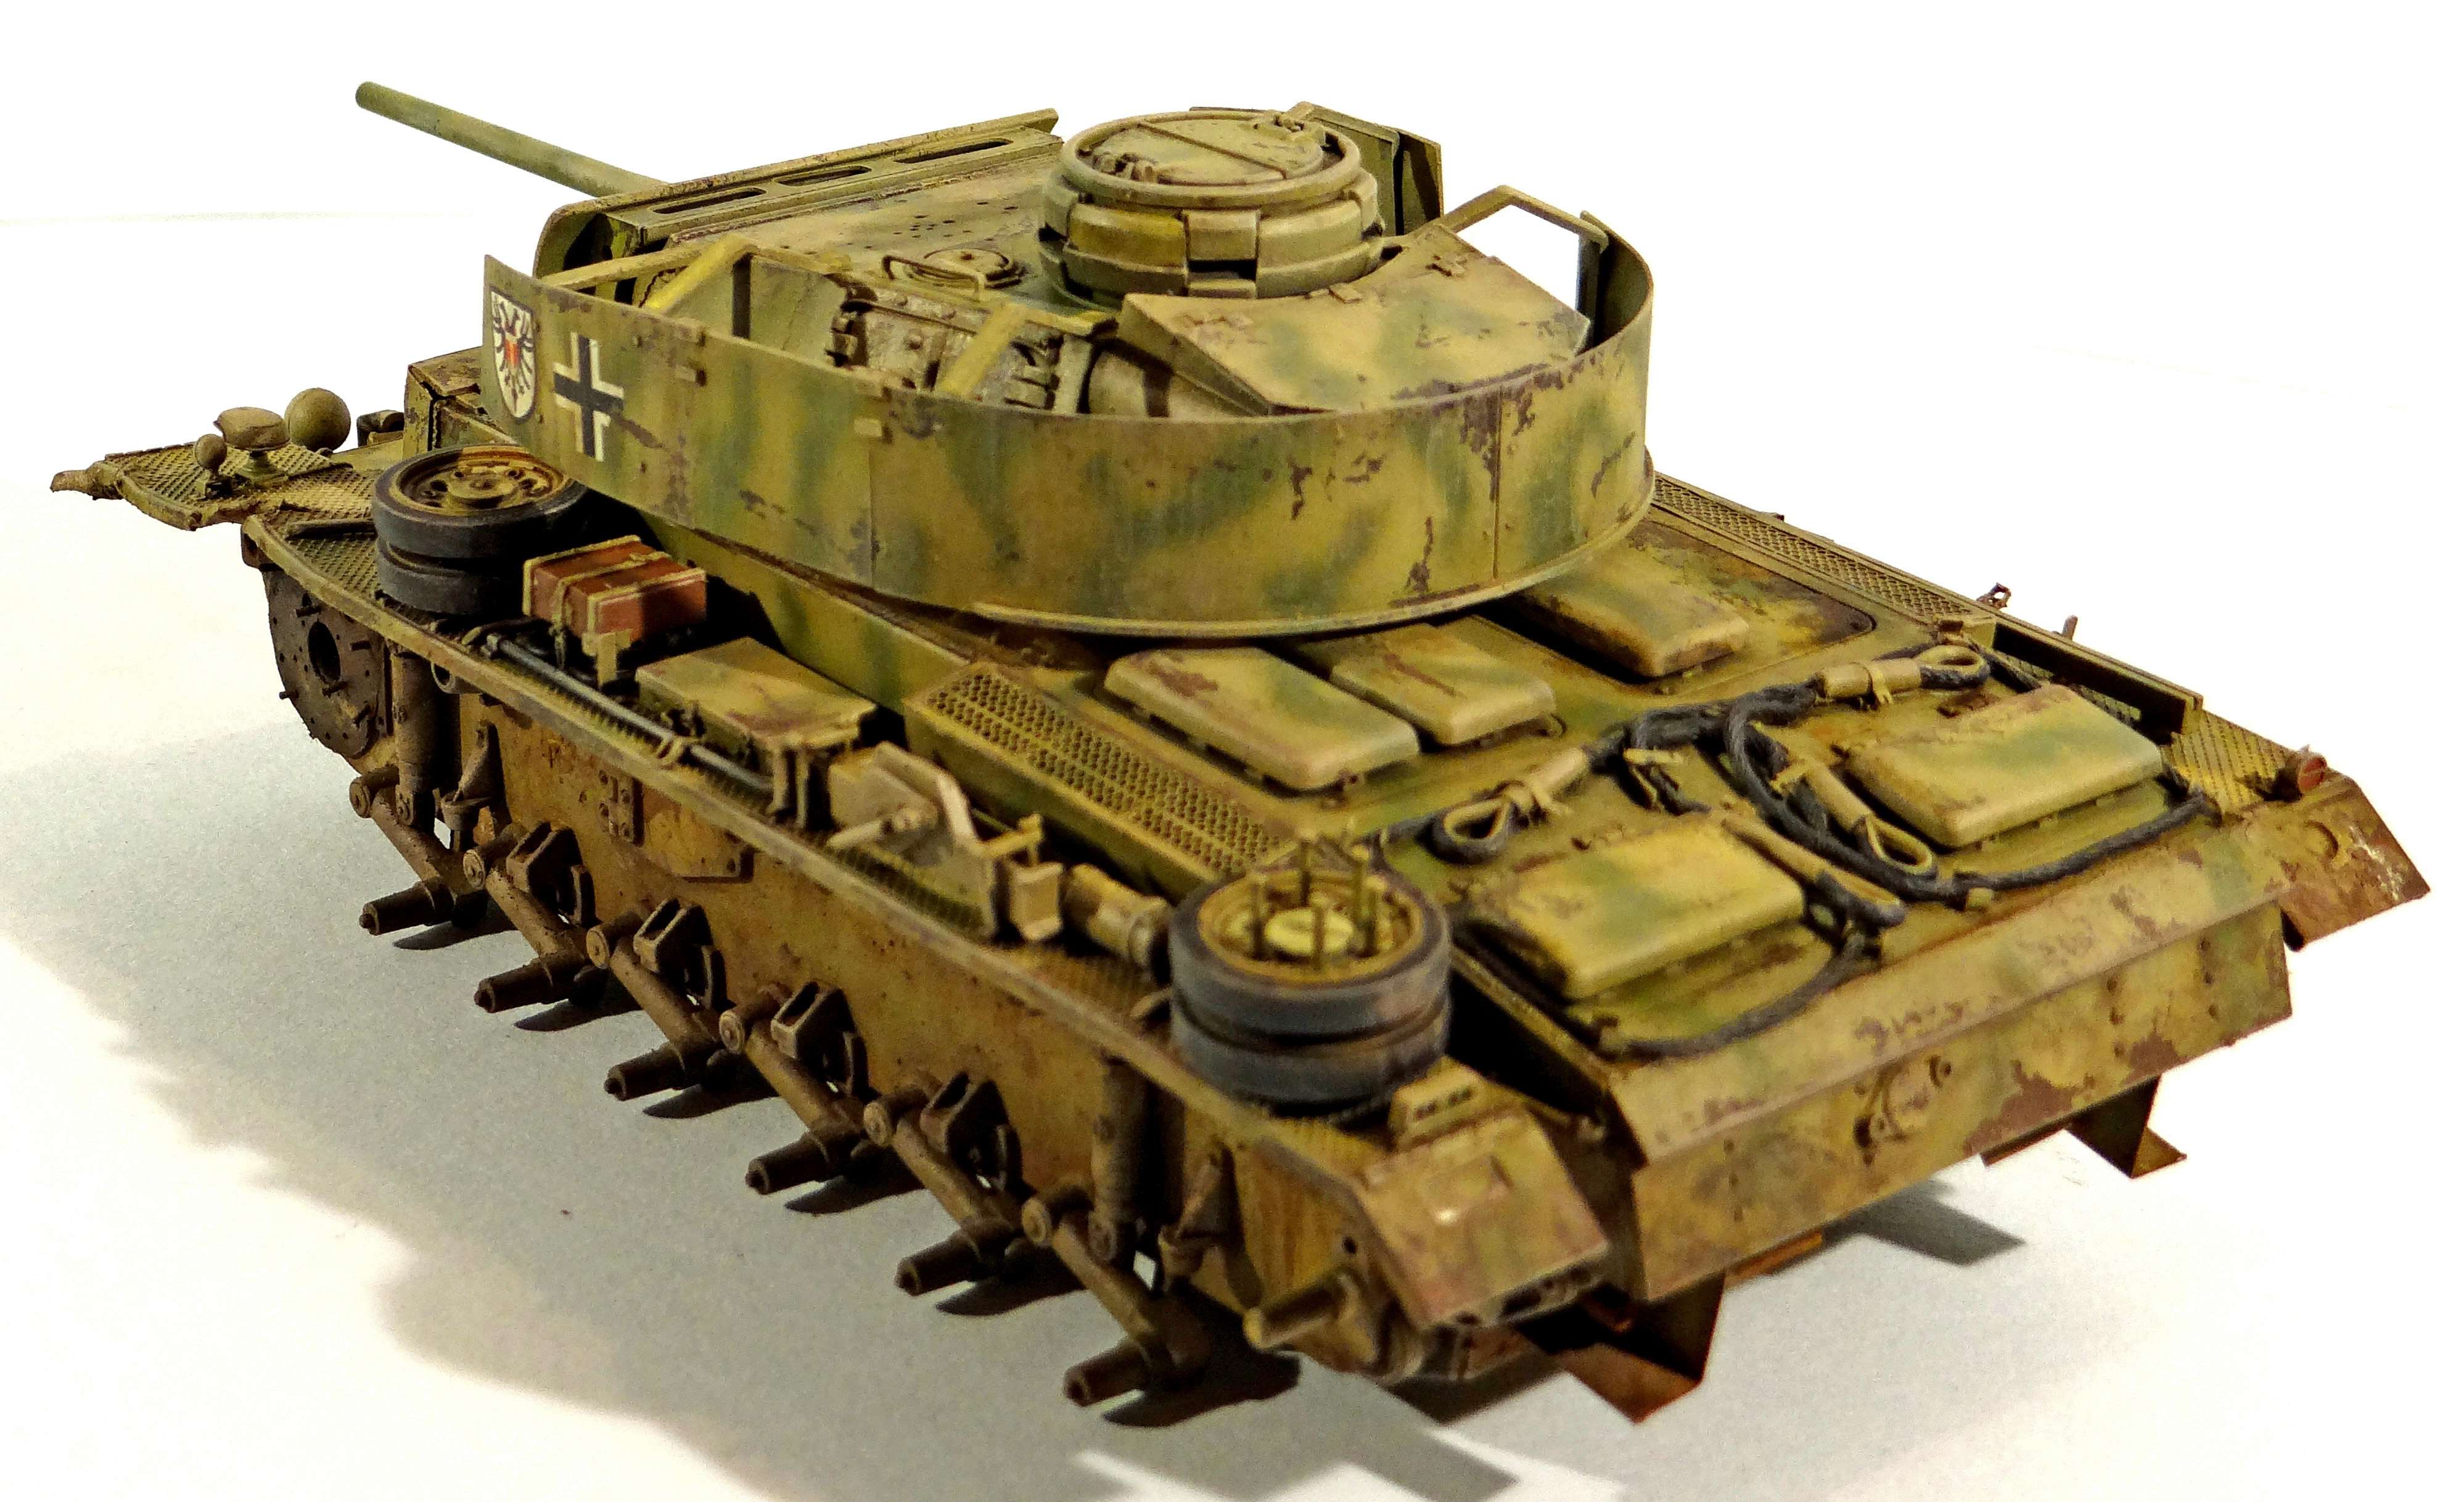
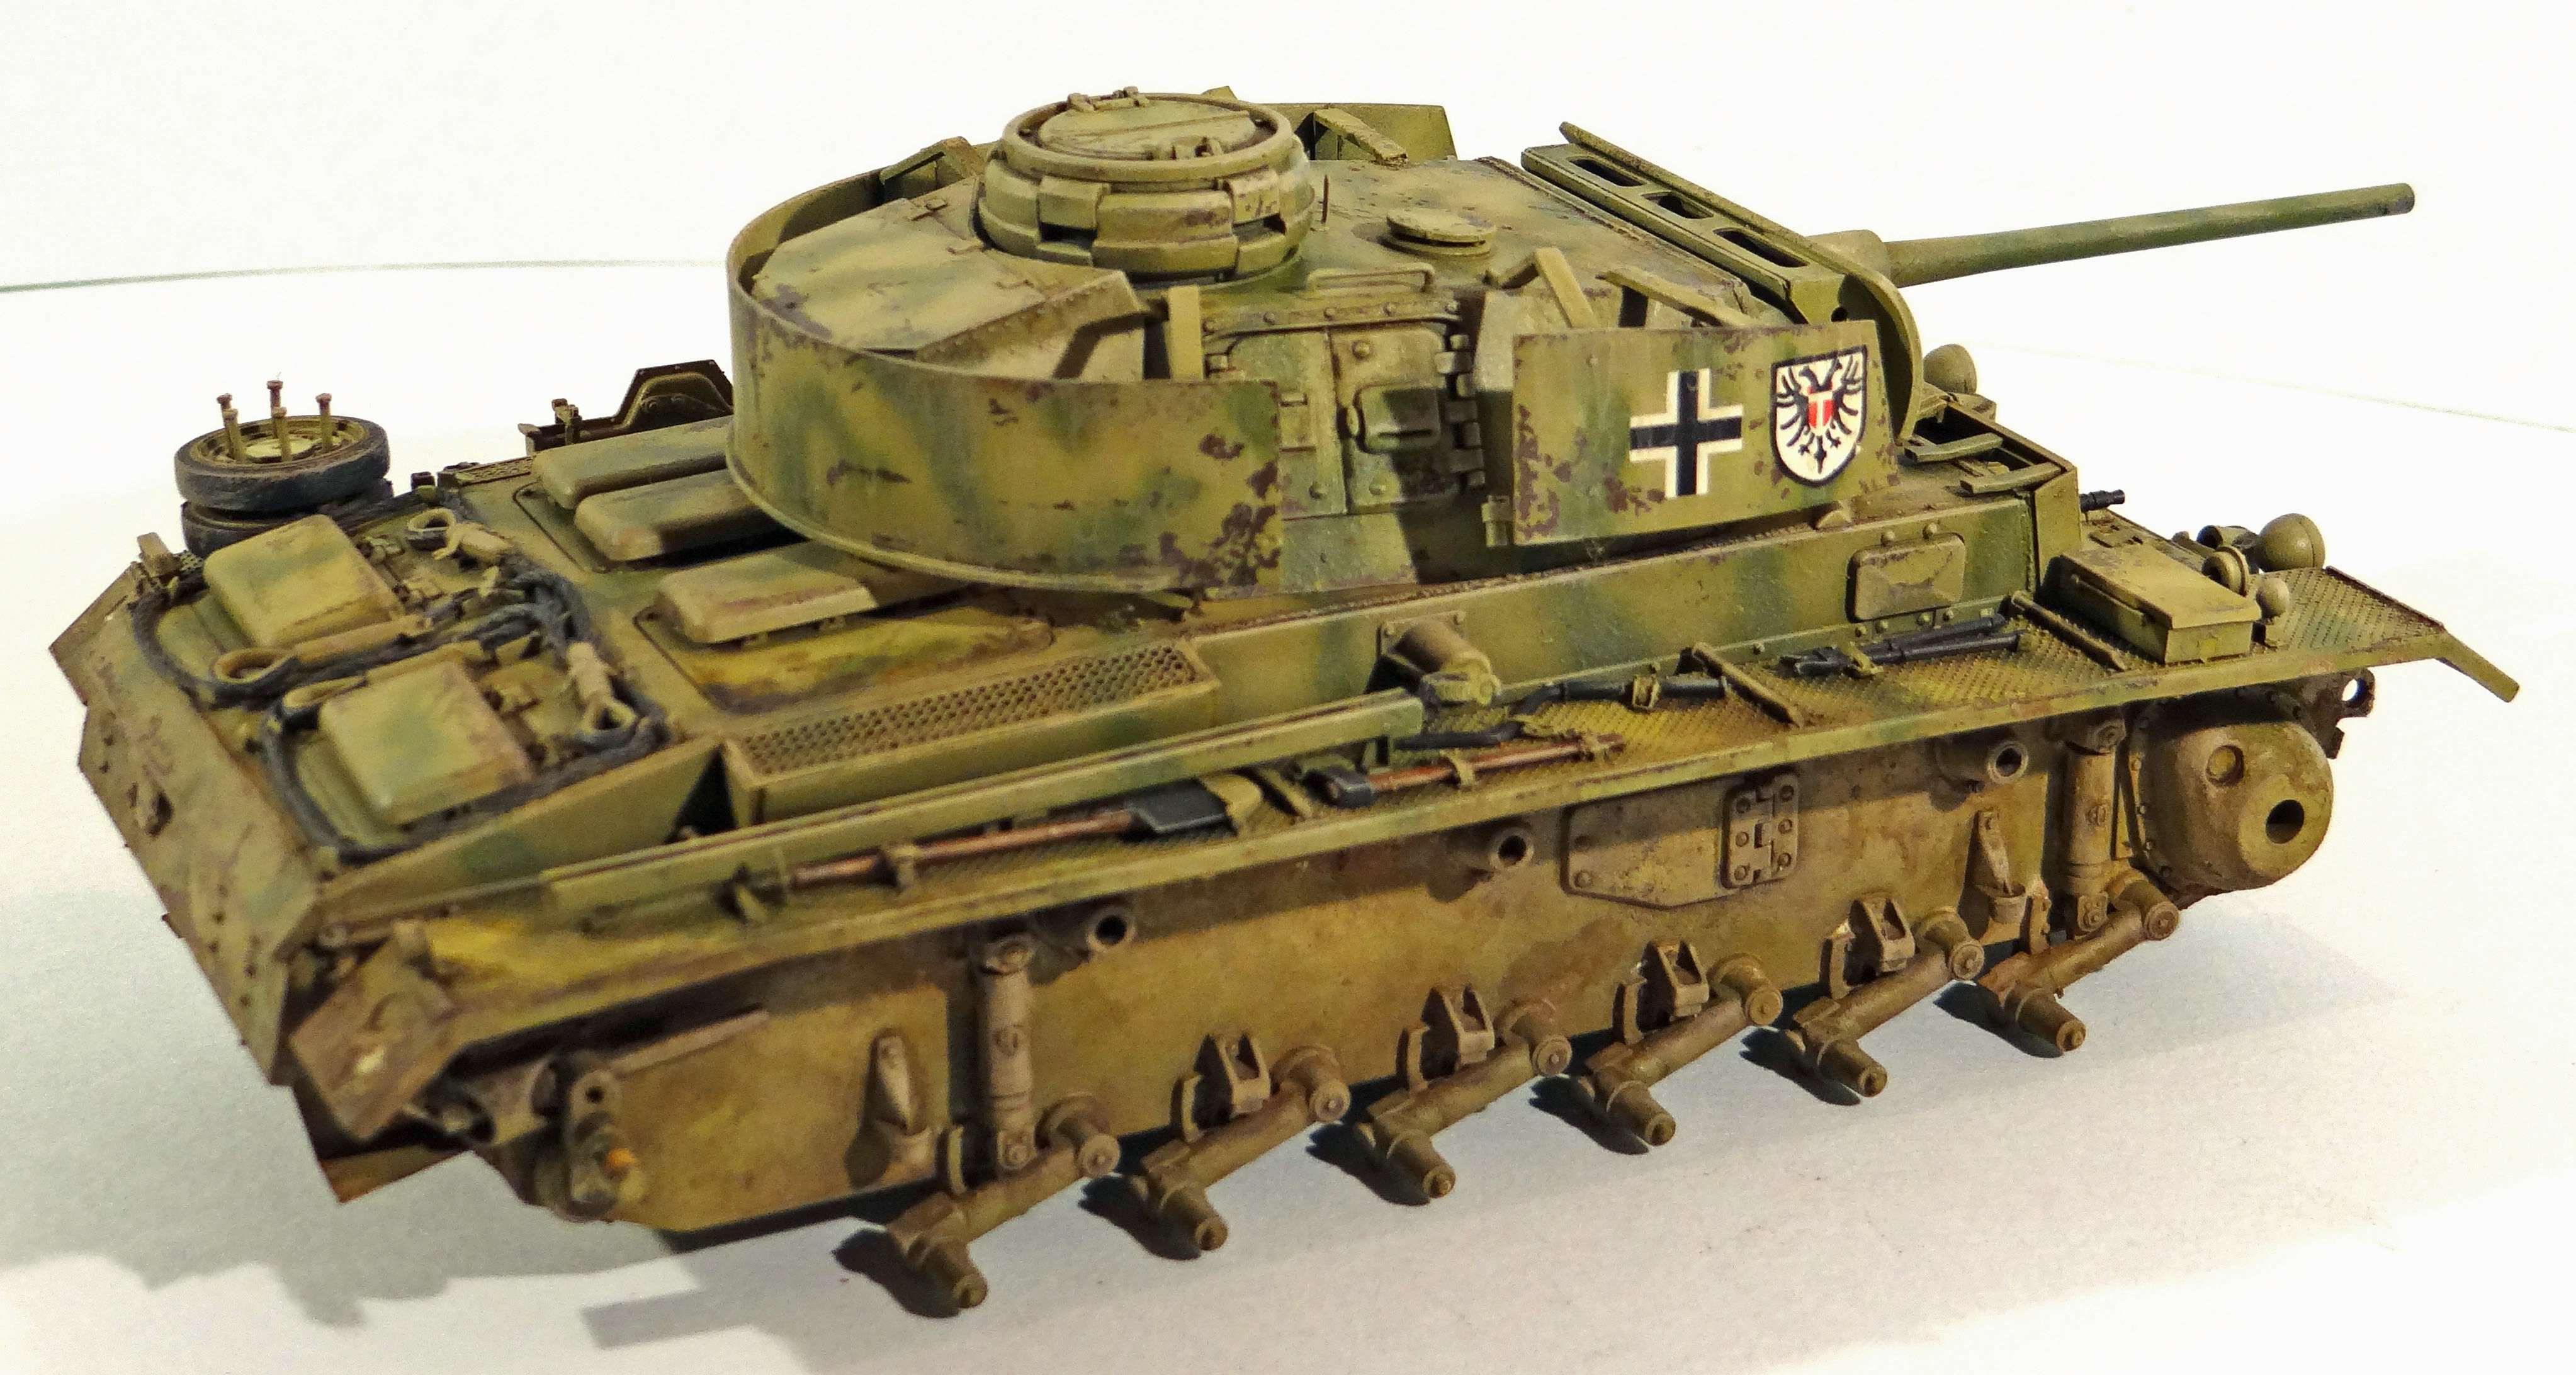
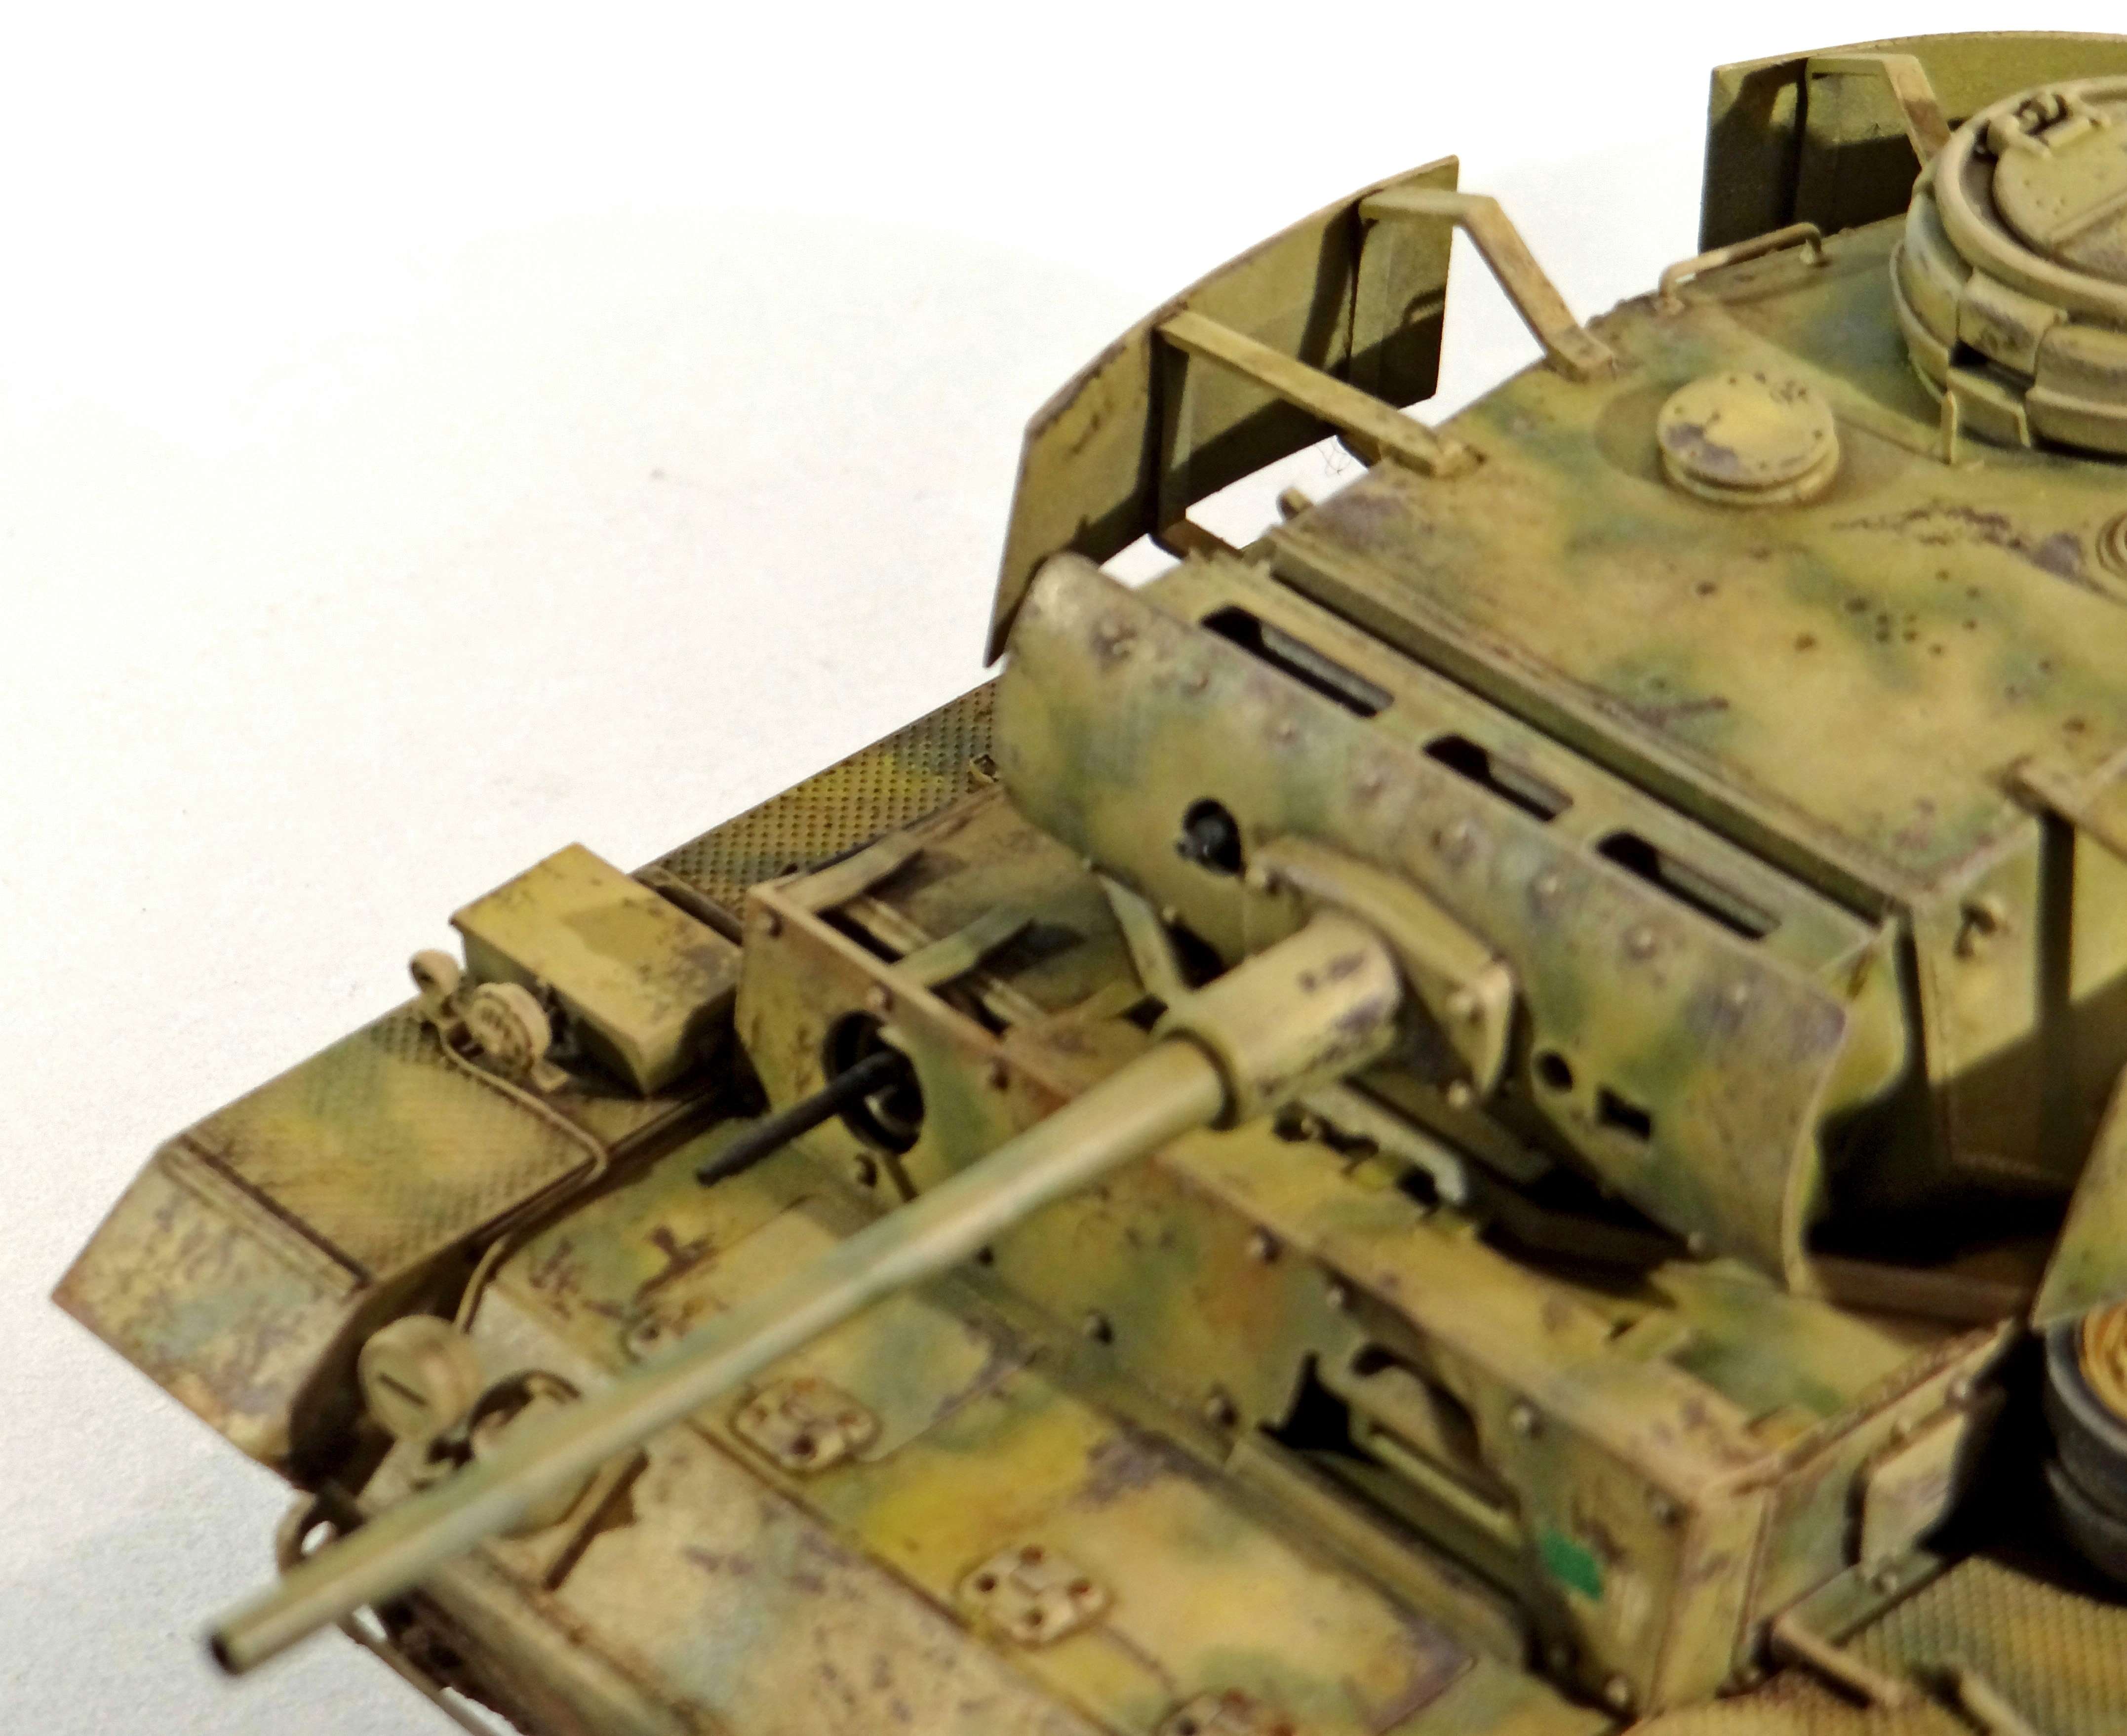
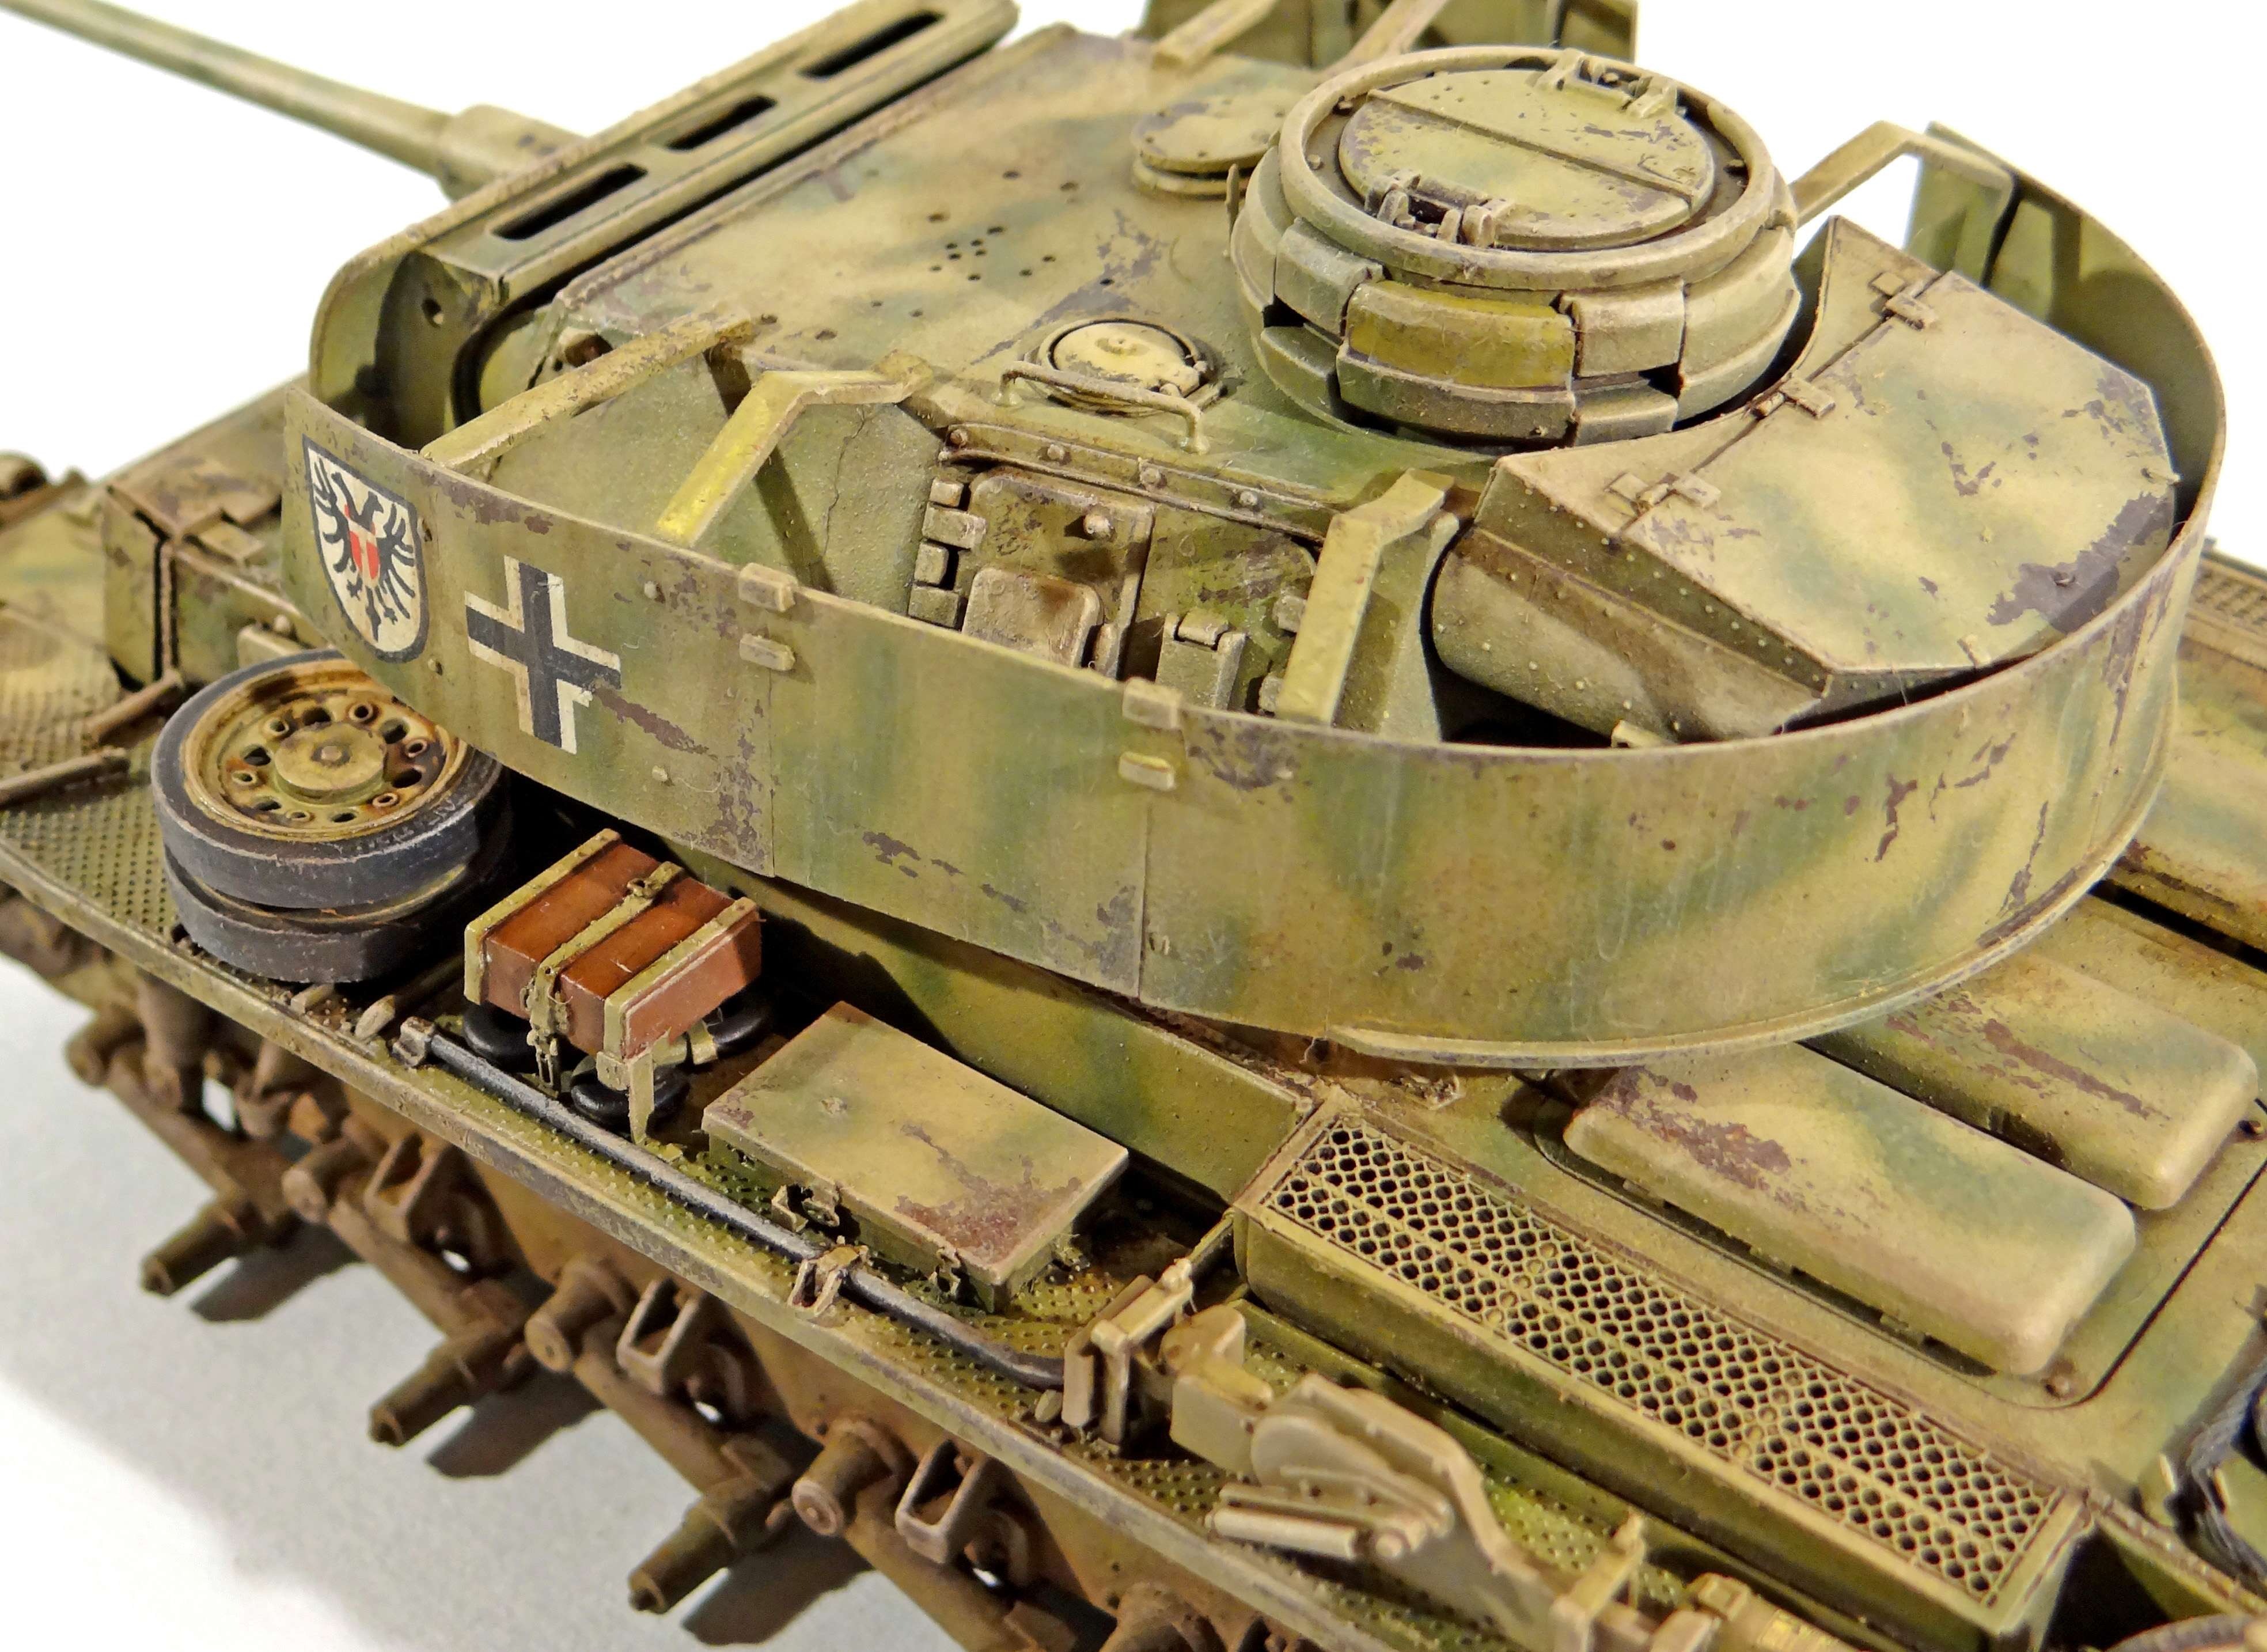
I added a barrel, “burnt out Panzer III wheels” and “brake cooling fan housings” made by Tank Work Shop, an antenna by SKP and parts of a Voyager PE-set (#35157). Also I used the turretbin, the commander’s cupola and the spare wheels of a scrapbox Dragon-III ausf. J. A friend of mine gave me the Schürzen of another Dragon Panzer III that were needed for the cupola. I removed the transmission housing on the left side. The idea behind it, is that the Panzer hit a small mine, after which two roadwheels and the drive sprocket are useless. The “transmission cover” is scratchbuild after this picture:
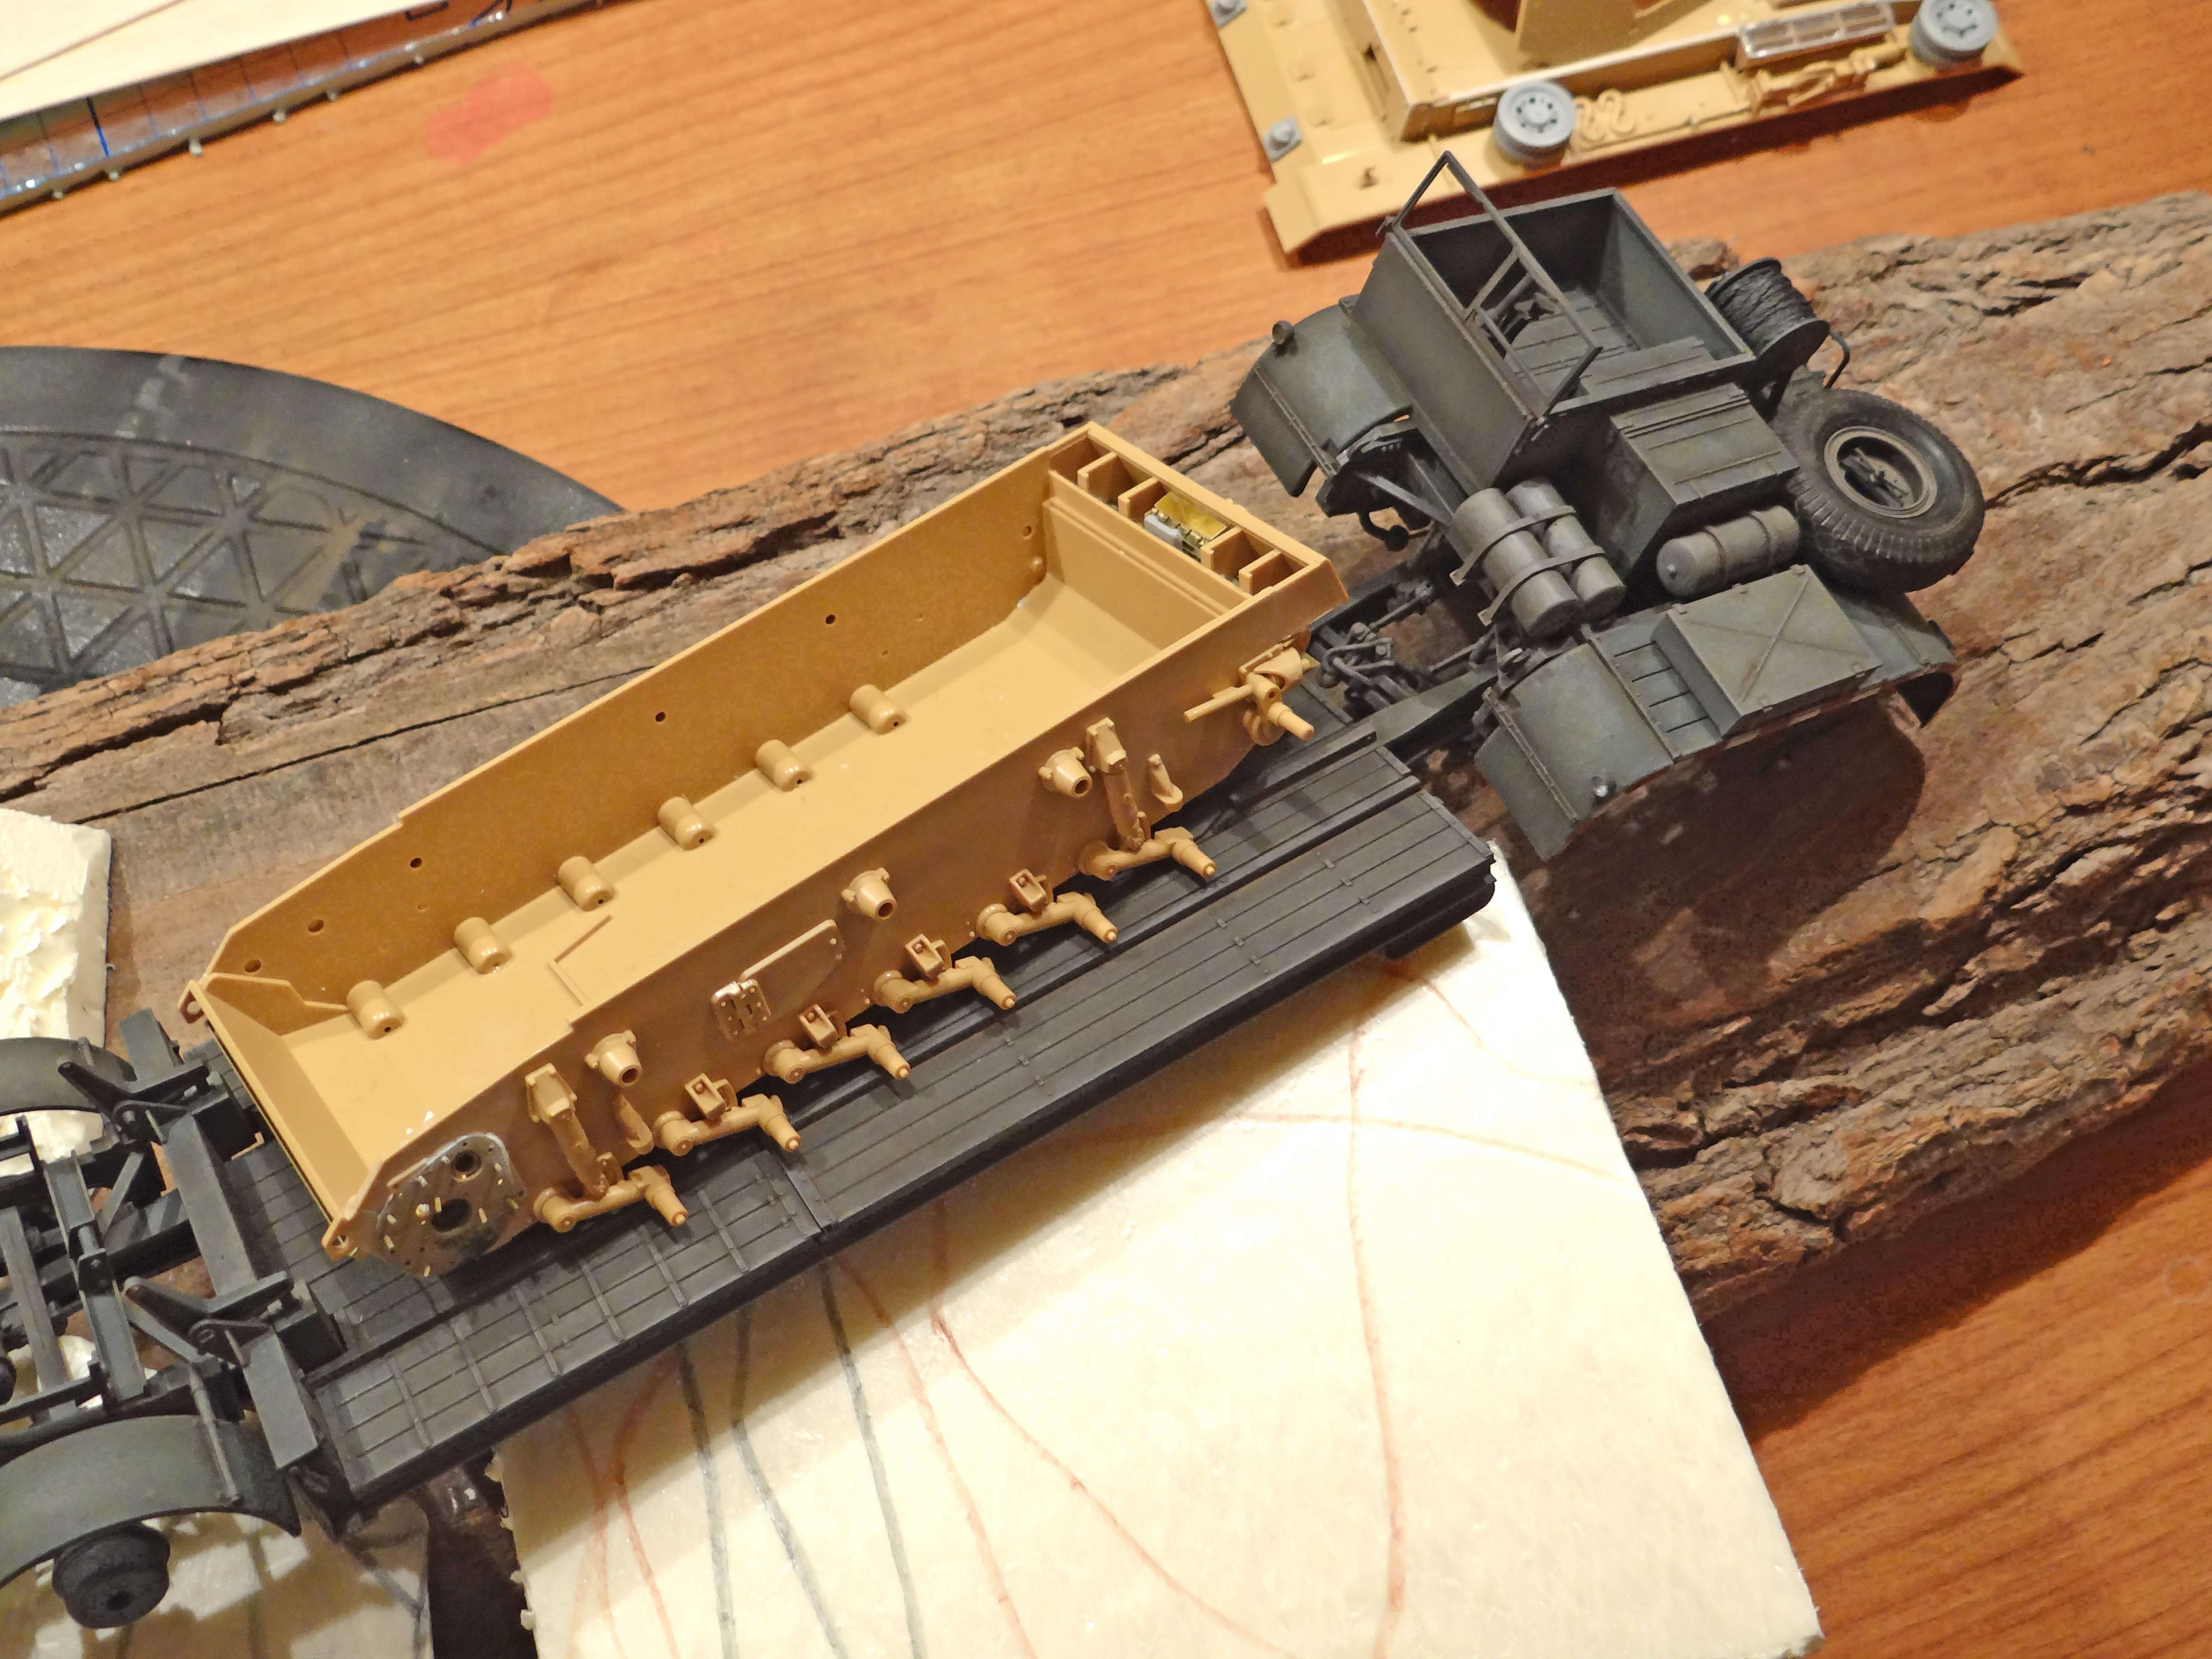
Two weeks of CA-glue and even a bit of fun, and the naked kit looks like this:



Panzer III paint.
The Panzer III has Vallejo black primer, AK’s “red primer modulation set” is the first paintcoat, after which AK’s Heavy Effects Fluid (# AK-089) is airbrushed to make chipping easier later on. Basic color is Vallejo Dark Yellow (# 71.025), camo is done with Vallejo Camouflage Light Green (# 71.006). Decals are by Bison. The Panzer III represents the 2nd division:
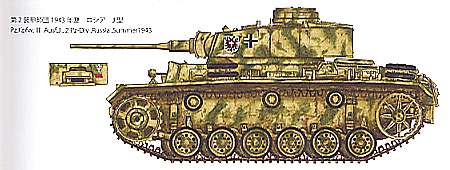
AK’s “Heavy Worn Effects Fluid” is used to create scratches and worn off paint. I’m not satisfied with the end result. According to what I’d heard, the Fluid can be diluted with water. The consequences of this, was that the Fluid was not spread evenly, therefore the basecoat either dissolved to fast or not at all. Because I learned that the ausf. L of the 2nd Panzerdivision at the time of the battle for Kursk were fairly new, I wanted to keep the chipping pretty sober, but this didn’t work as well as I wanted. Furthermore the protecting lacquer coating didn’t work: at some points the paint came off completely.
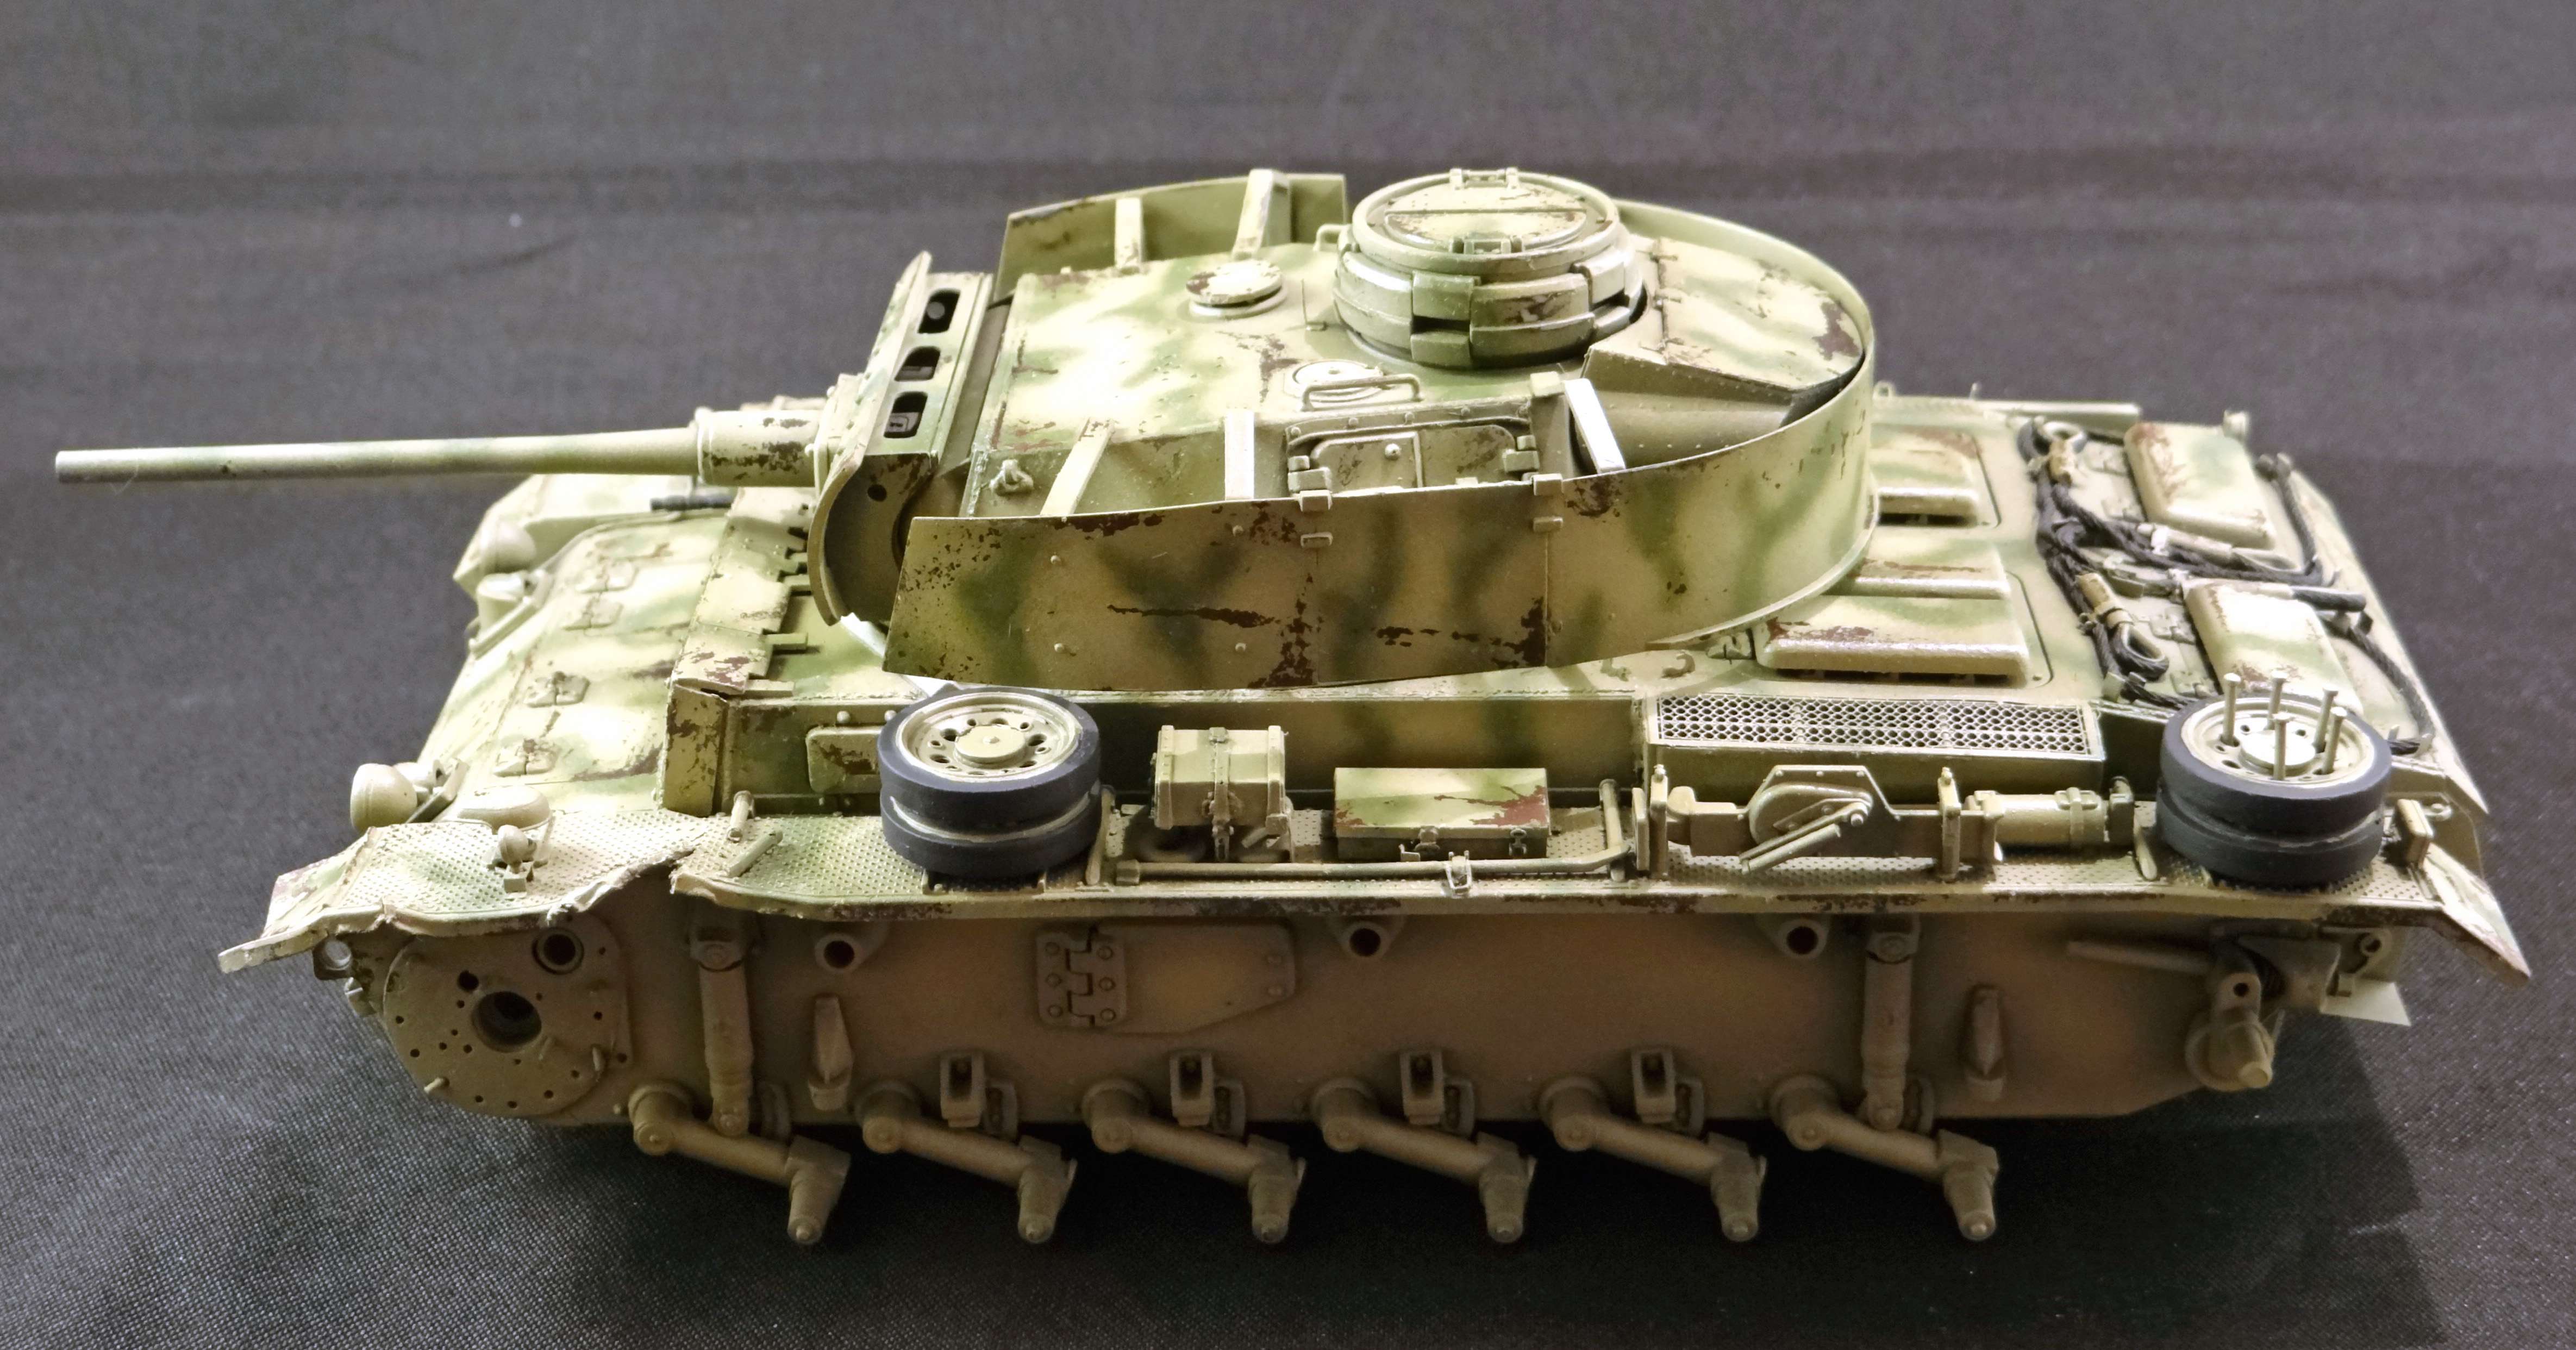
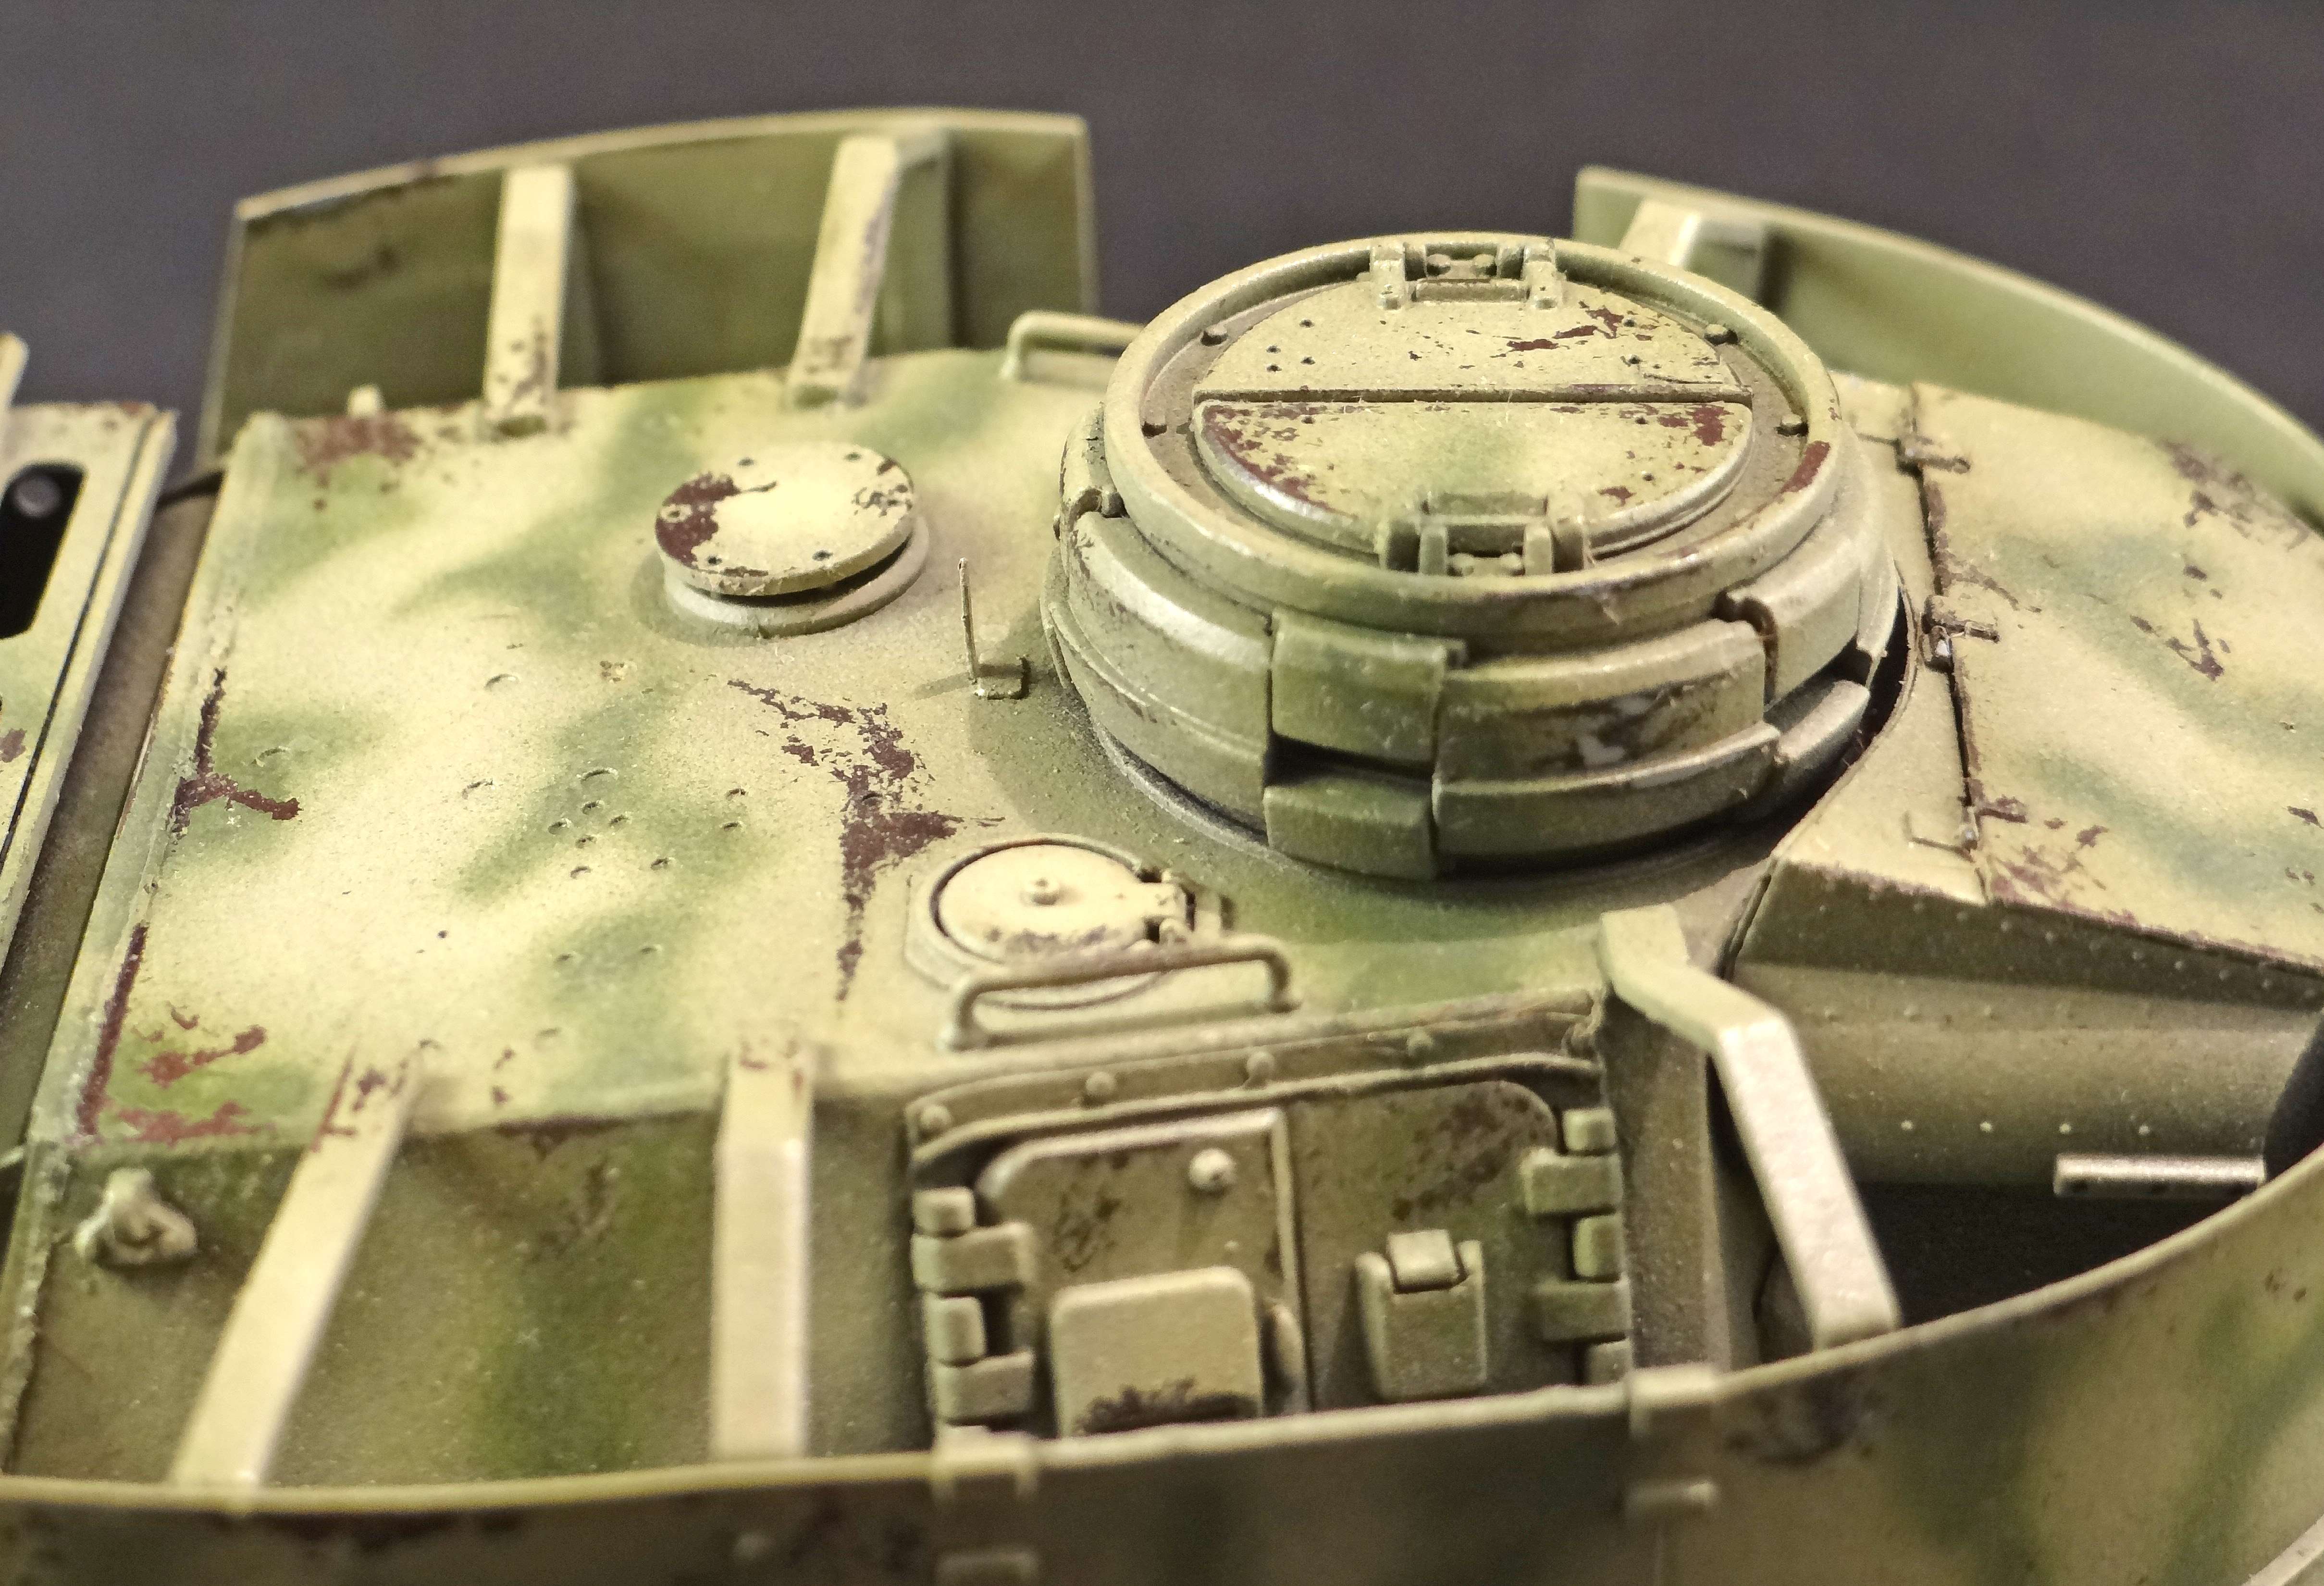
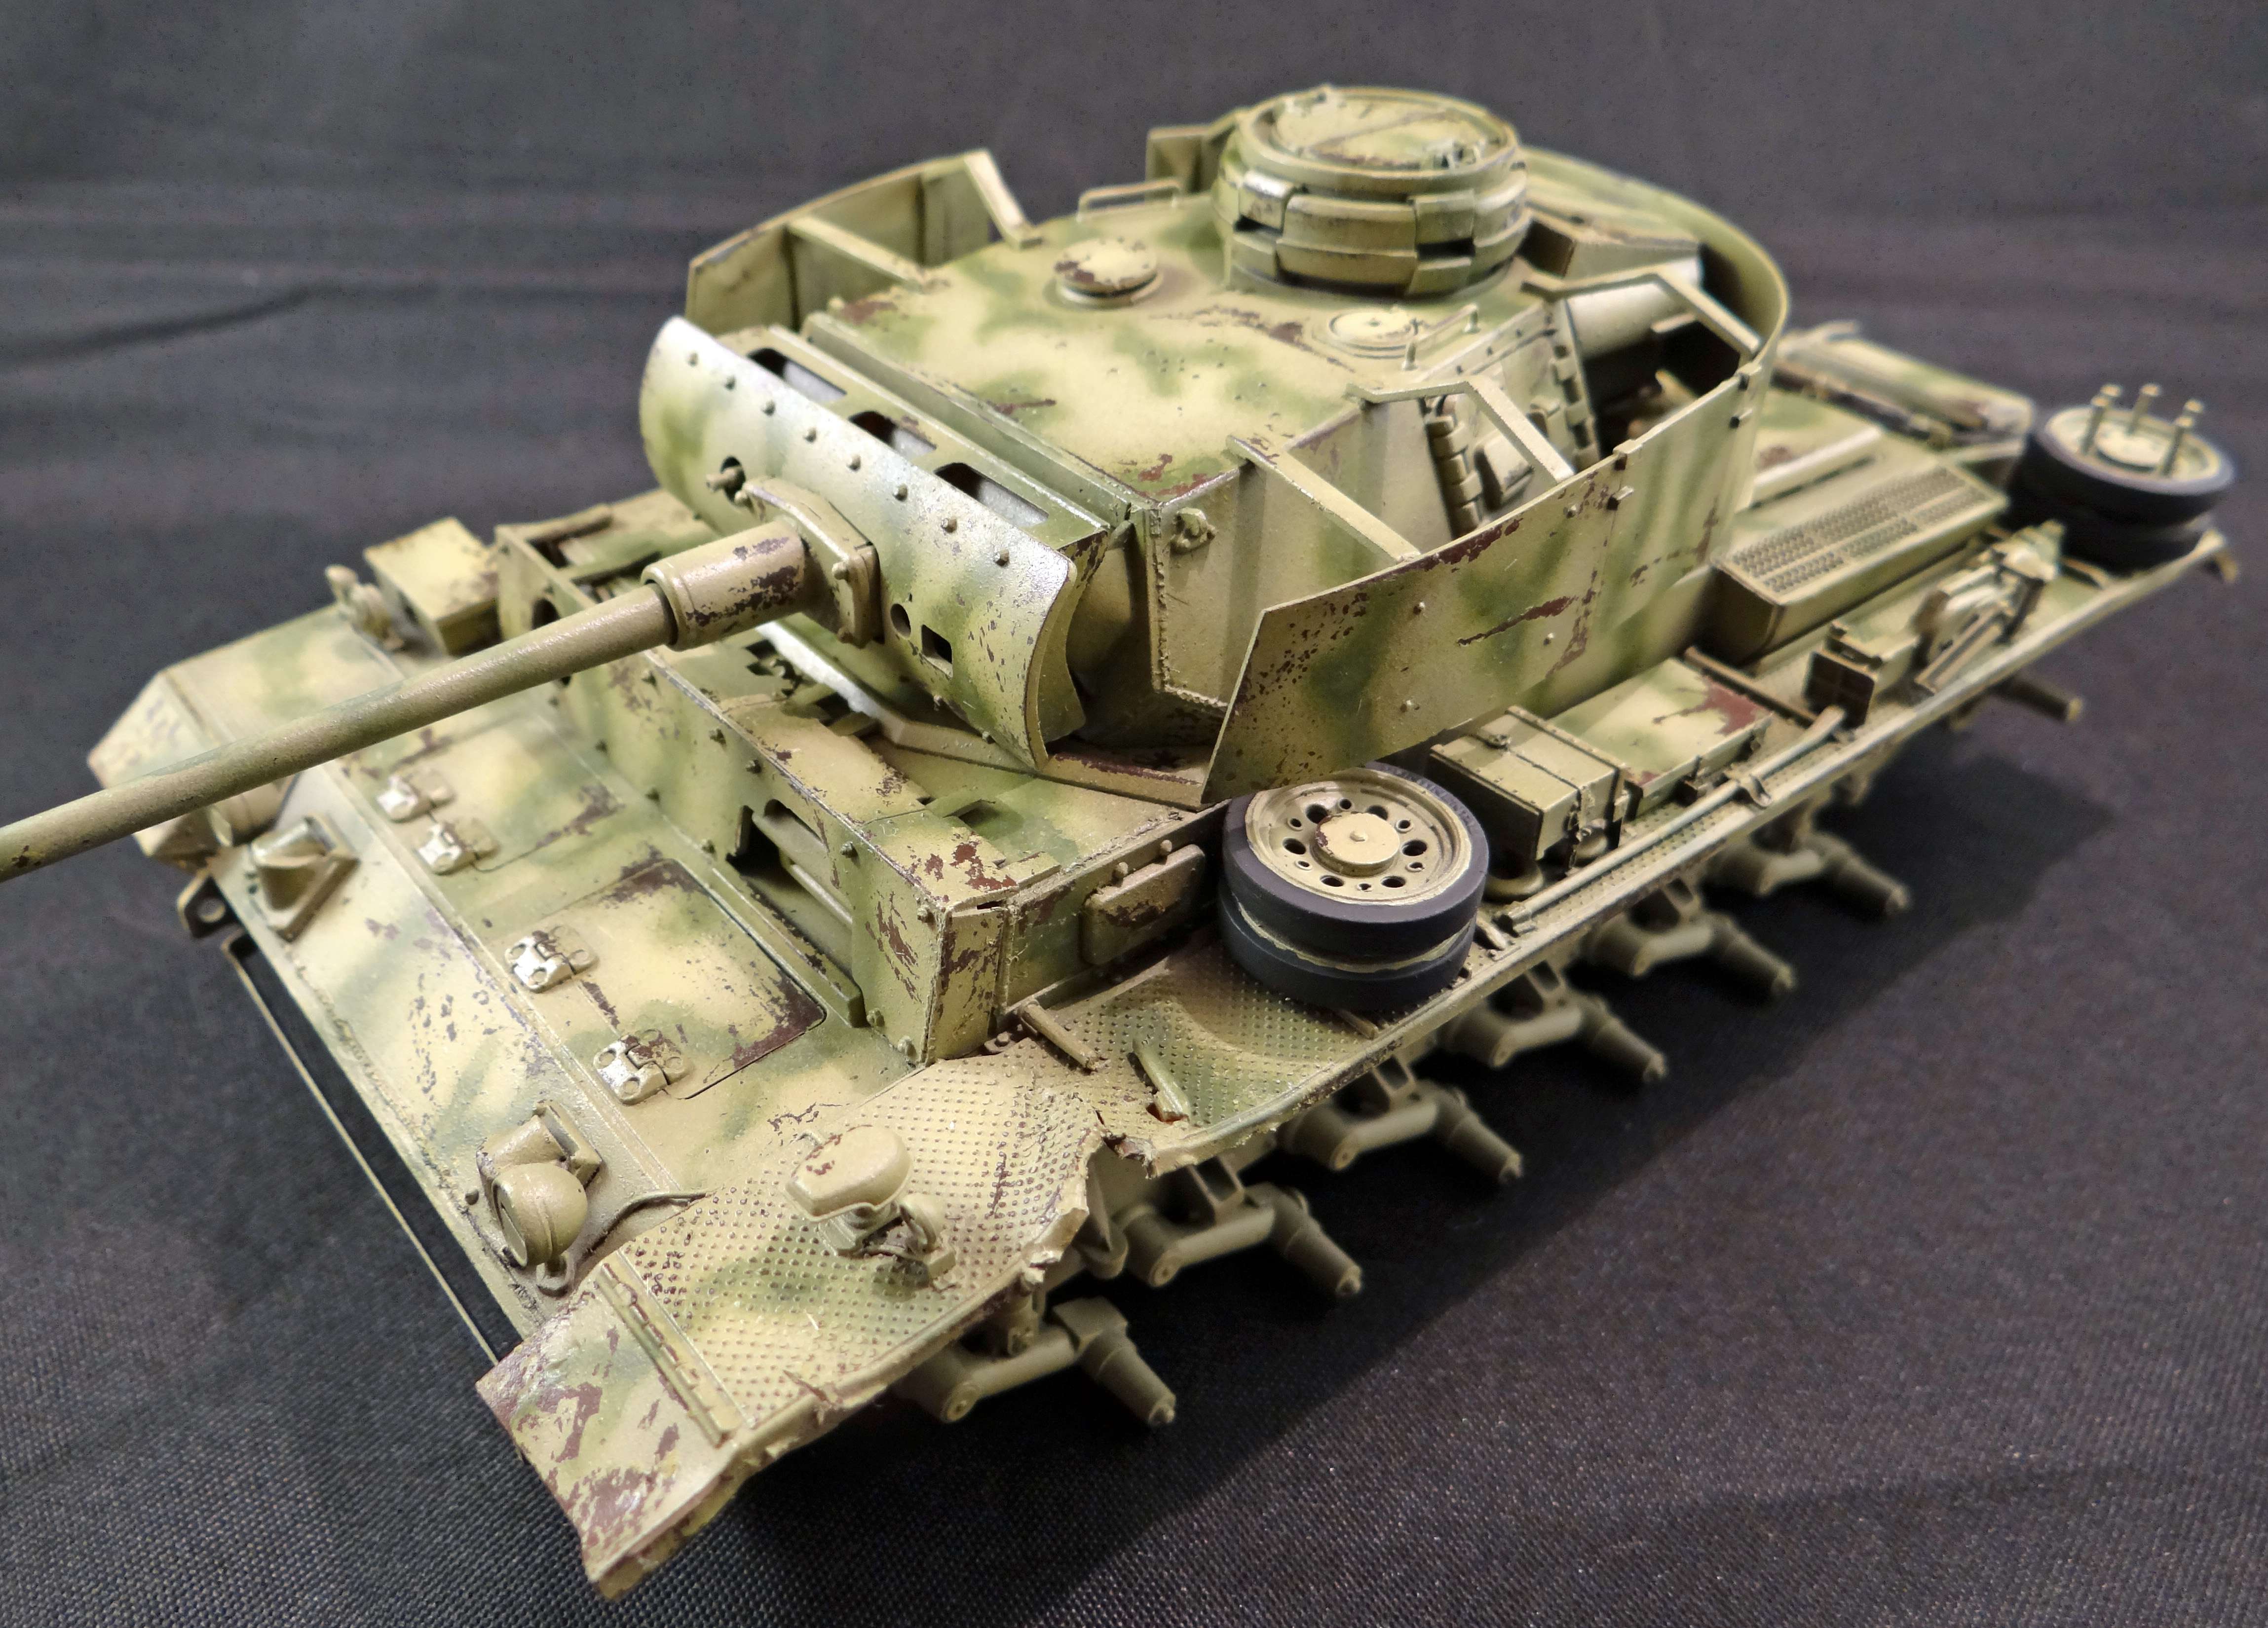
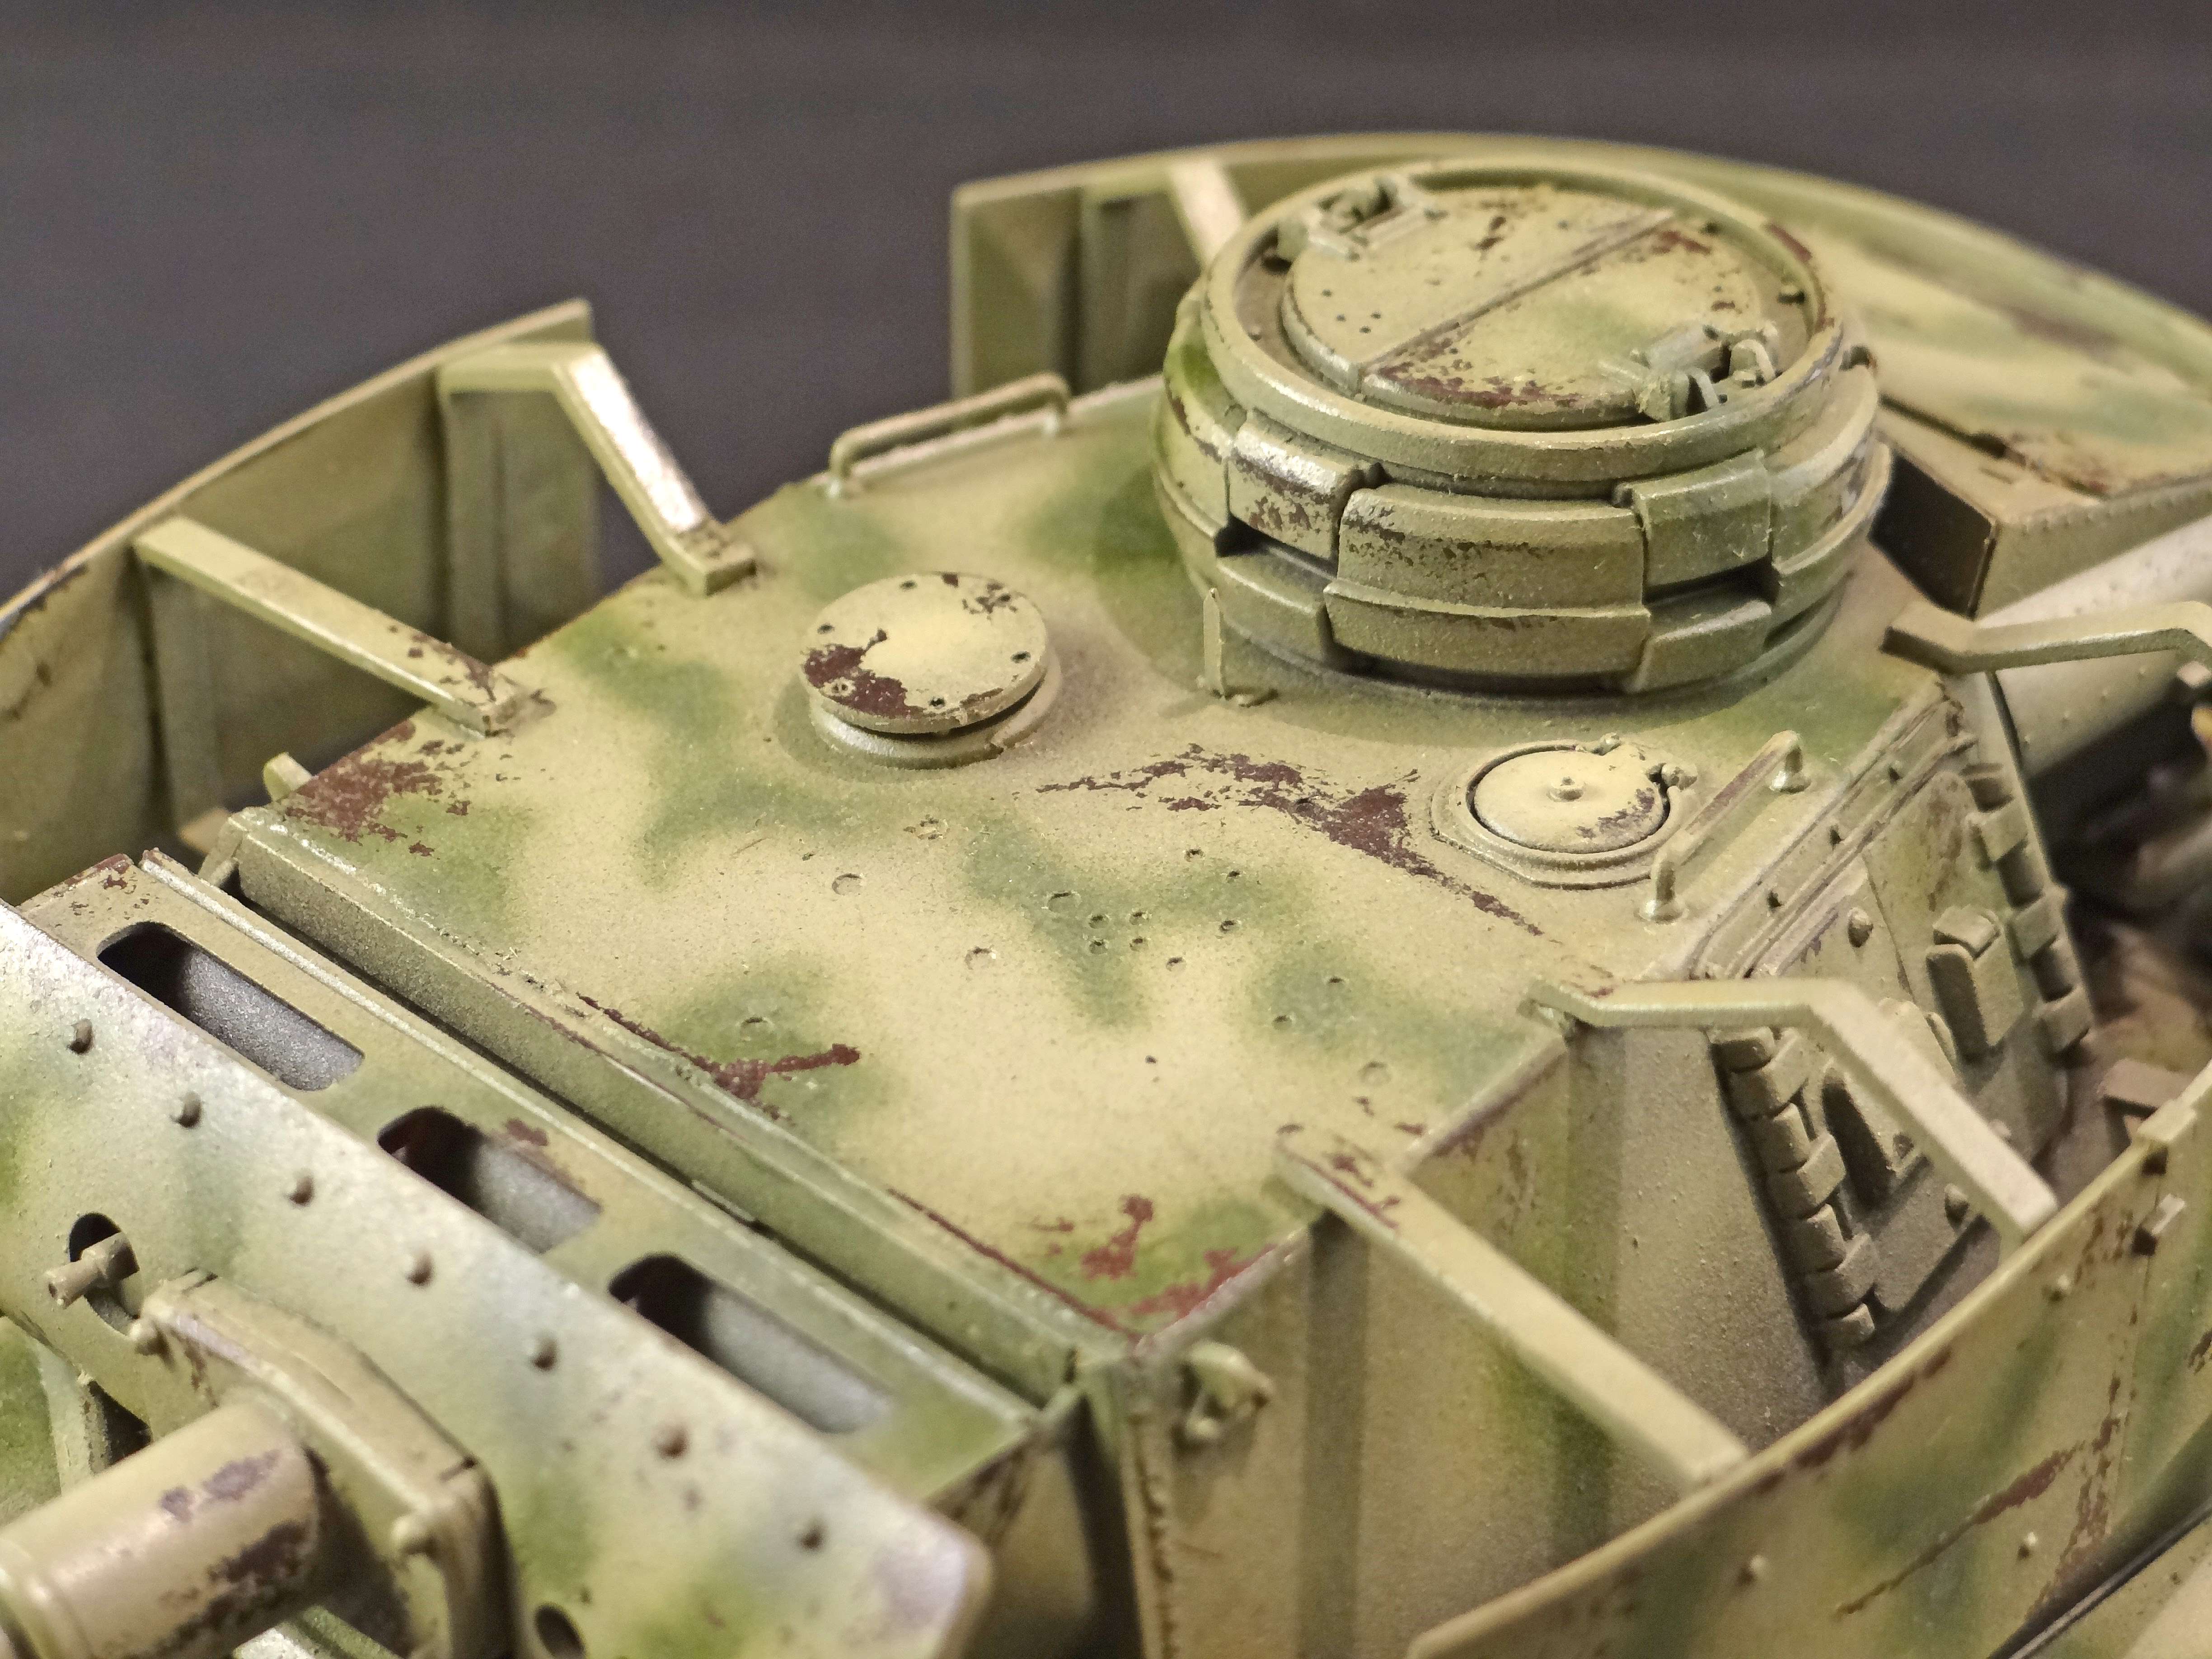
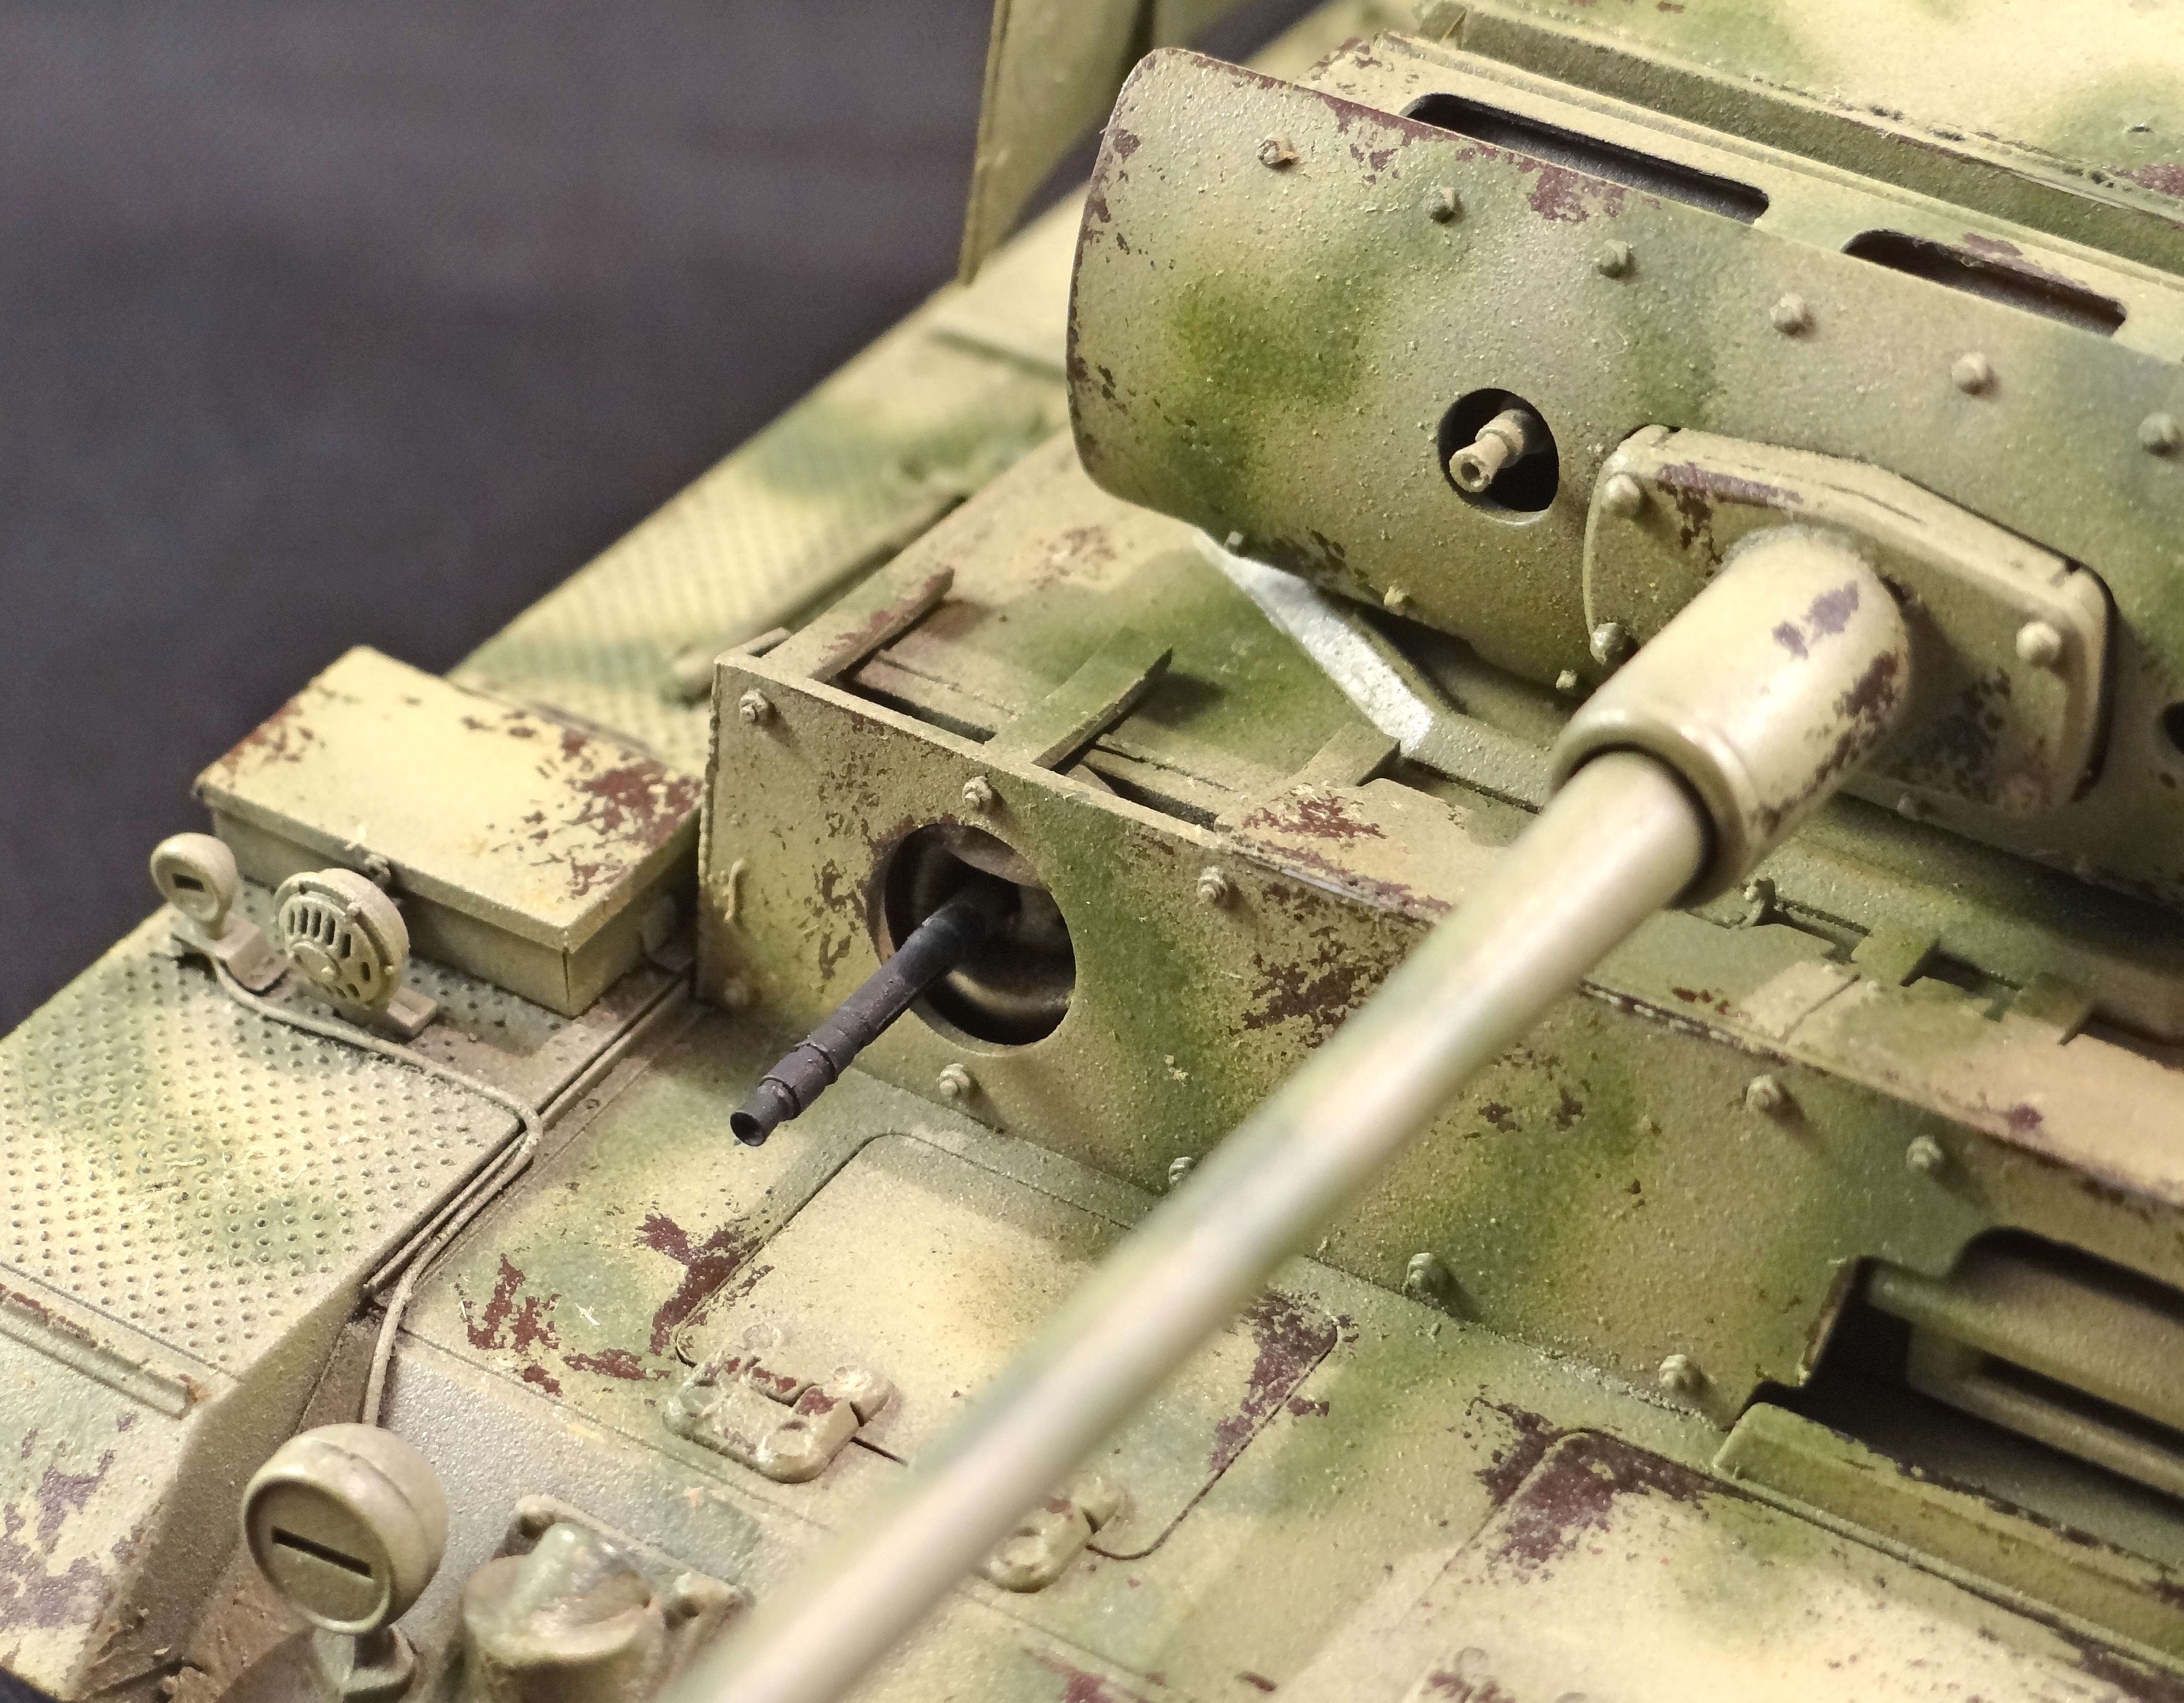
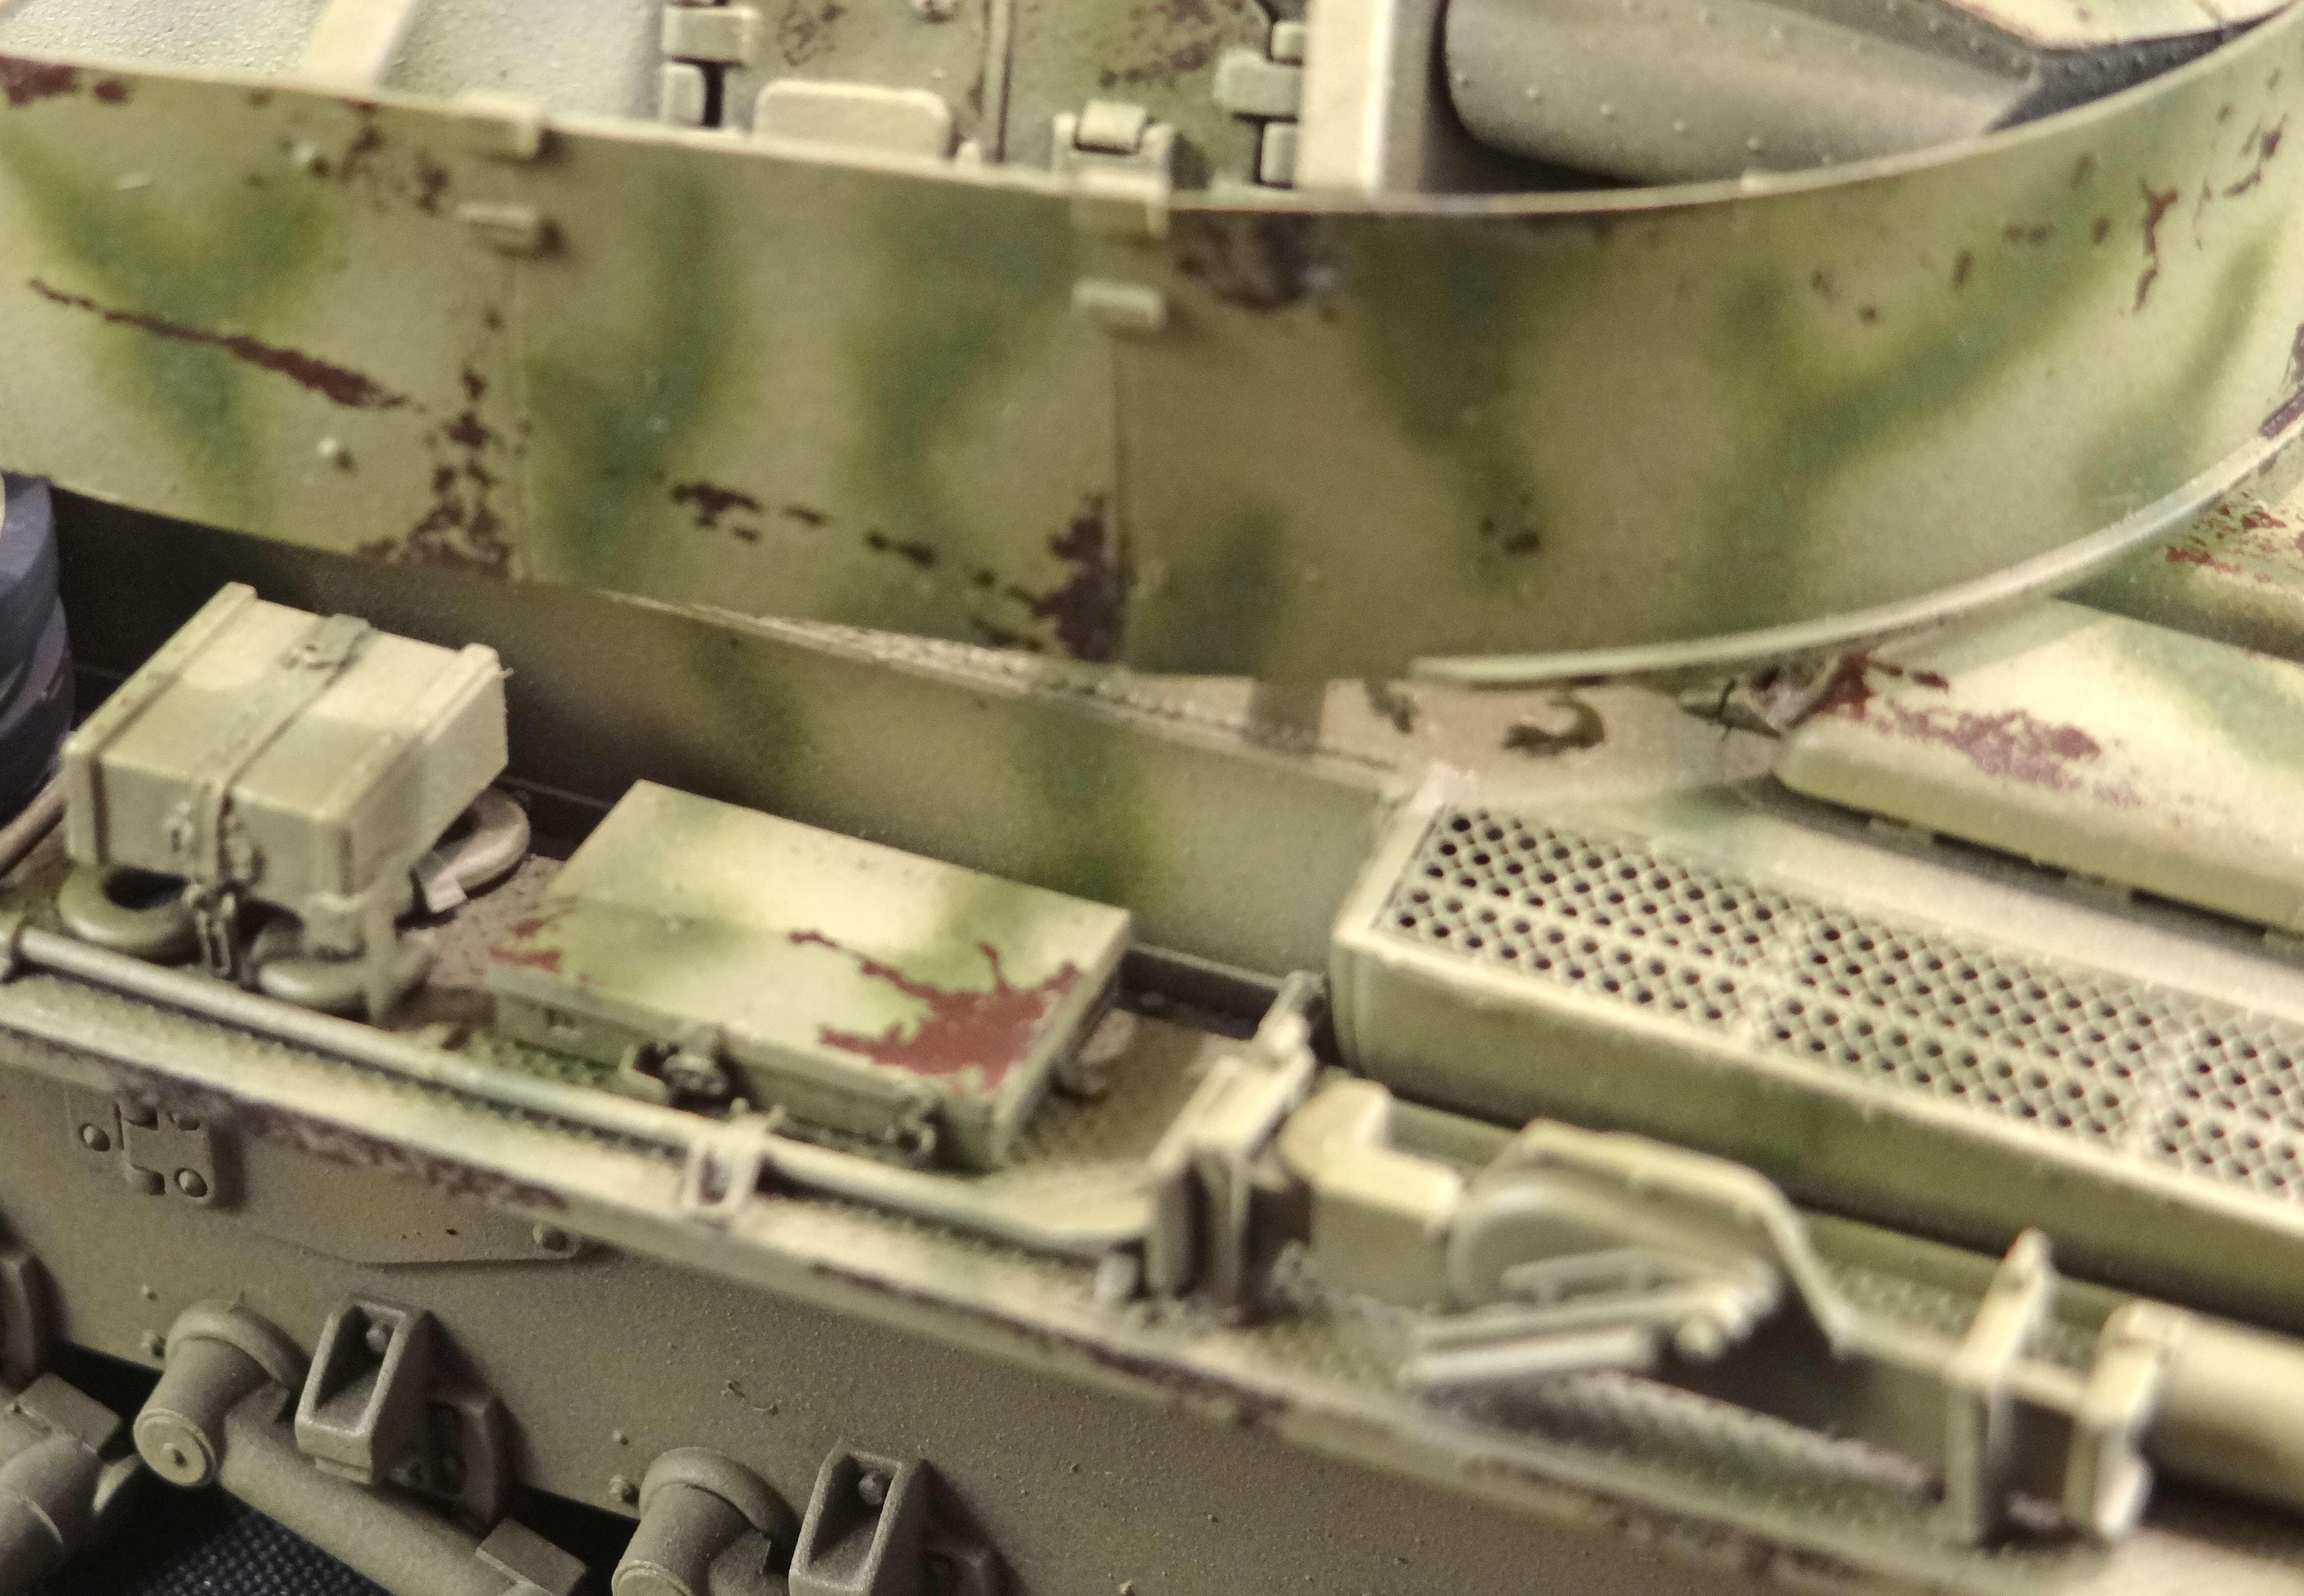
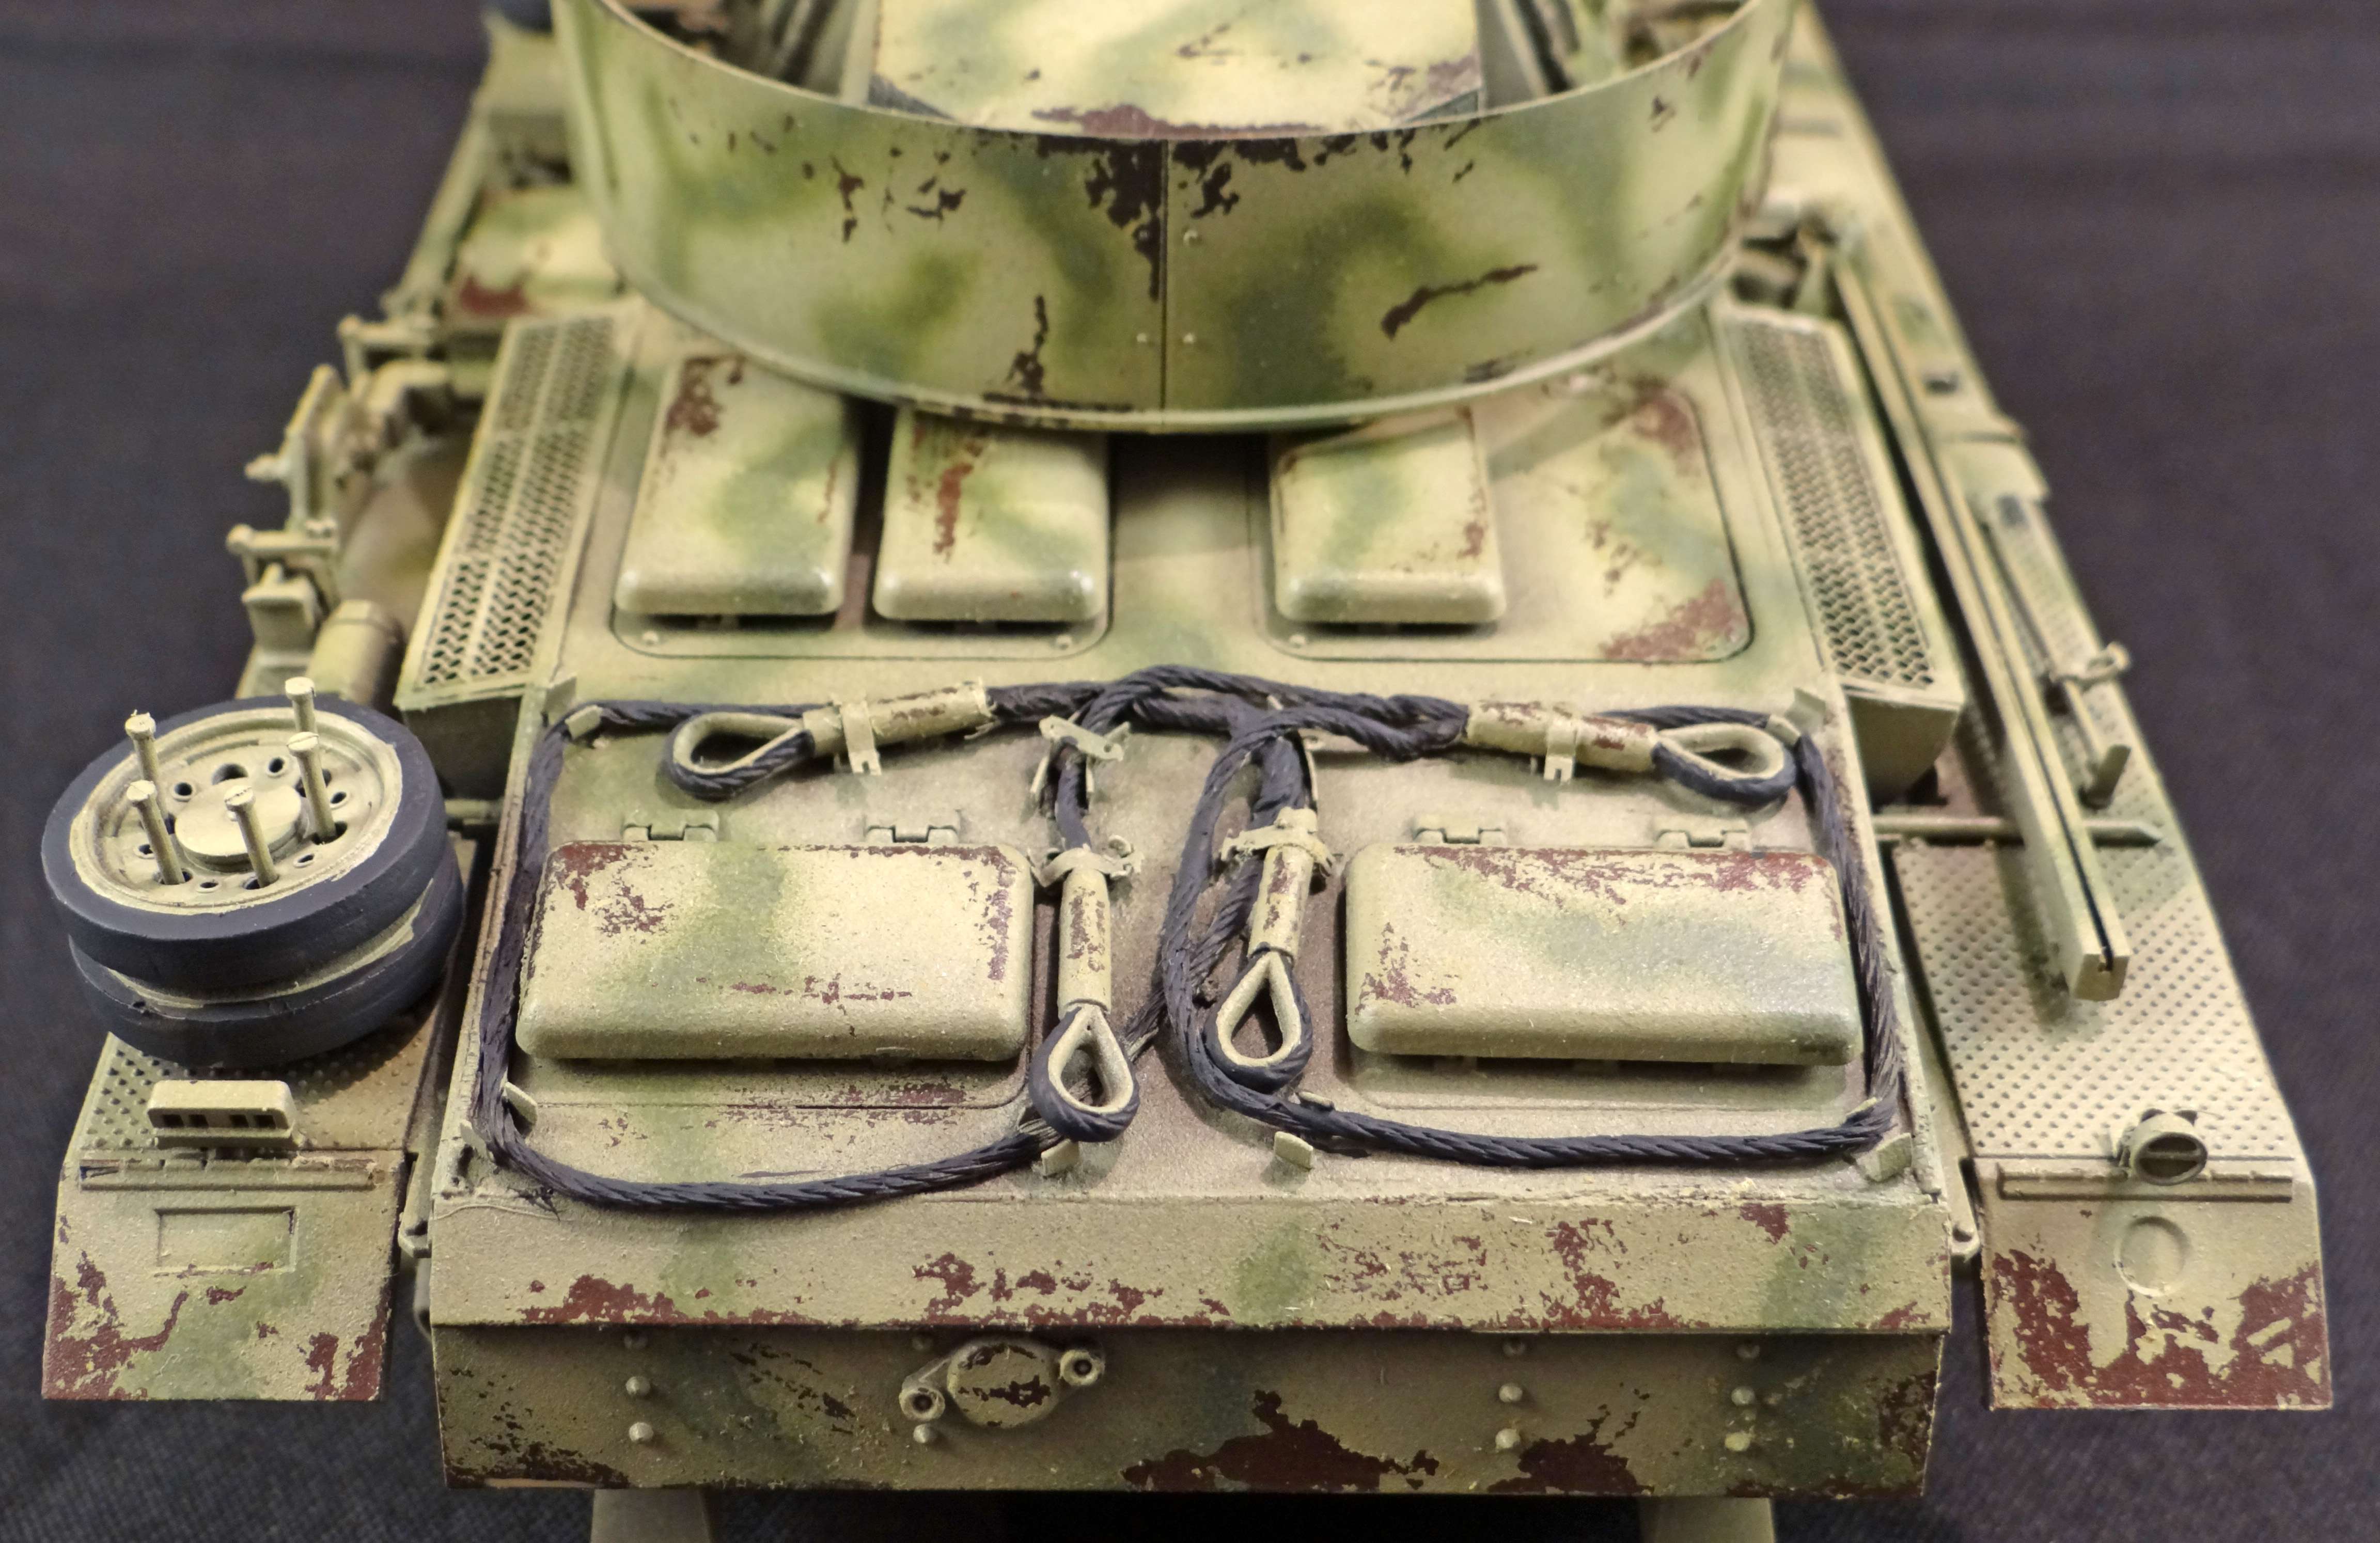
A preview of the Panzer III on the Sdkfz.116:
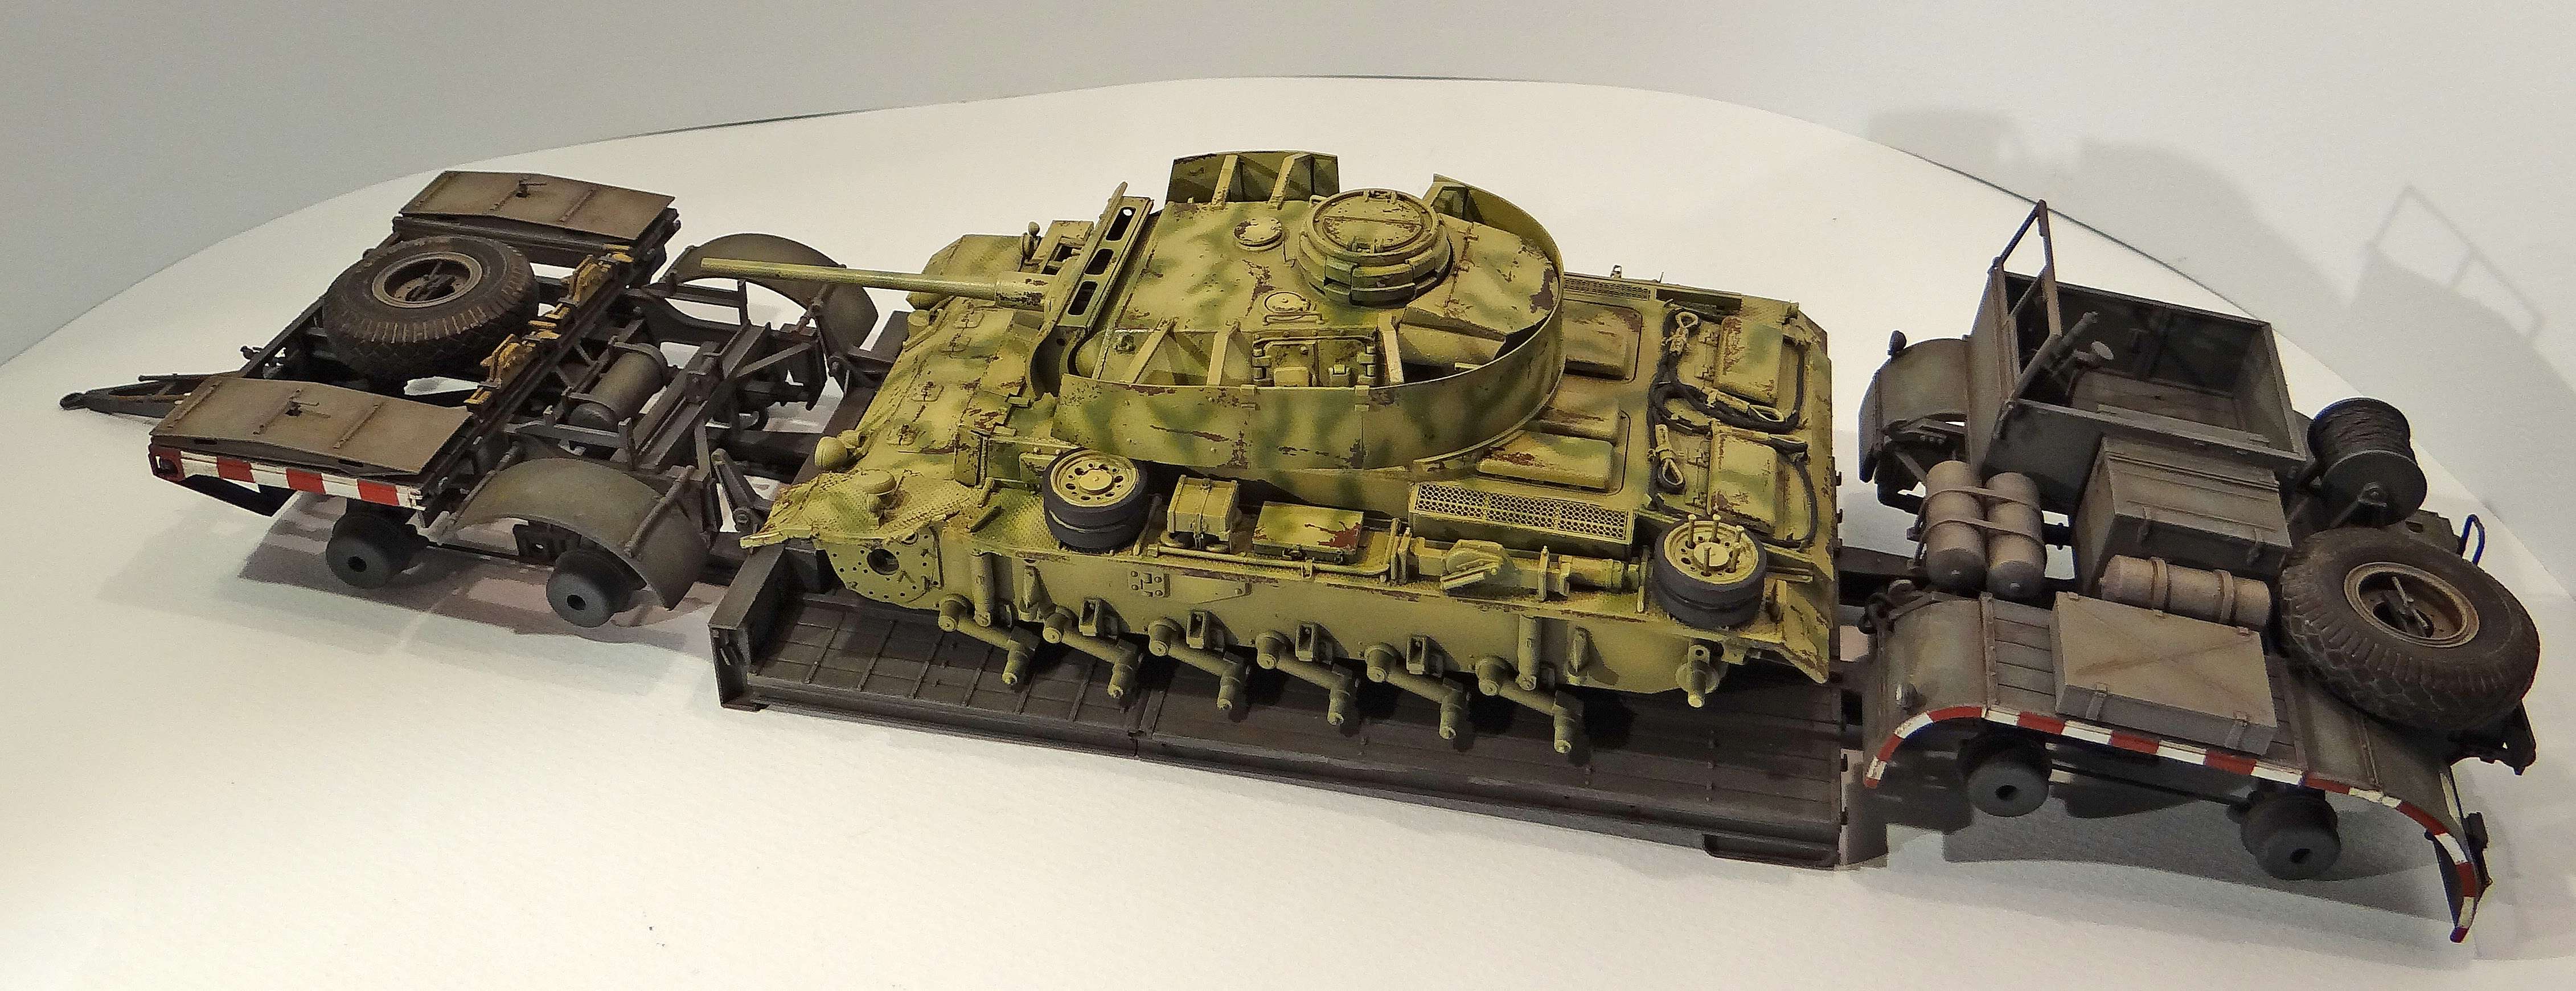
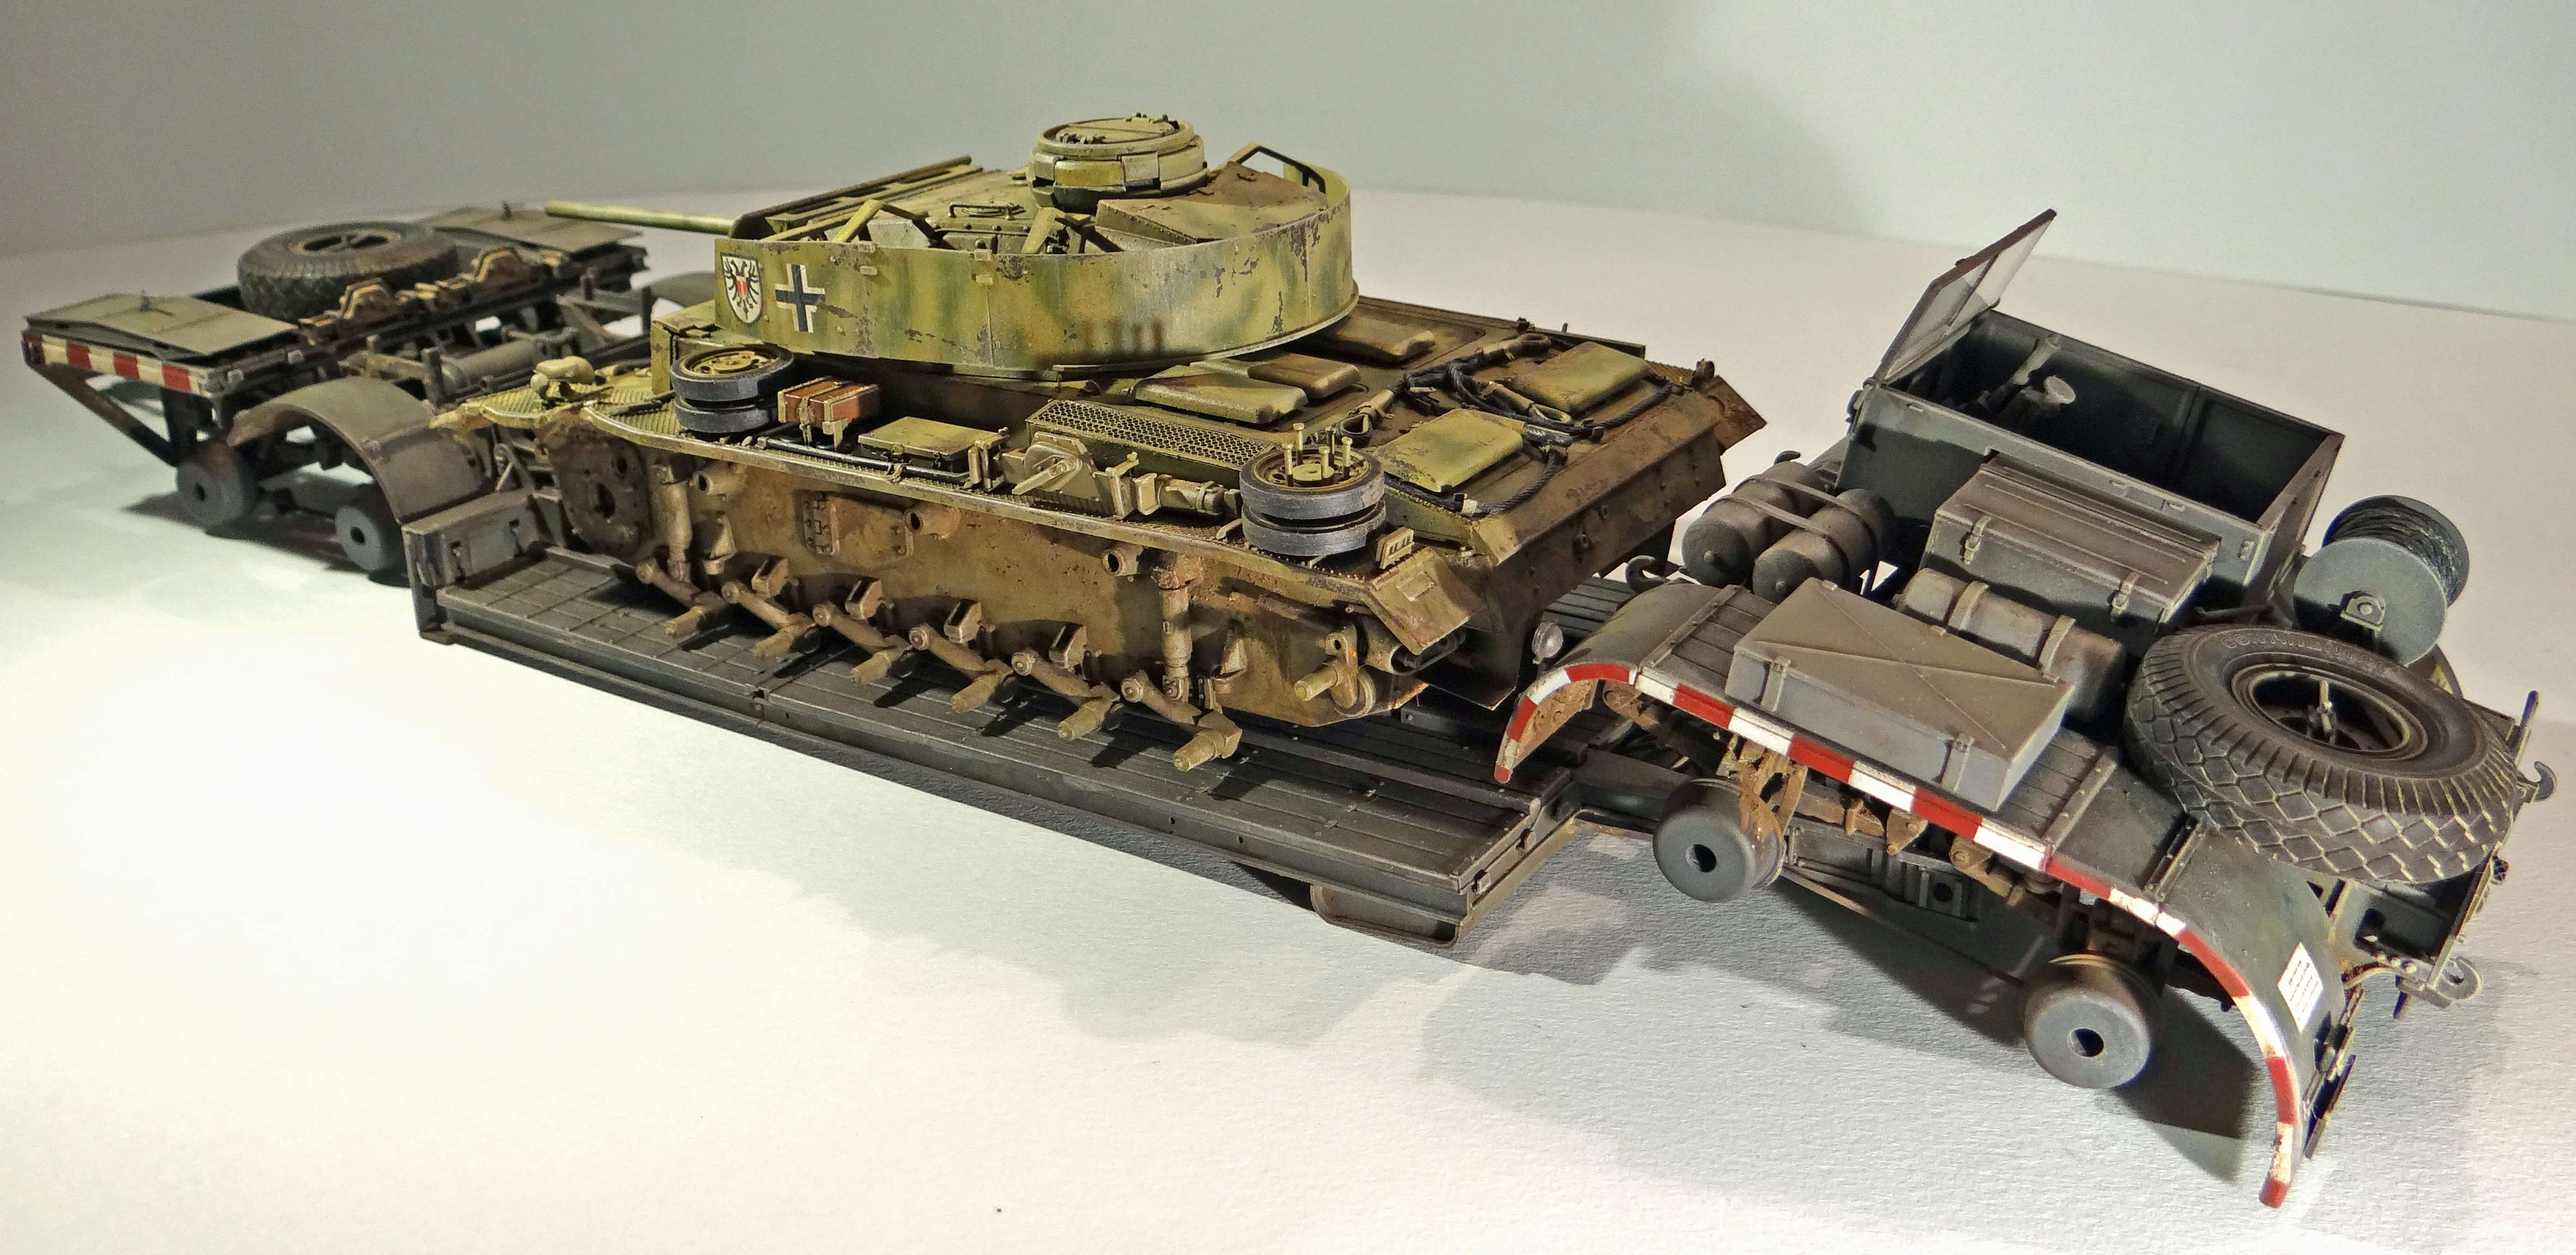
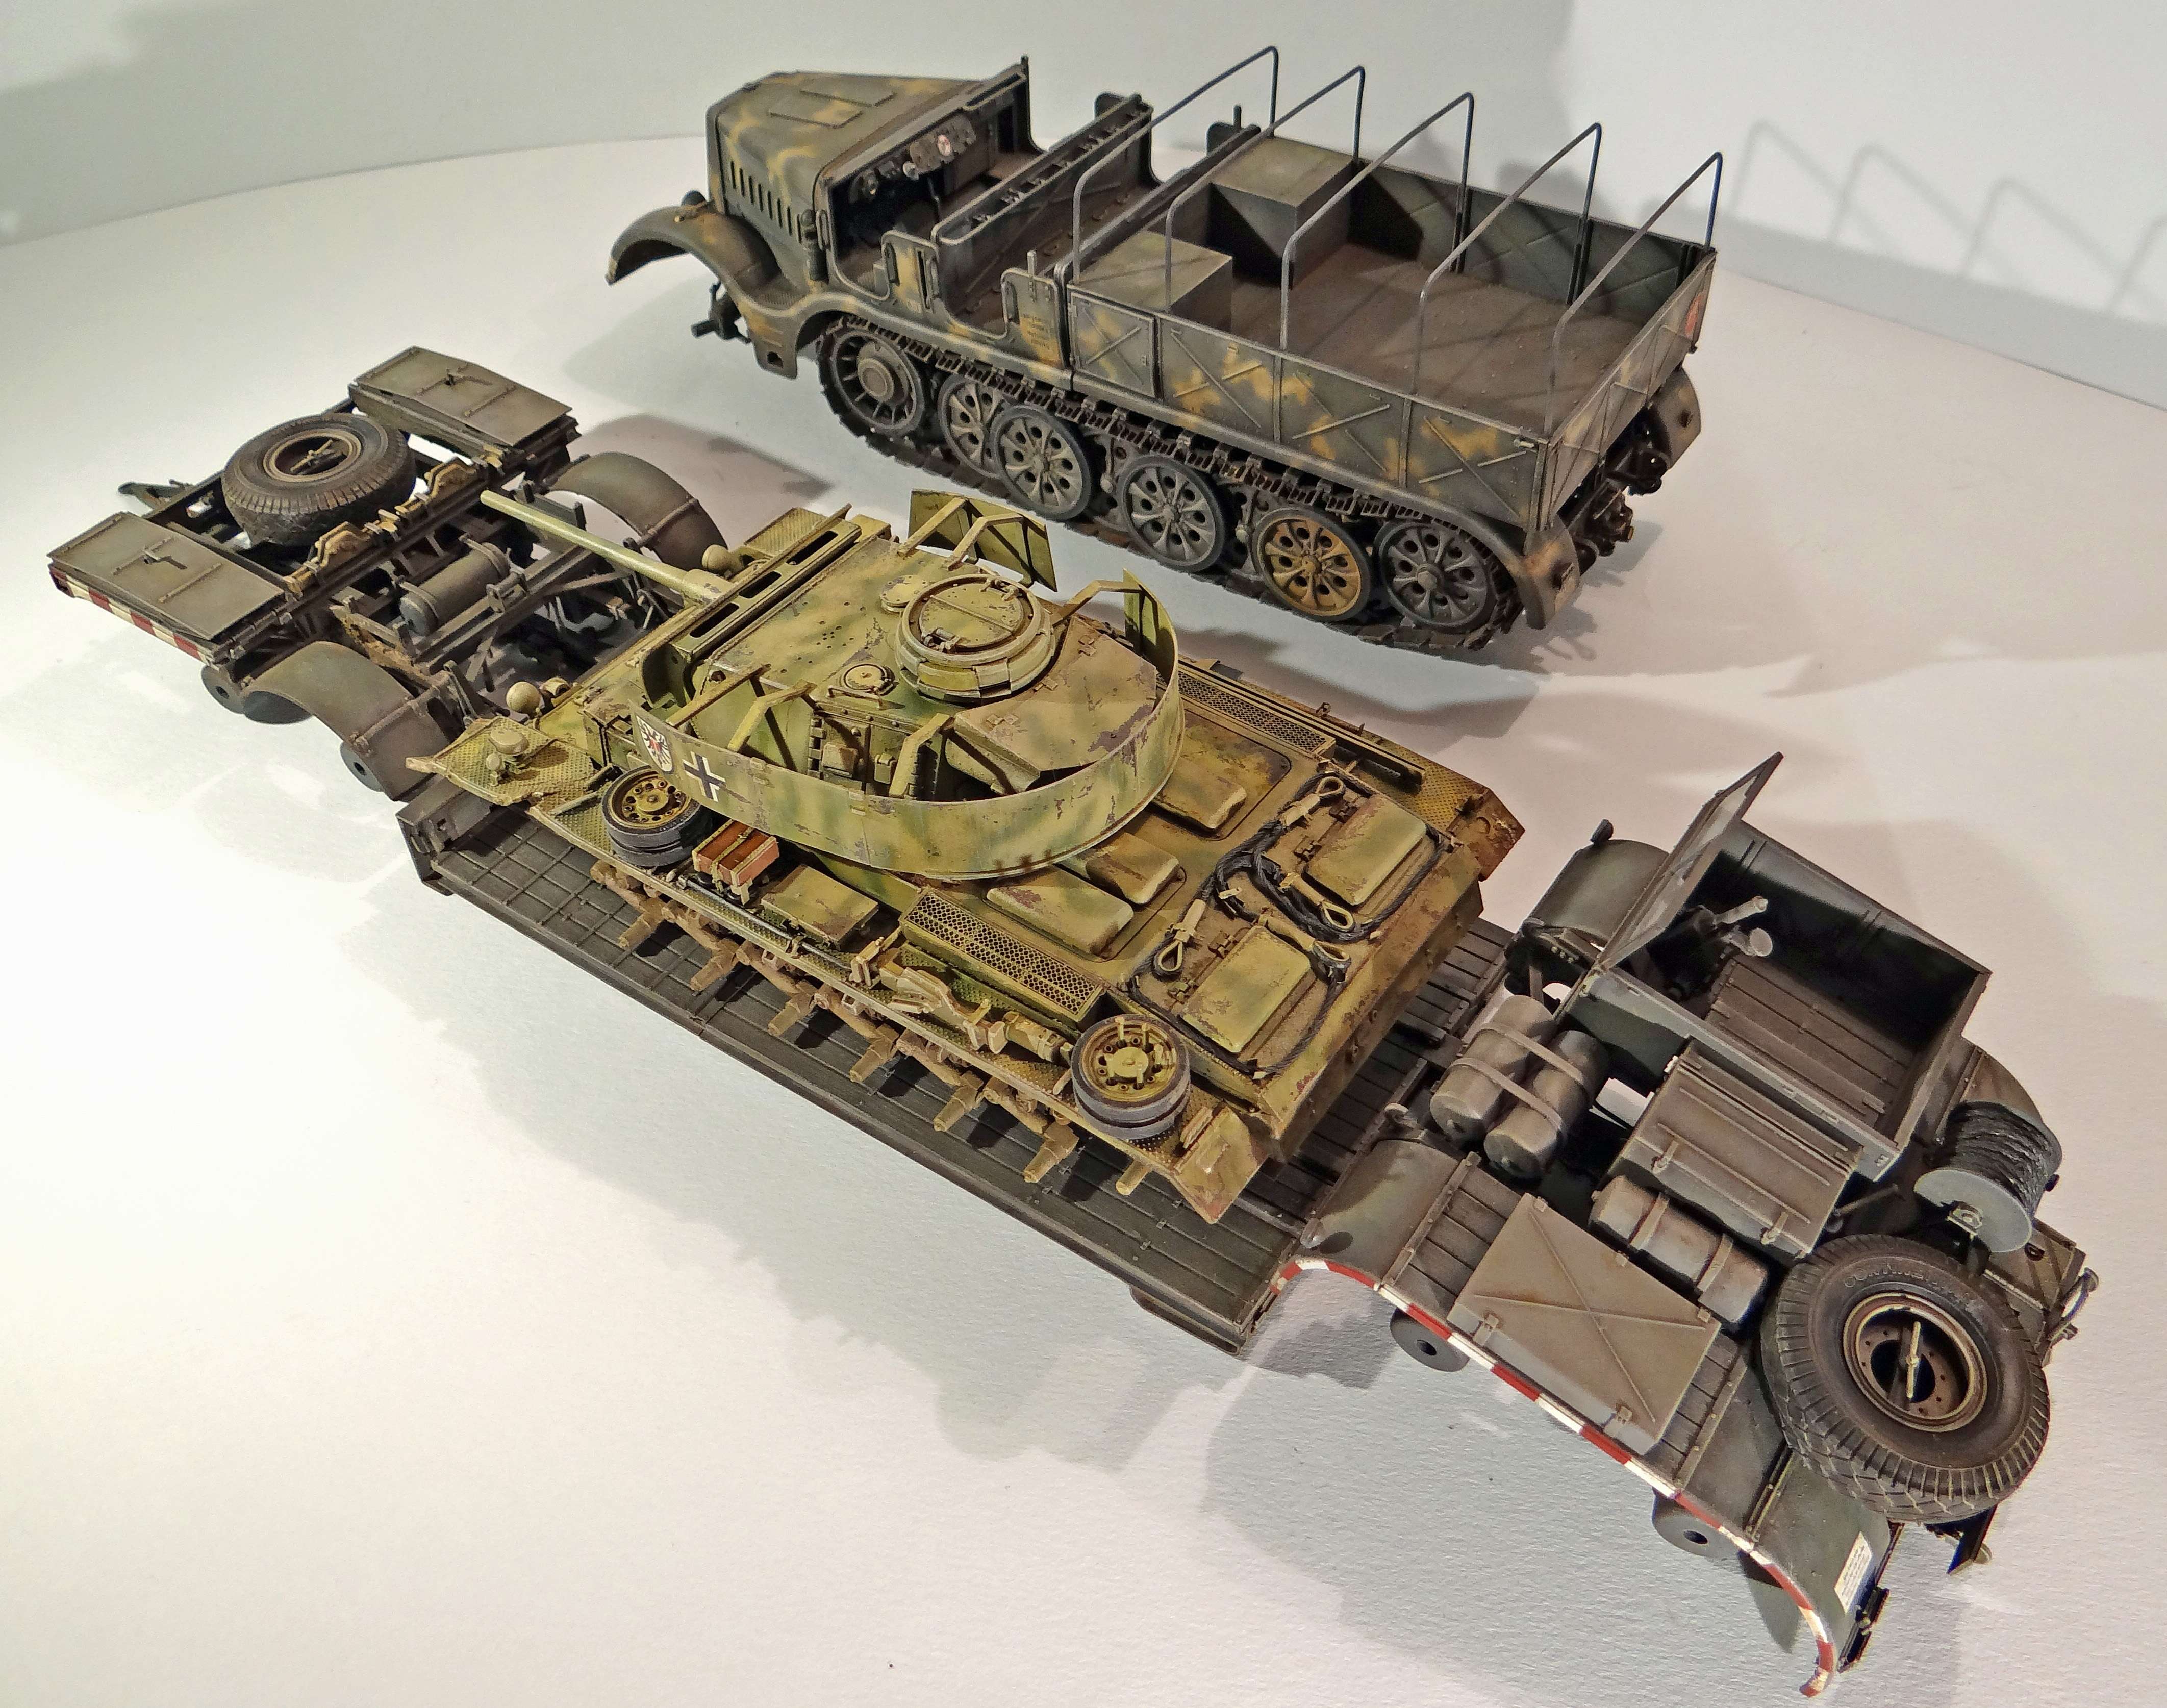
Bringing the Famo and the Panzer III together by means of washes, filters, pigments etc:
Diorama.
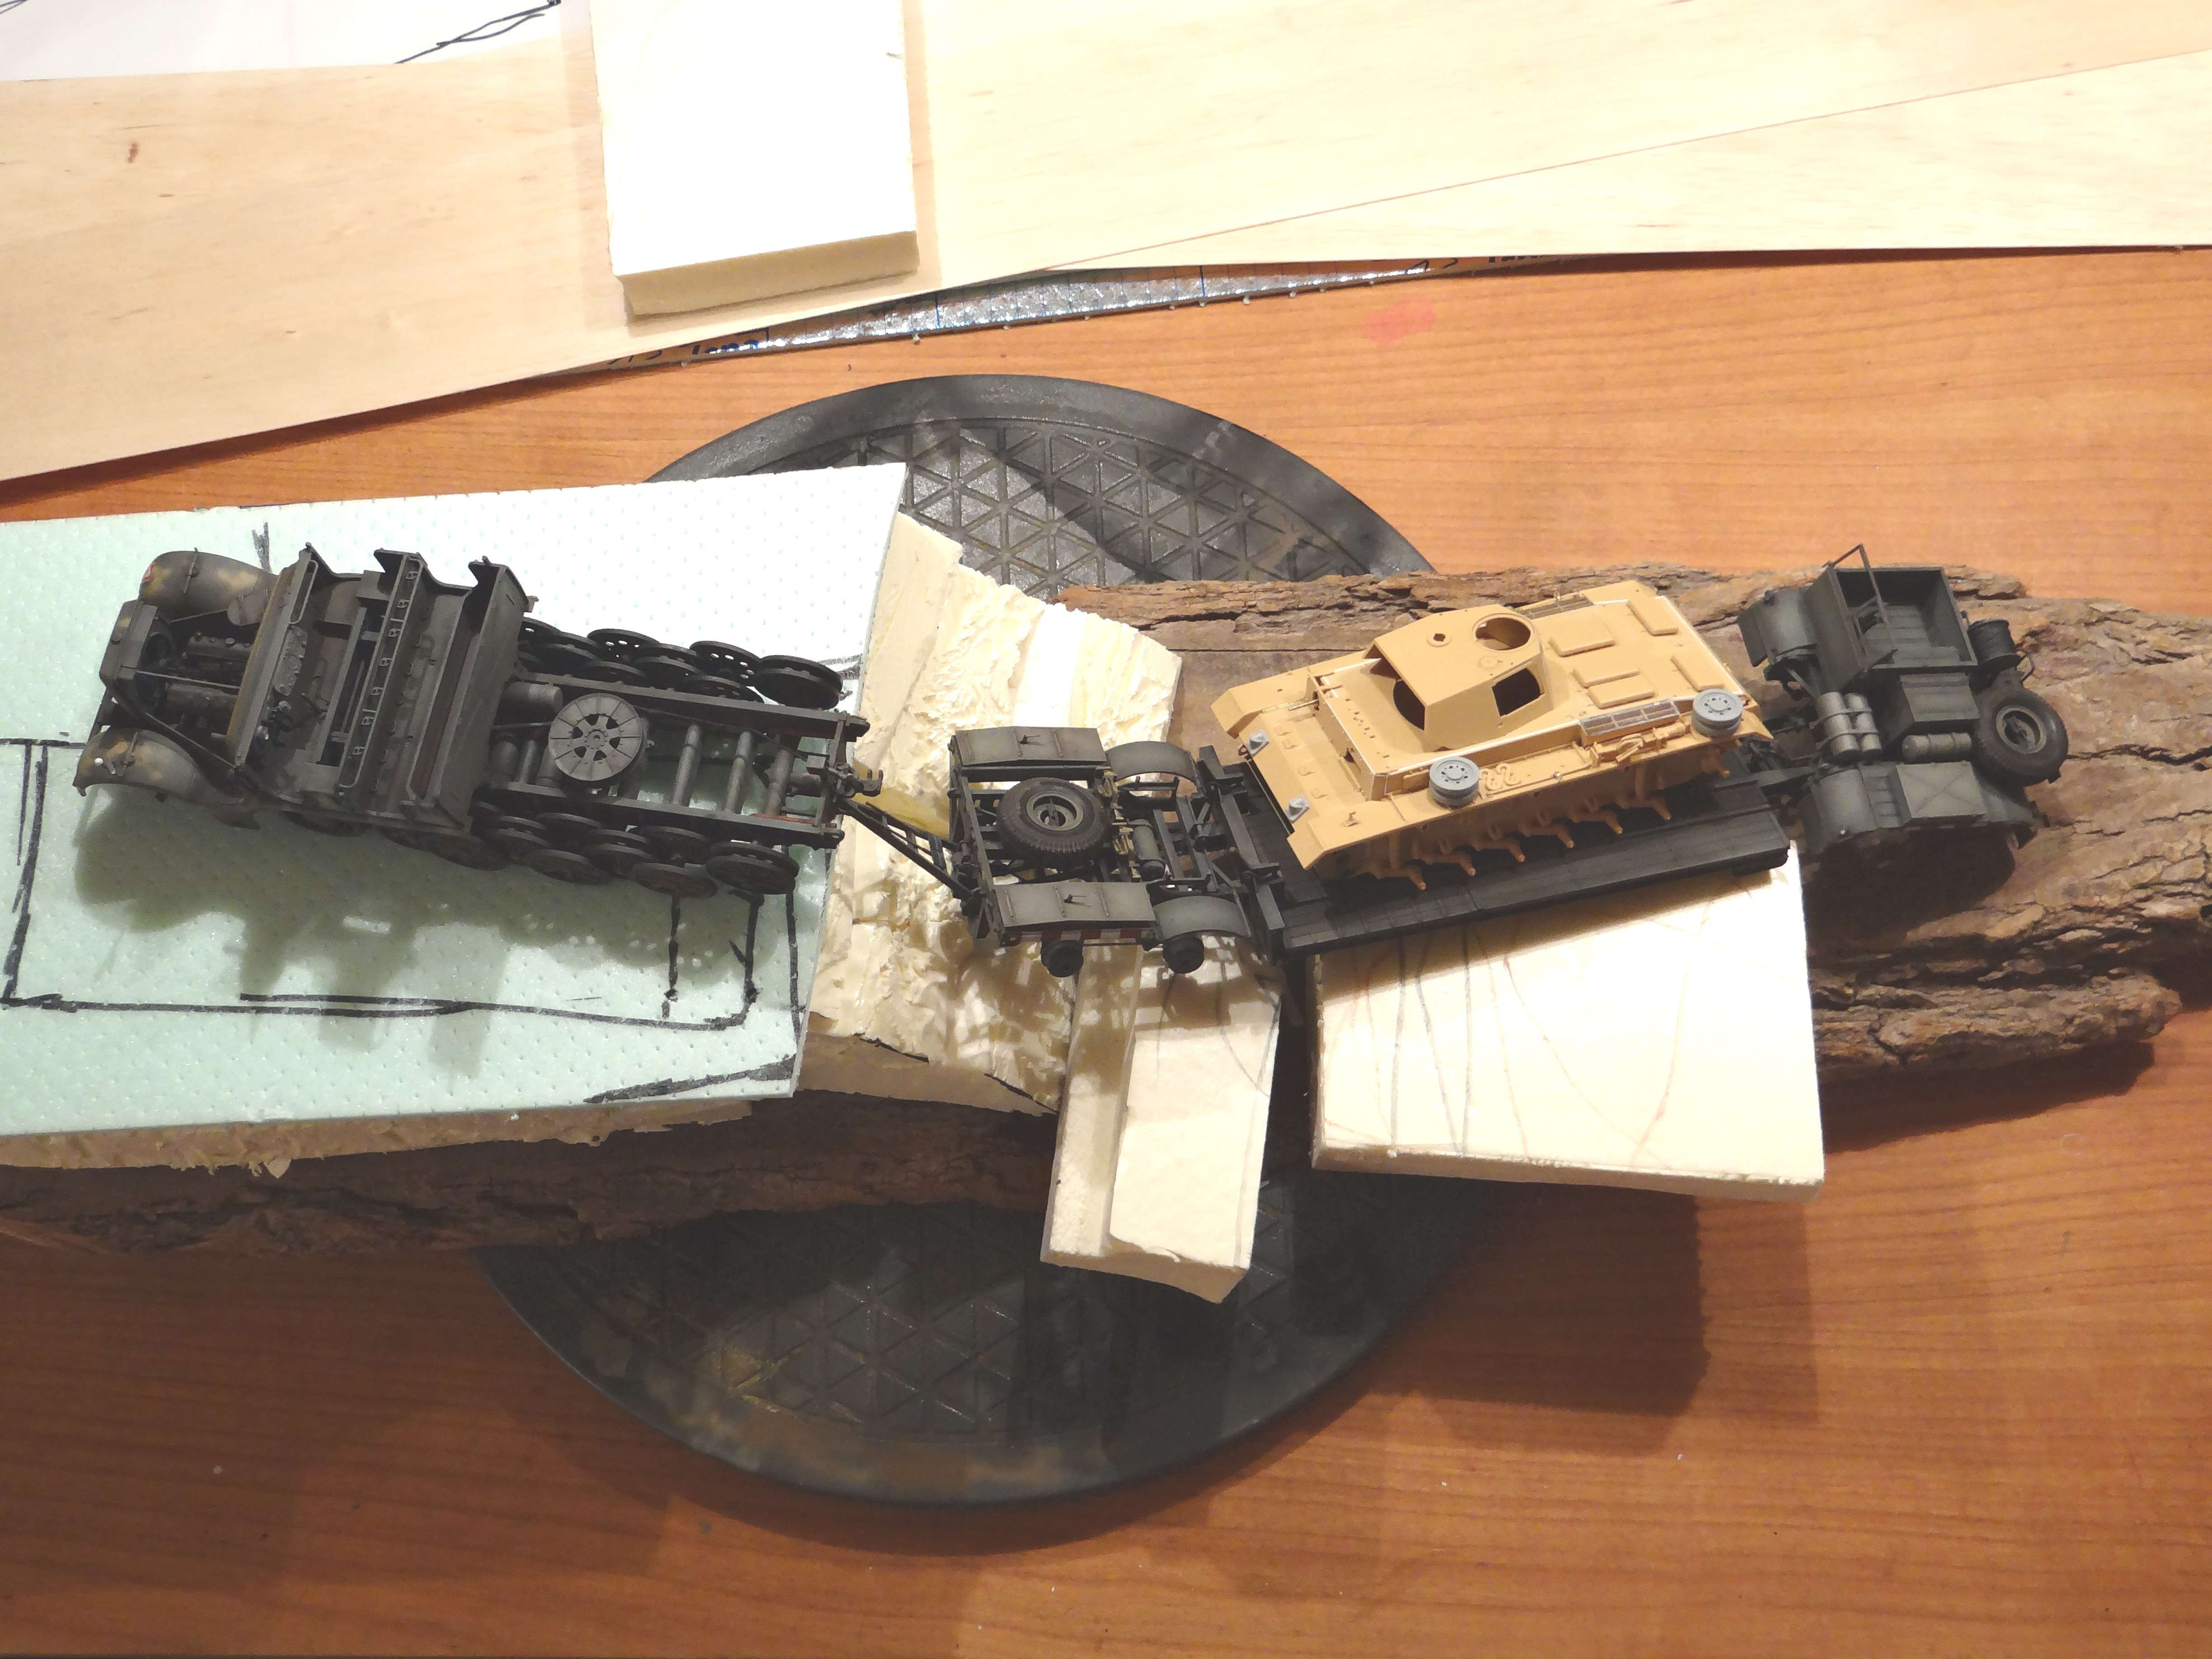
First phase always is the planning phase: how do the lines and the elements in the dio relate to each other. In short, I visualize on paper and in 3D what’s in my head:
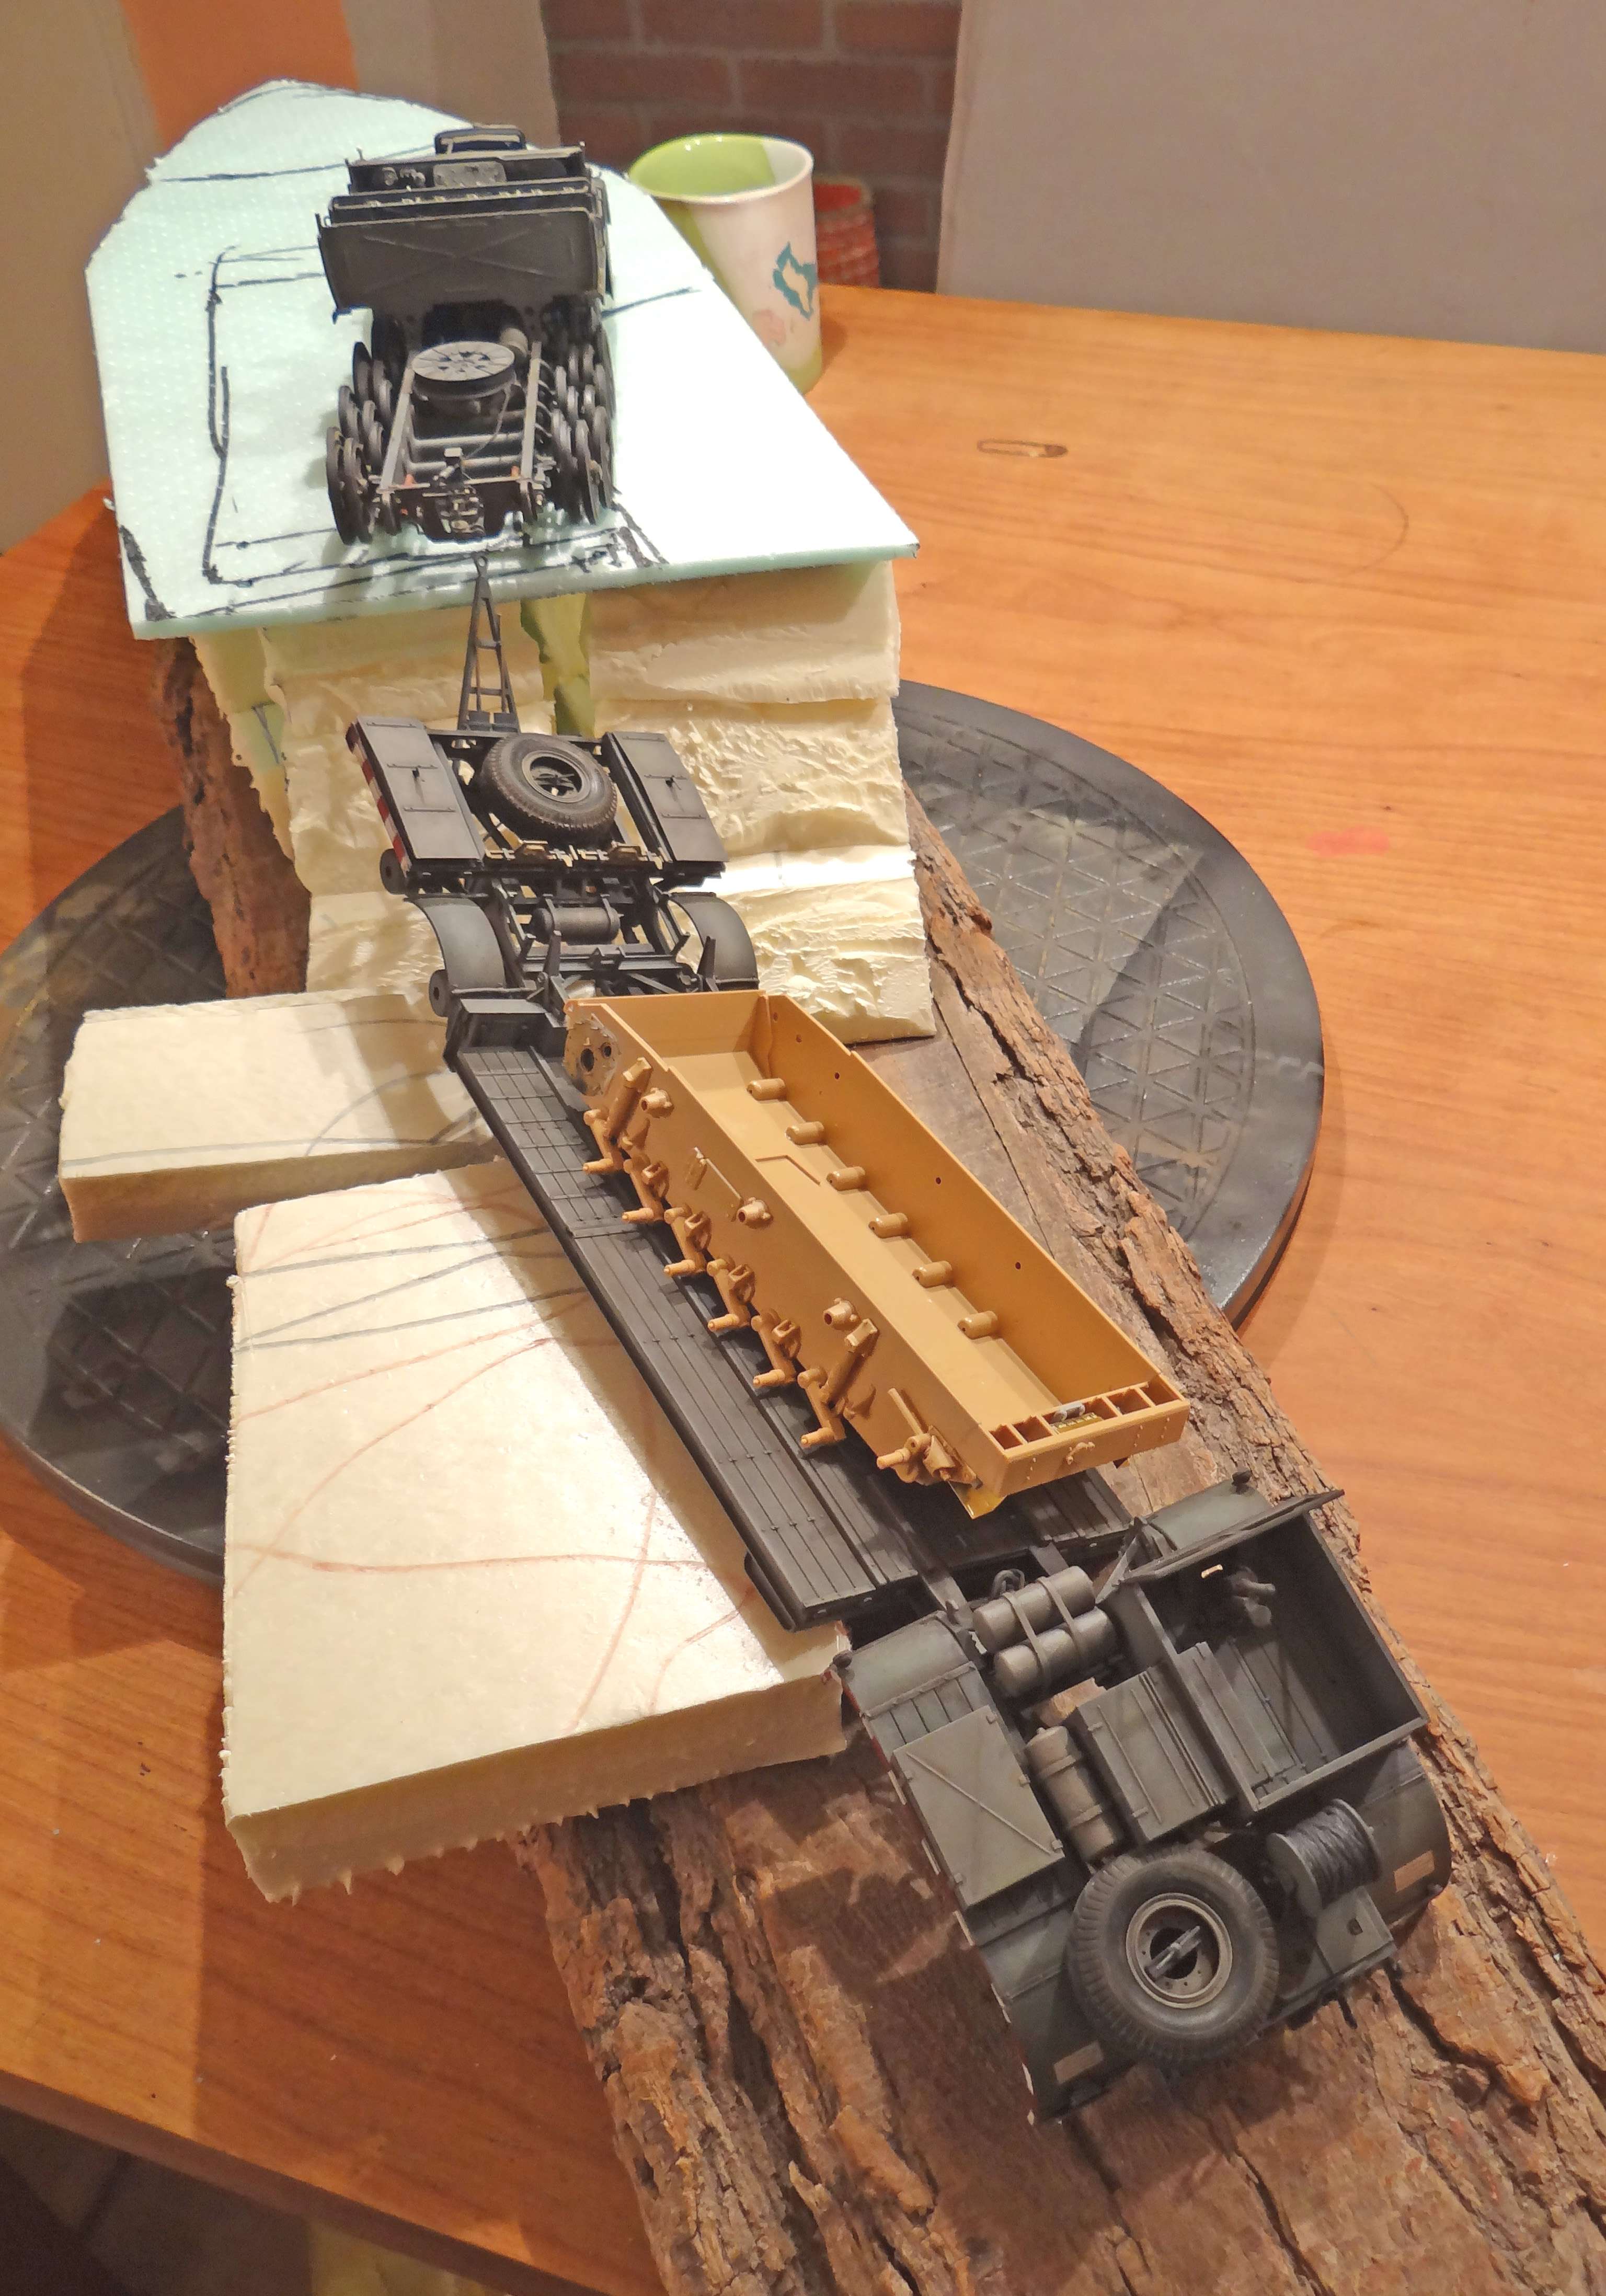
The diorama was inspired by this picture:
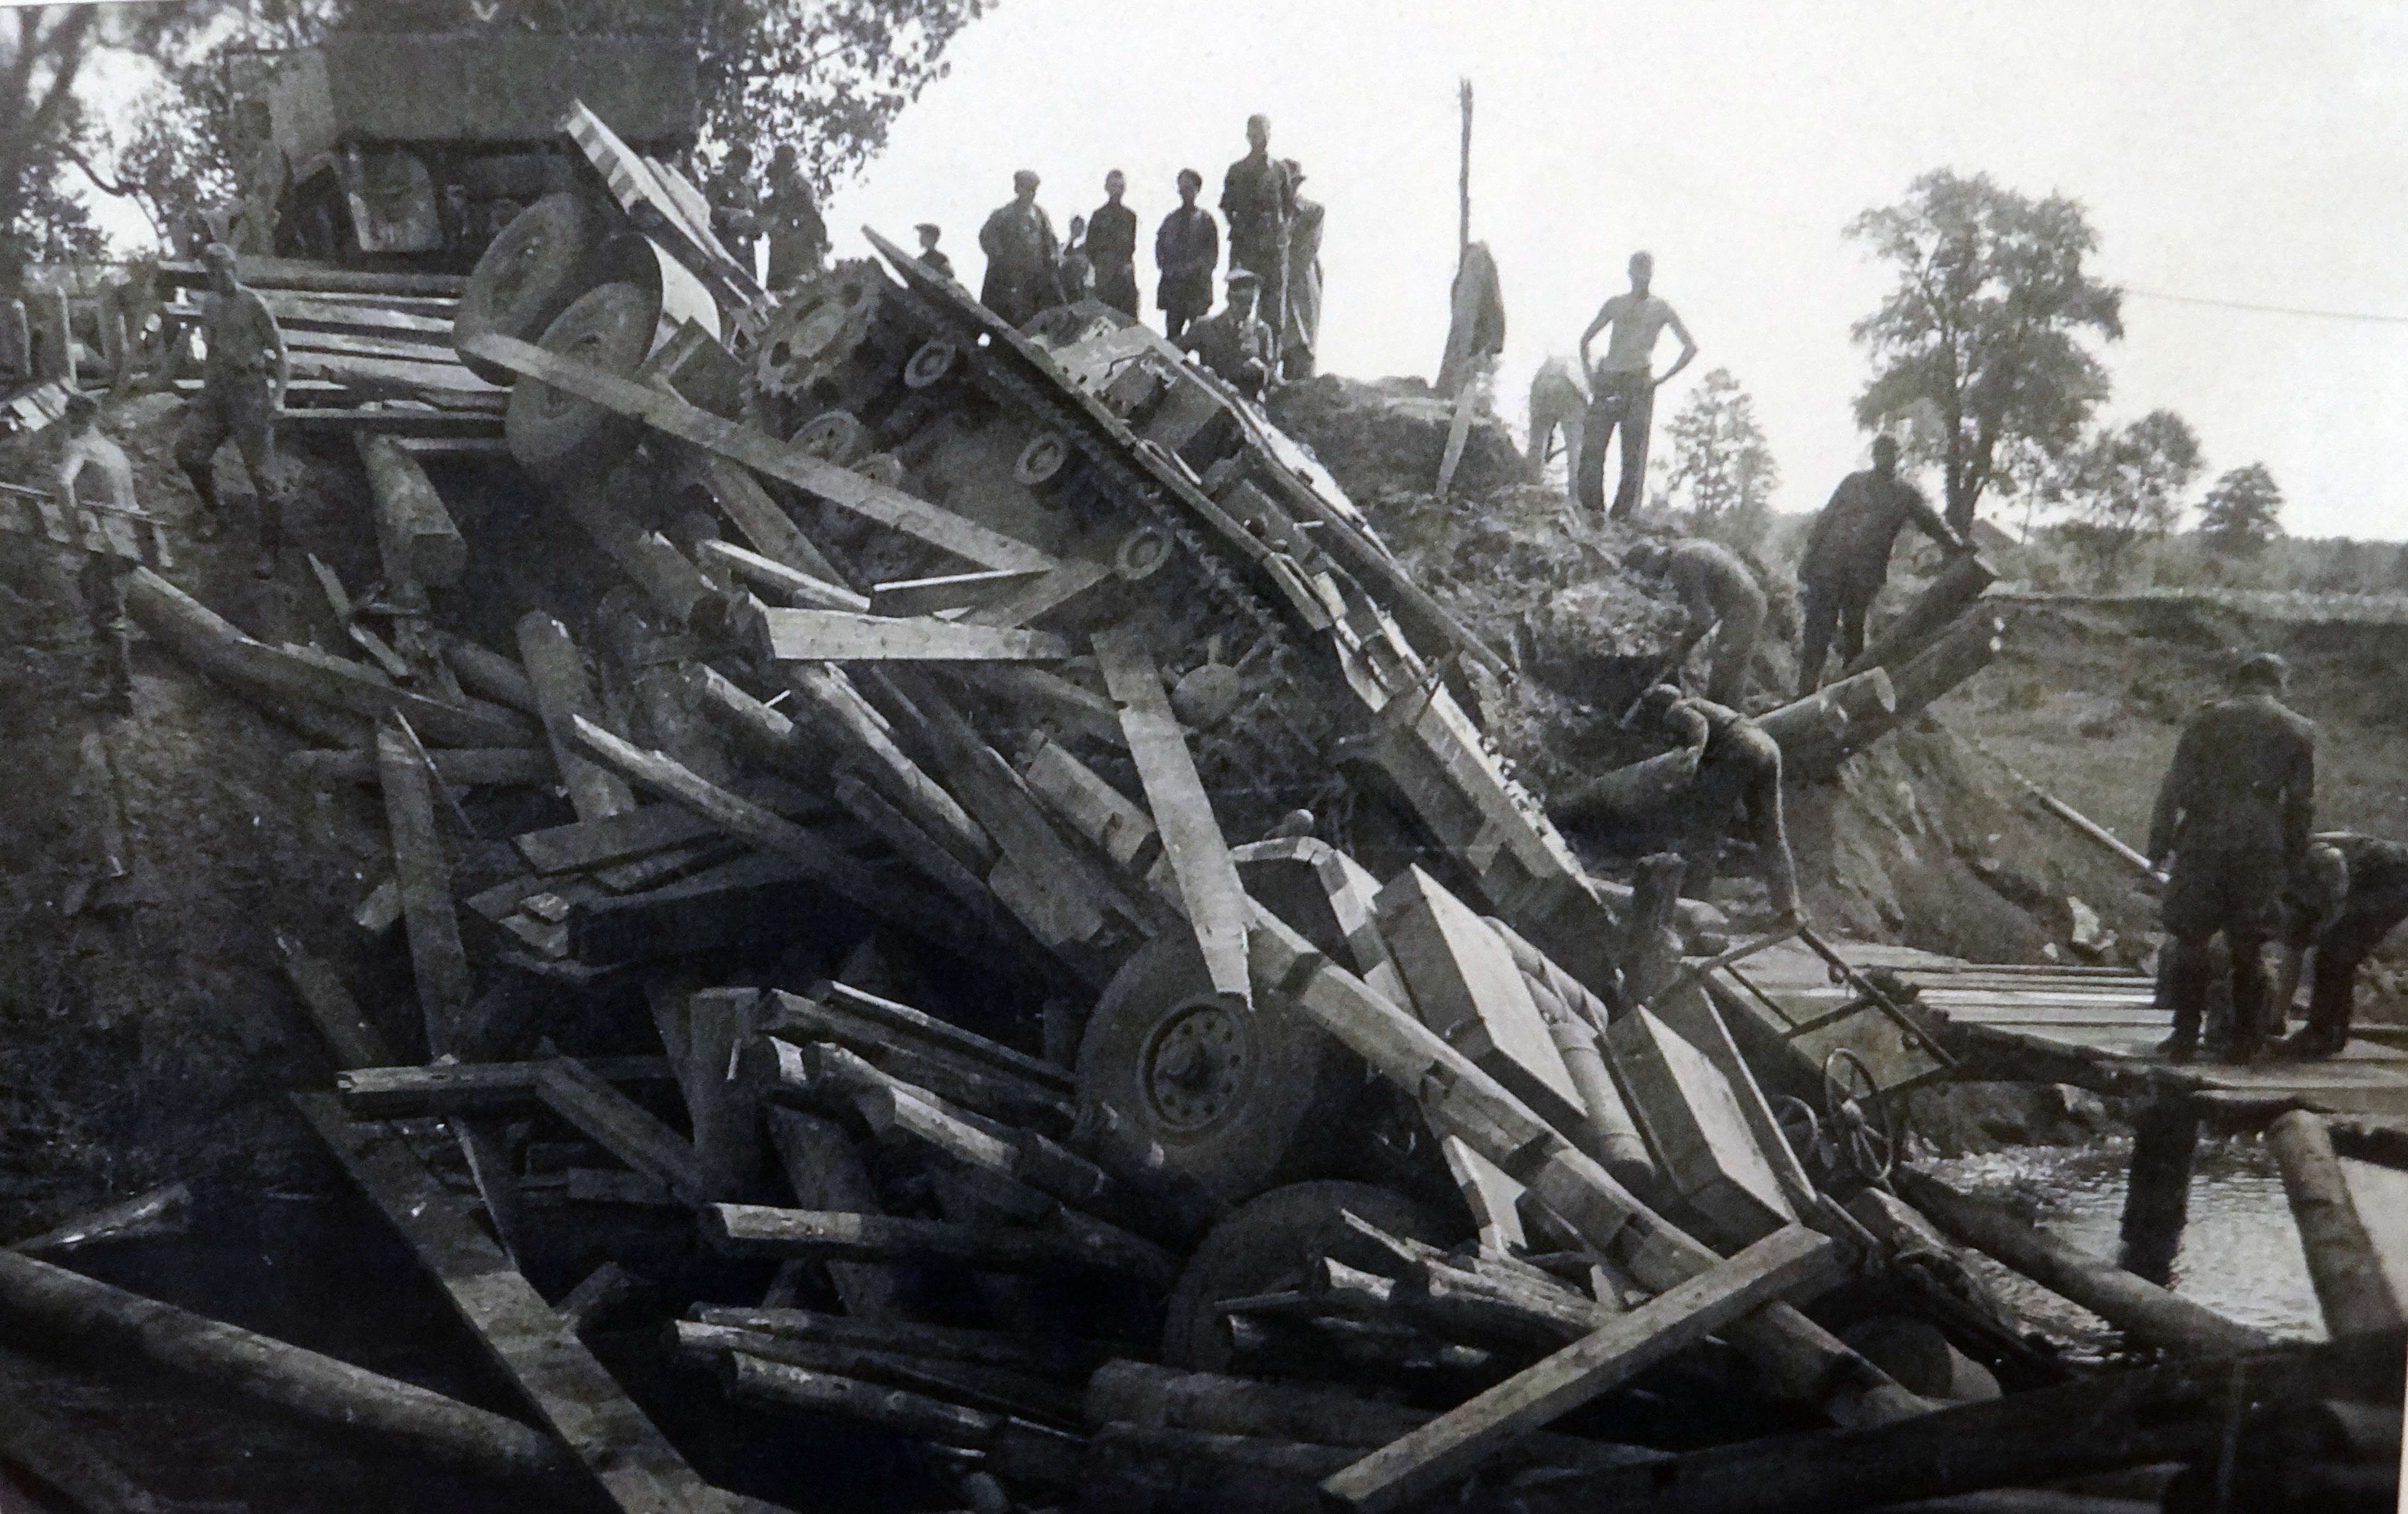
© Lukas Friedly 2011. Picture property of “the Archive of Modern Conflict” and made available by Stefan De Meyer & Amy McNamara.
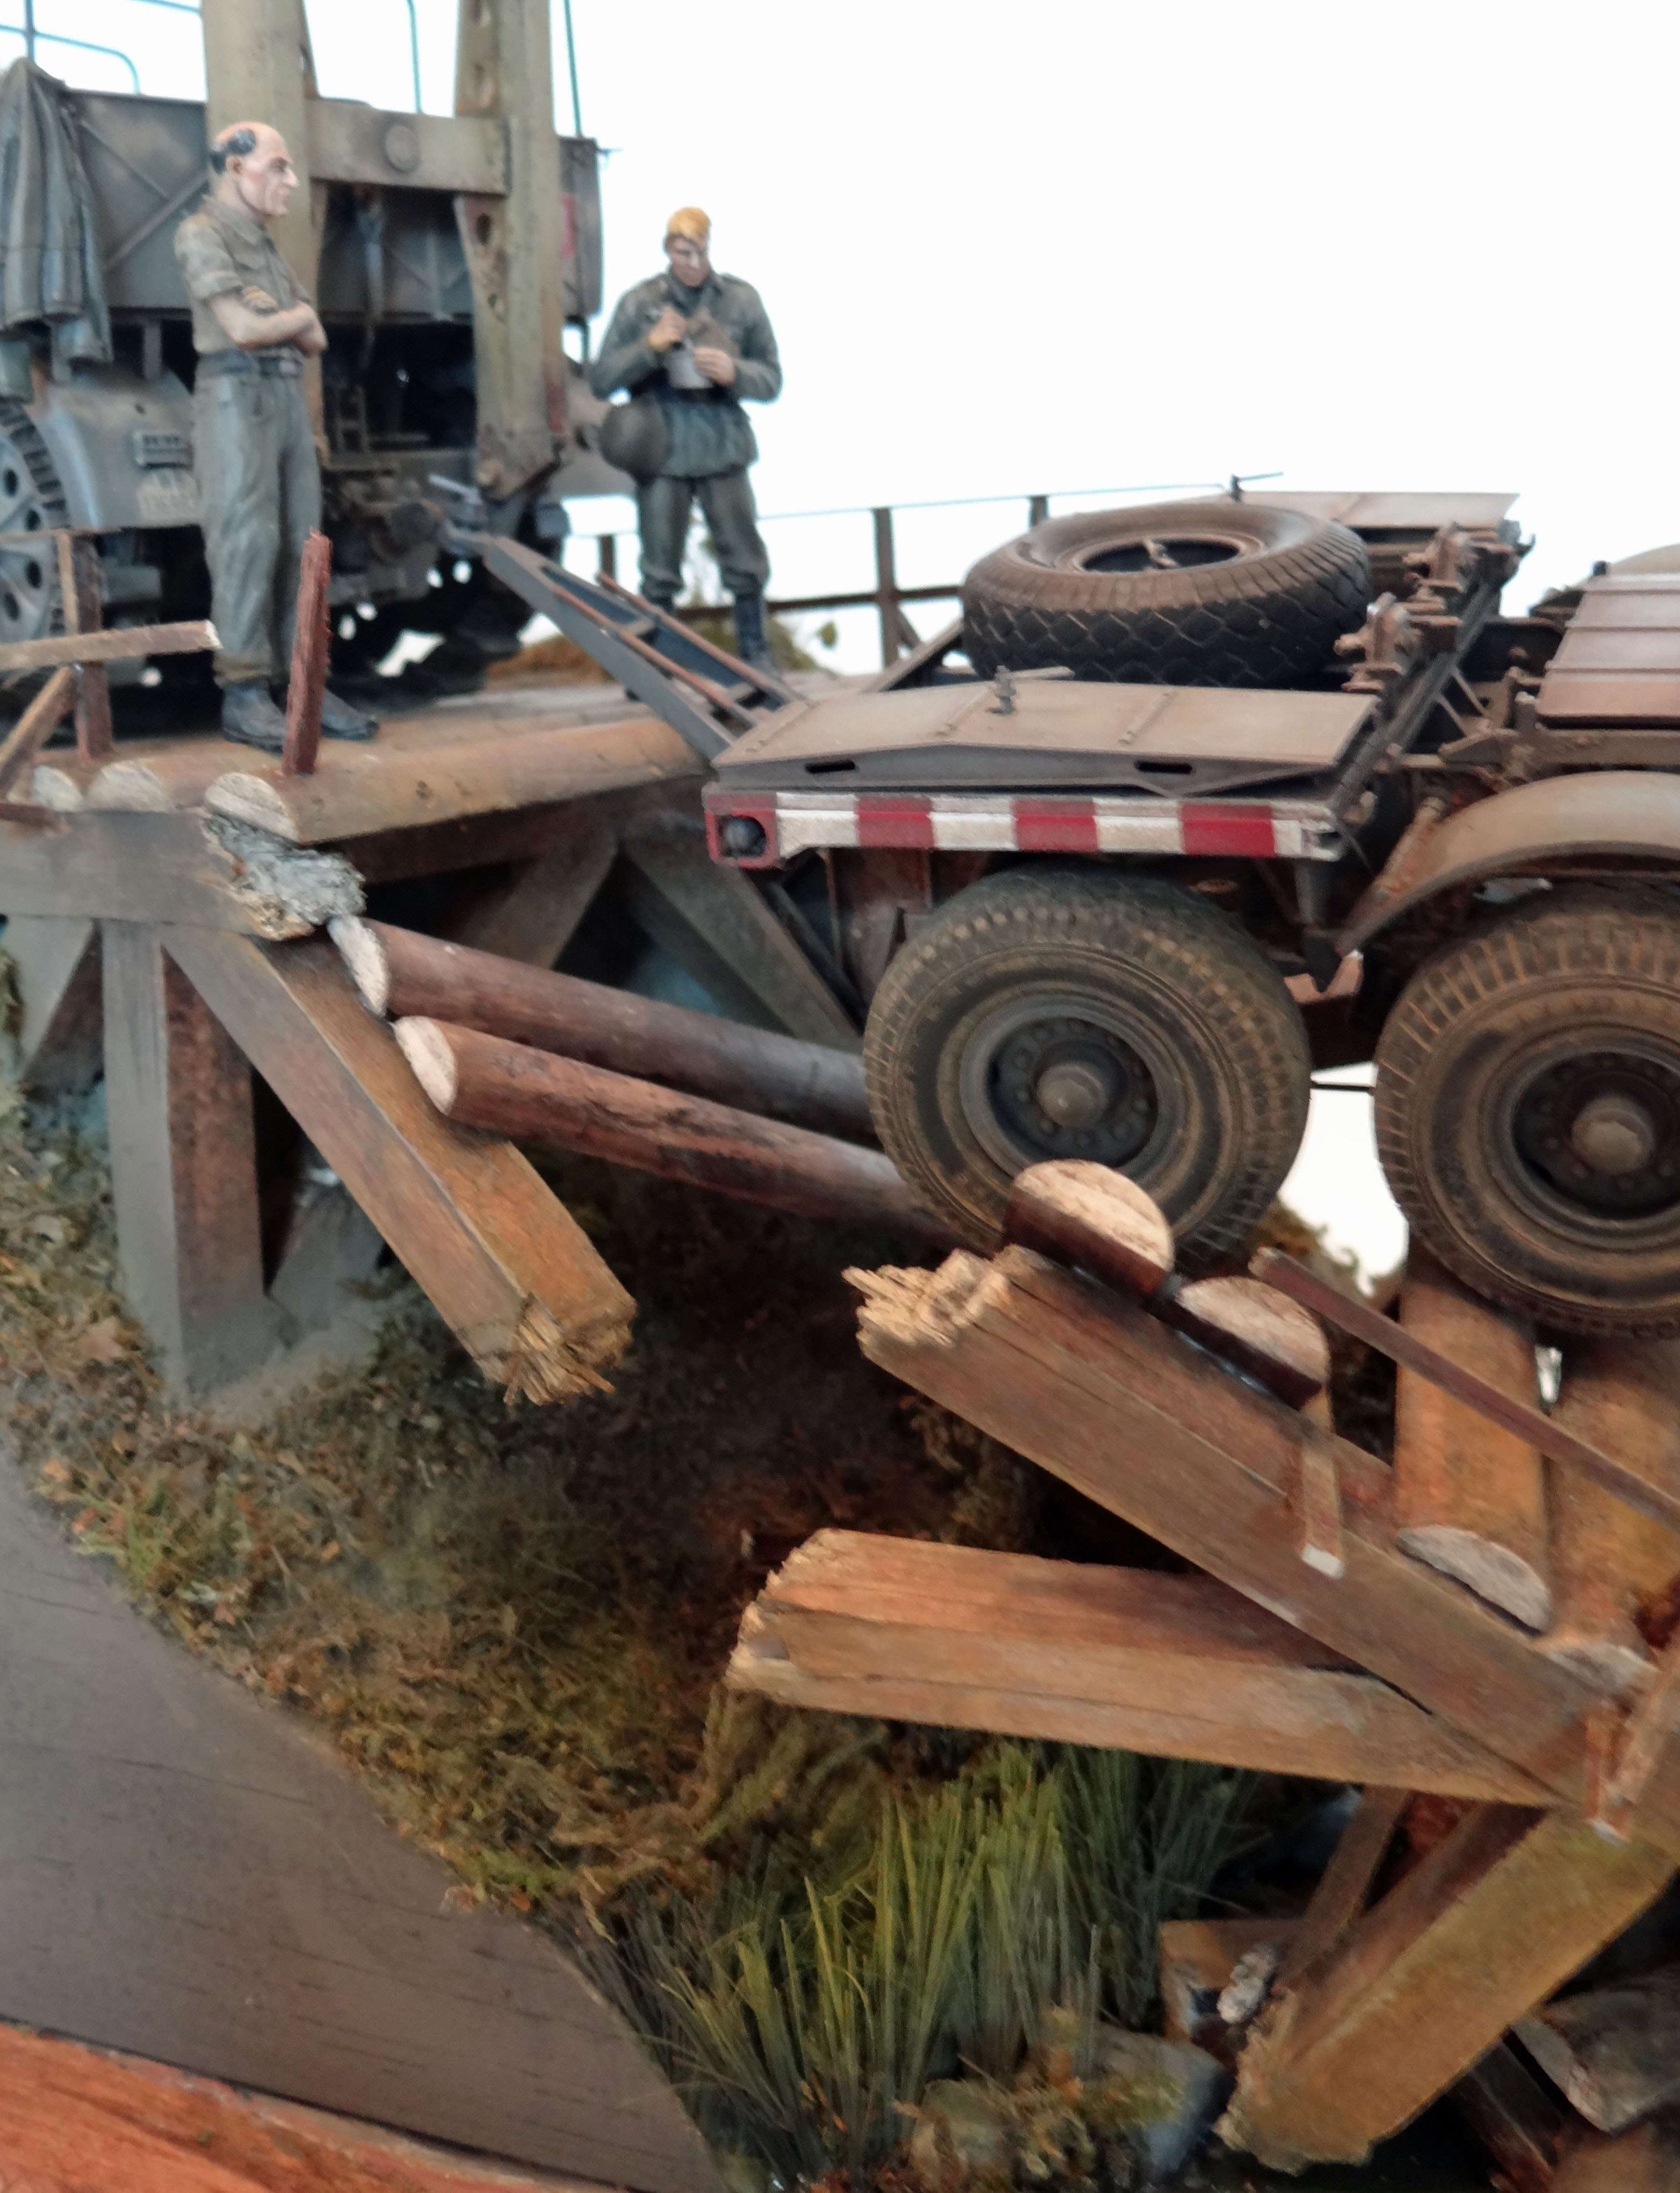
Hours I spend looking at that photograph: hów did that bridge collapse, whát are the soldiers in the picture doing, how I’m going to build that bridge, etc. etc. At a certain point my wife really asked me what is more important in my life: She or the Famo. Well…… (just kidding Saskia).
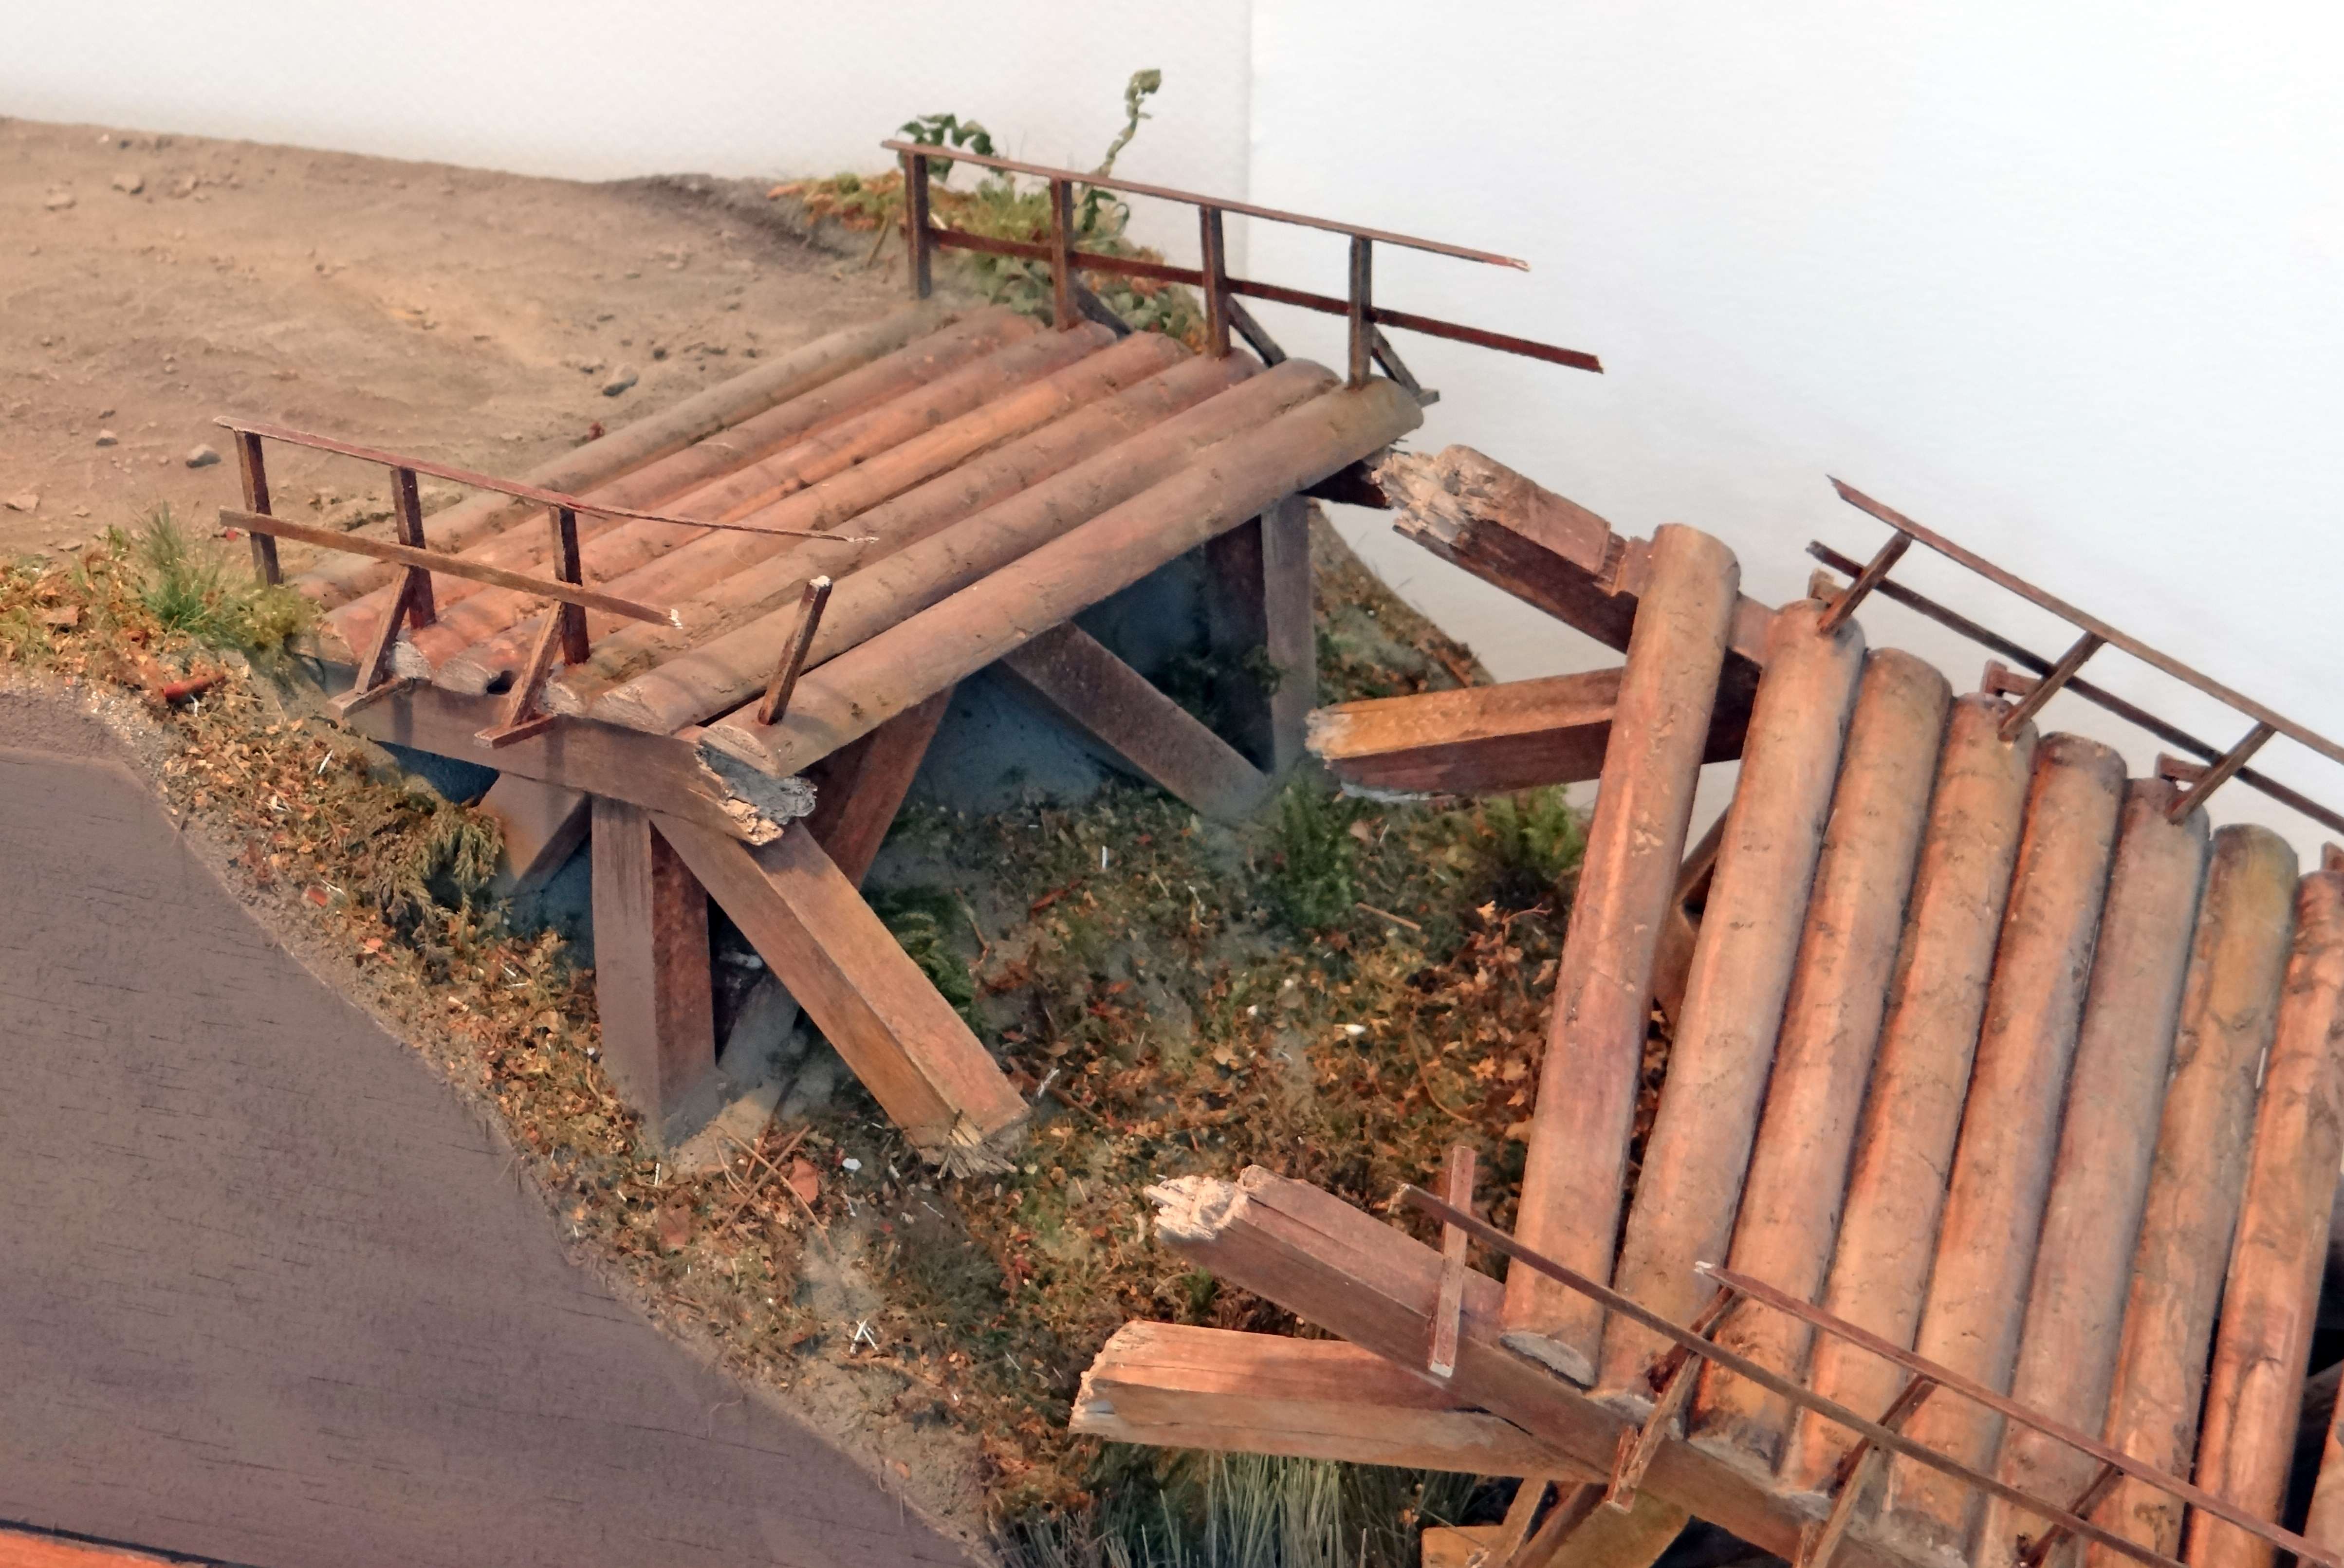
Then the base is made. A joiner in my street sold me a nice piece of hard wood. The tree it came from was sawn top to bottom, so the entire board has a nice “bark edge” Structure is foam and balsa. Originally I wanted to coat the balsa with a transparent lacquer, but I screwed up with filling seams, so I had to cover the balsa with a non-transparent paint.
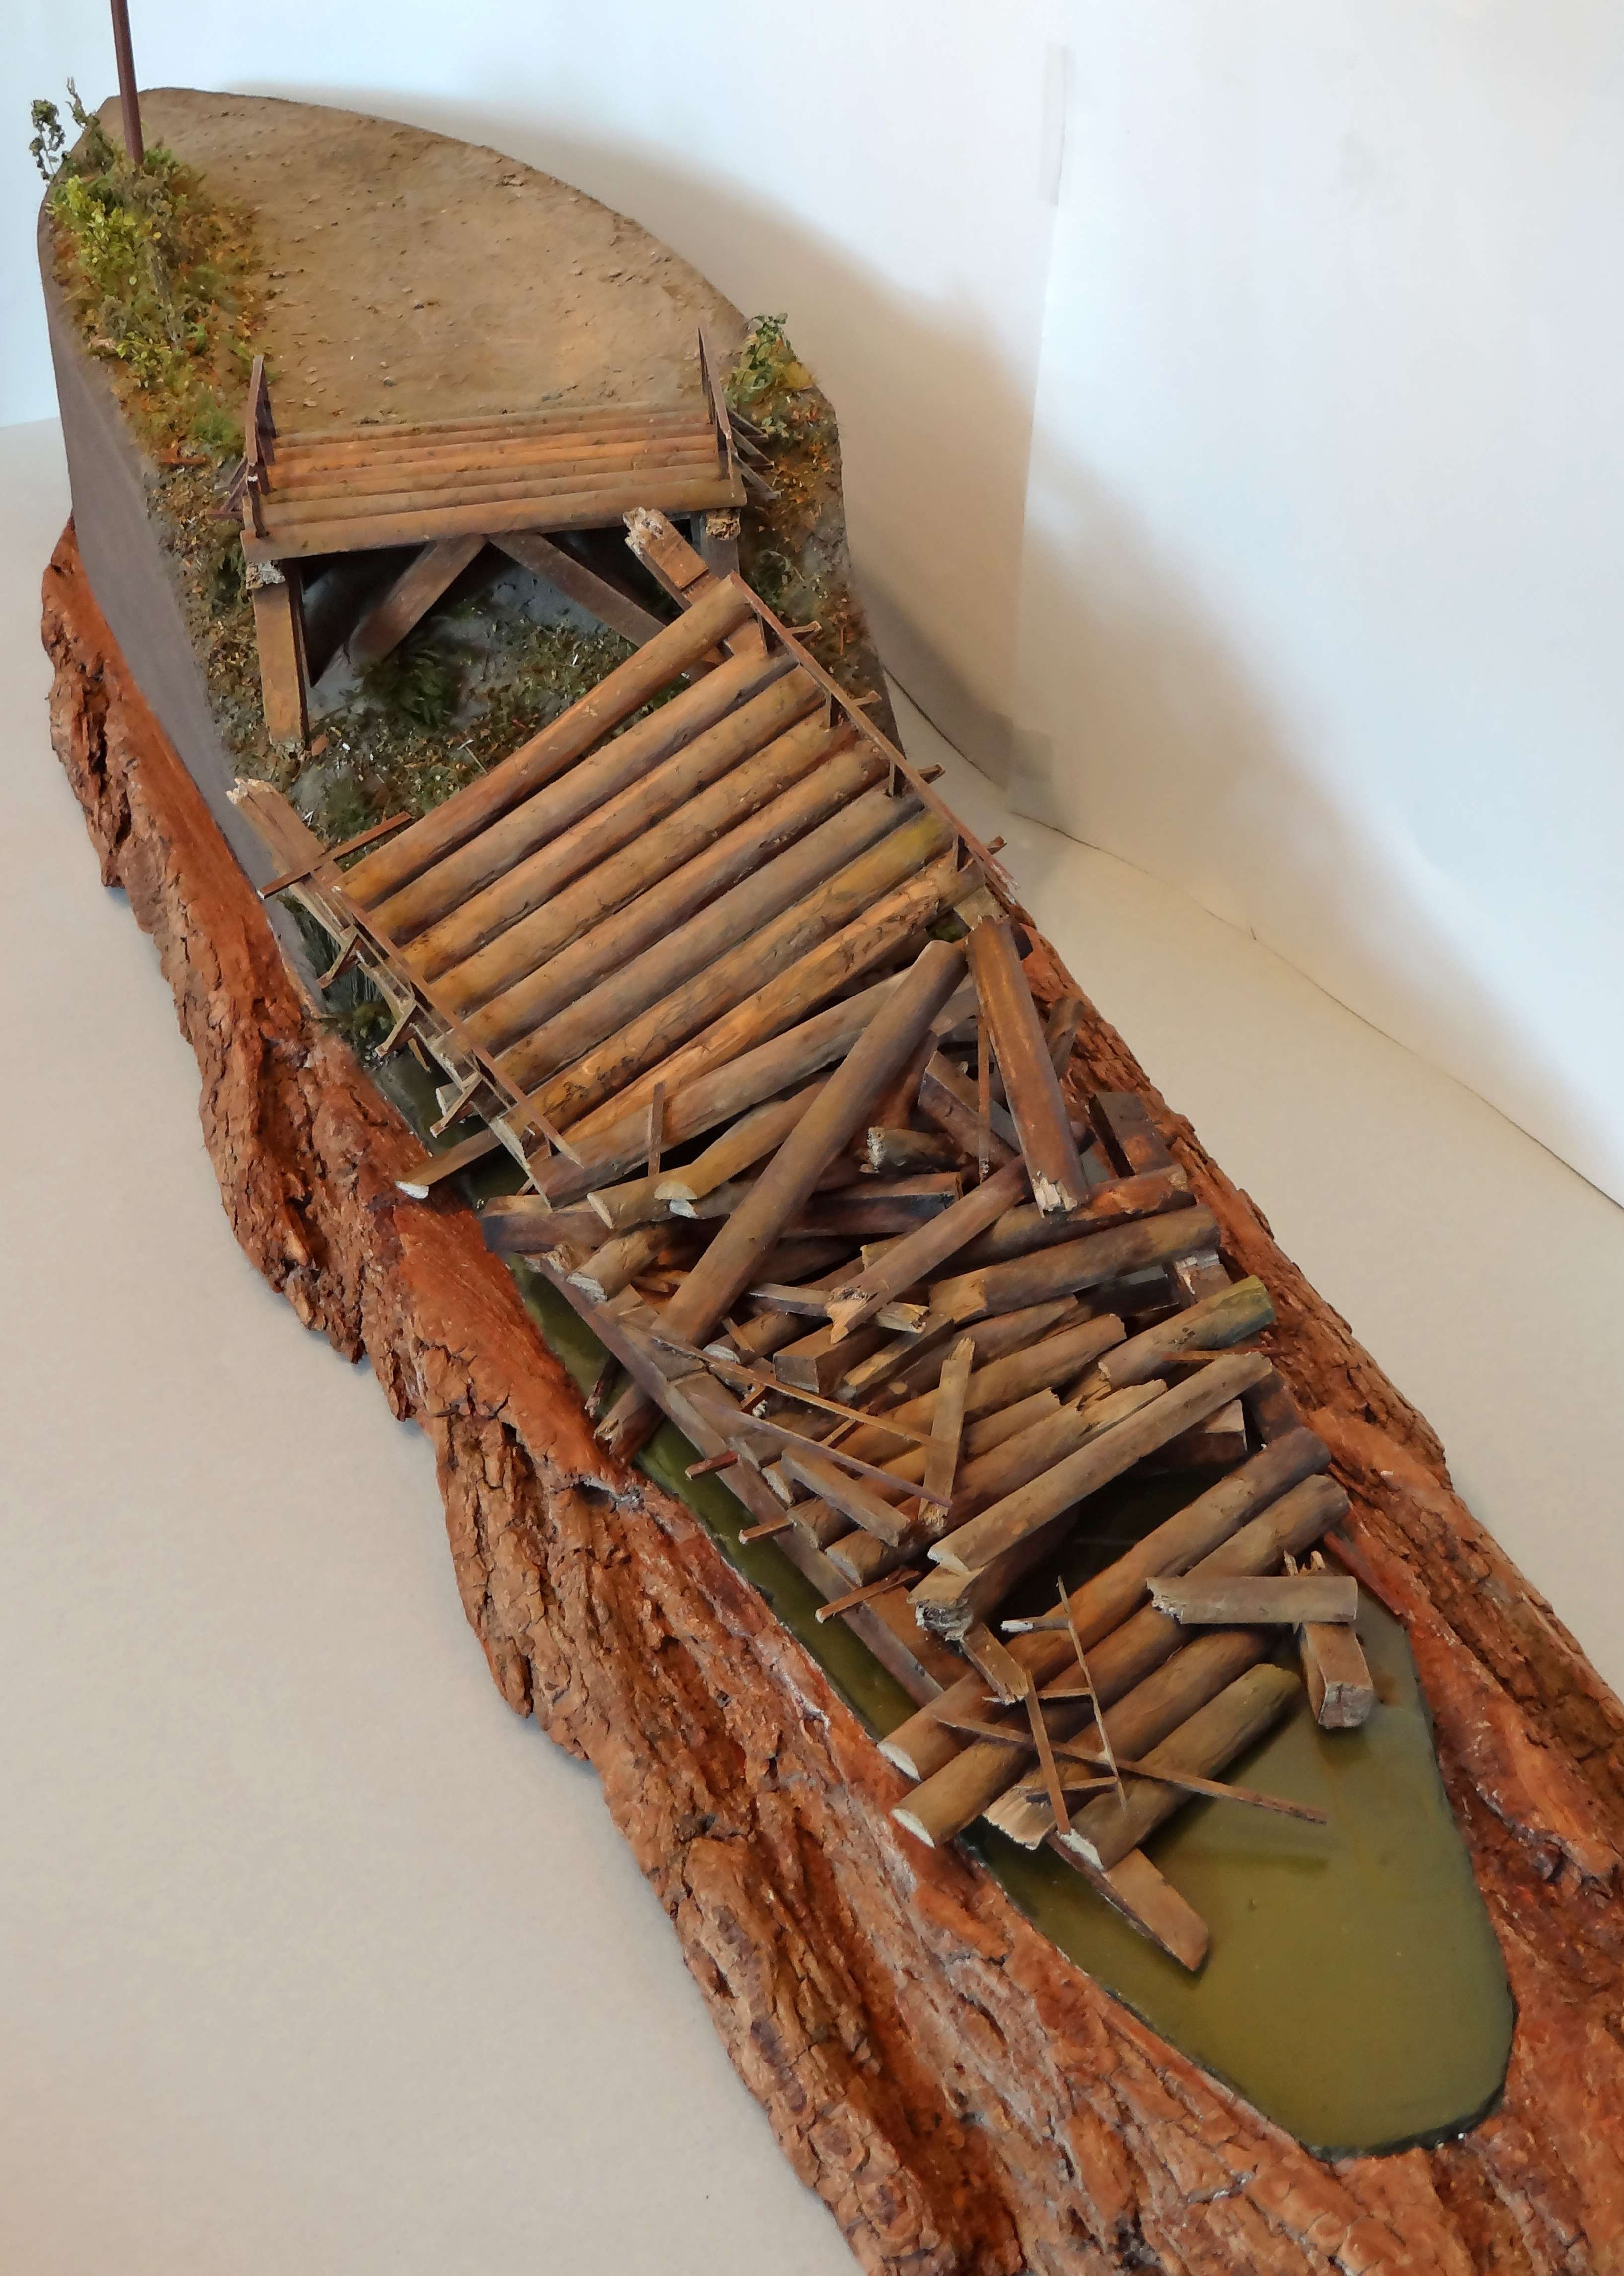
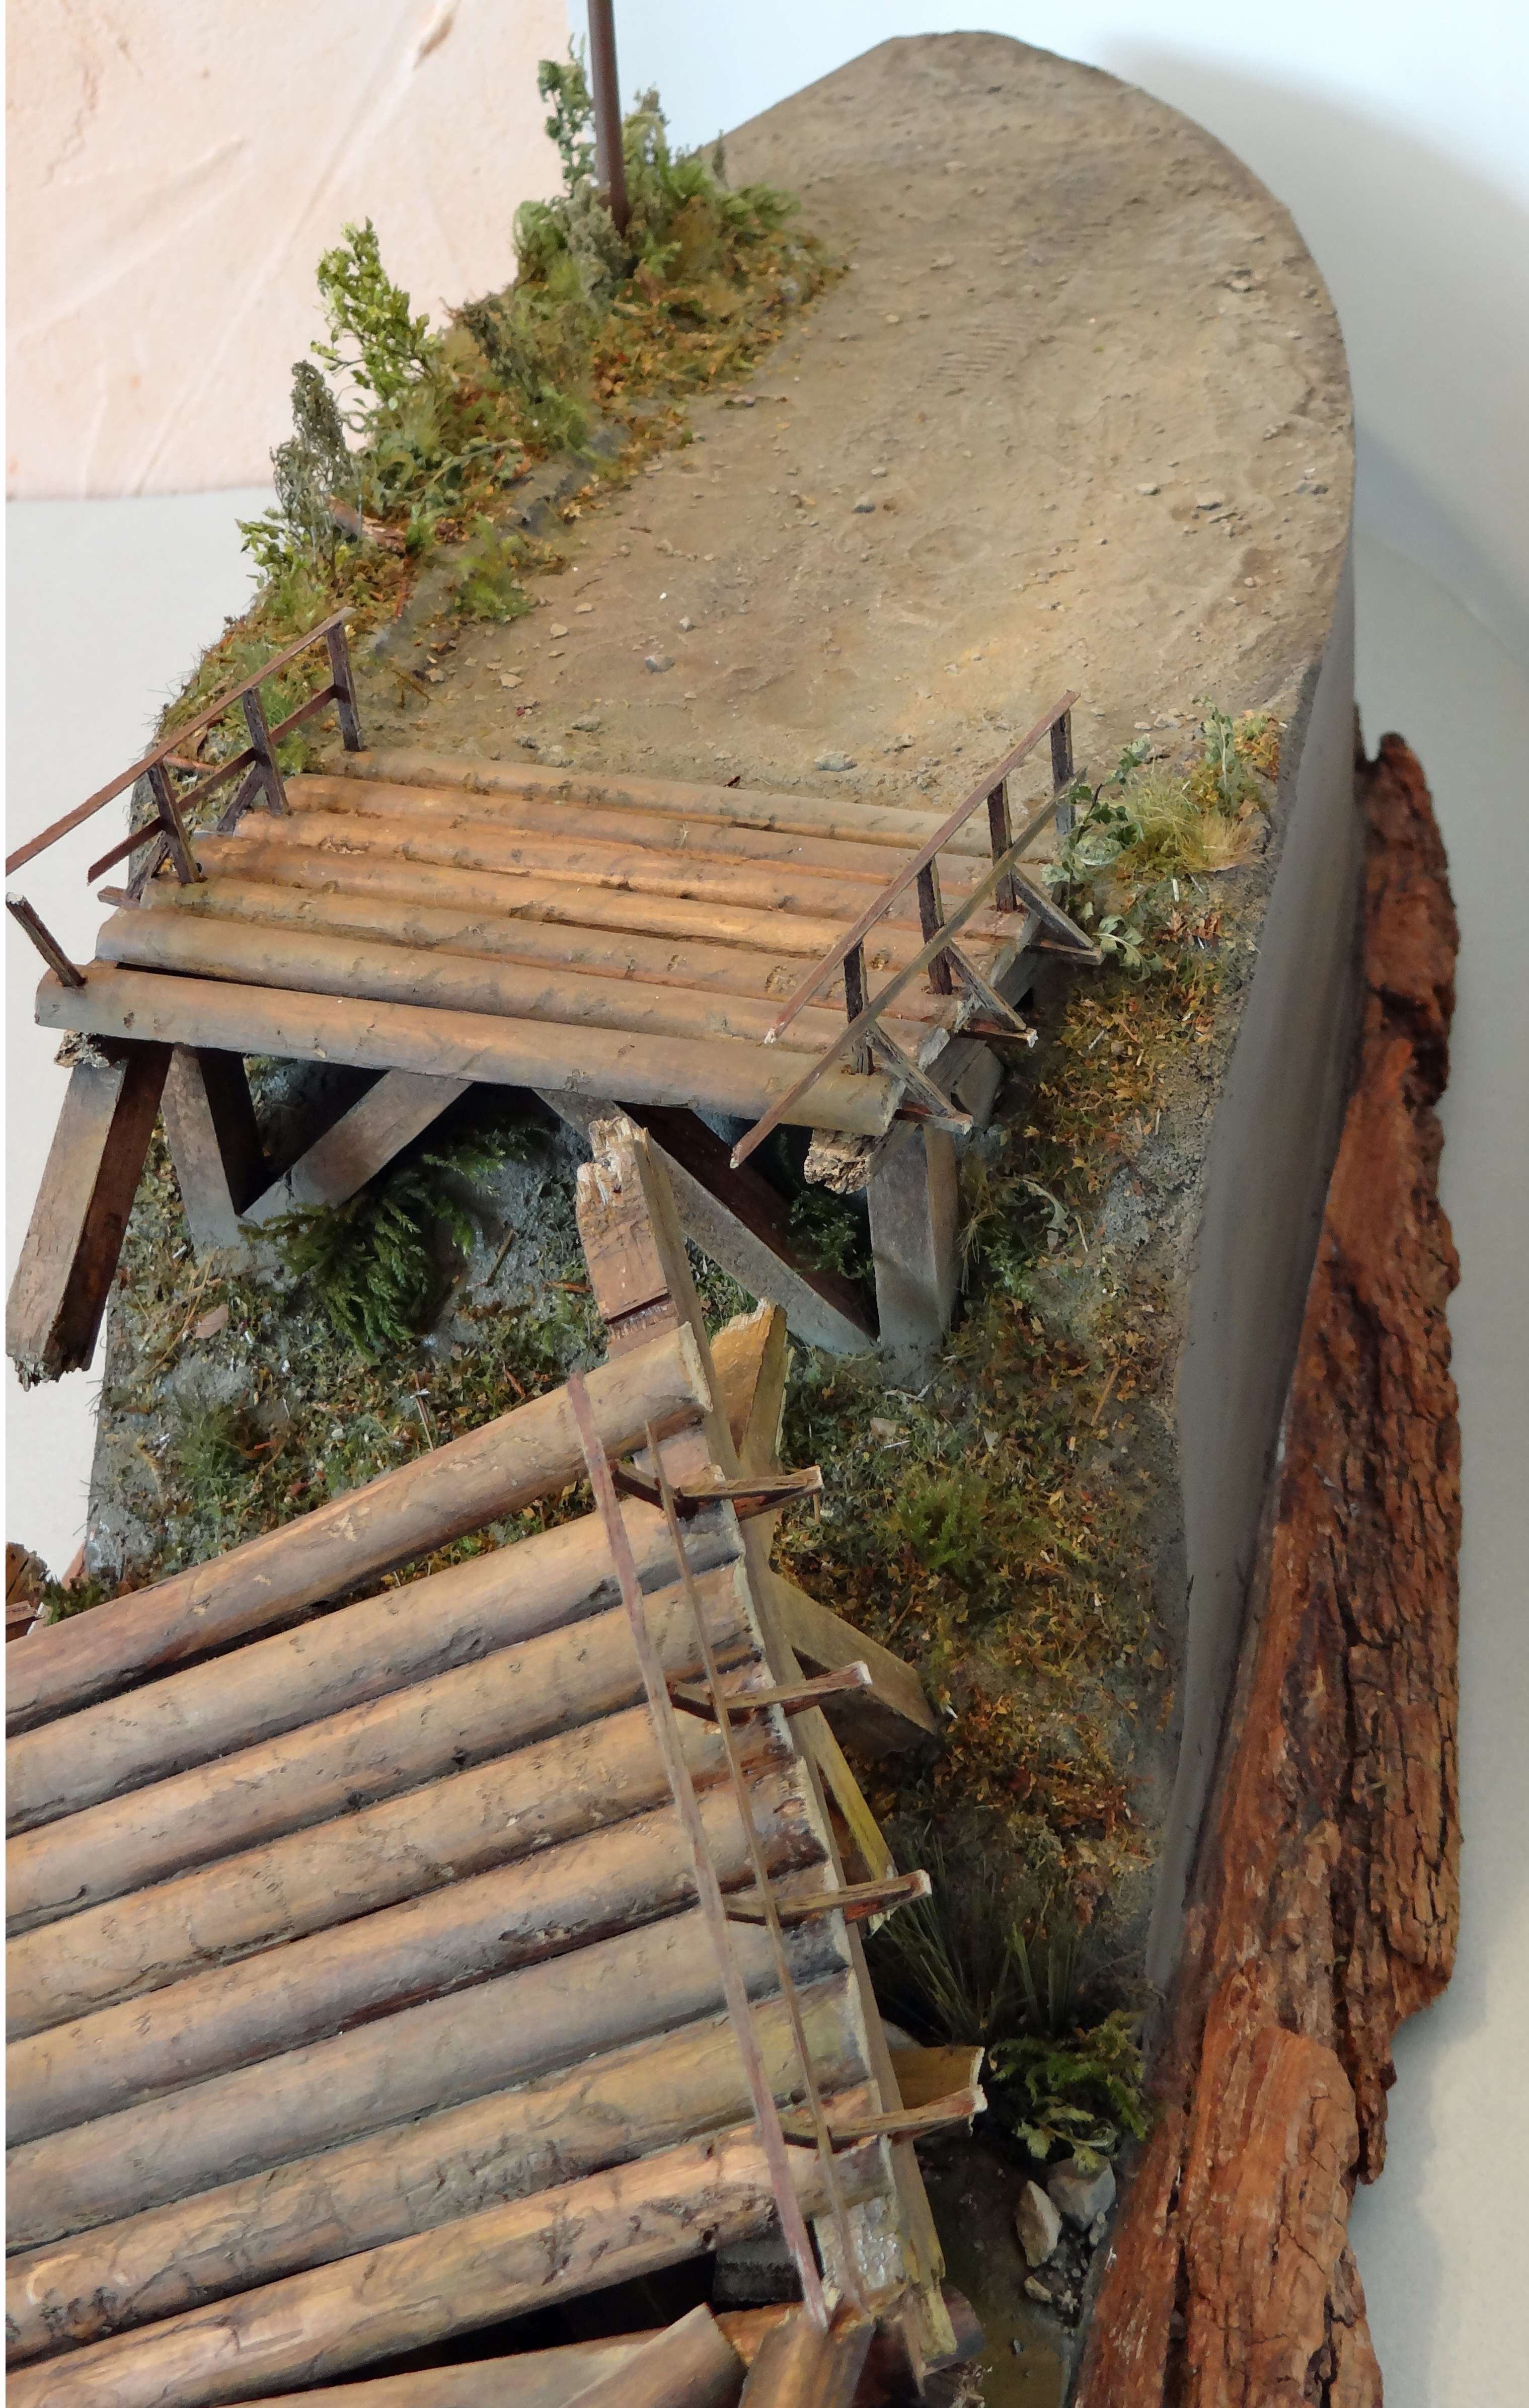
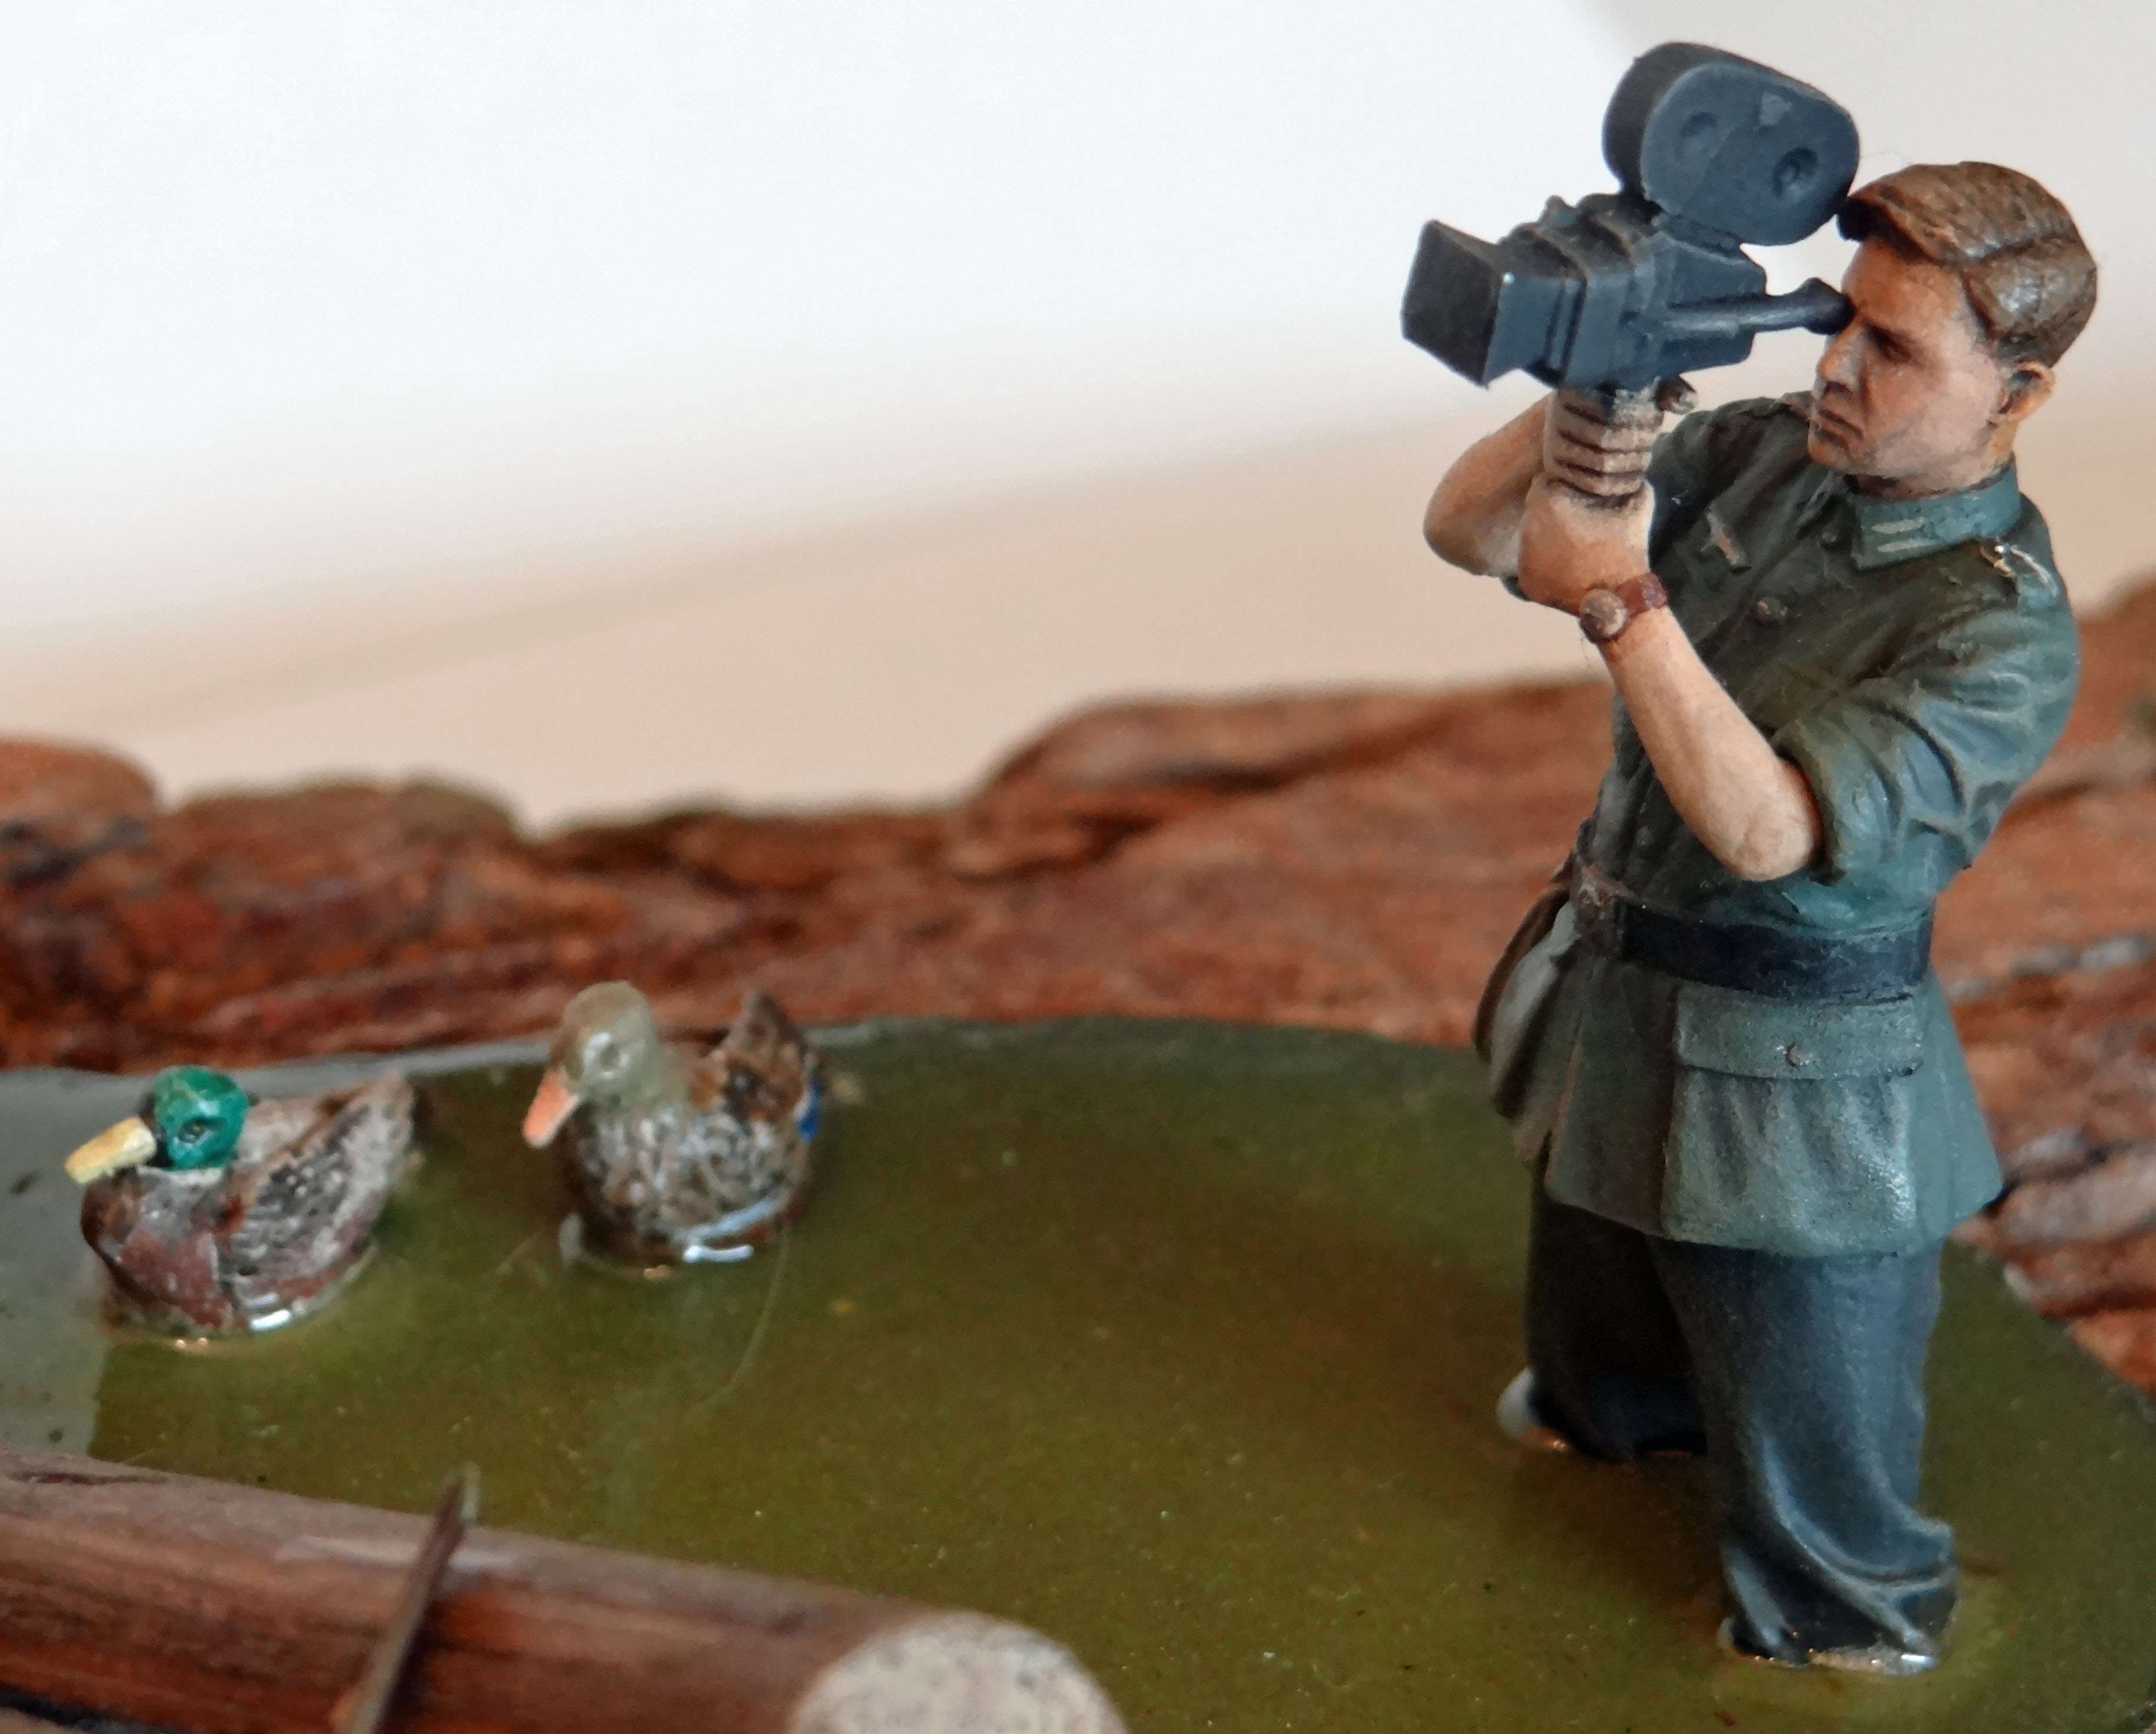
Very fine sand mixed with thinned white glue is used to create the riverbank. Bridge is balsa, wheathered with laquer and oils, water is “Acrylic one”, a two component resin.
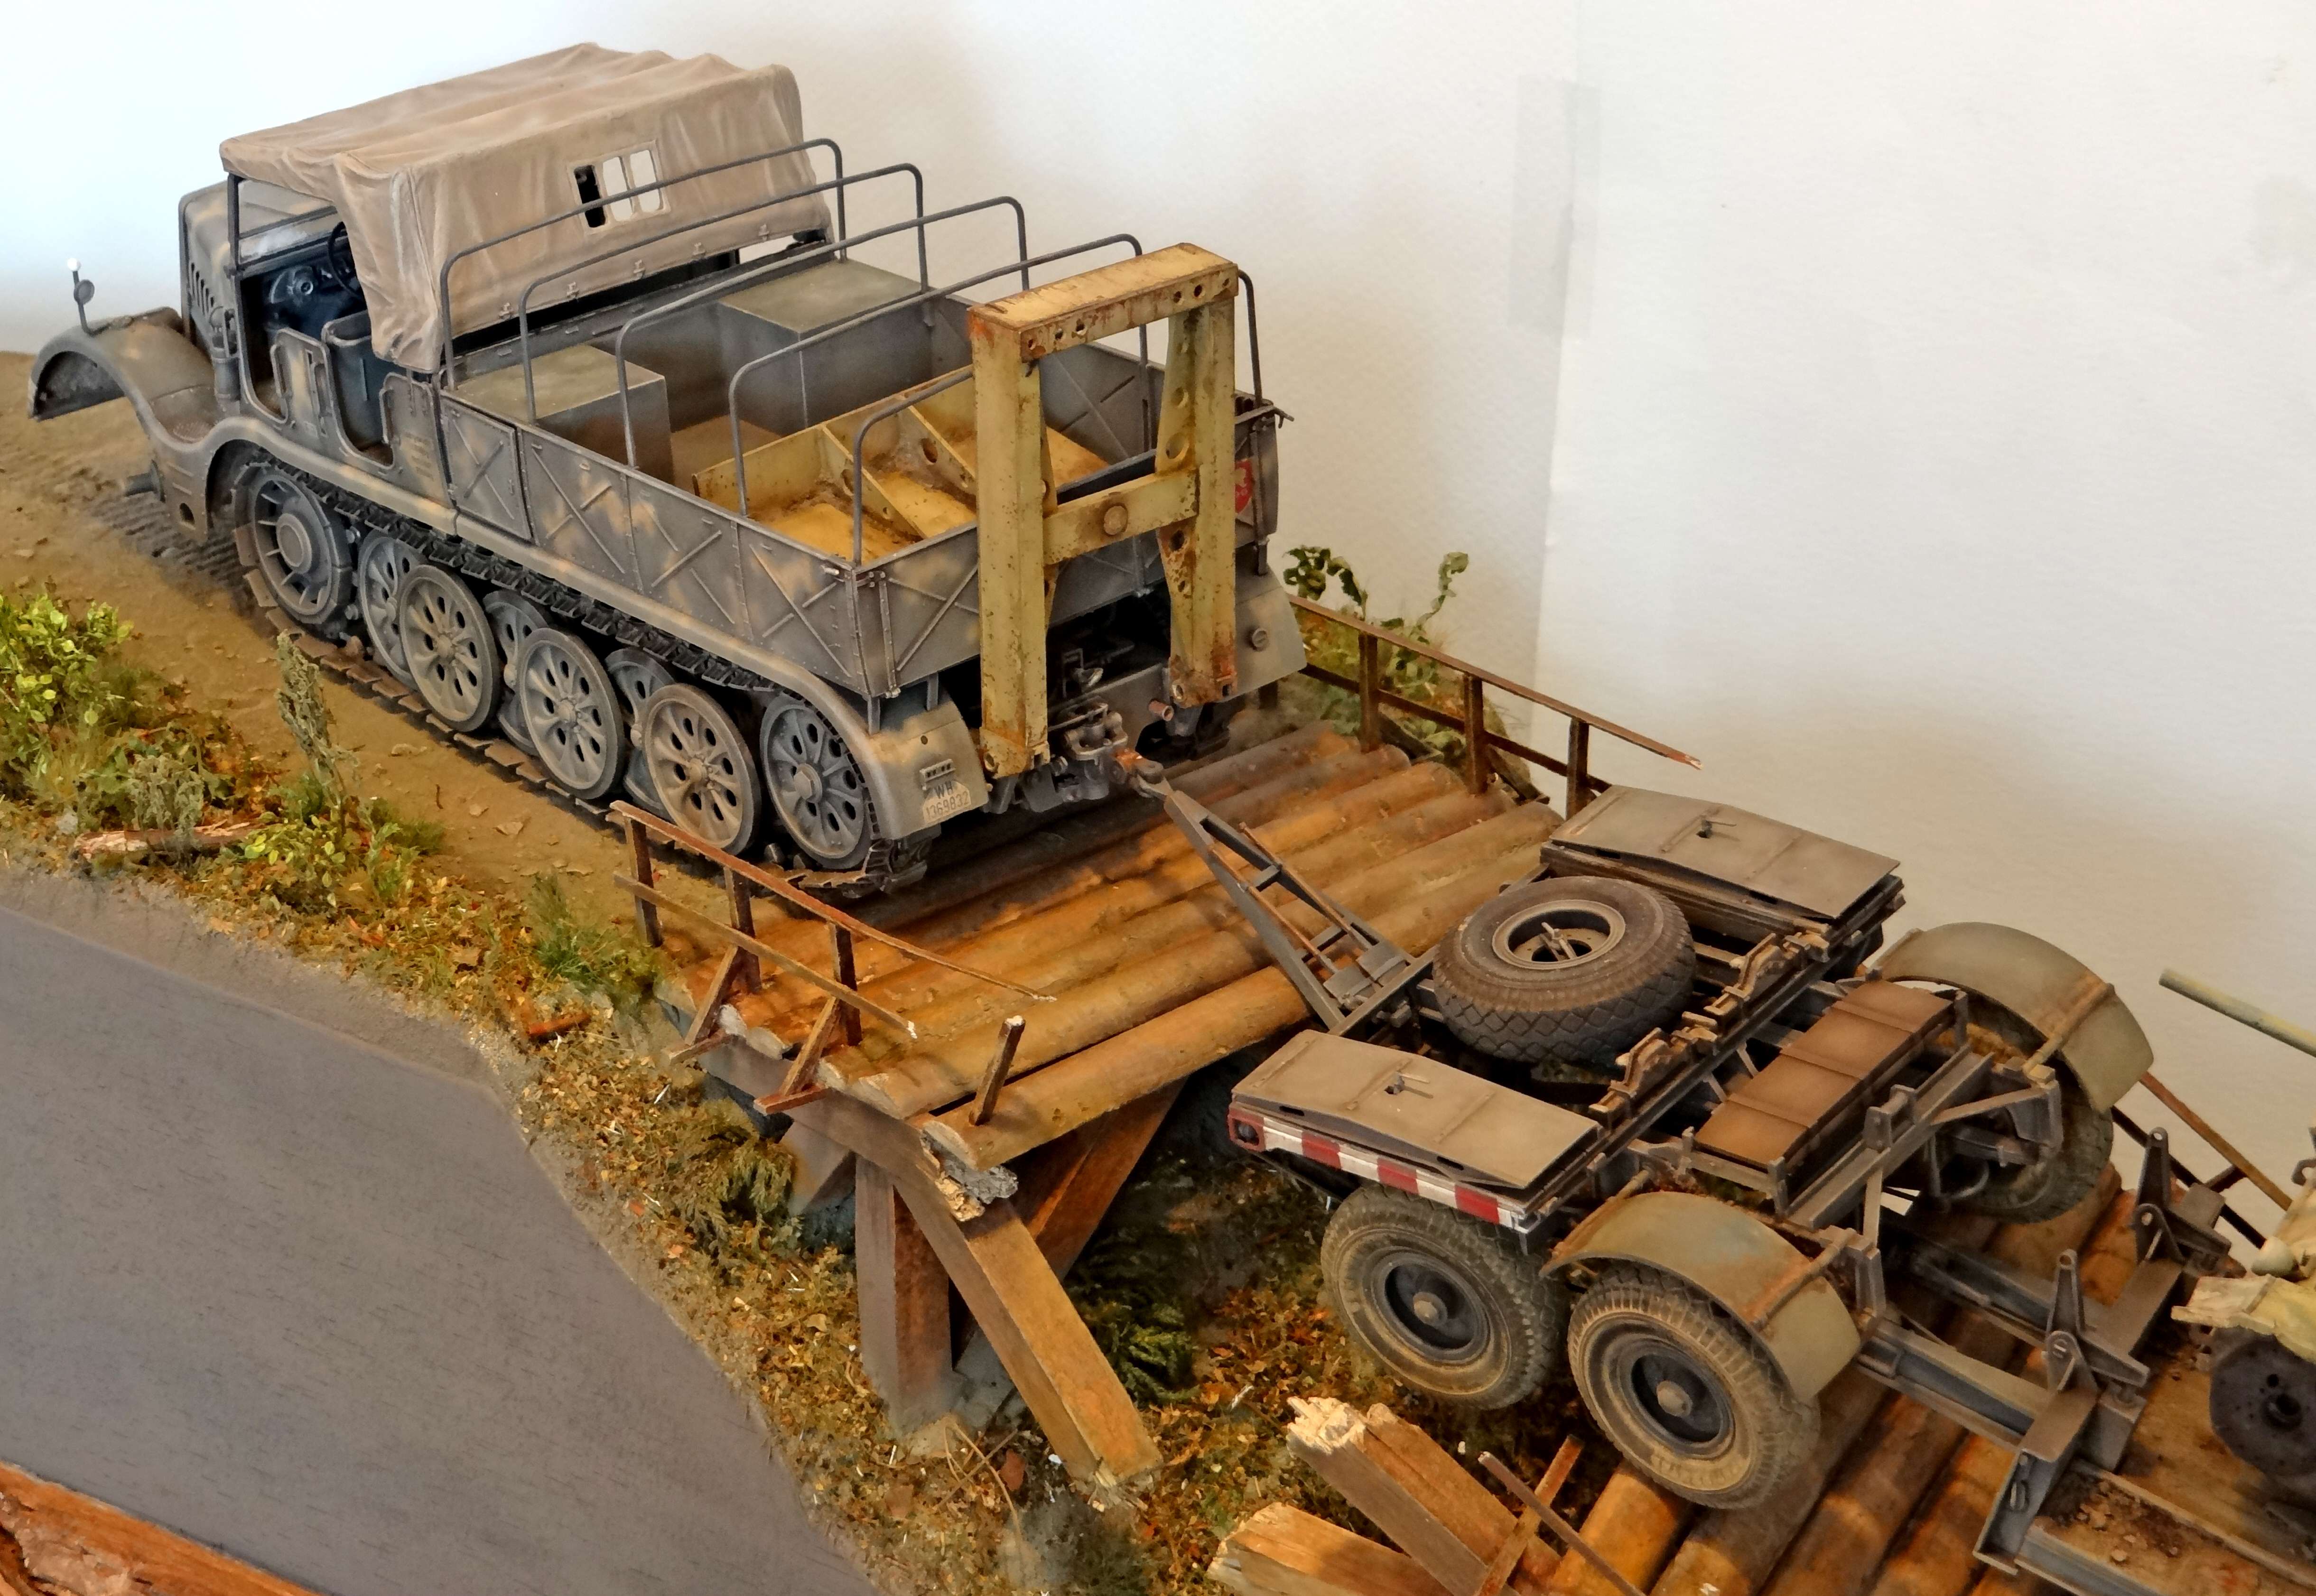
The dio, the Famo and the Panzer III have had several treatments to blend them into the whole. Various MIG-pigments are used to simulate dust and mud. Rembrandt oil paint and Liquitex inc is used for (pin-)washes and filters. Tamiya Buff created a thin layer of light dust. First I had to do some repairs on the Famo: the box fell off the shelf it was standing on…
Pictures:
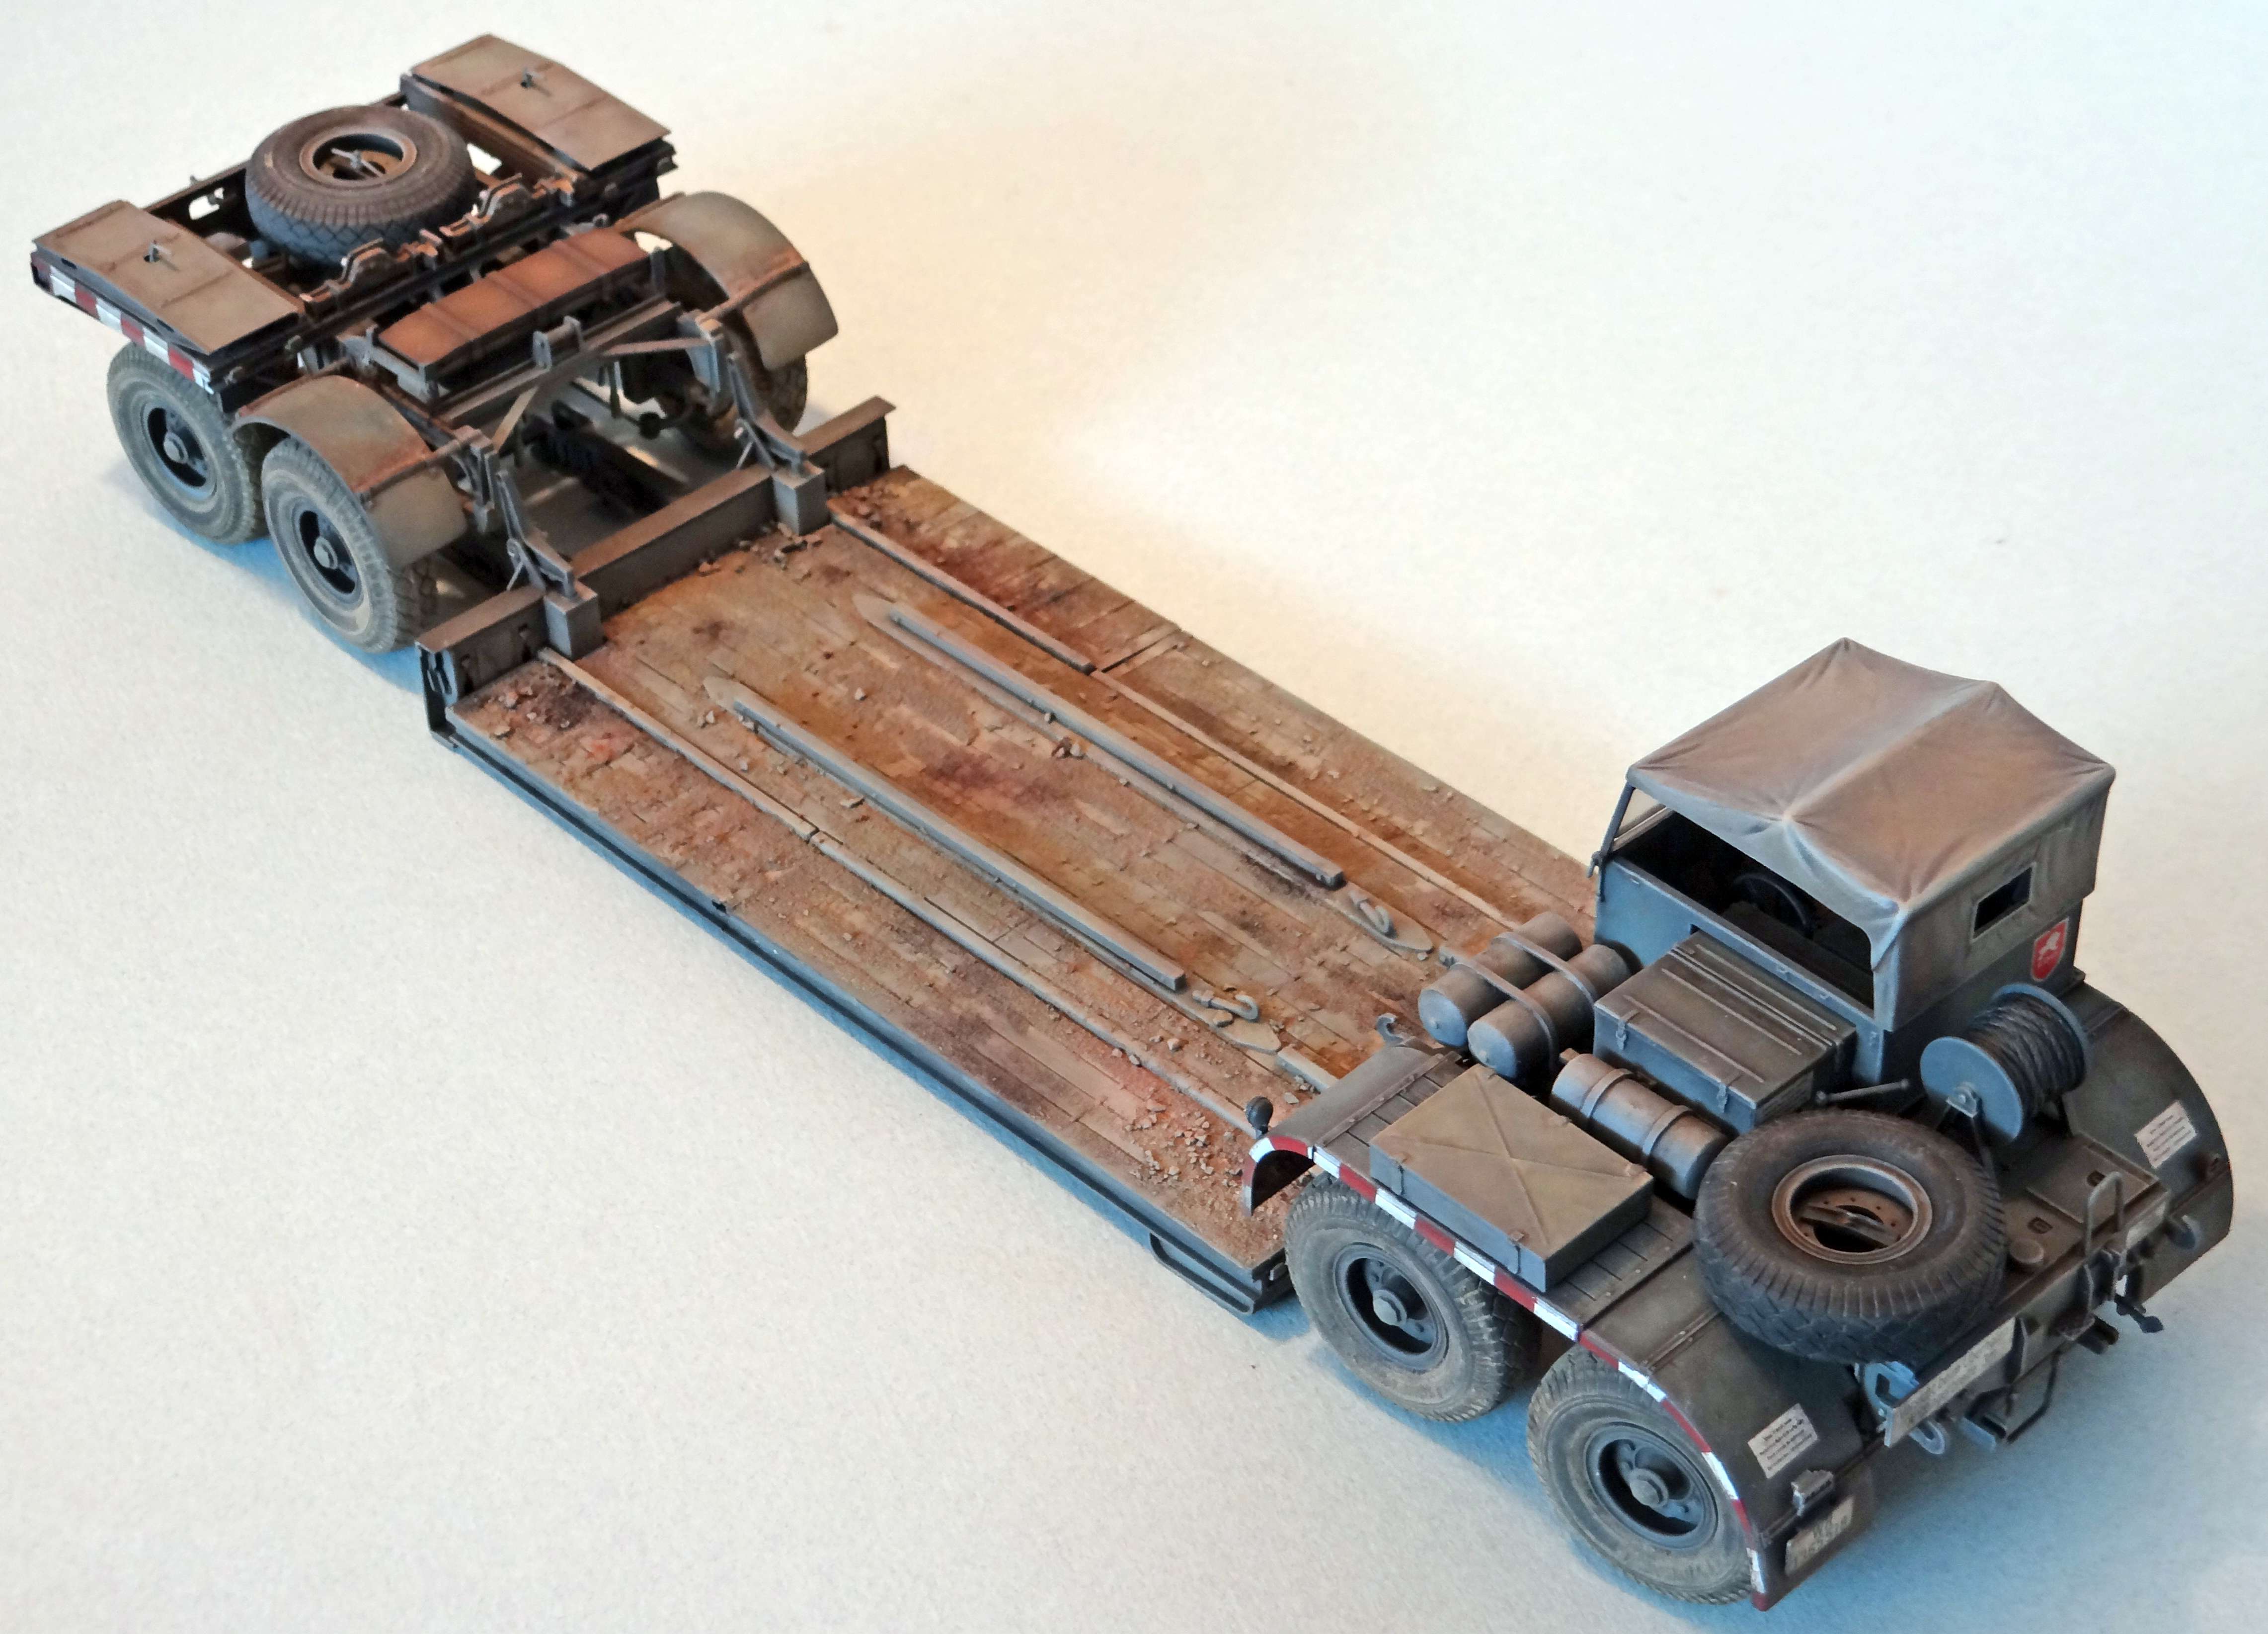
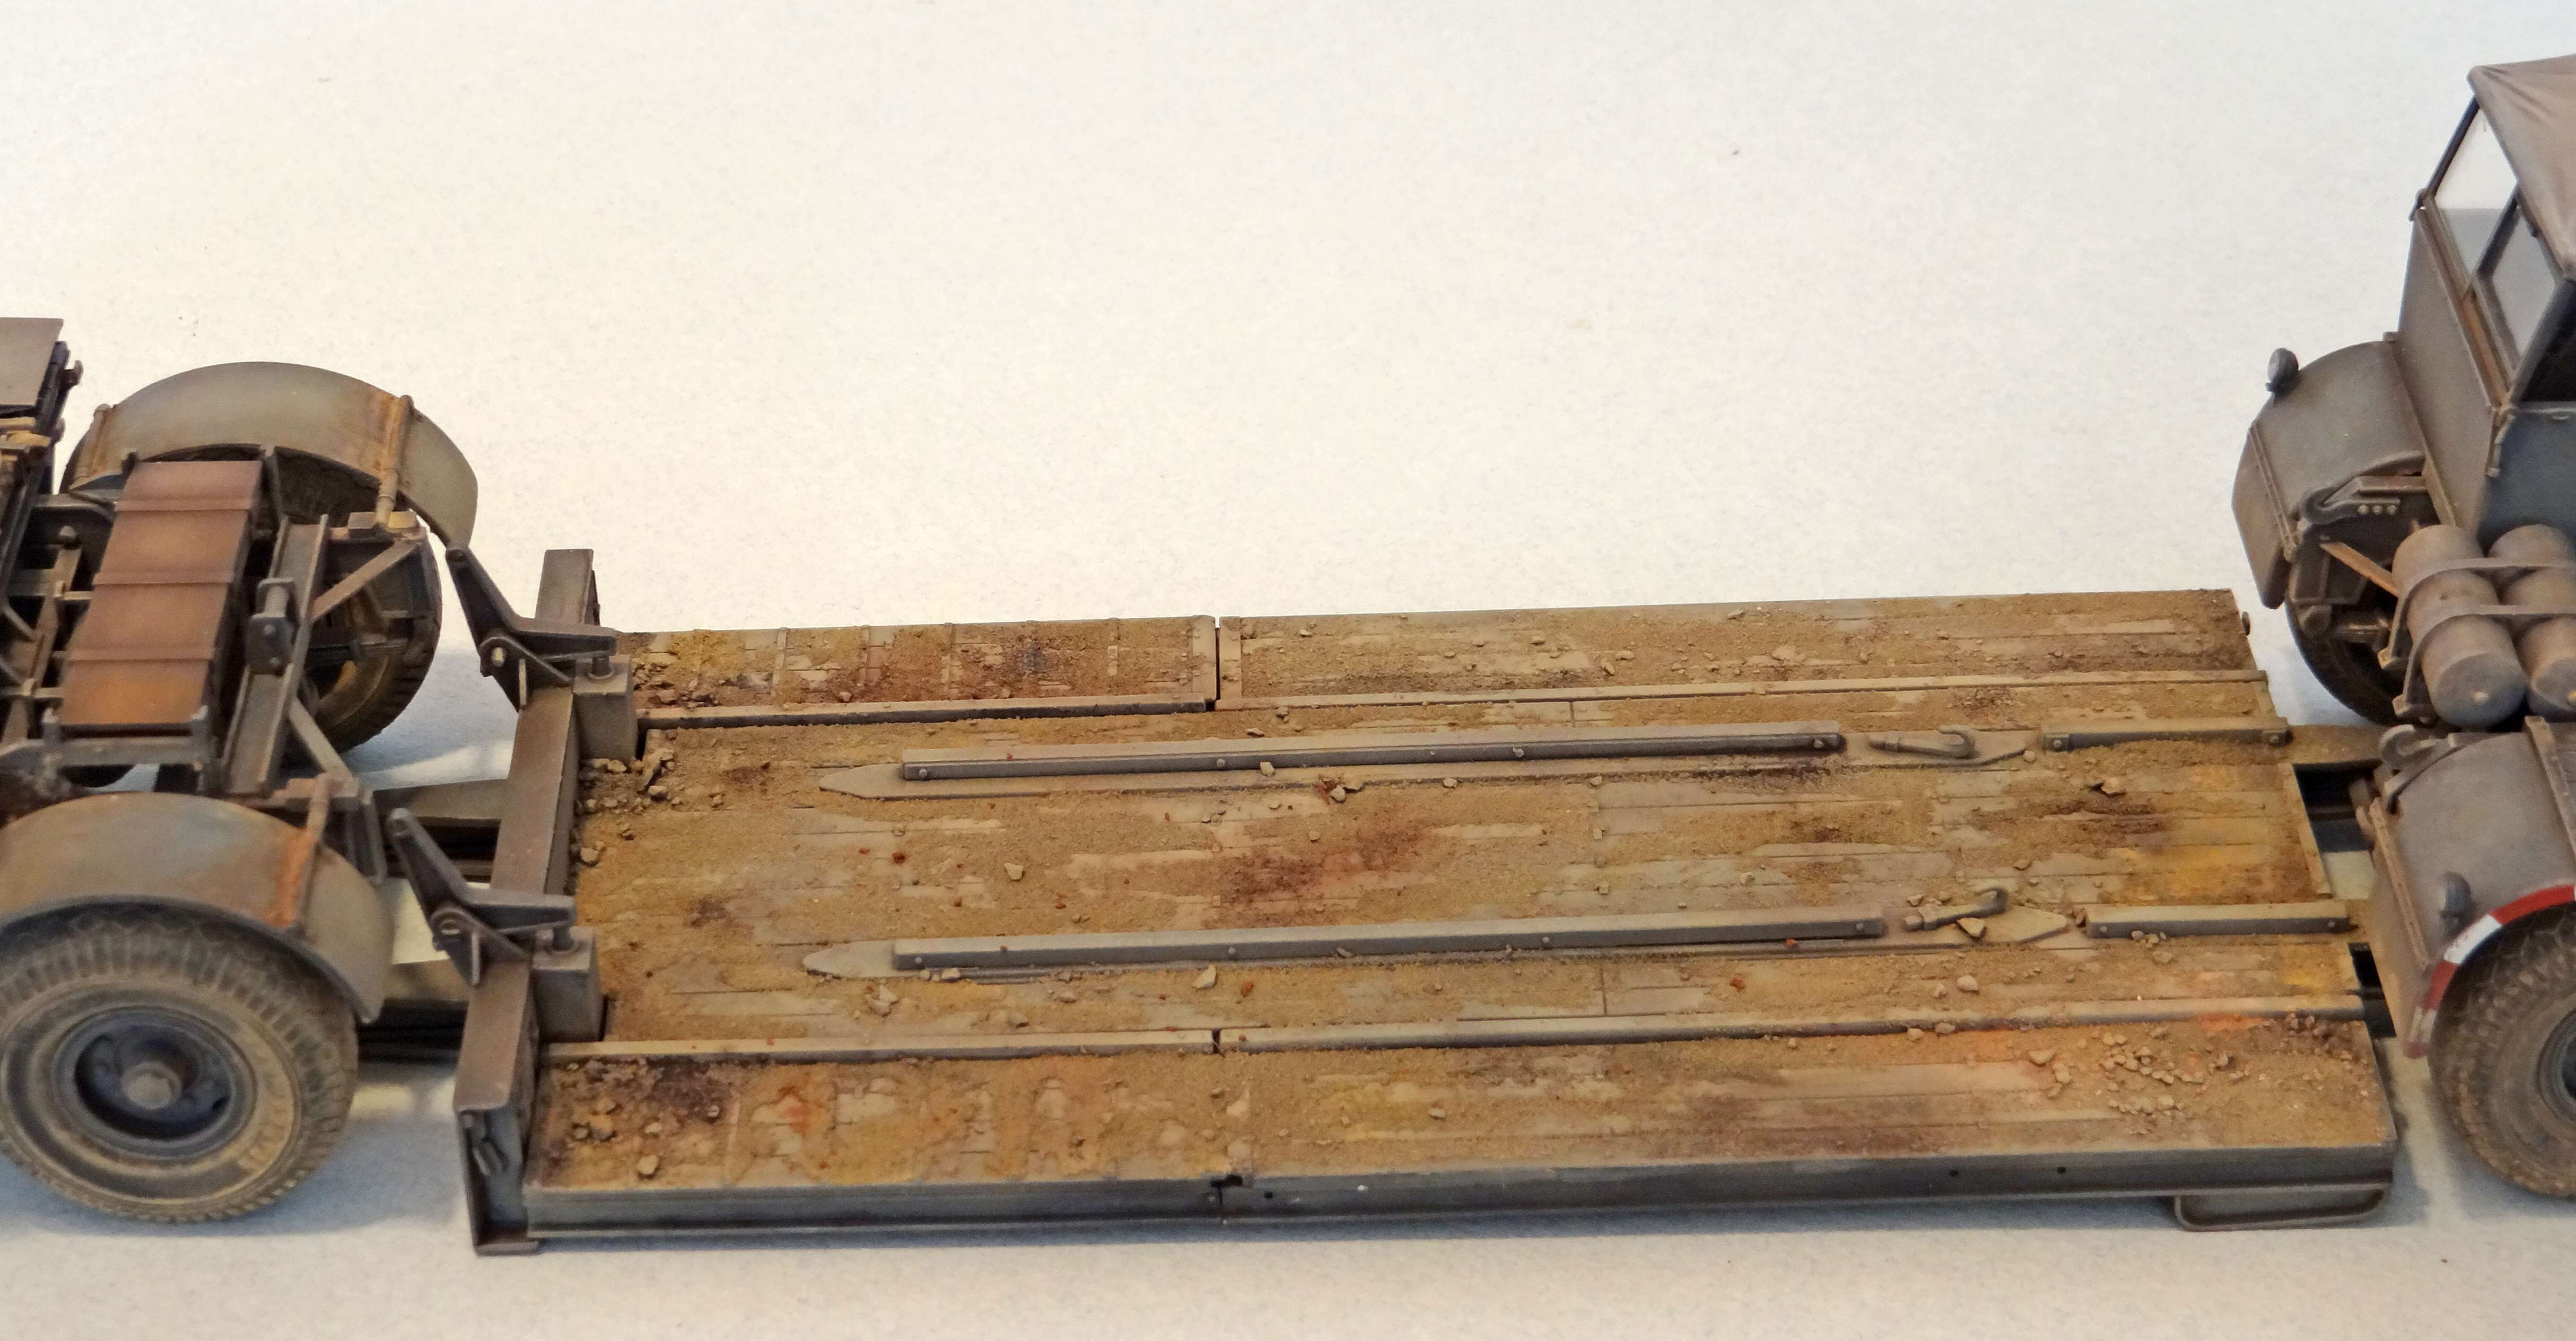
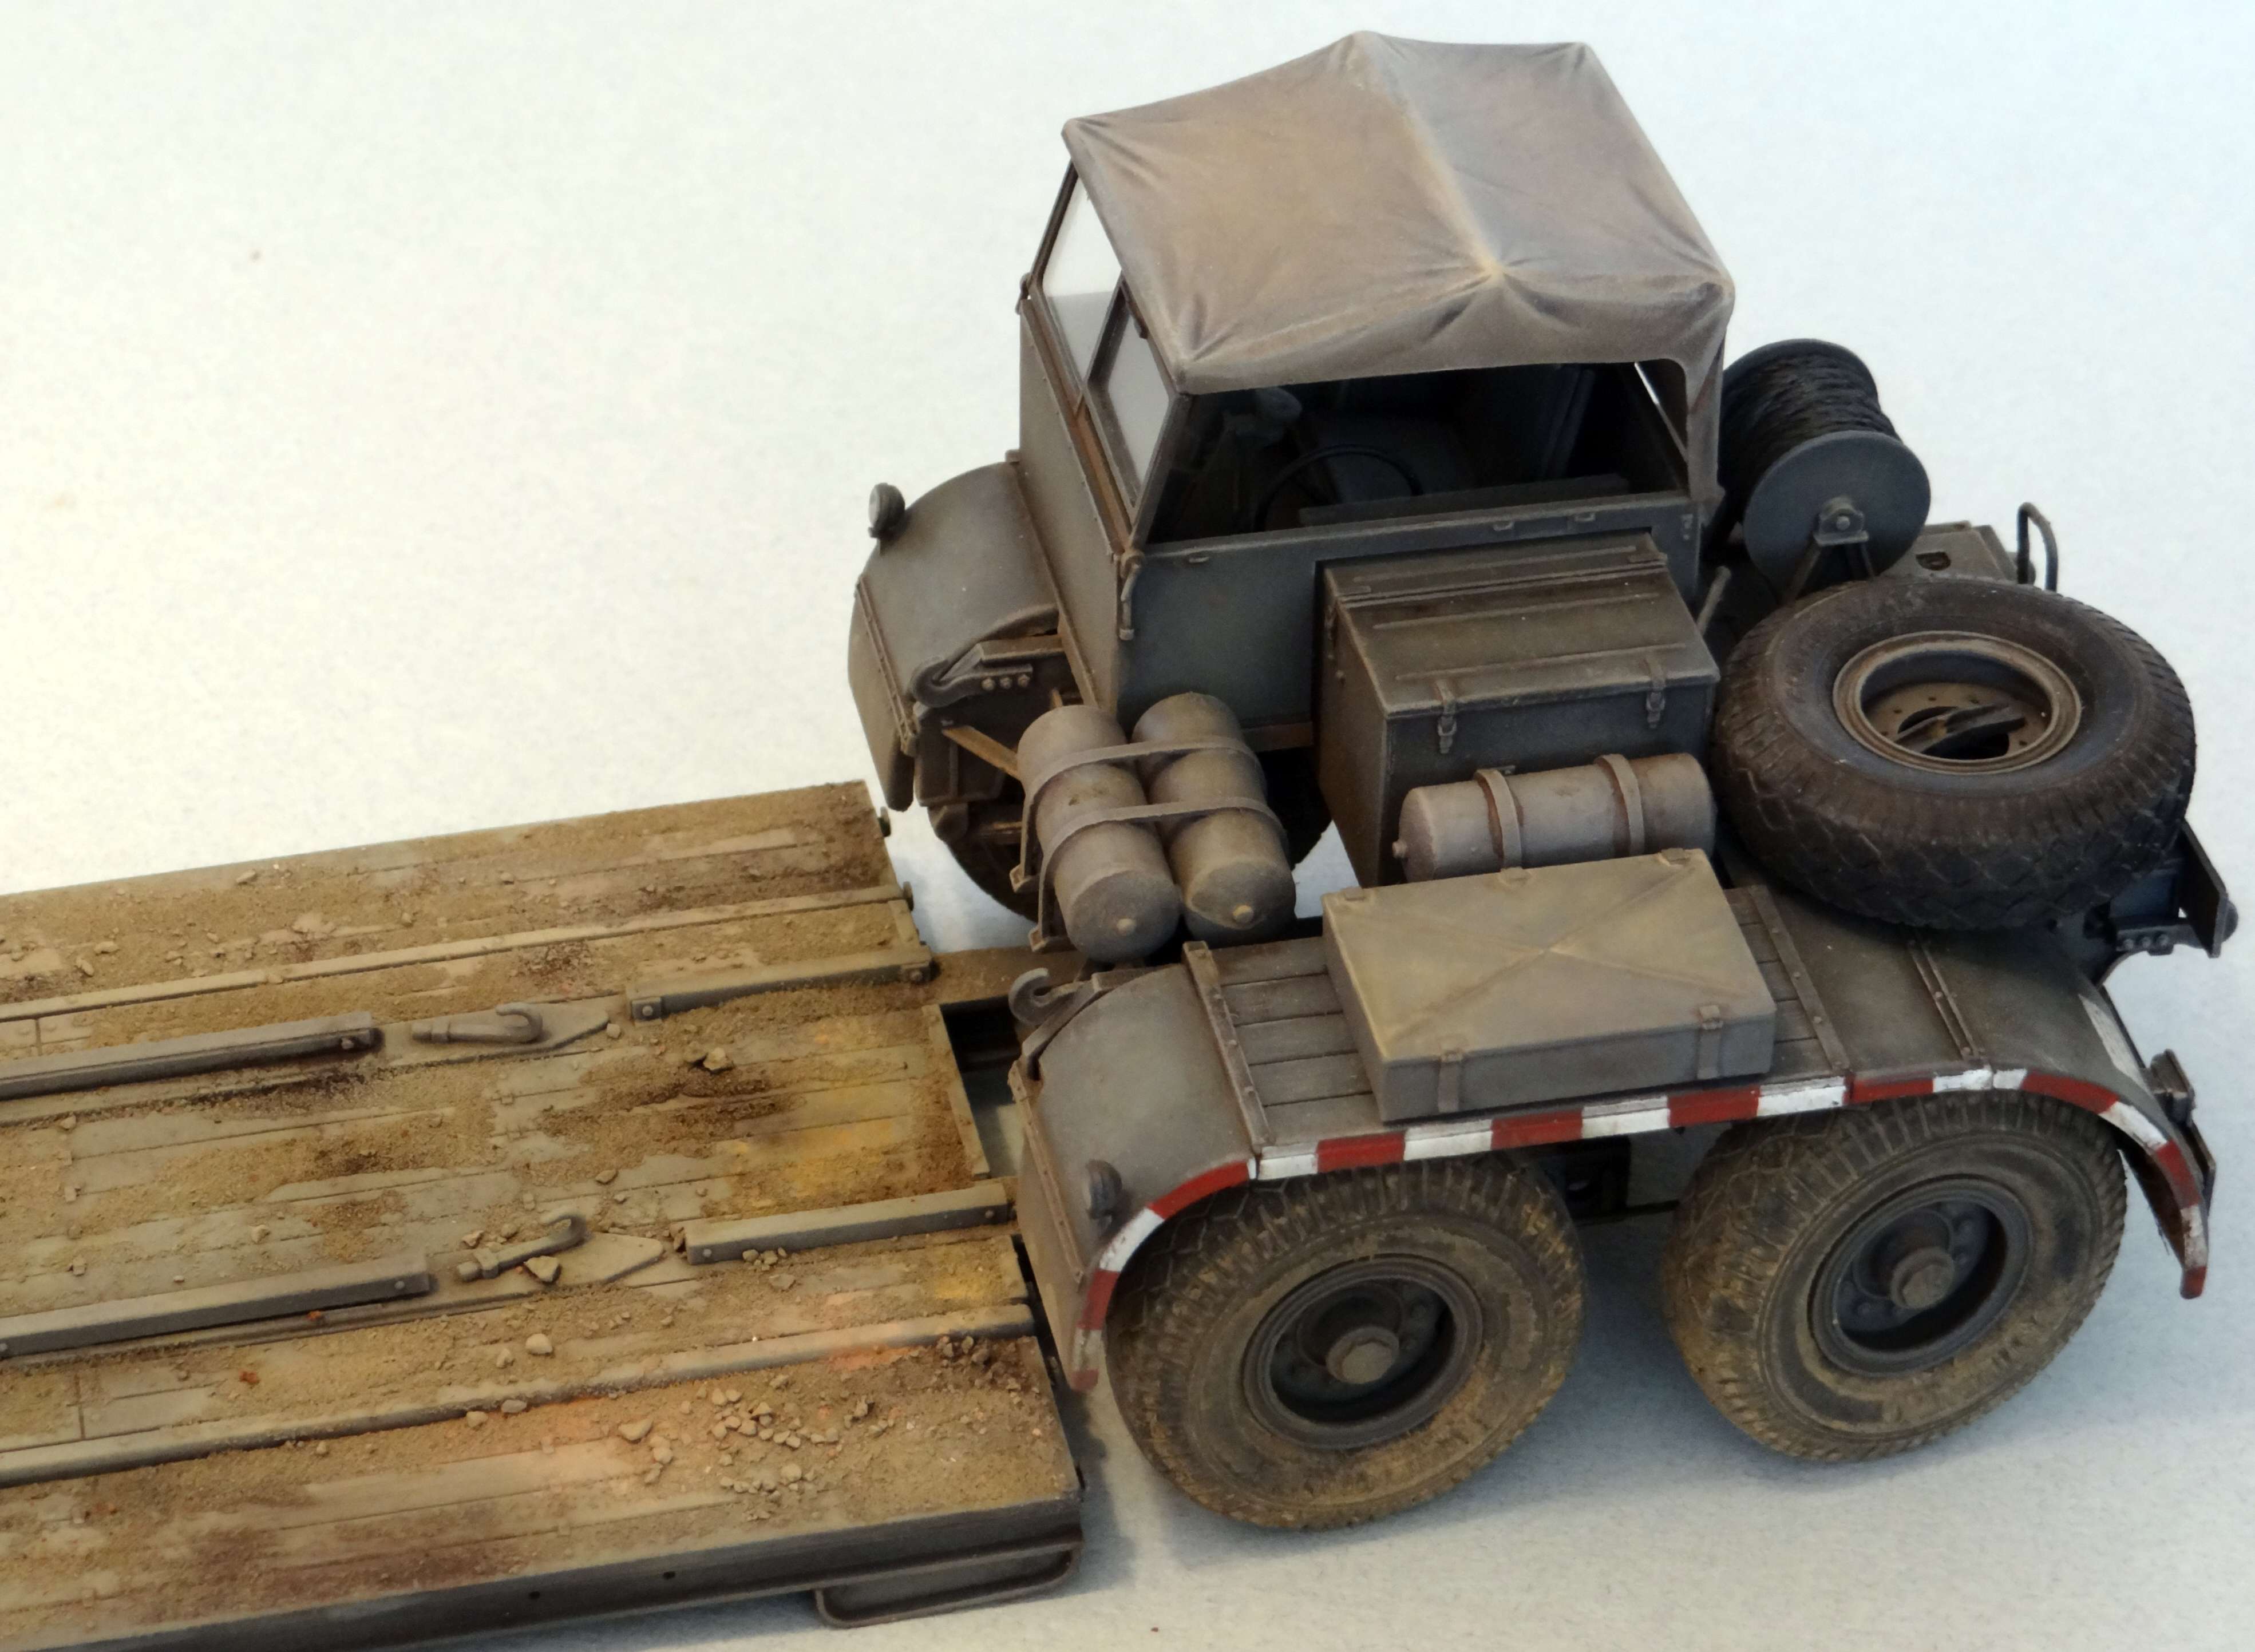
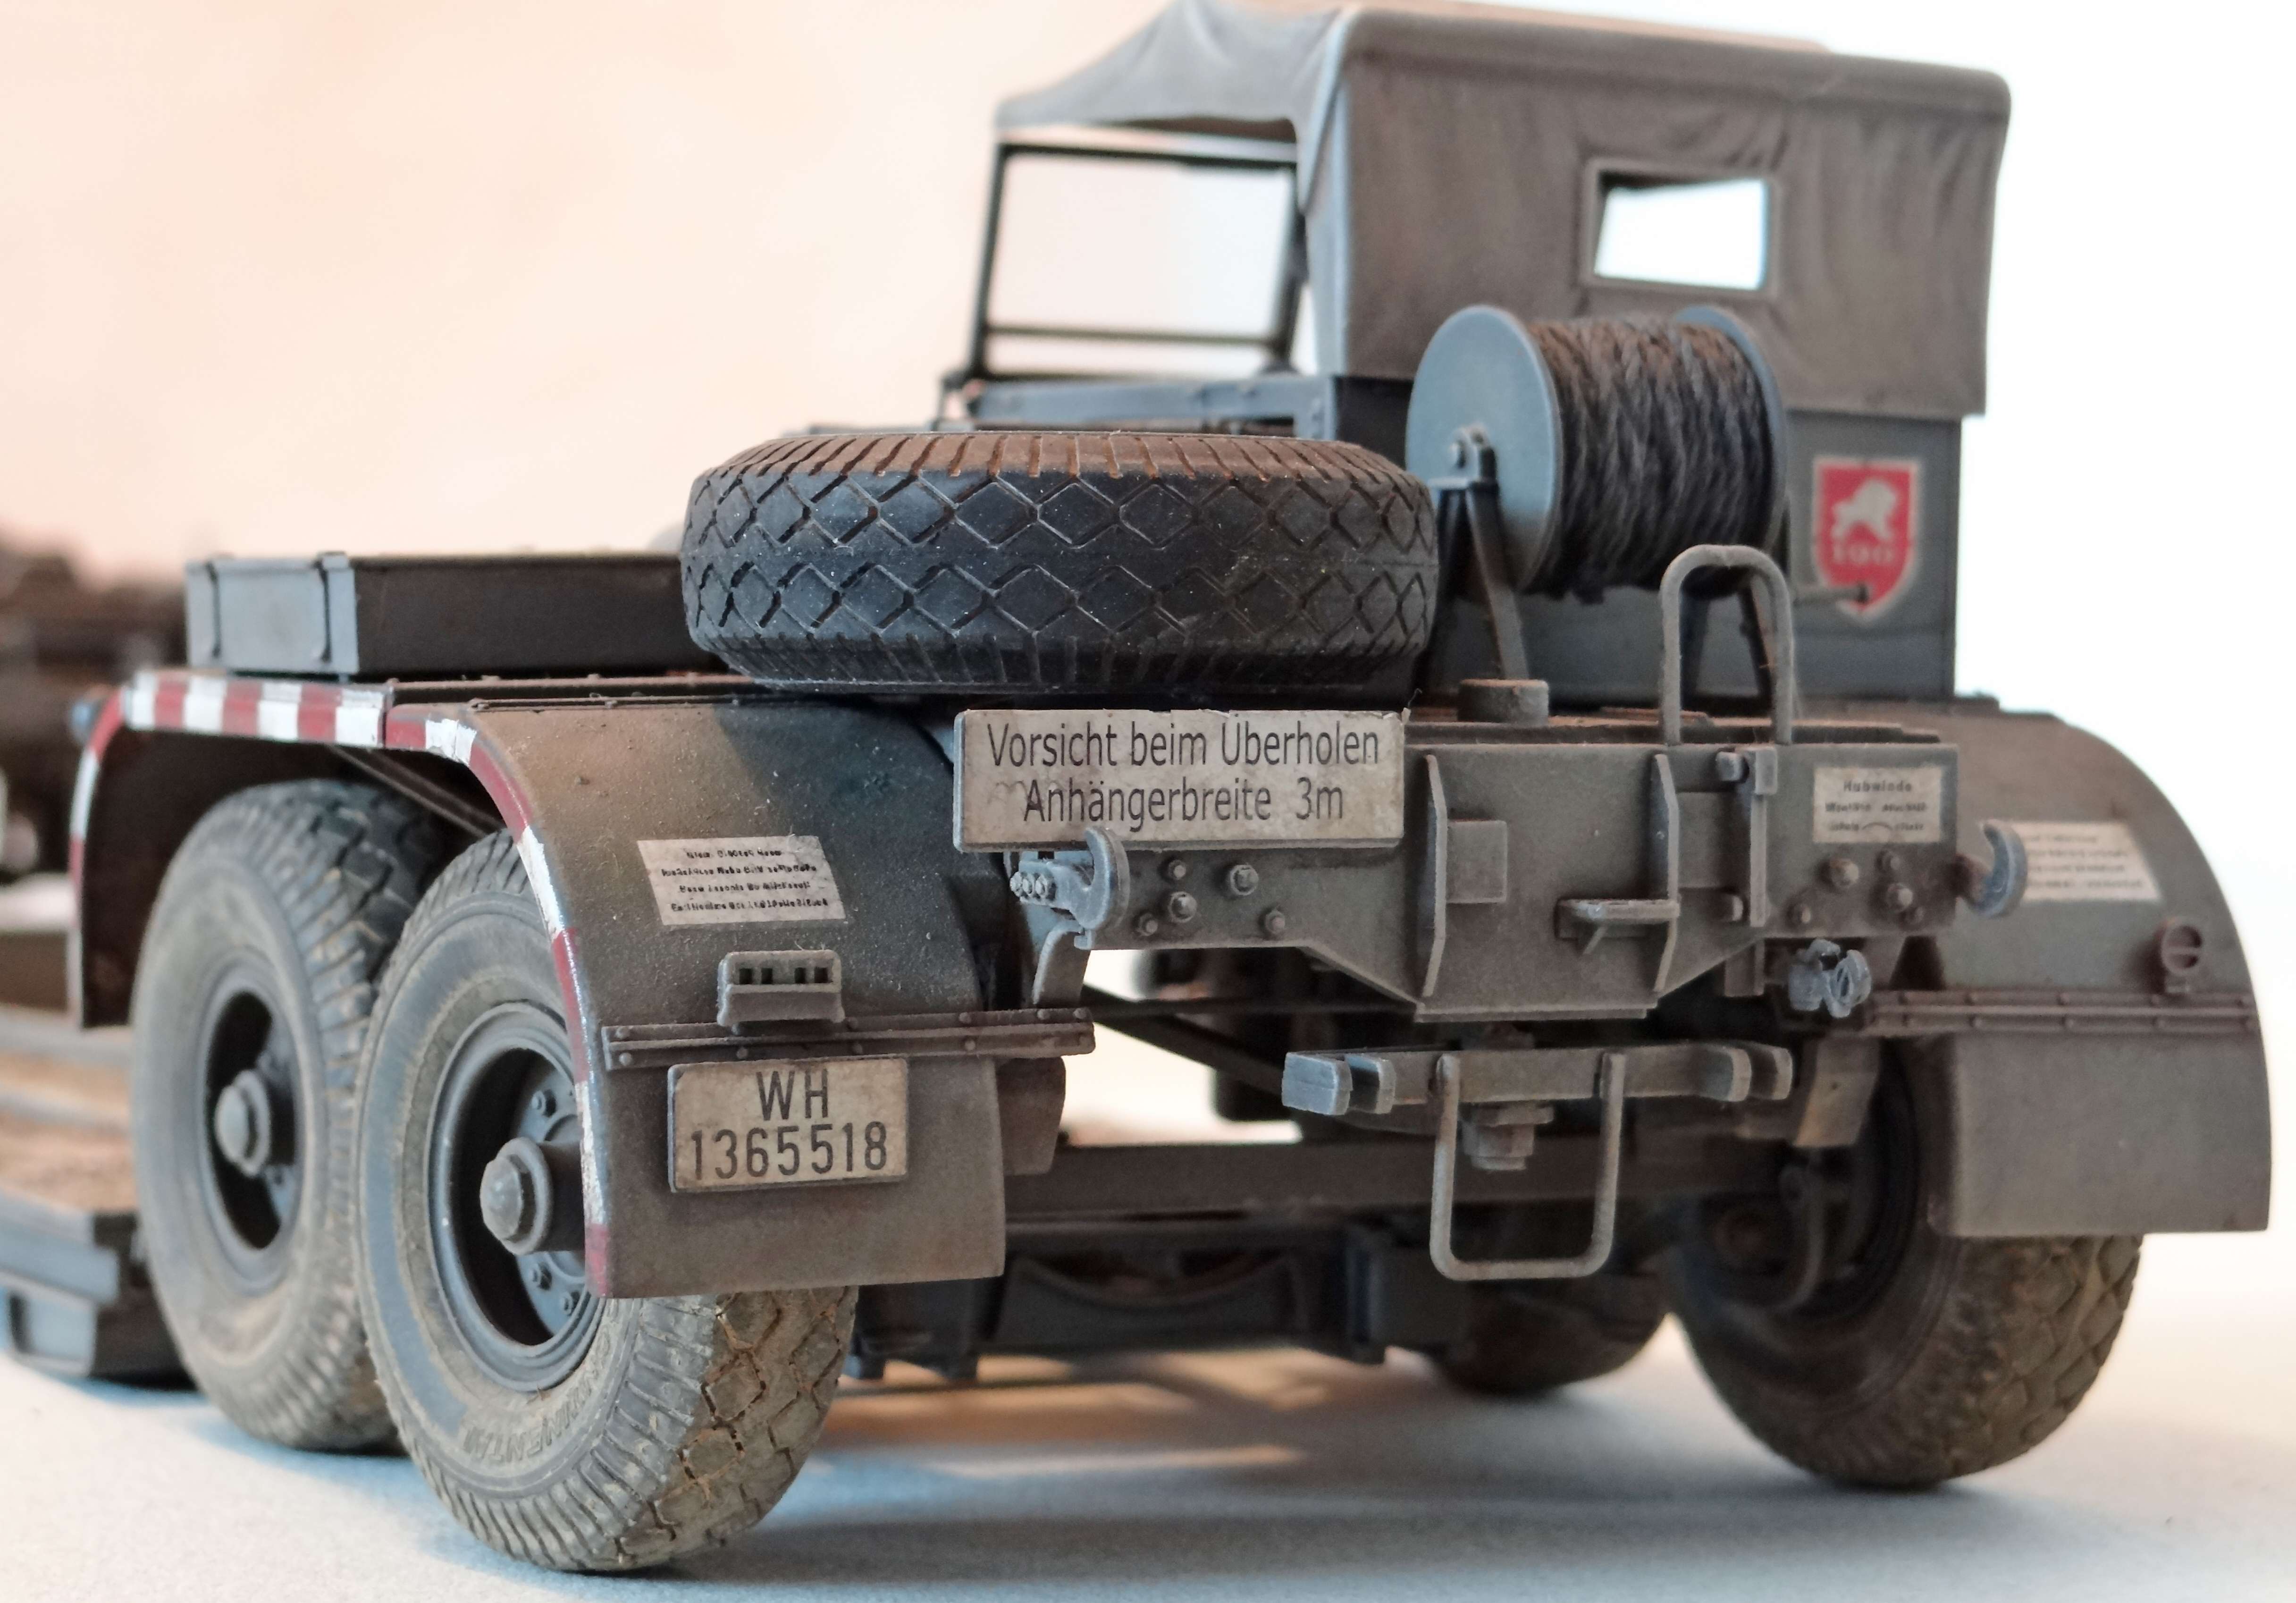
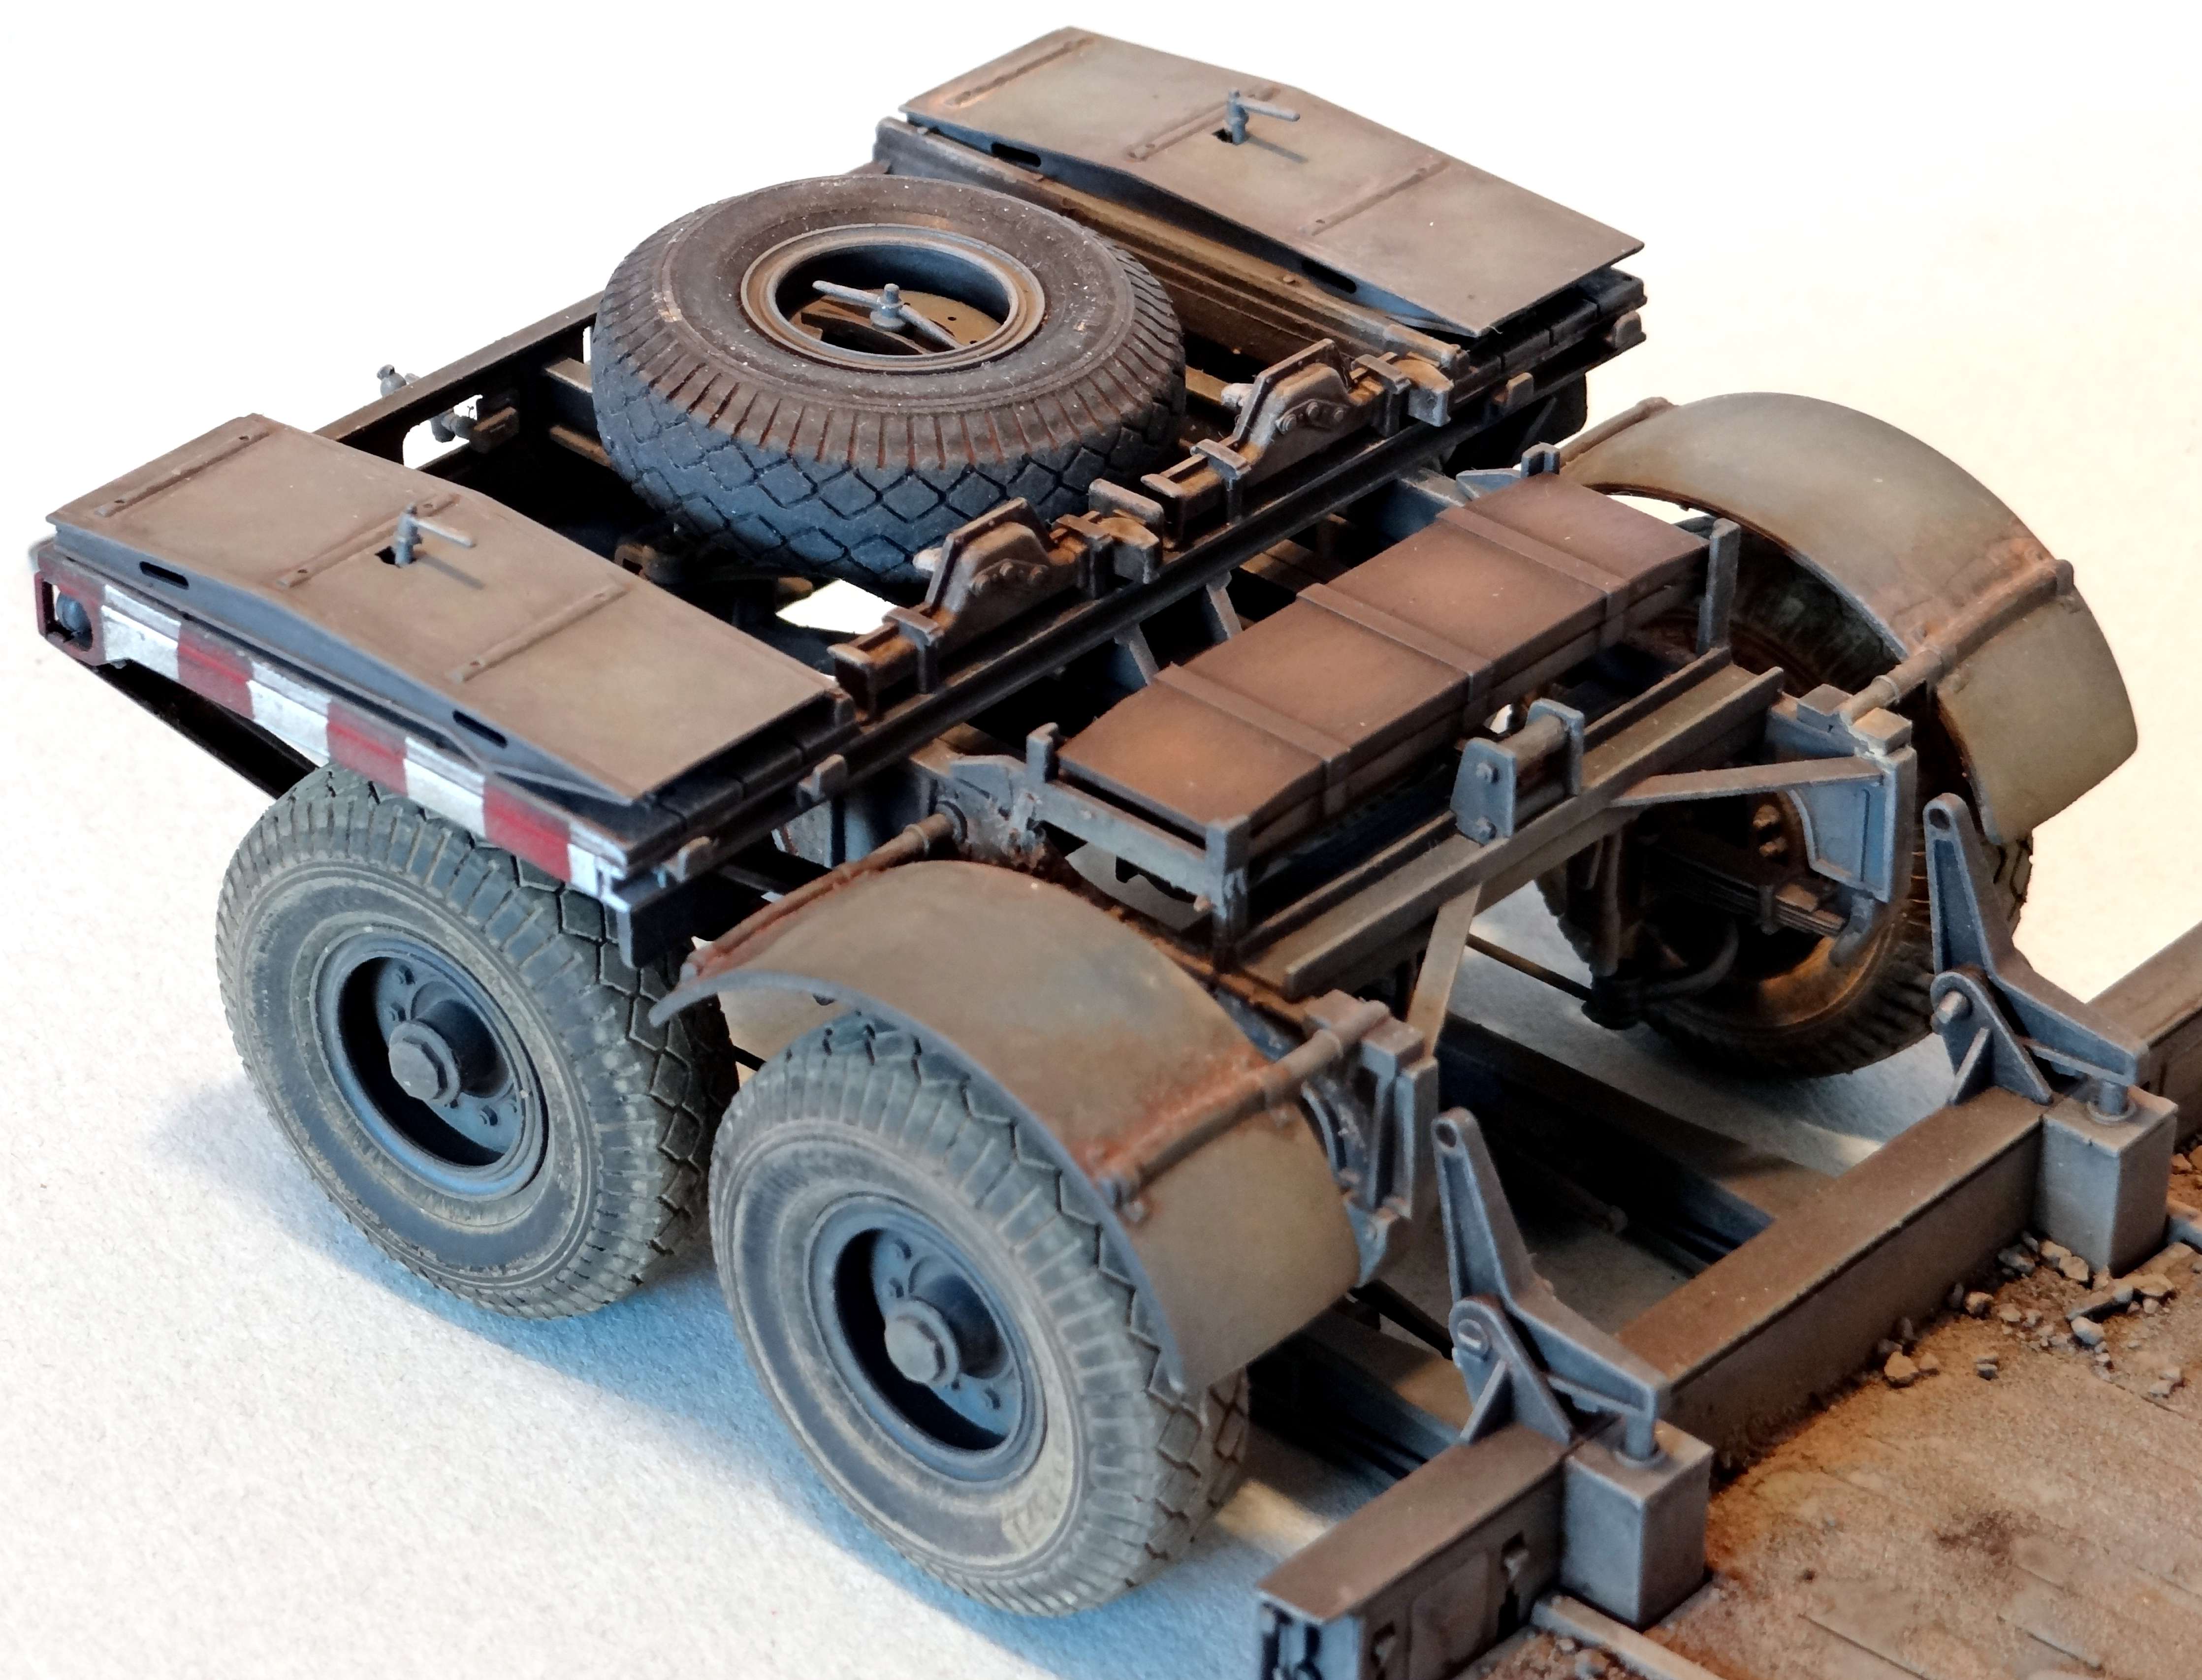
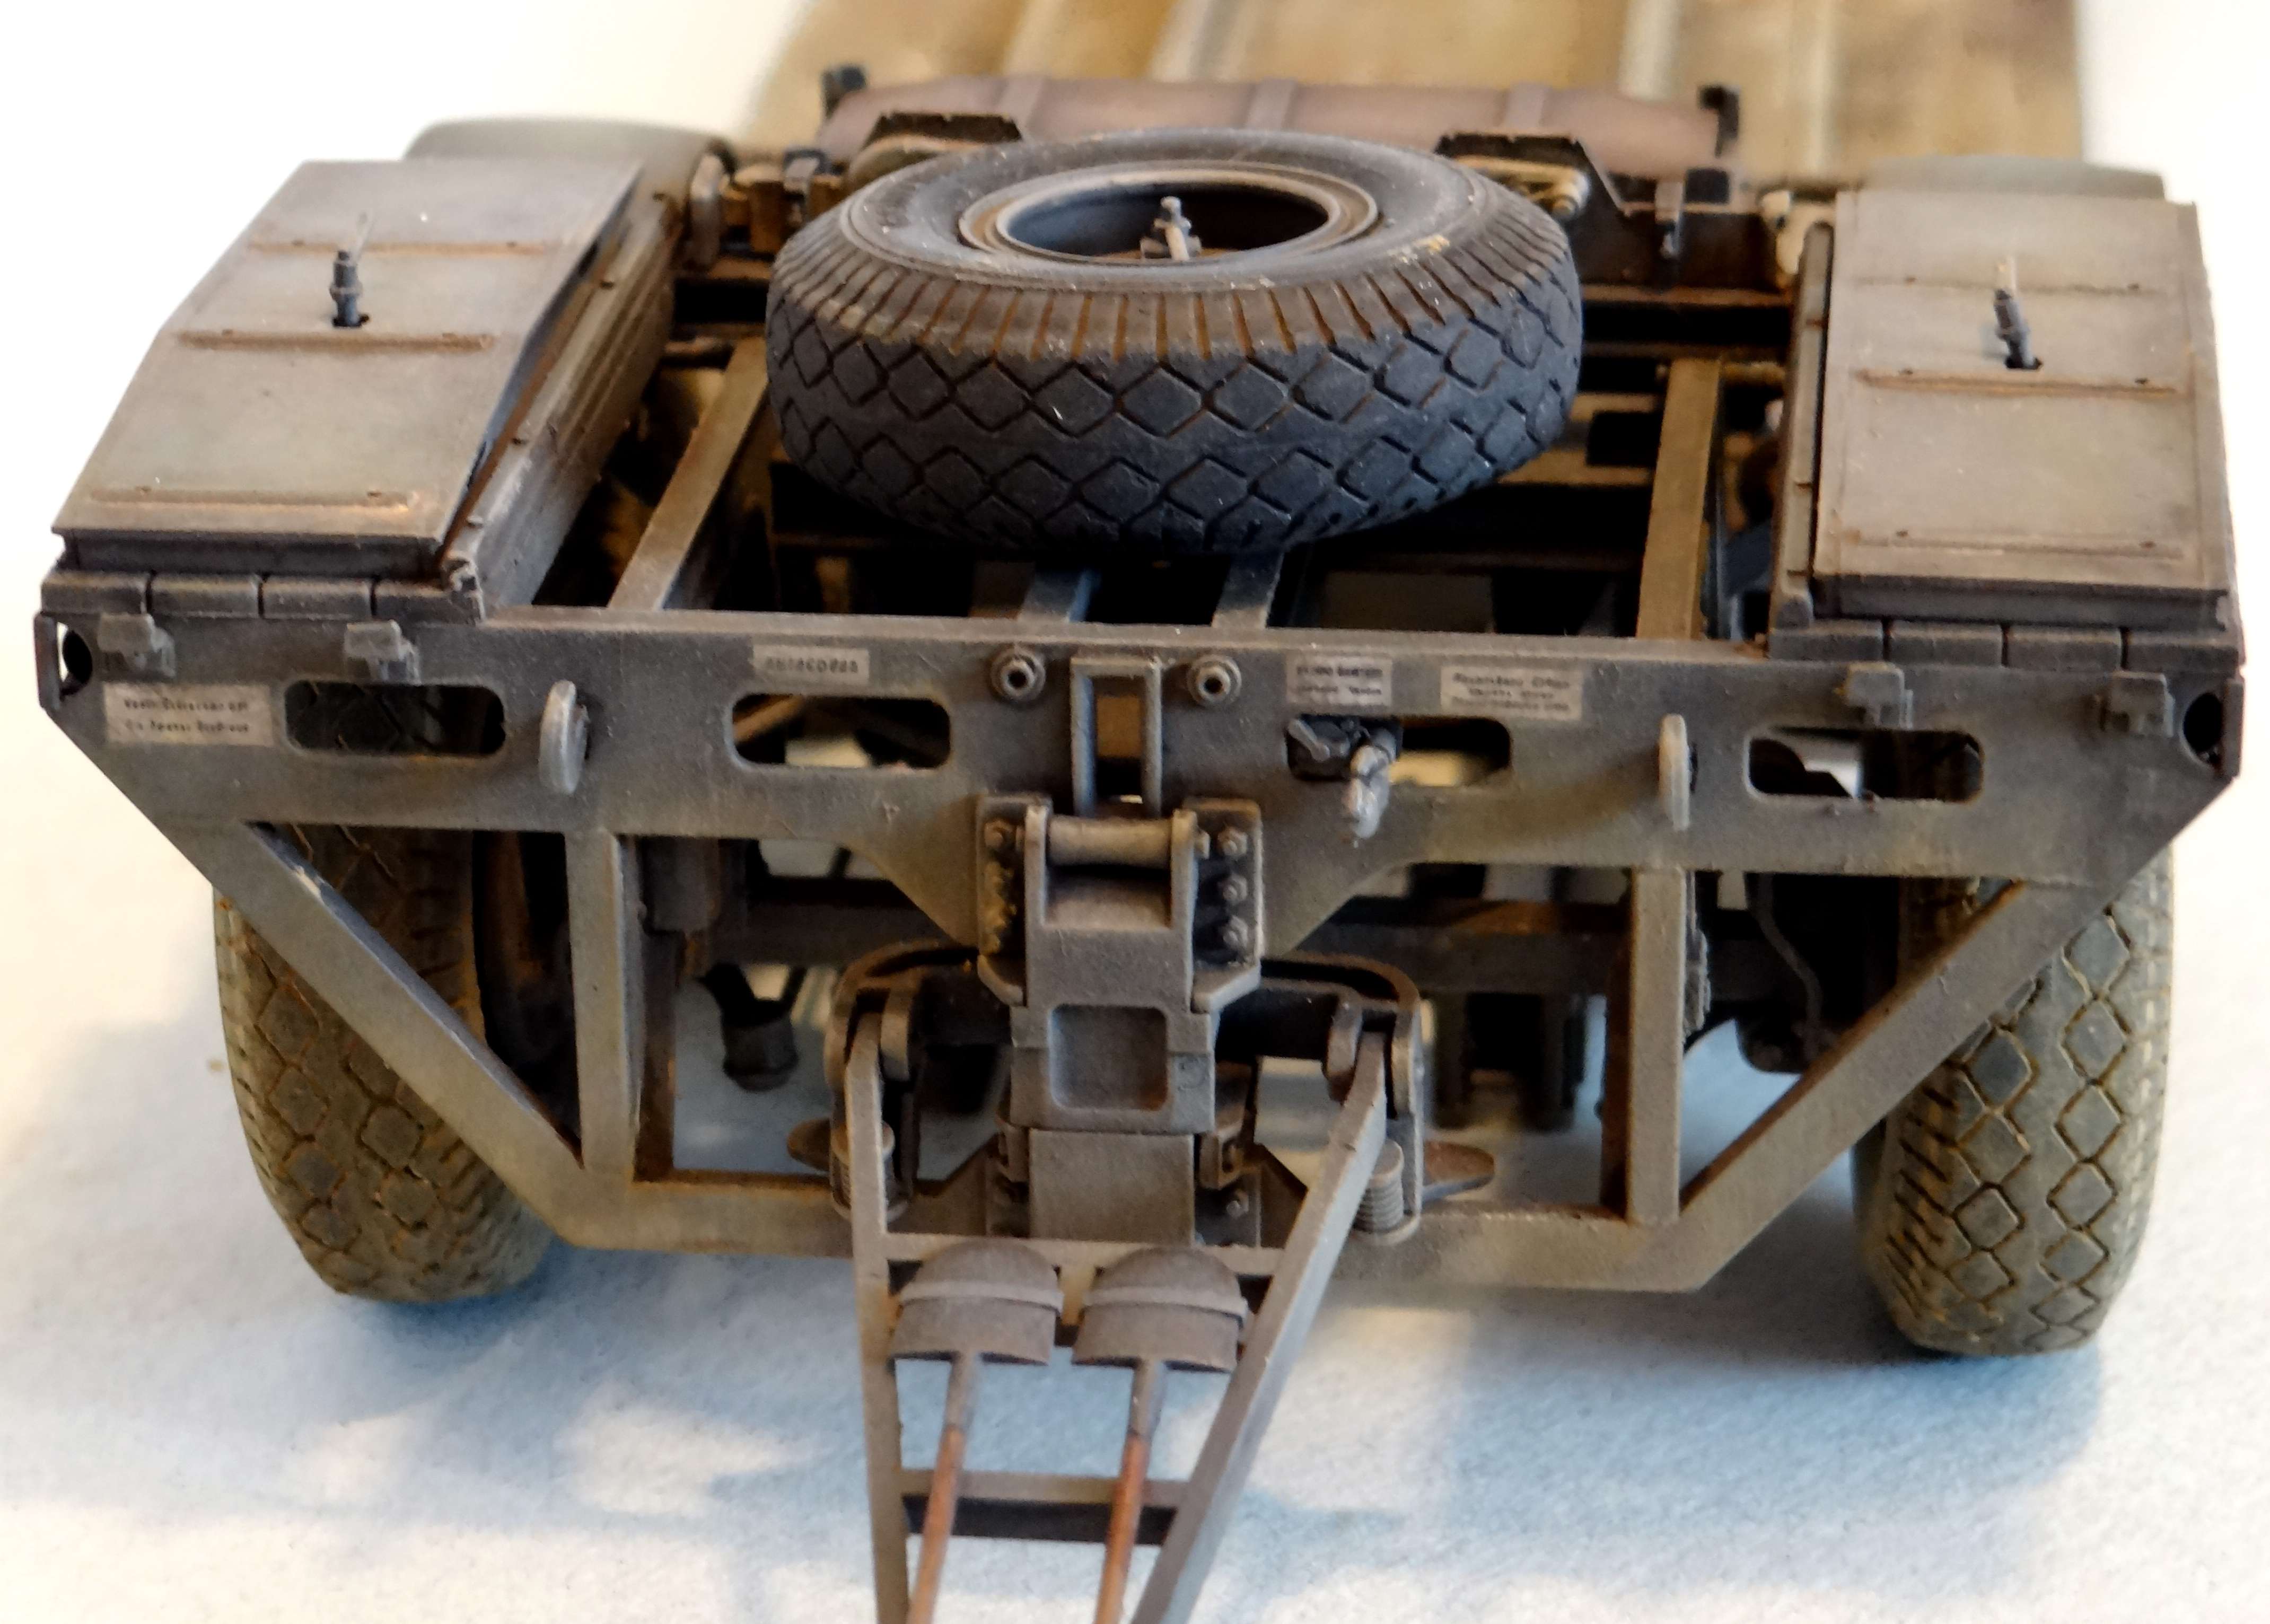
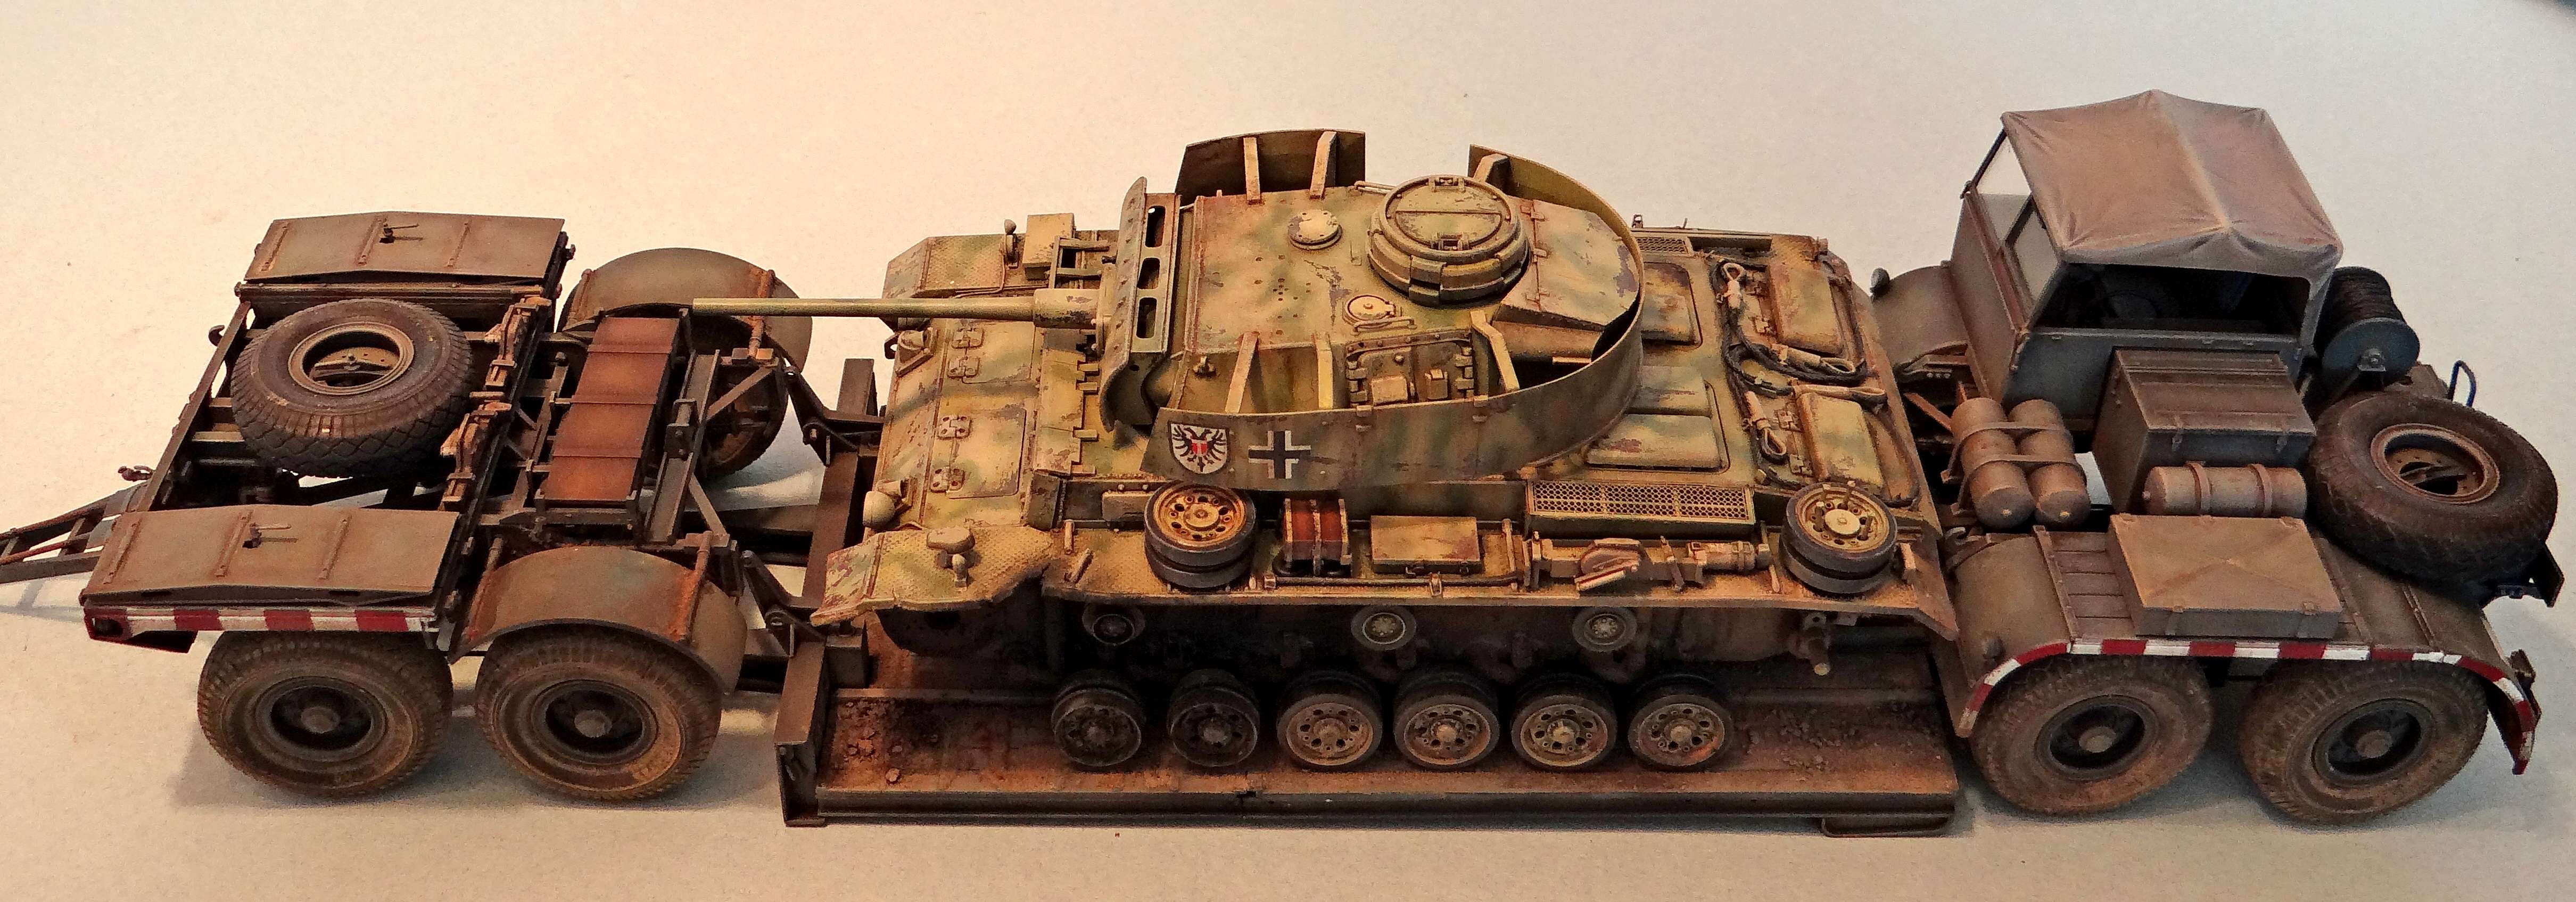
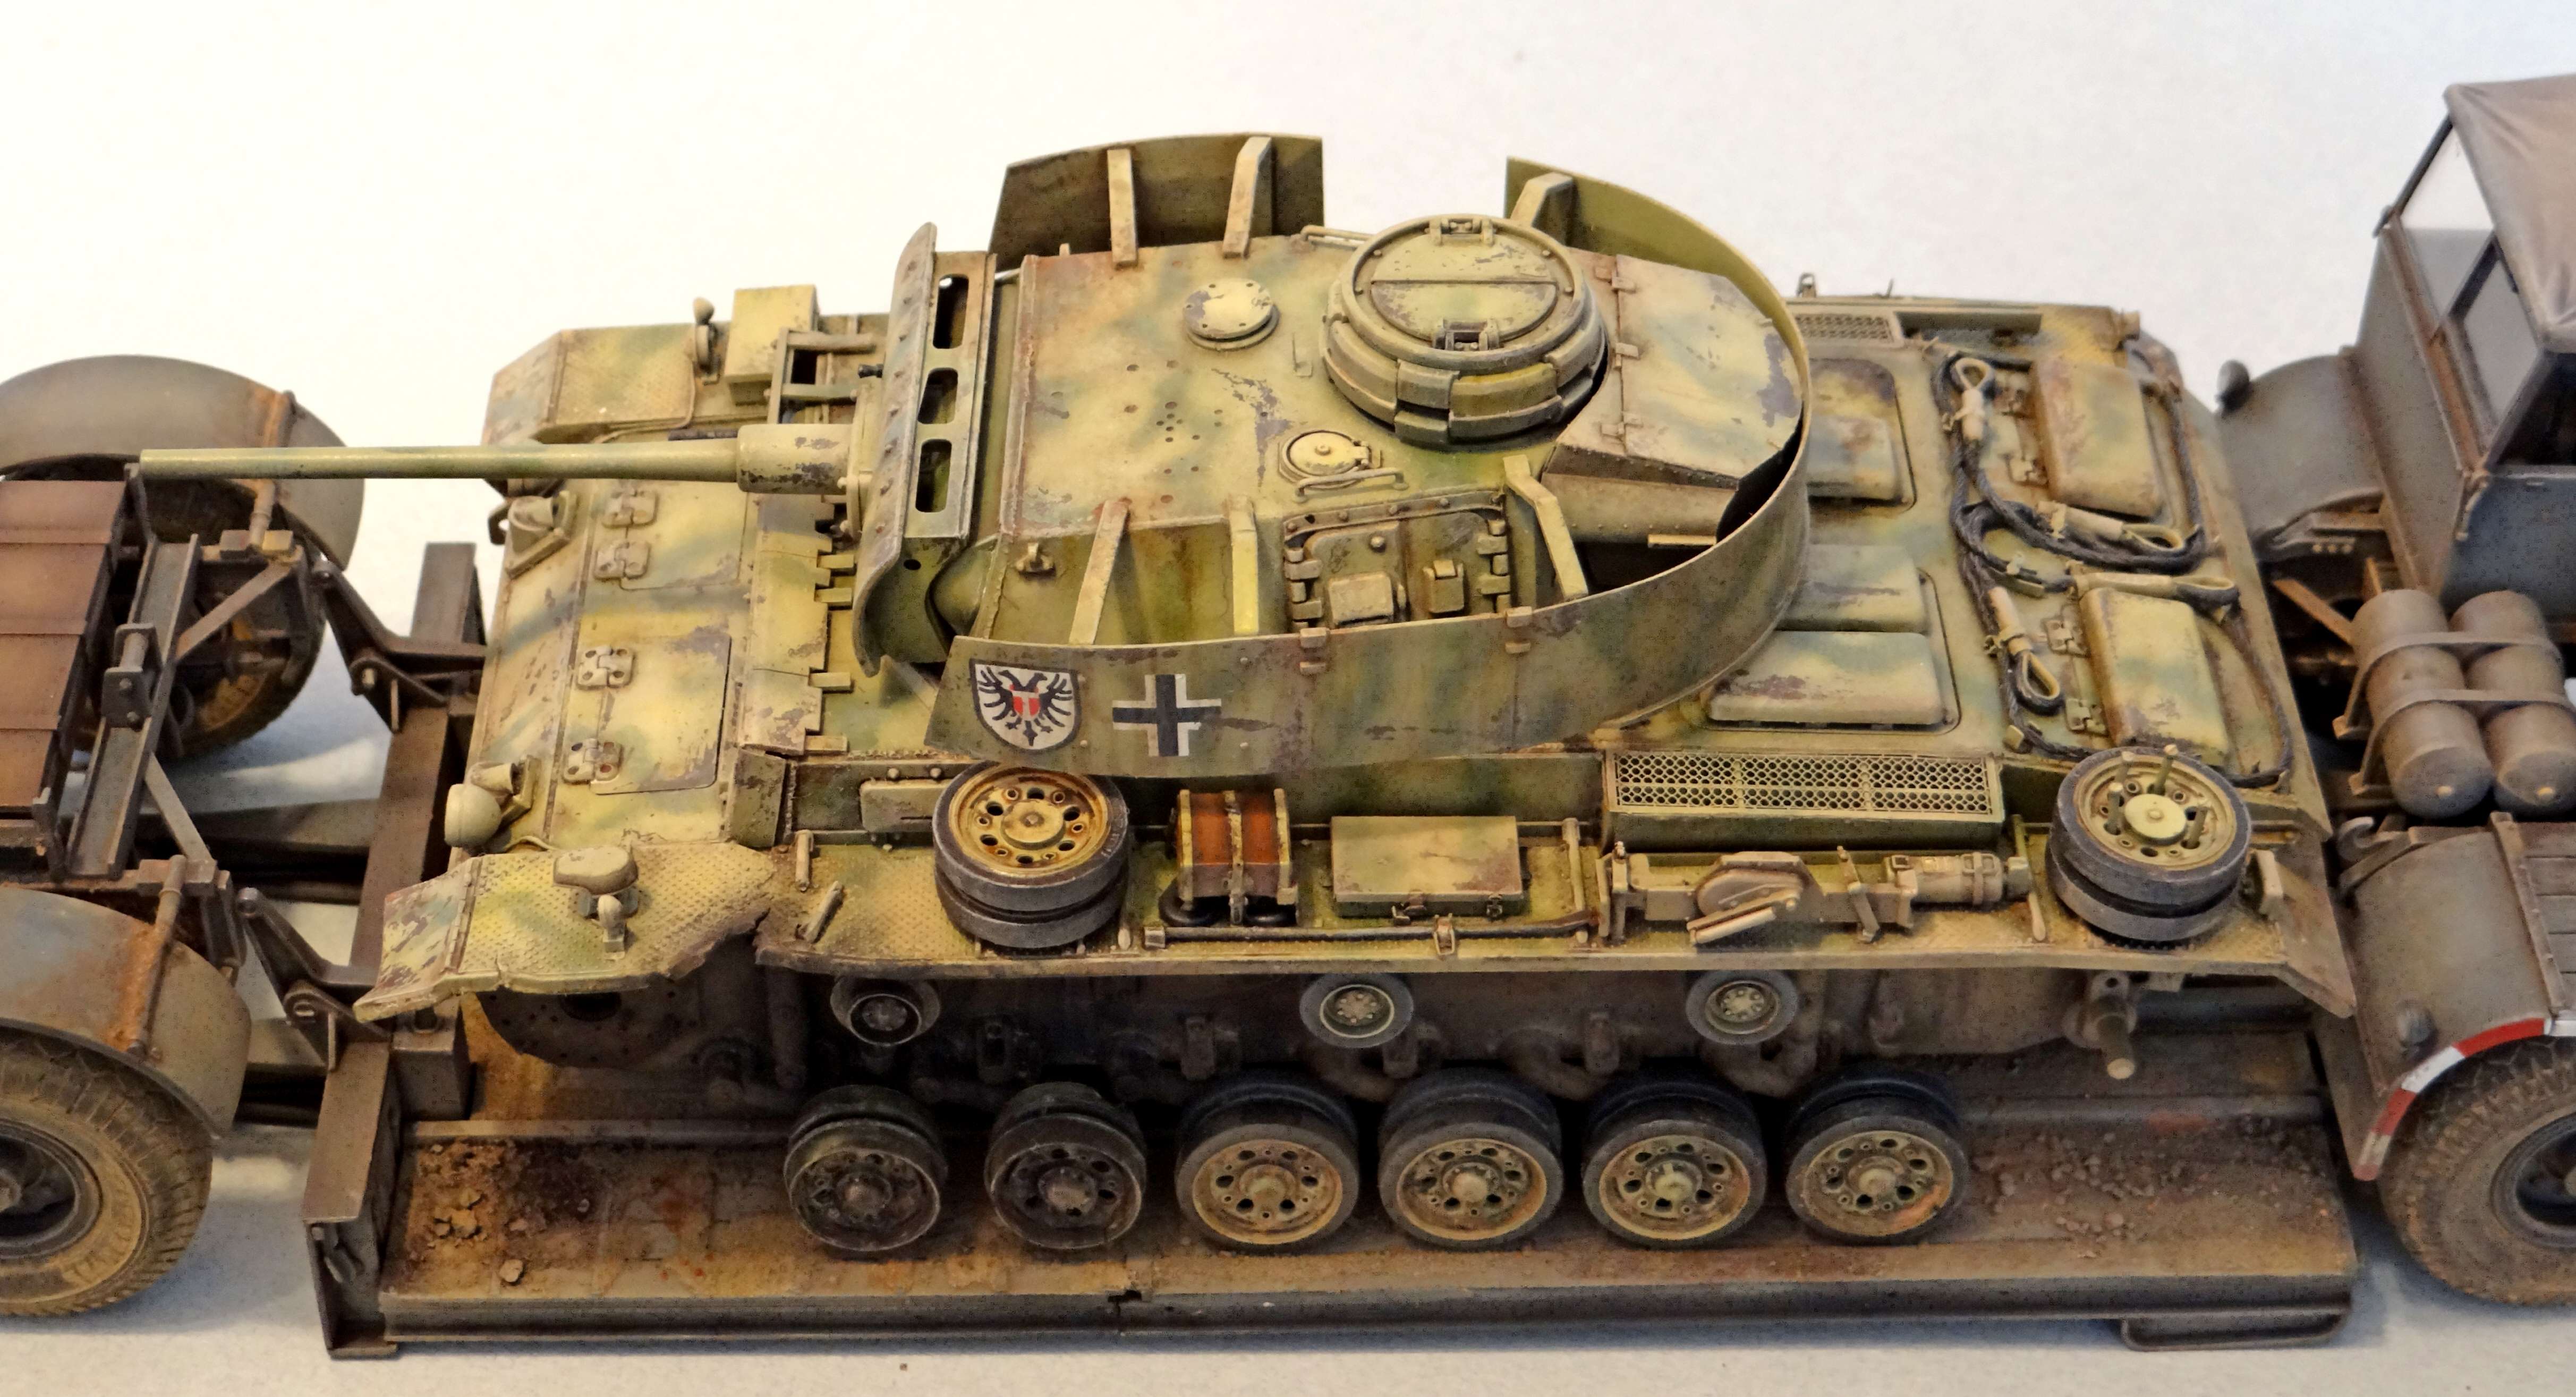
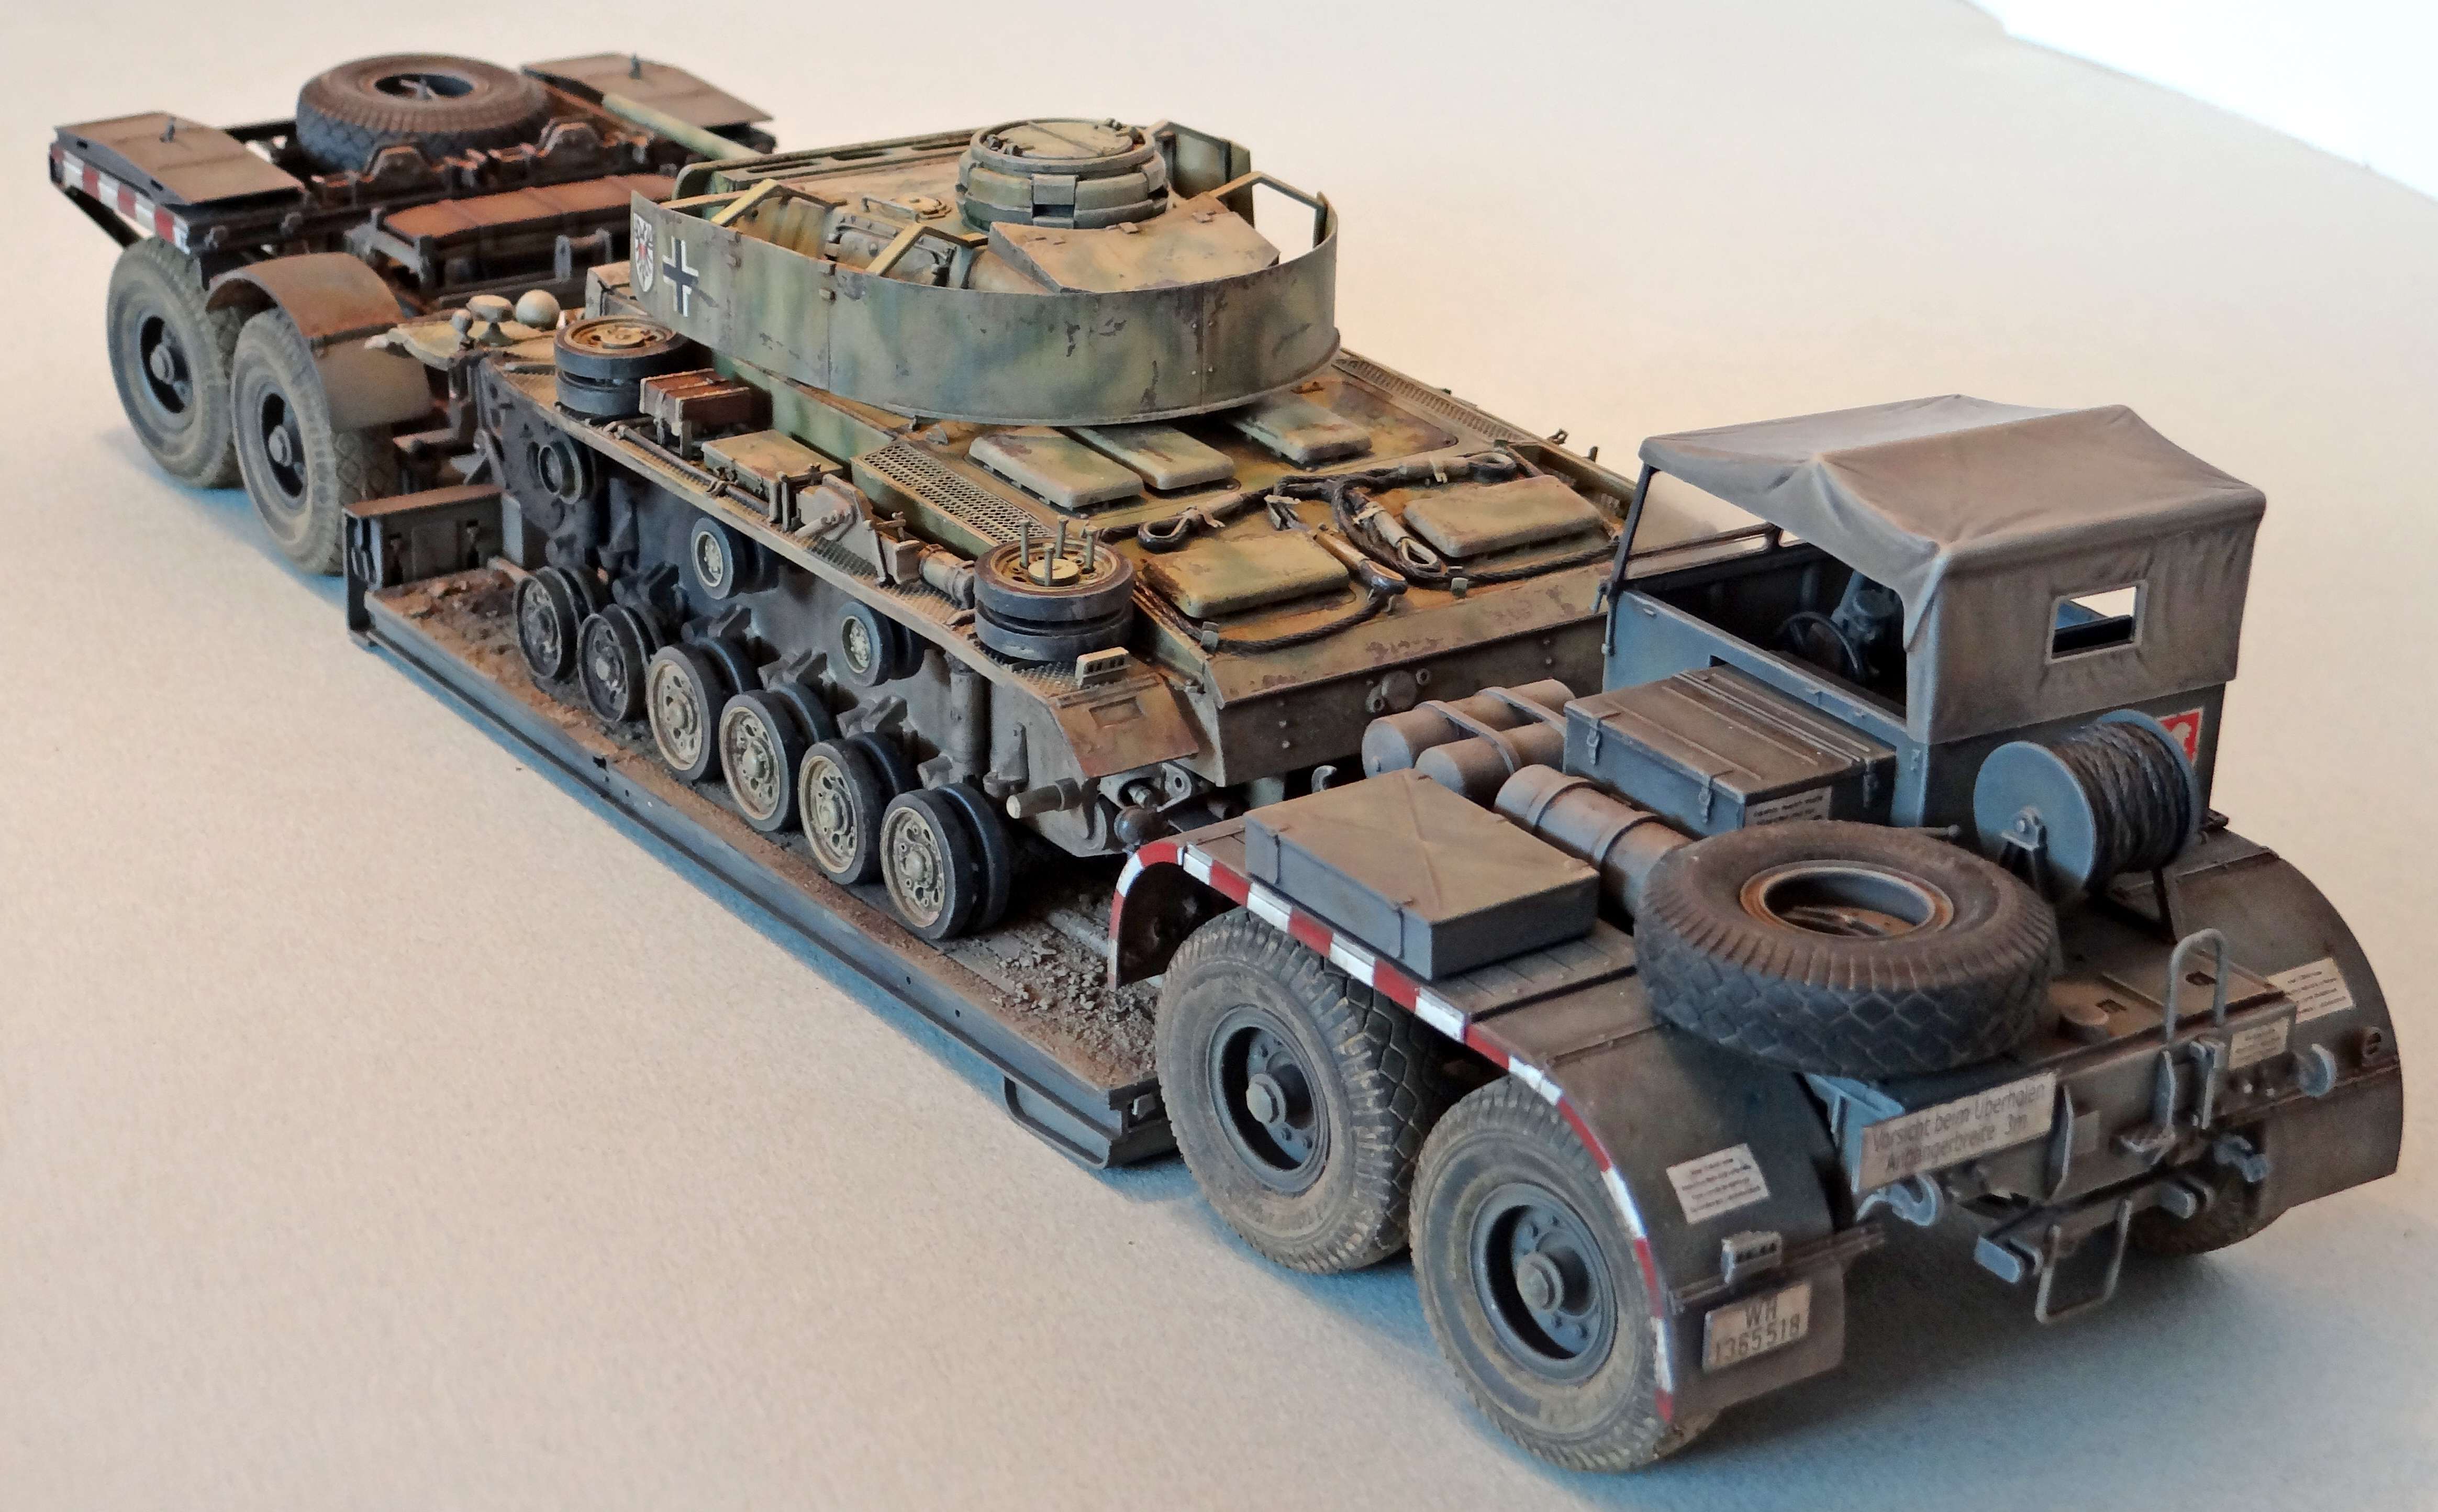

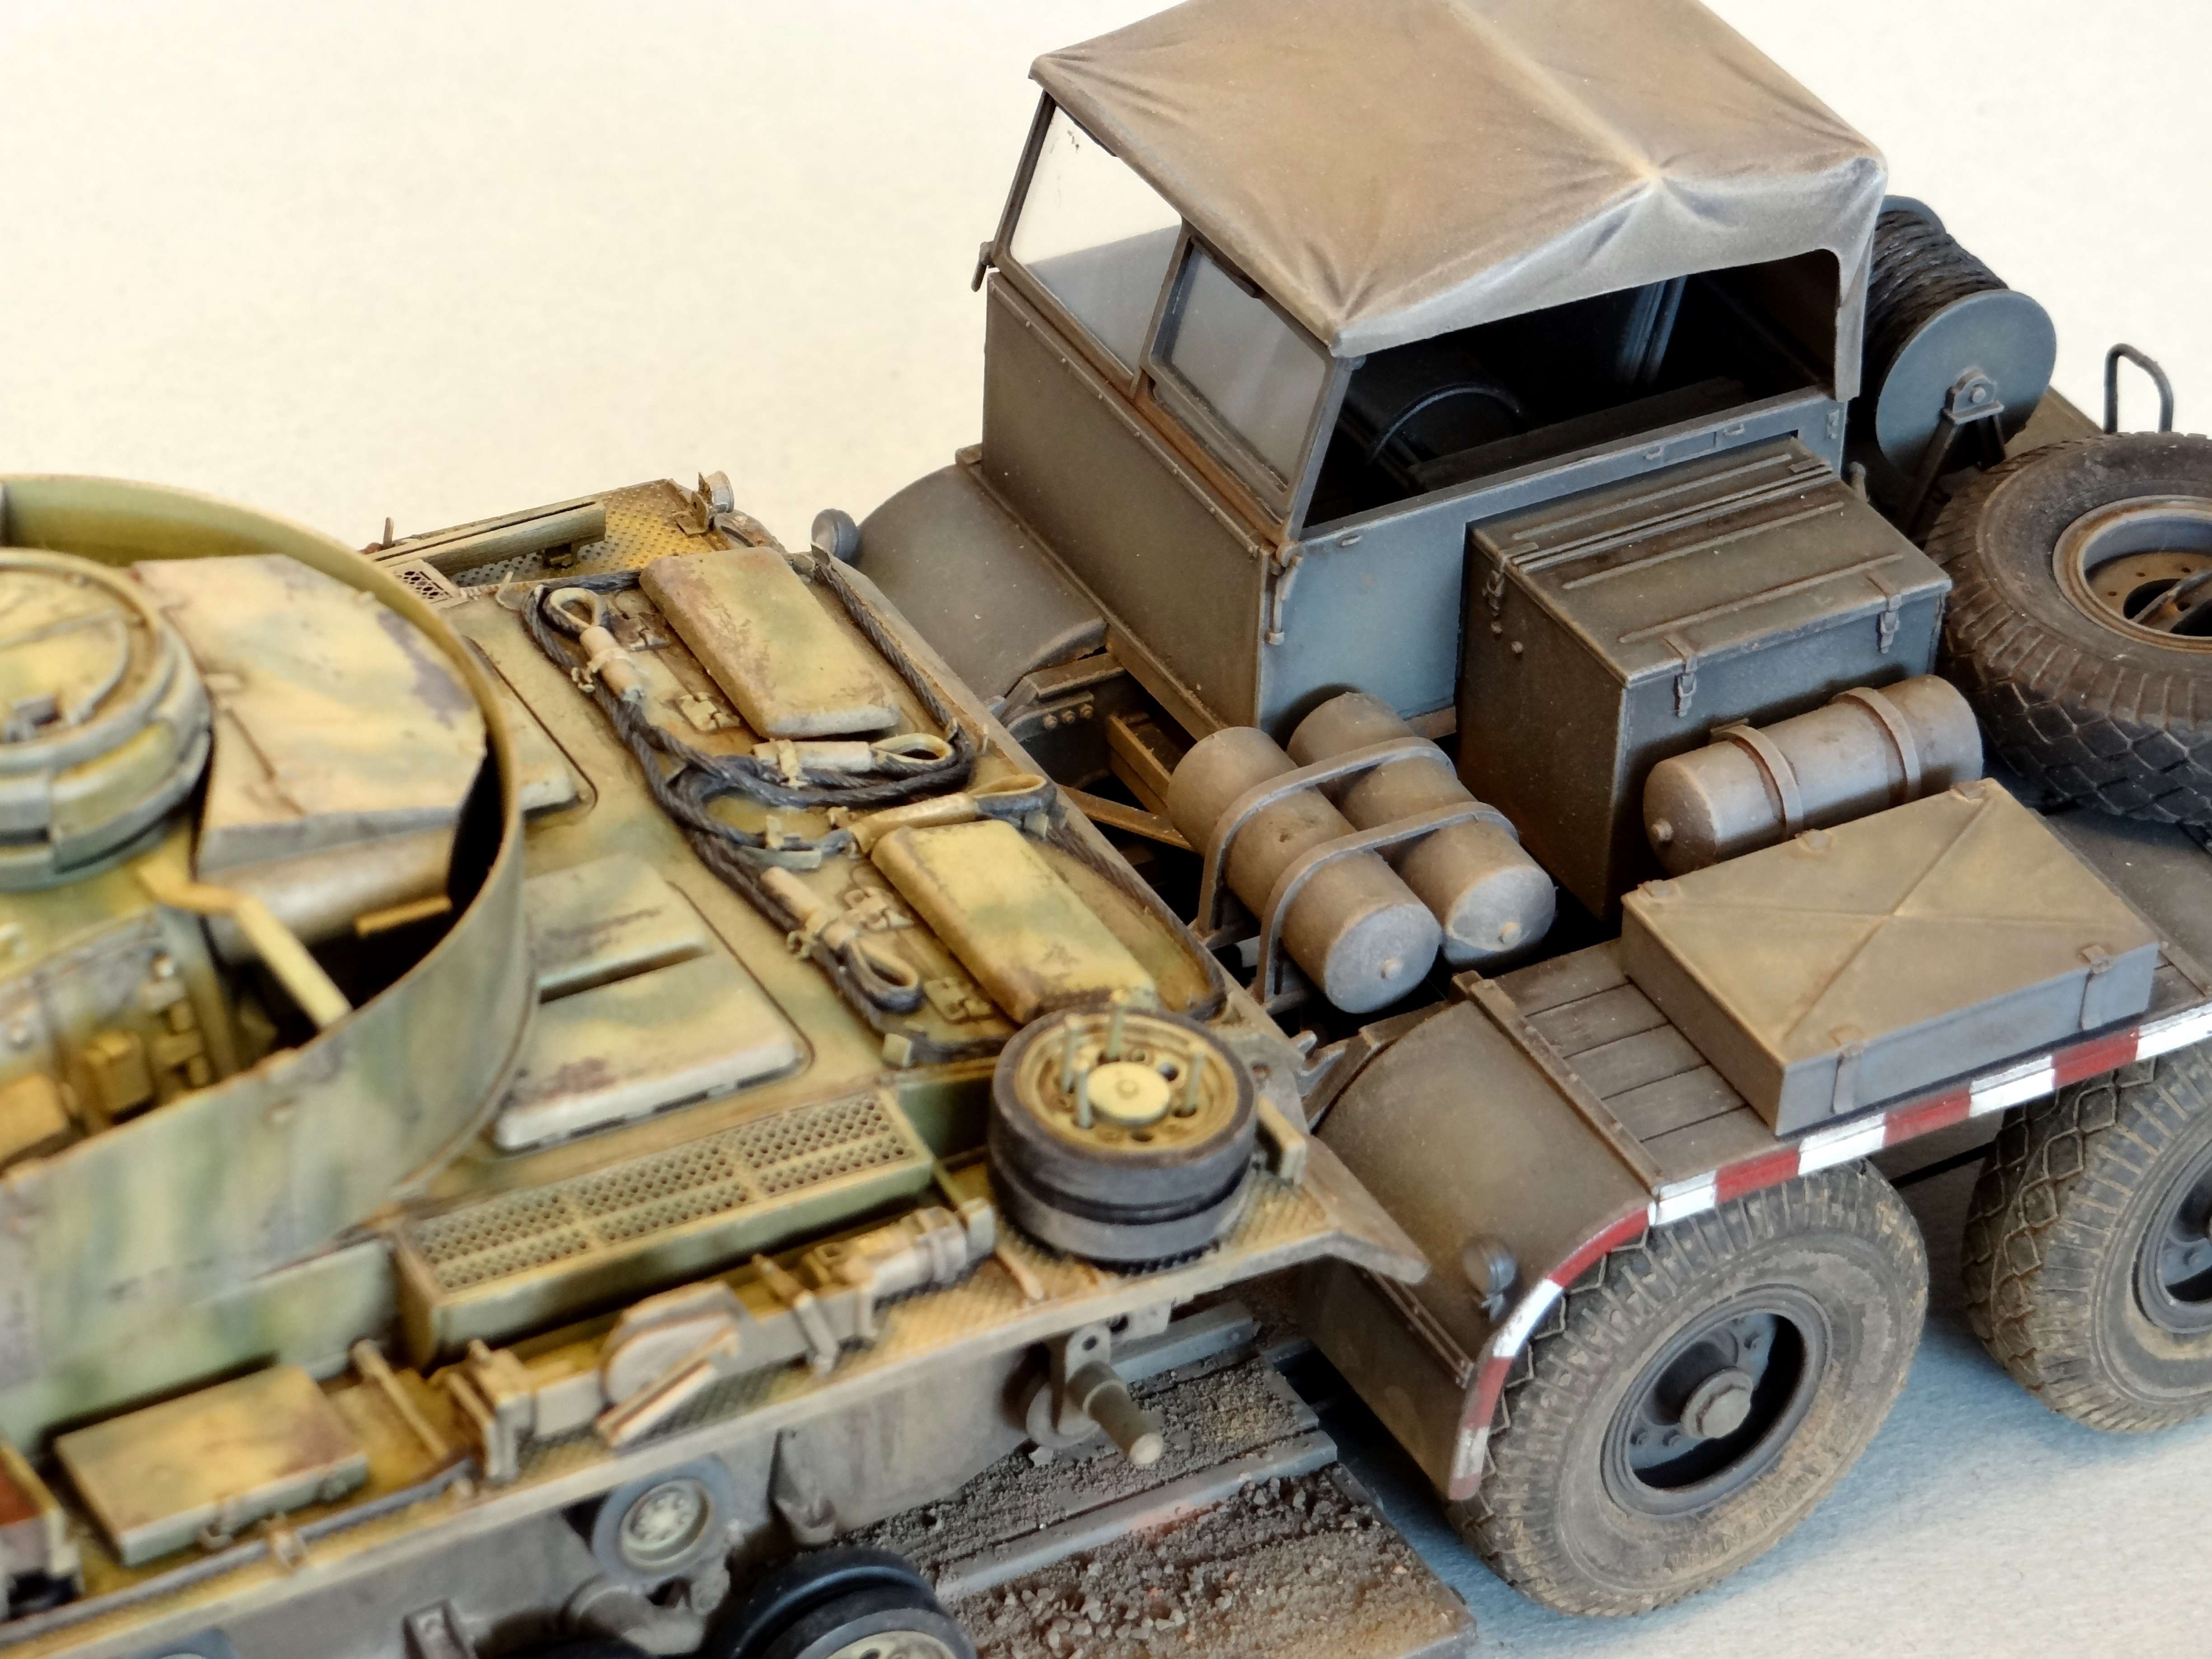
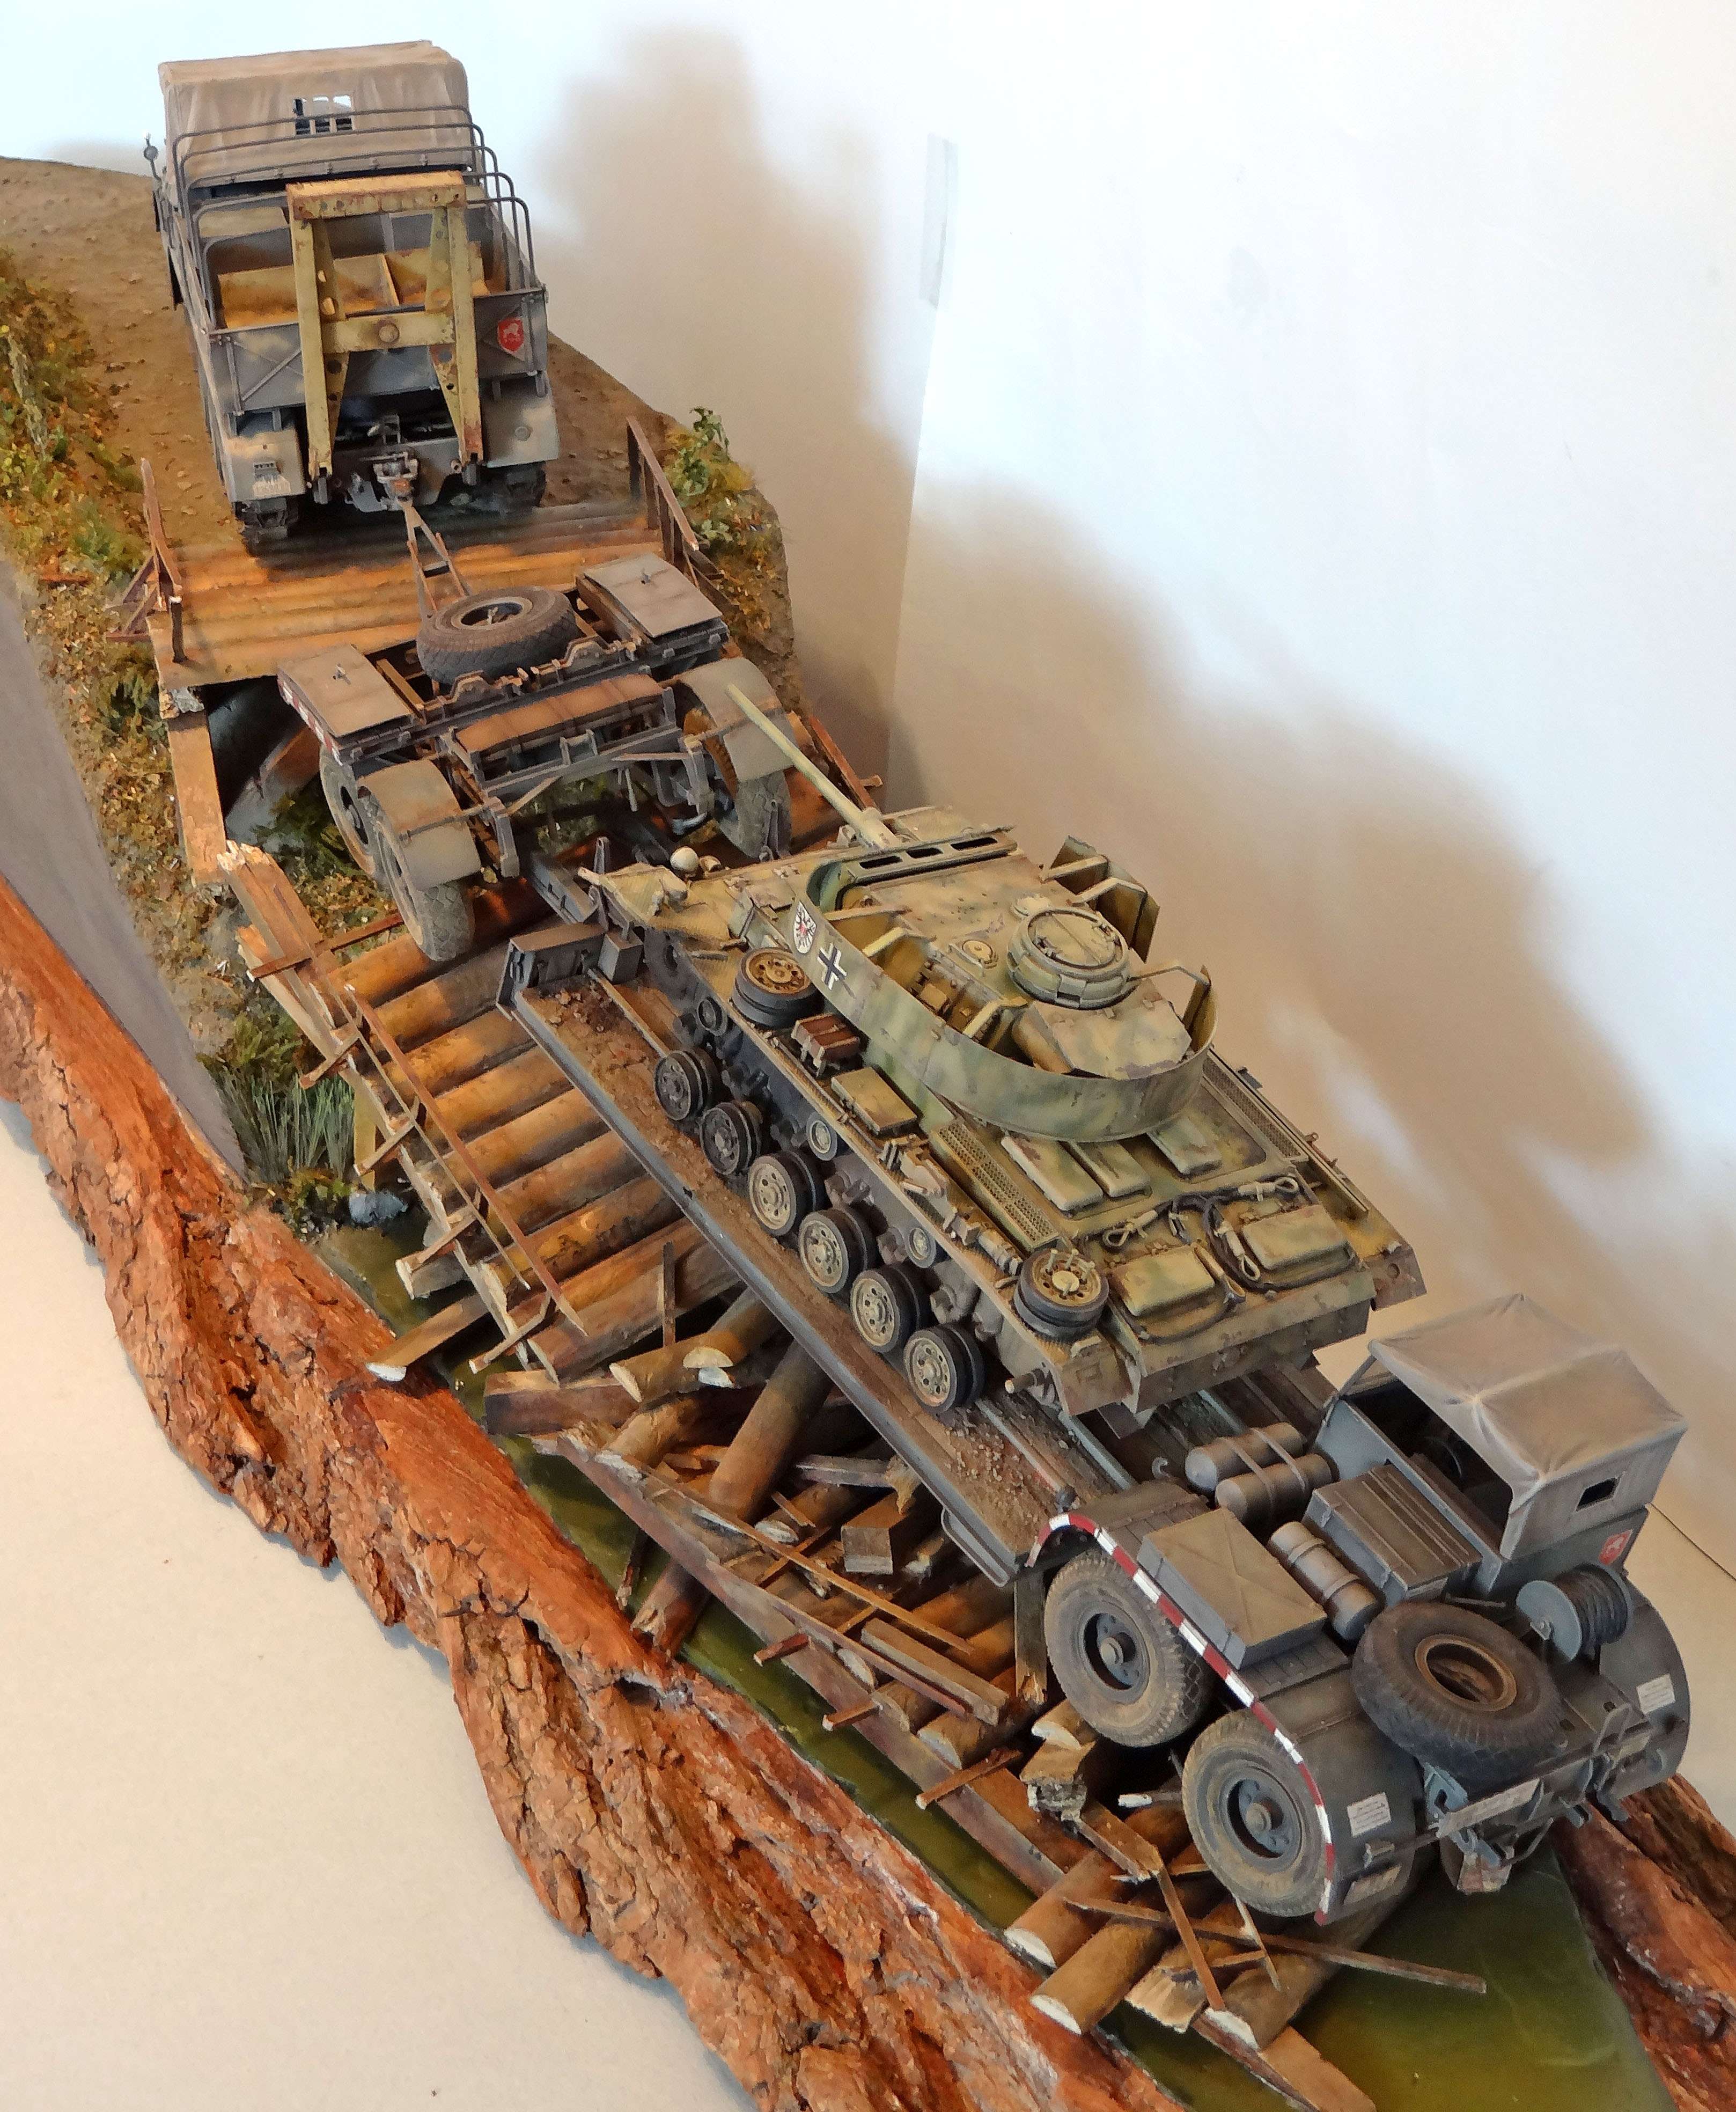
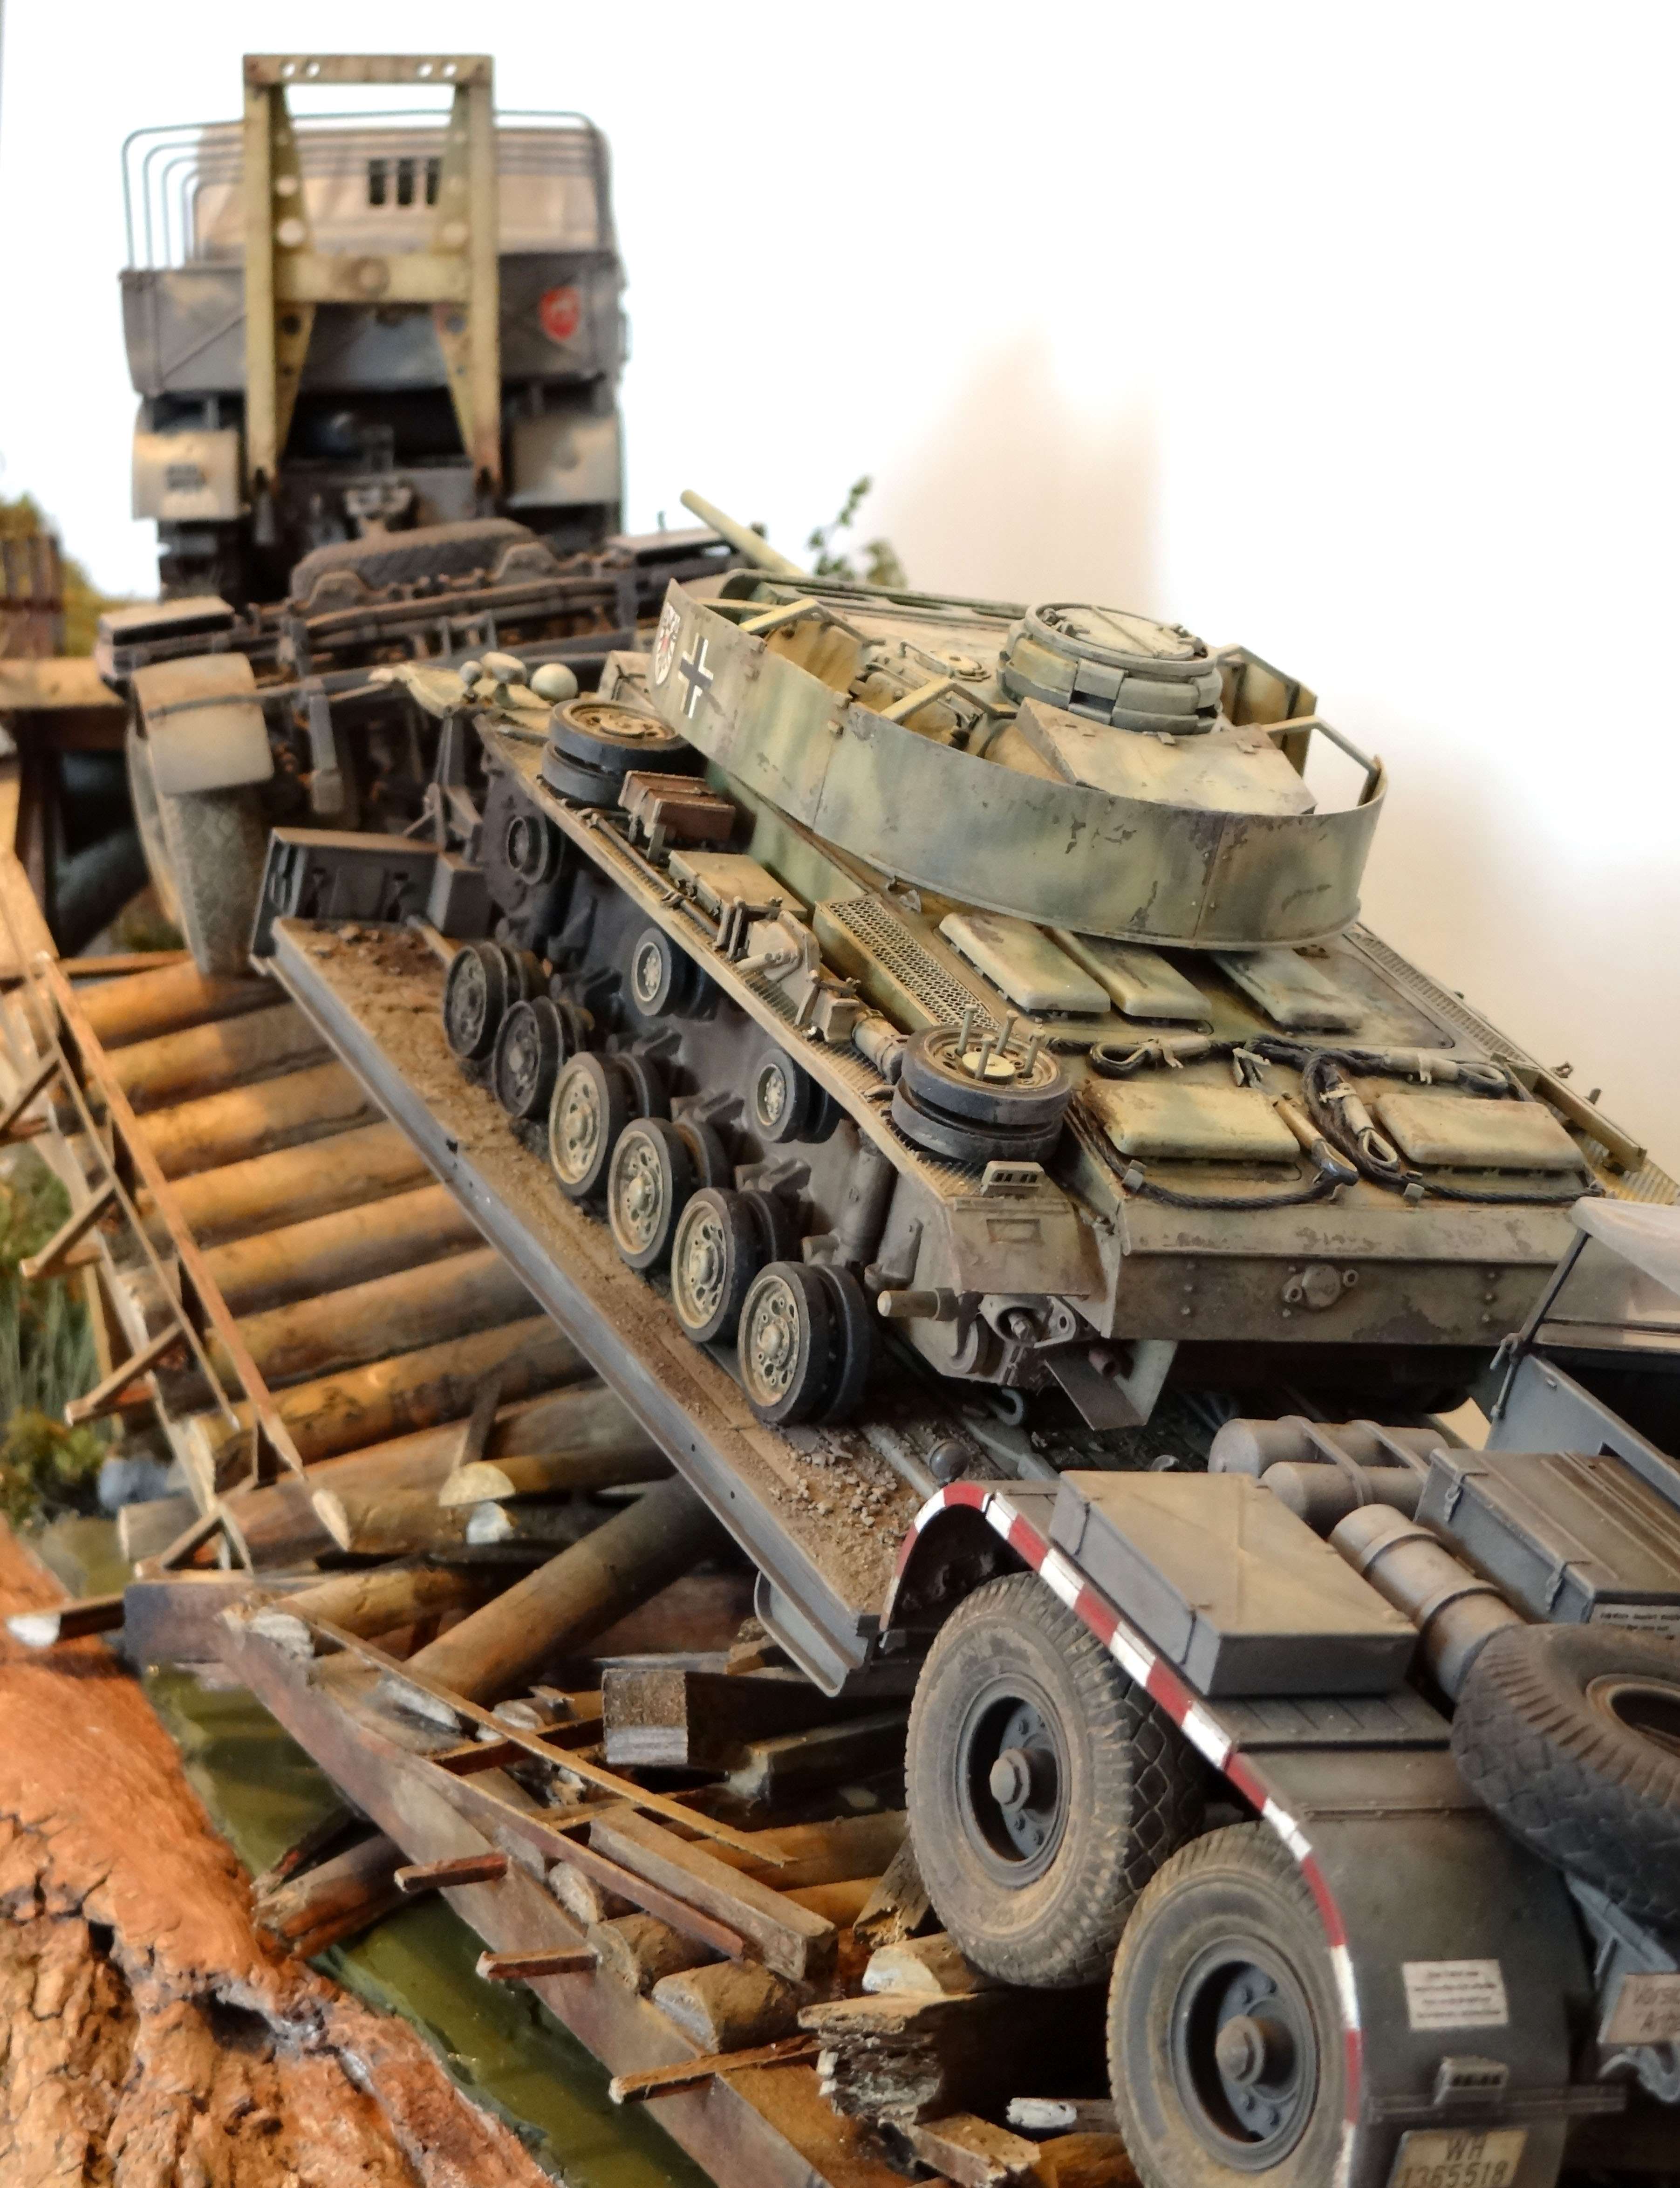
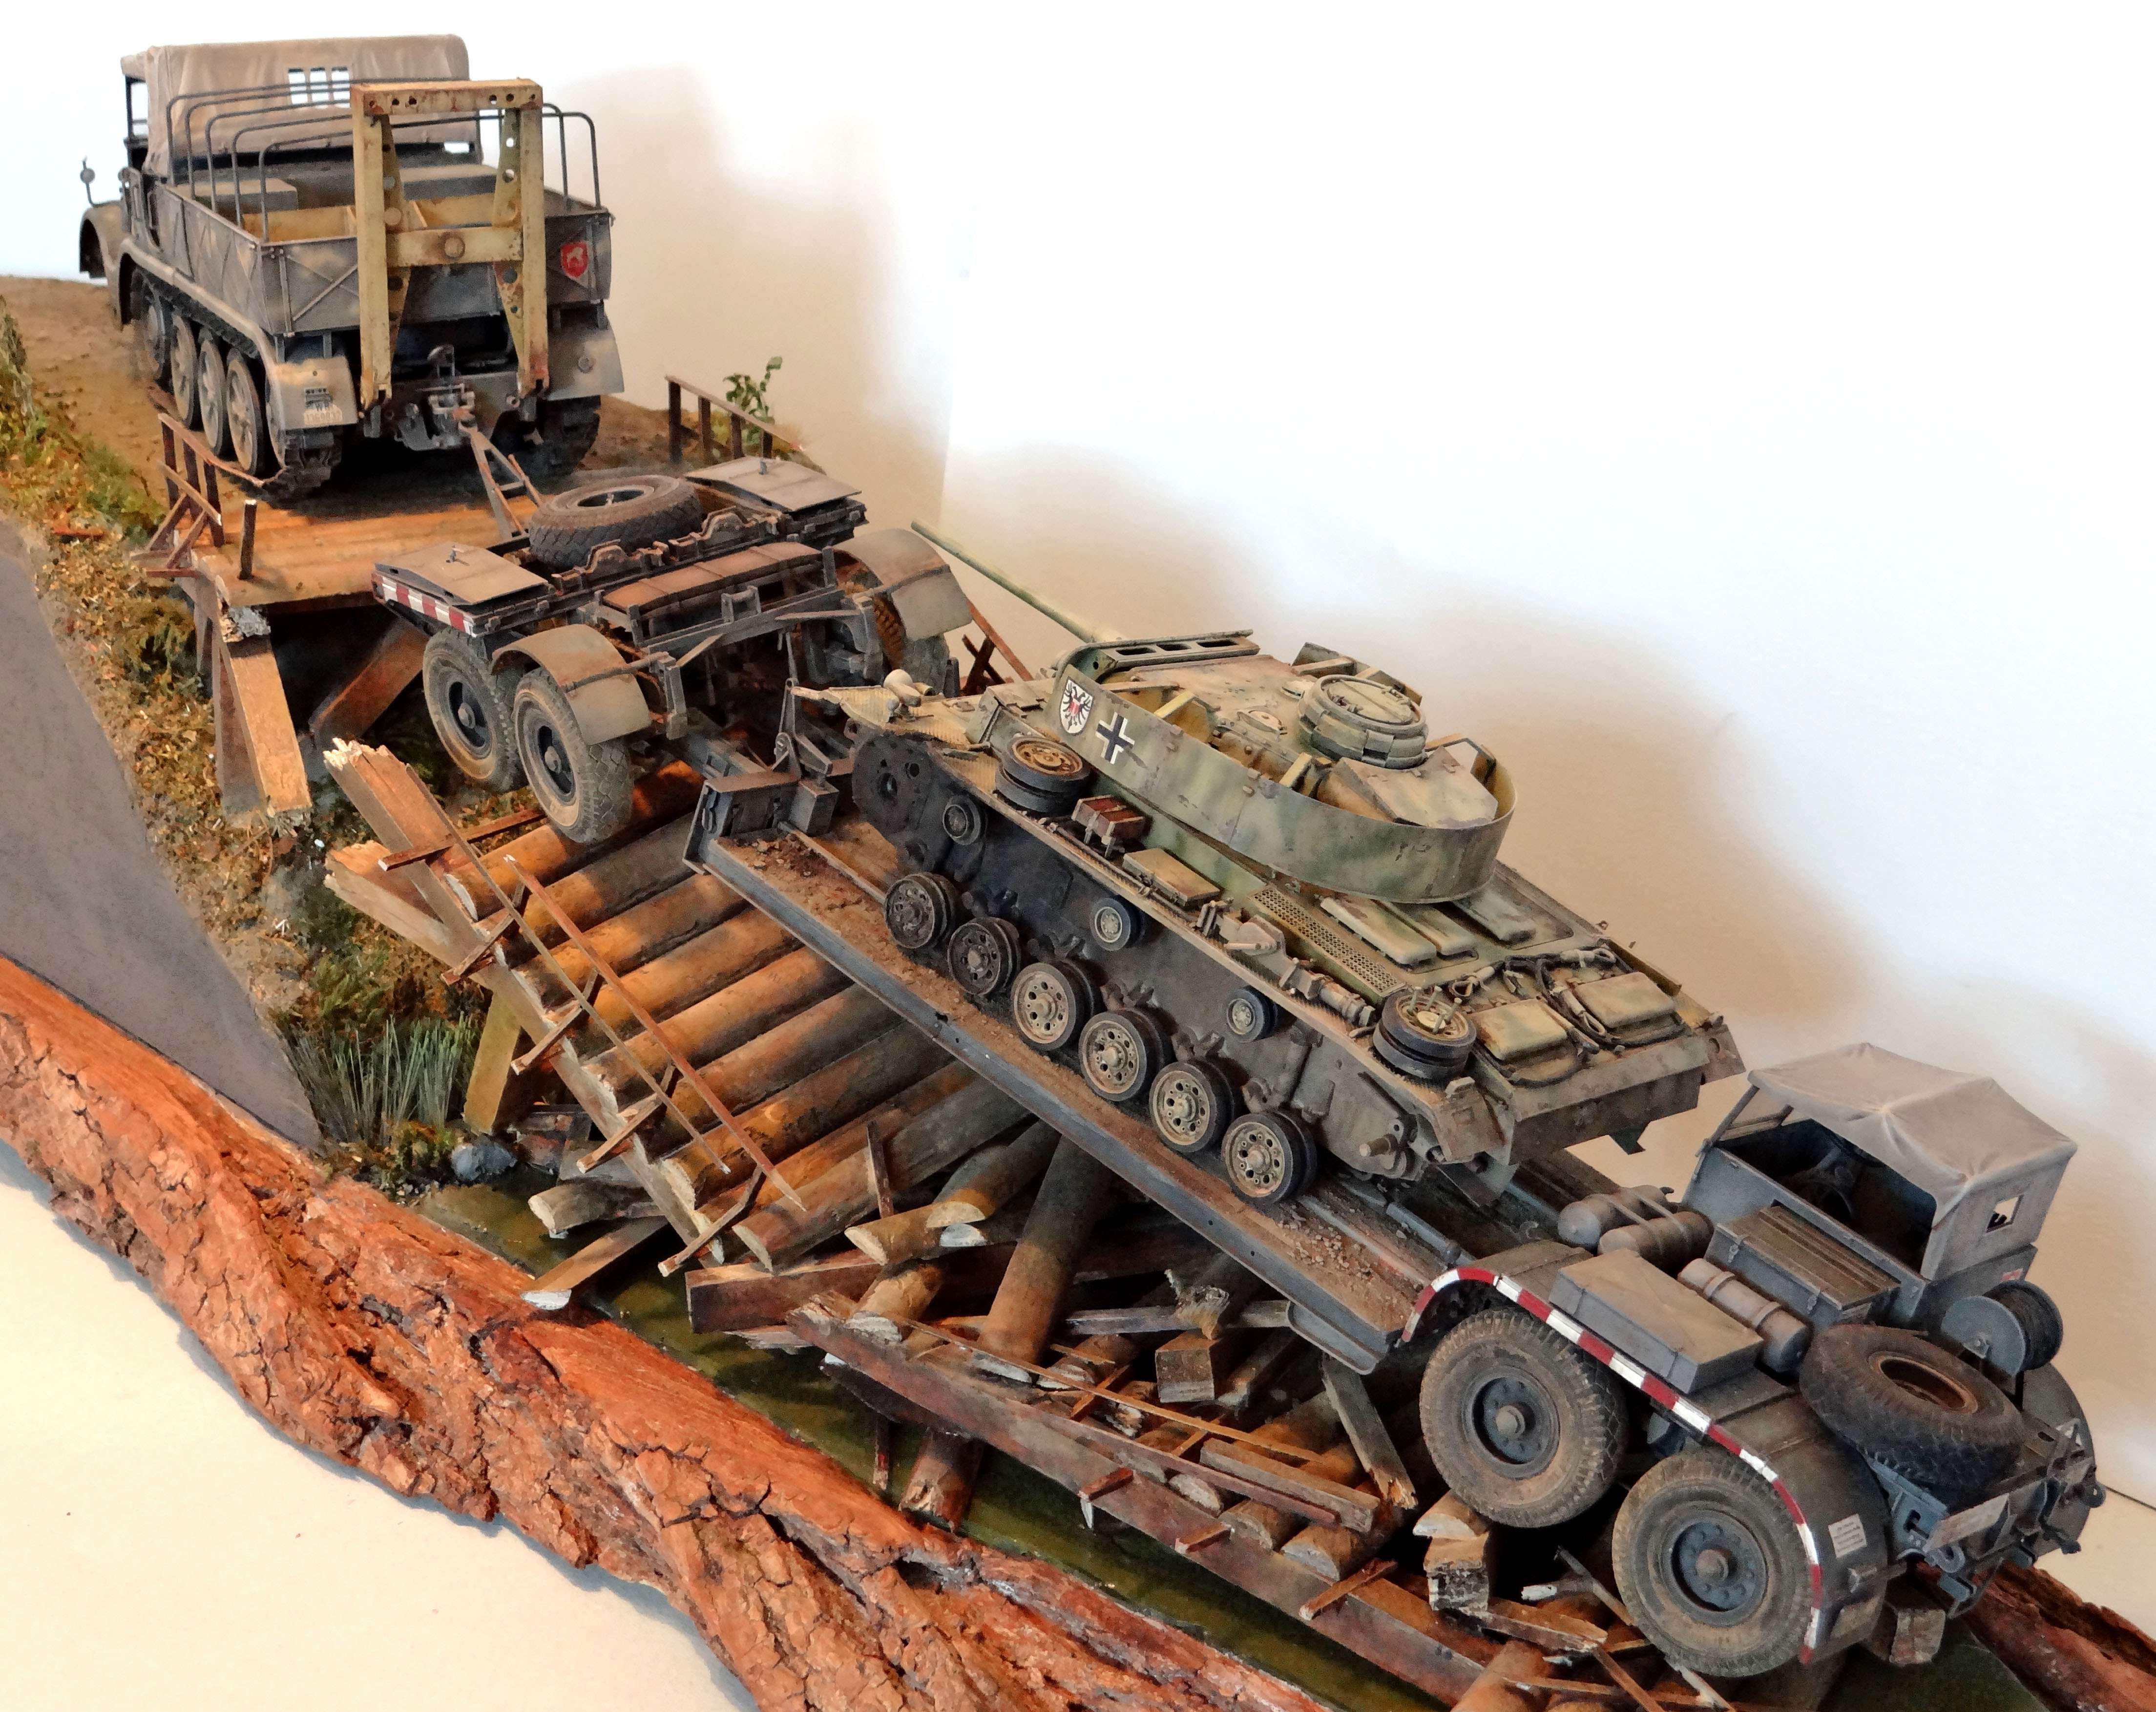
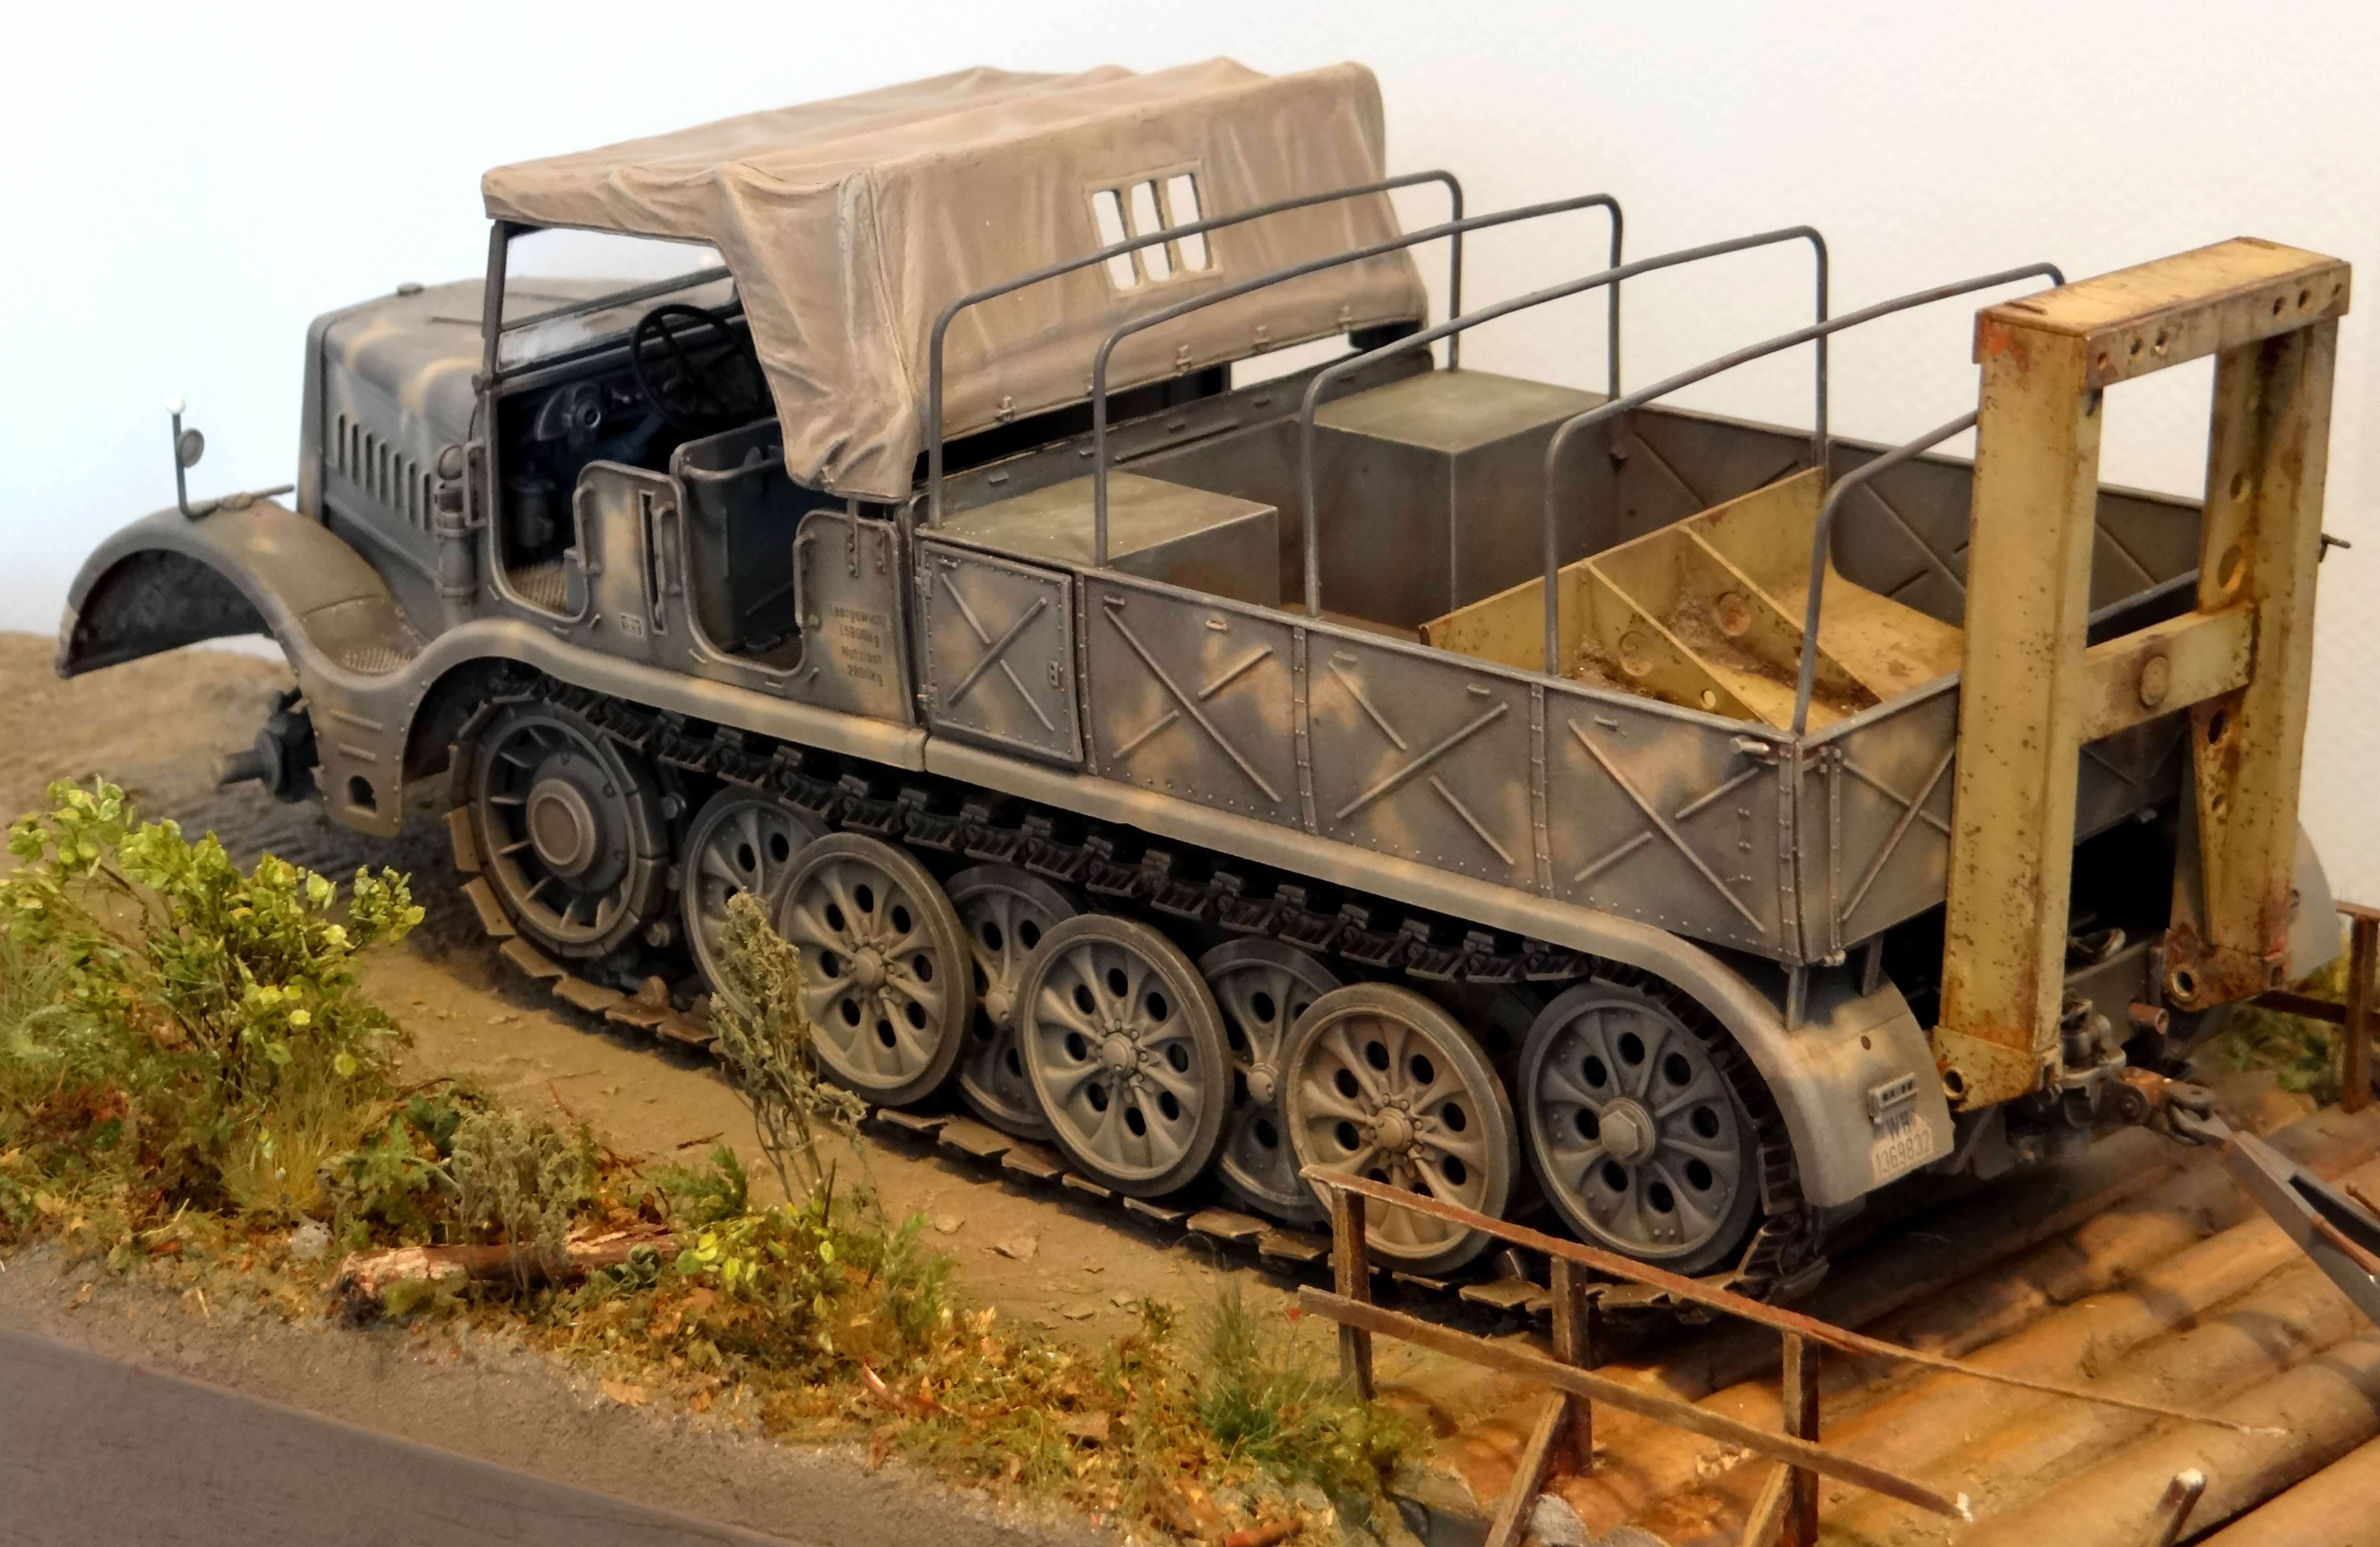

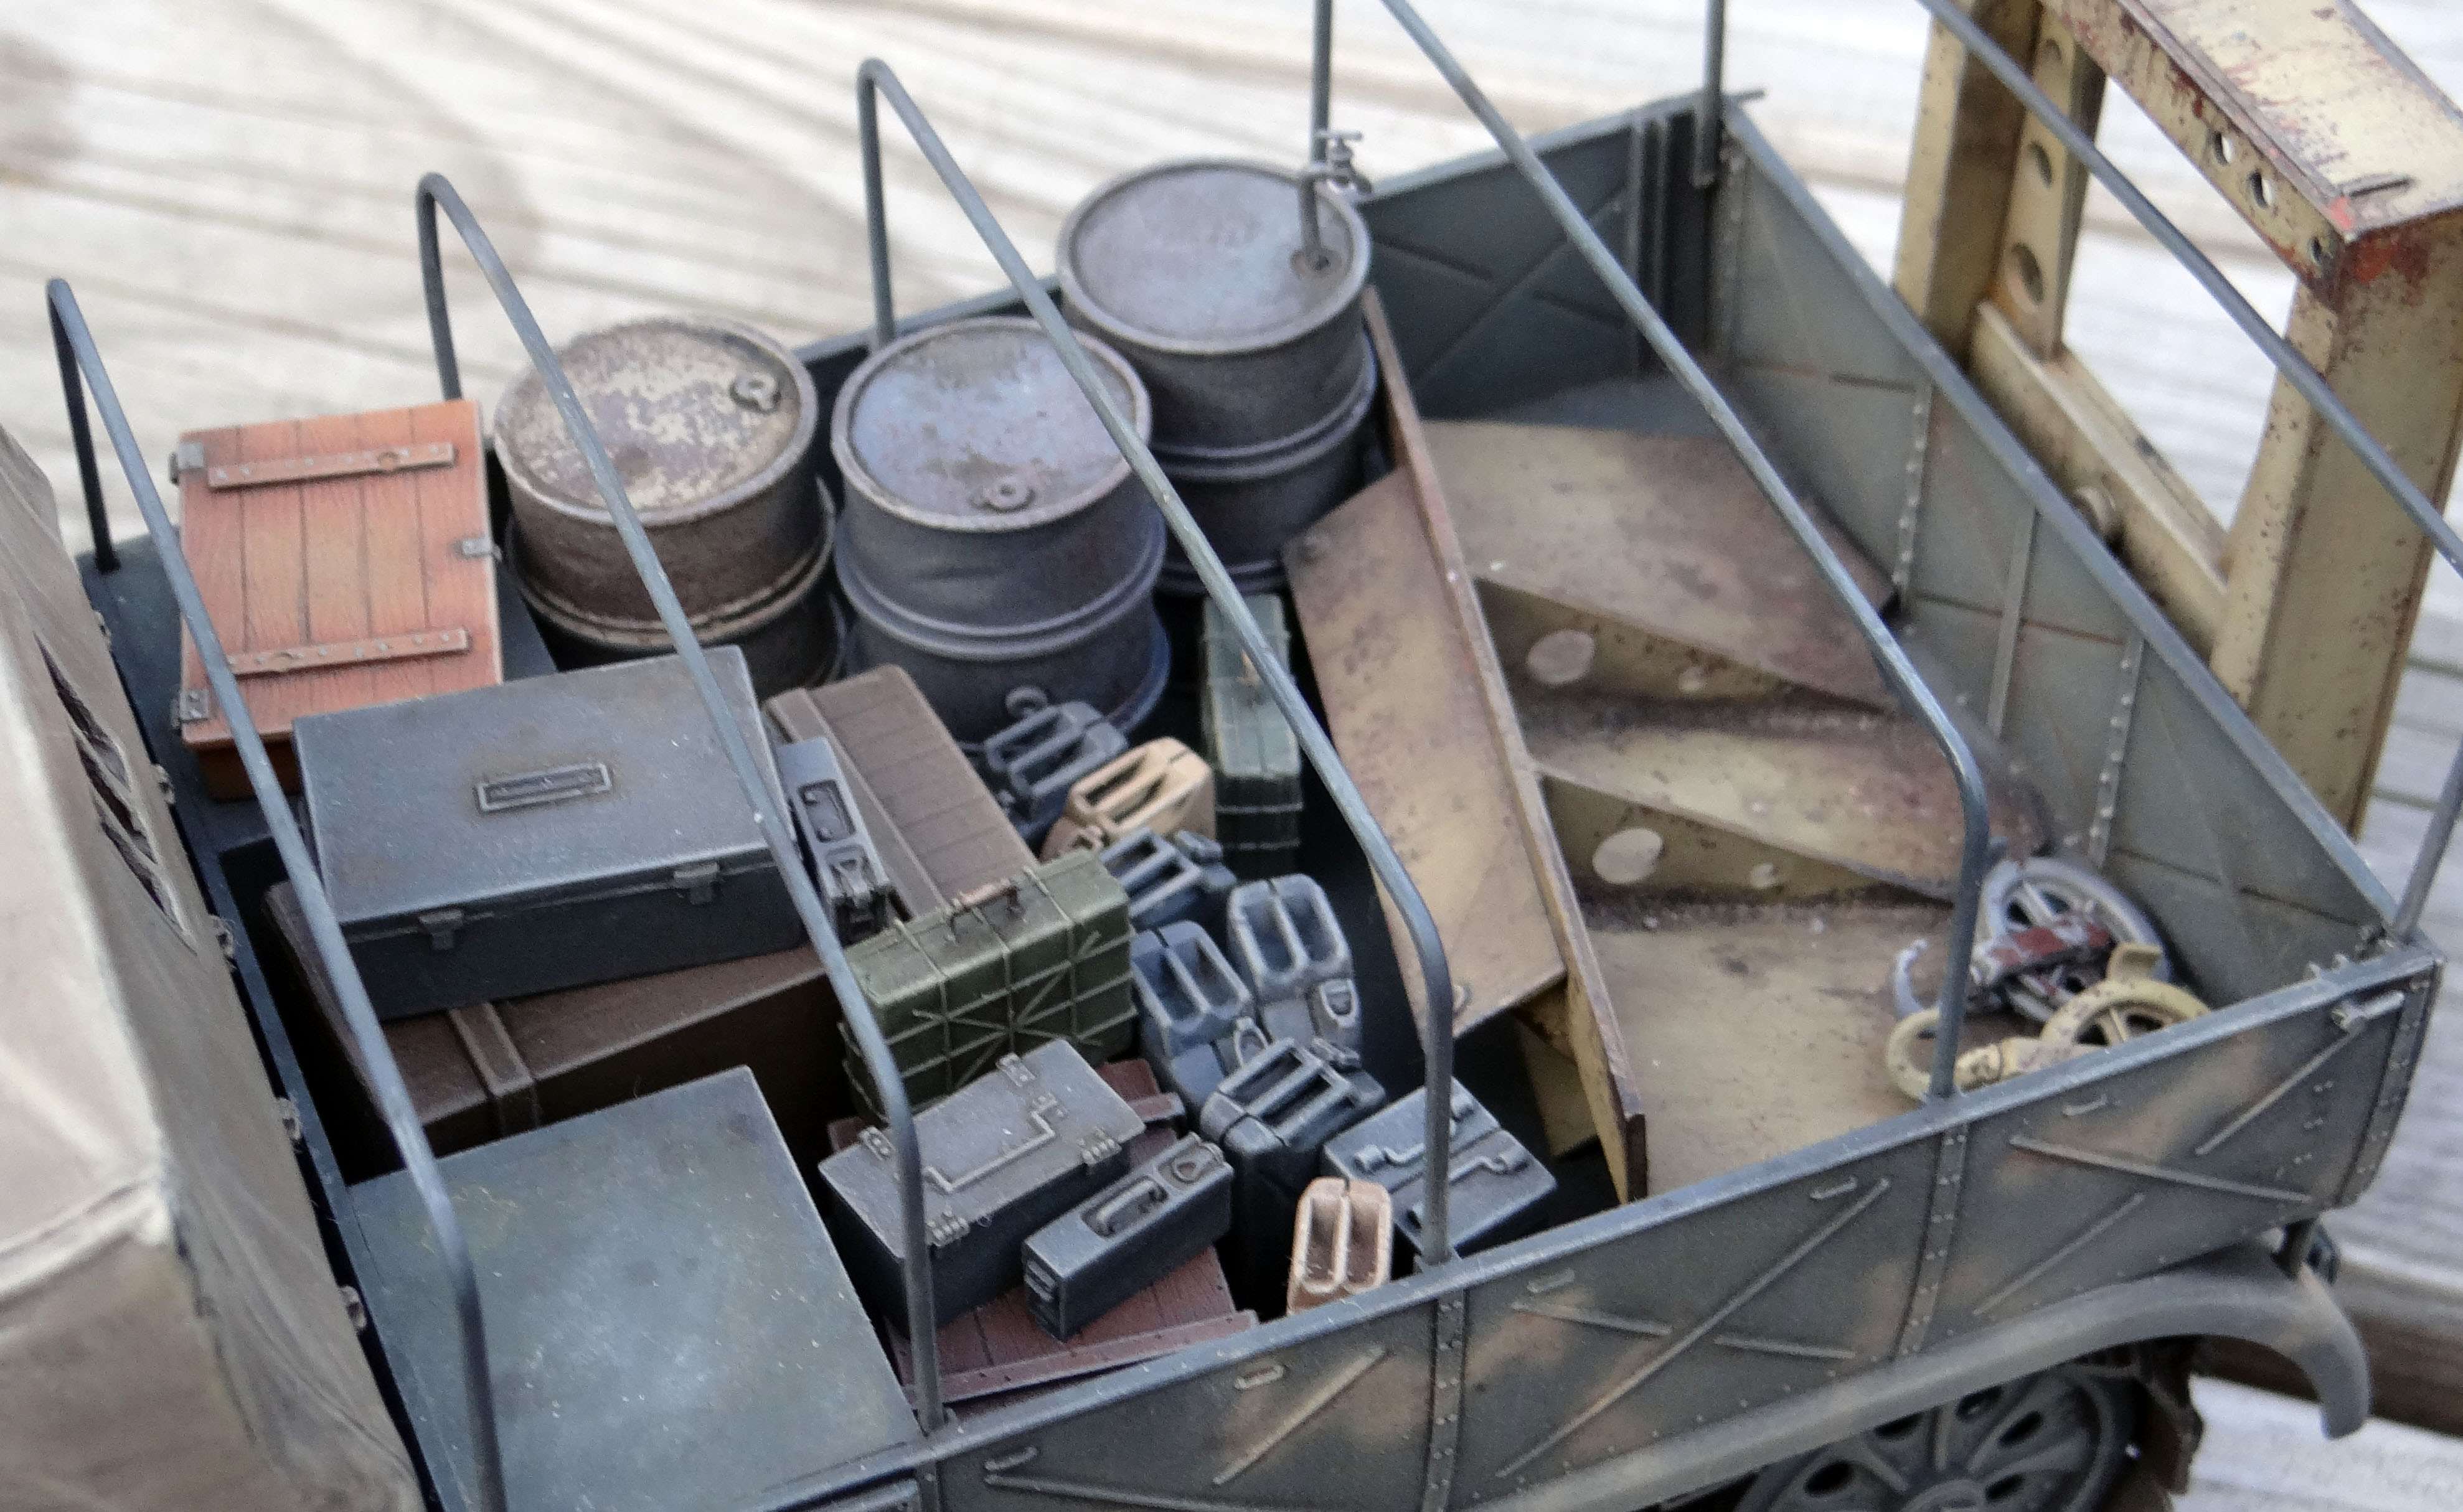
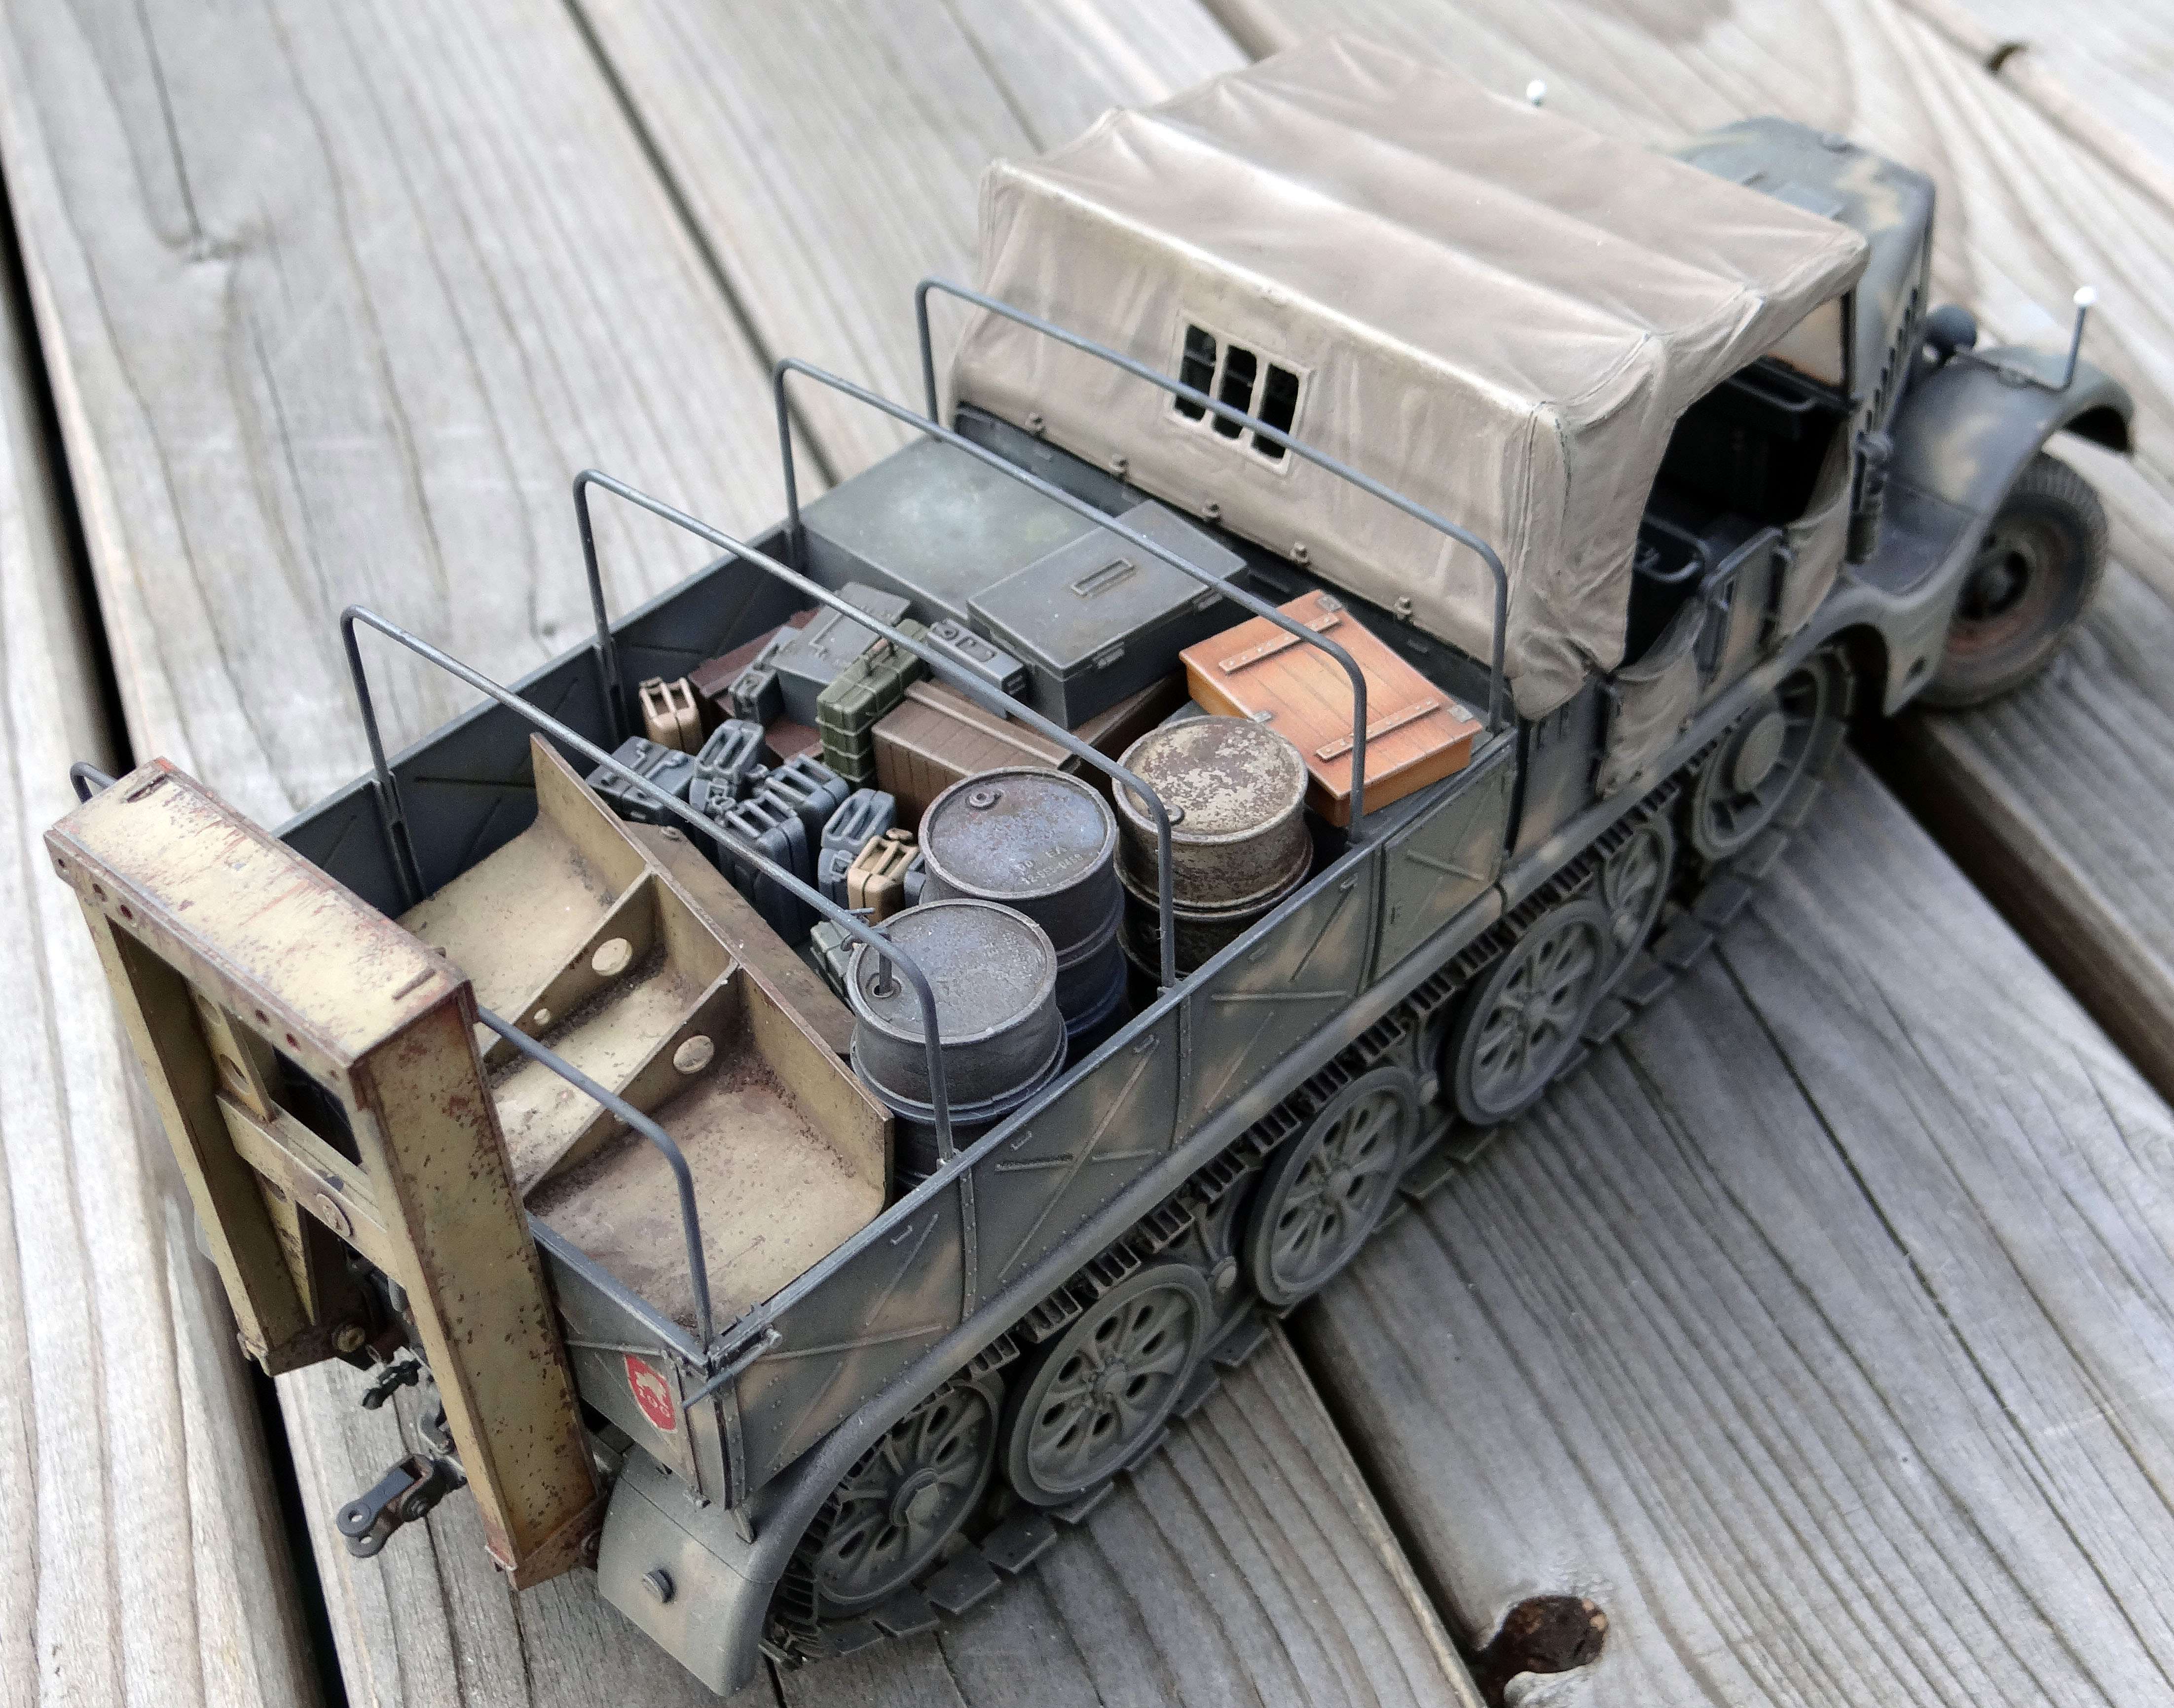
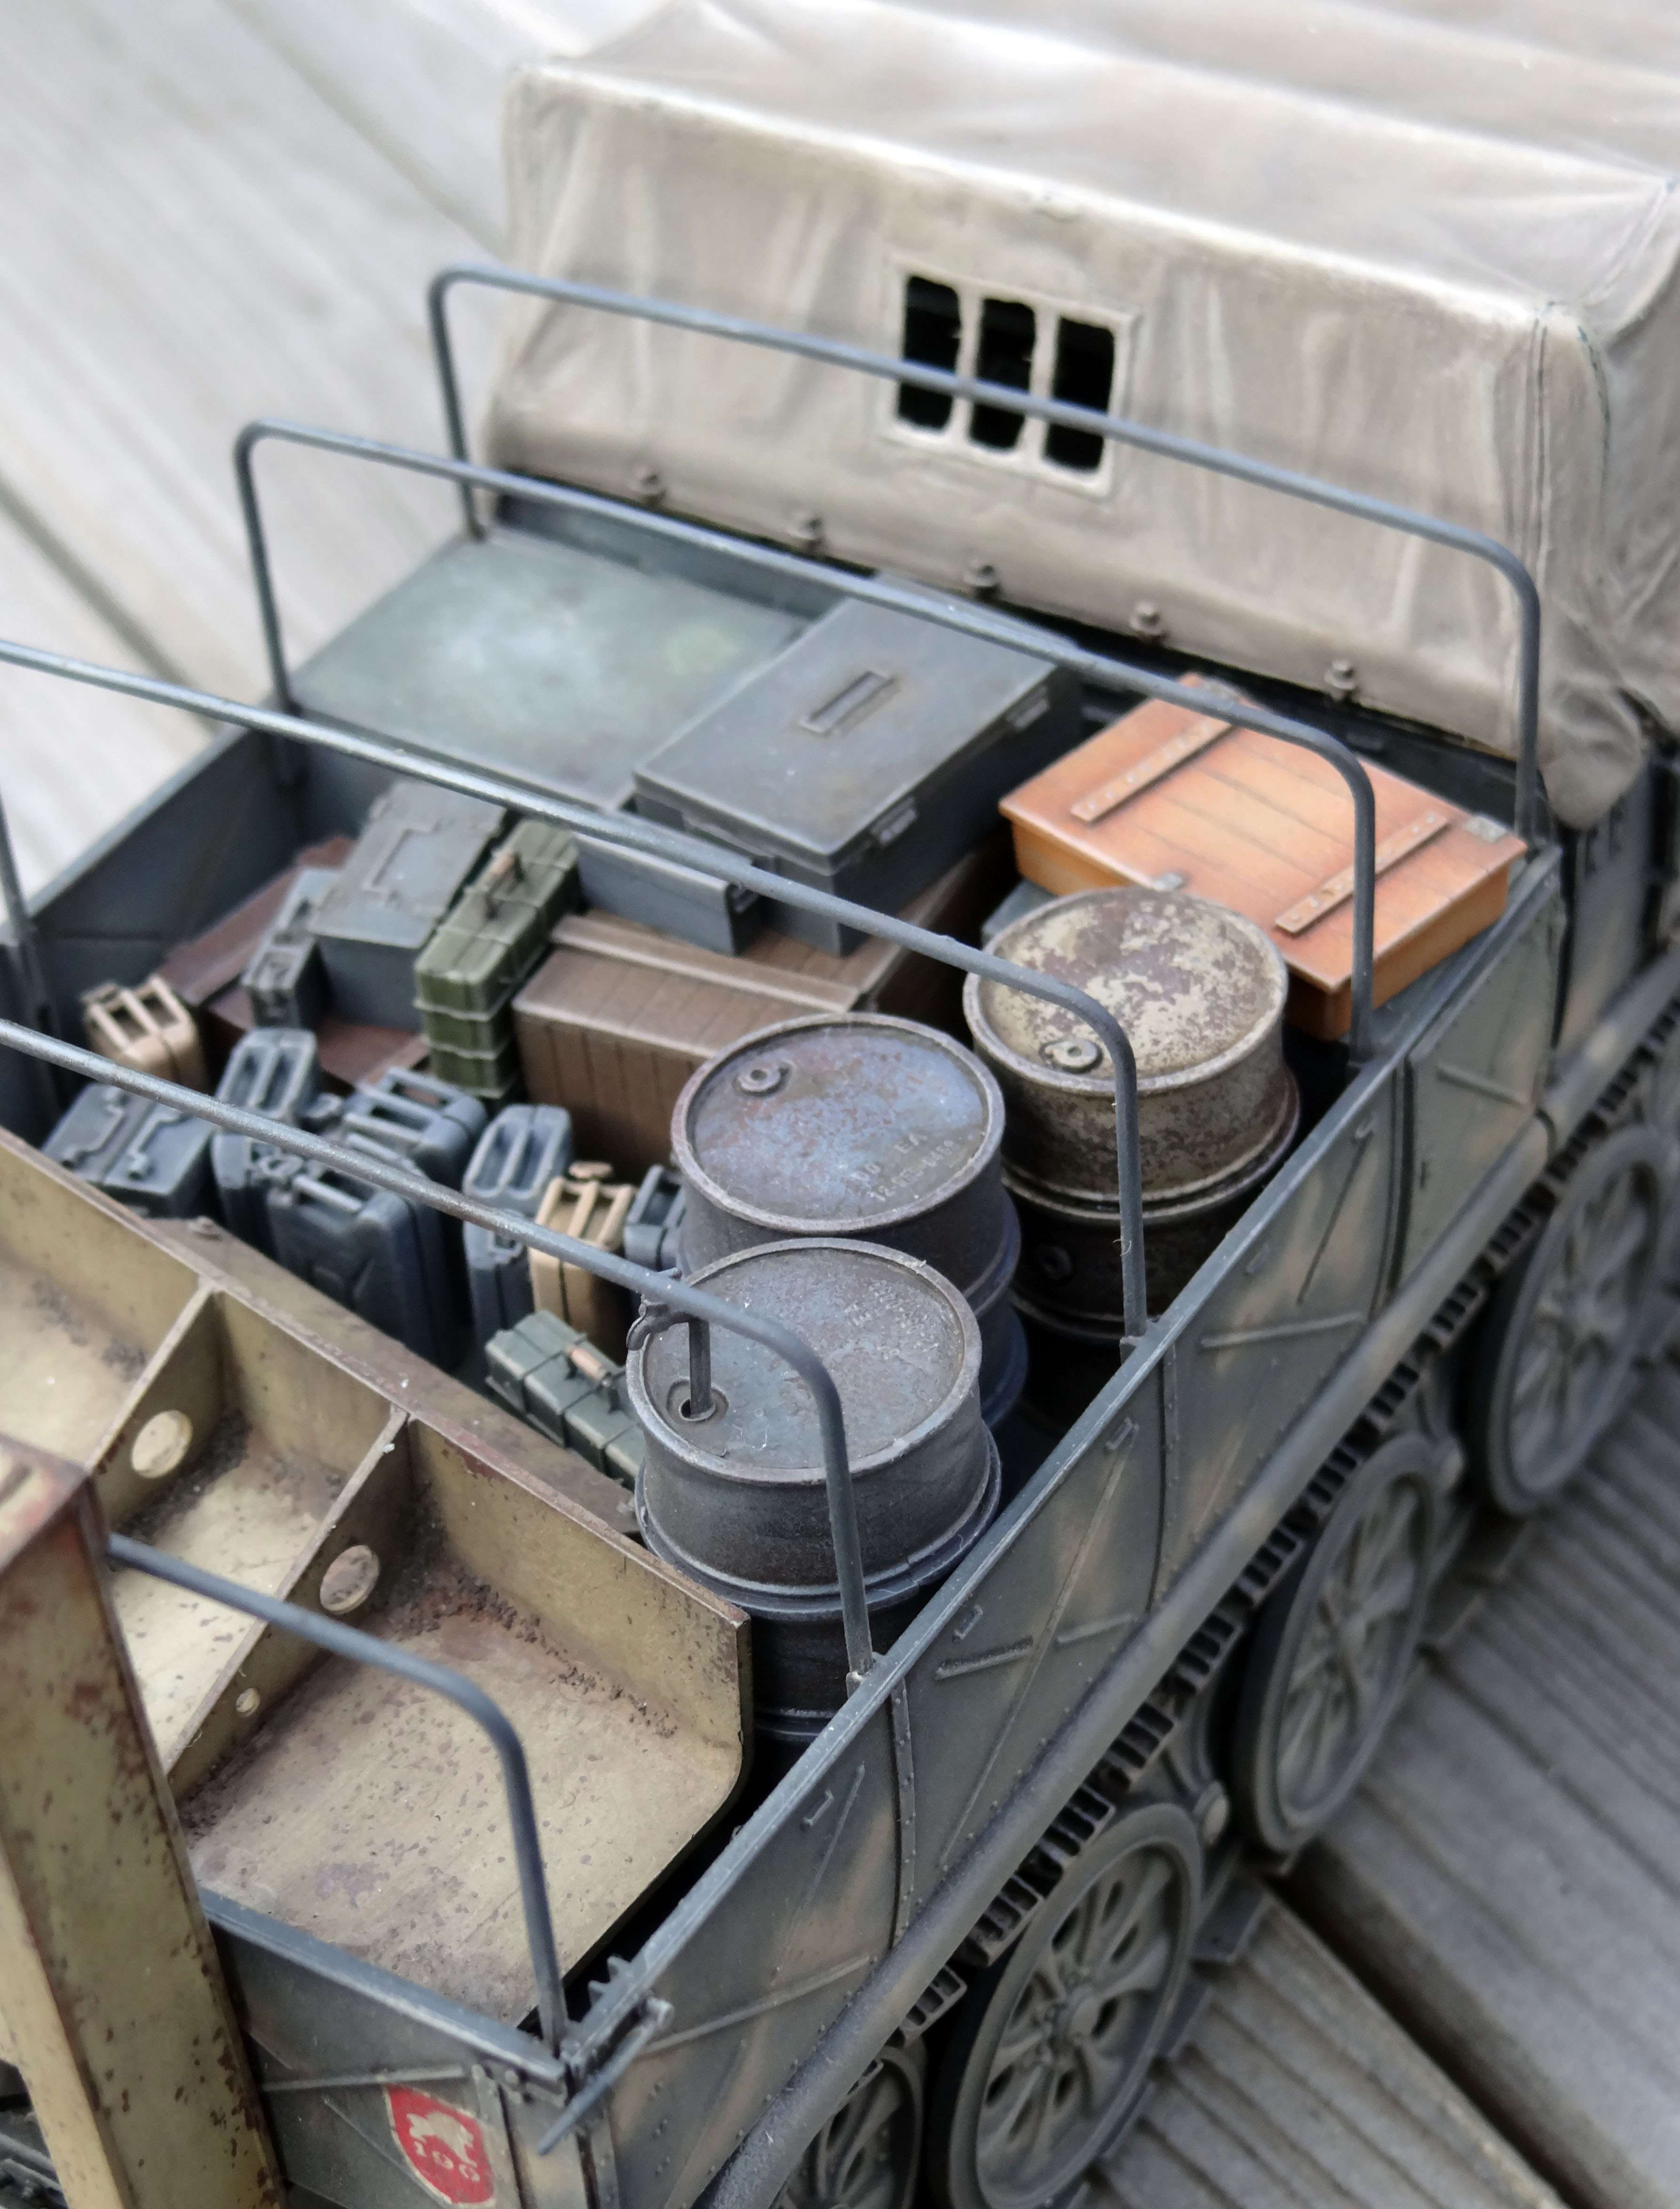
Famo finished for about 95%:

Famo diorama done:

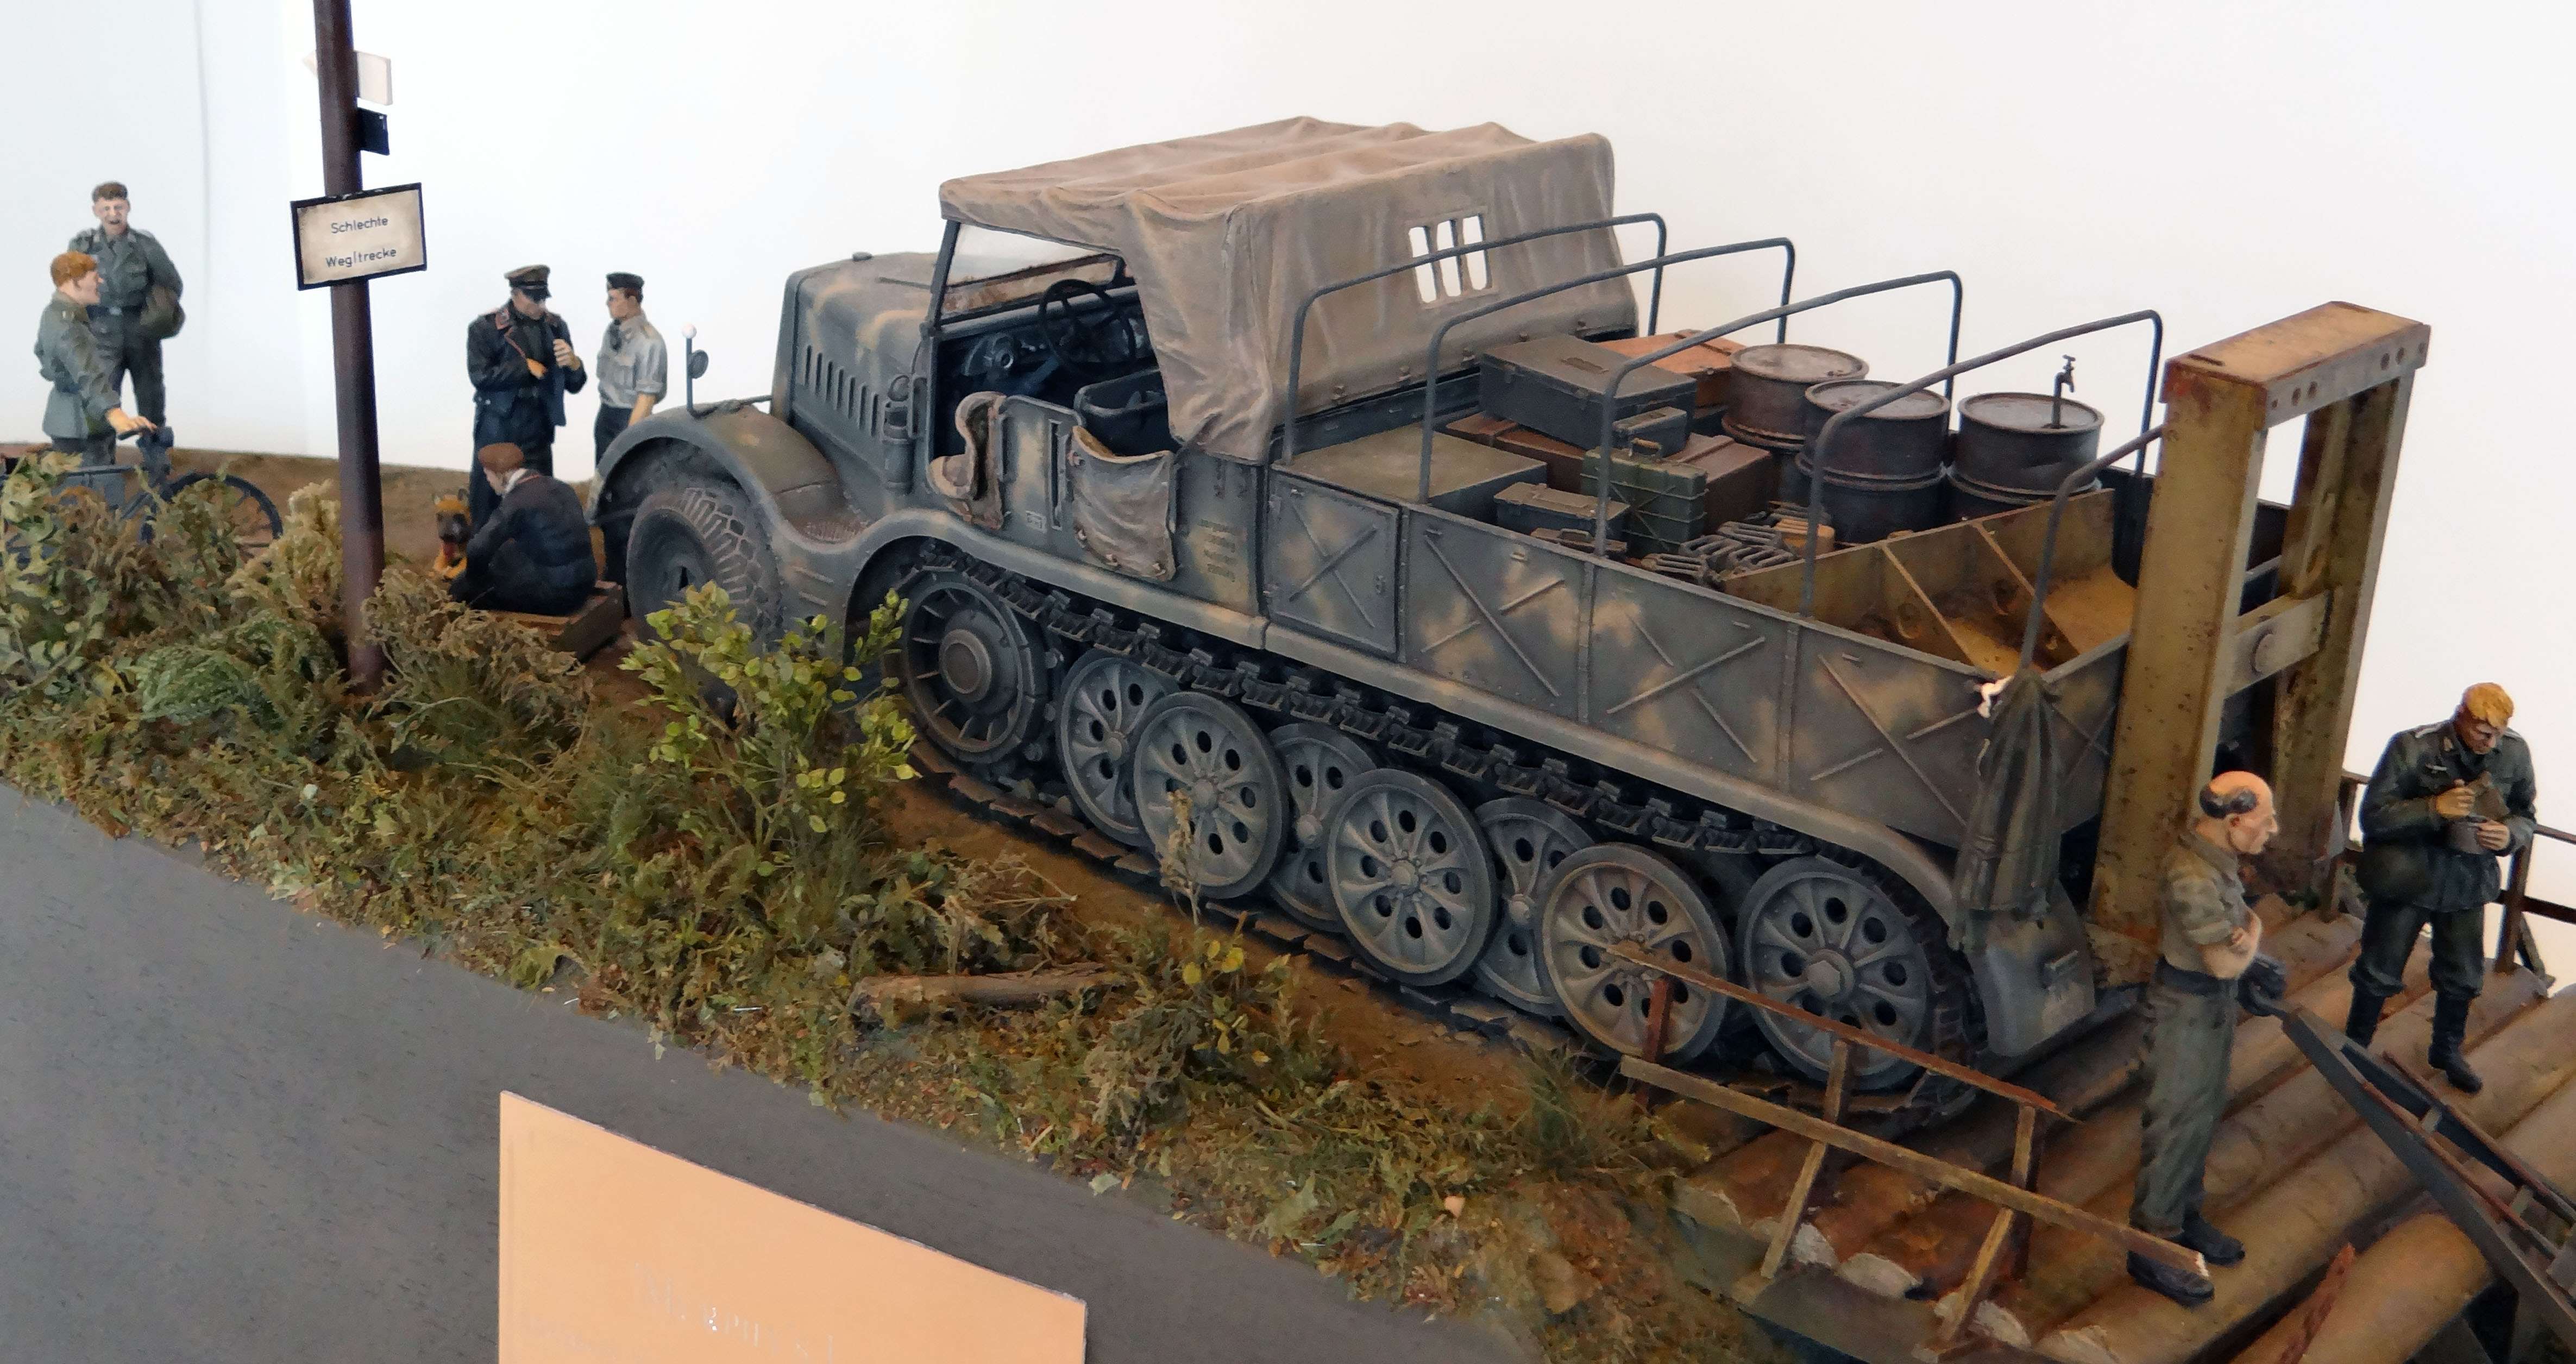
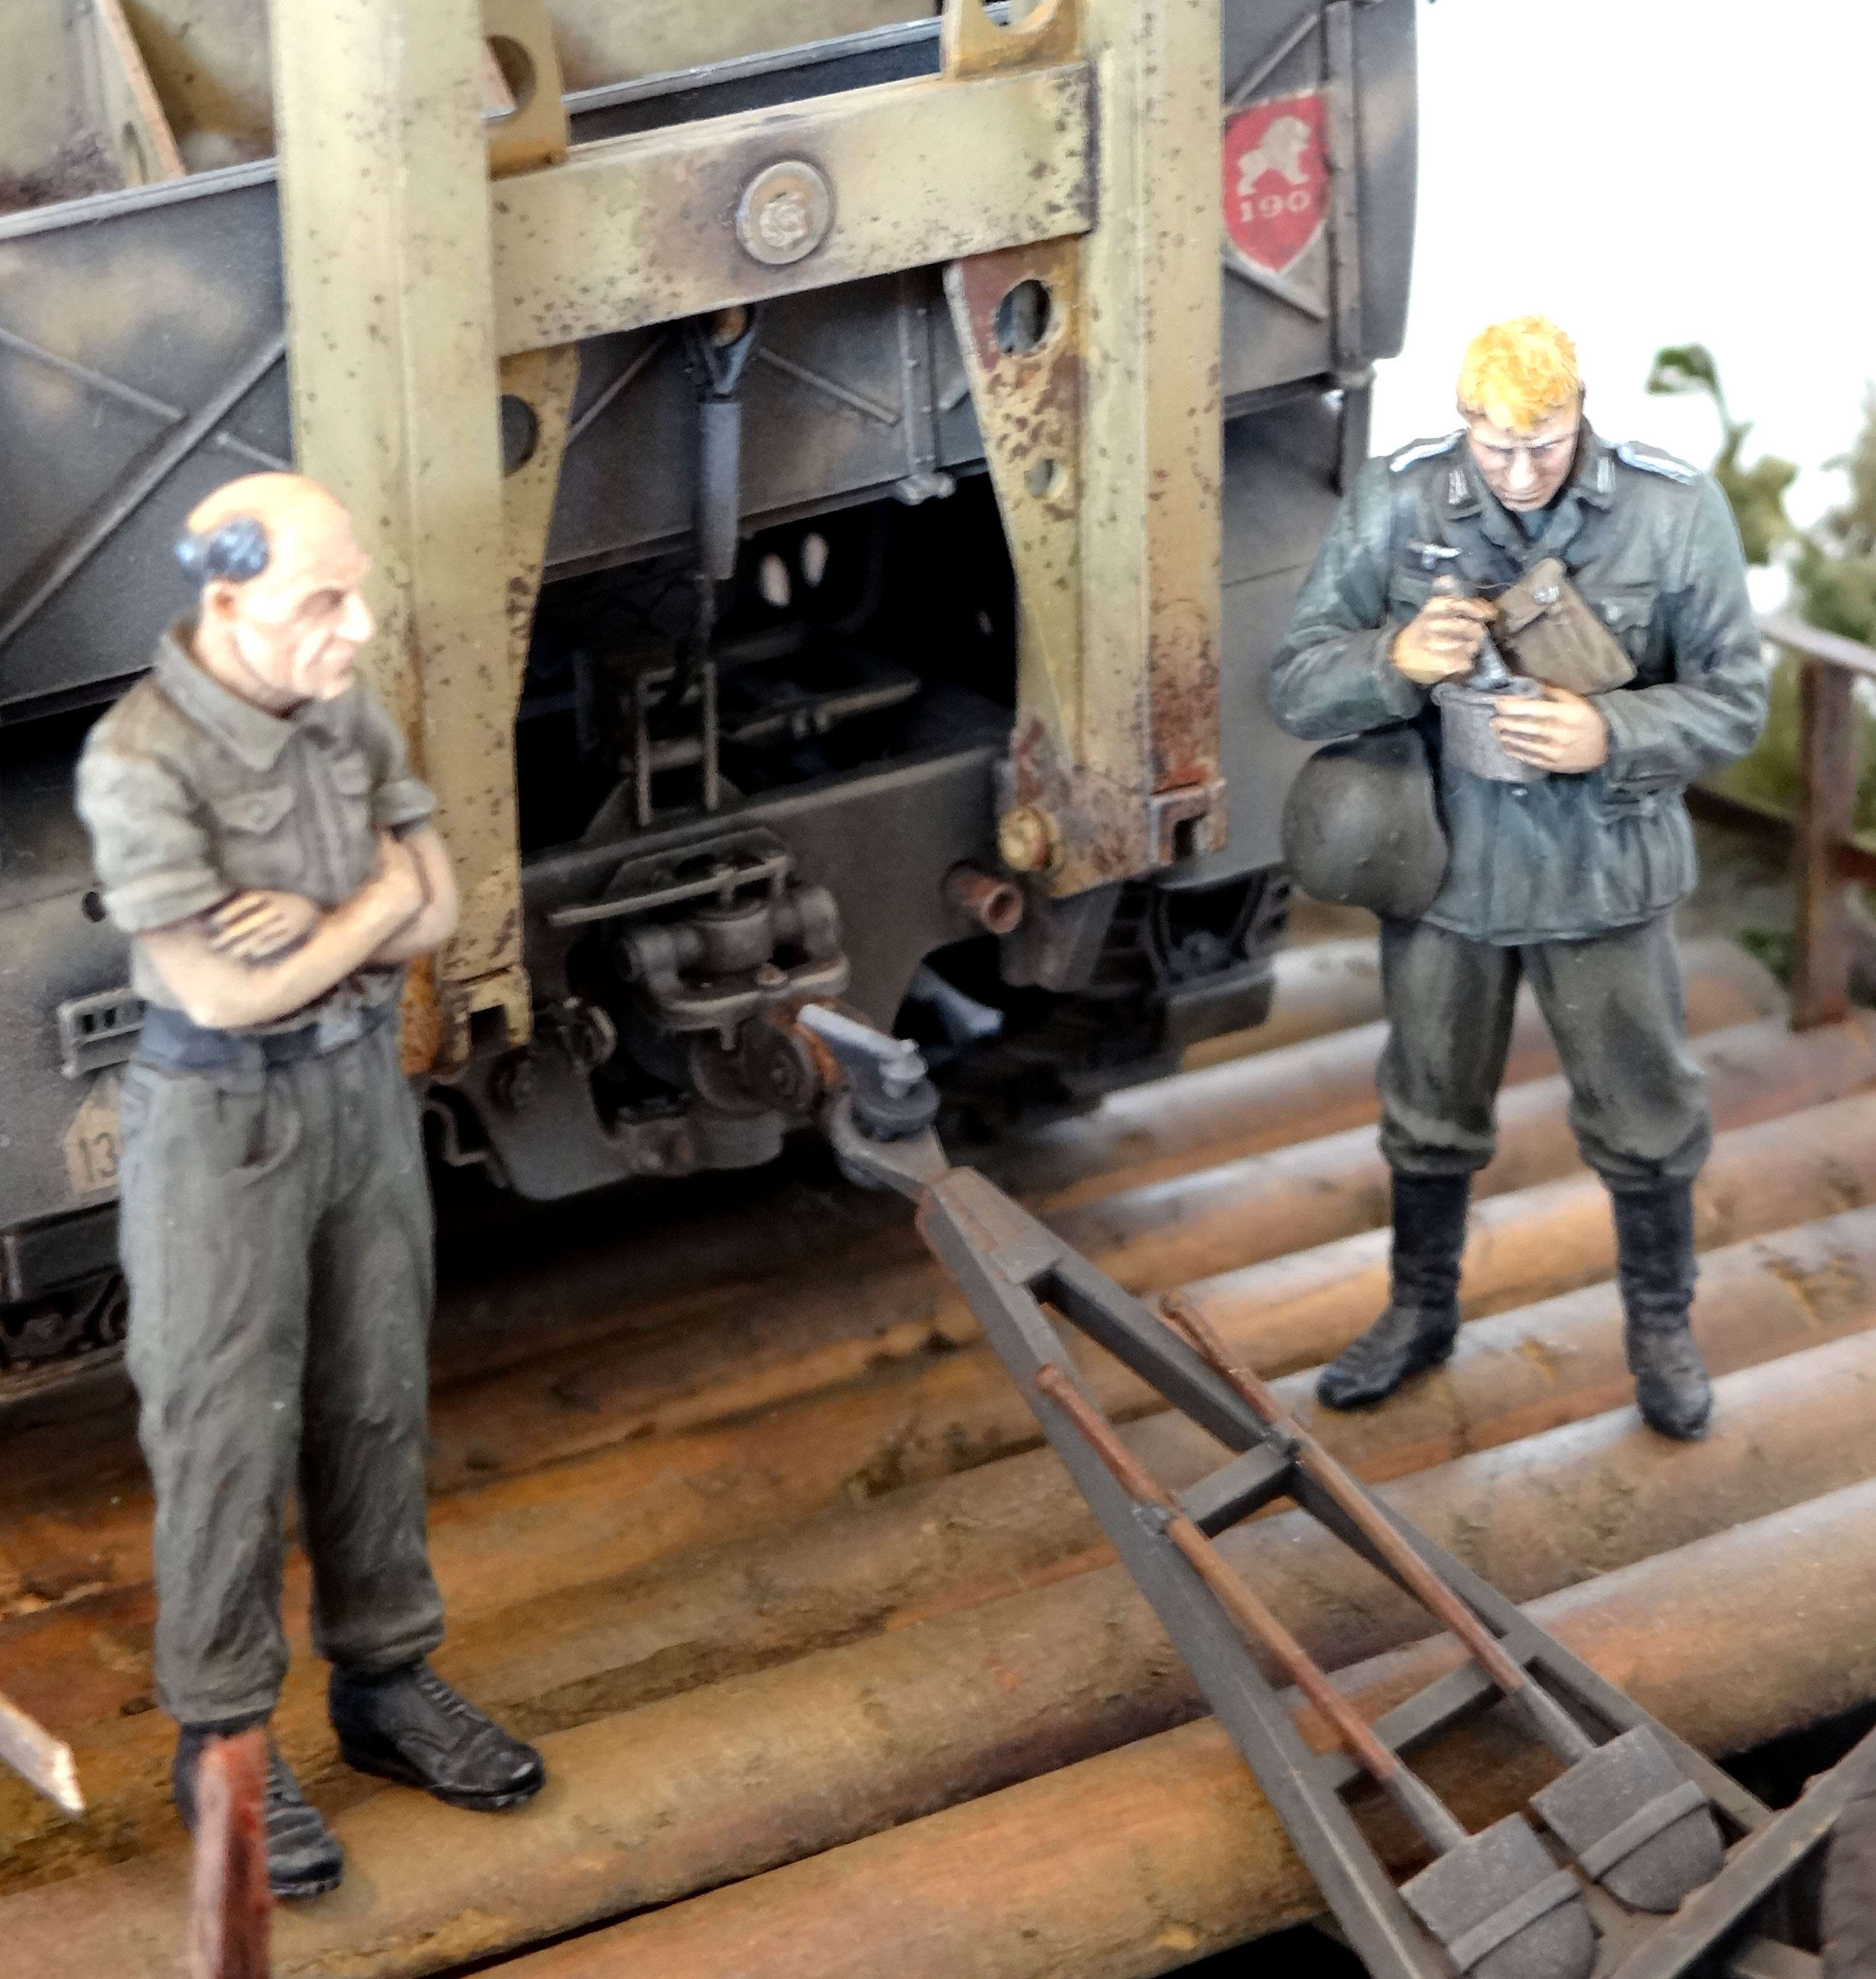
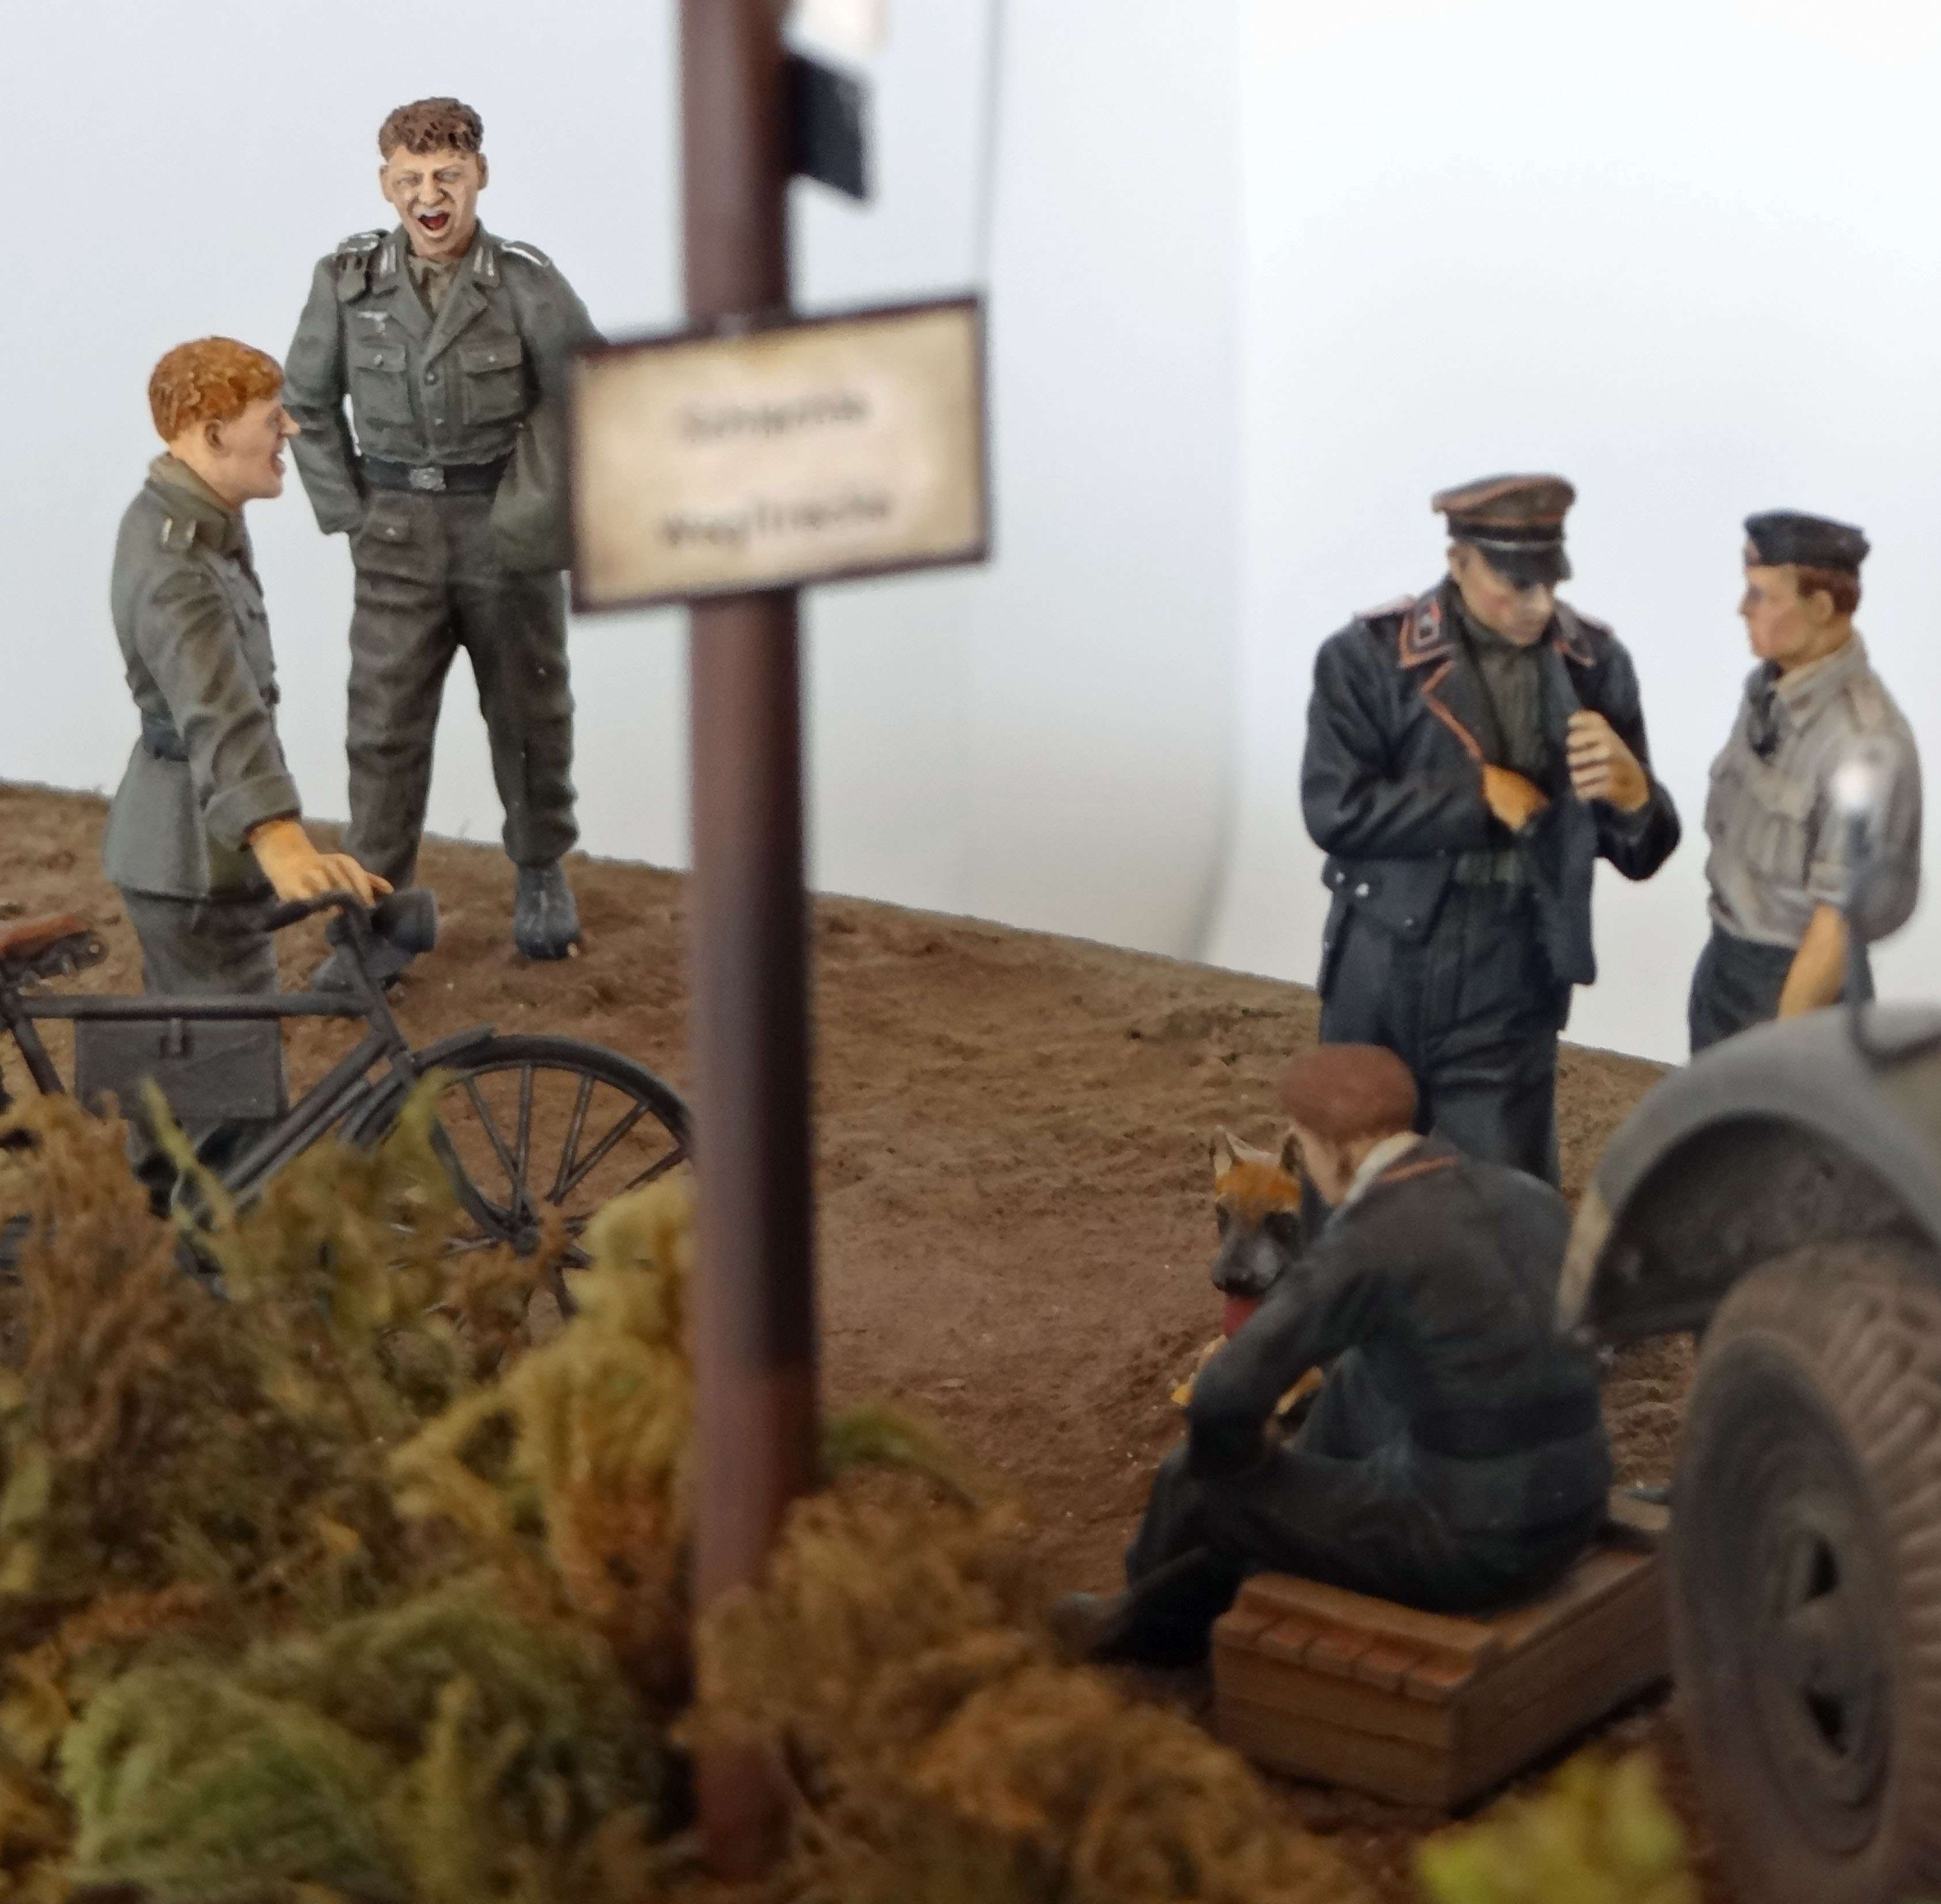
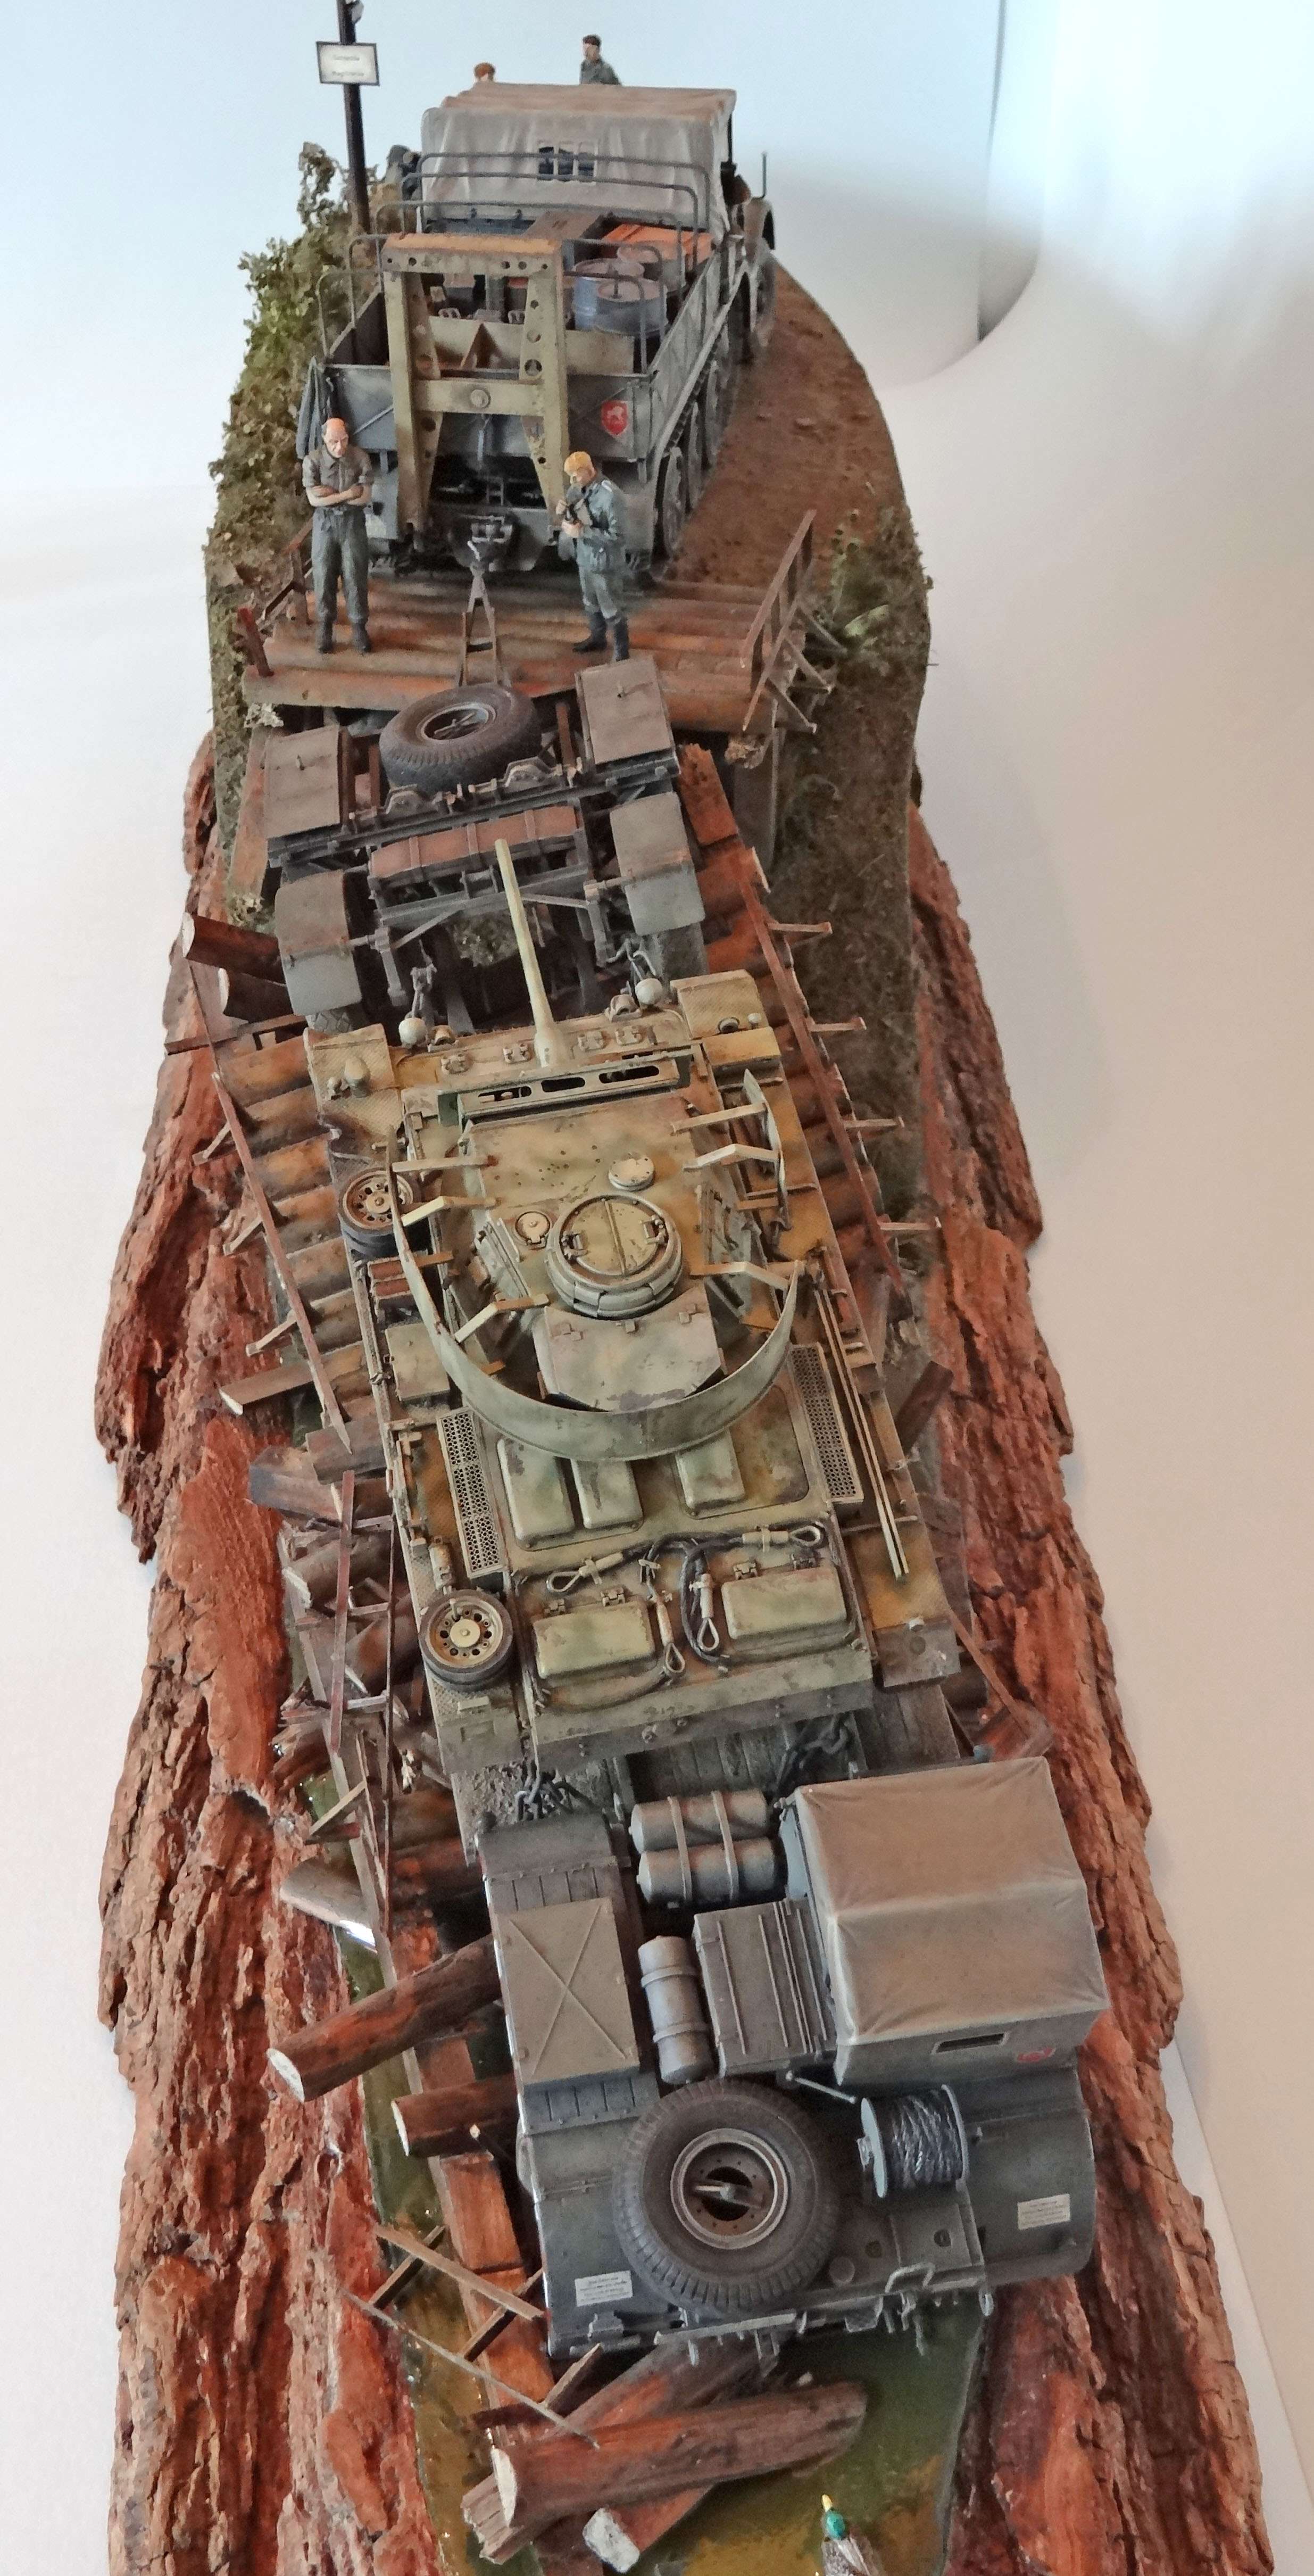

greetings, Richard.
I hesitated to place this tread in the "introduce yourself"- subforum because this is not a WIP anymore, but the dio sort of introduces me: it shows what I like to do and share. Also, it's the last dio I finished (in october)
The dio is called "Murphy's Law" and is situated in Russia, 1943. I spent about 500 hours in seven months of time. The dio won silver in the "diorama standard class" in Veldhoven this year, which is a fairly well known European contest.
I will not bother you with (a lot of) text, just a lot of pictures. Enjoy...
Murphy's Law
Tamiya’s Schwere Zugkraftwagen 18t. Famo & Sdkfz. 116 Tieflade-anhänger (kit # 35246) +
Tamiya’s Panzer III ausf. L (kit # 35215), Russia 1943.
Famo build:
Panzergrey is made by mixing Tamiya XF18, XF55 en XF70 in a ratio of 1:1:2, postshade is made by adding XF15. The Panzer yellow is “Sail”-color by Gunze.


Panzer III ausf. L (kit # 35215): the build:
I added a barrel, “burnt out Panzer III wheels” and “brake cooling fan housings” made by Tank Work Shop, an antenna by SKP and parts of a Voyager PE-set (#35157). Also I used the turretbin, the commander’s cupola and the spare wheels of a scrapbox Dragon-III ausf. J. A friend of mine gave me the Schürzen of another Dragon Panzer III that were needed for the cupola. I removed the transmission housing on the left side. The idea behind it, is that the Panzer hit a small mine, after which two roadwheels and the drive sprocket are useless. The “transmission cover” is scratchbuild after this picture:

Two weeks of CA-glue and even a bit of fun, and the naked kit looks like this:


Panzer III paint.
The Panzer III has Vallejo black primer, AK’s “red primer modulation set” is the first paintcoat, after which AK’s Heavy Effects Fluid (# AK-089) is airbrushed to make chipping easier later on. Basic color is Vallejo Dark Yellow (# 71.025), camo is done with Vallejo Camouflage Light Green (# 71.006). Decals are by Bison. The Panzer III represents the 2nd division:

AK’s “Heavy Worn Effects Fluid” is used to create scratches and worn off paint. I’m not satisfied with the end result. According to what I’d heard, the Fluid can be diluted with water. The consequences of this, was that the Fluid was not spread evenly, therefore the basecoat either dissolved to fast or not at all. Because I learned that the ausf. L of the 2nd Panzerdivision at the time of the battle for Kursk were fairly new, I wanted to keep the chipping pretty sober, but this didn’t work as well as I wanted. Furthermore the protecting lacquer coating didn’t work: at some points the paint came off completely.


A preview of the Panzer III on the Sdkfz.116:

Bringing the Famo and the Panzer III together by means of washes, filters, pigments etc:


Diorama.
First phase always is the planning phase: how do the lines and the elements in the dio relate to each other. In short, I visualize on paper and in 3D what’s in my head:


The diorama was inspired by this picture:

© Lukas Friedly 2011. Picture property of “the Archive of Modern Conflict” and made available by Stefan De Meyer & Amy McNamara.
Hours I spend looking at that photograph: hów did that bridge collapse, whát are the soldiers in the picture doing, how I’m going to build that bridge, etc. etc. At a certain point my wife really asked me what is more important in my life: She or the Famo. Well…… (just kidding Saskia).
Then the base is made. A joiner in my street sold me a nice piece of hard wood. The tree it came from was sawn top to bottom, so the entire board has a nice “bark edge” Structure is foam and balsa. Originally I wanted to coat the balsa with a transparent lacquer, but I screwed up with filling seams, so I had to cover the balsa with a non-transparent paint.
Very fine sand mixed with thinned white glue is used to create the riverbank. Bridge is balsa, wheathered with laquer and oils, water is “Acrylic one”, a two component resin.
The dio, the Famo and the Panzer III have had several treatments to blend them into the whole. Various MIG-pigments are used to simulate dust and mud. Rembrandt oil paint and Liquitex inc is used for (pin-)washes and filters. Tamiya Buff created a thin layer of light dust. First I had to do some repairs on the Famo: the box fell off the shelf it was standing on…
Pictures:


Famo finished for about 95%:


Famo diorama done:


greetings, Richard.


