BezoulaBuilds
Full Member
  
Member since: July 2013
Posts: 136 
|
Post by BezoulaBuilds on Nov 20, 2015 21:13:16 GMT -5
I have been out of pocket since June and I have a ton of catching up to do. This summer was fulled with typical grins with the kids a nice unplugged vacation in the Adirondack Mountains New York. In a blink of an eye summer was over and kids back in school. Bench RebuildThis has been stewing for some time and I am finally getting to it. My bench is a nearly 20 year old "U" shaped office desk. My job(s) were always Virtual Based which was nice as corporate/manufacturing was typically several hundred miles away and my boss equally separated. As long as I met or exceeded budget forecast I was left alone. I missed all the office drama and politics, I just cranked the sales numbers. That said, I needed a nice set up. Years of use the "pressed wood" was beginning to warp and the joints were weak. This set up served me well for my return to modelling in 2012. I needed something bigger and everything is getting a make over It's a complete overhaul of the ManCave: New Bench Acrylic Photo Table Revised exercise area New desk New shelves and entertainment center Returning to this hobby in 2012 the birth of my first bench was a consolidation of my work desk and grad school desk. Prime directive from wife was "no fumes allowed". Spray Booth installed with exhaust configuration. 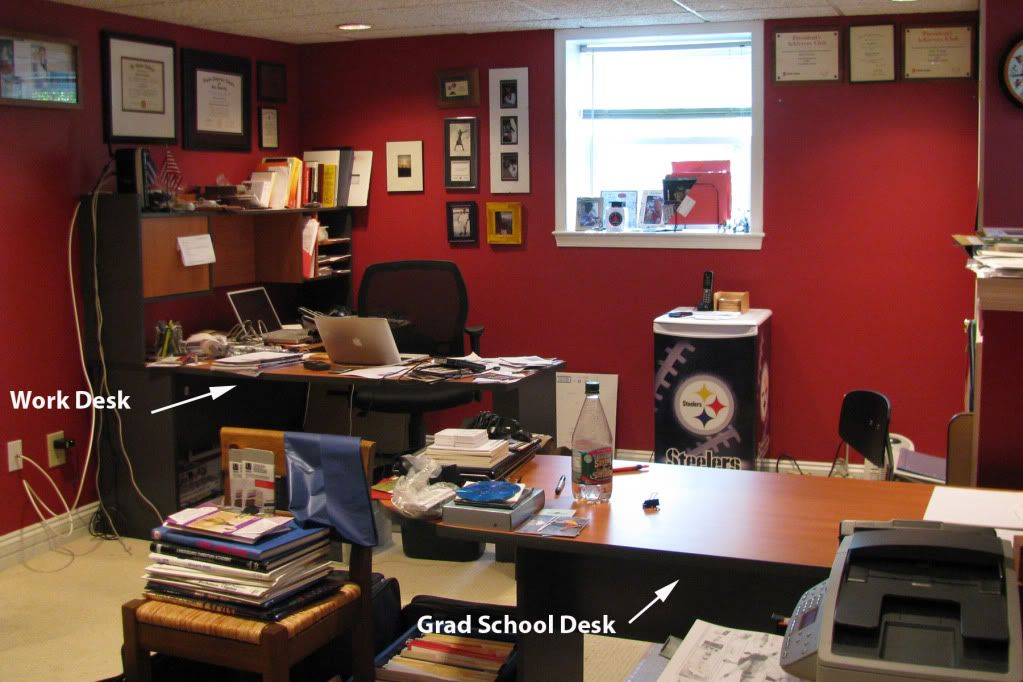 Before 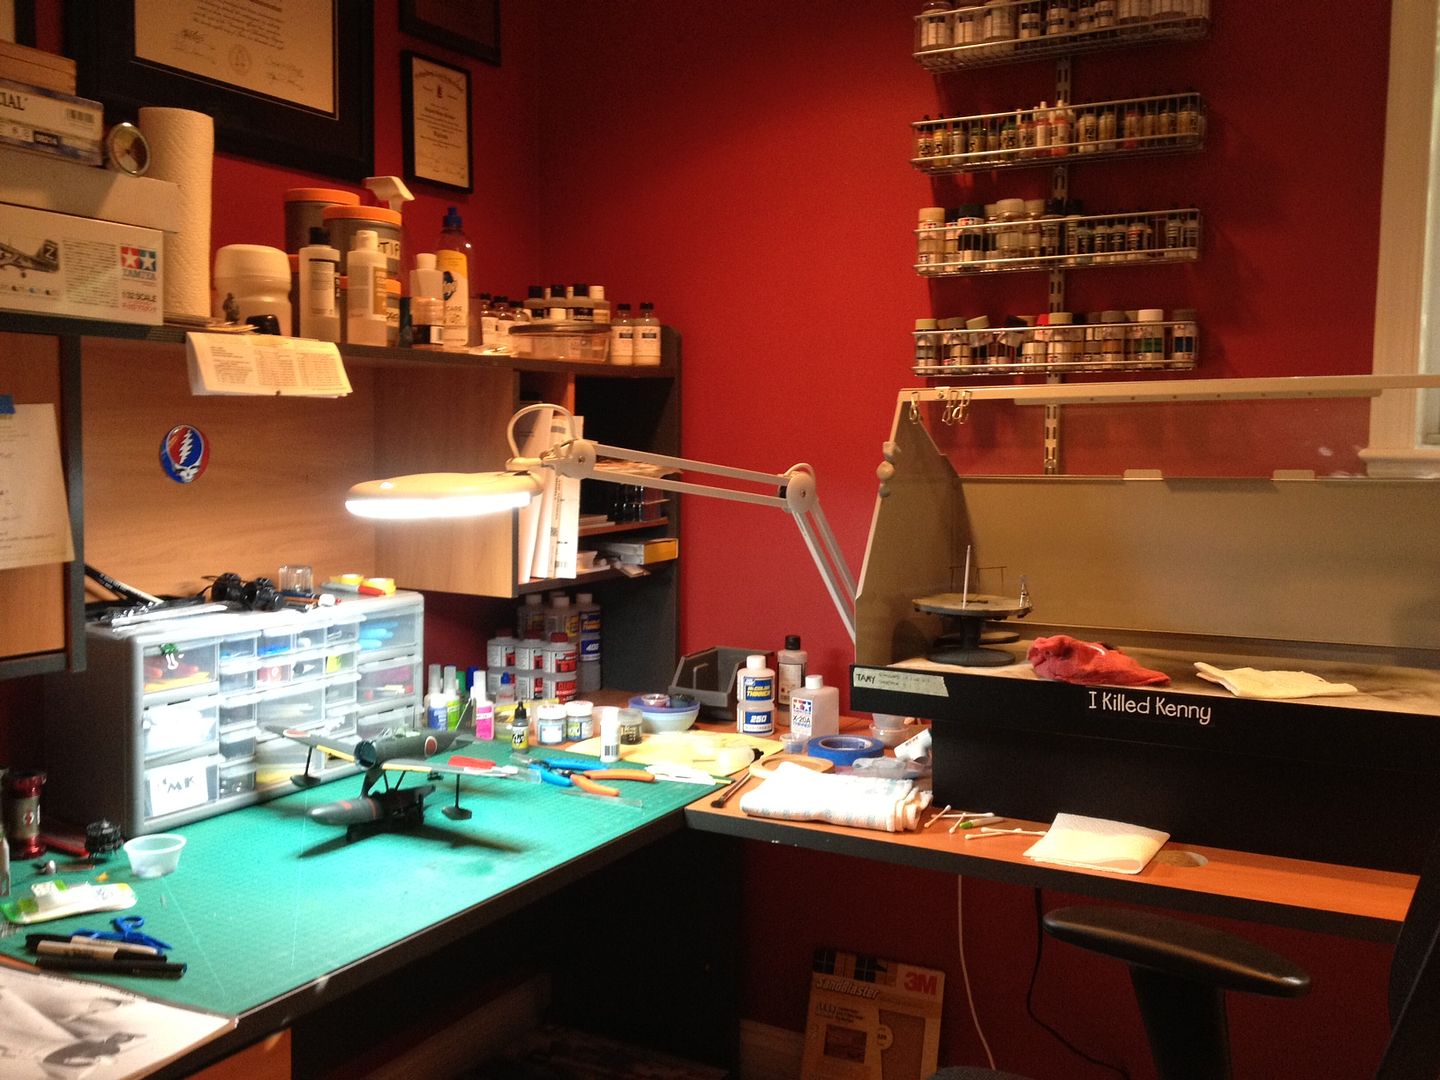 After 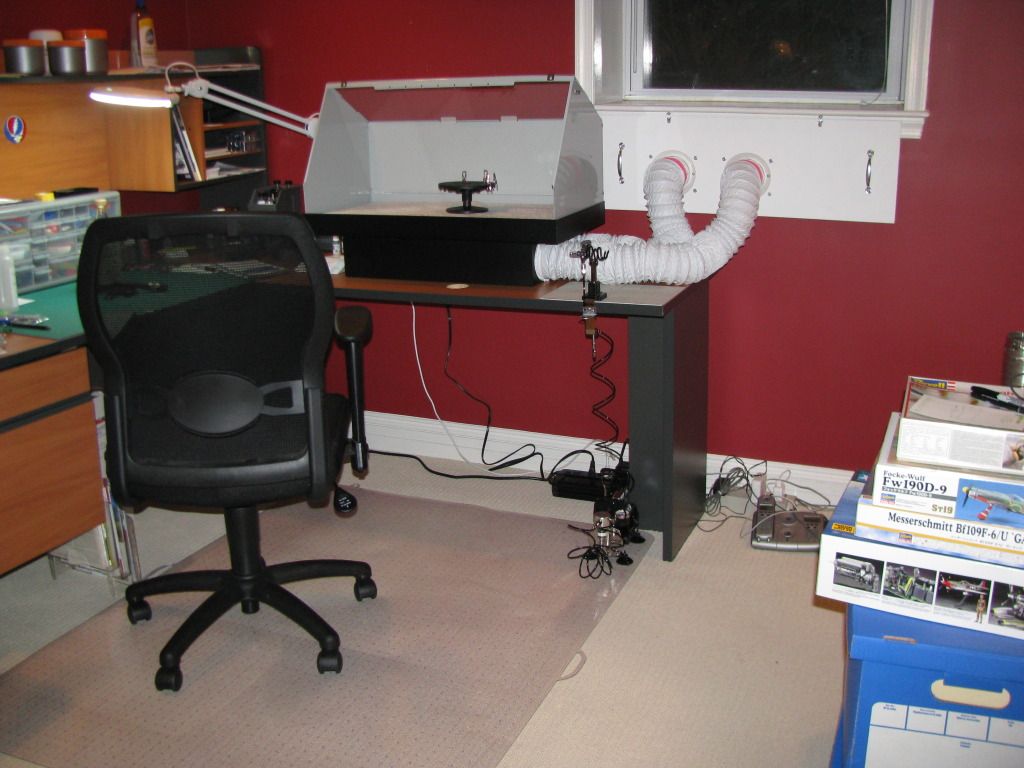 Exhaust detail. Vents mounted on 1/4" board, then installed in open window during paint sessions. Really happy with results and effectiveness. |
|
BezoulaBuilds
Full Member
  
Member since: July 2013
Posts: 136 
|
Post by BezoulaBuilds on Nov 20, 2015 21:22:03 GMT -5
First, I tore down Bench Mk.I and moved my desk, formally grad school desk, to kid's playroom. New desk, Ikea corner desk, is now at other side of room. 55" x 30" x 13" book cases x3 and a 40" flat screen TV, courtesy of my wife's PR firm moving across town, are on their way. Corner desk installed to new spot across the room. Lots of tidying up to do. The new book cases will eliminate the current clutter and boxes. 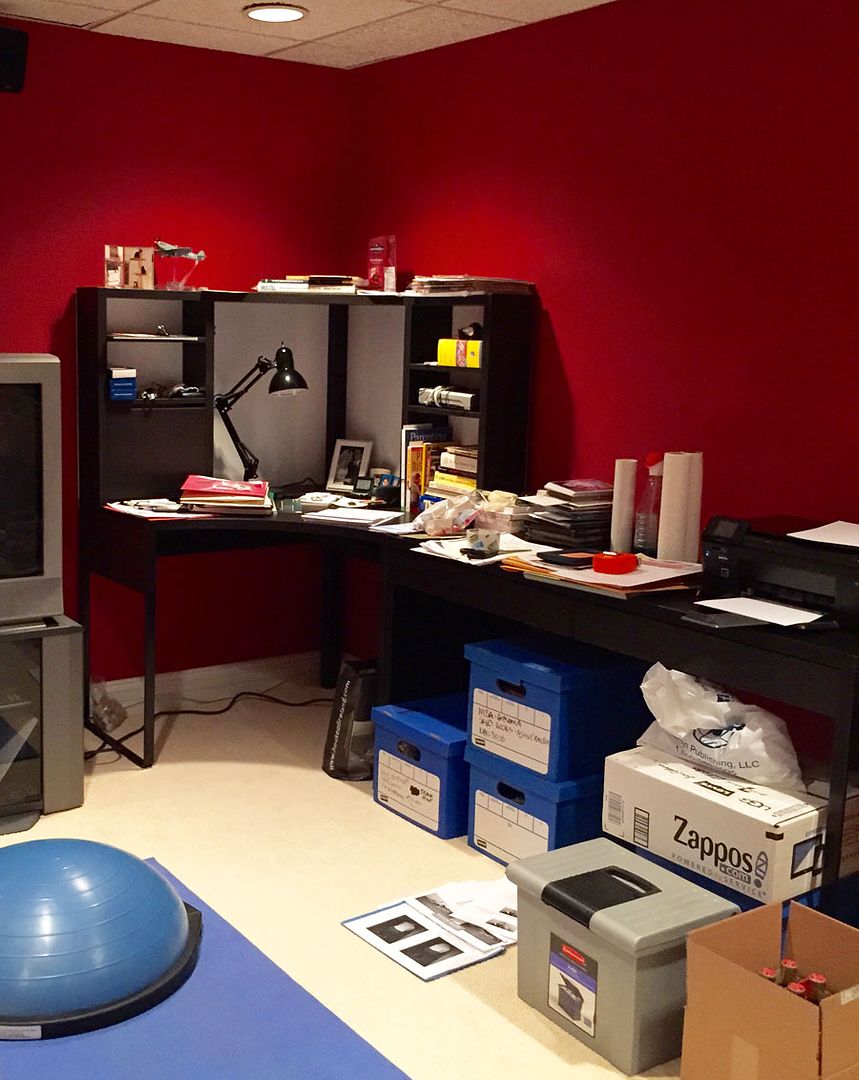 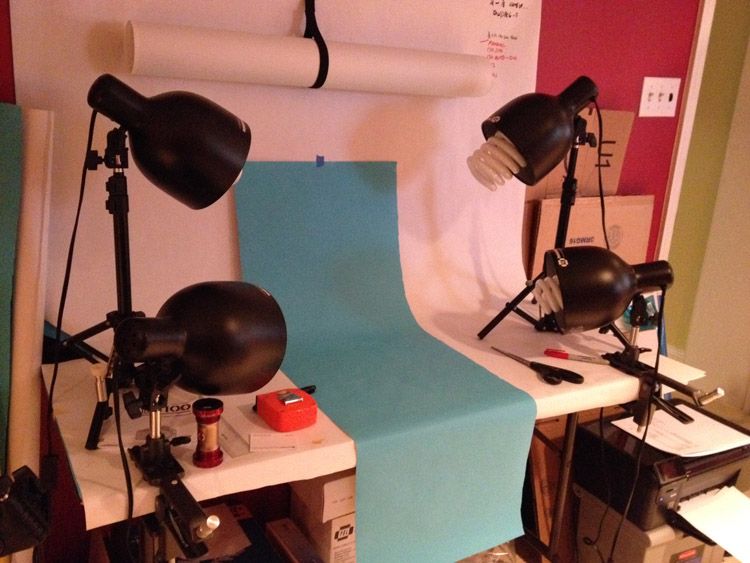 Old photo table is very basic using a 48" x 24" folding table with and CFL lights. Now it's on to the new photo table. 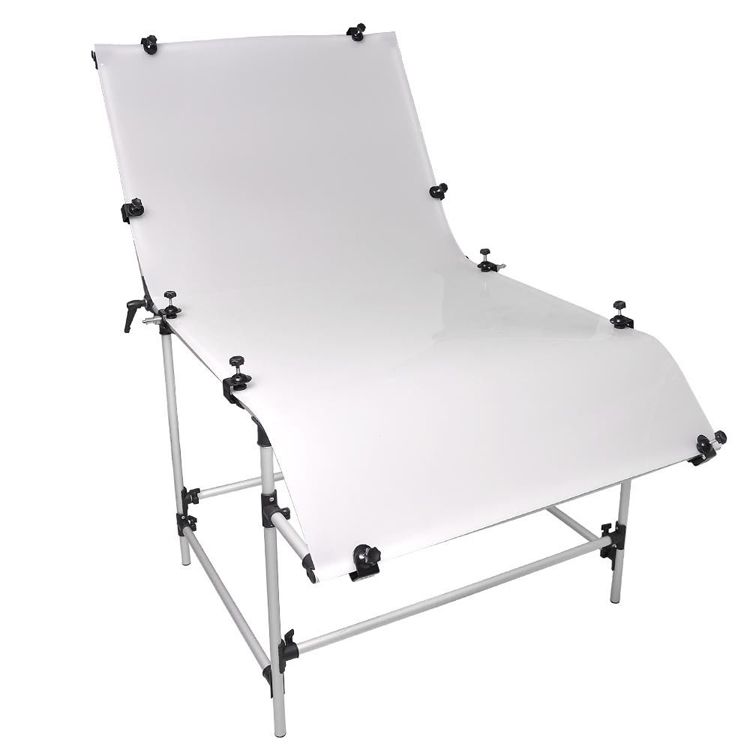 Photo table is plexiglass 40" x 80" (1m x 2m) I picked up from www.thelashop.com via eBay and looks like this. This has been sitting with my stash for over 2 years and I am finally getting this set up. BTW, props to DoogsATX for the lead on this photo table. Look forward to having some base lighting and I hope my photography results will come close to his outstanding photo work. 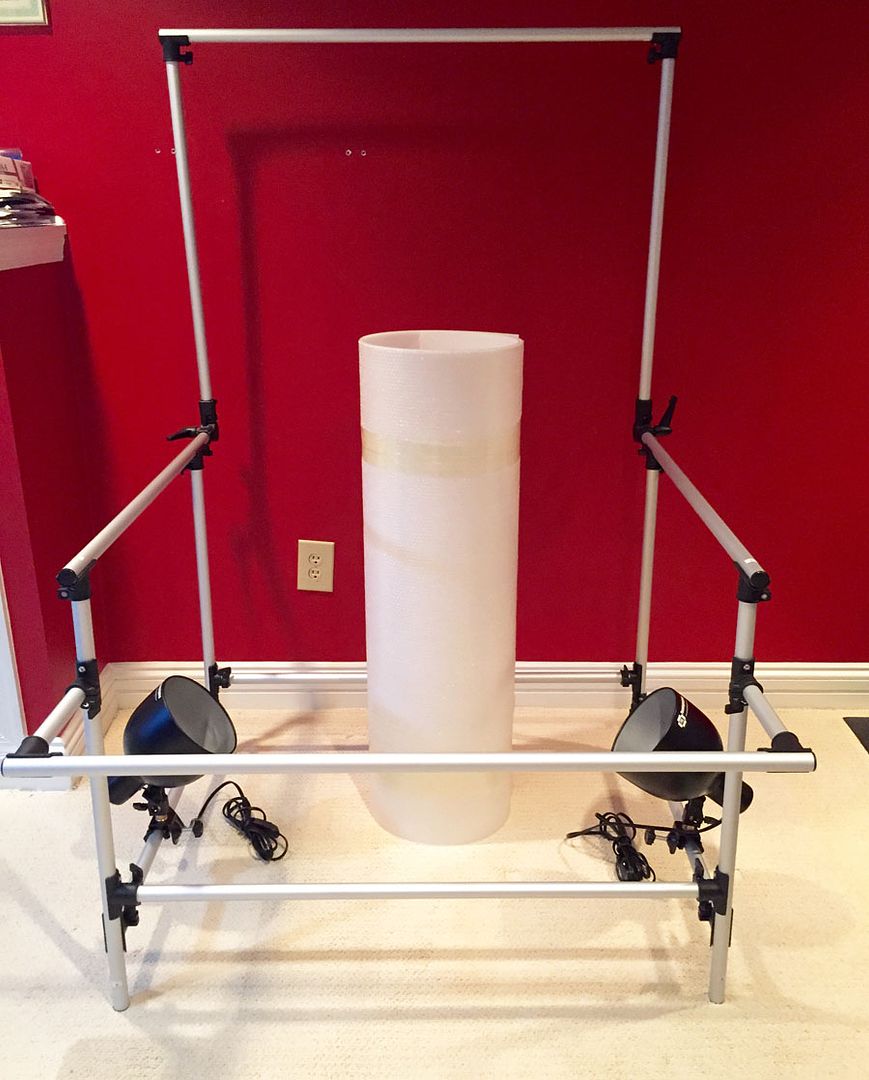 The frame construction was a breeze. My existing photo lamps will come in handy for underside lighting. However, unrolling and installing the plexiglass to the frame is gonna be like bear wrestling. So to make it a little easier... 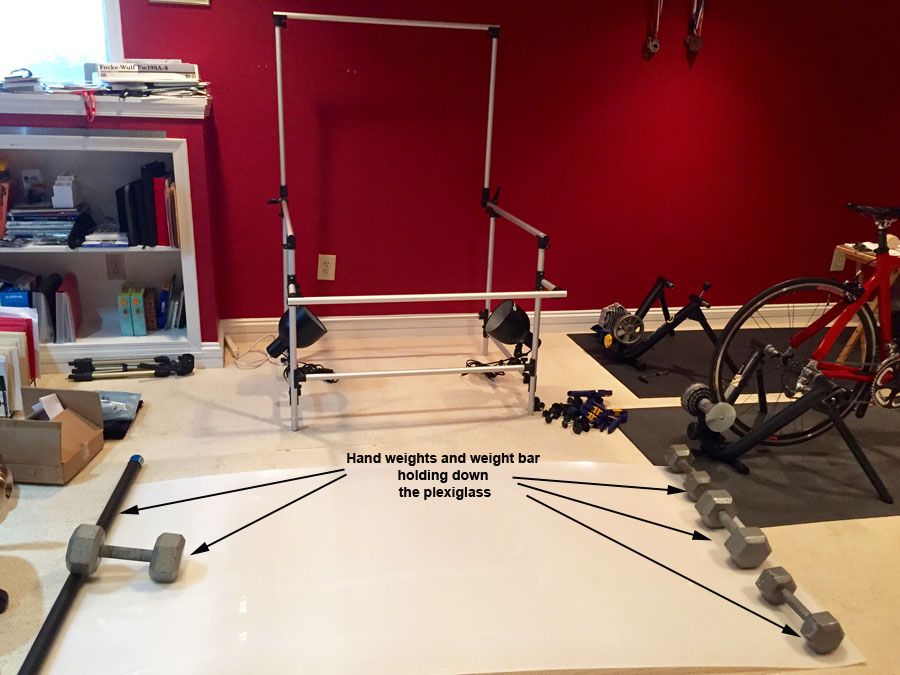 The plexiglass is unrolled and held down with assist of some hand weights and a weight bar. The next day I was able to wrestle the plexiglass with somewhat relative ease. 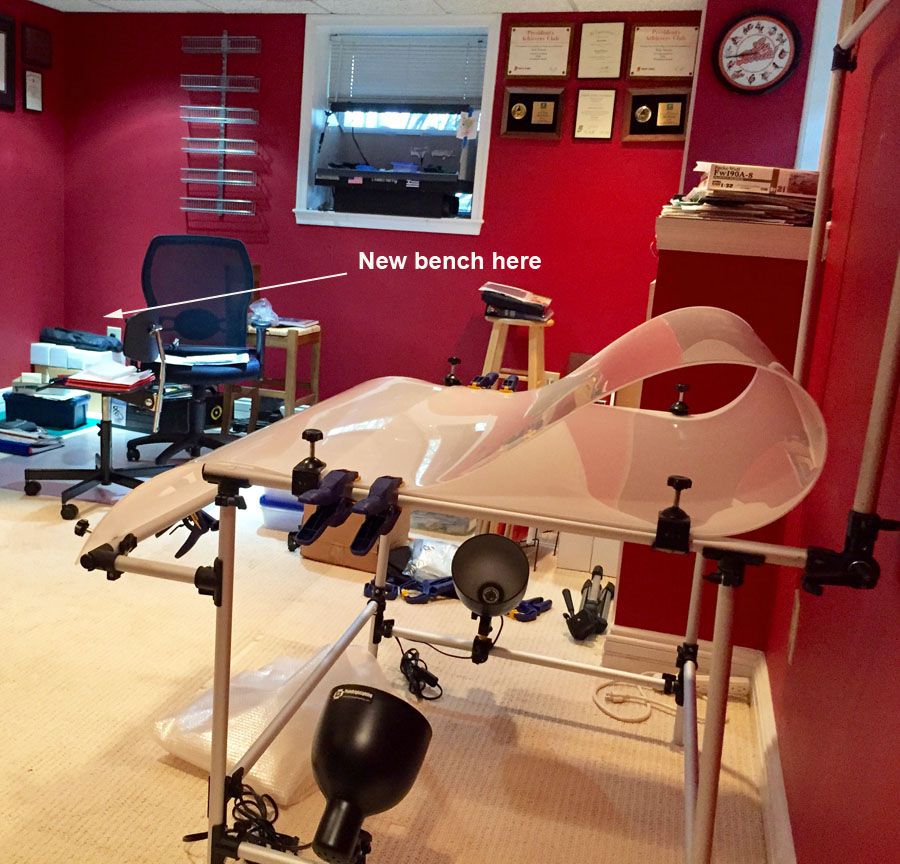 I started laying the plexiglass on the front bar and worked my way up. At the "wall" I turned the plexiglass back and secured with clamps to give it the required bend. 24 hours I will resume securing the plexiglass to the "wall". The old bench has been dismantled. For the new bench I will build several 24" x 48" x 36" work benches. 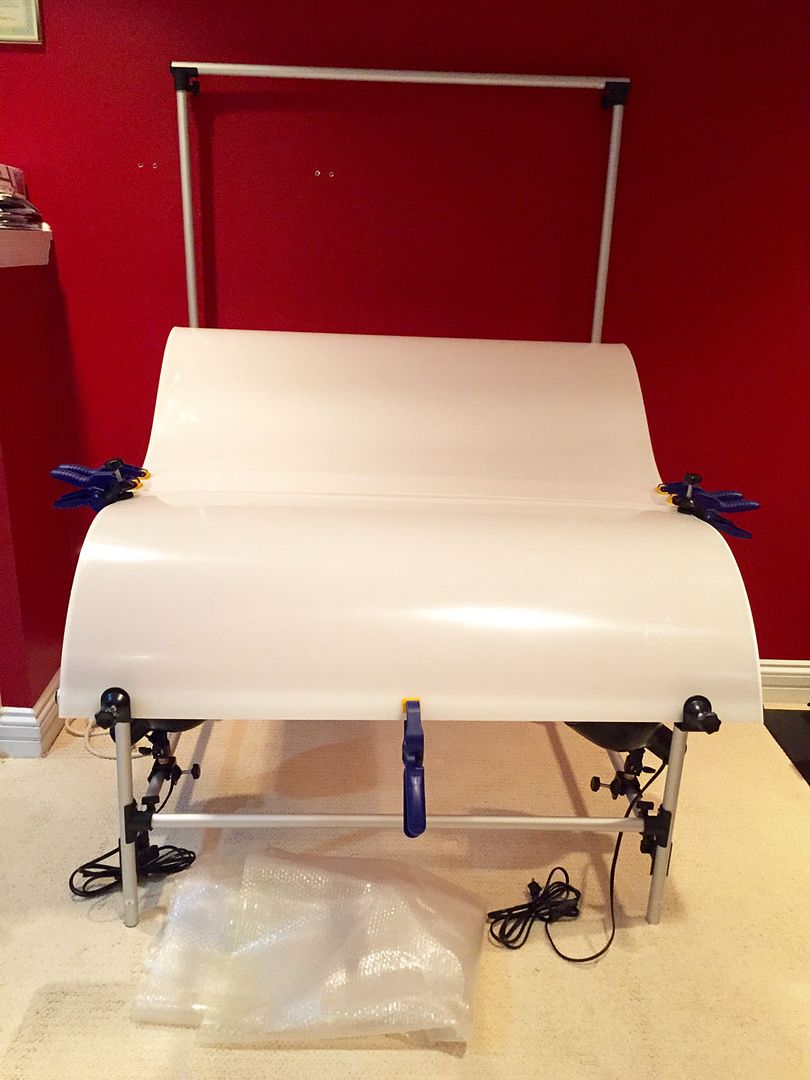 Front view. |
|
|
|
Post by Leon on Nov 20, 2015 21:22:21 GMT -5
WOW....Nice redo on the man cave!  Like your idea on the exhaust vents.  |
|
BezoulaBuilds
Full Member
  
Member since: July 2013
Posts: 136 
|
Post by BezoulaBuilds on Nov 20, 2015 21:28:23 GMT -5
WOW....Nice redo on the man cave!  Like your idea on the exhaust vents.  Thanks Leon. This has been a long and drawn out process. In the home stretch now. Look forward to be back and participate with you guys. |
|
BezoulaBuilds
Full Member
  
Member since: July 2013
Posts: 136 
|
Post by BezoulaBuilds on Nov 20, 2015 21:33:23 GMT -5
SLAPPING SOME WOOD This has been a long road. Finally ready to start the bench build. No bench action since June and I am chomping at the bit. 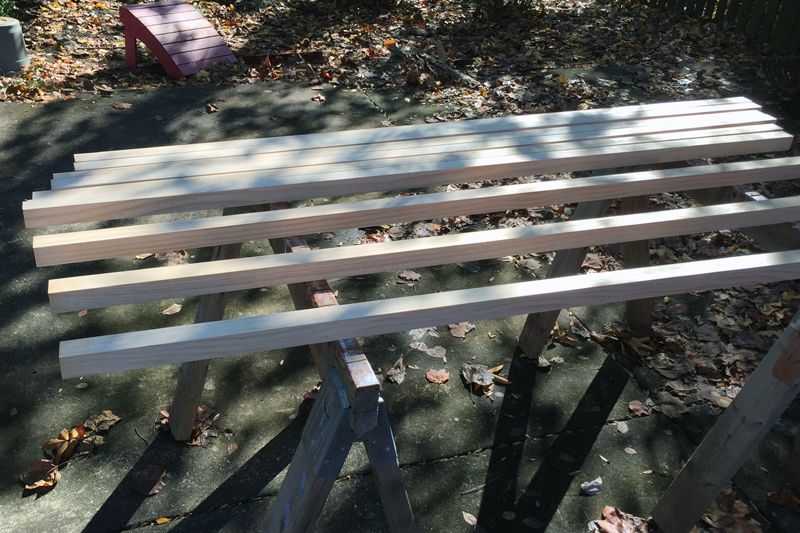 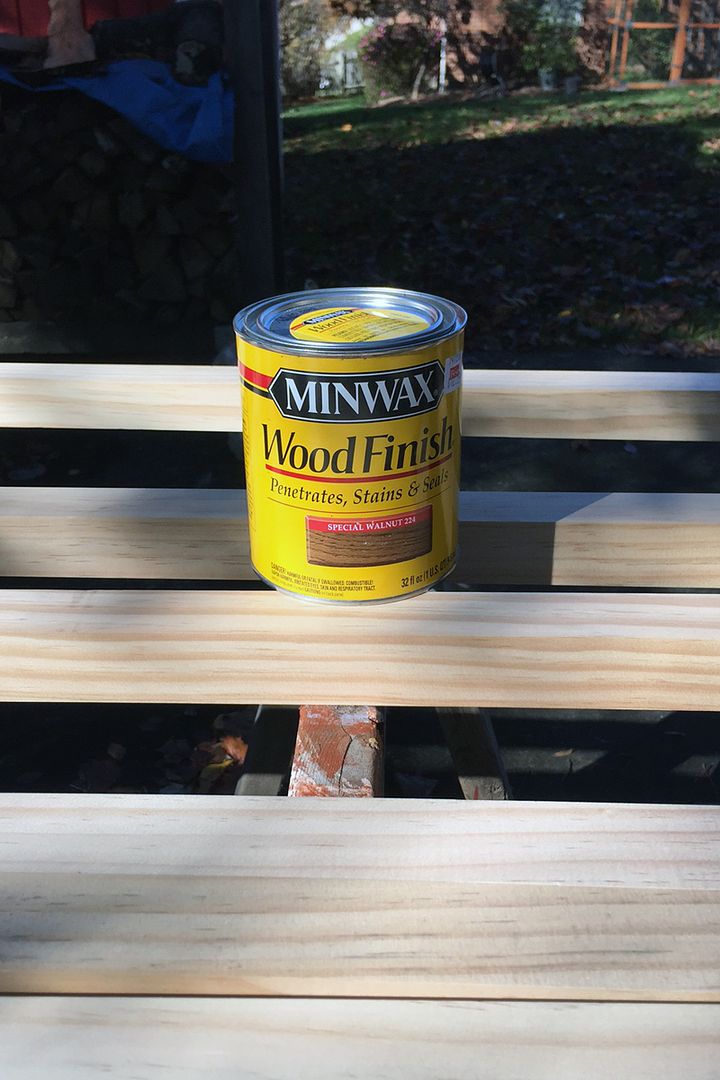 #1 Pine 2 x 2 ready for staining. Will apply same stain on the plywood top and bottom shelf. 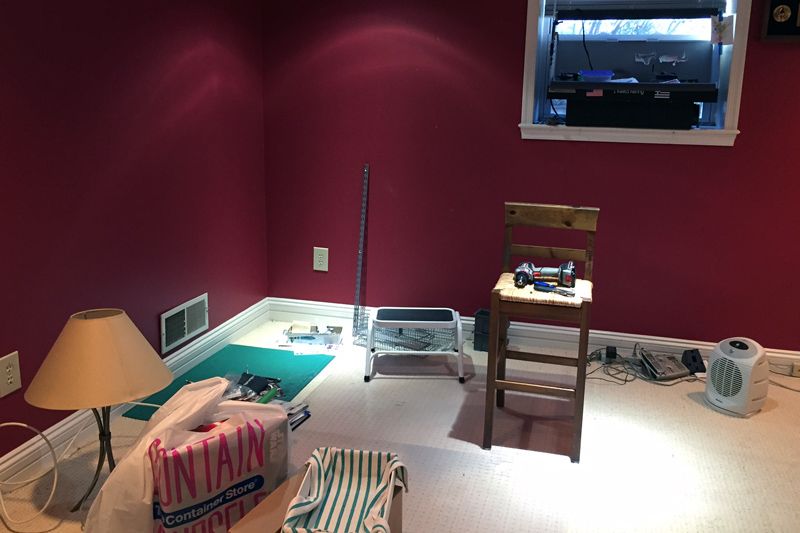 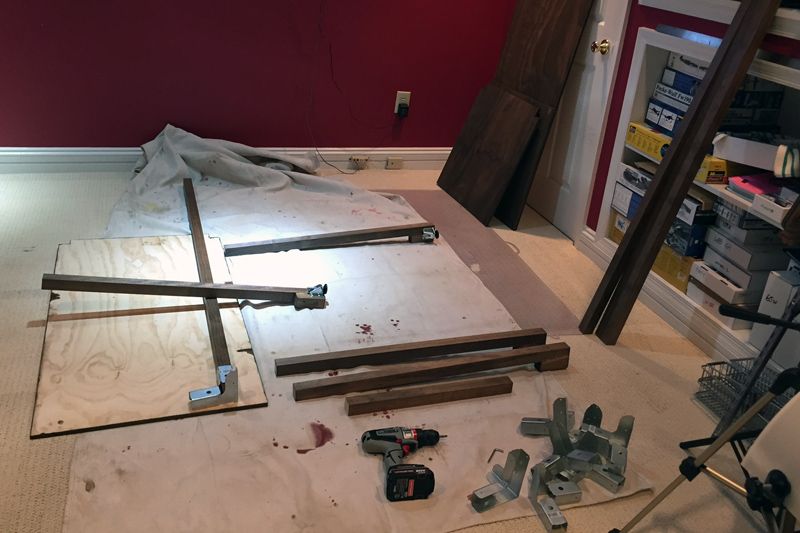 Legs and braces cut. It begins. 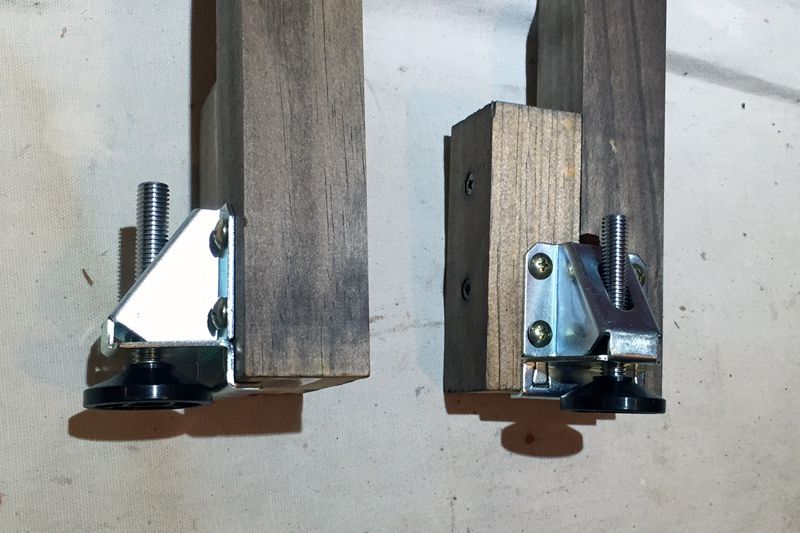 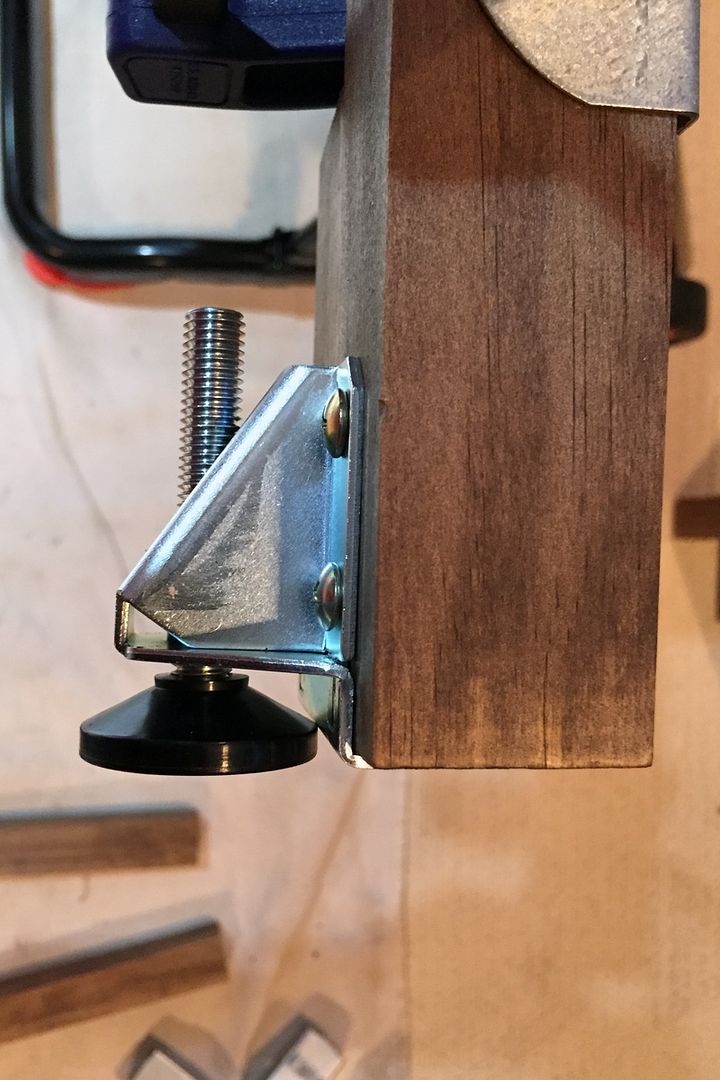 Leg Levelers mounted.
|
|
BezoulaBuilds
Full Member
  
Member since: July 2013
Posts: 136 
|
Post by BezoulaBuilds on Nov 20, 2015 21:38:00 GMT -5
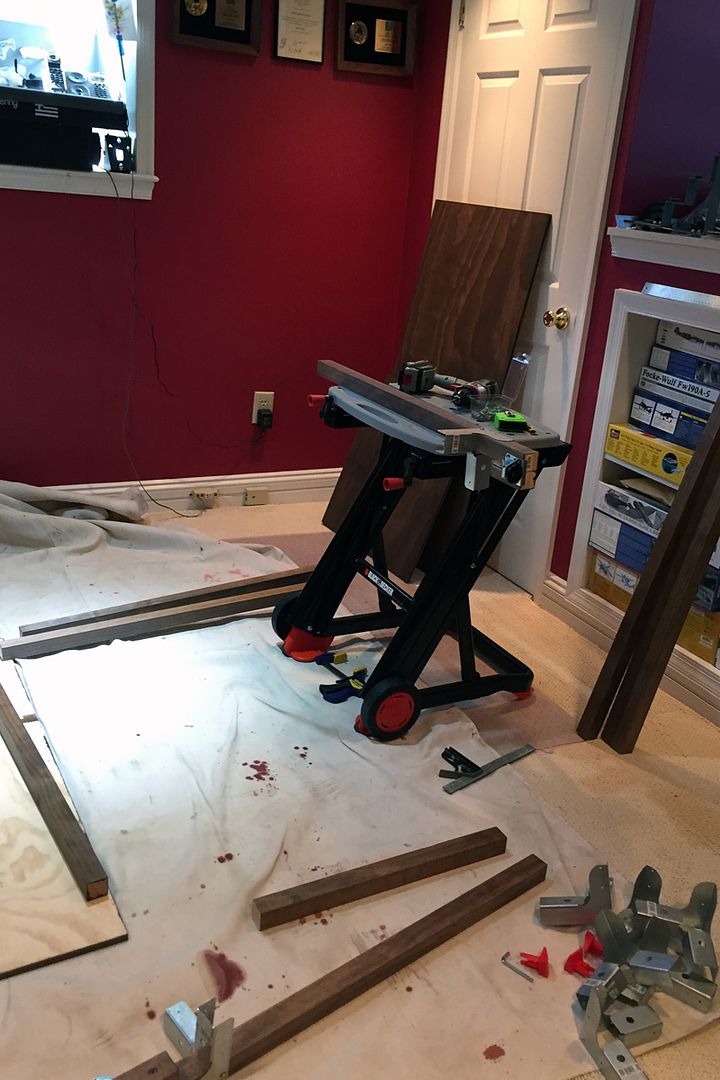 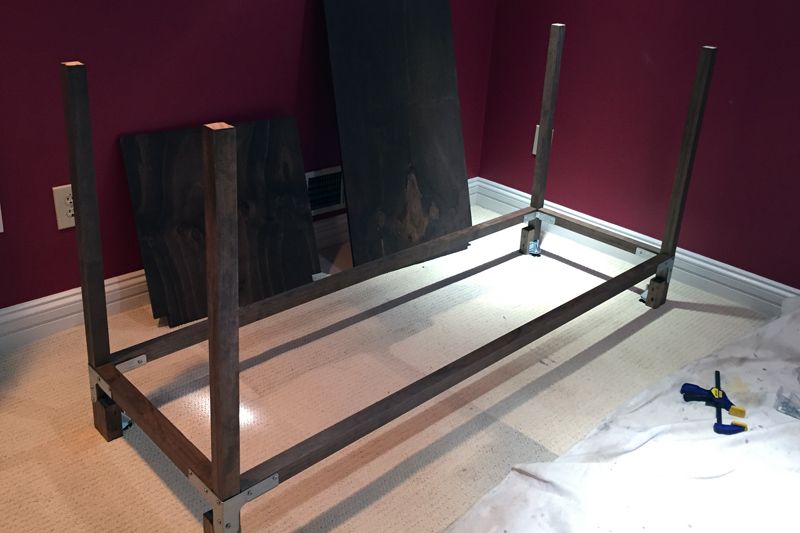 Bottom frame complete. 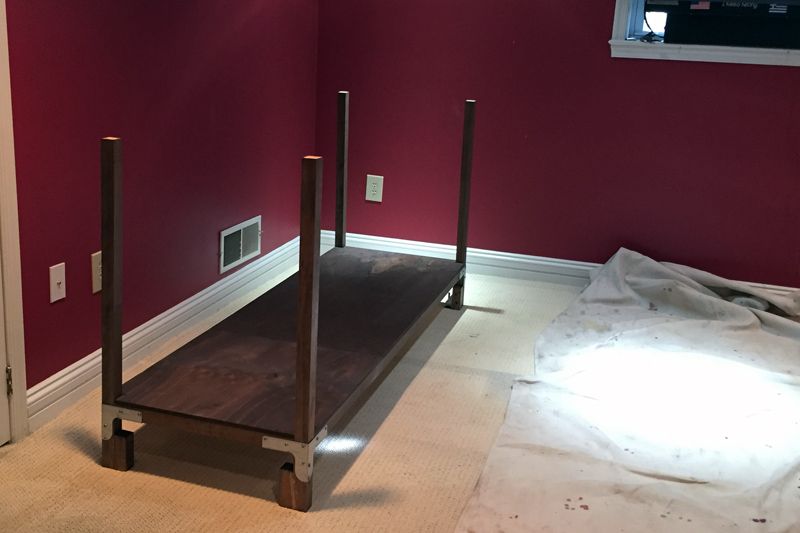 Stained plywood mounted. Next to the top. 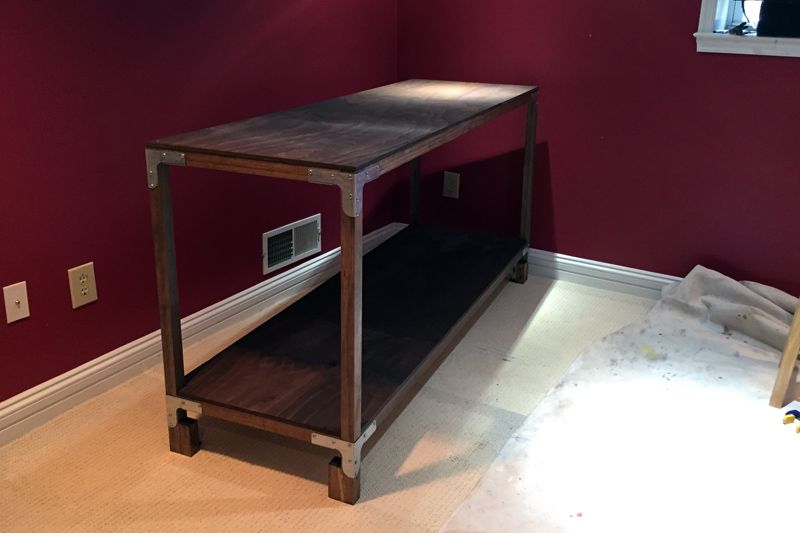 One down one to go. Hope to finish bench #2 this weekend. 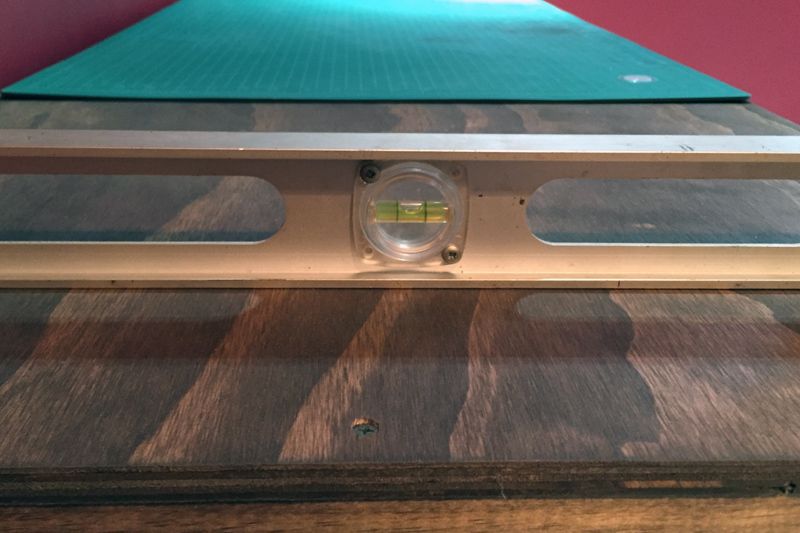 Booyeah! 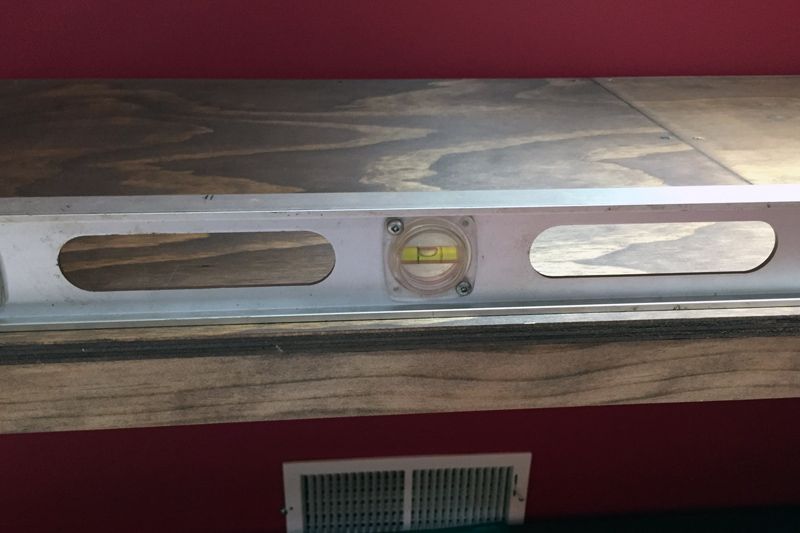 Boo-fracking-yeah! Will fine tune with the Leg Levelers. 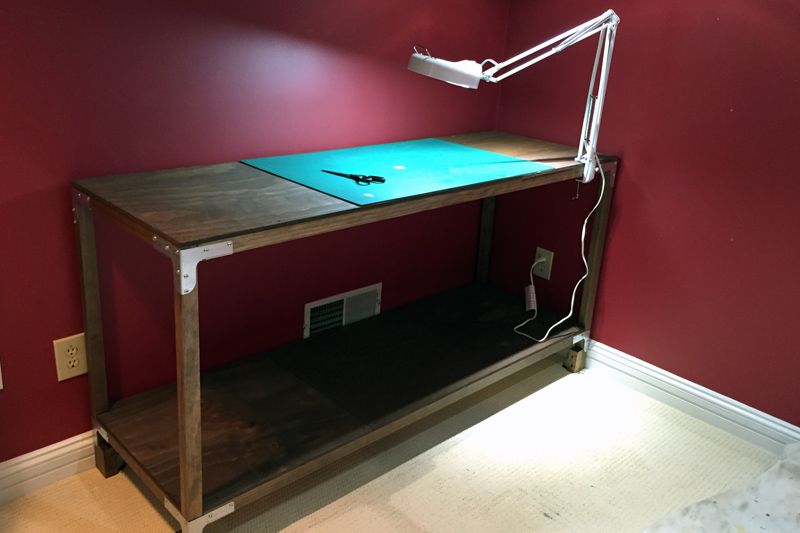 Second bench will nest to right against the wall. Same length 6' and will be about 9 inches lower to accommodate the spray booth. |
|
|
|
Post by deafpanzer on Nov 22, 2015 11:10:52 GMT -5
Really dig the photo table!!! We have to do something about that ugly Steelers trash can...
|
|
|
|
Post by wbill76 on Nov 24, 2015 12:26:43 GMT -5
Looks like the overhaul is in full swing! Looking good so far. Can't beat a nice level work bench.  |
|
adt70hk
Forum Moderator      November '24 Showcased Model Awarded
Member since: November 2015
Currently attempting to build something decent!!! ;)
Posts: 2,847 
MSC Staff
|
Post by adt70hk on Nov 24, 2015 12:55:46 GMT -5
To be honest I'd settle for your original work area without a moments hesitation!!!! My work area is my dining room and dining room table....   |
|