steveh
Junior Member
 
Member since: February 2015
Posts: 75 
|
Post by steveh on Feb 3, 2016 14:03:18 GMT -5
Good day gents A distraction from the T-34, and a larger project for 2016 as a distraction from soldering and the 34, a change of pace, size and colour  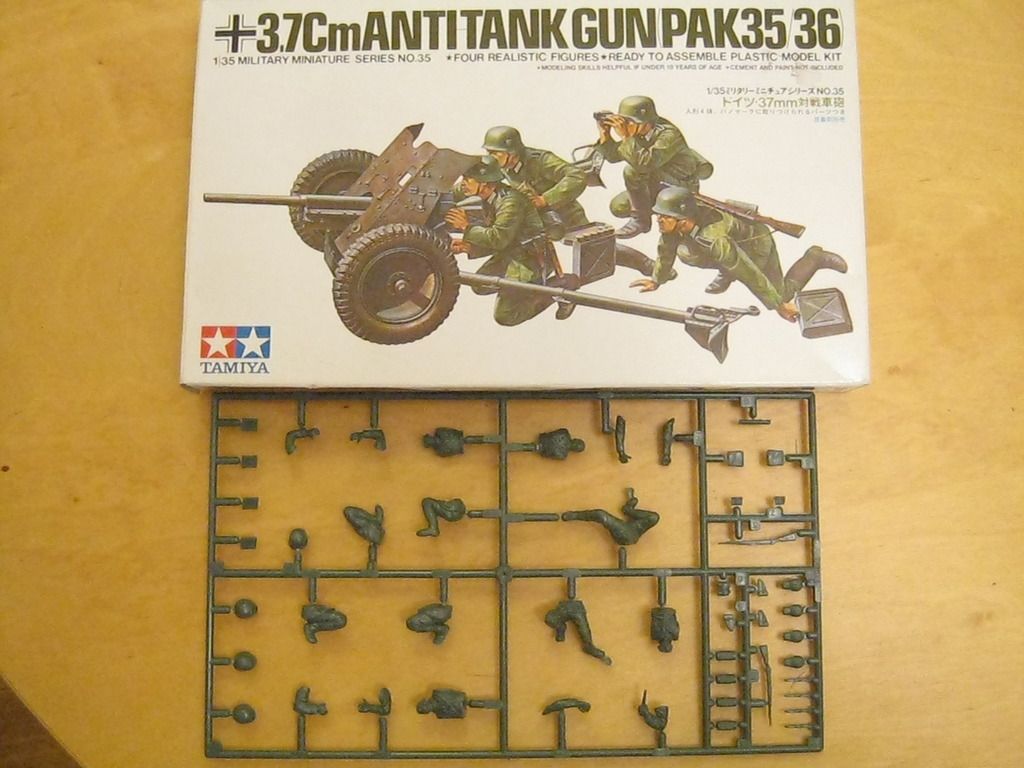  I have the Eduard PE set, and a RB barrel too, and thought it would be another soldering exercise, oh how wrong was I :shock:  :evil: The PE set and distructions, already colour coded for replacements 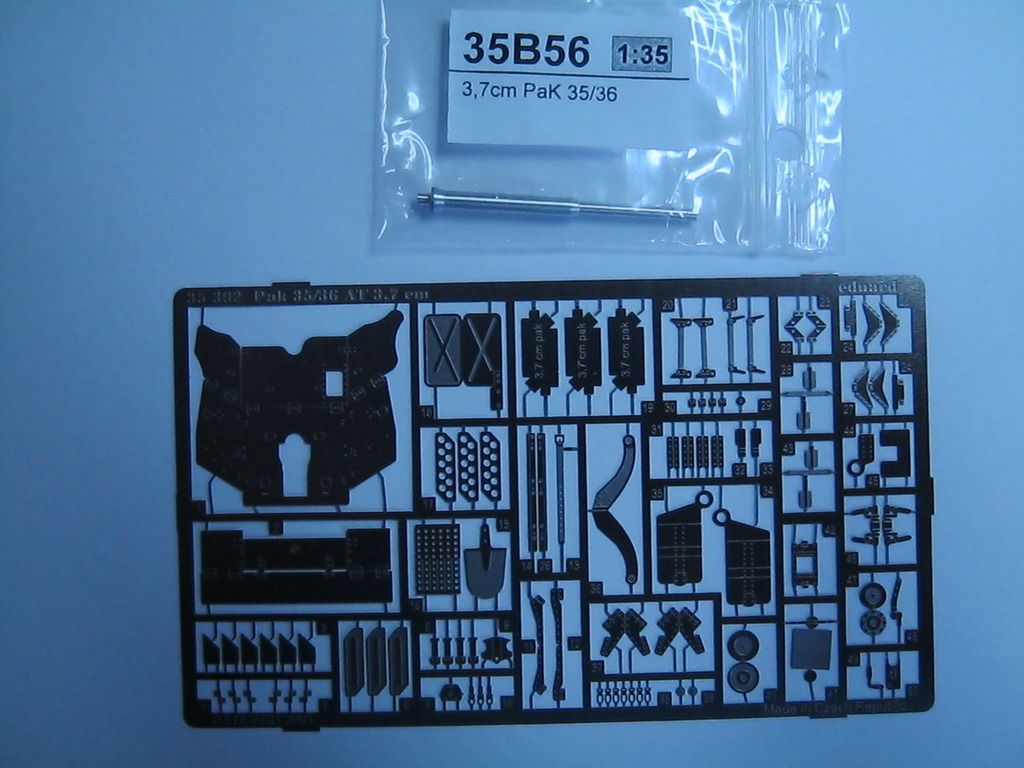   I had already reviewed the issues of the Eduard (nickel?) coating and its impact on solder, so filing and scrapping off the coating was the first order of business, but as there were few parts that didn't involve some plastic, there weren't too many opportunities to try soldering Eduard together. The spades allowed some metal to metal soldering with 8 pieces each. So I cleaned up the iron, as recommended and changes the head as the old one was getting used up,  Then I tried and tried and tried, but it just would not *!++@y solder the bits :evil: I will have to re assemble the iron, with the old tip, back to as it was and go back to Square 1 again, once it is removed from the cupboard of frustration :evil: I even took the little Pak to work, as I have already scribbed, assembled and re headed 5 sets of figures at work, all for future or current builds, but rather a lot of figures to be painted :roll: Anyway to cut a long and frustrating story short, the Eduard was super-glued together after cleaning off all the solder flooding, and there were plenty of room for scratching all the pieces that went missing too :roll: Before surgery 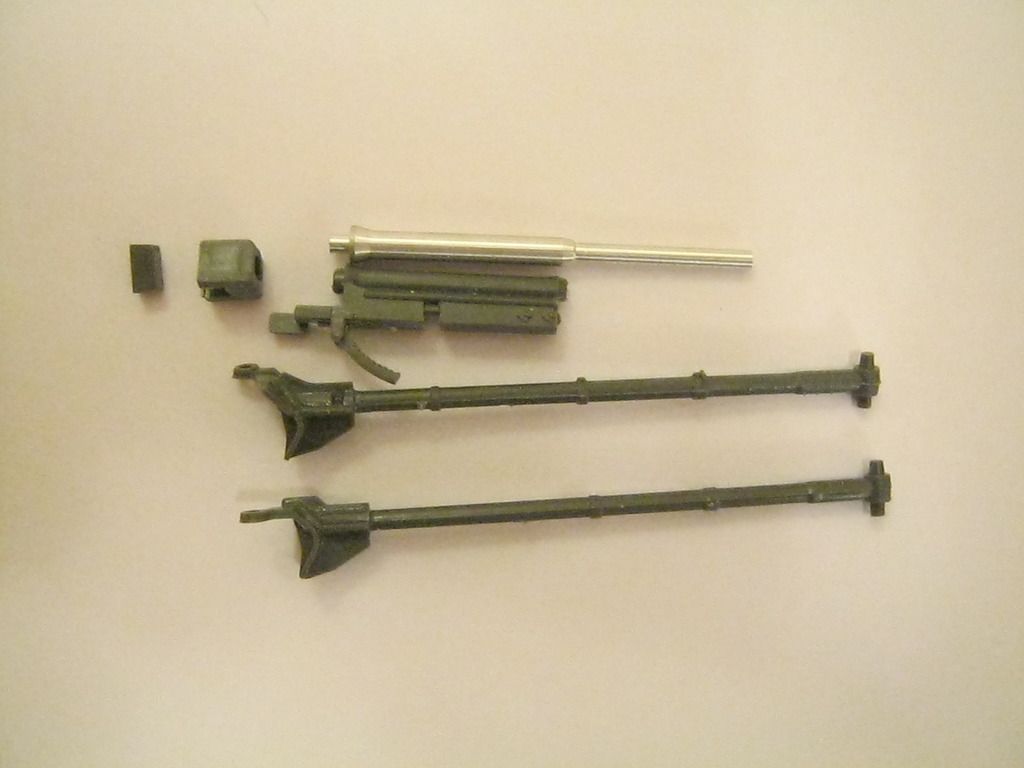 After  Eduard enhancements and a new barrel and some additional scratch too      More soon :?:  The shield will have to stay off as it is all too small to prime in one go, and there are still some small bits to add, replace and repair. Hope this little one has been a pleasant distraction, time to resuscitate the soldering iron and the T-34 Thanks for popping by Steve H |
|
|
|
Post by Leon on Feb 3, 2016 14:11:21 GMT -5
Nice work on the distraction Steve!
|
|
|
|
Post by tobias5555 on Feb 3, 2016 14:56:57 GMT -5
Looking good for an oldy.
Was my first 1/35 kit in 1986.
|
|
John Everett
Full Member
  
Member since: January 2012
July, 2016 MoM Winner
Posts: 1,278
Jan 17, 2012 0:53:48 GMT -5
Jan 17, 2012 0:53:48 GMT -5
|
Post by John Everett on Feb 3, 2016 19:12:10 GMT -5
Wow! Excellent! New metal along with Tamiya's old, but solid engineering makes a good combination.
|
|
|
|
Post by wbill76 on Feb 3, 2016 19:17:20 GMT -5
It's a fun little side-project for sure, looking good so far.
|
|
|
|
Post by dierk on Feb 4, 2016 3:52:55 GMT -5
Looking good!
As was pointed out to me when I built the Russian 45mm version (apart from the barrel they're identical) there should be some rivets added to the shield.
And well done on getting the spades on the end of the arms done in PE - I shied away from that step when I did mine.
|
|
|
|
Post by TRM on Feb 4, 2016 7:22:46 GMT -5
And just like that, the kit comes alive!! Fine work so far Steve!! Keep it going!!
|
|
jsteinman
Full Member
  
Member since: March 2013
Posts: 735
Mar 24, 2013 9:29:10 GMT -5
Mar 24, 2013 9:29:10 GMT -5
|
Post by jsteinman on Feb 4, 2016 10:59:52 GMT -5
I loved this kit back in the day (1970s). I build one as a tow behind and another mounted to a 251/C. Thanks for the flashback!
|
|
steveh
Junior Member
 
Member since: February 2015
Posts: 75 
|
Post by steveh on Feb 4, 2016 14:57:47 GMT -5
Wow, Unexpected to have so much response, especially with the golden oldie! Much appreciated though gents, very much appreciated Thanks Leon Thanks Tobias, I think I did one, much closer to its release date in the 70's Thanks John, new metal but damned Eduard, a real task to try and solder and super-gluing requires just as much effort, but it's the only show in town, so not much choice Thanks Bill, not quite a tiger, but the starting point for something more interesting Thanks Dierk, the riveting is still something I am ruminating over Running repairs :oops: 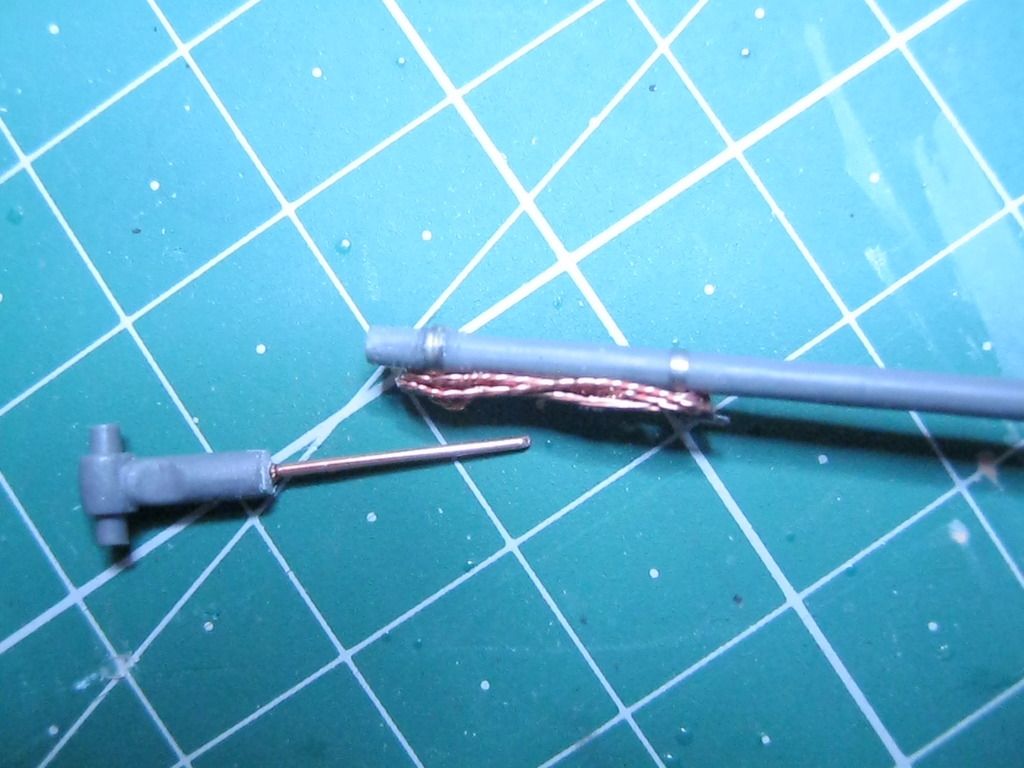 getting everything as level as possible, using whatever is on the bench   The Eduard shield has the central hinges scribed in, not raised, so they can be added, all the rivets are indented, and I guess will disappear under even the most careful of priming, main colour then modulation! I have some 0.2mm copper wire which should cut into small slices to insert into the pin prick sized indents The bottom half of the shield will be obscured, in the final diorama, so I only need to do the top half, I will have to do it as I have already gone this far, but it is a pain Thanks Todd, she is getting there, time for the defibrillator  Thanks John, It really is a golden oldie, it will definitely be towed by something towed by a late Sd.Kfz. 11, a real late war, who's left to try and stop the red tide on the Eastern front, Thanks again gents, the more the merrier, I still have to do some bits a bolts and hopefully get some primer on her soon. Steve H |
|
adt70hk
Forum Moderator      November '24 Showcased Model Awarded
Member since: November 2015
Currently attempting to build something decent!!! ;)
Posts: 2,835 
MSC Staff
|
Post by adt70hk on Feb 4, 2016 16:45:30 GMT -5
Steve
Looking very, very nice indeed!
Keep it up!
Andrew
|
|
steveh
Junior Member
 
Member since: February 2015
Posts: 75 
|
Post by steveh on Feb 21, 2016 15:30:11 GMT -5
Thanks for waiting patiently for another update gents Its been a little while, and the reason is I have been doing a Palette cleanser to help move through a dry patch Its a Space Marine, from WarHammer  for size  busy at work and off the boil with building but I have undercoated this little one to put her away for the end game, namely warmer weather and getting my airbrush up and running  She is undercoated and the indented riveting looks OK, Dierk, so I will stick with this to see how paint and washes work out   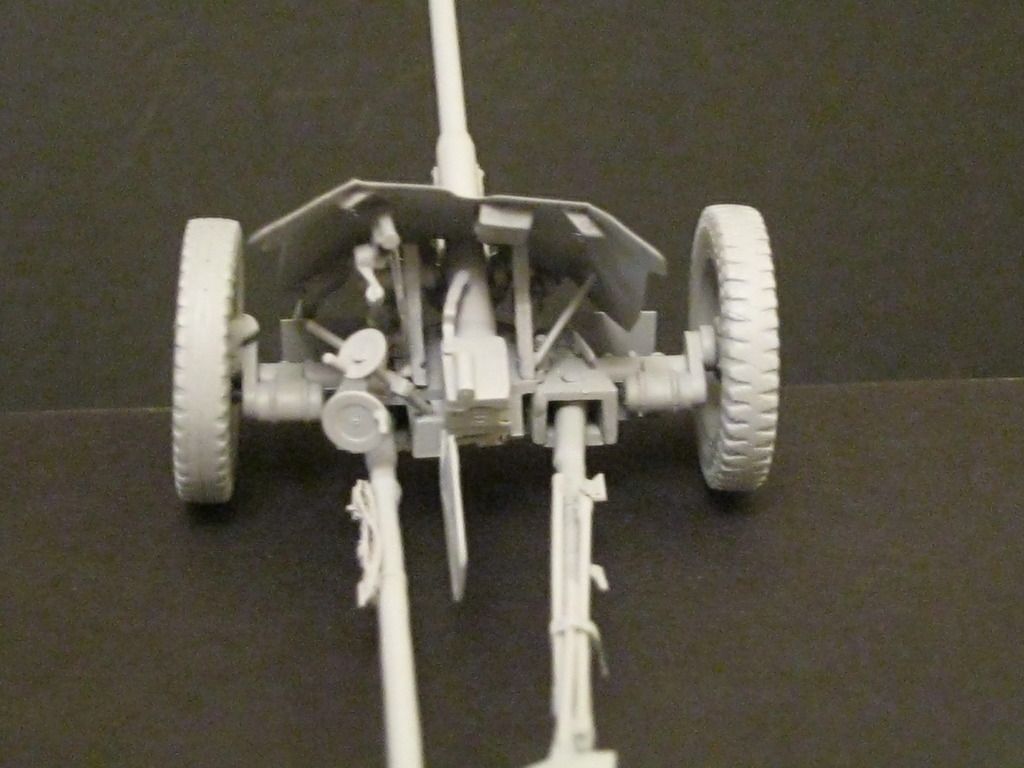 The shield isn't attached to allow for better access for painting so it is slightly "off" for the photos only. It needs to be towed, so this is the one to do the job, before anyone raises a valid question, yes it is very big but there will be a reveal, later on in the build/blog, enough said for now   I just wanted to paint the engine, as I had been painting recently, but I guess I got carried away!    The engine is next, thankfully, Photos let me down again! Any way, I hope to get some more done on the 7 and the engine too. Hope you enjoy? More soon? Steve H |
|
|
|
Post by wbill76 on Feb 21, 2016 17:26:14 GMT -5
Now you've got my interest Steve, don't keep us in suspense for too long!  |
|
|
|
Post by deafpanzer on Feb 22, 2016 21:54:32 GMT -5
I am with Bill... gun looking good. It will look good while being towed...
|
|
steveh
Junior Member
 
Member since: February 2015
Posts: 75 
|
Post by steveh on Mar 14, 2016 2:18:01 GMT -5
Thanks Chaps Thanks Andrew, a little more to wet the appetite Thanks Bill, sorry for the wait! Thanks Andy, it will be a "caravan" of items, with the mystery star player still to be added? Where I am currently, I only wanted to paint the engine and add some bits as it really sparked my interest as a little paint project, then I needed to get the heights right for the figures I was scribbing during my lunch breaks, so I had to "crack on" 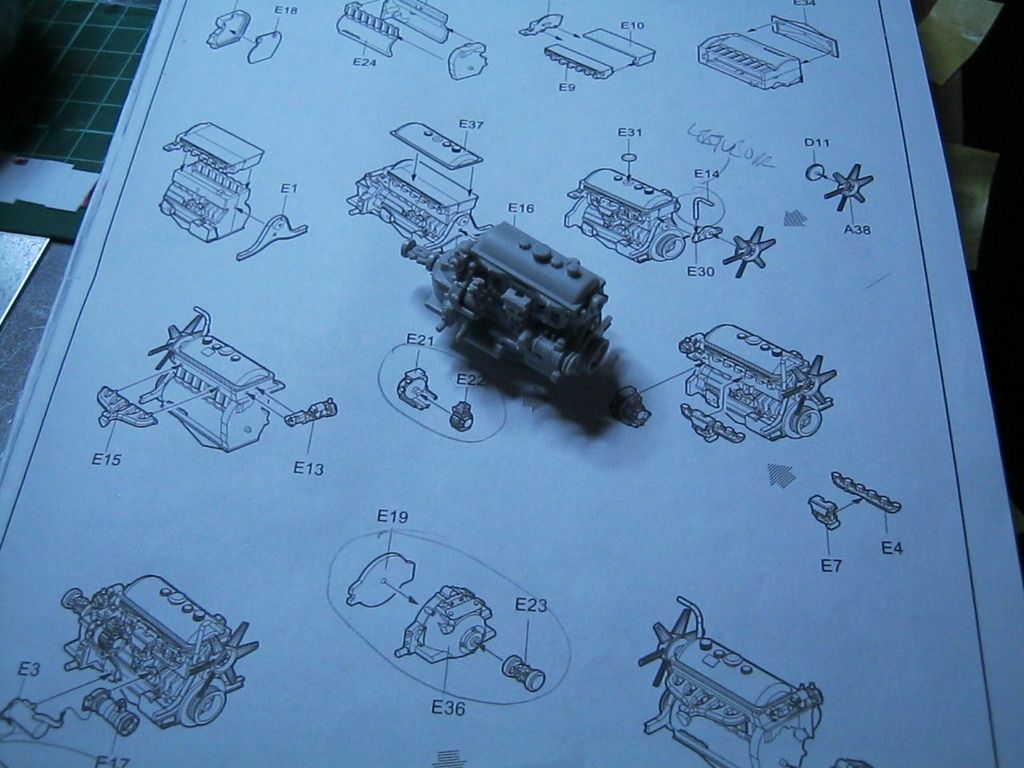 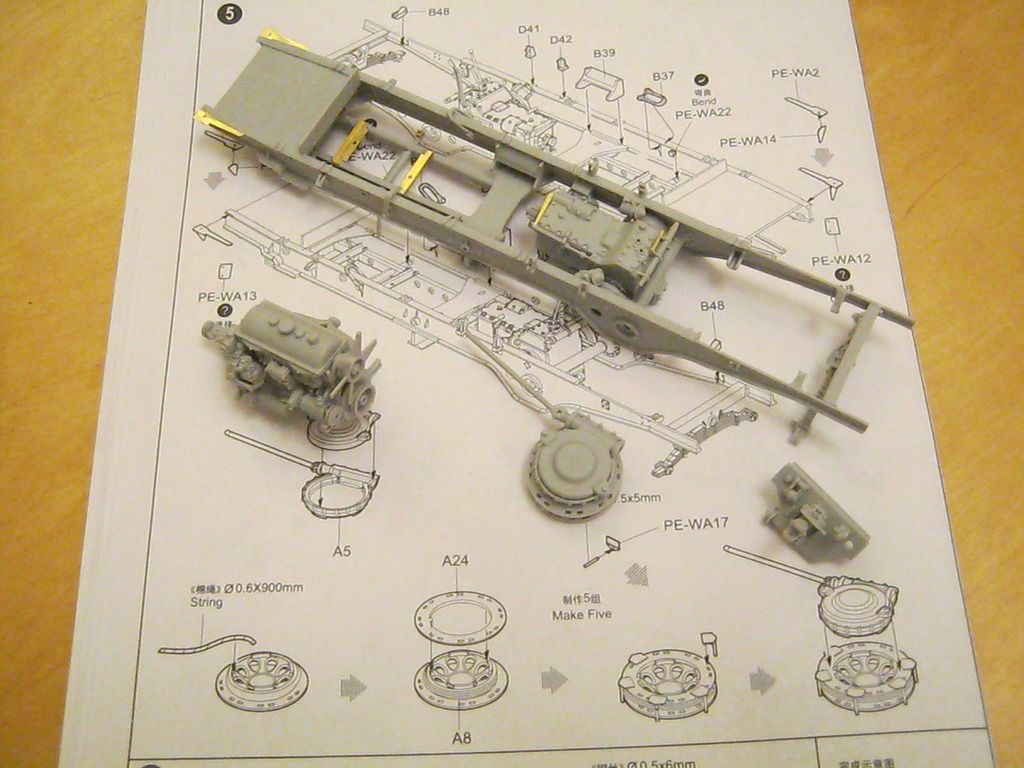 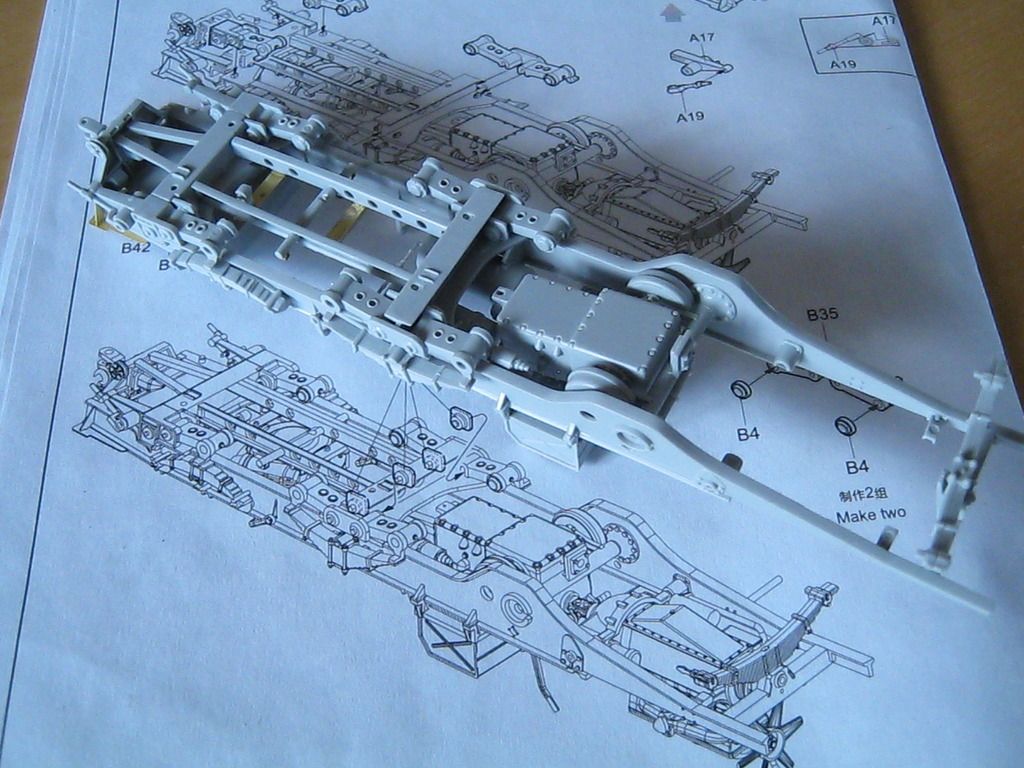 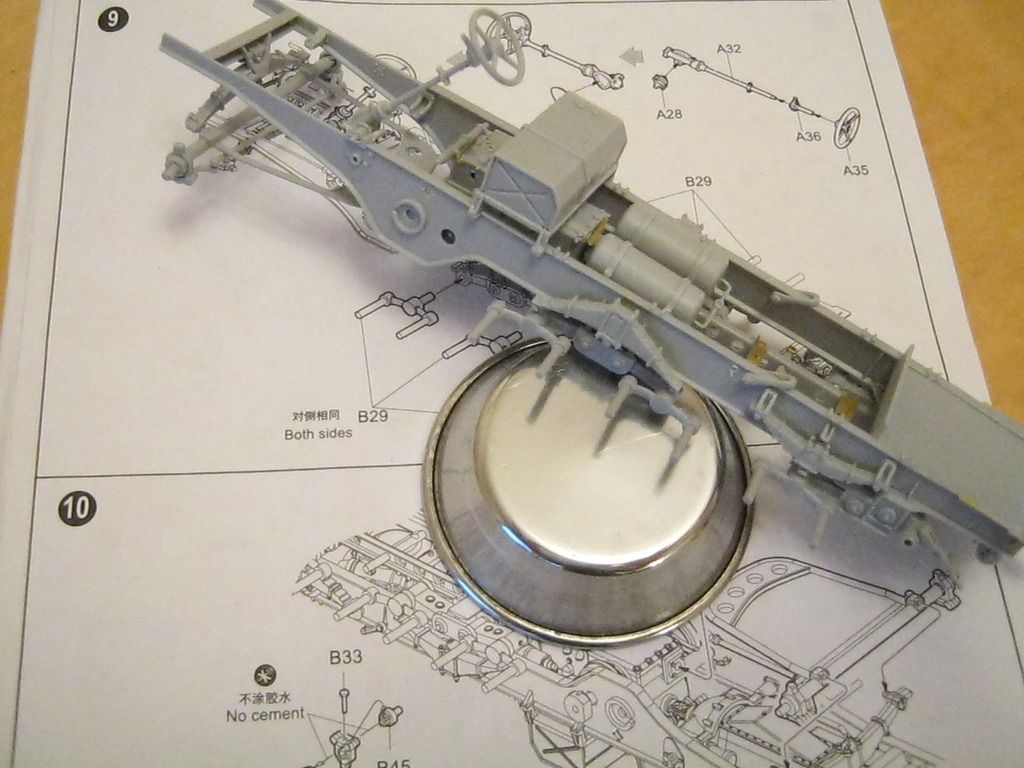 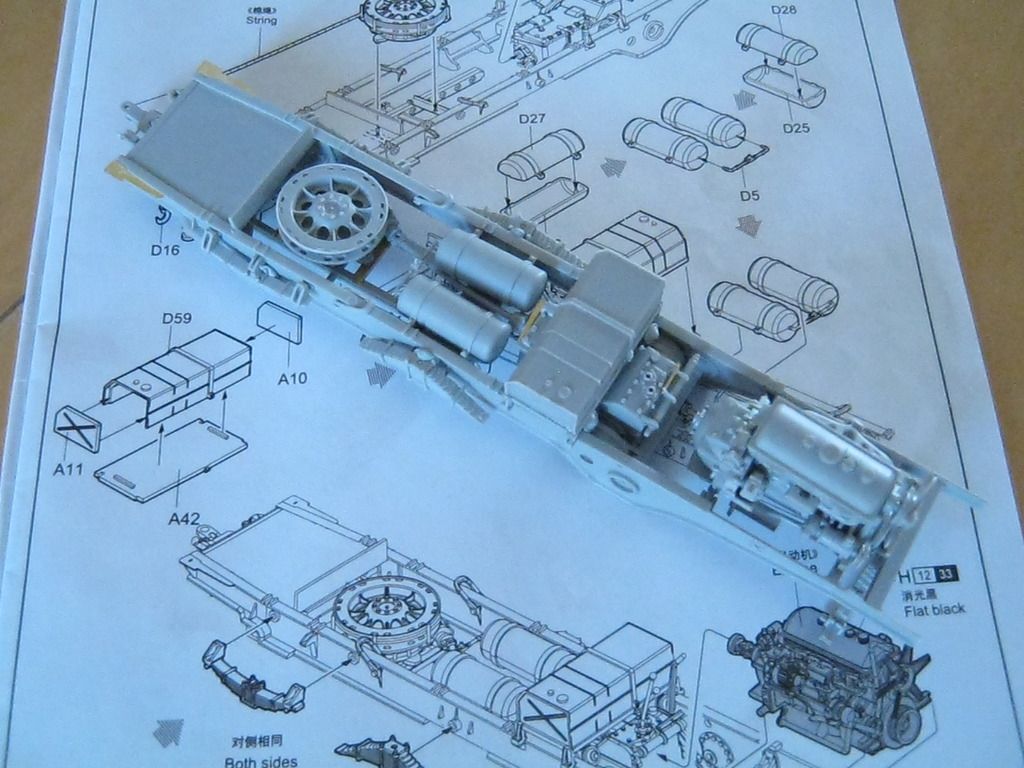    The tracks are cracking, you get 6 of these and they are easy to do, and fully articulating  You will need to use the Conversion article for the drive wheels from the Perth site too www.perthmilitarymodelling.com/reviews/vehicles/trumpeter/tr01523d04.htmIt does work, though it is difficult for my photography to capture! 54 links per side does look about right!  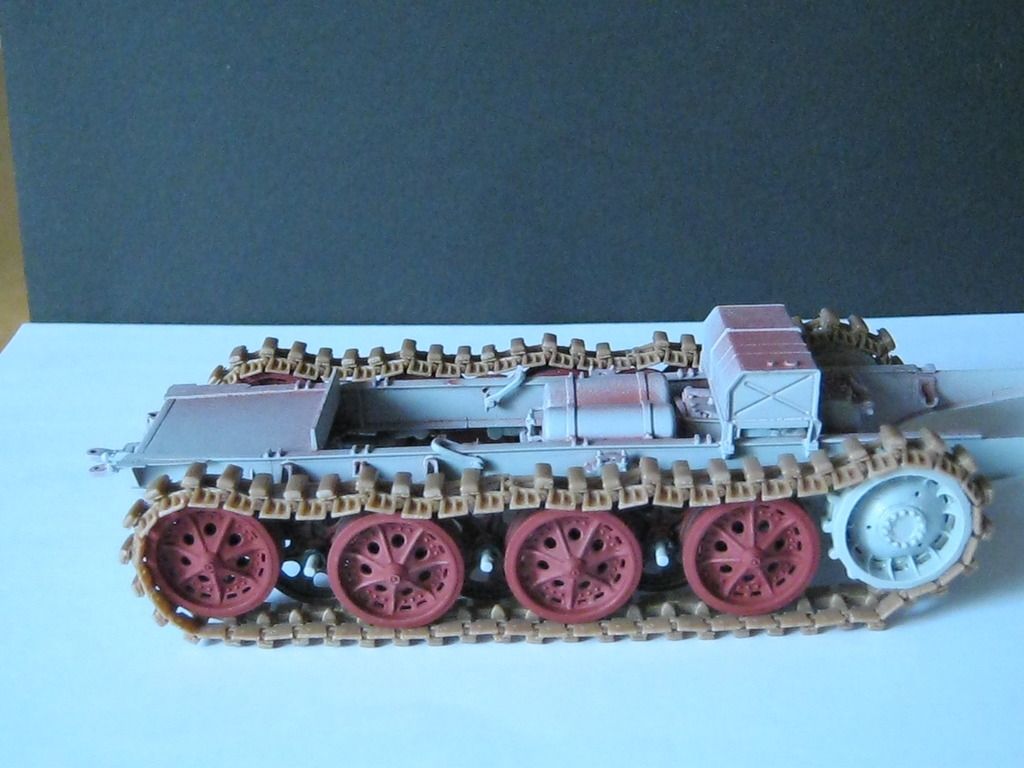  The engine and heads for 4 of the figures are being painted currently, so they will most likely be the next update. The Chassis is more or less done and waiting for a top coat, the cab and flat bed are next. I am experimenting with wood finishes for the flat bed, so I will be checking out SBS's on wood too. This brings me up to date. More soon? Steve H |
|
|
|
Post by dierk on Mar 14, 2016 5:01:57 GMT -5
Good progress Steve! Looking forward to how this develops and what the mystery reveal might be.
|
|
|
|
Post by Deano on Mar 14, 2016 6:35:07 GMT -5
Very nice work all round Steve , thinking about building a half track myself soon !
|
|
|
|
Post by wbill76 on Mar 14, 2016 13:55:03 GMT -5
Looking good Steve! You may want to consider removing a link per side on the tracks to get them a little tighter. That may be easier said than done as it doesn't look like the idler wheel is adjustable, it's always a challenge getting German HT tracks to the right tension/sag. They typically wouldn't touch down flat until mid-way on the first wheel or even the second wheel depending on the amount of tension in the run. Take a look at the box art as an example of what I mean.  |
|
steveh
Junior Member
 
Member since: February 2015
Posts: 75 
|
Post by steveh on Mar 30, 2016 12:25:28 GMT -5
Humble apologies for the late update Thanks Dierk, the cat is now out of the bag and I have the final player approaching the bench Thanks Deano, a 1:72 1/2 track will be a nice change of pace for you, after all the 1:48's and wingy things too A massive thanks, Bill, for the wise words, I last built a 1/2 track in the early 70's, the Tamiya 88 and Sd. Kfz. 8 combination with rubber tracks, A photo at the end of this update, and sorry for the delay too, I have so much more than usual on the bench and they are all so engaging I am spoiled for choice, what to do next! 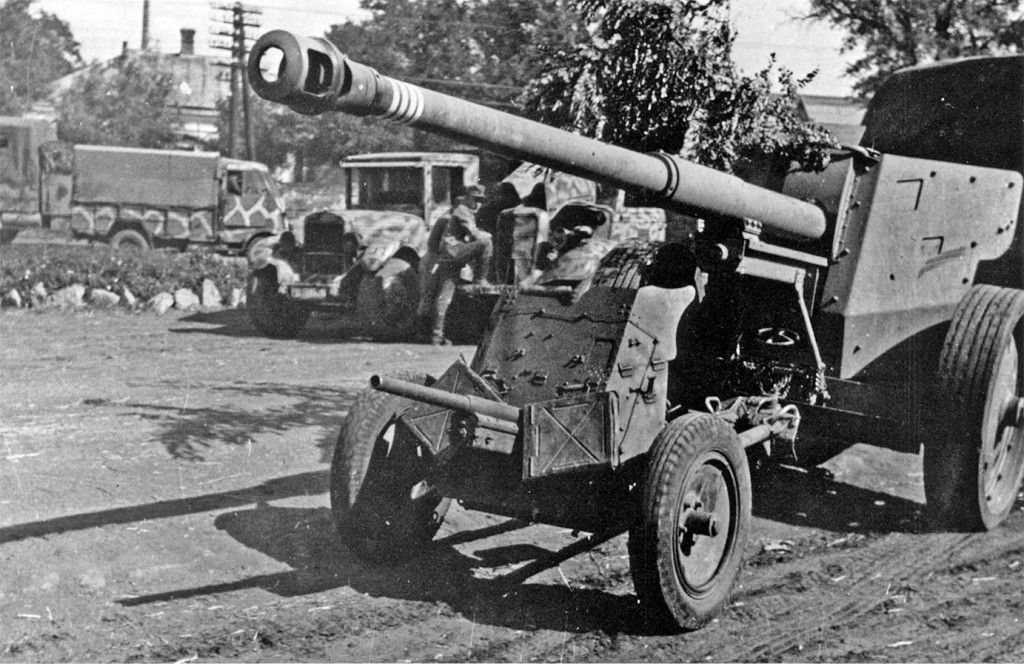 This is the scenario I am looking to recreate, with little twist, something dark, but hopefully you will all understand it. there are currently 15 figures on the bench for this scenario, the same for the T34/85 and only 10 for the Adler & 232, all being prepared at work, just the painting to do.  No pressure to be completed by the end of 2016 then.  The surprise guest at the party 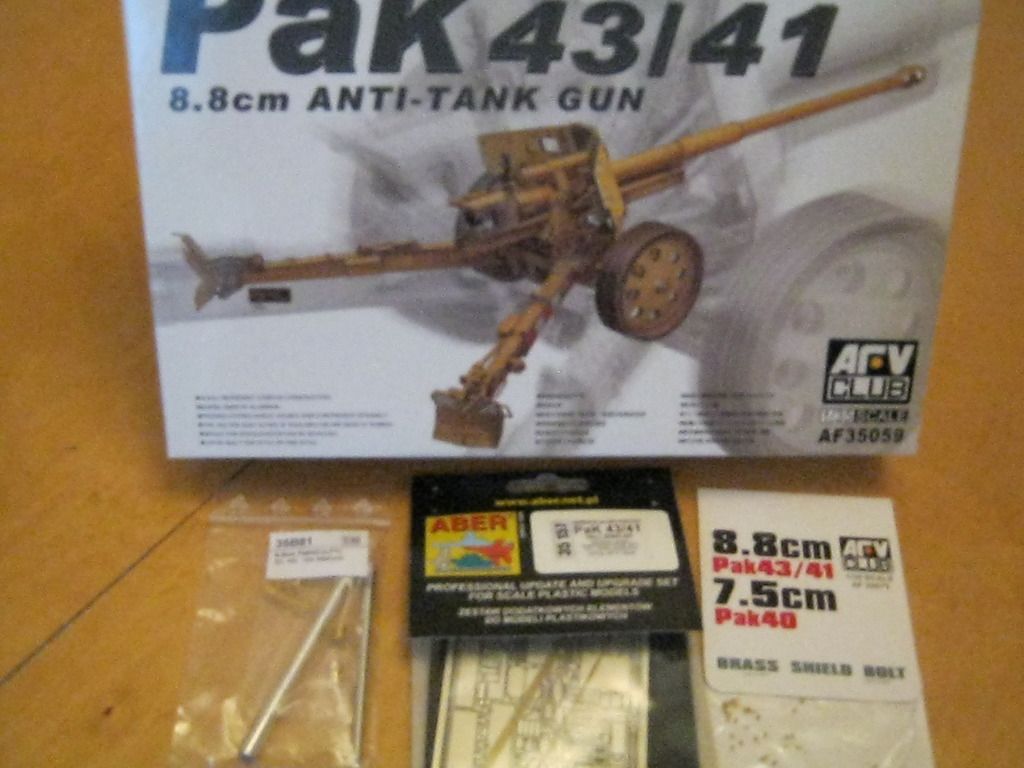 I actually found the brass studs to be used between the 2 layers of the shield on sale in the USA, the box they came in was certainly safe for brass studs 2mm long 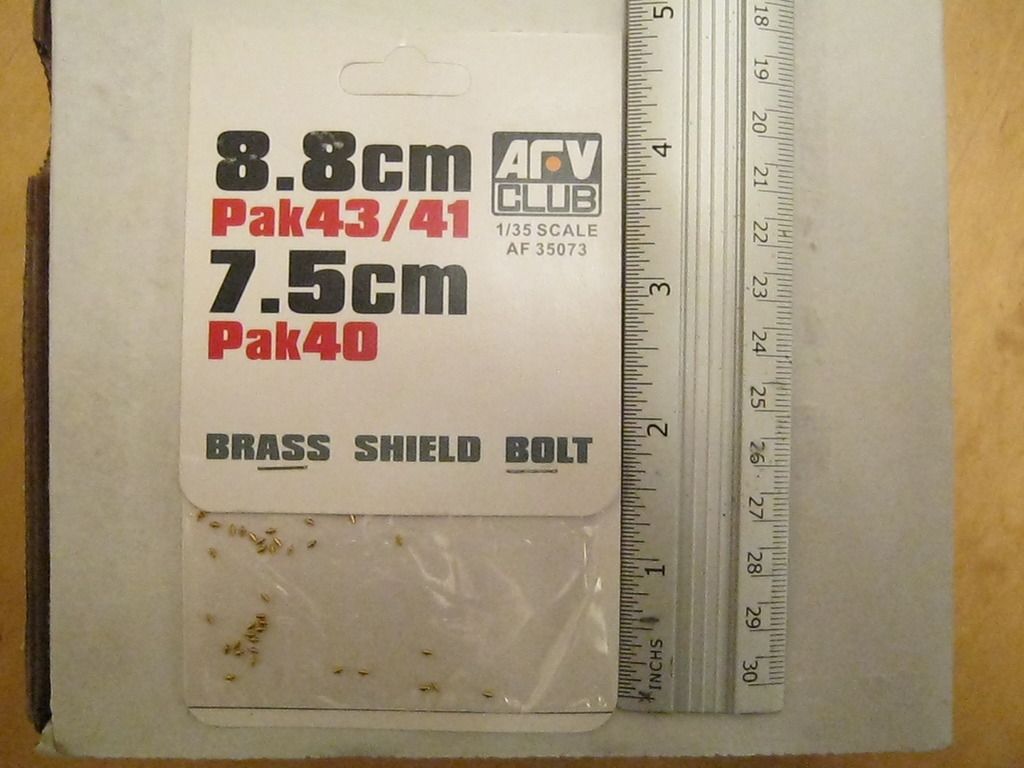 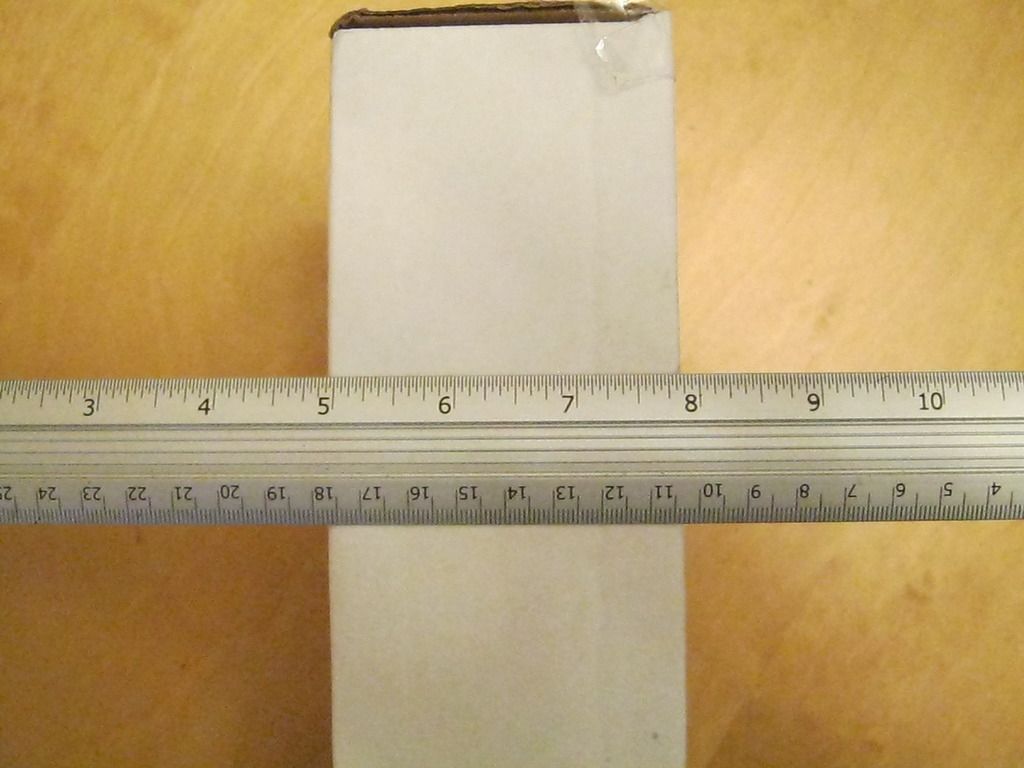 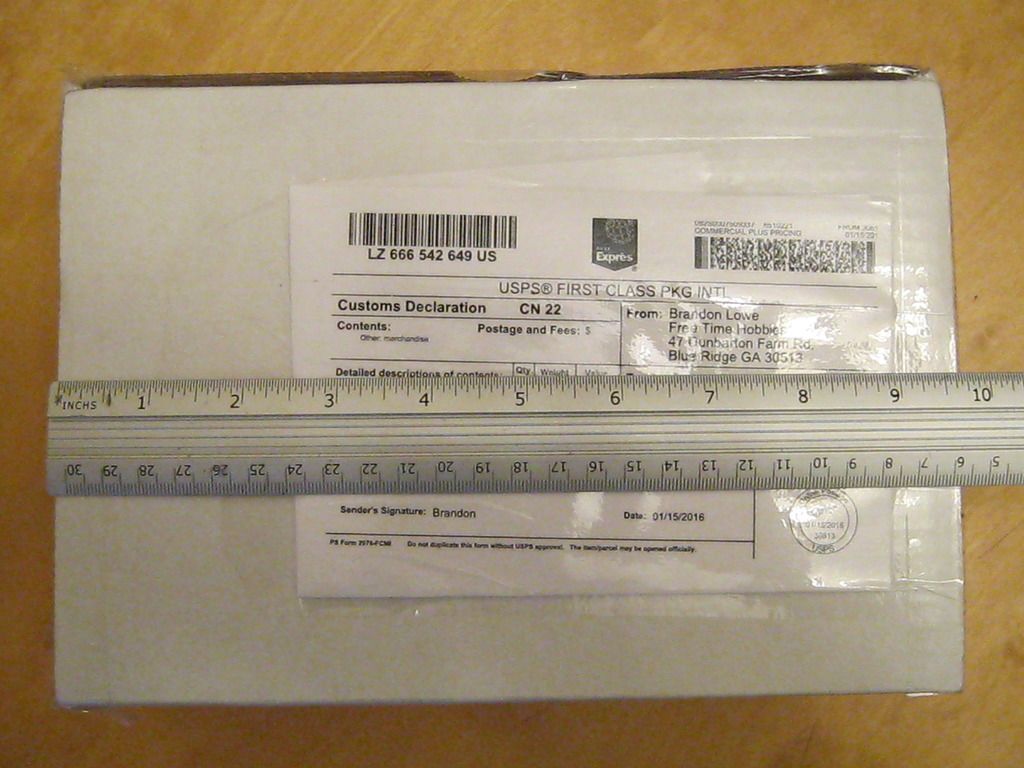 I was expecting a padded envelope! Whenever I start with the 43, it will need soldering, so it's on the back burner until the solder hiccup has been sorted, and the final piece for the 7, Thanks Bill again, for the sage advise, A 1/2 track doesn't have track sag like a Panzer, so 1 link less and we are here. 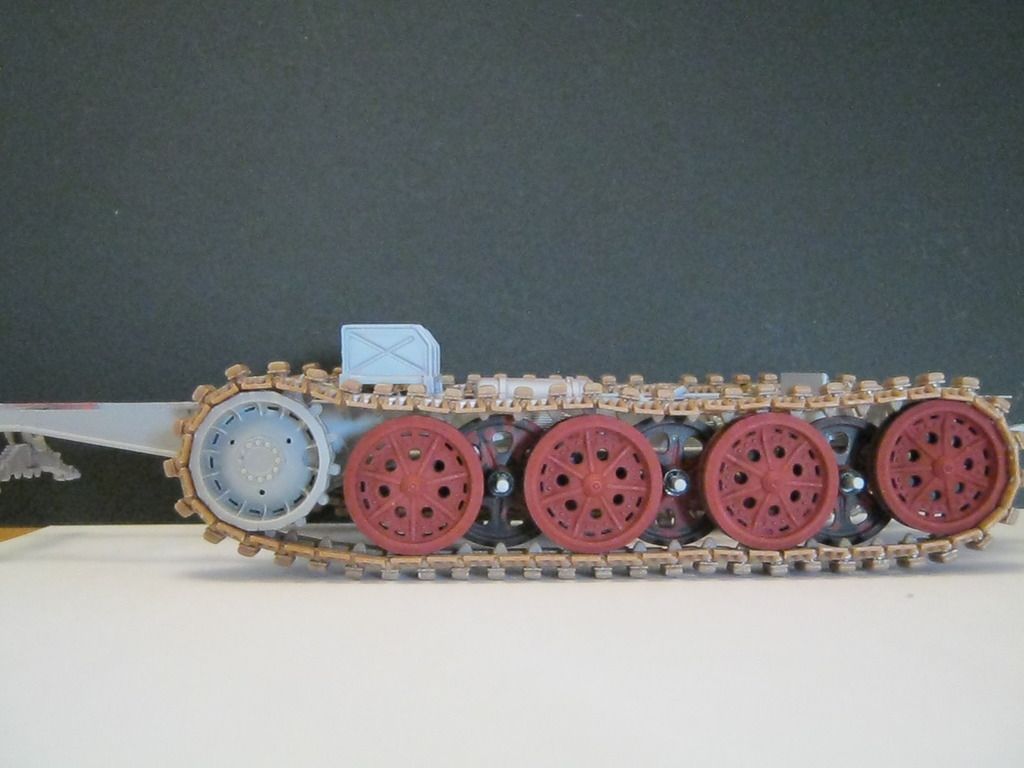 This is now up to date, the cab and flat bed next Thanks for popping by Steve H |
|
|
|
Post by dierk on Mar 30, 2016 12:46:50 GMT -5
This is getting more and more intersting! Love your ref pic, showing the variety of trucks press-ganged into service by the Germans - French, Russian, German? Must have been a nightmare for the workshops.
|
|
|
|
Post by deafpanzer on Mar 30, 2016 15:24:46 GMT -5
Too funny about the box for the bolts! Maybe they wanted to make sure that the postman doesn't loose it...
The wheels look great by the way!
|
|
Deleted
Member since: January 1970
Posts: 0
Nov 27, 2024 4:09:27 GMT -5
Nov 27, 2024 4:09:27 GMT -5
|
Post by Deleted on Mar 30, 2016 17:20:58 GMT -5
Great work Steve! 
|
|
|
|
Post by wbill76 on Mar 31, 2016 13:29:05 GMT -5
Now that's what I call an abundance of caution with the box packaging! Either that or they really wanted you to feel like you got your money's worth out of their 'shipping and handling' charge.  I love the 'big gun, little gun' hitched combo, that's cool! |
|
steveh
Junior Member
 
Member since: February 2015
Posts: 75 
|
Post by steveh on May 9, 2016 14:20:43 GMT -5
Hi guys another late apology, again! Still pottering away at the builds but not much posting, well this is a update of sorts Getting a bit closer Dierk and there will be a surprise at the very end, if I ever get there! Thanks Andy, Bill, its a real safety for microscopic brass bolts but they will be very useful for the shield build, as the plastic ones aren't going to hack it! Right, aren't these the worst figures you have ever had the misfortune to see 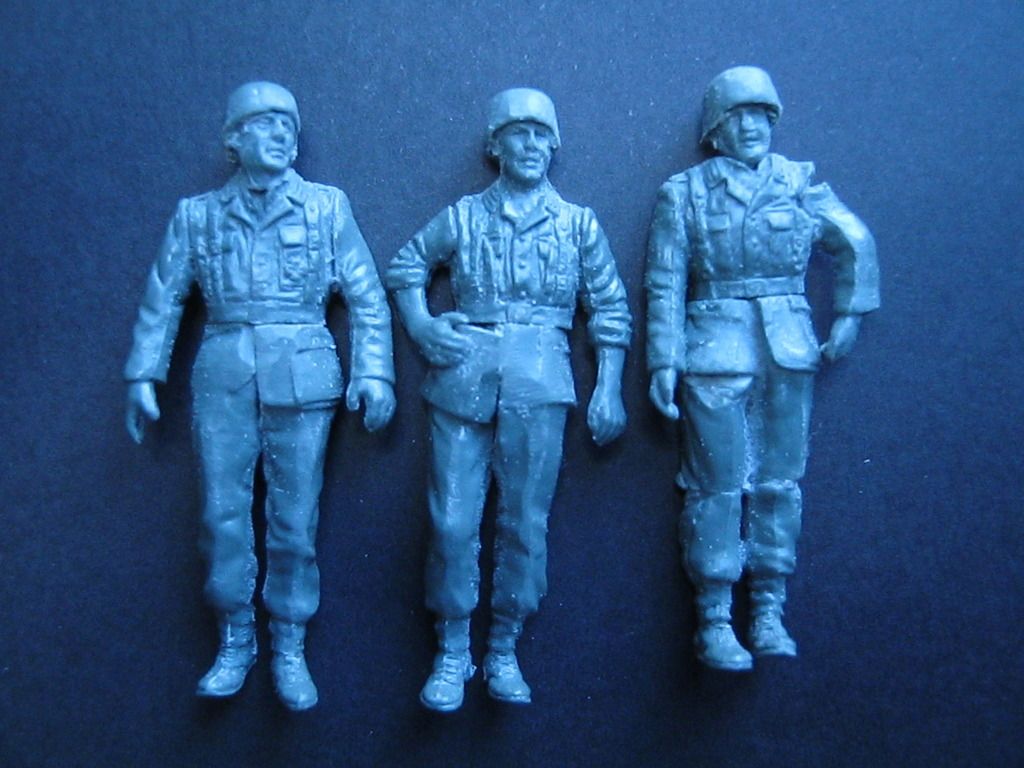 My recreation of the tarpaulin 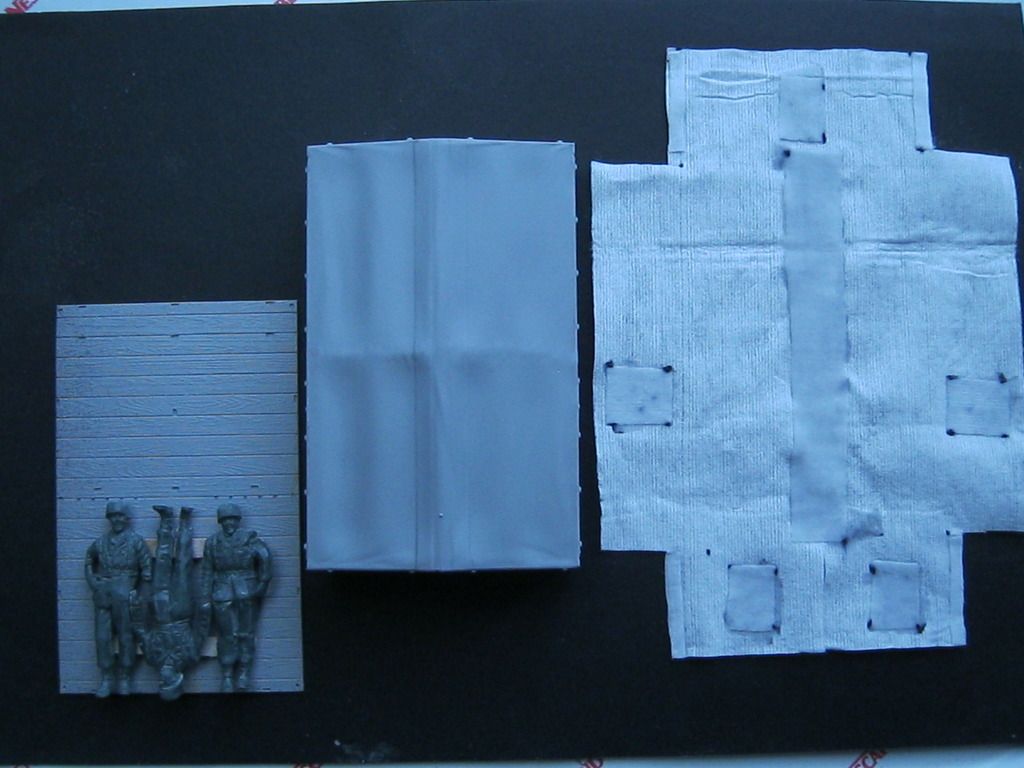 Makes more sense? And the massive Pak 43/41, see it against the Pak 35! Just goes to show what a few years of war can do to creativity! The PE 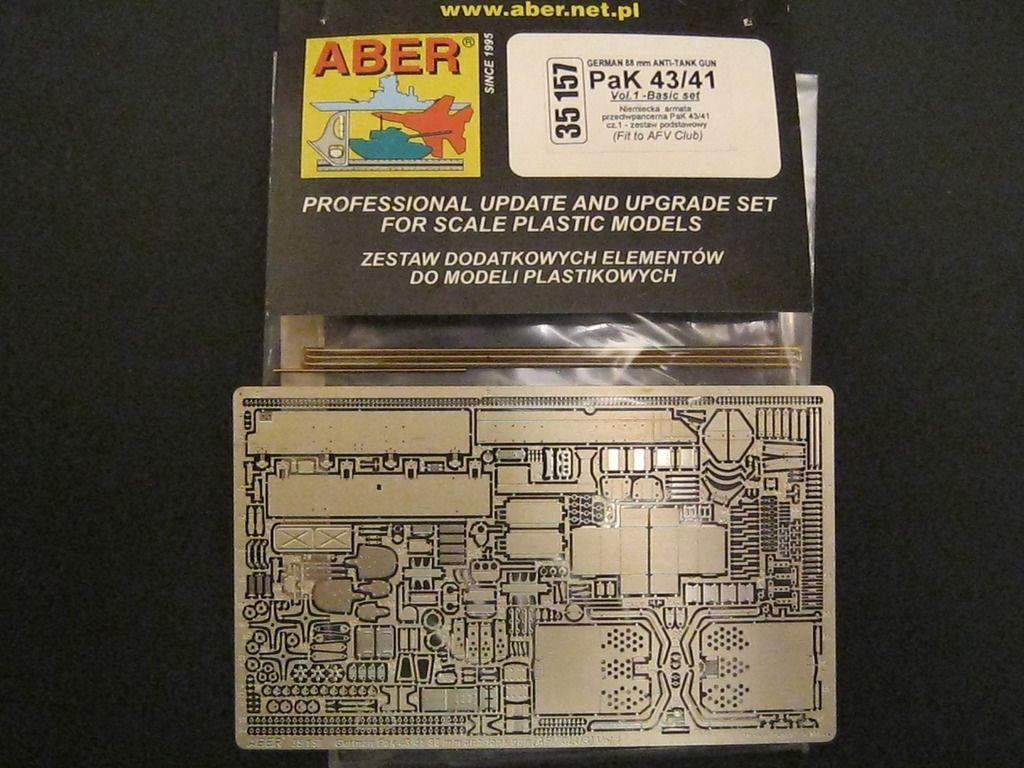 the build 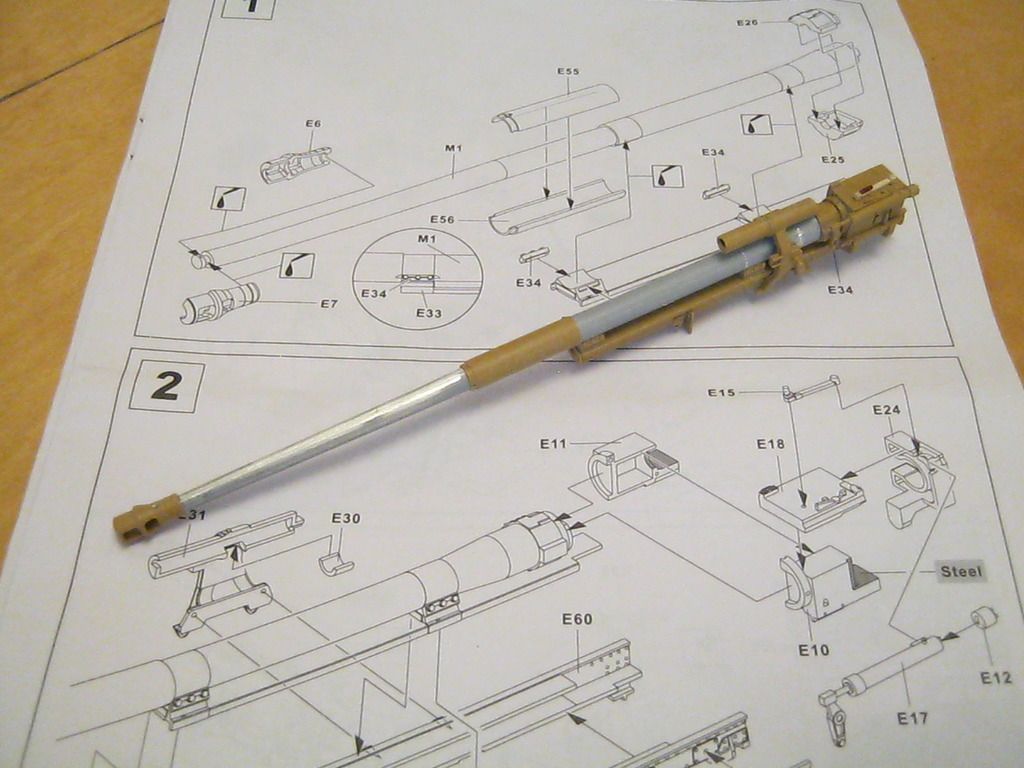 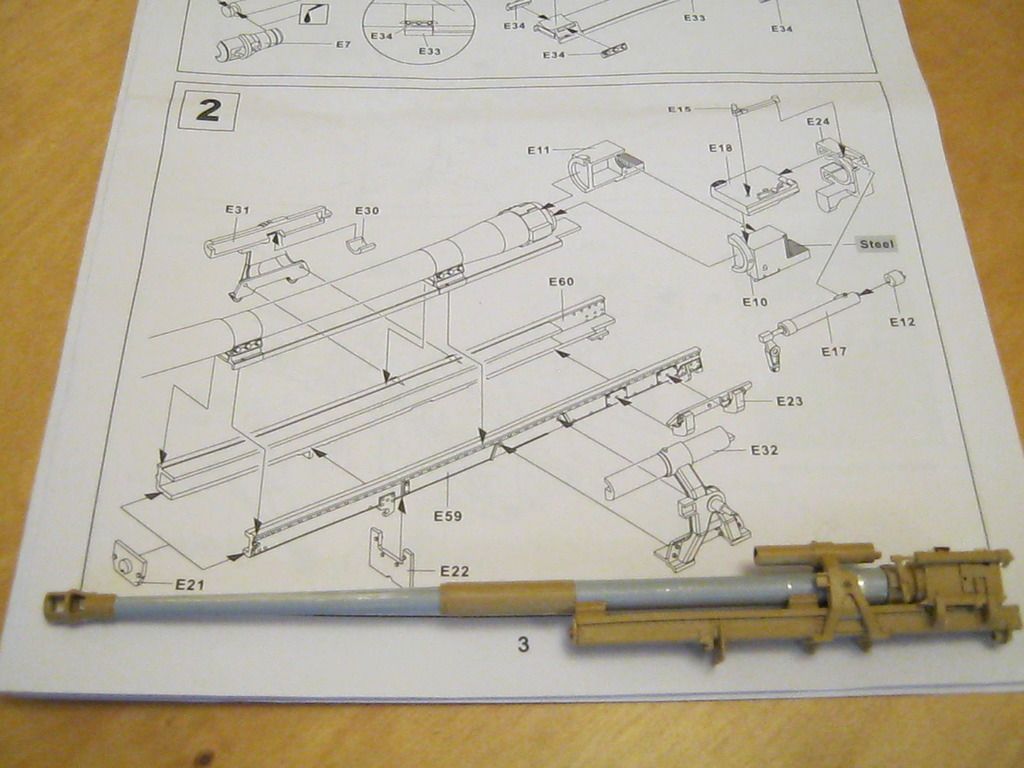 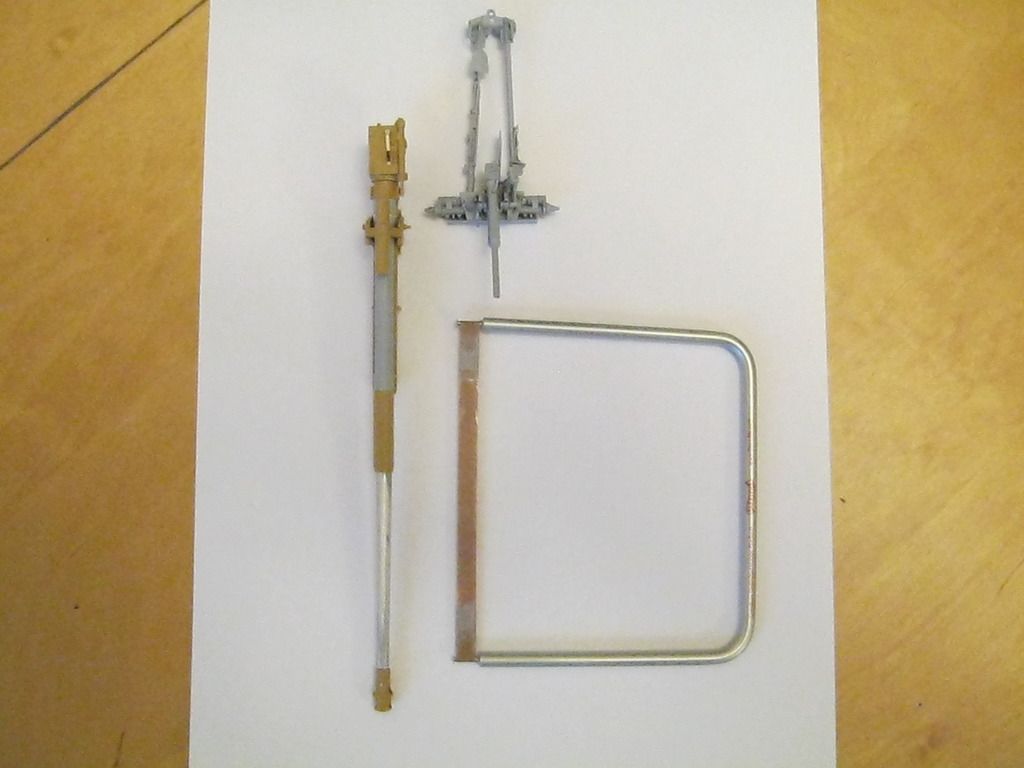 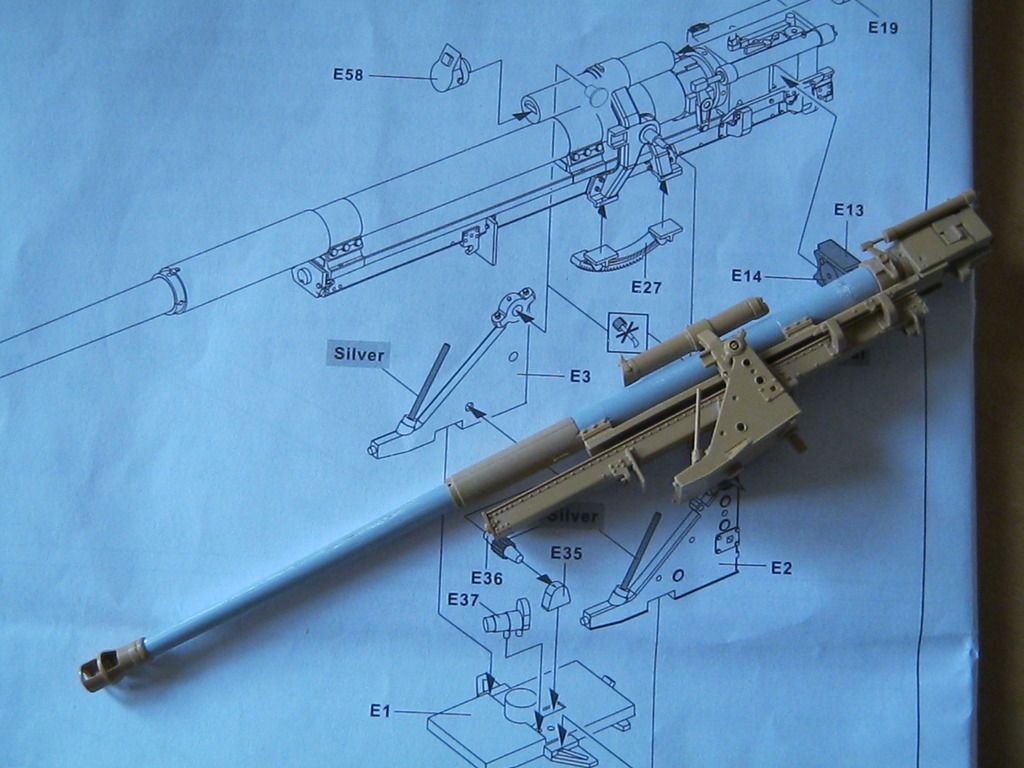 next is the carriage and there lies the soldering! and time to get back to it, again! the current state of play with all the players for the scenario 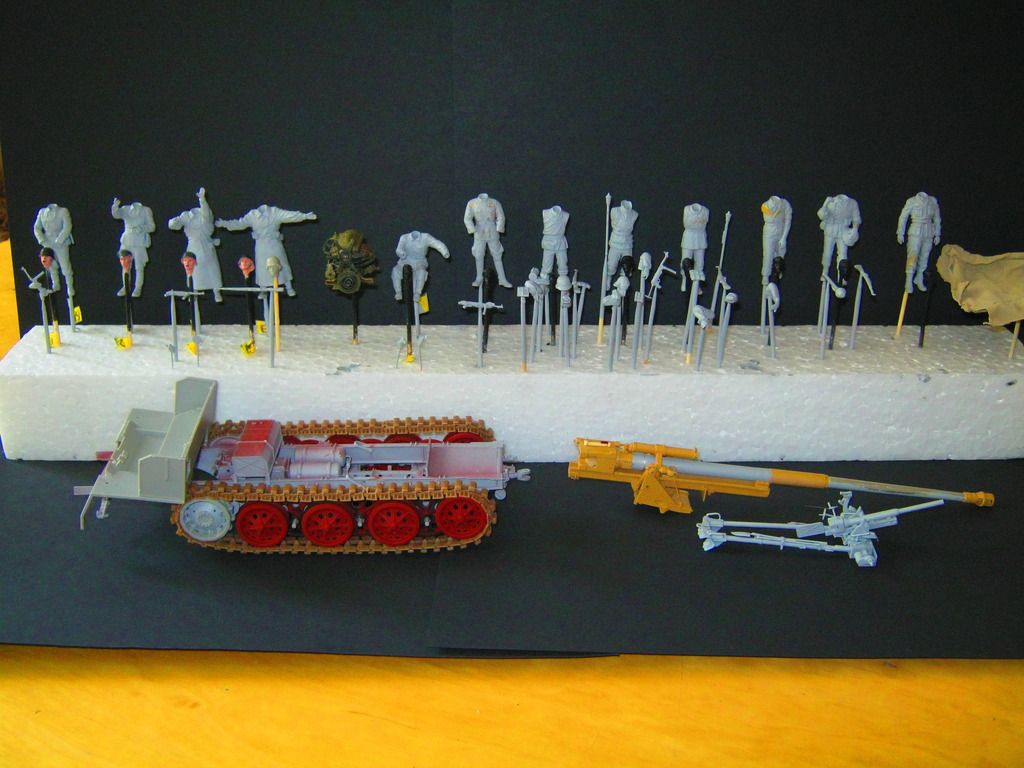 Thanks for popping by Steve H |
|
|
|
Post by Tobi on May 9, 2016 14:32:13 GMT -5
I'm very curious to see your final result. The reference picture is way too cool! Makes me wonder why they did even bother to move the little knock-knock device around in the face of the eighty-eight...  maybe for soft targets to save precious ammo. |
|