Post by Rick on Oct 30, 2016 19:45:17 GMT -5
Been quite a while since I've been able to post any builds. Computer issues have finally resulted in a replacement so hopefully, I can be a bit more involved other than commentary.
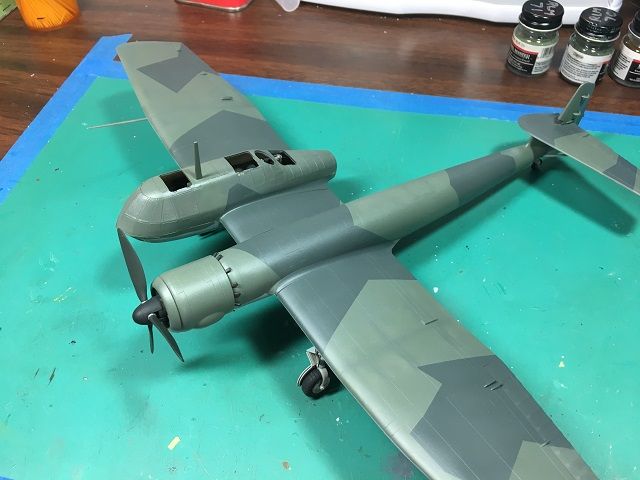
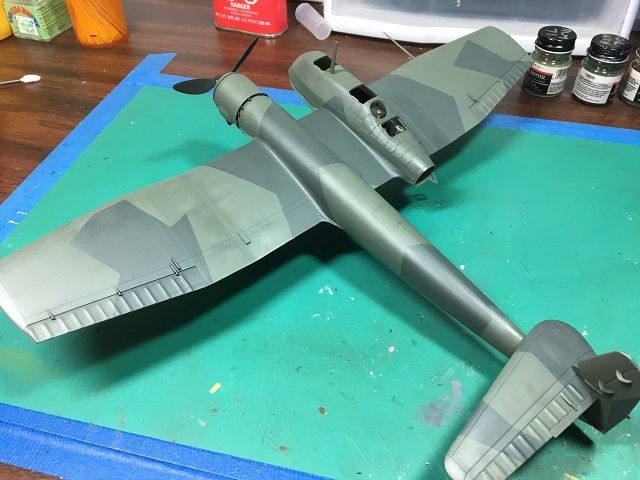
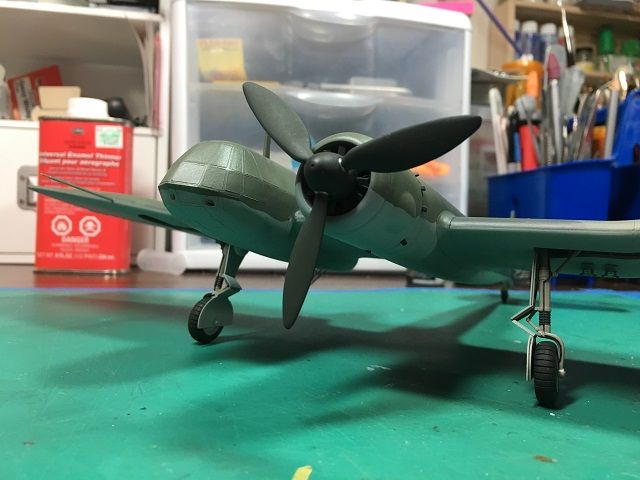
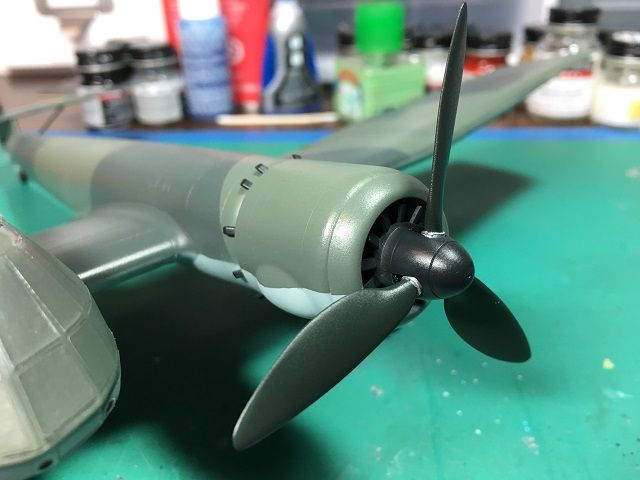
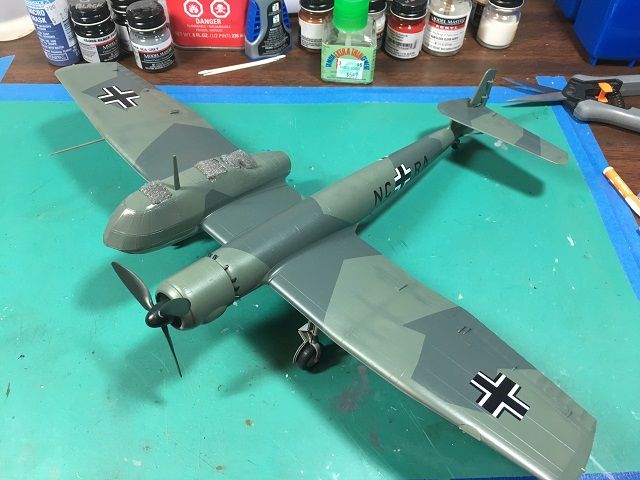
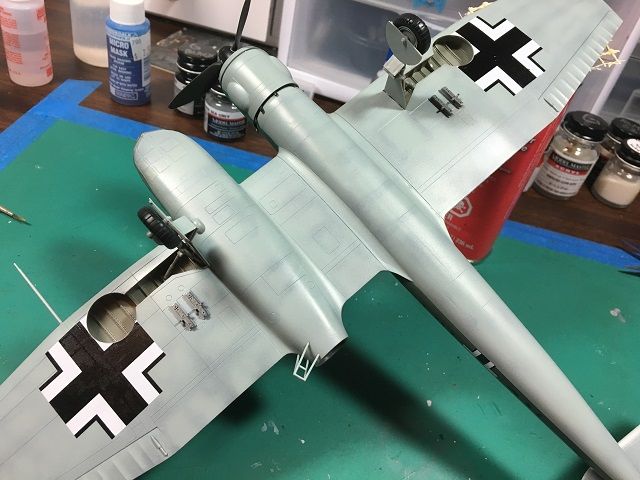
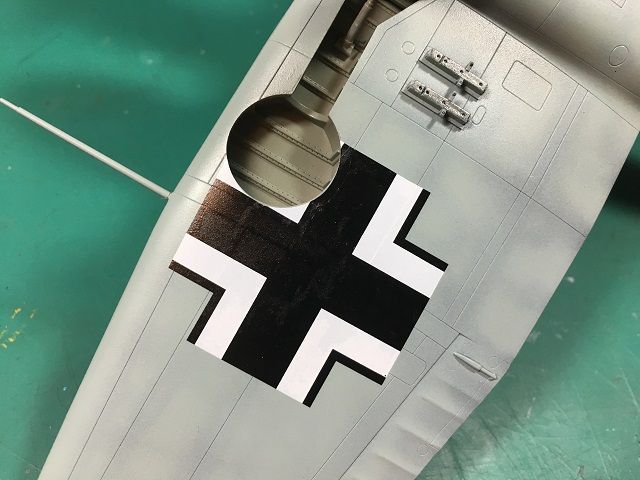
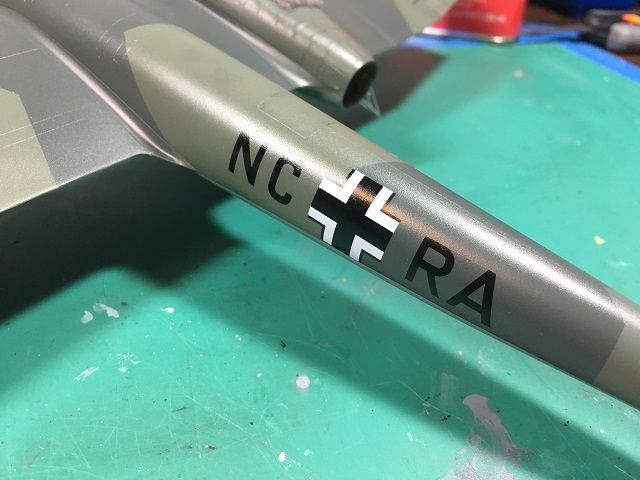
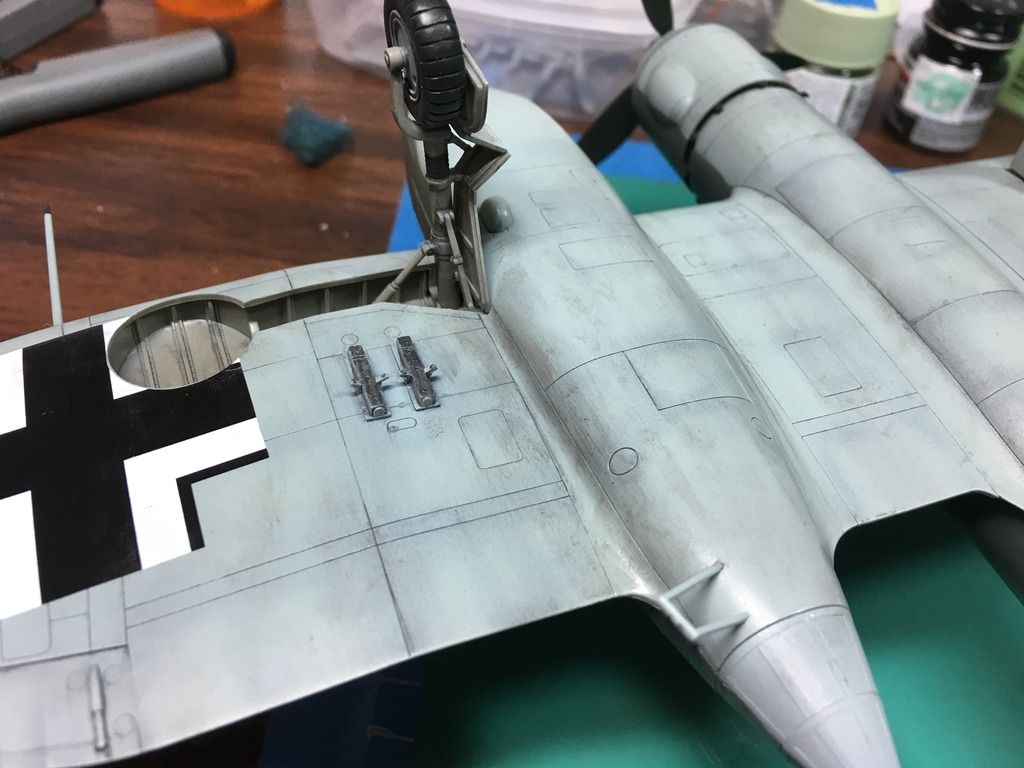
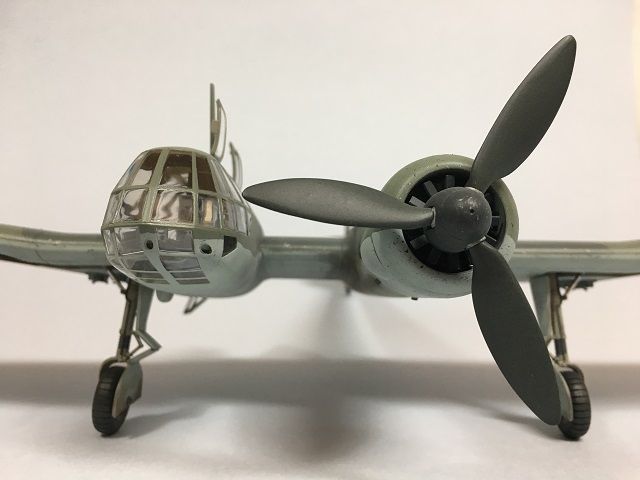
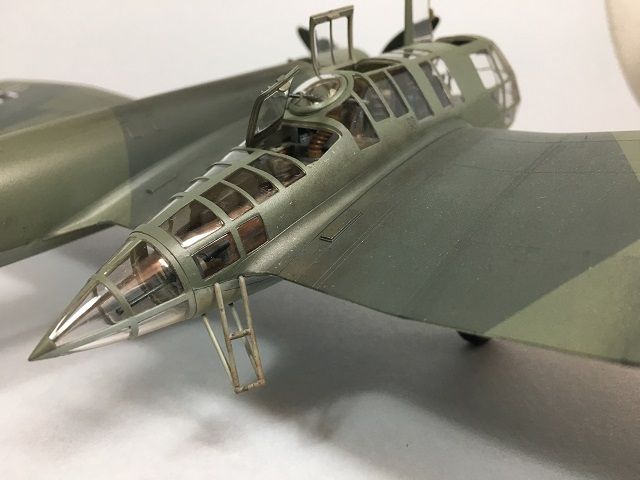
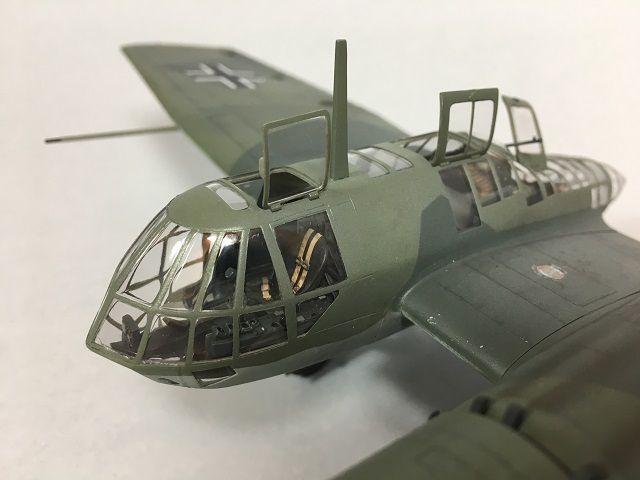
My last build, the 1:32 Heinkel 111, is still on the desk. I wasn't ready to tackle the masking process for that magnificent nose area so I opted for work on several other kits. For some odd reason, the BV141 was hard to resist, even with all that masking to be done. I guess I figured if I could get through this one, the Heinkel would be easy...
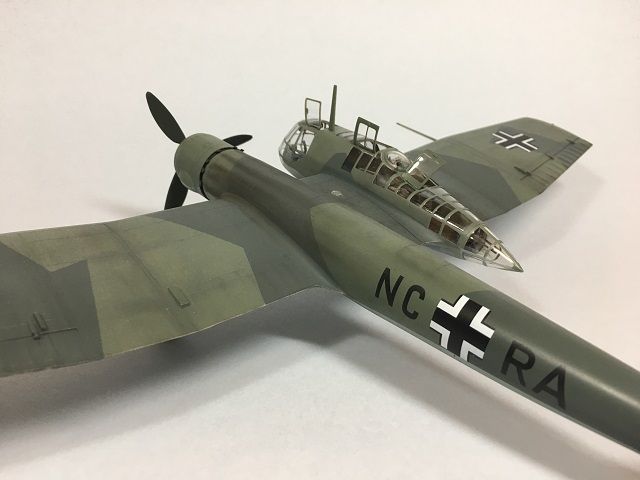
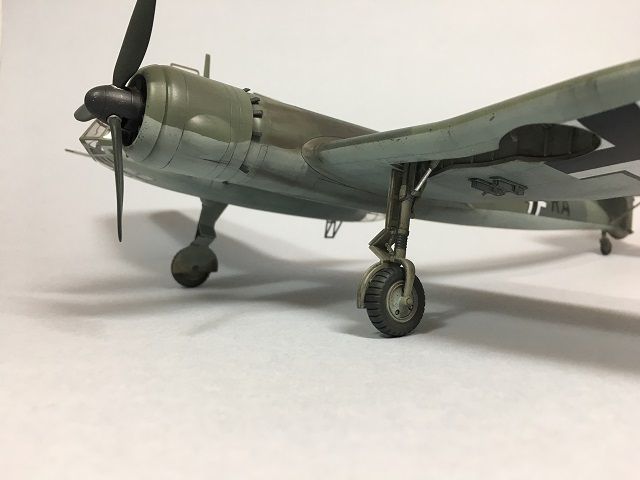
Here goes. This is one weird plane. Makes one wonder if crack was around back in the 30's when they were designing this one!
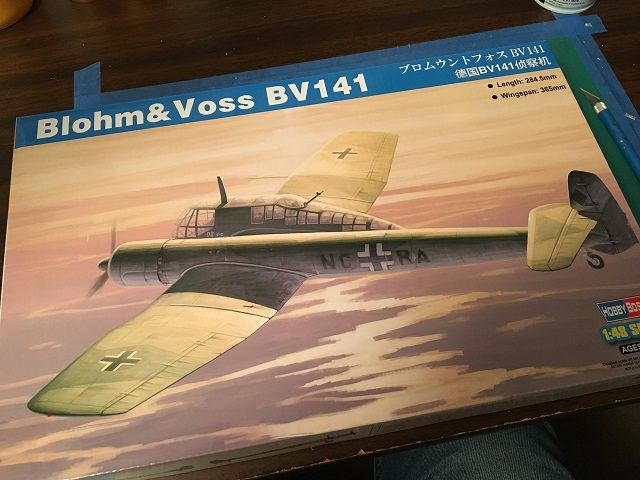
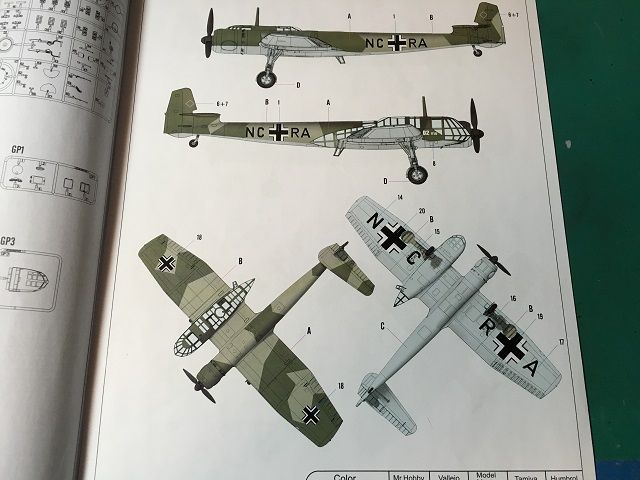
From what I've read, the flight characteristics were actually quite good. Only about 12 were ever built but production was chosen to go forward with the FW189 instead as a reconnaissance bird.
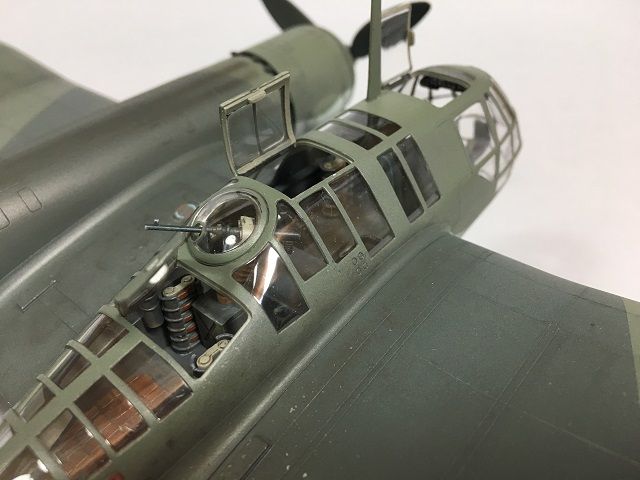
The kit itself is molded very nice with almost no flash and does not have an excessive number of parts so it's not over engineered. The majority of parts are contained in the cockpit. A crew of 3 manned the 141. The wings and primary fuselage took only minutes to glue together so most of the construction involved the crew cabin.
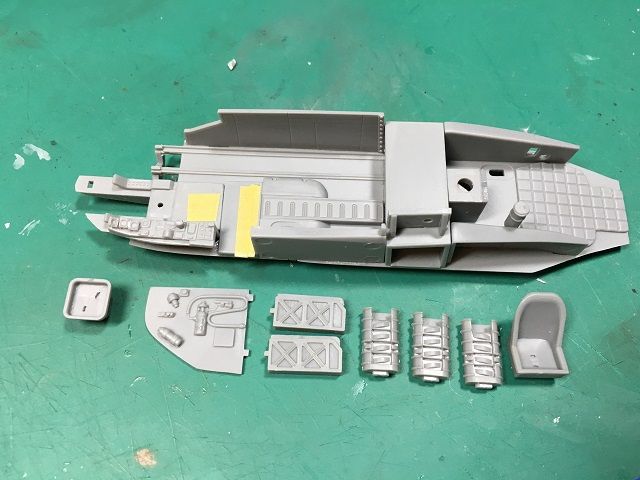
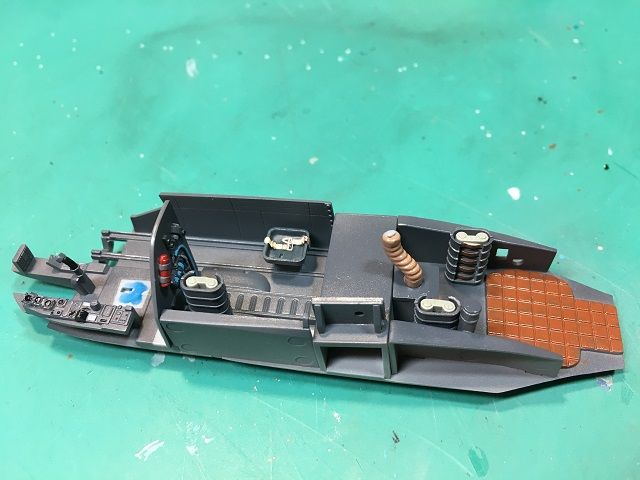
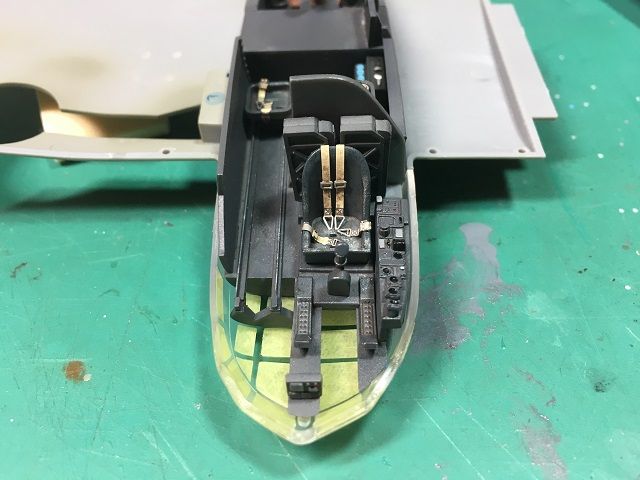
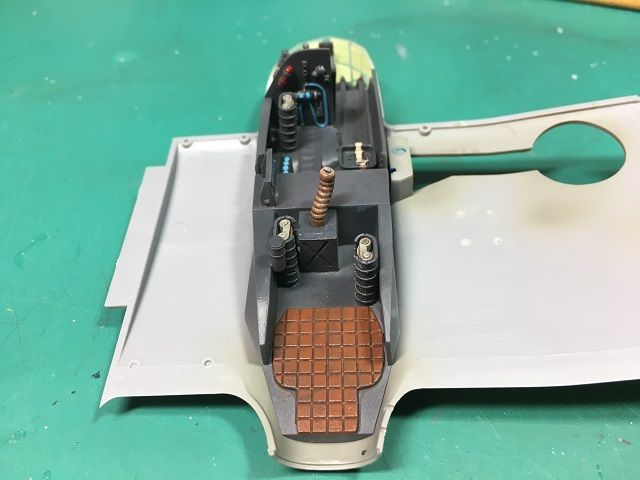
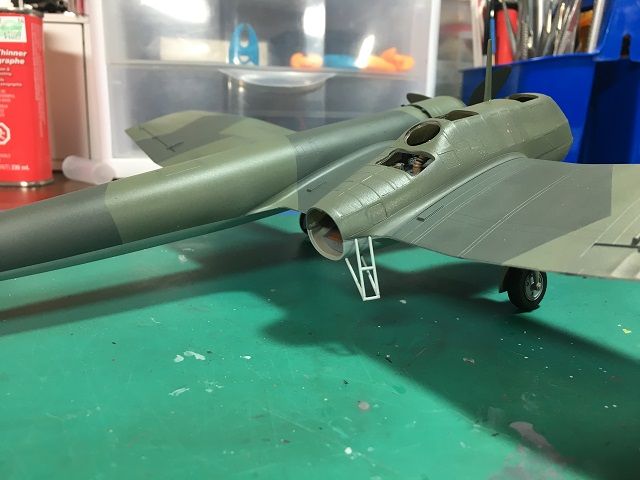
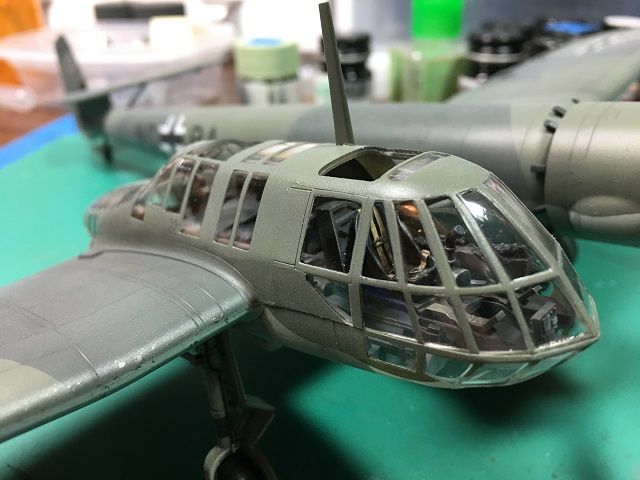
The overall interior was painted in RLM 66 with details picked out in various colors called out in the instructions or references. Most notably was the padded floor in the observer/gunner compartment being done in leather and later strongly weathered. Eduard harnesses were added to give some visible means of restraint.
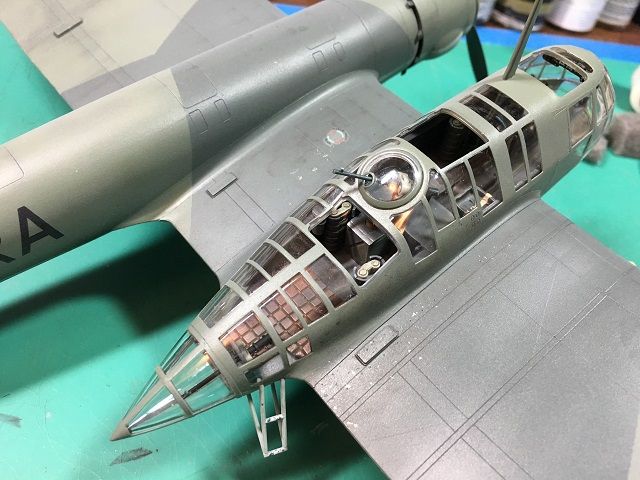
The upper cockpit is a one piece clear unit that is very impressively detailed and chock full of windows. (What was I thinking!) Eduard's fine mask set is the only reason any partially sane person would even attempt to build this thing. The Eduard instructions were very clear and actually, I was pleasantly surprised it only took 5 hours to mask all the windows.
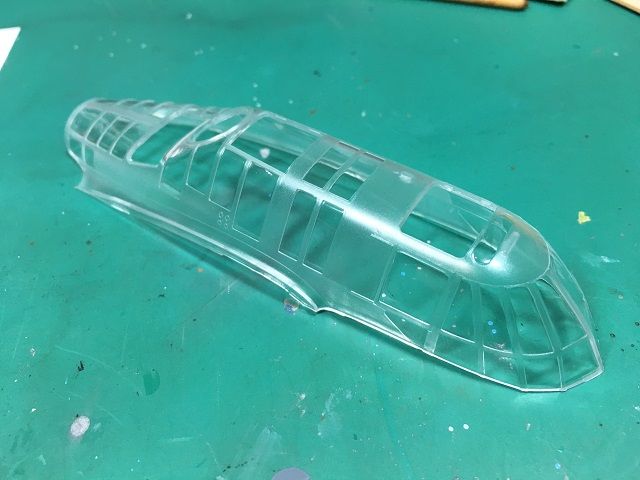
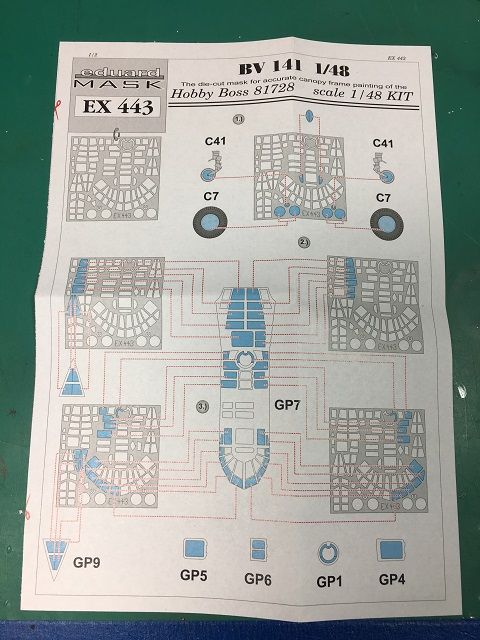
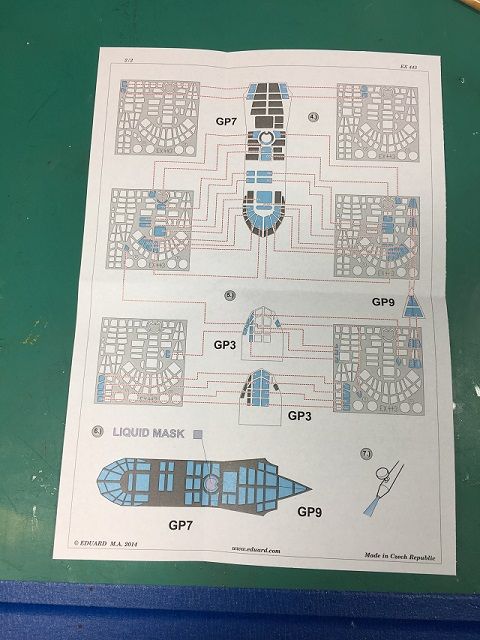
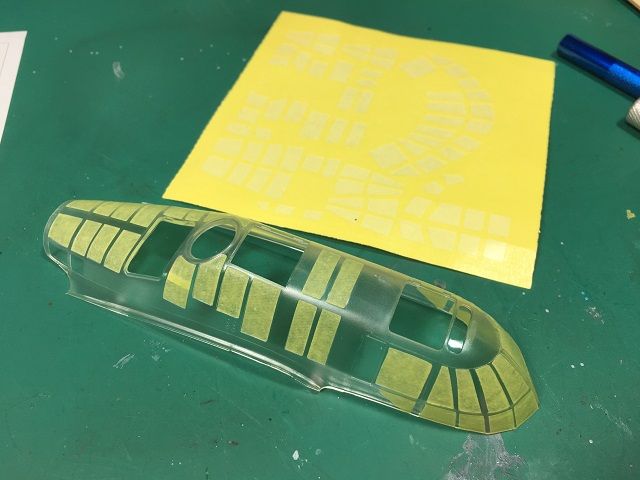
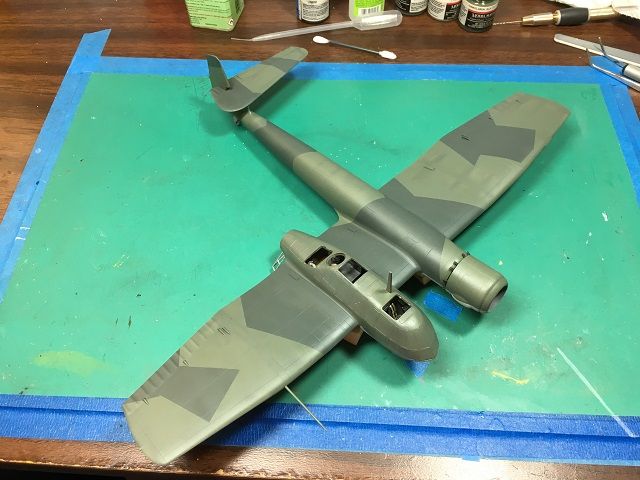
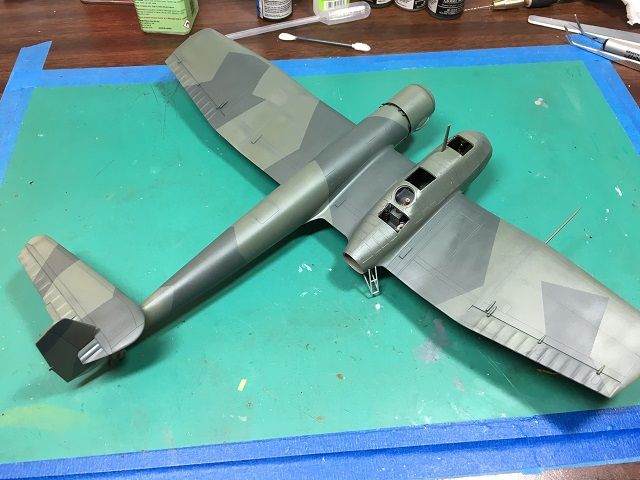
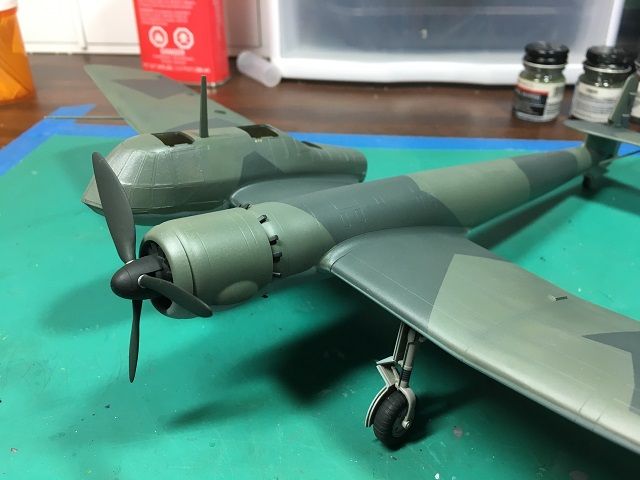
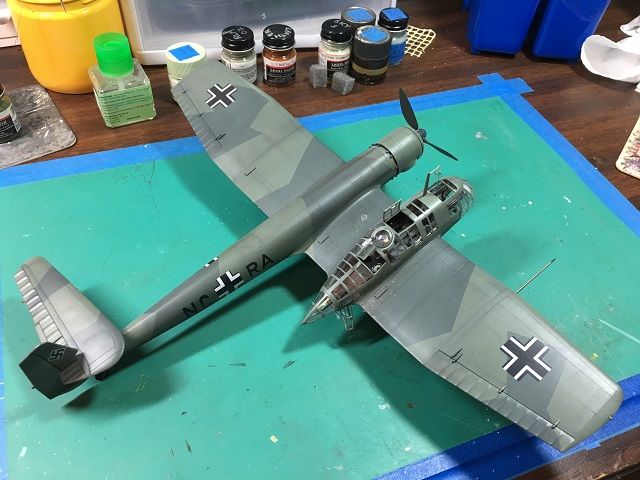
Once the masking was complete, I went to bed to give my eyes the opportunity to see again. Next day, I decided to paint the crew compartment separately before attaching to the rest of the airframe. I first painted the piece RLM 66 so framing would match before painting RLM 70 as part of the exterior camo. No way was I going to attempt to paint the inside framing! If I was to do it again, (which I won't!) I would have gone ahead and attached it to the airframe and then proceeded with paint there. As it was, I added several unnecessary steps in my process.
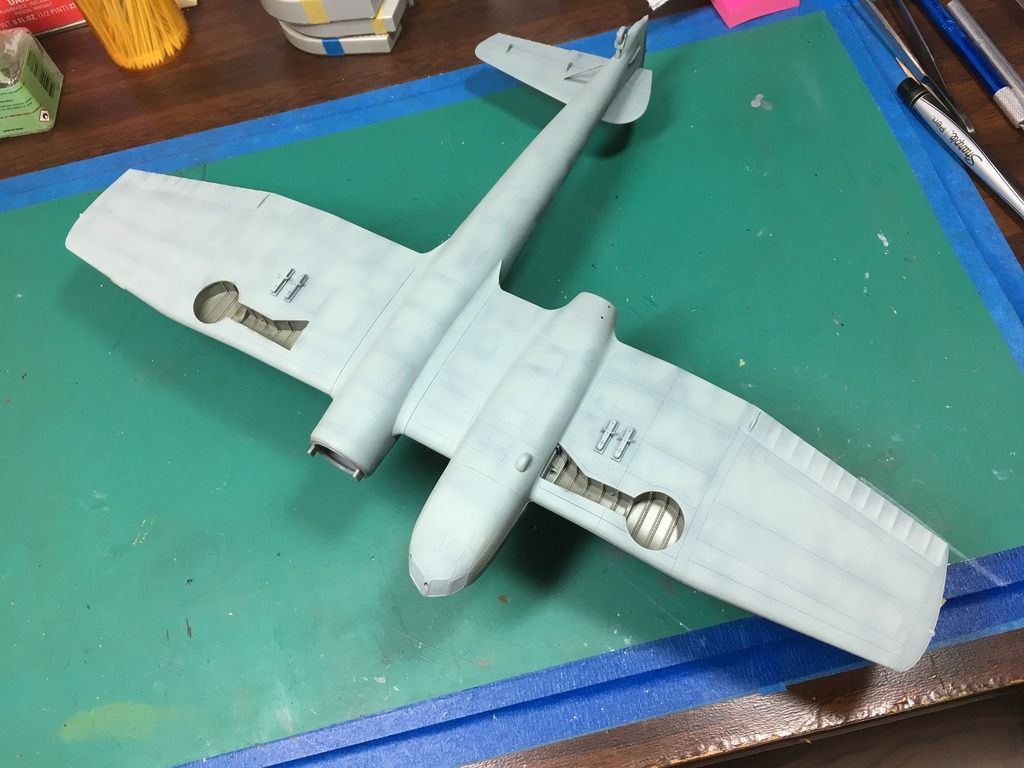
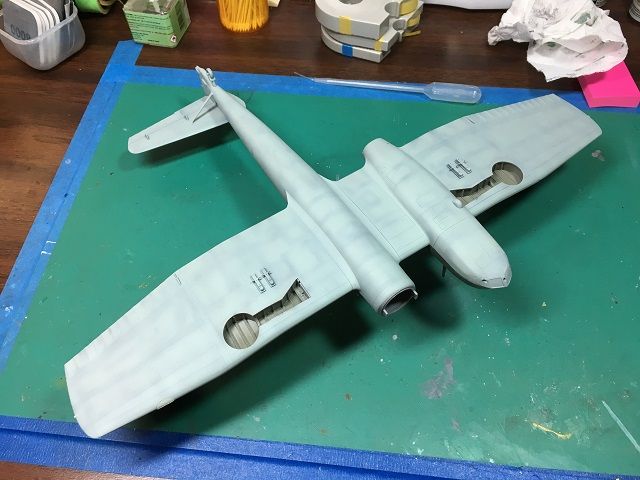
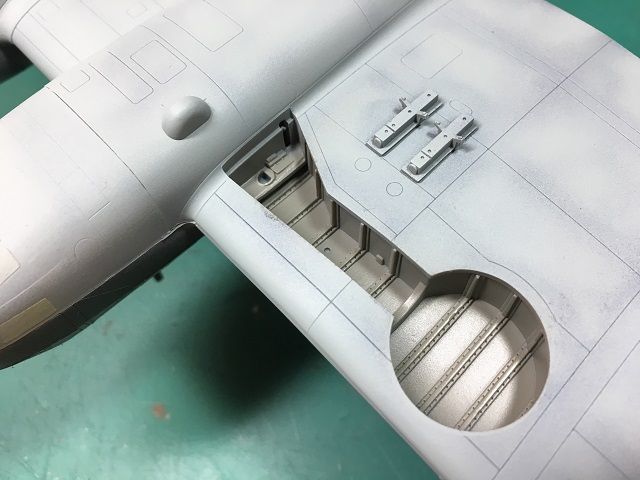
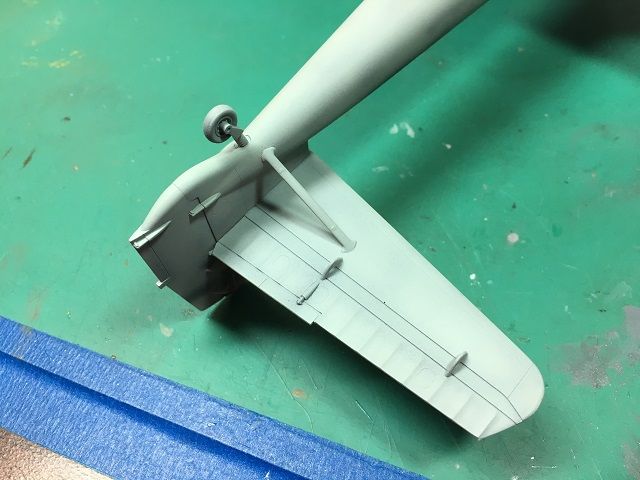
Next up I pre-shaded in preparation for camo.
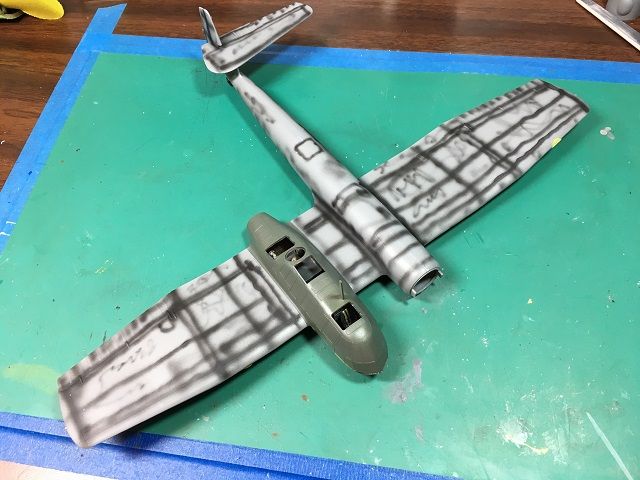

More to come.
My last build, the 1:32 Heinkel 111, is still on the desk. I wasn't ready to tackle the masking process for that magnificent nose area so I opted for work on several other kits. For some odd reason, the BV141 was hard to resist, even with all that masking to be done. I guess I figured if I could get through this one, the Heinkel would be easy...
Here goes. This is one weird plane. Makes one wonder if crack was around back in the 30's when they were designing this one!


From what I've read, the flight characteristics were actually quite good. Only about 12 were ever built but production was chosen to go forward with the FW189 instead as a reconnaissance bird.
The kit itself is molded very nice with almost no flash and does not have an excessive number of parts so it's not over engineered. The majority of parts are contained in the cockpit. A crew of 3 manned the 141. The wings and primary fuselage took only minutes to glue together so most of the construction involved the crew cabin.


The overall interior was painted in RLM 66 with details picked out in various colors called out in the instructions or references. Most notably was the padded floor in the observer/gunner compartment being done in leather and later strongly weathered. Eduard harnesses were added to give some visible means of restraint.
The upper cockpit is a one piece clear unit that is very impressively detailed and chock full of windows. (What was I thinking!) Eduard's fine mask set is the only reason any partially sane person would even attempt to build this thing. The Eduard instructions were very clear and actually, I was pleasantly surprised it only took 5 hours to mask all the windows.


Once the masking was complete, I went to bed to give my eyes the opportunity to see again. Next day, I decided to paint the crew compartment separately before attaching to the rest of the airframe. I first painted the piece RLM 66 so framing would match before painting RLM 70 as part of the exterior camo. No way was I going to attempt to paint the inside framing! If I was to do it again, (which I won't!) I would have gone ahead and attached it to the airframe and then proceeded with paint there. As it was, I added several unnecessary steps in my process.
Next up I pre-shaded in preparation for camo.


More to come.


