Post by Rick on Nov 15, 2016 23:26:46 GMT -5
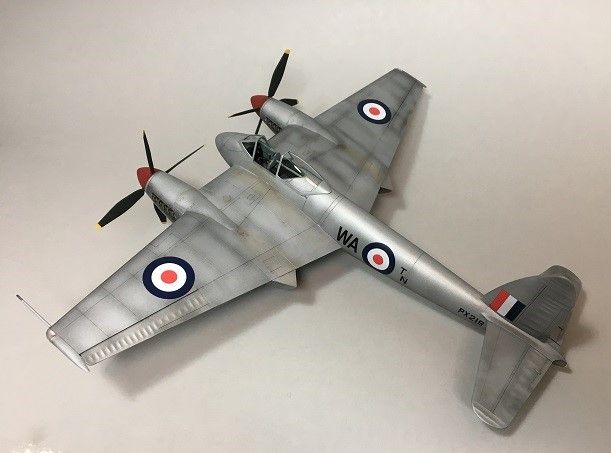
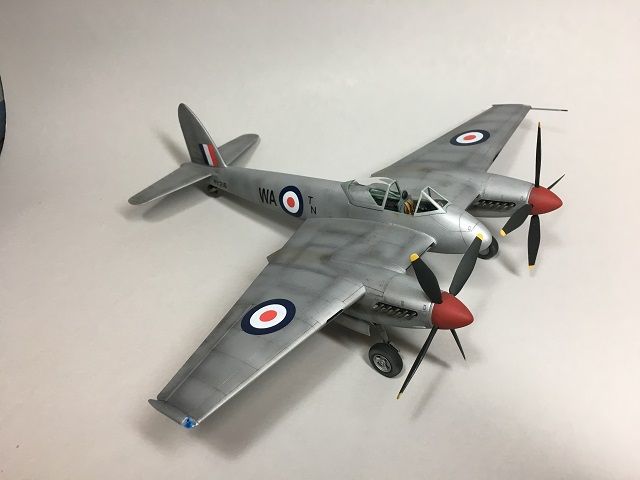
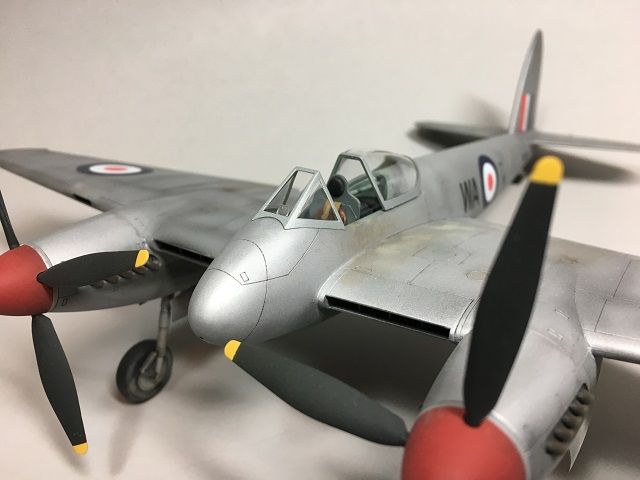
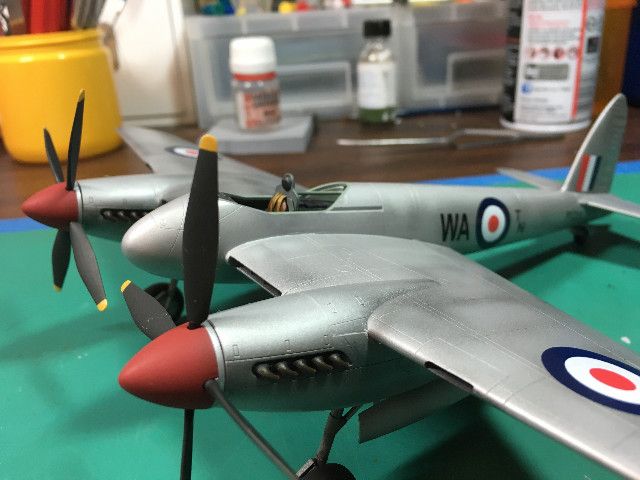
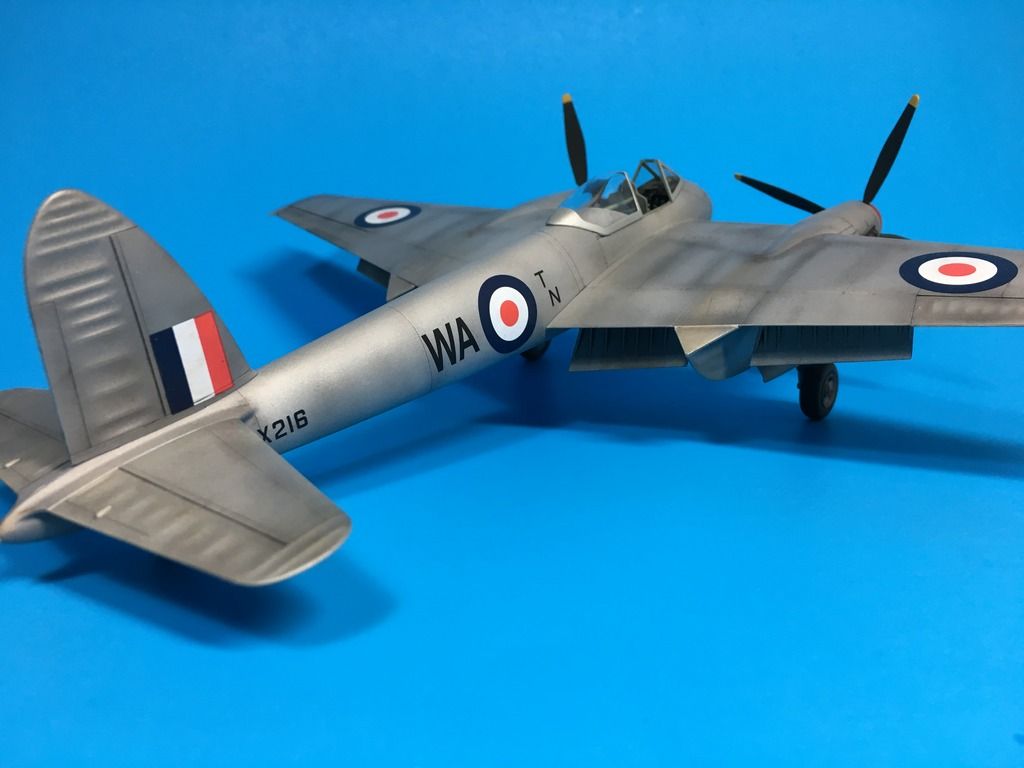
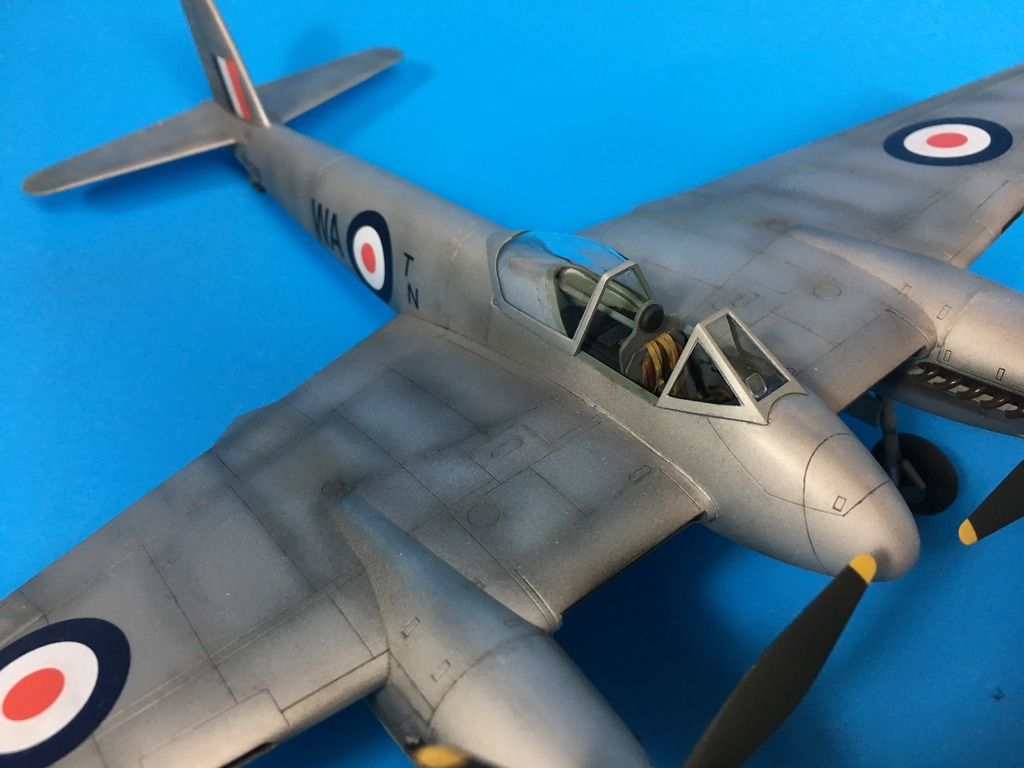
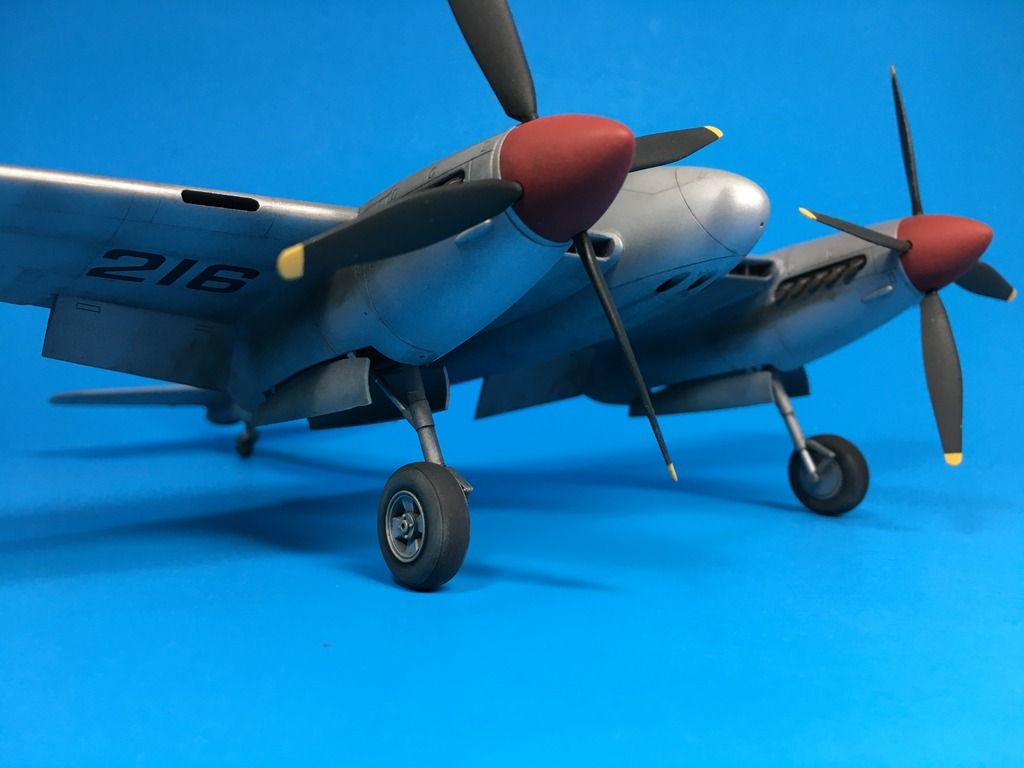
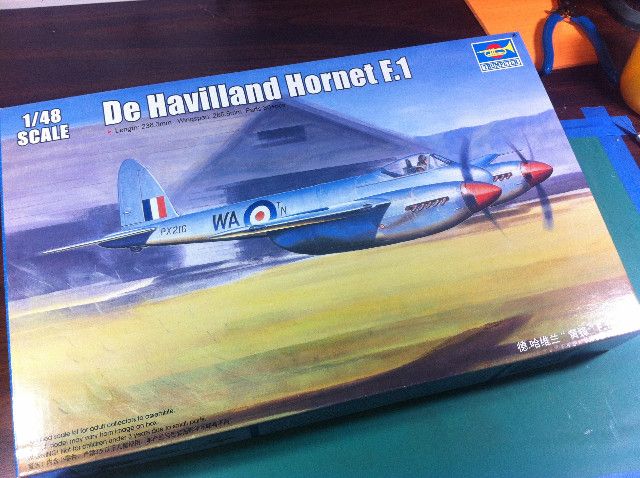
Trumpeter's 1:48 Hornet F1 was released to a lot of criticism. Critics blasted the shape of the windscreen, which is justified as well as a number of other fit issues. Some complained about scale shape but in my opinion, without a single surviving Hornet to take accurate measurements from if true, I'm not surprised. Regardless, it still looks like a Hornet so I bought it and stashed it. Earlier this year I managed to get into a routine of starting another kit while waiting on another for glue to cure or paint to dry. The Hornet was one of those. It's not perfect, but I wanted a Hornet. So I built it. This thread is not a step by step of this kit rather more of a recap of the build and the final result.
The kit is a very easy build where fit was rarely an issue and it pretty much fell together quickly with very little trouble. The parts are crisp and as well detailed as a fabric covered aircraft could be. Clean-up was quick and almost painless. Only a couple bandaids where used during cleanup and assembly.
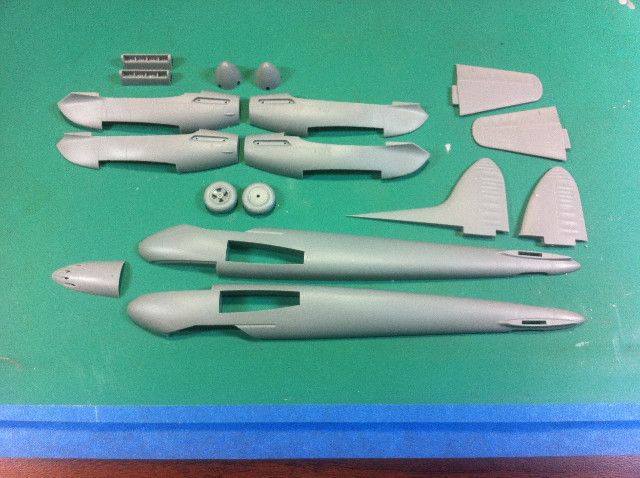
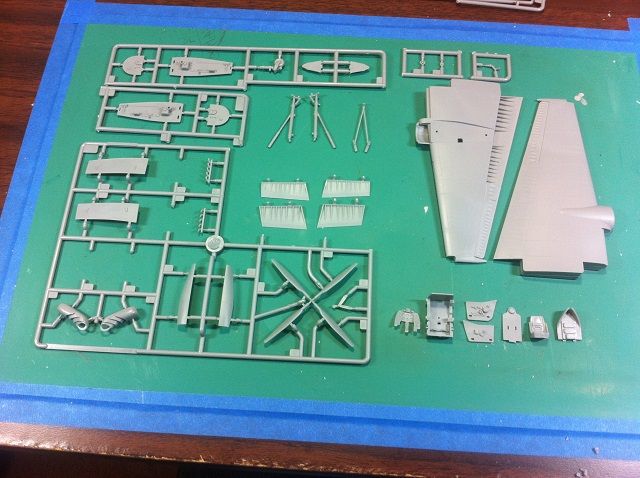
A bit of dry fit to test the wing connection.
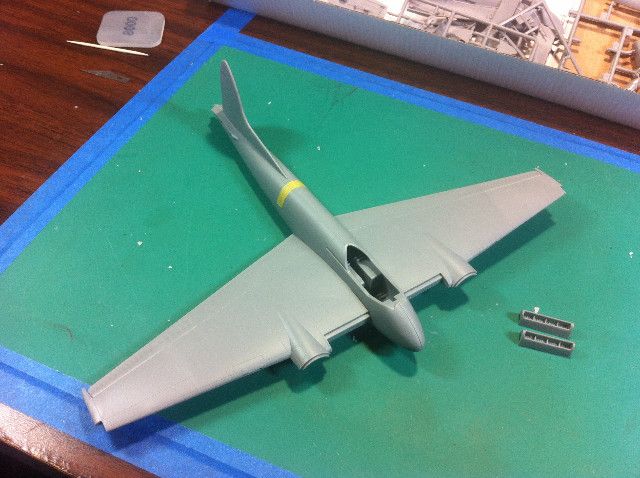
The cockpit could have benefited from more photo etch but it still was not bad out of the box. I was disatisfied with the pilot seat so I replaced it with a quick boost one from a late model Spitfire. Not 100% accurate, but much improved visually and besides an actual replacement was not available. I also added an Eduard Harness to dress up the seat and cockpit.
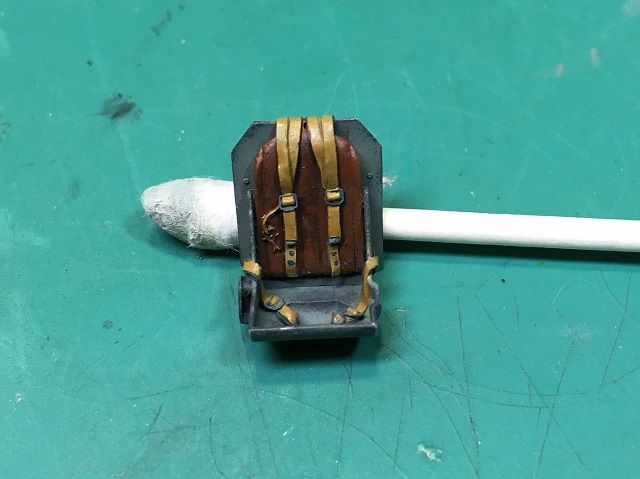
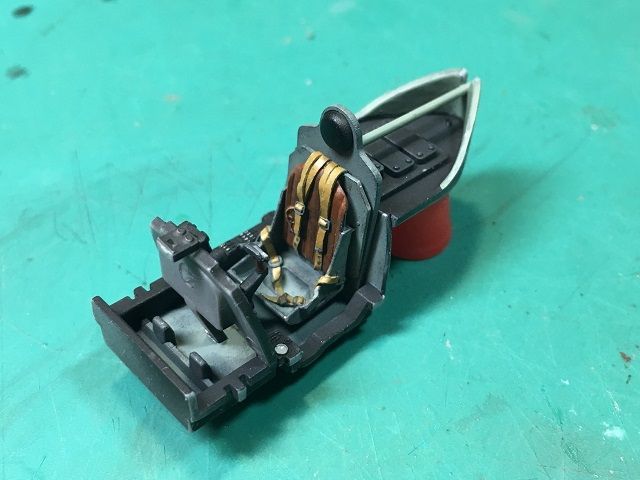
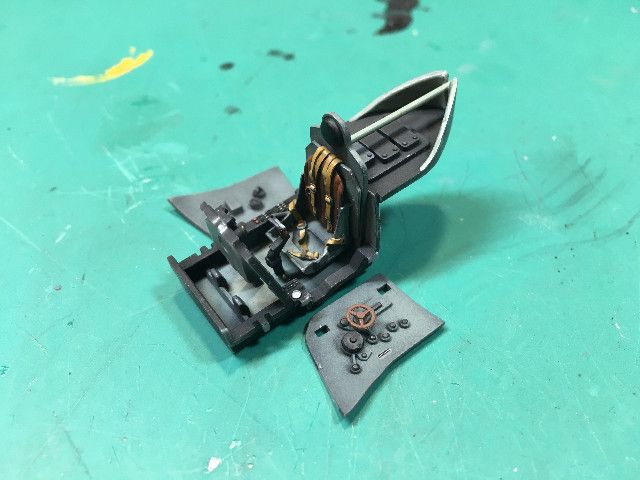
Painted up, I was satisfied with the result.
Wings, tail surfaces, Wheel Wells and nacelles fell together nicely with no fit problems.
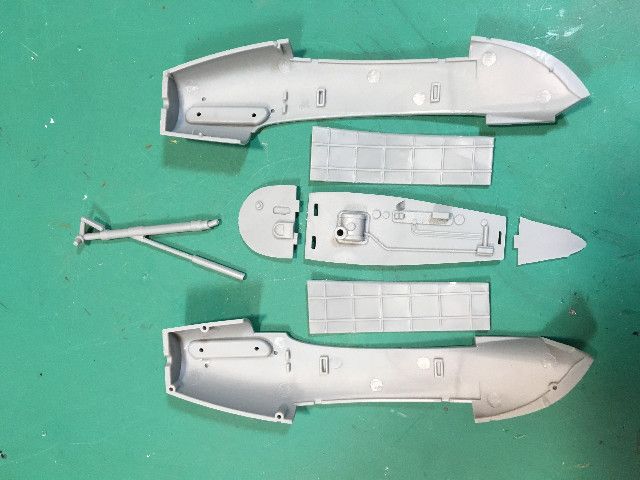
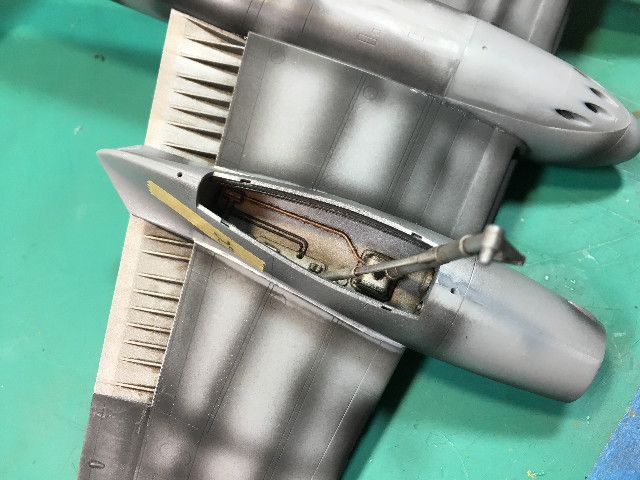
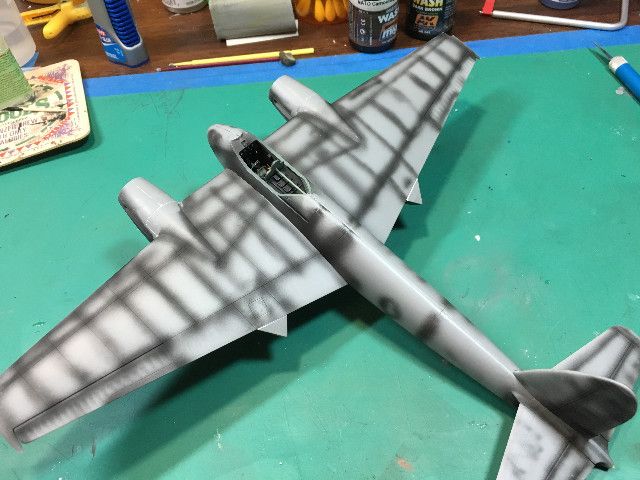
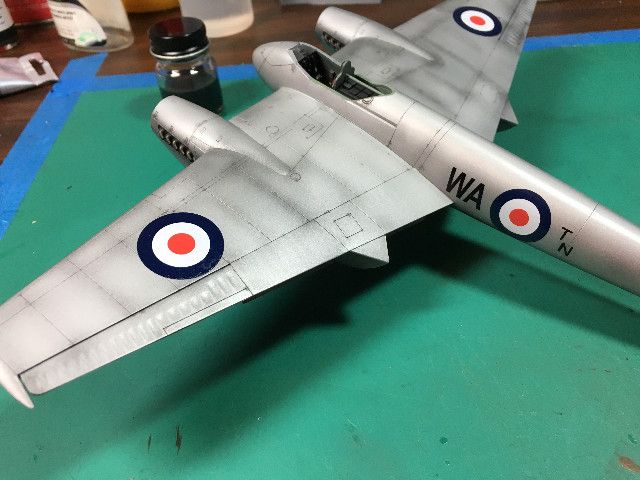
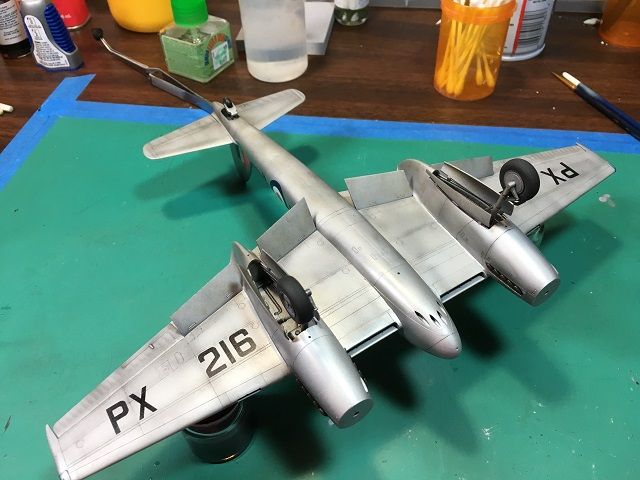
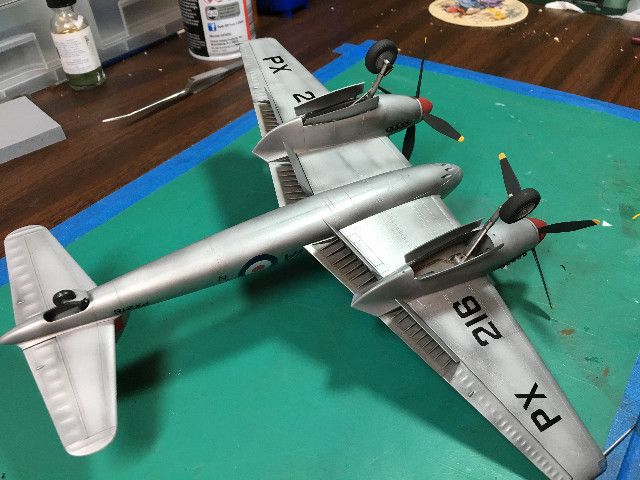
These parts came together quickly. The cockpit fit snugly and secure. It was not apparent at first, but a seam caused by one side of the fuselage being a bit flatter at the edge really stood out when pre-shaded. To remedy, I taped and spread filler liberally then sanded the excess. Smaller seams on top of the nacelles received the same treatment. Alclad Dull Aluminum was applied and the same seam issue professionally exposed as Alclad does this so well. Finally solved the seam by repeating with more filler and sanding and repainting with Alclad.
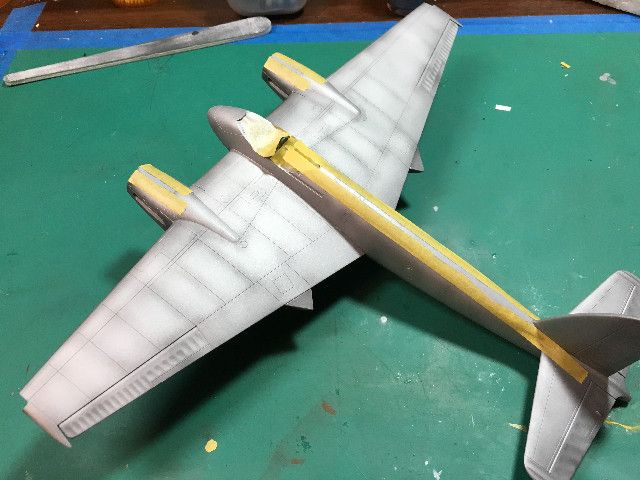
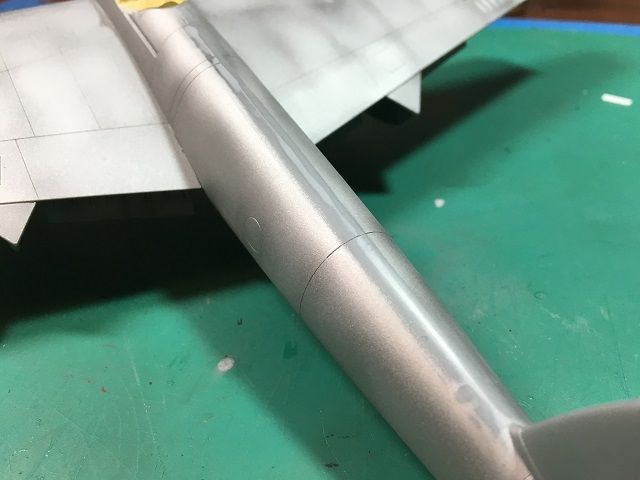
The wings fit tightly by inserting part of the entire wing surface into the large cutout on the fuselage. This is where the second major fit issue occurred. Once inserted a significant gap ahead of the inserted wing section showed itself. I evidently did not take photos of the gap, but the remedy, I cut and slipped thin evergreen strip into the gap then masked and forced filler into the gap and smoothed it. Excess filler was sanded and pre-shaded.
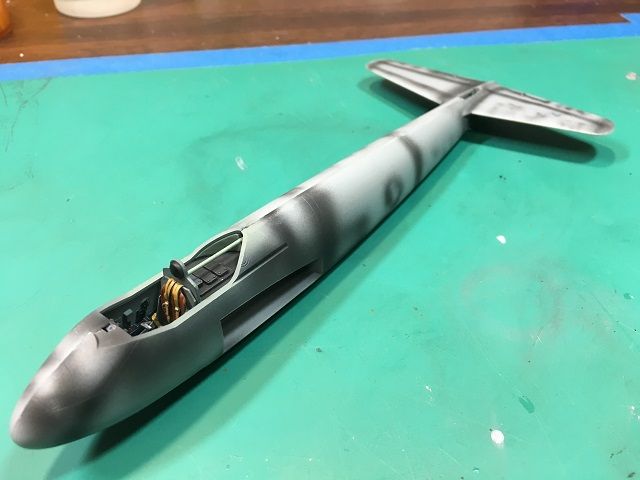
The kit is a very easy build where fit was rarely an issue and it pretty much fell together quickly with very little trouble. The parts are crisp and as well detailed as a fabric covered aircraft could be. Clean-up was quick and almost painless. Only a couple bandaids where used during cleanup and assembly.


A bit of dry fit to test the wing connection.

The cockpit could have benefited from more photo etch but it still was not bad out of the box. I was disatisfied with the pilot seat so I replaced it with a quick boost one from a late model Spitfire. Not 100% accurate, but much improved visually and besides an actual replacement was not available. I also added an Eduard Harness to dress up the seat and cockpit.


Painted up, I was satisfied with the result.
Wings, tail surfaces, Wheel Wells and nacelles fell together nicely with no fit problems.


These parts came together quickly. The cockpit fit snugly and secure. It was not apparent at first, but a seam caused by one side of the fuselage being a bit flatter at the edge really stood out when pre-shaded. To remedy, I taped and spread filler liberally then sanded the excess. Smaller seams on top of the nacelles received the same treatment. Alclad Dull Aluminum was applied and the same seam issue professionally exposed as Alclad does this so well. Finally solved the seam by repeating with more filler and sanding and repainting with Alclad.


The wings fit tightly by inserting part of the entire wing surface into the large cutout on the fuselage. This is where the second major fit issue occurred. Once inserted a significant gap ahead of the inserted wing section showed itself. I evidently did not take photos of the gap, but the remedy, I cut and slipped thin evergreen strip into the gap then masked and forced filler into the gap and smoothed it. Excess filler was sanded and pre-shaded.


