kiwibelg
Full Member
  
Member since: December 2014
Posts: 613 
|
Post by kiwibelg on Jan 21, 2017 16:21:55 GMT -5
Hi guys, This is my first post of anything in more than a year plus my second attempt at weathering anything vehicle like. I started assembling the figure which can easily be manipulated into pretty much any pose.I intend to get the vehicle totally complete before I continue with him. I'm not sure in which pose I will place him in, my inclination is to place him in a riding position so the scene has that hovering/action feel to it. The scout trooper has a few joins and body pieces that look toy like, these areas will be bulked up with filling for a more realistic look. 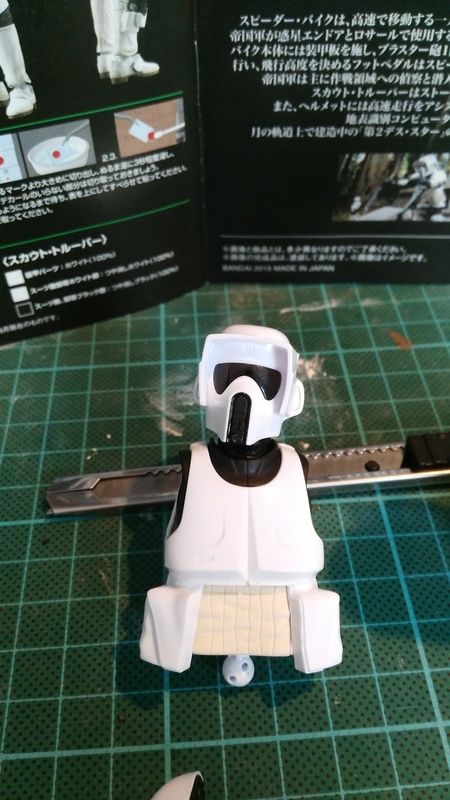 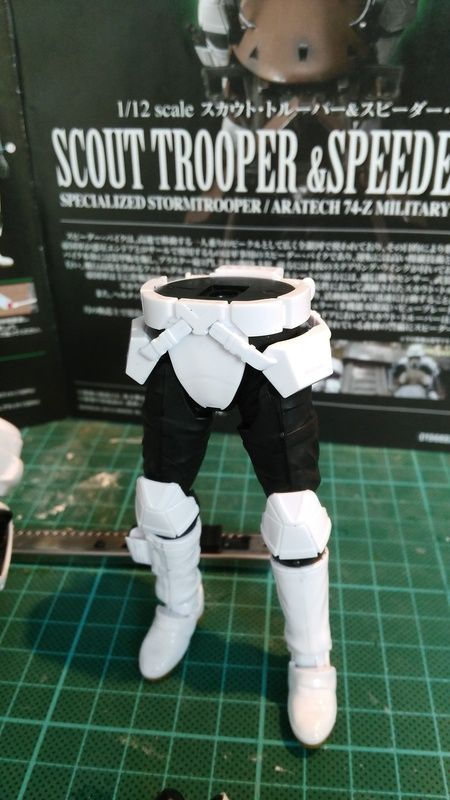 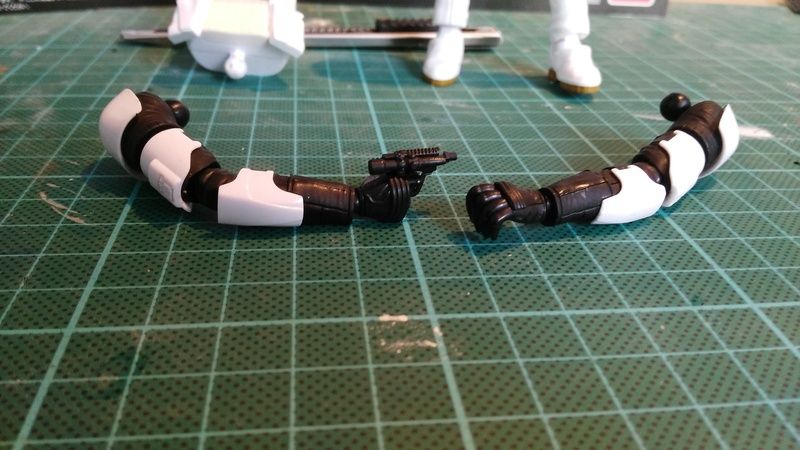 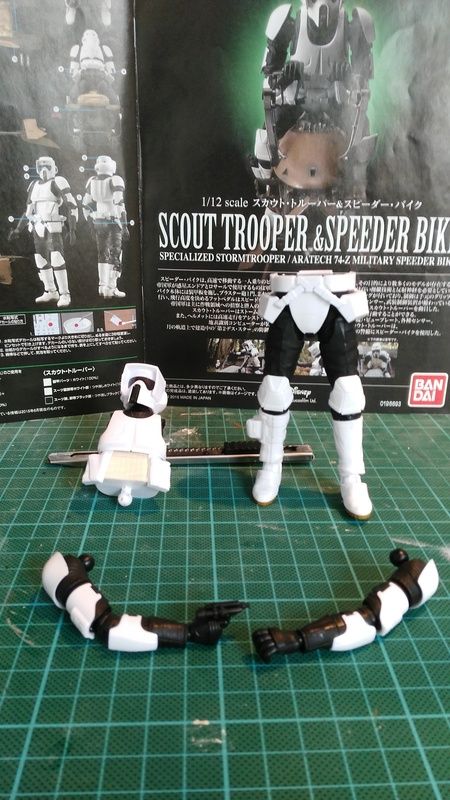 Next up was laying down the basic colours of the bike... firstly a primer coat on everything followed by the bikes body which was airbrushed in aluminium. Once everything was dry I used various coats of hairspray to protect the aluminium before starting on the colours i wanted the bike to be in. Sorry no pictures of the aluminium look but i was working quite fast at the time!! 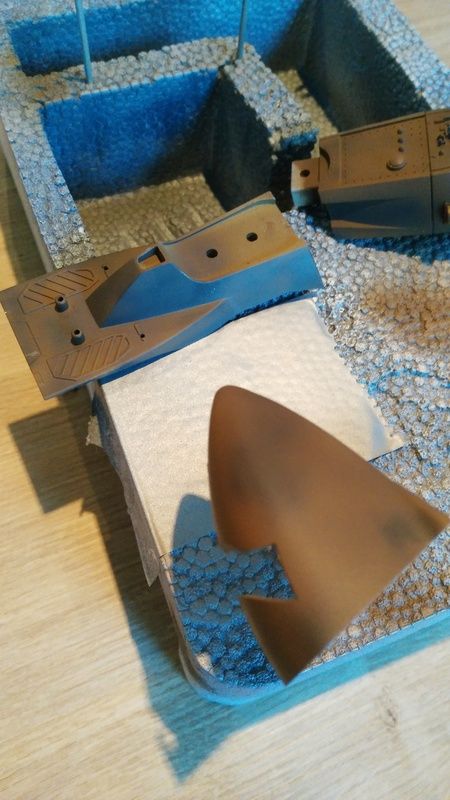 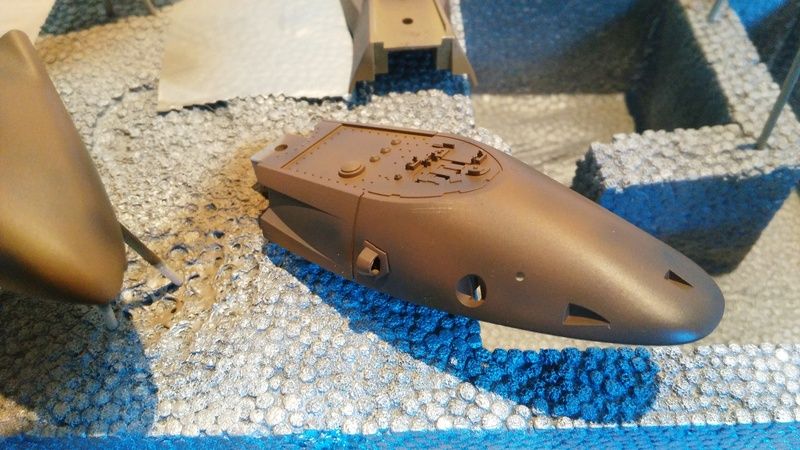 I went about airbrushing darker areas to places followed by some highlights and washes before starting on chipping with a soft brush, scouring sponge and toothpick. 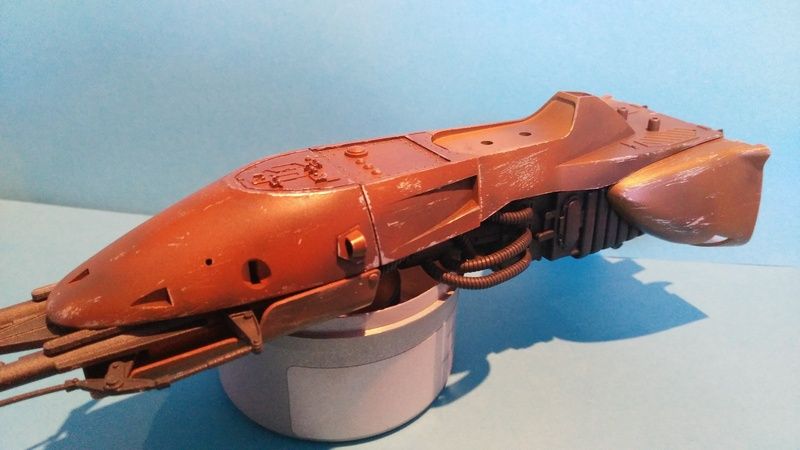 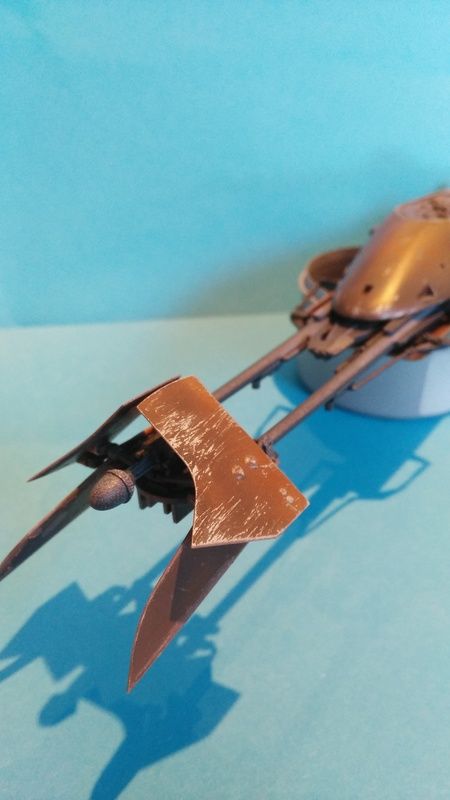 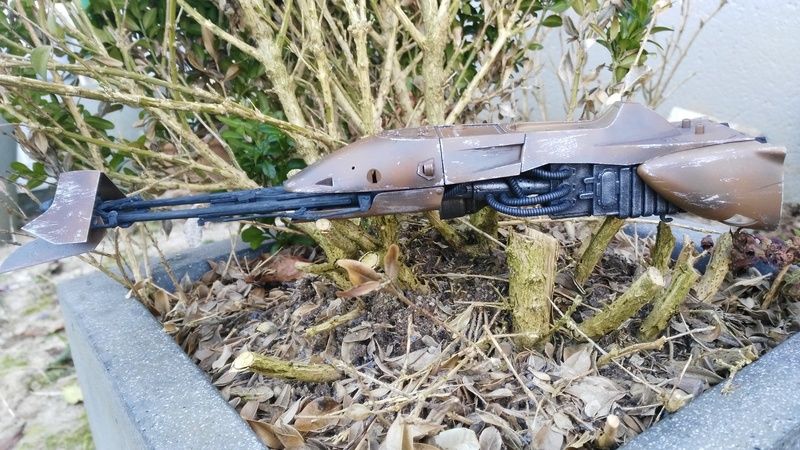 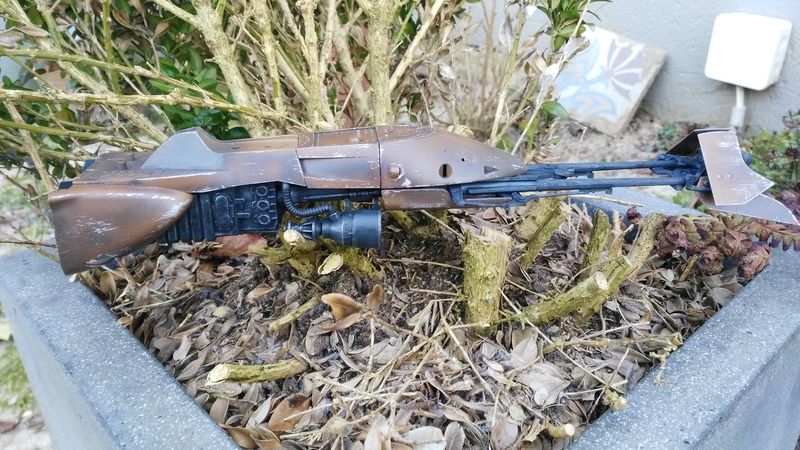 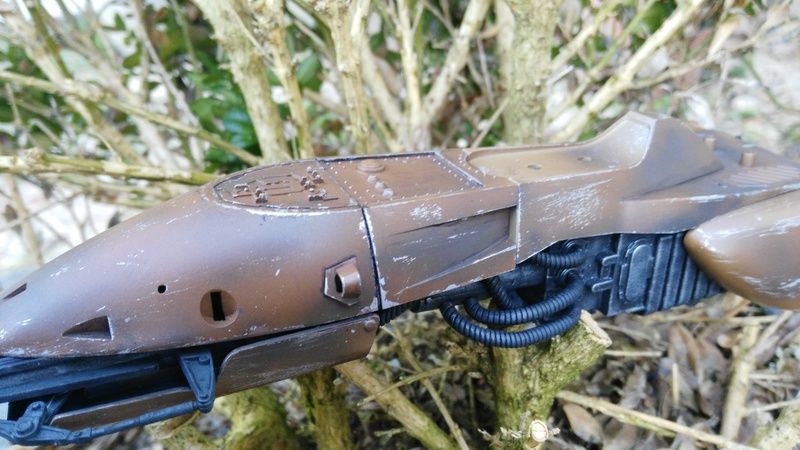 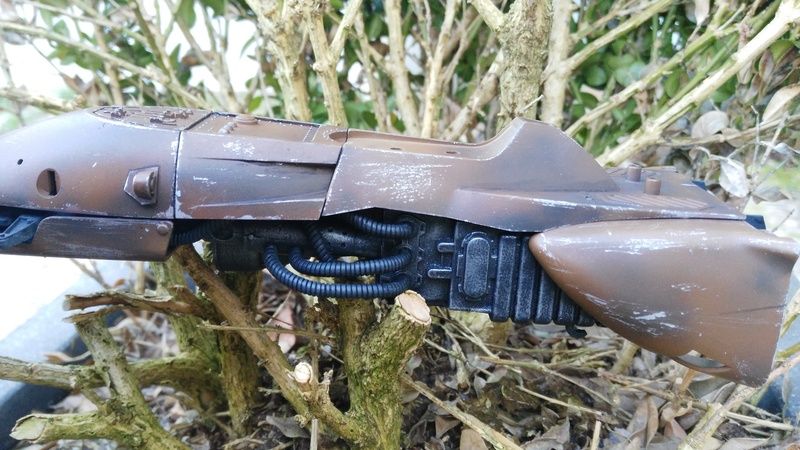 I used some dry brushing and some artistic pencils of different colours to weather the motor/jet lines etc. These will still need some extra weathering with pigments etc. The handlebars and footing areas have been added but still need to be weathered to bring everything in uniform. This is pretty much where i am at at this moment:  This Bandai kit is really quite something, pretty much everything that is attatched to the sprue is almost non visible once it is snapped in to place. And best of all, no glue! Most of this kit was air brushed on the sprue except the larger bulkier parts which I found easier to air brush seperately. Anyways, I have enjoyed building this snap together kit and trying my hand at some techniques that i am not so familiar with especially as my main focus is figure painting. But heck, anything that brings me back to my childhood days playing with the toy version and pretending to fly around Endor in my living room isn't a bad thing!!    Thanks for looking in, feels good to be back on the bench and my second home here on MSC!! Cheers guys, Shay |
|
joelsmith
Full Member
  
Member since: July 2012
There no winners in war, only survivors.
Posts: 1,404
Jul 5, 2012 22:33:58 GMT -5
Jul 5, 2012 22:33:58 GMT -5
|
Post by joelsmith on Jan 21, 2017 16:28:29 GMT -5
Looking really good. Can't wait to see more.
|
|
|
|
Post by deafpanzer on Jan 22, 2017 1:19:07 GMT -5
FREAKING TOO COOL! Dig the dents and scratches on the speeder bike!
|
|
|
|
Post by dierk on Jan 22, 2017 7:21:12 GMT -5
I'd call that a successful re-entry into the modelling universe!
|
|
bish
Full Member
  
Member since: January 2013
Horatio Nelson 'I am a Norfolk man, and i glory in being so'
Posts: 555
Jan 13, 2013 8:57:43 GMT -5
Jan 13, 2013 8:57:43 GMT -5
|
Post by bish on Jan 22, 2017 7:56:11 GMT -5
That's some real nice work. I have been put off the Bandai kits because of that toy look, so nice to see it can be sorted.
|
|
|
|
Post by Leon on Jan 22, 2017 7:58:28 GMT -5
Ditto what Dierk said Shay! Speeder bike and figure look good.  |
|
k1w1
Full Member
  
Member since: February 2015
Posts: 873
Feb 18, 2015 8:07:41 GMT -5
Feb 18, 2015 8:07:41 GMT -5
|
Post by k1w1 on Jan 22, 2017 22:44:43 GMT -5
I really like the scratches and marks on the bike. Great job on the Endor forest base. Trees look so real ! 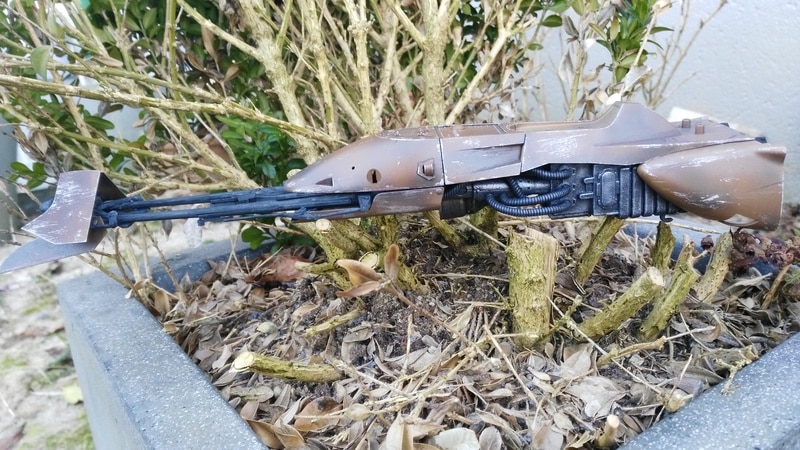 |
|
adt70hk
Forum Moderator     
Member since: November 2015
Currently attempting to build something decent!!! ;)
Posts: 2,833 
MSC Staff
|
Post by adt70hk on Jan 23, 2017 7:53:39 GMT -5
Now that's what i call as successful return! Well done!!
|
|
jpc1968
Full Member
  
Member since: May 2015
May '17 Co-Mom Winner, October '17 MoM Winner
Posts: 504 
|
Post by jpc1968 on Jan 23, 2017 10:31:47 GMT -5
Marvelous
|
|
jpc1968
Full Member
  
Member since: May 2015
May '17 Co-Mom Winner, October '17 MoM Winner
Posts: 504 
|
Post by jpc1968 on Jan 23, 2017 11:20:38 GMT -5
Glad to see you back, now finish that Yoda
|
|
kiwibelg
Full Member
  
Member since: December 2014
Posts: 613 
|
Post by kiwibelg on Jan 25, 2017 16:13:13 GMT -5
Glad to see you back, now finish that Yoda Hahaha...yeah I hear you!! Yoda has been giving me some bad looks since I turned him into a shelf queen  Thanks for looking in fella's!! The diorama base has been started, still have to gather a few bits and pieces from mother nature before i can continue with the groundwork. Will post some pictures up tomorrow  |
|
kiwibelg
Full Member
  
Member since: December 2014
Posts: 613 
|
Post by kiwibelg on Jan 26, 2017 7:06:44 GMT -5
I have been plugging along with the base over the past few days. Originally I had a bigger and more rectangular one in my mind but opted out of it due to the amount of work I would need to do on the vegetation. As I can't sculpt at the moment (work accident/stitches on my right index finger) I tried to scavenge a broken tree twig or branch to use in the scene, everything is quite damp here in Belgium so I didn't have much luck. A trip to the local pet store for dog food and I came across a bird perch used for parrots, and some coloured decorative driftwood...the things you can find when you aren't even on the look out!!  The base has been filled up with a chunk of dense foam and two wooden blocks have been placed, one in the back left which holds the tree stump in place and the second in the middle which will be used to fix the bike in place. General mock up : 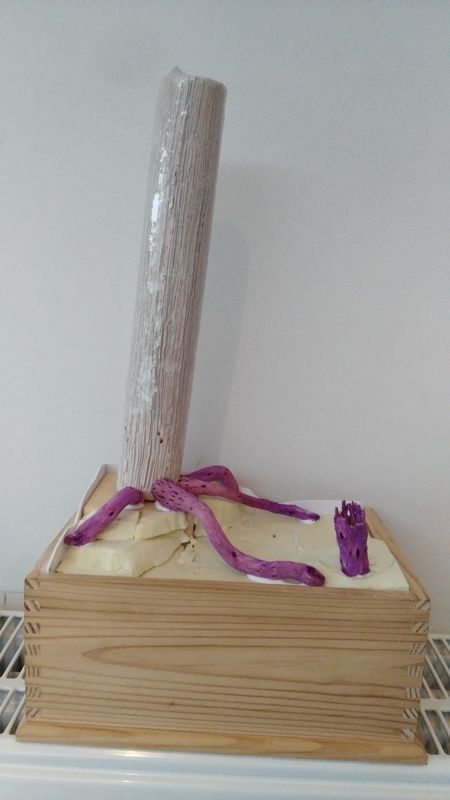 Not realising that the metal bolt went ALL the way through the perch I had some Dremel and hacksaw work to get through  I added some extra holes to the tree and made a hollow area at the top. 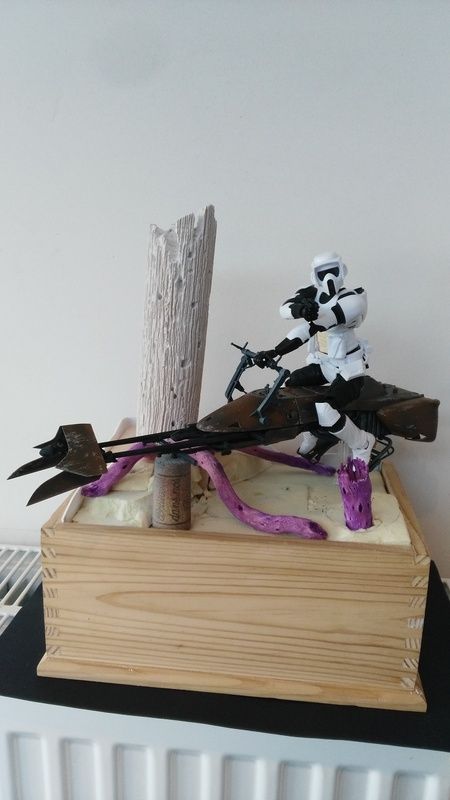 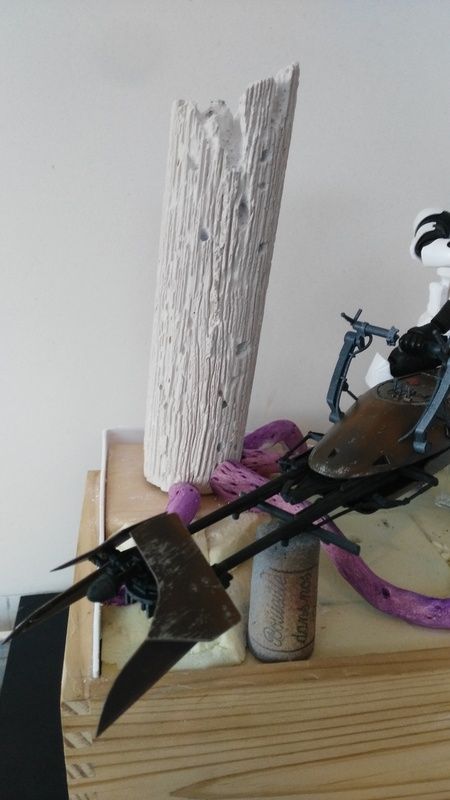 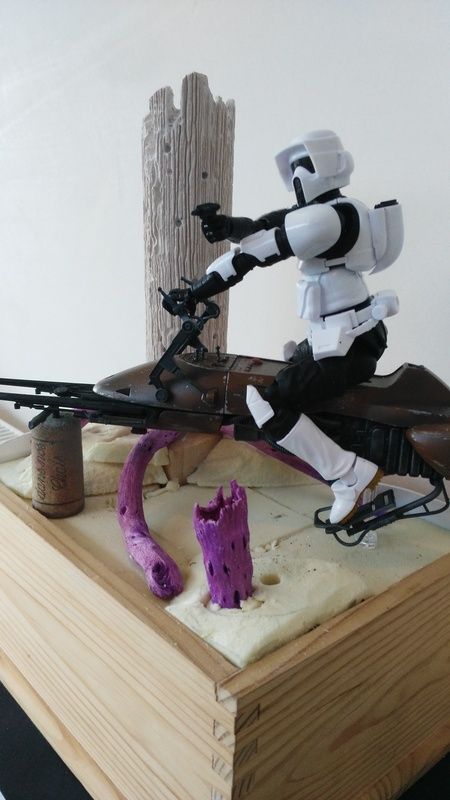 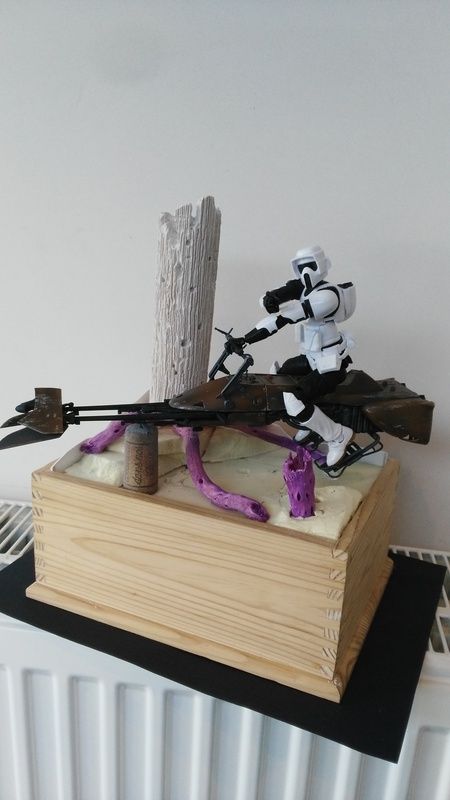 I have been experimenting with a mix of dark tea and loose tobacco to place on the base, no pics but hopefully it will look realistic enough to pass off as forest litter!! Cheers, Shay |
|
adt70hk
Forum Moderator     
Member since: November 2015
Currently attempting to build something decent!!! ;)
Posts: 2,833 
MSC Staff
|
Post by adt70hk on Jan 26, 2017 7:20:43 GMT -5
Hi Shay Looking a very nice start on the base, although if I'm honest the radiator is winning so far on the 'realism' front!!    Andrew |
|
|
|
Post by Leon on Jan 26, 2017 7:20:59 GMT -5
Nice start on the base Shay!
|
|
jpc1968
Full Member
  
Member since: May 2015
May '17 Co-Mom Winner, October '17 MoM Winner
Posts: 504 
|
Post by jpc1968 on Jan 26, 2017 8:09:20 GMT -5
Looking good. I see what you mean about the arms looking "toyish" If you figure out a way to fix the issue please share it.
|
|
|
|
Post by dierk on Jan 26, 2017 8:18:01 GMT -5
Sorry to hear about your finger - sue for compensation?  Yes, I've heard that Belgium is the damp patch of Europe  Base is starting to come along nicely! |
|
k1w1
Full Member
  
Member since: February 2015
Posts: 873
Feb 18, 2015 8:07:41 GMT -5
Feb 18, 2015 8:07:41 GMT -5
|
Post by k1w1 on Jan 26, 2017 8:42:41 GMT -5
Like your tree roots. Tea ground cover. I have used the contents of dried tea bags. Green tea and herbal teas have very different leaf to normal dark tea. I like the green tea bag leaf best but also found a mixture looks good.
|
|
|
|
Post by deafpanzer on Jan 26, 2017 10:12:51 GMT -5
Great start on the base!!! I am holding back my Duvel until you finish this.
|
|
kiwibelg
Full Member
  
Member since: December 2014
Posts: 613 
|
Post by kiwibelg on Feb 5, 2017 8:53:35 GMT -5
Hey All, Thanks for the comments guys and Kiwi for the tea tip  A little more work done on the base over the past week, would of liked to have had more done but back at work now after 5 weeks!! I added a mix of some decorative sand and PVA glue to the ground area, allowing to dry before proceeding with a black primer and a mist coat of light grey: 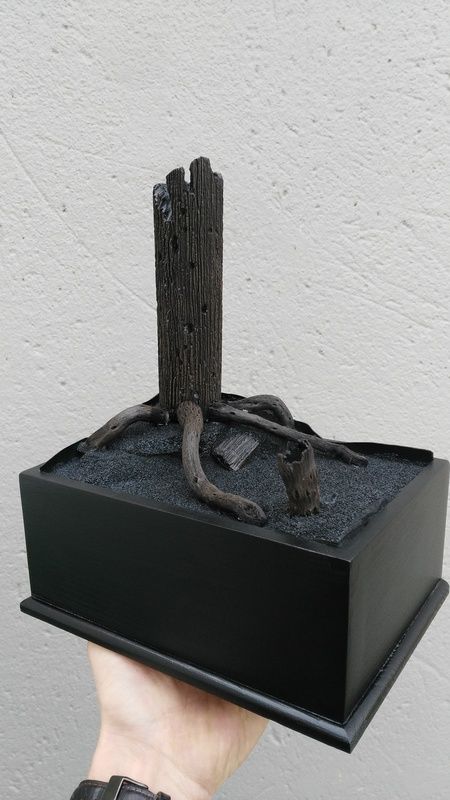 Next up was alot of drybrushing of the tree and trunk areas. In hindsight I should of first sculpted the roots of the tree to blend more naturally together with the trunk, unfortunately the dodgy finger prohibited me from doing this. The not so pleasant part was up next with layers of finely shredded (dry) leaves from my garden, loose tobacco (roll your own), brown tea, dark tea and some lineseed from a local pet store all held down with PVA glue. I gradually built up the groundwork in layers allowing the glue to dry slightly. 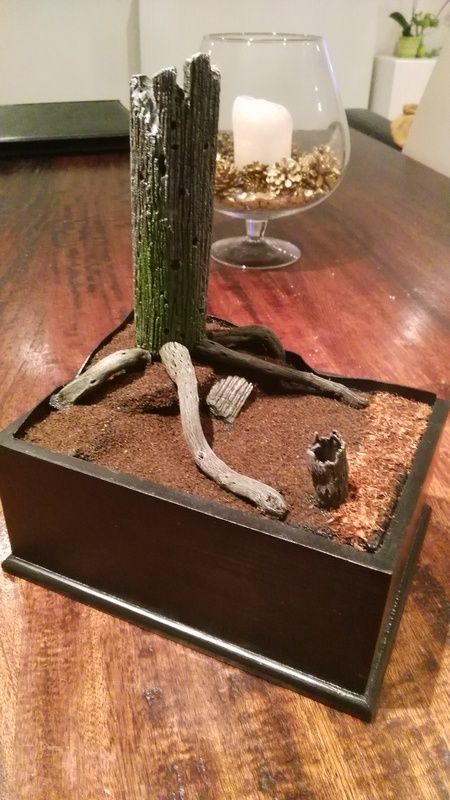 Once the area was dense enough I used PVA glue and dark tea leaves on certain areas to achieve a more damp forest bed look. The vine areas were built up with a product from Mini Natur (Buchenlaub Sommer) and to add contrast, loose leaves that I had laying arounf from a Joe Fix tree. I'm planning on adding moss to certain areas of the dio, along with a few mushrooms and vaious sized ferns to bring everything together. 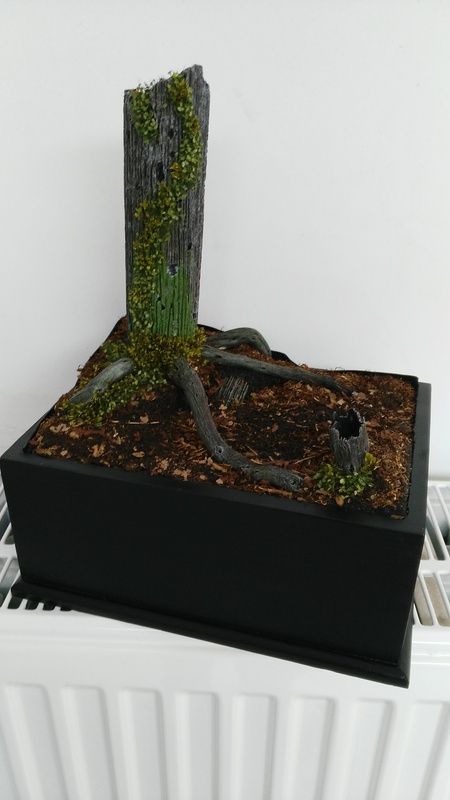 Here's a close up of the groundwork: 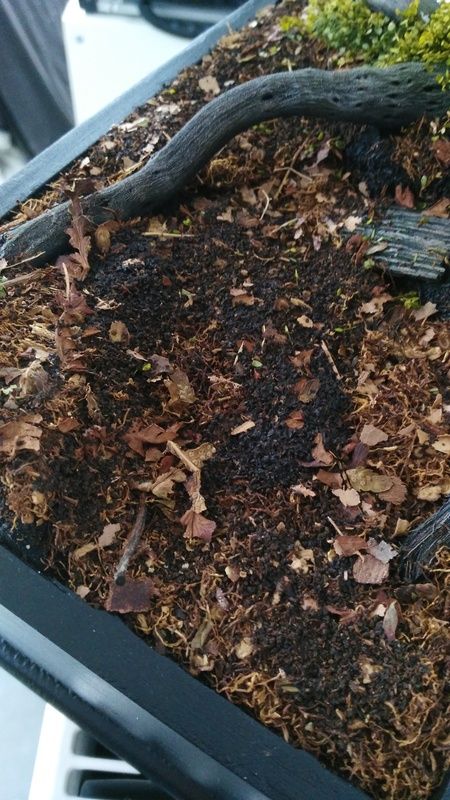 Cheers, Shay  |
|
|
|
Post by Leon on Feb 5, 2017 9:39:12 GMT -5
Ground work looks fantastic Shay!  Guess i should start saving up my loose tobacco for future use.  |
|
|
|
Post by deafpanzer on Feb 5, 2017 19:07:12 GMT -5
WOW!!! You truly nailed with the diorama ground!!! Can't wait to see your next update with plants...
|
|
|
|
Post by dierk on Feb 6, 2017 4:39:00 GMT -5
Excellent! And inspiring.  |
|
adt70hk
Forum Moderator     
Member since: November 2015
Currently attempting to build something decent!!! ;)
Posts: 2,833 
MSC Staff
|
Post by adt70hk on Feb 6, 2017 6:04:26 GMT -5
Looking very nice indeed. Thanks for all the ideas too.
Andrew
|
|
bish
Full Member
  
Member since: January 2013
Horatio Nelson 'I am a Norfolk man, and i glory in being so'
Posts: 555
Jan 13, 2013 8:57:43 GMT -5
Jan 13, 2013 8:57:43 GMT -5
|
Post by bish on Feb 14, 2017 18:11:20 GMT -5
Stunning work on that base, really nice.
|
|
John Everett
Full Member
  
Member since: January 2012
July, 2016 MoM Winner
Posts: 1,278
Jan 17, 2012 0:53:48 GMT -5
Jan 17, 2012 0:53:48 GMT -5
|
Post by John Everett on Feb 14, 2017 19:07:39 GMT -5
Excellent base. It's nice enough you could post it without the bike or rider.
|
|
k1w1
Full Member
  
Member since: February 2015
Posts: 873
Feb 18, 2015 8:07:41 GMT -5
Feb 18, 2015 8:07:41 GMT -5
|
Post by k1w1 on Feb 15, 2017 0:32:16 GMT -5
Nice job on the ground work Shay. Looks pretty good. My attempts at this have never been great.
|
|
Wes
Full Member
  
Member since: November 2011
Posts: 686
Nov 16, 2011 9:34:50 GMT -5
Nov 16, 2011 9:34:50 GMT -5
|
Post by Wes on Feb 15, 2017 4:14:18 GMT -5
Just found this build Shay. Looking good brother. Love the ground work.
|
|
|
|
Post by panzerjager2 on Feb 15, 2017 9:28:23 GMT -5
That's pretty darn cool
|
|
kiwibelg
Full Member
  
Member since: December 2014
Posts: 613 
|
Post by kiwibelg on Feb 18, 2017 9:04:42 GMT -5
Excellent base. It's nice enough you could post it without the bike or rider. Thank you for your compliment John, my girlfriend even liked it which is unusual for her (Beethoven also had his critics)  The ferns from Mig arrived yesterday after a two week wait so I hope to get these down on the groundwork this weekend! Thanks to everyone for their kind words an apologies for the late reply!! Enjoy the weekend guys!! Cheers, Shay |
|
|
|
Post by kaytermarram on Feb 19, 2017 10:16:47 GMT -5
Neat looking thingie! Some suggestions: Aren´t there any stencelling on the bike? I have never noticed them, but I think, some warning signs or markings could come out cool. And so for some package on the bike! I would love to see some equipment like backpacks or a weapon holster for some kind of rifle. Something like this. And the base? Cool, but please more veggies, please! And some dirt on the biker!!
Frank
|
|


