adt70hk
Forum Moderator     
Member since: November 2015
Currently attempting to build something decent!!! ;)
Posts: 2,831 
MSC Staff
|
Post by adt70hk on Feb 24, 2017 8:23:29 GMT -5
Looking good mate!
|
|
|
|
Post by dierk on Feb 25, 2017 8:20:21 GMT -5
|
|
|
|
Post by Leon on Feb 25, 2017 12:08:42 GMT -5
Engine and interior look good Dierk!  |
|
|
|
Post by panzerjager2 on Feb 25, 2017 16:33:48 GMT -5
REALLY nice work....cool updates
|
|
adt70hk
Forum Moderator     
Member since: November 2015
Currently attempting to build something decent!!! ;)
Posts: 2,831 
MSC Staff
|
Post by adt70hk on Feb 25, 2017 17:37:45 GMT -5
Dierk
That really is looking the part!!
Well done.
Andrew
|
|
|
|
Post by dierk on Feb 26, 2017 11:08:56 GMT -5
Cheers Leon, PJ and Andrew! To pass the time I thought I'd do some dry-fit pics. I was a bit surprised by how big this bird is...I was tempted by the HB IL-2 in 1/32, but I think I'll reconsider  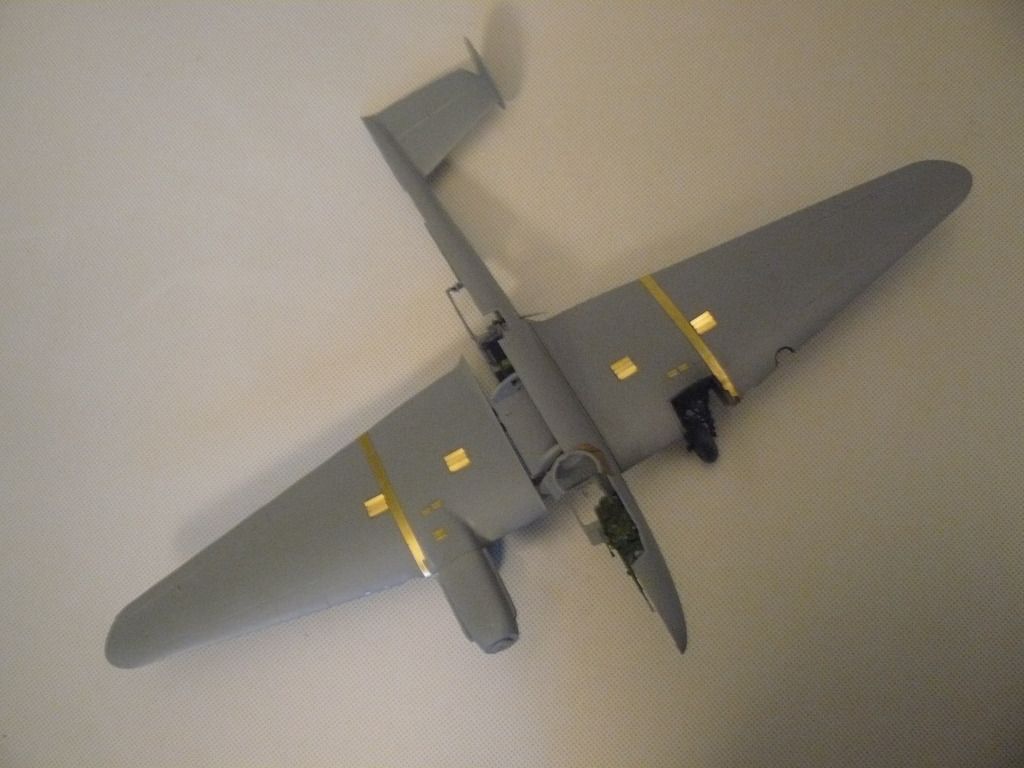 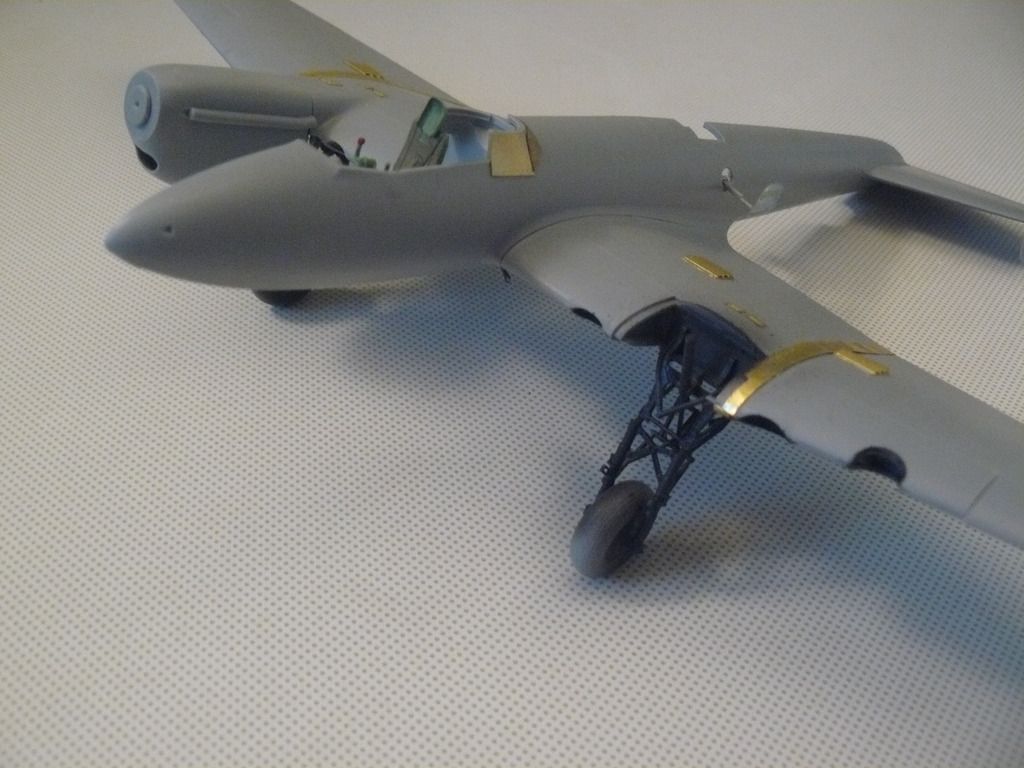 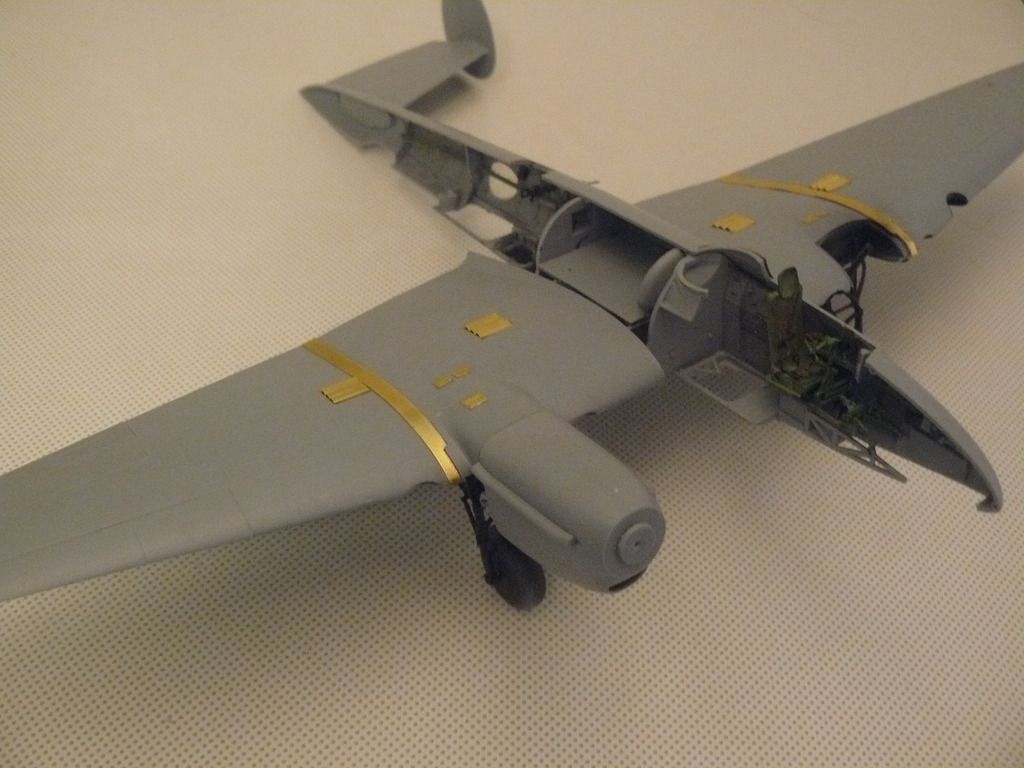 Thanks for having a look. |
|
thug626
Senior Member
   
Member since: January 2013
Posts: 2,030
Jan 15, 2013 13:05:28 GMT -5
Jan 15, 2013 13:05:28 GMT -5
|
Post by thug626 on Feb 26, 2017 13:14:41 GMT -5
Dierk, you've made some wonderful progress on this beastie. The dry fit pics look great. Just how big is this winged beast?
|
|
adt70hk
Forum Moderator     
Member since: November 2015
Currently attempting to build something decent!!! ;)
Posts: 2,831 
MSC Staff
|
Post by adt70hk on Feb 26, 2017 17:49:33 GMT -5
Looking cool! Although I do wonder what the aerodynamics would be like with only half a fuselage.. .  |
|
|
|
Post by dierk on Feb 27, 2017 4:24:39 GMT -5
Dierk, you've made some wonderful progress on this beastie. The dry fit pics look great. Just how big is this winged beast? Cheers mate! Wingspan is roughly 14" or 35cm and (just as roughly) 10"/26cm nose to tail Looking cool! Although I do wonder what the aerodynamics would be like with only half a fuselage.. .  Shall I chuck it out the window to find out?   It would be somewhat draughty, though  |
|
|
|
Post by panzerjager2 on Feb 27, 2017 5:18:18 GMT -5
Dierk, I would pay good Euro's to see you chuck this baby out the window. 
Awesome work on this soon to be part of the pavement LOL LOL LOL
|
|
|
|
Post by dierk on Feb 27, 2017 5:39:13 GMT -5
Dierk, I would pay good Euro's to see you chuck this baby out the window. 
Awesome work on this soon to be part of the pavement LOL LOL LOL My wife would too  |
|
|
|
Post by Leon on Feb 27, 2017 7:56:03 GMT -5
Nice progress Dierk! Do not throw this out of the window.
|
|
|
|
Post by panzerjager2 on Feb 27, 2017 10:13:58 GMT -5
Just to clarify............ No one really wants to see this "fly" out the window LOL 
|
|
|
|
Post by wouter on Feb 27, 2017 12:29:32 GMT -5
Nice to see you do a bird, chap. Looks good so far! One of the more fun planes to fly in the game War Thunder...didn't realize it was a dive bomber though, you learn new things here ^^.
Cheers
|
|
|
|
Post by deafpanzer on Feb 28, 2017 2:46:27 GMT -5
Great process on your dive bomber!
|
|
adt70hk
Forum Moderator     
Member since: November 2015
Currently attempting to build something decent!!! ;)
Posts: 2,831 
MSC Staff
|
Post by adt70hk on Feb 28, 2017 8:12:18 GMT -5
Hi mate I've now had a chance to look at this on a proper screen rather than my phone and it does look very nicely done indeed. Andrew PS please don't throw it out of the window, it would be a waste of what looks like a great kit.........but if you do, please make sure you do the decent thing and record it and post if for posterity on here.....   |
|
|
|
Post by dierk on Mar 24, 2017 5:58:42 GMT -5
Well, it's been a while - this was going to be an update about how I've started painting the model. Instead a miracle has ocurred: just got a little parcel from Austria with the missing part in it! Shame I didn't know it was going to be sent - it will be fiddly fitting it, now that the fuselage is glued together...
|
|
|
|
Post by dierk on Mar 30, 2017 12:04:38 GMT -5
At long last, an update! I managed to get the missing part glued into place - thankfully I hadn't fitted the gun yet! Now, I was a bit trepidatious about the Hataka paints I had bought for this project, as I'd read mixed reviews about them (D'oh, now I'll have to build more soviet wingies to justify buying them...): 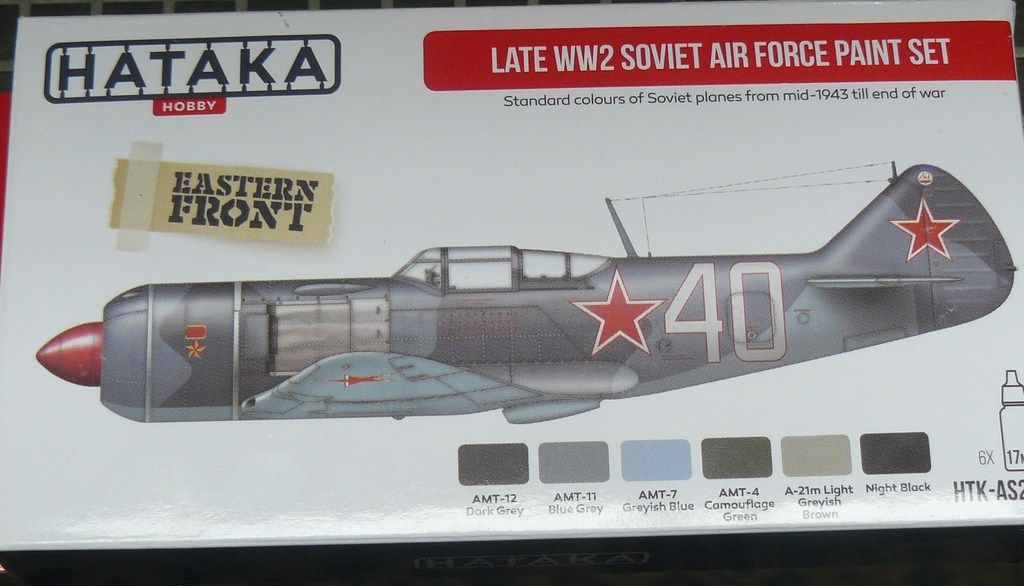 They are fairly thick - a bit like Model Colour/Panzer Aces, but once I'd changed needle and nozzle to 0.5mm they worked pretty well. OK, the nozzle did block a few times and I did get a bit of splatter, but on the whole they are very nice paints. Once the plane was painted I did what I should've done first, and experimented mixing the colours with Vallejo Thiner and Flow Improver. I didn't expect good things as I previosly found that AK and Vallejo didn't like each other, but no such problems with Hataka! Got a few more pieces to add, decals and weathering yet to do, but this is what it looks like now: 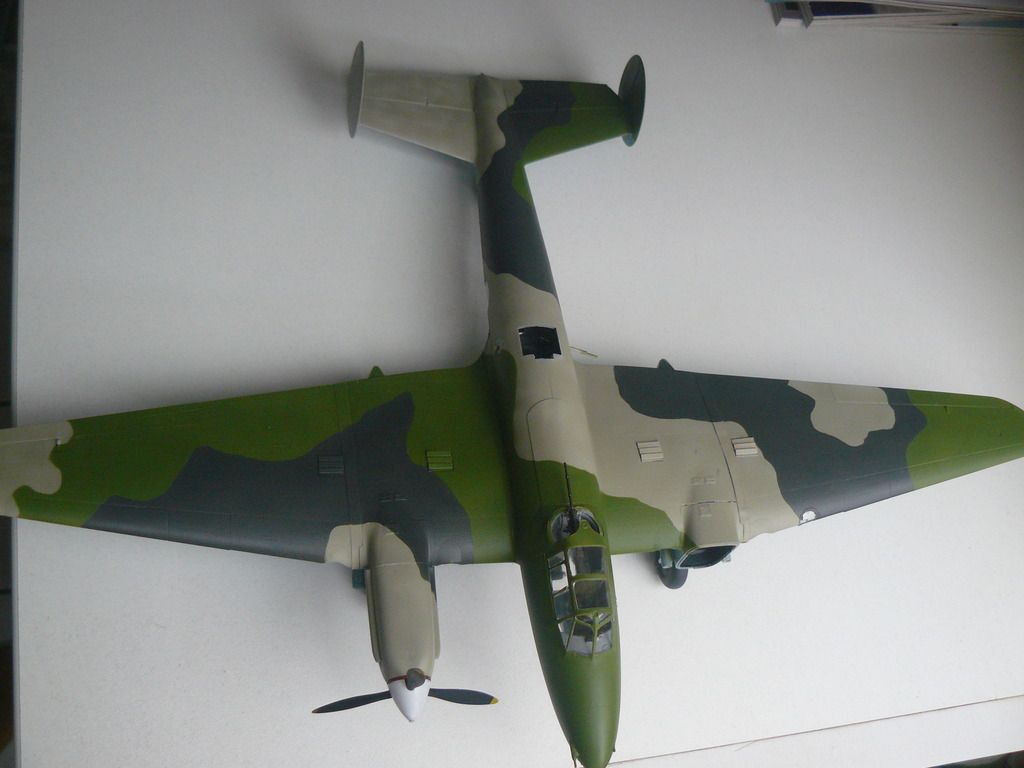 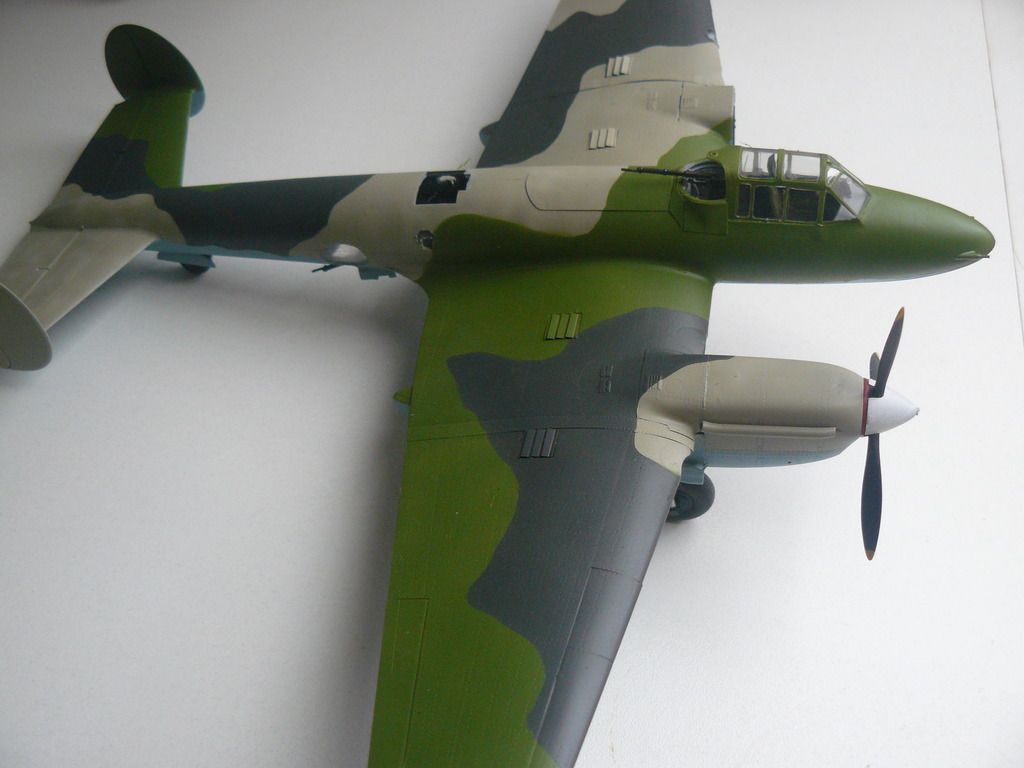 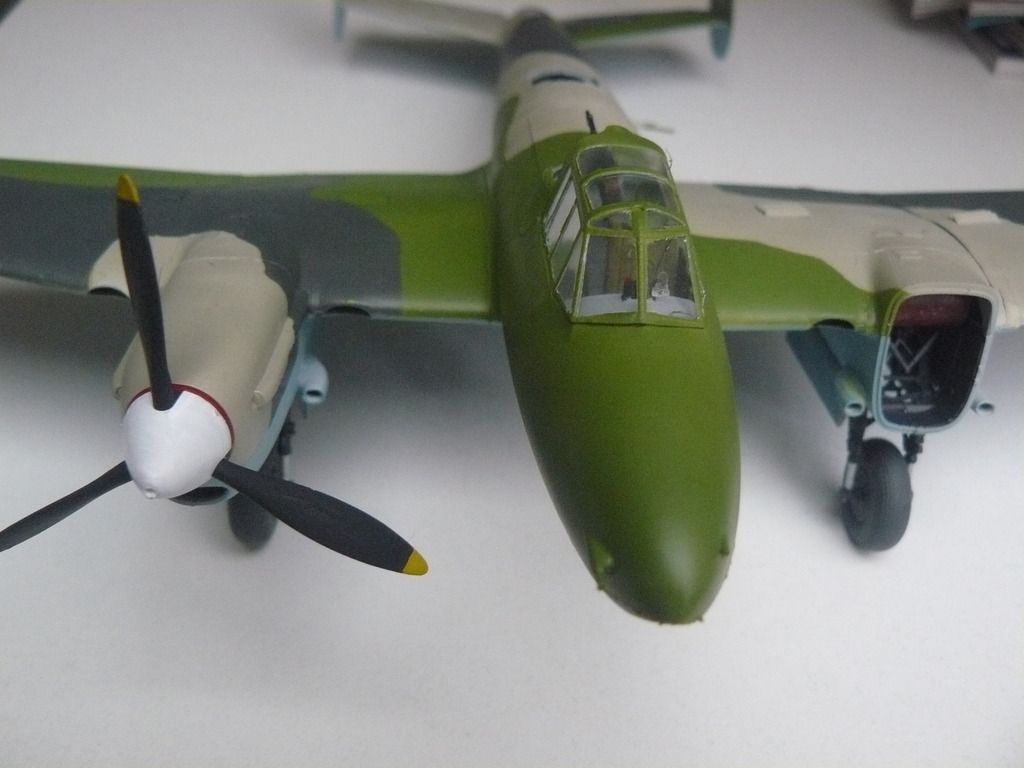 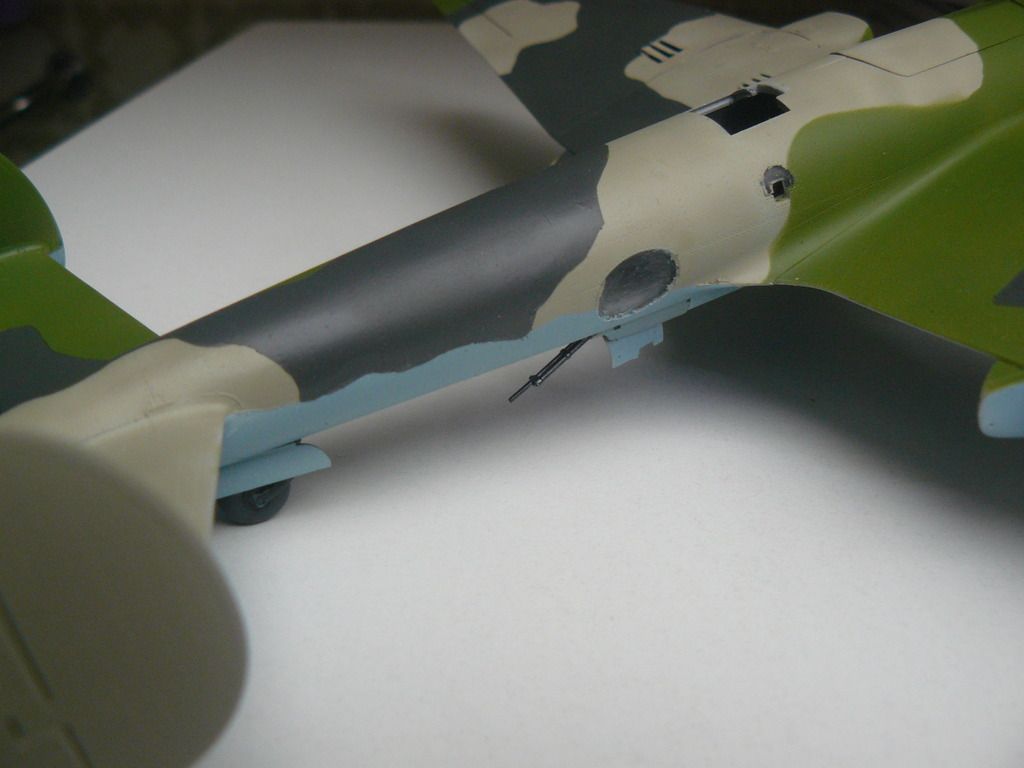 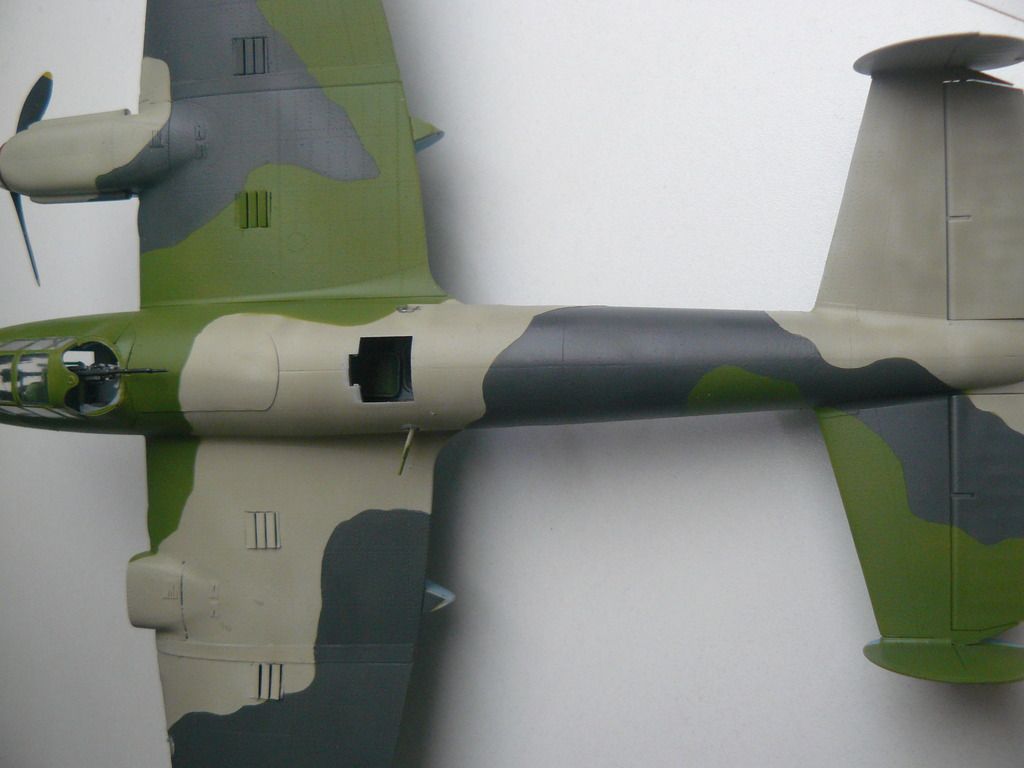 Thanks for haivng a look and ACW |
|
|
|
Post by Leon on Mar 30, 2017 13:27:45 GMT -5
Paint looks really good Dierk!  Did you mask or free hand it?  |
|
|
|
Post by panzerjager2 on Mar 30, 2017 14:15:44 GMT -5
Looking good.............. I can see the baby somewhere over Mogilev 
PJ2
|
|
|
|
Post by dierk on Mar 31, 2017 2:12:12 GMT -5
Paint looks really good Dierk!  Did you mask or free hand it?  I used Panzer Putty, confusingly called 'Maskier Knete' here (for the first time) - really like it as it is very low tack, so you don't end up pulling detail parts off when removing it. To start with I painted the whole upper side tan, masked the bits that stayed tan, then green all over, more masking followed by grey/gray |
|
|
|
Post by Leon on Mar 31, 2017 4:15:44 GMT -5
Thank you Dierk!
|
|
|
|
Post by TRM on Mar 31, 2017 9:25:38 GMT -5
Now that is some sharp camo! Both looking and applied! Well done Dierk!
|
|
|
|
Post by dierk on Apr 2, 2017 11:38:25 GMT -5
Thanks for the kind words gents! Applied the rather thick kit decals - sort of went OK, but didn't notice that one of the stars ended up with a crease  And I did have to paint on the '7' by hand, as the decals were crap. Just finished stage II of the weathering. First I applied a wash using a darkened diluted version of the camo colours. Next came an oil-dot filter using various shades of Wilder paints, blended in the direction of travel. Unfortunately, my daylight area for taking pictures is too small for this bird - just about managed one pic that shows the colours the way they are: 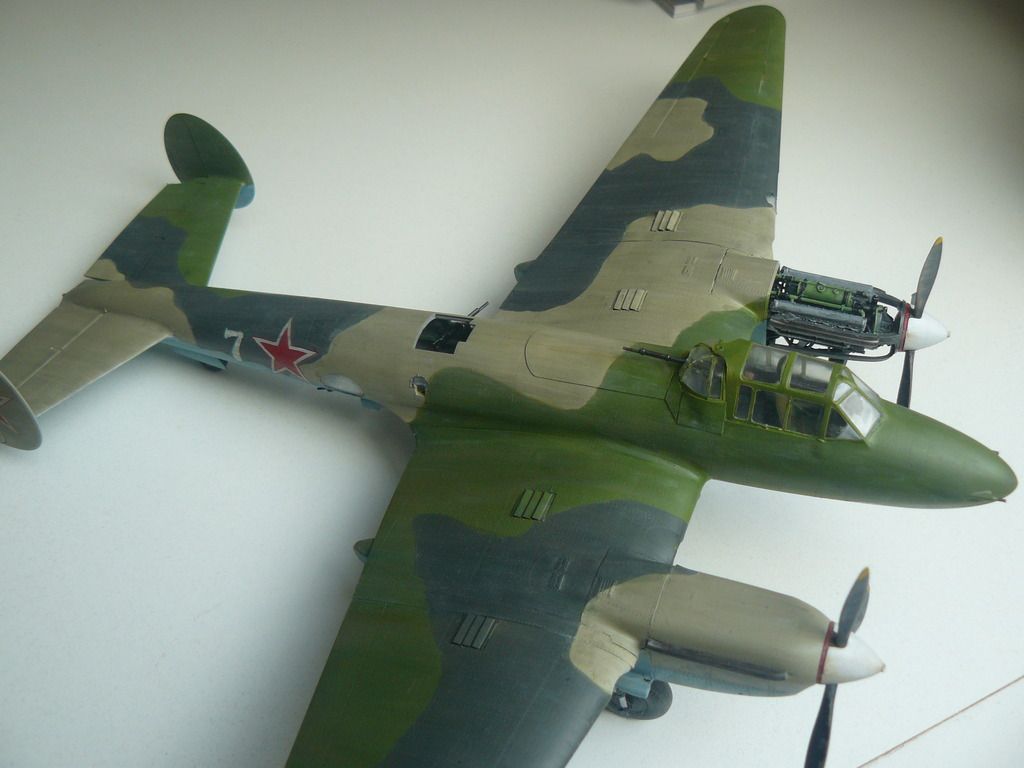 Got myself a new toy for editing pics (PhotoScape) still learning to drive it, but these are the results of my first session: 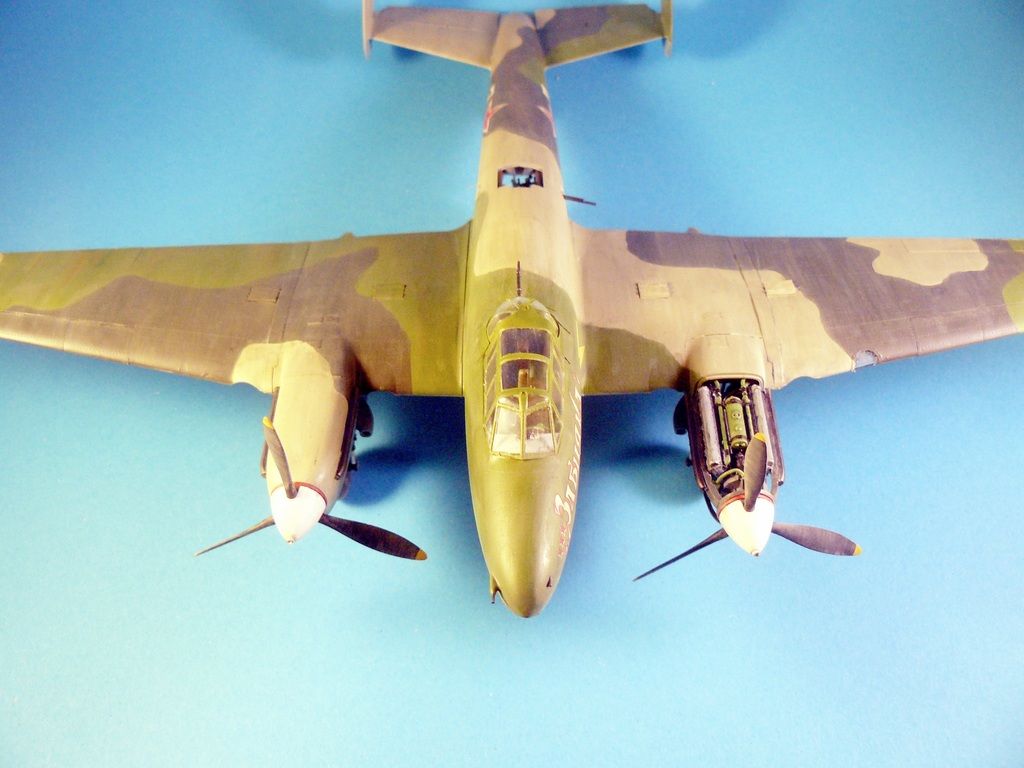 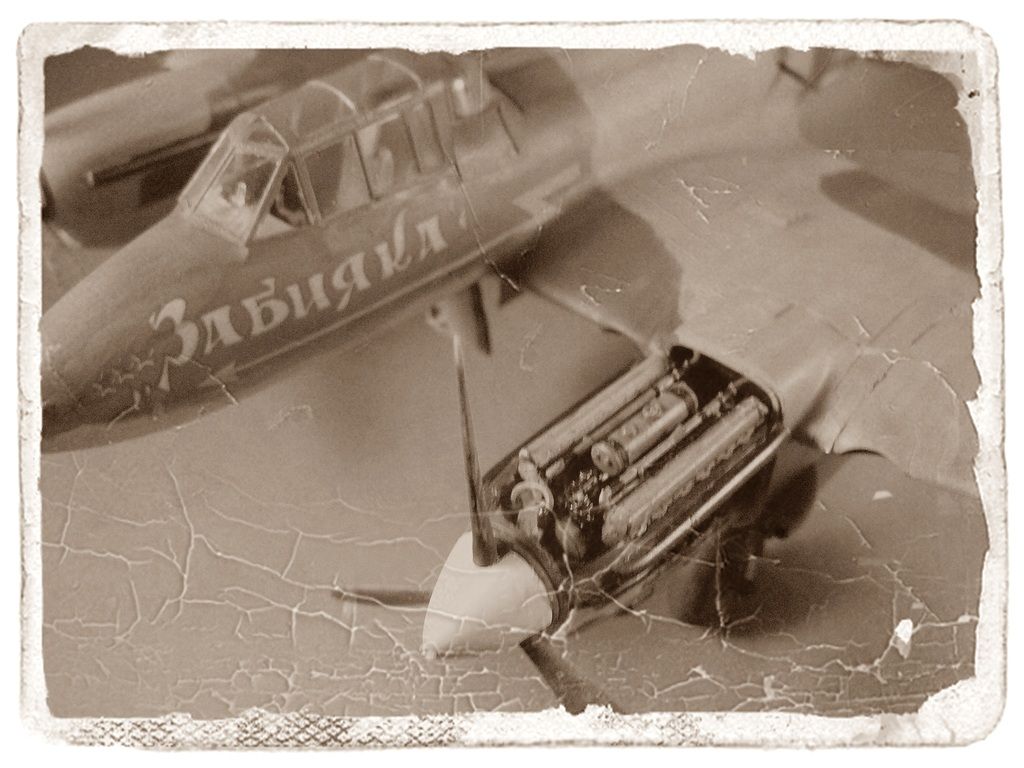 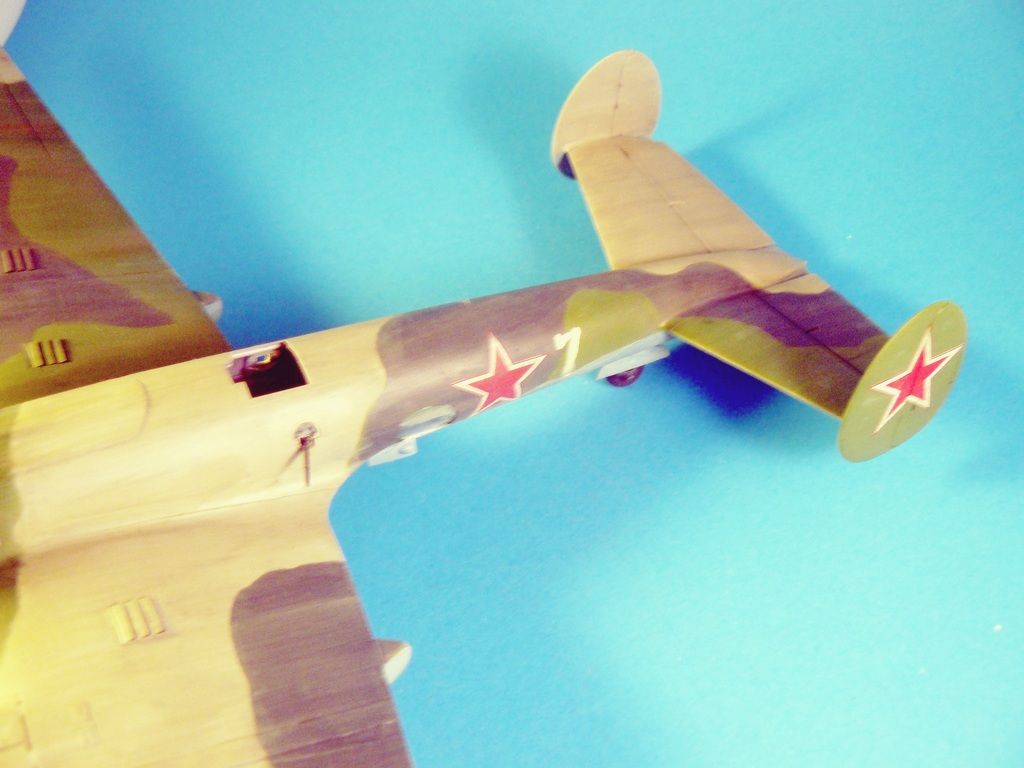 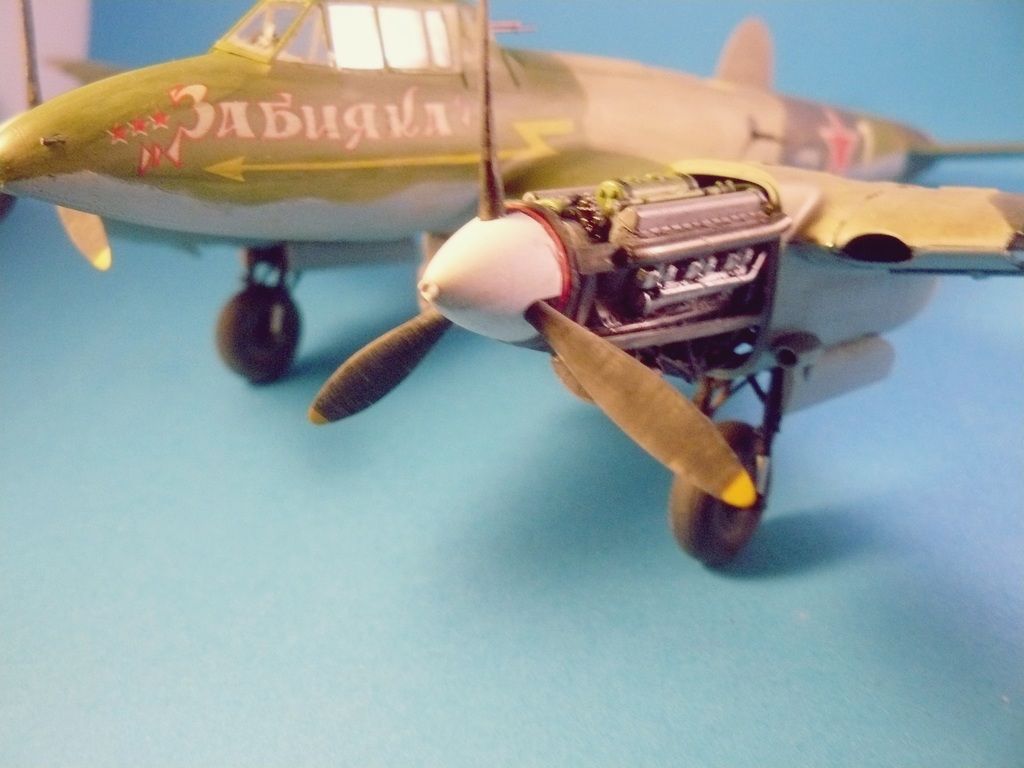 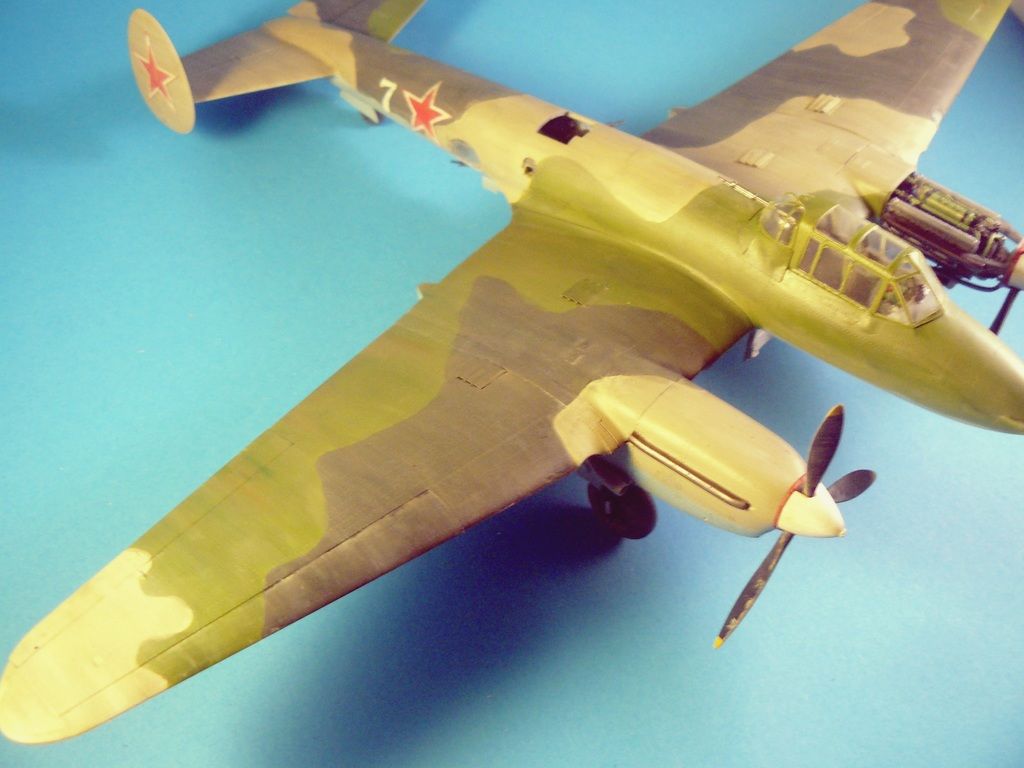 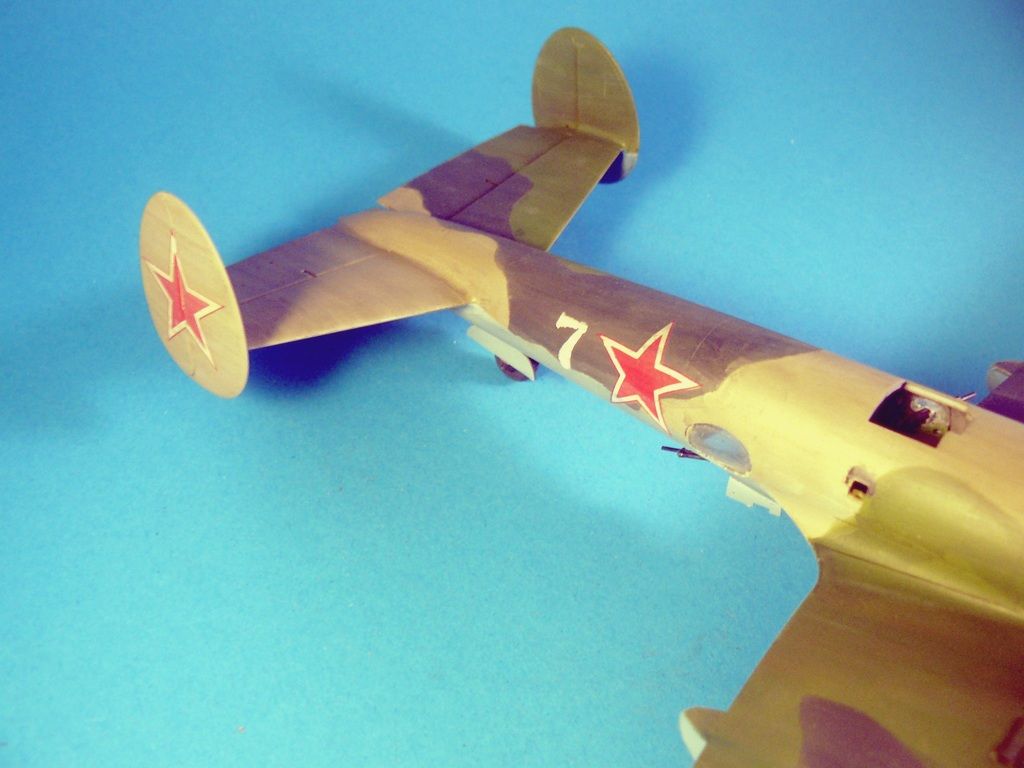 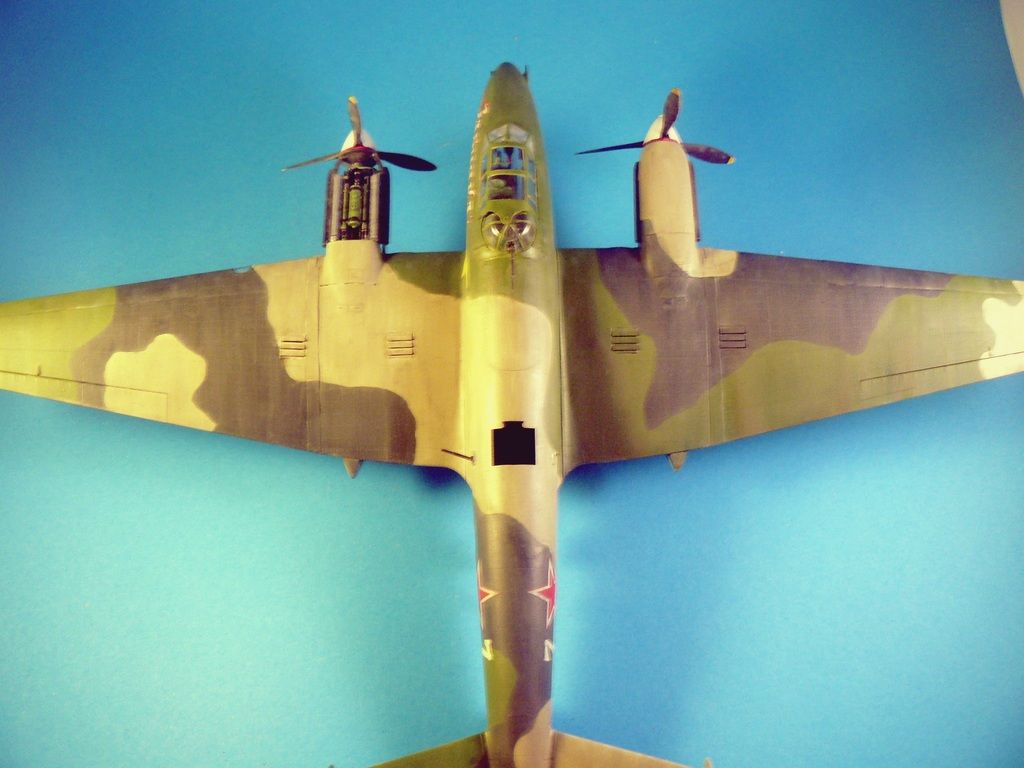 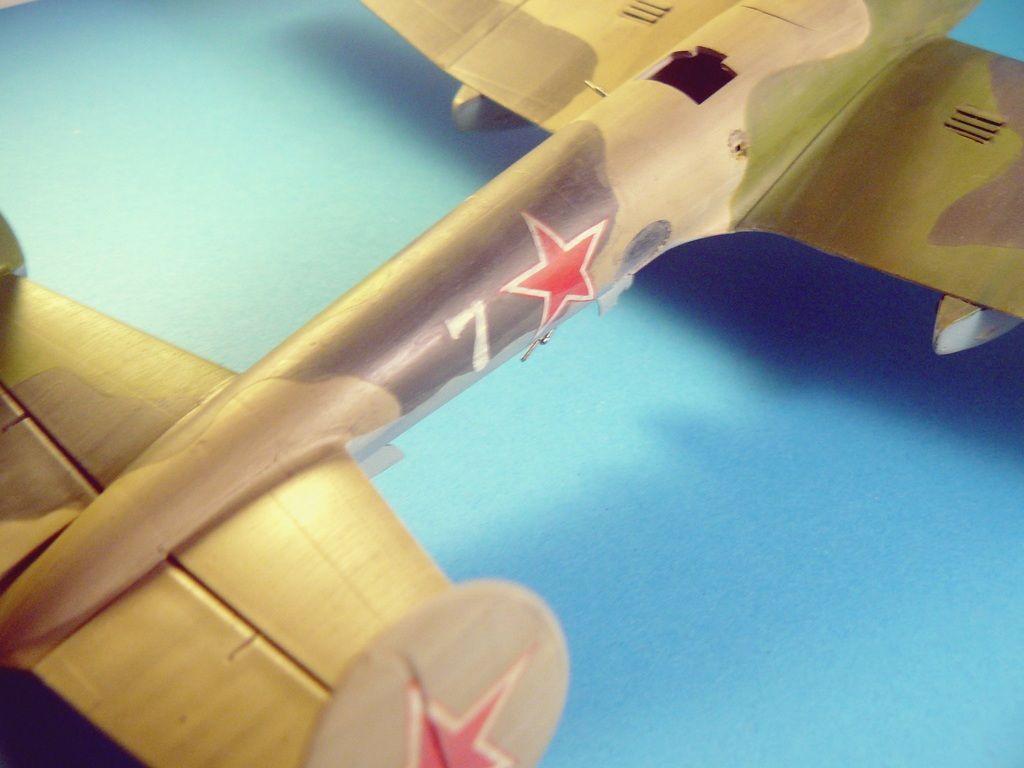 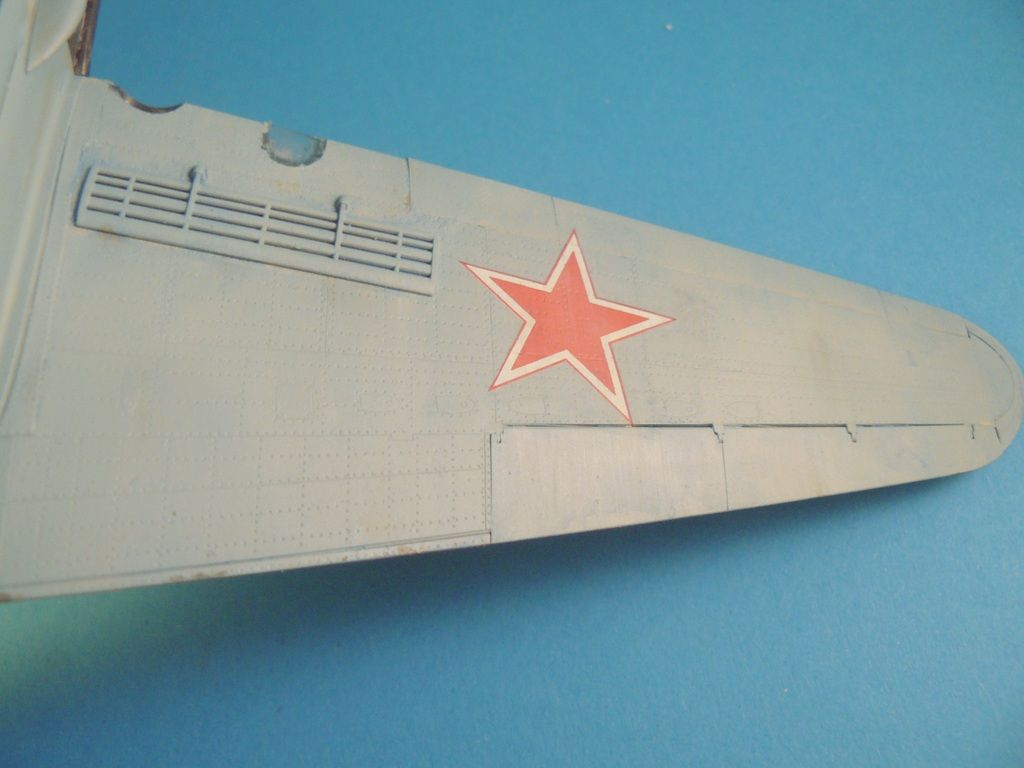 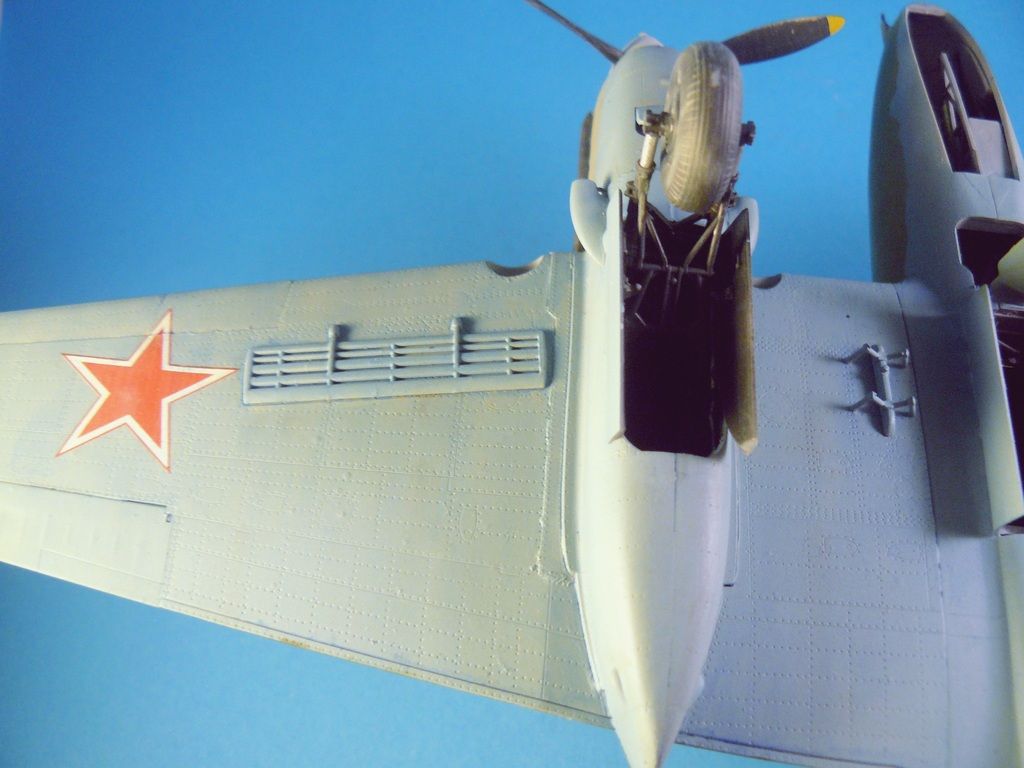 Still got a few things to attach, antenna to add. Next I'll be adding the 'zorst soot, chipping, then seal it with some lacquer, followed by a bit of oil rendering and stuff. Oh, and just in case you think the weathering is a bit heavy: 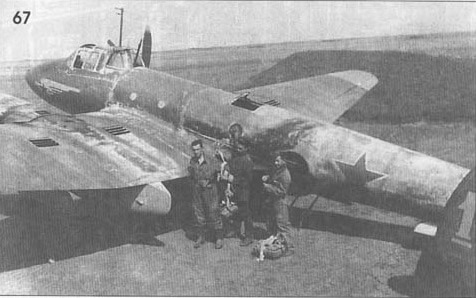 |
|
afvfan
Senior Member
   
Member since: December 2012
Bob
Posts: 1,772
Dec 10, 2012 17:32:38 GMT -5
Dec 10, 2012 17:32:38 GMT -5
|
Post by afvfan on Apr 2, 2017 23:06:18 GMT -5
If you haven't oversealed them yet can't you re-wet the krinkled decal and straighten it out?
|
|
|
|
Post by panzerjager2 on Apr 3, 2017 2:53:57 GMT -5
I hadn't noticed any "boo Boo's"..... I think it looks awesome..... 
PJ2
|
|
|
|
Post by wouter on Apr 3, 2017 3:07:03 GMT -5
Hi Dierk, that's a good looking paintjob you did mate! And the weathering really makes it come alive. I must say, love that 'old skool' crackled photo  Cheers |
|
|
|
Post by dierk on Apr 3, 2017 3:50:08 GMT -5
If you haven't oversealed them yet can't you re-wet the krinkled decal and straighten it out? Tried it Bob, failed...it's a really sharp crease. I'll either slice the crease off and make it look like a scratch in the paint, or simply not take close-up pics of the area  I hadn't noticed any "boo Boo's"..... I think it looks awesome..... 
PJ2 Cheers PJ - don't worry: plenty of boo boos, the secret is not to take pictures of them  Hi Dierk, that's a good looking paintjob you did mate! And the weathering really makes it come alive. I must say, love that 'old skool' crackled photo  Cheers Glad you're liking it Wouter! I'm pretty pleased with how it is developing myself, especially considering it's only my second wingy and first three-colour camo. What I like is that these planes were often really filthy and heavily used, so I can use weathering techniques more associated with armour. Still exploring all the effects PhotoScape (free download) offers, but the 'old-school' pic is one of my faves too - expect to see it more often  |
|
|
|
Post by Leon on Apr 3, 2017 4:32:27 GMT -5
Aweome work on the weathering Dierk!  |
|
|
|
Post by TRM on Apr 3, 2017 9:34:46 GMT -5
I don't think the weathering can ever be over done! LOL But what do I know! She looks fantastic Dierk! Nice job on painting the 7's!  |
|