Post by TRM on Mar 26, 2017 7:27:06 GMT -5
Hey Fellas,
I have been struggling to get me head out of my a$$ the past couple months. Along the way, I thought I would reach out into other genre to help spark some mojo from time to time. Not too long ago, I was actually able to complete a wingy thing, that was not a wreck, for the first time...all while playing with some of those wood decals from Uschi! In keeping myself somewhat on track, I am inspired a bit with Black Basing. Doog's had written a great article about this a while back as well as producing a fine video to help explain the process. I thought it would be fun to try!
There is a little catch in all this. I will be attempting to do this with acrylics....not to prove anyone's personal thoughts wrong about their beliefs that acrylics are the bane of their existence and that only lacquers should be used...LOL But as a personal plight in getting this effect with the tool that I already possess! While I am perfectly fine with whatever form of paint one chooses to use, I use acrylics....and I am up for the challenge!
With, and after, all that, the kit was a kind donation from a good friend, Adam (Adampolo13). I was interested in something that had a big enough wing surface to allow this technique to be actually useful....he was kind enough to hand over a kit he had little to know interest in building! The kit?
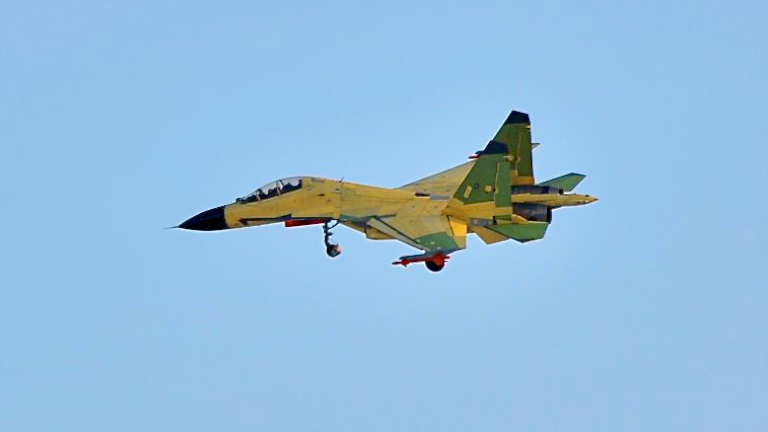
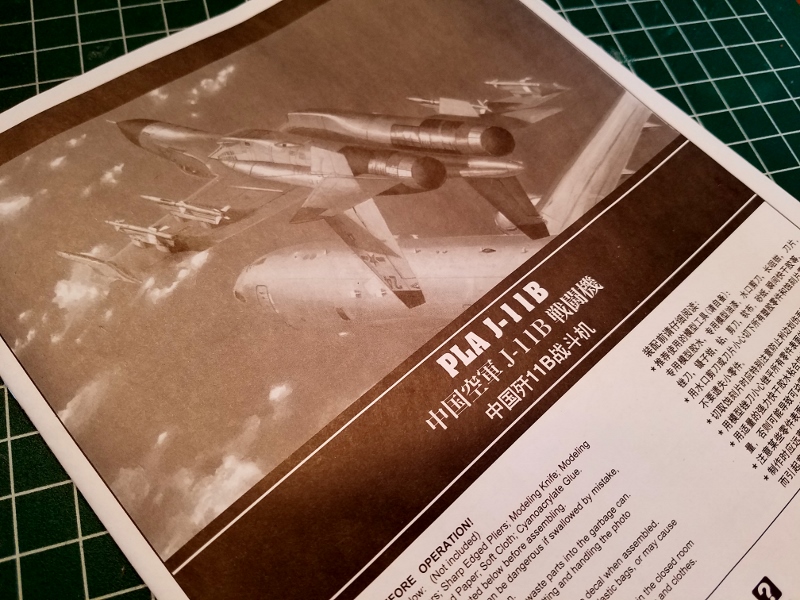
Hobby Boss' 1/48 PLA J-11B

Not being a wingy fanatic by all means, I did think the kit was not too bad actually! As will all things plastic, there is room for improvement...but that, is not what I am after....remember? Large plastic surface to play with paint!
The kit actually went together really well and quickly! The parts fit decently and I like the fact the seam line for this puppy was traversing the horizontal. If there is one thing about AC builds I dislike, it is the fuselage seam cleanup...LOL My secondary thought, was that this might make a neat "little" display at the demo booth when I hit some of the shows. So I made an attempt at painting the cockpit as some small show of faith in my quest. As I mentioned, there is always room for improvement...belts and maybe one of those resin Aires seats or something to that effect, would dial this right in....
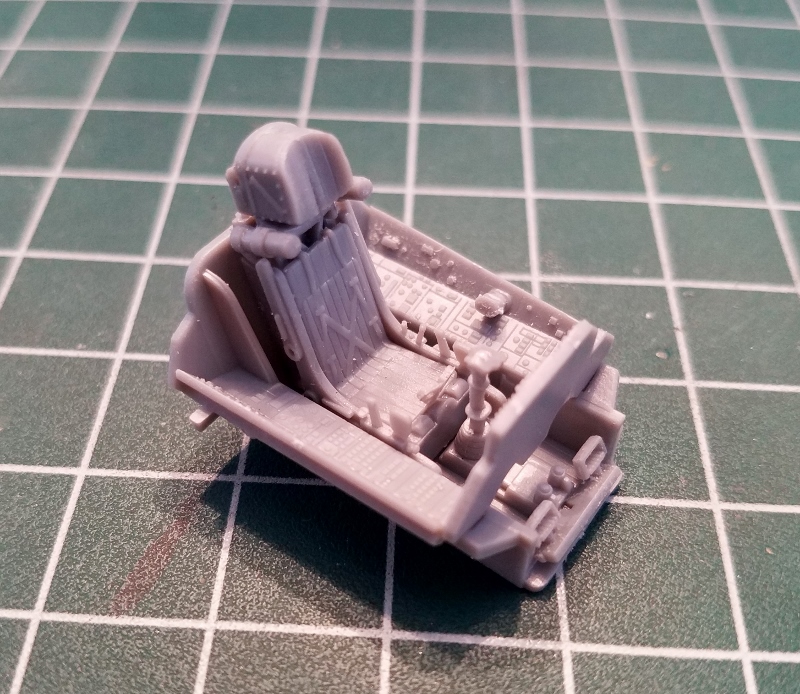
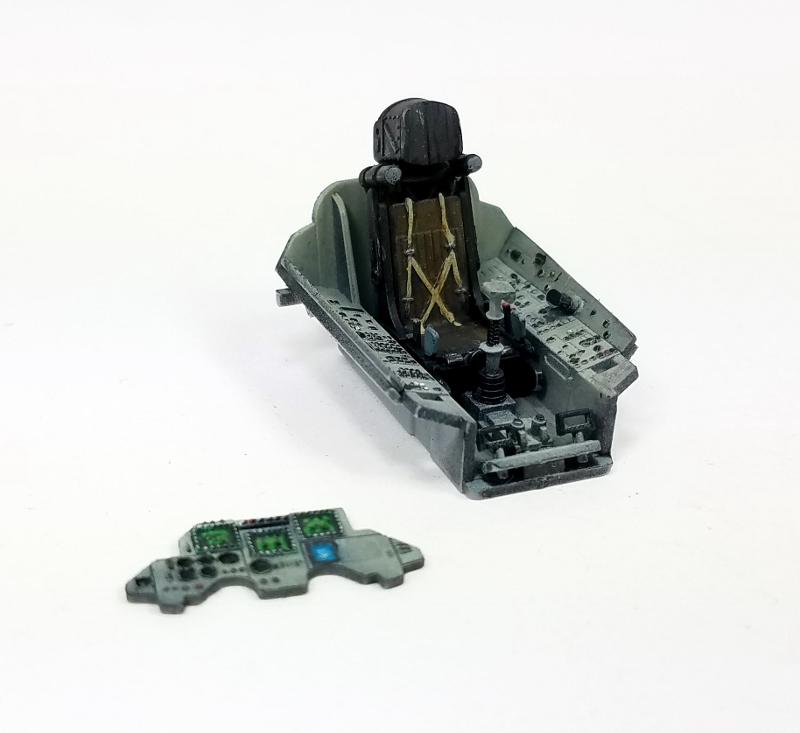
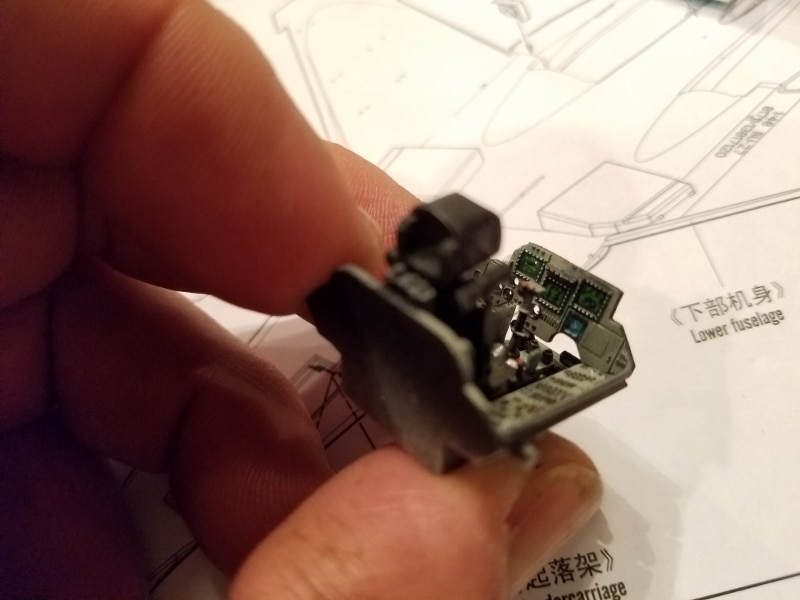
See, not too bad...at least I thought...LOL But this is where things got a little out of hand for me on the build end. I was polishing the canopy and I had an accident. It seems that the seam line is not always a good seam! A little too much pressure snapped the seam along the line rendering the part useless. I check with Hobby Boss and Squadron for a replacement part...but one does not actually exist. This being a Flanker basically, I probably could have spent another hour of my life trying to play mix and match with part numbers and ind one, but in the end, does it really matter? Nope! LOL I will say, Hobby Boss did contact me back, as did Squadron in an effort to help direct me to finding a part....that did not actually exist...but it was the thought that counts, right?
So anyway, after a little chat with Jimmy D over something unrelated, he enlightened me in the solution for the problem...a canopy cover. Simple and effective! So I was off to the races, again!!
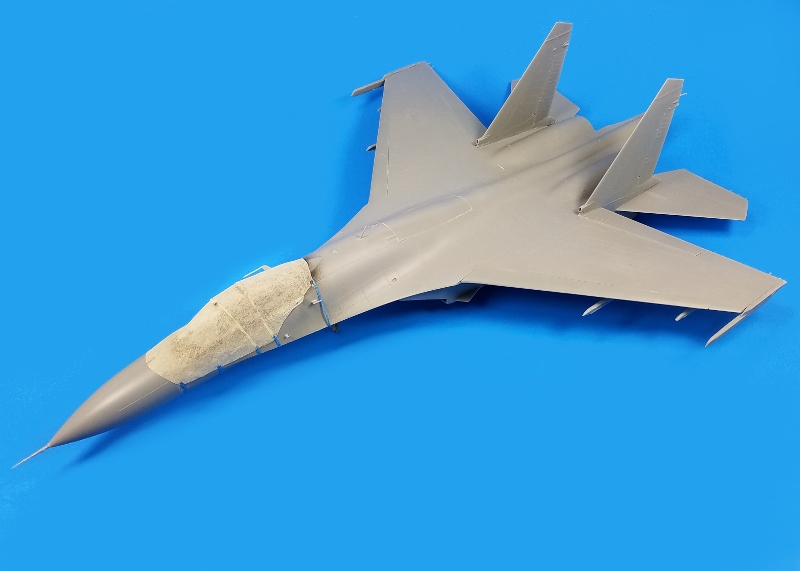
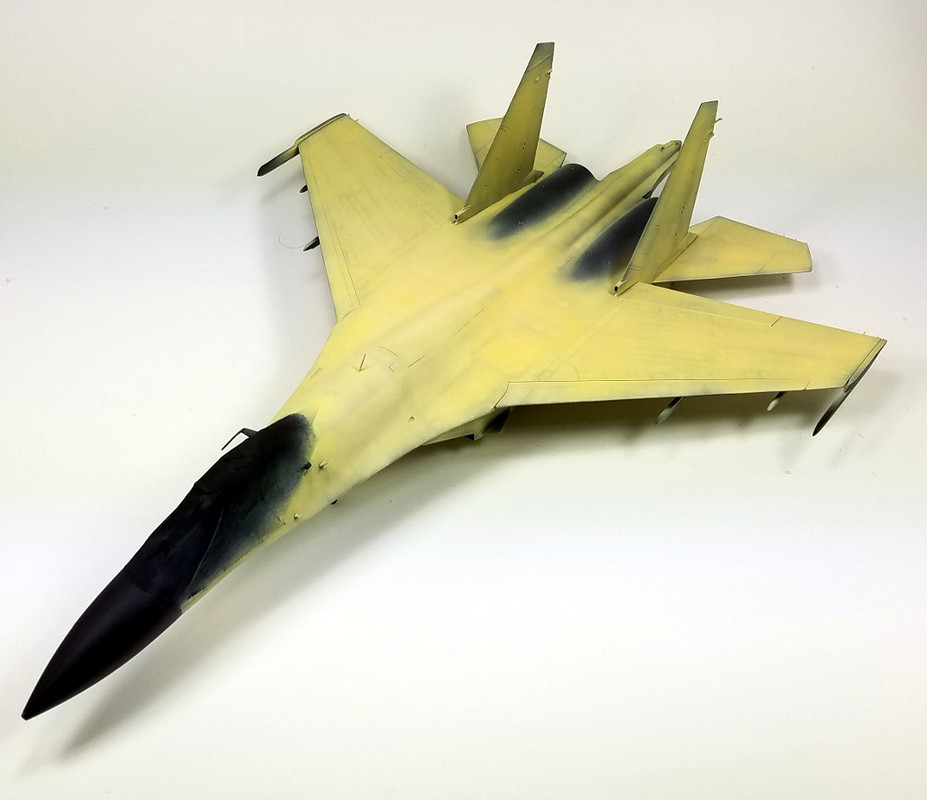
So that was that! Now this is where the "head up my butt" part came into play. I have been flirting with a mojo issue for a while. The build was helping. In the same time frame, a friend forked over a little what-if tank that he had not gotten around to paint. On top of that...the AMPS Nationals are right around the corner in April. I will be working the show doing demos, but I wanted to enter something into the contest due to the nature of the theme..."Smile for the Birdie", a theme based on building form a photograph. In walked a Pz. IV I never got fully off the ground. Long story short (we all know that is a joke after seeing all of what I wrote here...LOL), with all three of these items ready for the booth, I figured it was high time to have a priming orgy of sorts! Last night I hit the booth with all three! So in the interest of sparing you even more words written herein....
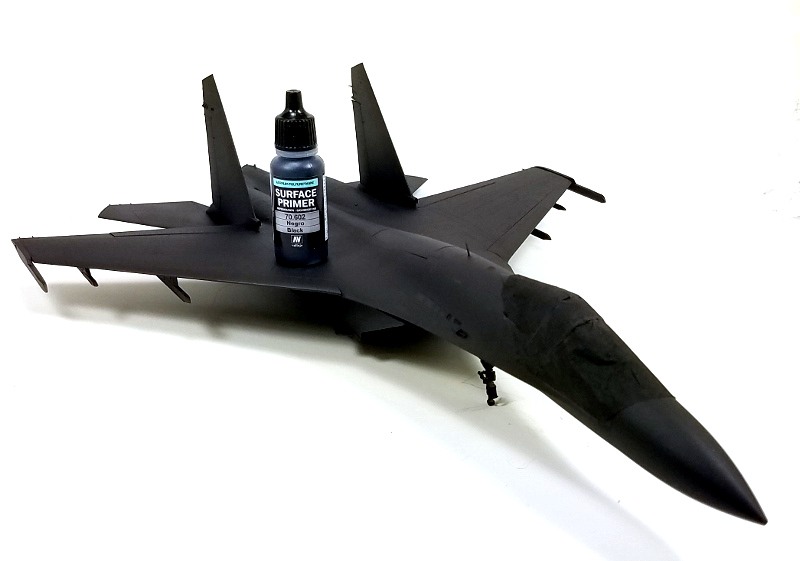
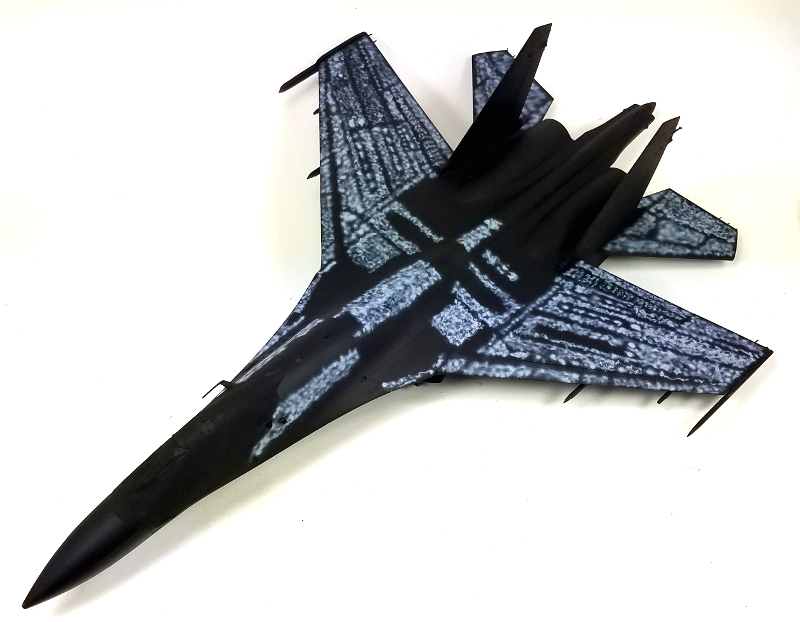
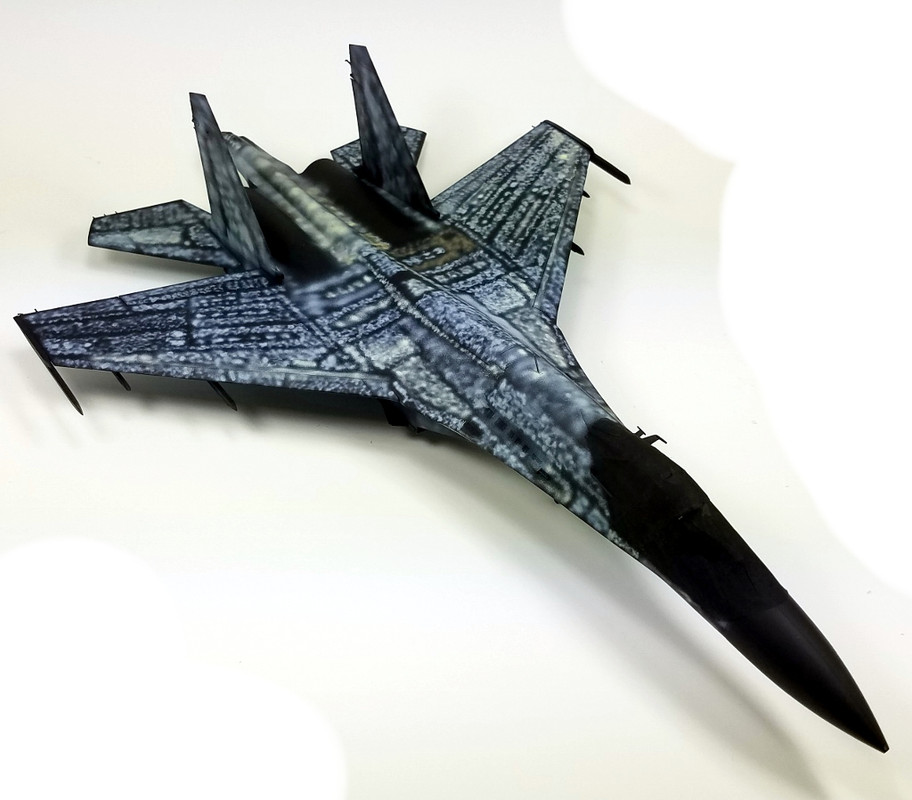
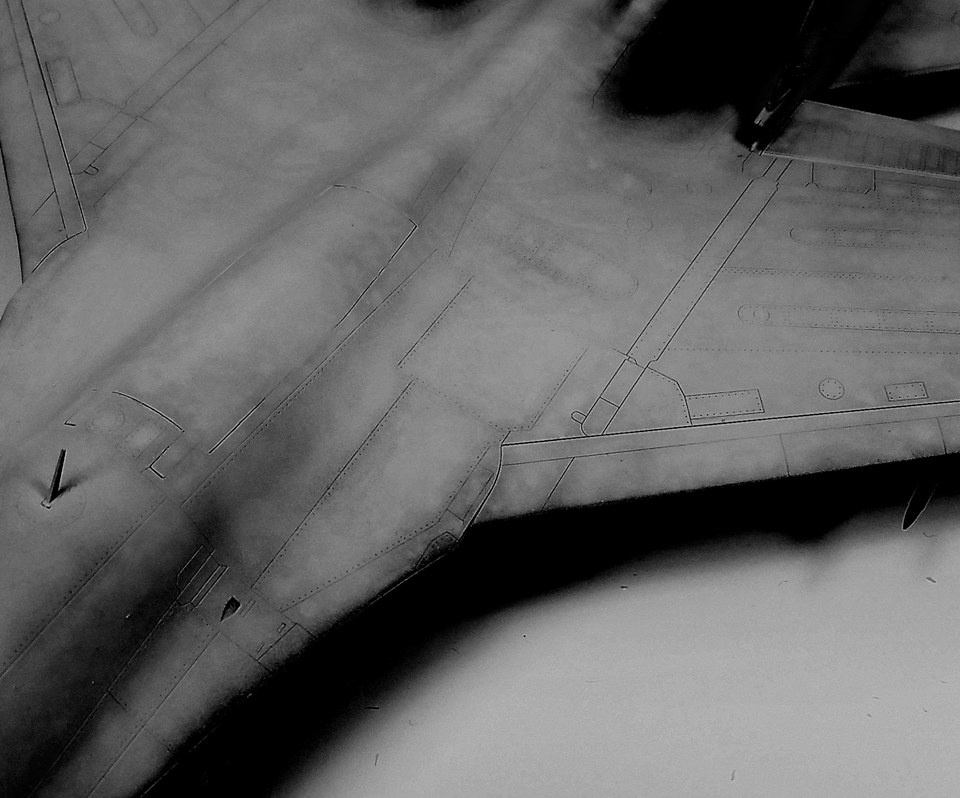
The Black Base! This is the quintessential formula to Black Basing from what I read. I plan on going after stage two of this exercise a little later today, as I am heading off to a local show in a bit; to hang out with some friends and look at models! I do have a feeling this will be working similar to the black and white technique in that various undertones from the primer base are used in conjunction with filtered top coats to bring out depth in the finish. I typically paint several base primers anyway, followed by thin coats of top colors to create depth....so I am thinking this might end up like that....but with the Black Basing effects of the mottled undercoat.
Phew.....thanks for reading along...of not looking at the pics fellas....see you after the next stage goes down!
I have been struggling to get me head out of my a$$ the past couple months. Along the way, I thought I would reach out into other genre to help spark some mojo from time to time. Not too long ago, I was actually able to complete a wingy thing, that was not a wreck, for the first time...all while playing with some of those wood decals from Uschi! In keeping myself somewhat on track, I am inspired a bit with Black Basing. Doog's had written a great article about this a while back as well as producing a fine video to help explain the process. I thought it would be fun to try!
There is a little catch in all this. I will be attempting to do this with acrylics....not to prove anyone's personal thoughts wrong about their beliefs that acrylics are the bane of their existence and that only lacquers should be used...LOL But as a personal plight in getting this effect with the tool that I already possess! While I am perfectly fine with whatever form of paint one chooses to use, I use acrylics....and I am up for the challenge!

With, and after, all that, the kit was a kind donation from a good friend, Adam (Adampolo13). I was interested in something that had a big enough wing surface to allow this technique to be actually useful....he was kind enough to hand over a kit he had little to know interest in building! The kit?
Hobby Boss' 1/48 PLA J-11B

Not being a wingy fanatic by all means, I did think the kit was not too bad actually! As will all things plastic, there is room for improvement...but that, is not what I am after....remember? Large plastic surface to play with paint!


The kit actually went together really well and quickly! The parts fit decently and I like the fact the seam line for this puppy was traversing the horizontal. If there is one thing about AC builds I dislike, it is the fuselage seam cleanup...LOL My secondary thought, was that this might make a neat "little" display at the demo booth when I hit some of the shows. So I made an attempt at painting the cockpit as some small show of faith in my quest. As I mentioned, there is always room for improvement...belts and maybe one of those resin Aires seats or something to that effect, would dial this right in....


See, not too bad...at least I thought...LOL But this is where things got a little out of hand for me on the build end. I was polishing the canopy and I had an accident. It seems that the seam line is not always a good seam!
 A little too much pressure snapped the seam along the line rendering the part useless. I check with Hobby Boss and Squadron for a replacement part...but one does not actually exist. This being a Flanker basically, I probably could have spent another hour of my life trying to play mix and match with part numbers and ind one, but in the end, does it really matter? Nope! LOL I will say, Hobby Boss did contact me back, as did Squadron in an effort to help direct me to finding a part....that did not actually exist...but it was the thought that counts, right?
 So anyway, after a little chat with Jimmy D over something unrelated, he enlightened me in the solution for the problem...a canopy cover. Simple and effective! So I was off to the races, again!!

So that was that! Now this is where the "head up my butt" part came into play. I have been flirting with a mojo issue for a while. The build was helping. In the same time frame, a friend forked over a little what-if tank that he had not gotten around to paint. On top of that...the AMPS Nationals are right around the corner in April. I will be working the show doing demos, but I wanted to enter something into the contest due to the nature of the theme..."Smile for the Birdie", a theme based on building form a photograph. In walked a Pz. IV I never got fully off the ground. Long story short (we all know that is a joke after seeing all of what I wrote here...LOL), with all three of these items ready for the booth, I figured it was high time to have a priming orgy of sorts! Last night I hit the booth with all three! So in the interest of sparing you even more words written herein....

The Black Base! This is the quintessential formula to Black Basing from what I read. I plan on going after stage two of this exercise a little later today, as I am heading off to a local show in a bit; to hang out with some friends and look at models! I do have a feeling this will be working similar to the black and white technique in that various undertones from the primer base are used in conjunction with filtered top coats to bring out depth in the finish. I typically paint several base primers anyway, followed by thin coats of top colors to create depth....so I am thinking this might end up like that....but with the Black Basing effects of the mottled undercoat.
Phew.....thanks for reading along...of not looking at the pics fellas....see you after the next stage goes down!


