Post by TRM on Dec 9, 2011 20:43:23 GMT -5
Hey Z!! (Or anybody else that might be interested)…. 
Small, quick-n-dirty SBS on chipping to get the “bubbled paint” effect
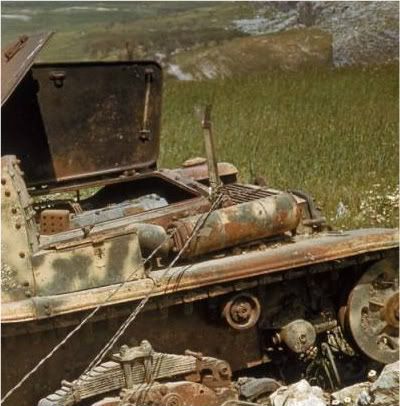
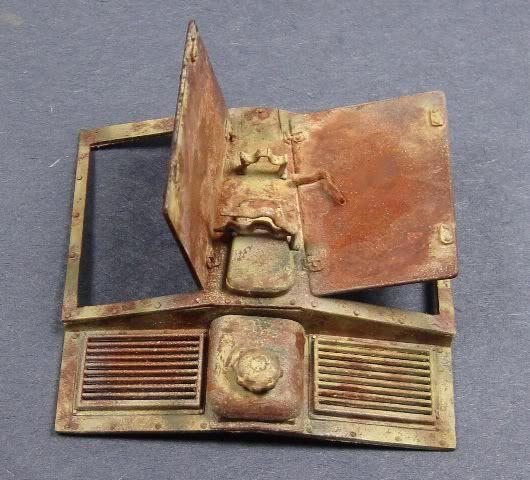
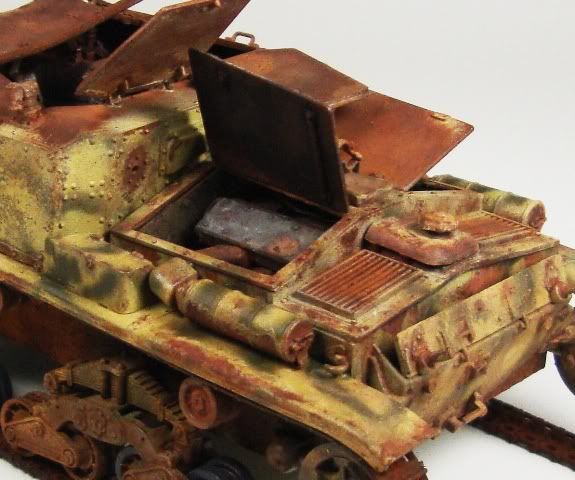
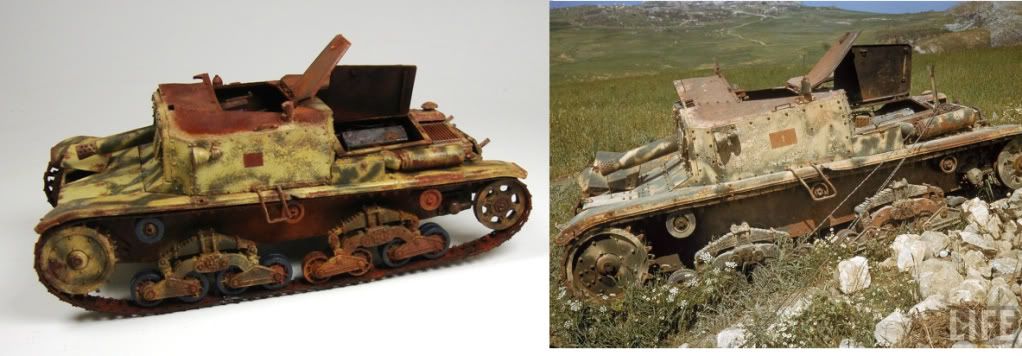
Earlier in my post I showed this picture of the exhaust from Somevente.
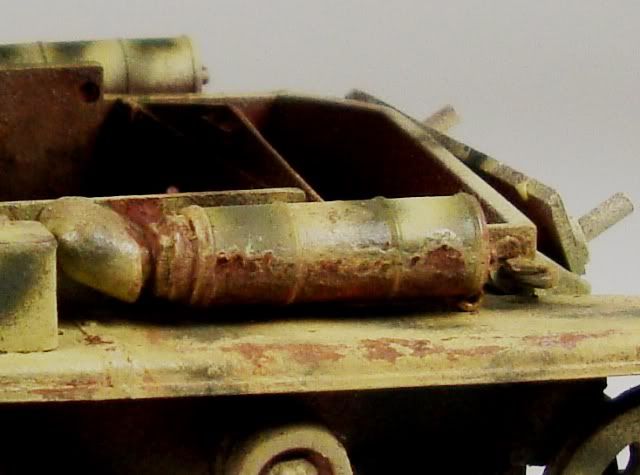
Like in the original picture, the thinner gauged metal that surrounds the exhaust pipe rusted a lot different that the thickly plated armor on the tank.
Taking the rear deck,
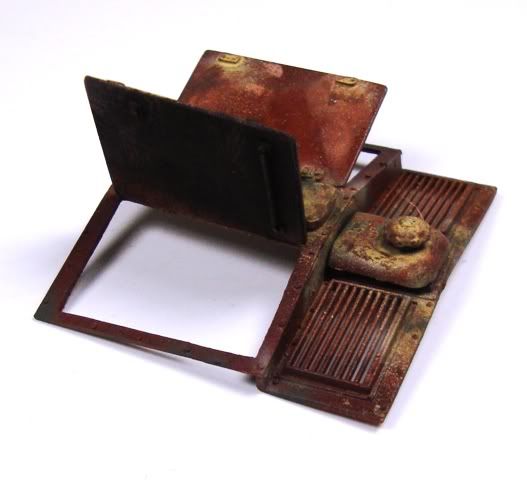
which I needed to spray some color on after I missed a section, I made sure the base was sealed with a clear coat. I had used Testor’s rattle can for this. After this was dry, I applied some hairspray….yup, let that dry too.
Now I needed to applied some of the tanks color.
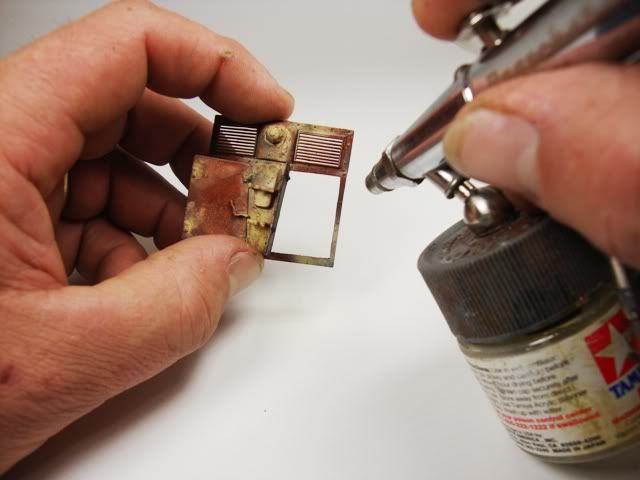
After a quick shooting of the base, a little of the camo coloring.
Then laughing at all the over spray I ended up with
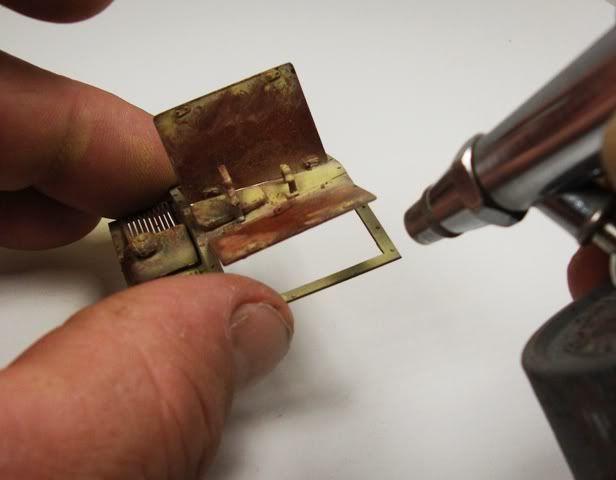
At this point I will tell you that it is far better to wait the 24 hours for the paint to cure a bit before trying this chipping. It is far easier to “move” paint after it cures a little. I am speeding things up a bit here just to show the processes involved. If you were lightly chipping some corners and/or things like hinges and such, a little warm water and a decent stiff brush would more than handle it.
For the “blistered paint” I used Alcohol and water. I used two different brushed. A junky old short haired brush and a semi-fine pointed brush, The white pointed cotton swab, or, Buds in the picture are from Tamiya. They are similar to the buds but the are extremely stiff and have that nice little point on them. You can use a softened toothpick instead.
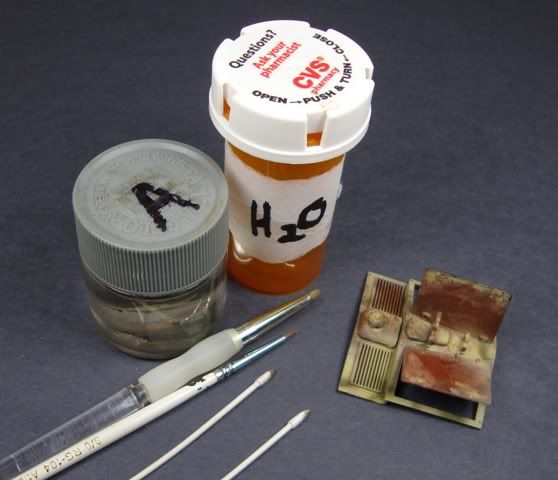
I actually started in an area that was painted yesterday so it would be a little more cured.
I dabbed the tiniest of drops of Alcohol directly onto the area I need to chip. After no more than a couple seconds, I lightly touched the swab (bud) to the area.
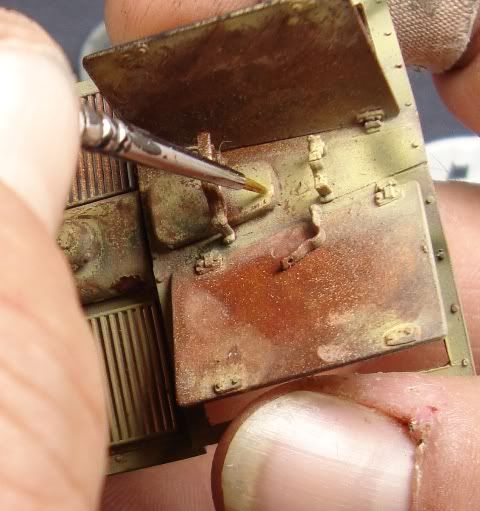
Not scrubbing and not picking, I gently pushed the paint out in the direction I wanted the flaked, bubbled paint to be.
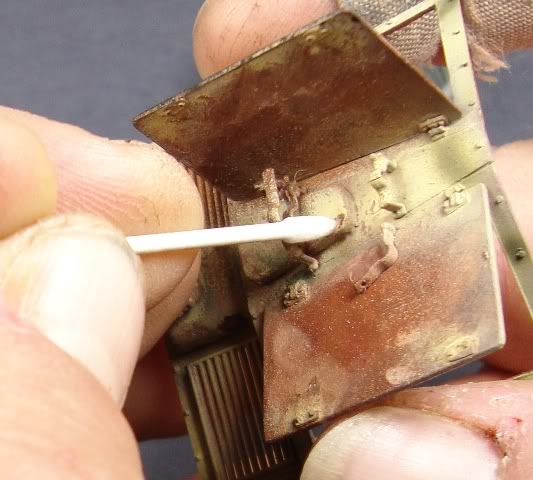
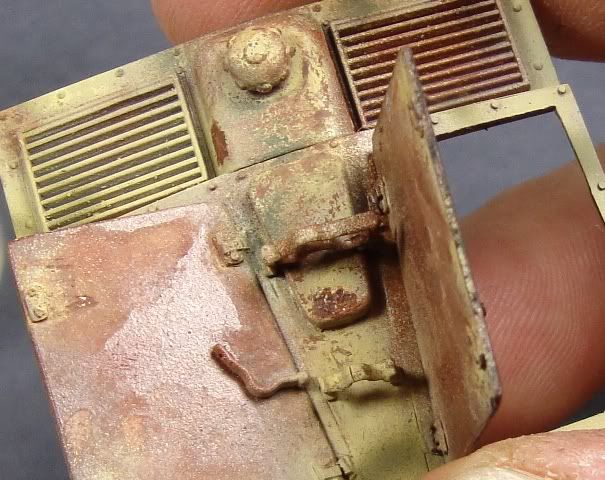
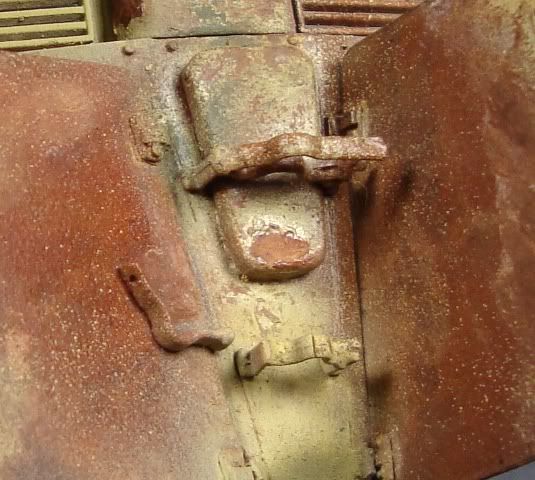
Smoothed it out a bit with a damp brush with water. You can see the built up paint at the top there. Just enough I think to give the impression that rust is bubbling under there.
I also could use the stiff bristled brush in the same fashion, pushing the paint lightly with the bristles being careful not to wipe off the paint that I have moved.
Of course I need to finish the chipping to the rear deck and remove all the lovely over spray. Now it pretty much ready to go in.
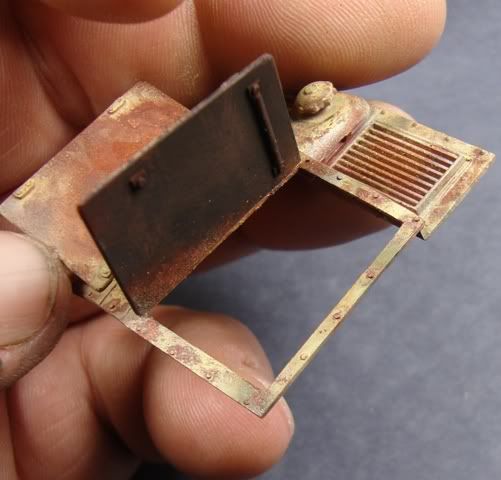
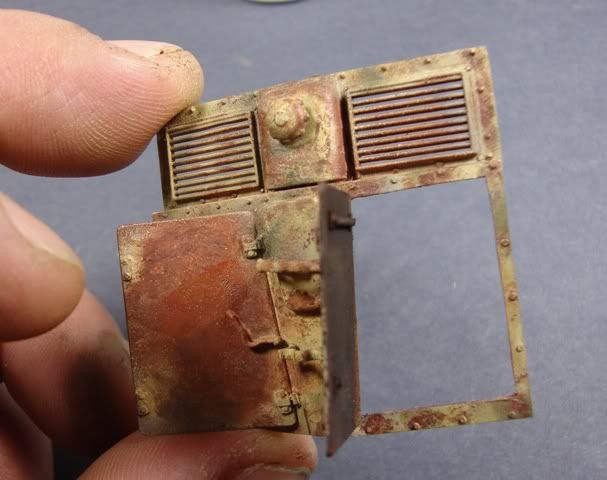
I still have a little over spray to take care of and some washes and such!
I hope I explained kind of what I did OK for you Z and I hope some of this helps.
Thanks for stopping by!!

Small, quick-n-dirty SBS on chipping to get the “bubbled paint” effect
Earlier in my post I showed this picture of the exhaust from Somevente.

Like in the original picture, the thinner gauged metal that surrounds the exhaust pipe rusted a lot different that the thickly plated armor on the tank.

Taking the rear deck,

which I needed to spray some color on after I missed a section, I made sure the base was sealed with a clear coat. I had used Testor’s rattle can for this. After this was dry, I applied some hairspray….yup, let that dry too.
Now I needed to applied some of the tanks color.

After a quick shooting of the base, a little of the camo coloring.
Then laughing at all the over spray I ended up with


At this point I will tell you that it is far better to wait the 24 hours for the paint to cure a bit before trying this chipping. It is far easier to “move” paint after it cures a little. I am speeding things up a bit here just to show the processes involved. If you were lightly chipping some corners and/or things like hinges and such, a little warm water and a decent stiff brush would more than handle it.
For the “blistered paint” I used Alcohol and water. I used two different brushed. A junky old short haired brush and a semi-fine pointed brush, The white pointed cotton swab, or, Buds in the picture are from Tamiya. They are similar to the buds but the are extremely stiff and have that nice little point on them. You can use a softened toothpick instead.

I actually started in an area that was painted yesterday so it would be a little more cured.
I dabbed the tiniest of drops of Alcohol directly onto the area I need to chip. After no more than a couple seconds, I lightly touched the swab (bud) to the area.

Not scrubbing and not picking, I gently pushed the paint out in the direction I wanted the flaked, bubbled paint to be.


Smoothed it out a bit with a damp brush with water. You can see the built up paint at the top there. Just enough I think to give the impression that rust is bubbling under there.
I also could use the stiff bristled brush in the same fashion, pushing the paint lightly with the bristles being careful not to wipe off the paint that I have moved.
Of course I need to finish the chipping to the rear deck and remove all the lovely over spray. Now it pretty much ready to go in.


I still have a little over spray to take care of and some washes and such!

I hope I explained kind of what I did OK for you Z and I hope some of this helps.

Thanks for stopping by!!


 I have witnesses, remember?
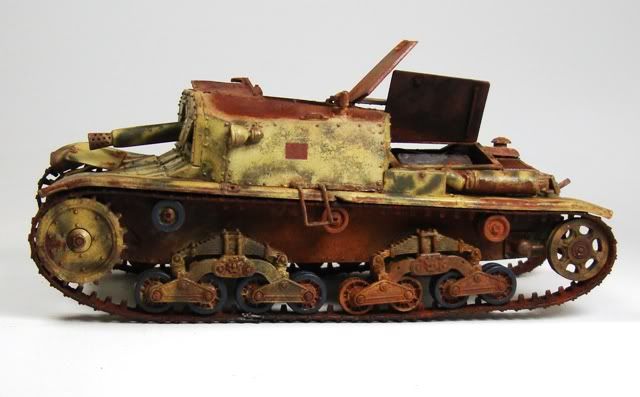
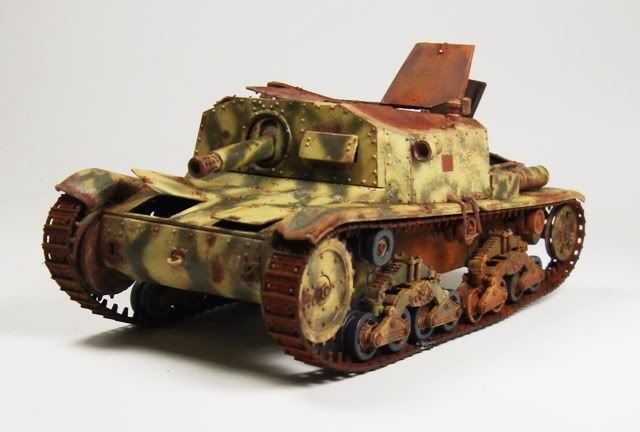
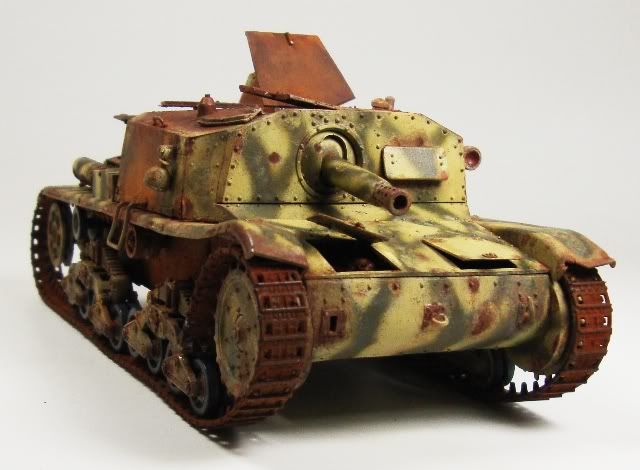
 ...bad press is still better than good press any day


