fhvn4d
Full Member
  
Member since: October 2012
Posts: 439
Oct 1, 2012 6:30:09 GMT -5
Oct 1, 2012 6:30:09 GMT -5
|
Post by fhvn4d on May 6, 2017 15:24:00 GMT -5
Hey gang, time to start on my next endeavor, while the rest sit idle for a few months LOL. Gonna be one Renwal Kit straight OOB for its classic-ness and another History Makers Revell re-pop with max attention to adding detail and somewhat accurizing ( its 1/32nd scale so might be tough). 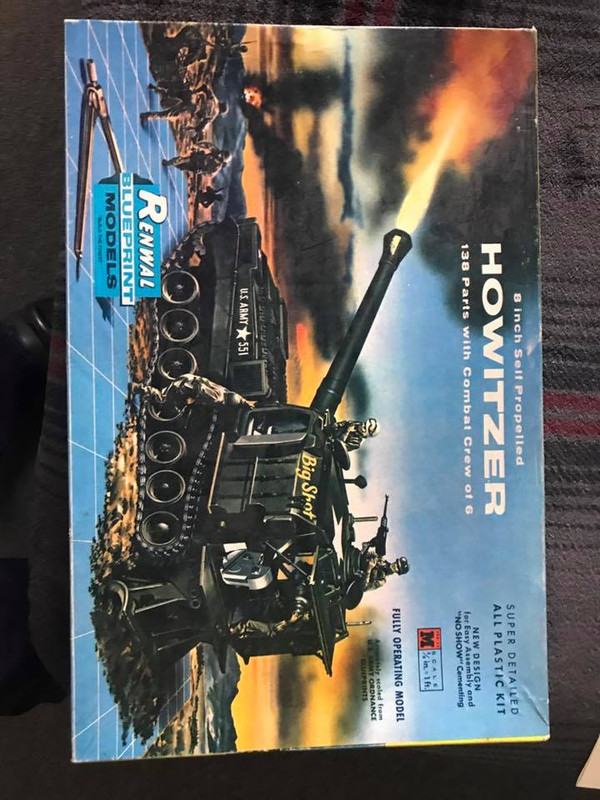 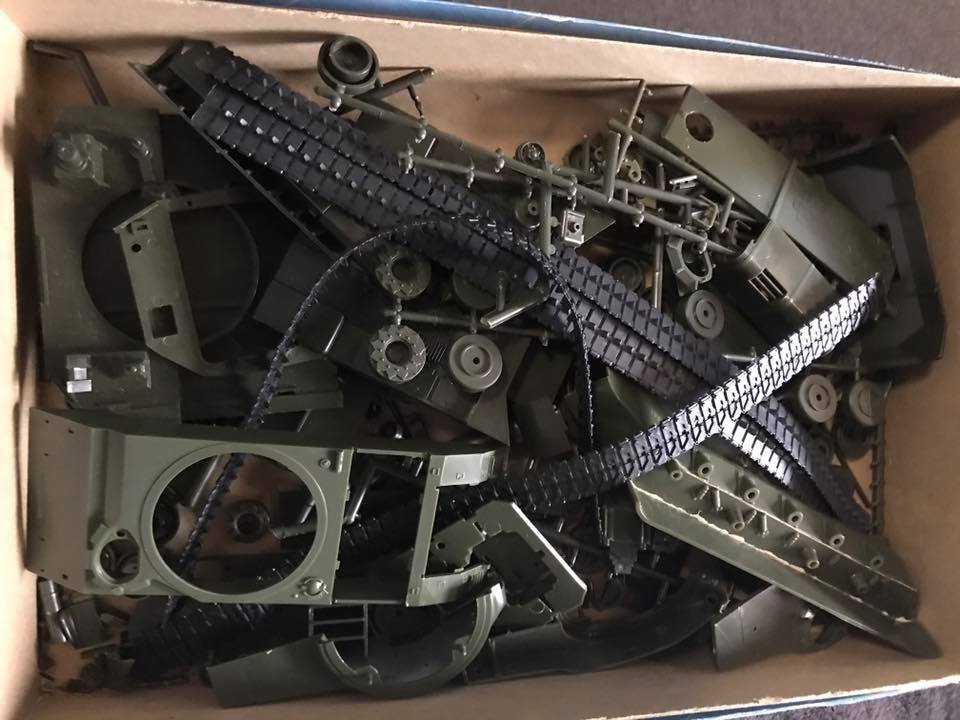 Much of the parts have fallen off the sprues already 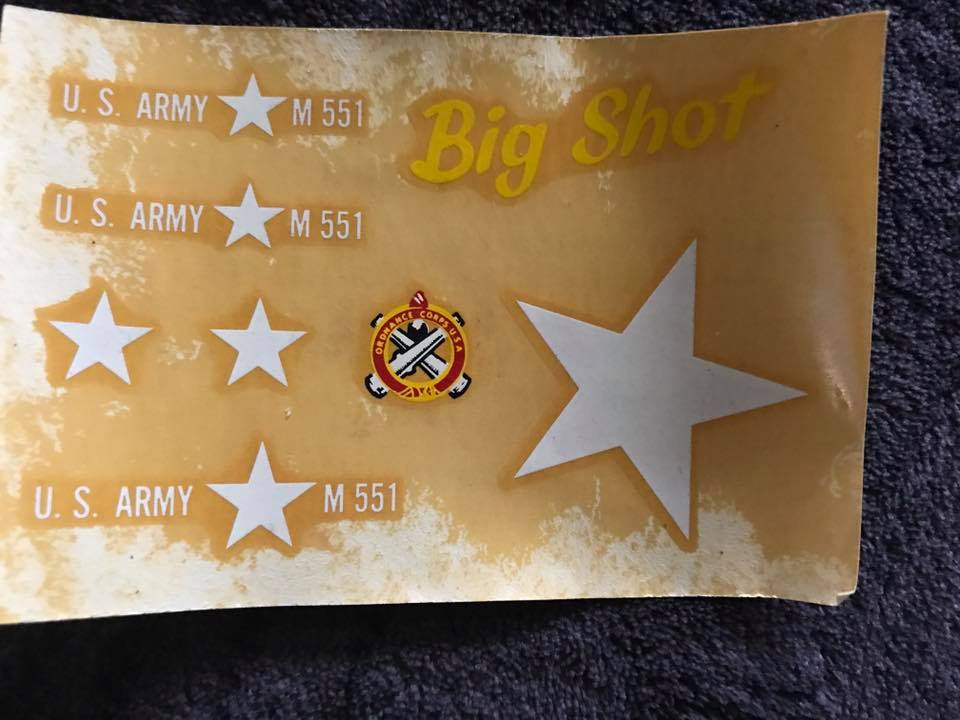 I really love the old style instructions with written steps AND visuals 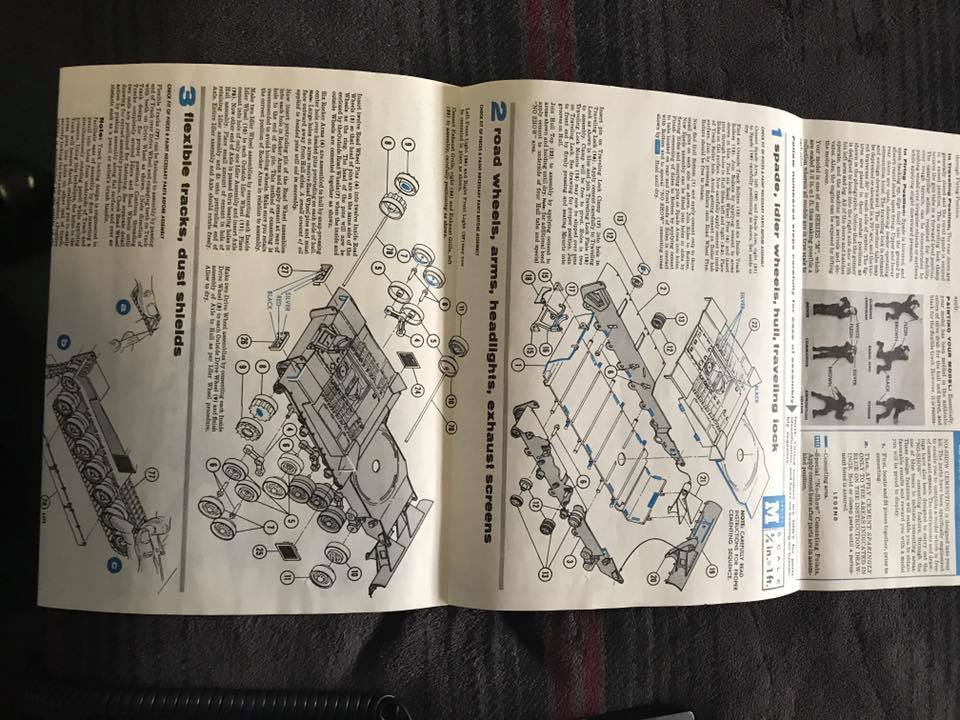 |
|
|
|
Post by Leon on May 6, 2017 15:48:55 GMT -5
Nice Brian! I'll be following along.
|
|
|
|
Post by TRM on May 6, 2017 16:07:28 GMT -5
Dueling with yourself...I like it! Tough to know whether or not this is kit based or with one of your alter-egos!  Best of luck on the build! That box looks a lot like my bench!  |
|
fhvn4d
Full Member
  
Member since: October 2012
Posts: 439
Oct 1, 2012 6:30:09 GMT -5
Oct 1, 2012 6:30:09 GMT -5
|
Post by fhvn4d on May 6, 2017 18:50:56 GMT -5
Dueling with yourself...I like it! Tough to know whether or not this is kit based or with one of your alter-egos!  Best of luck on the build! That box looks a lot like my bench!  a clean bench is a sign of a sick mind....... |
|
|
|
Post by TRM on May 6, 2017 18:58:33 GMT -5
Well then I am sick enough to want my bench clean...but too stupid to do anything about it!  |
|
fhvn4d
Full Member
  
Member since: October 2012
Posts: 439
Oct 1, 2012 6:30:09 GMT -5
Oct 1, 2012 6:30:09 GMT -5
|
Post by fhvn4d on May 7, 2017 13:47:16 GMT -5
Off to a rough start... starting with the road wheels and idlers, I have found that I am missing either the mounting pins or the face wheel of about half a dozen wheels! taking out the Micrometer gave me dimensions on the pins I need to make, and those will be easy enough. The road wheels..... Looks like Im going to have to learn how to make 2 part molds soon (Im cheating parts off the second kit to finish the first out of boxes.... the second kit gonna have some serious making sh** up parts on it LOL ) 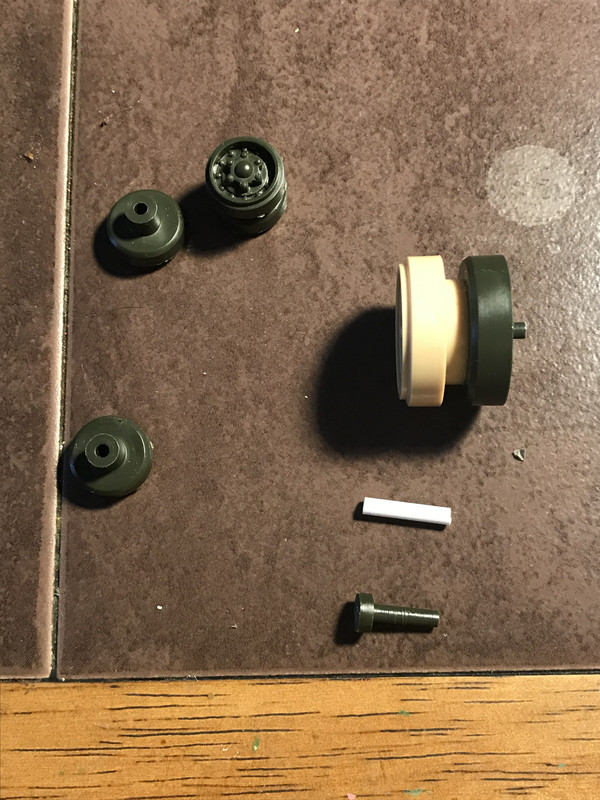 |
|
fhvn4d
Full Member
  
Member since: October 2012
Posts: 439
Oct 1, 2012 6:30:09 GMT -5
Oct 1, 2012 6:30:09 GMT -5
|
Post by fhvn4d on May 7, 2017 13:48:18 GMT -5
The PLUS side...is that mixed in with that M-55 is an M-41 Walker Bulldog.... slap that together and its gonna become test subject for who knows what  |
|
|
|
Post by Leon on May 7, 2017 14:05:43 GMT -5
Looks like you have your work cut out for you Brian!  |
|
fhvn4d
Full Member
  
Member since: October 2012
Posts: 439
Oct 1, 2012 6:30:09 GMT -5
Oct 1, 2012 6:30:09 GMT -5
|
Post by fhvn4d on May 7, 2017 15:49:07 GMT -5
AND on top of it all.. it appears my model has developed chicken pox!!! LOL 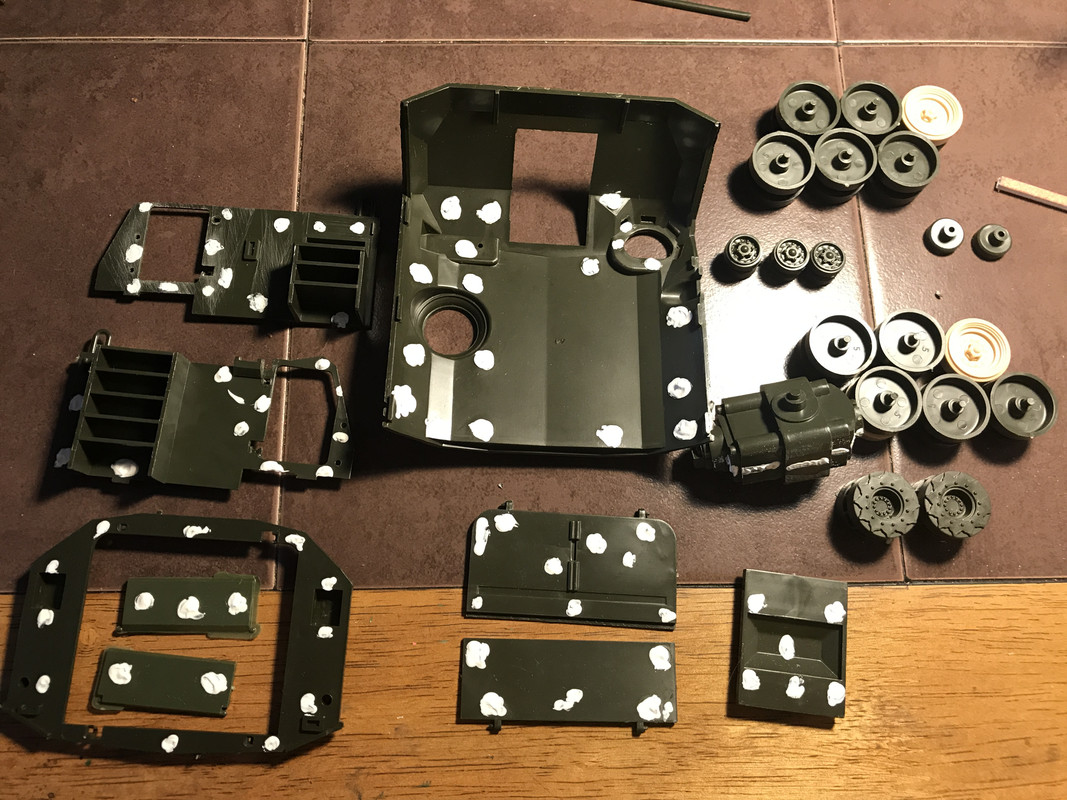 |
|
|
|
Post by TRM on May 7, 2017 16:23:33 GMT -5
EPM City! Way to attack the situation!
|
|
fhvn4d
Full Member
  
Member since: October 2012
Posts: 439
Oct 1, 2012 6:30:09 GMT -5
Oct 1, 2012 6:30:09 GMT -5
|
Post by fhvn4d on May 7, 2017 17:03:43 GMT -5
you know me... I'm that twisted guy that likes sanding ..... plus figure slappin this together will give me a nice big canvas to practice painting..... and maybe inspire me to get some more stuff done on the Stuart now that I have like 6 months to FINISH that
|
|
|
|
Post by TRM on May 7, 2017 17:13:16 GMT -5
Six months is a good lead-time!  "Practice Painting"....a favorite pastime of mine!! |
|
|
|
Post by Leon on May 7, 2017 17:41:59 GMT -5
What other surprises is this kit holding?  Painting practice sounds good.  |
|
fhvn4d
Full Member
  
Member since: October 2012
Posts: 439
Oct 1, 2012 6:30:09 GMT -5
Oct 1, 2012 6:30:09 GMT -5
|
Post by fhvn4d on May 11, 2017 5:14:47 GMT -5
Bits of progress made..... based on the number of road wheels and return rollers I need for this kit, the second one is going to start with some SERIOUS mold making work..... 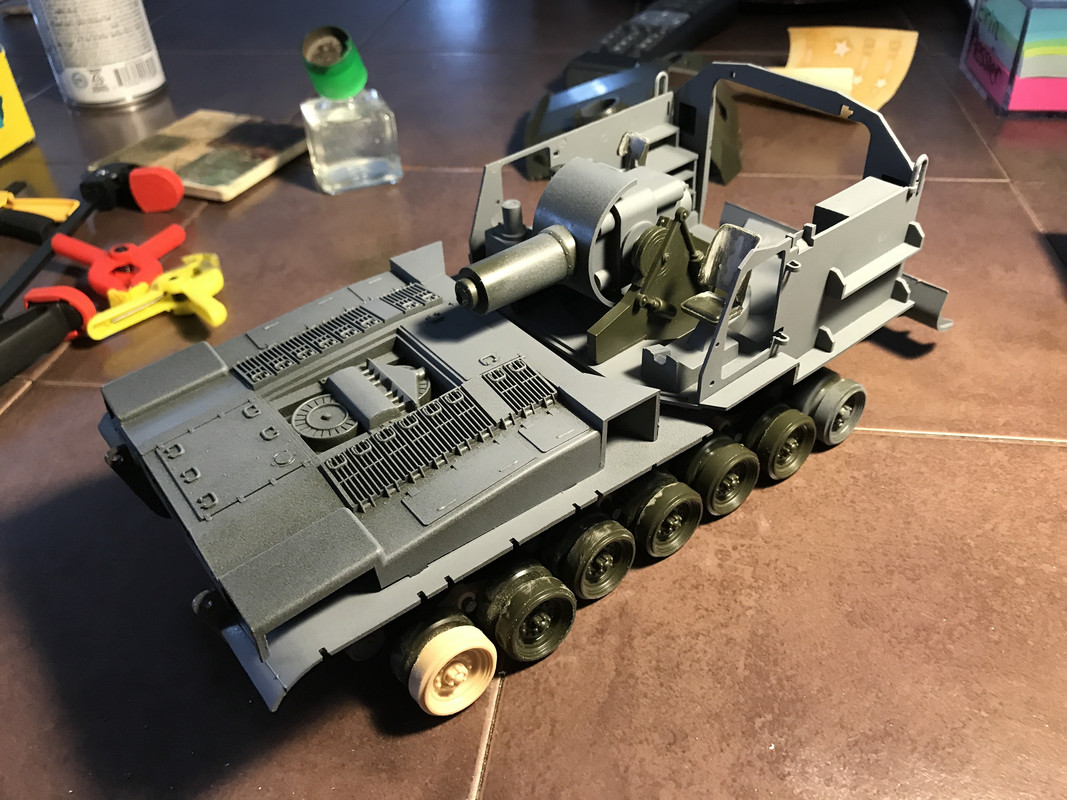 Thankfully the missing wheel pins (about 8 of them) are very easily replaced with 2.5mm styrene rod.  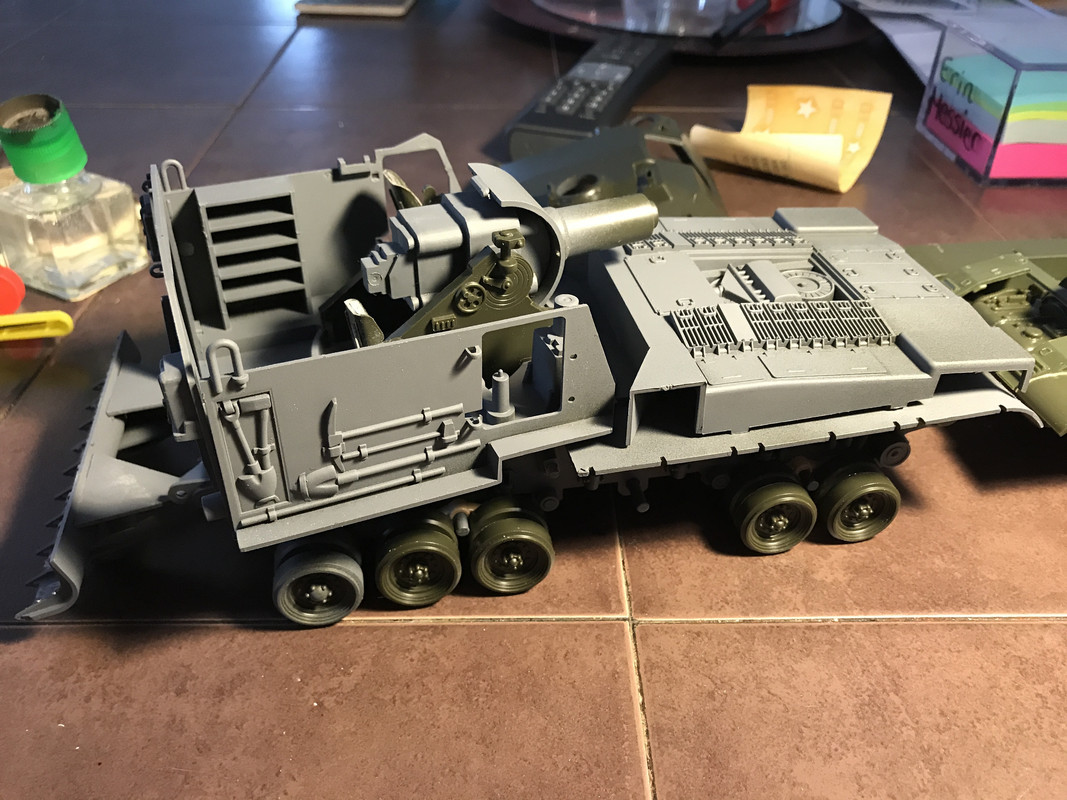 As I sit here and look at the last two photographs, it has always irked me that this kit is so basic that it doesnt even use torson bars to replicate the suspension accurately, but then I thought back to when I was 7, and I remembered... these werent just things to build and put on a shelf, they were to be PLAYED WITH! (occasionally blown up as we got older). The toylike parts brought me back to simpler times and reminded me, this thing lacks fine detail because it was meant to be a toy after! 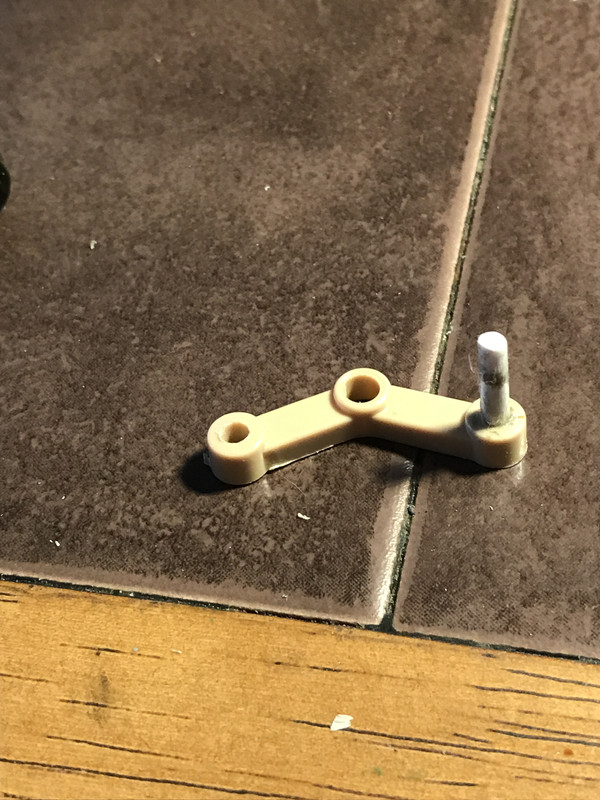 |
|
|
|
Post by Tojo72 on May 11, 2017 8:03:35 GMT -5
Making nice progress,looks good so far.
|
|
|
|
Post by Leon on May 11, 2017 9:10:58 GMT -5
Looks like your getting the upper hand on this Brian!
|
|
|
|
Post by TRM on May 11, 2017 11:59:26 GMT -5
Beat this one into submission my friend!  |
|
fhvn4d
Full Member
  
Member since: October 2012
Posts: 439
Oct 1, 2012 6:30:09 GMT -5
Oct 1, 2012 6:30:09 GMT -5
|
Post by fhvn4d on May 15, 2017 17:07:31 GMT -5
got some more progress made on the OOB build. I glued the top to the sides and bottom of the gun pit, and added the barrel pieces. Re-sanded some ejector pin marks (theres tons of them). Painted the interior with an off white from Vallajo, and thats that. Im not putting too much effort into this since its OOB and I want to keep the kit as true to its molding as I can. I also scored another History Makers kit via Ebay, not a bad grab at 18 dollars. It will give me all the parts I need for the second build and will give me extra parts to have if I wanna cut things up or take a grinder to them to start from scratch....   |
|
|
|
Post by Leon on May 15, 2017 19:49:24 GMT -5
Nice progress Brian! Coming along nicely.
|
|
|
|
Post by TRM on May 16, 2017 6:37:14 GMT -5
Looking good Brian!  |
|