flmlm
Full Member
  
Member since: March 2016
Crack open that kit and smell the build ????
Posts: 170 
|
Post by flmlm on Jan 17, 2018 10:13:21 GMT -5
Very nice work.
Regards
Mike
|
|
thug626
Senior Member
   
Member since: January 2013
Posts: 2,035
Jan 15, 2013 13:05:28 GMT -5
Jan 15, 2013 13:05:28 GMT -5
|
Post by thug626 on Jan 21, 2018 20:04:23 GMT -5
Mike Good evening and thank you for the compliment. The track runs are built and painted. There will be a small bit of touch up painting after they are mounted. 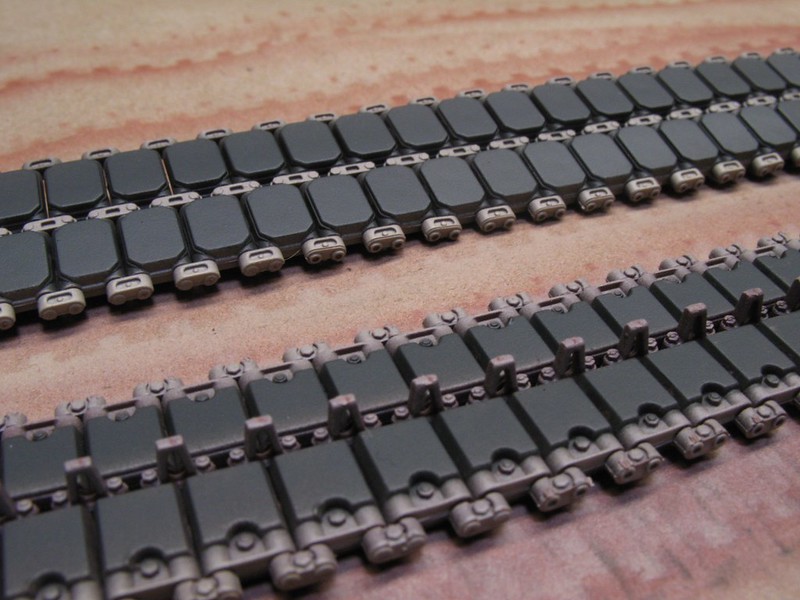 Pre wash and weathering pic 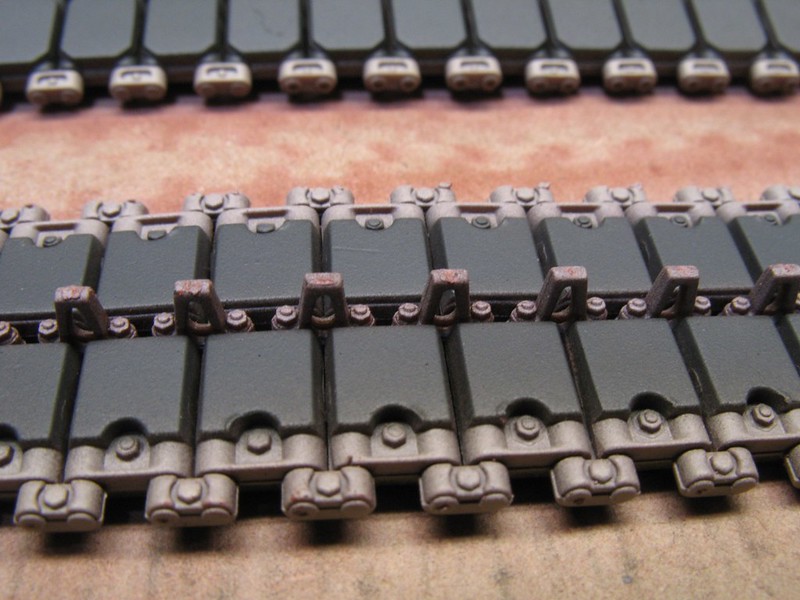 The road side view of the track. 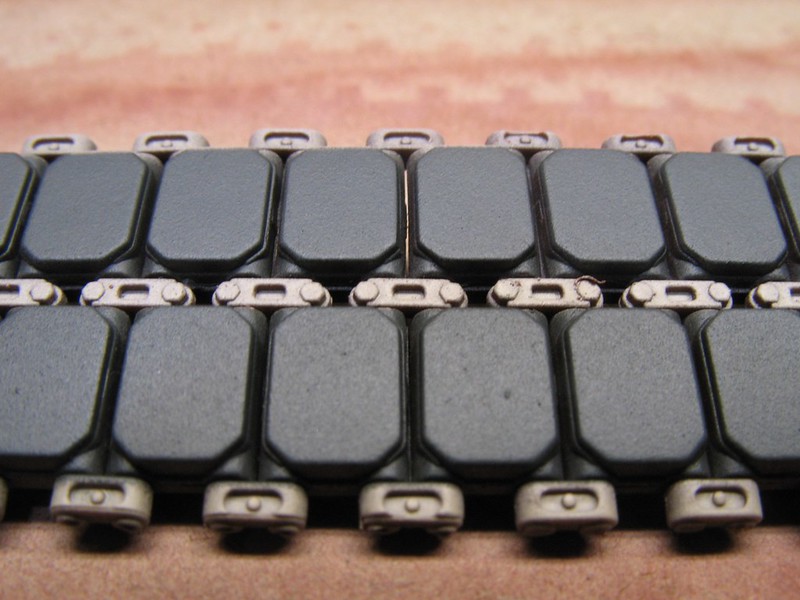 The left side is dry fitted, but it'll stay here until I am ready to join ends. The instructions call for 81 links per side, and it fits! 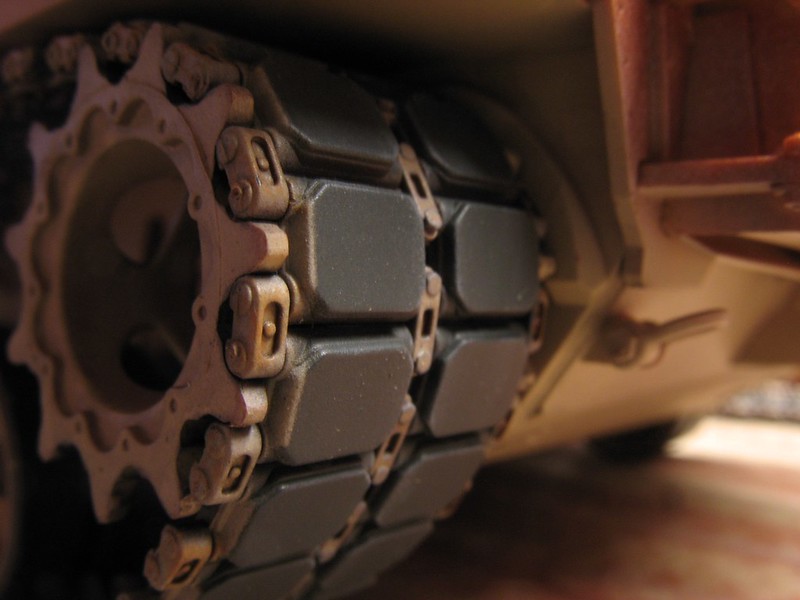
|
|
|
|
Post by TRM on Jan 21, 2018 20:25:37 GMT -5
Very nice Dave! Always good to see the sneakers go on!
|
|
|
|
Post by Leon on Jan 21, 2018 20:37:40 GMT -5
Really nice progress there Dave!  I've used that oiled earth wash on my German armor and like it.  |
|
|
|
Post by Leon on Jan 22, 2018 4:35:54 GMT -5
Tracks look great Dave!
|
|
mrversatile
Full Member
   July '23 Showcased Build Awarded
Member since: January 2013
Posts: 682
Jan 20, 2013 10:52:24 GMT -5
Jan 20, 2013 10:52:24 GMT -5
|
Post by mrversatile on Jan 22, 2018 8:17:03 GMT -5
Very nice progress, Dave, and fast too.
|
|
sturmbird
Full Member
  
Member since: June 2012
Posts: 1,406
Jun 21, 2012 13:51:45 GMT -5
Jun 21, 2012 13:51:45 GMT -5
|
Post by sturmbird on Jan 22, 2018 14:18:10 GMT -5
Dave, not tryin to be a butthead, but aren't the road wheel and idler wheel center caps supposed to be clear so the crew can visually check the oil level? they are a smoke colored plastic. Kinda shiny looking. The final drive unit cap is different, and there is a lock out unit built into it. gary |
|
sturmbird
Full Member
  
Member since: June 2012
Posts: 1,406
Jun 21, 2012 13:51:45 GMT -5
Jun 21, 2012 13:51:45 GMT -5
|
Post by sturmbird on Jan 22, 2018 14:28:03 GMT -5
Joel, you’re not being a butthead. It’s actually a good point. At some point they did switch over to clear covers for the reason you stated. Not everyone had them all at once. I worked on the Abrams project from the get go, and never saw one that wasn't clear plastic. After they once get oil in them, they become a smoke colored. Final drives might have changed in the very late eighties, as we no longer did that part. The contractors seemed to change every thirty six months after that. So they could be different, but doubt it. gary |
|
thug626
Senior Member
   
Member since: January 2013
Posts: 2,035
Jan 15, 2013 13:05:28 GMT -5
Jan 15, 2013 13:05:28 GMT -5
|
Post by thug626 on Jan 23, 2018 0:11:41 GMT -5
TRM Thank you kindly sir. It does kind of flesh out the beast.
Leon Thank you very much my good man. I had forgotten I had it.
Mrversatile Thank you kindly my good man. It builds up rather easily.
Gary Thank you very much for the info on this beastie. I am always looking for info.
|
|
|
|
Post by wing_nut on Jan 23, 2018 20:04:42 GMT -5
Mmmmm....making me feel all squishy
|
|
thug626
Senior Member
   
Member since: January 2013
Posts: 2,035
Jan 15, 2013 13:05:28 GMT -5
Jan 15, 2013 13:05:28 GMT -5
|
Post by thug626 on Jan 26, 2018 0:26:06 GMT -5
Good evening everyone. I want to thank you all for you time you've taken to have a gander, and for the support. The bench may be down for a bit. This flu aftermath has devolved in pneumonia, and it had smoked me. So, stay tuned, there will be updates. Just not as soon as I'd like. Thank you all.
|
|
|
|
Post by Leon on Jan 26, 2018 4:42:15 GMT -5
The updates can wait Dave!  Hope you feel better soon.  |
|
|
|
Post by Tojo72 on Jan 26, 2018 6:39:03 GMT -5
Man,the details are really bringing it alive.
|
|
thug626
Senior Member
   
Member since: January 2013
Posts: 2,035
Jan 15, 2013 13:05:28 GMT -5
Jan 15, 2013 13:05:28 GMT -5
|
Post by thug626 on Jan 27, 2018 14:40:00 GMT -5
Leon, Thank you kindly for the well wishes my good man. It's getting better. I may even check out the bench today, and make some progress.
Anthony, Thank you very much for the compliment. I hope your settling into retirement my good man.
|
|
thug626
Senior Member
   
Member since: January 2013
Posts: 2,035
Jan 15, 2013 13:05:28 GMT -5
Jan 15, 2013 13:05:28 GMT -5
|
Post by thug626 on Jan 28, 2018 23:52:58 GMT -5
Well, the cabin fever started hitting hard today. Not a fan of being idled, and not having much of an energy reserve, I did the one thing I've been wanting to. I hit the bench. The Abrams now has a full compliment of tracks on. 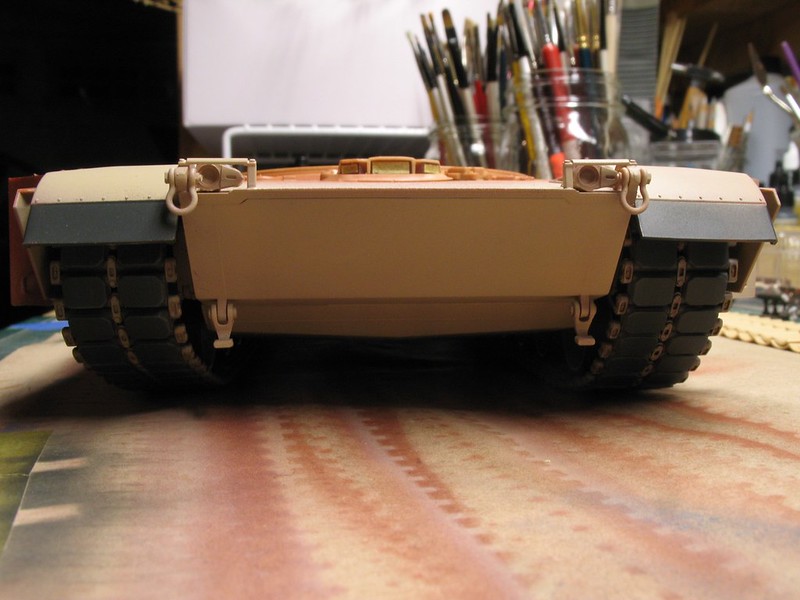 As you can see there is a bit of painting left to do. Looking to scorching the grill for the turbine exhaust. 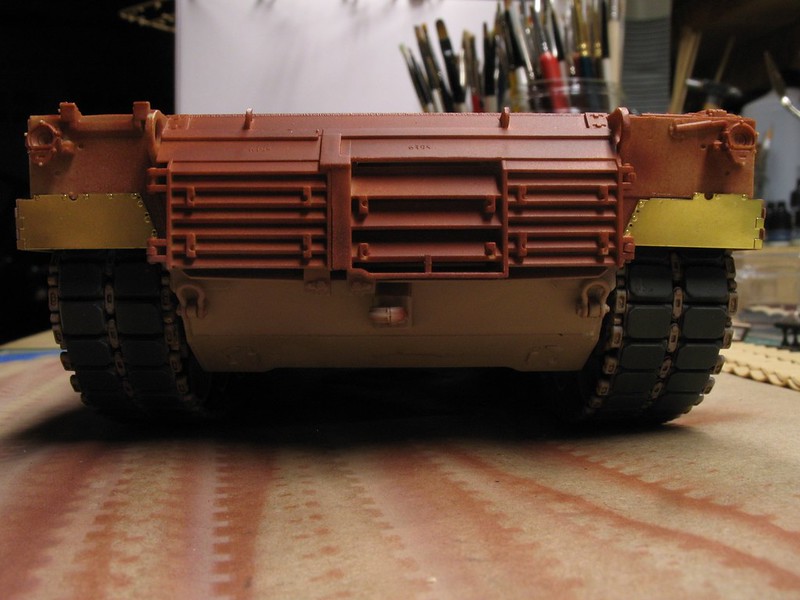 A couple of shots of the beginnings of the TUSK II armor for the hull. 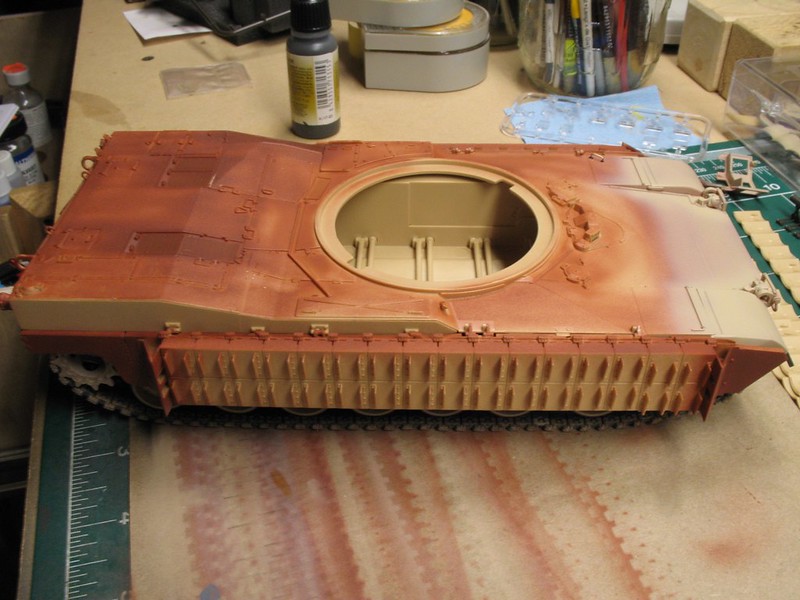
 |
|
|
|
Post by Leon on Jan 29, 2018 4:39:24 GMT -5
Glad to see you back at the bench and making progress Dave!  |
|
thug626
Senior Member
   
Member since: January 2013
Posts: 2,035
Jan 15, 2013 13:05:28 GMT -5
Jan 15, 2013 13:05:28 GMT -5
|
Post by thug626 on Jan 29, 2018 13:12:03 GMT -5
Thank you kindly Leon. It felt great to be doing something other than converting O2 to CO2.  |
|
thug626
Senior Member
   
Member since: January 2013
Posts: 2,035
Jan 15, 2013 13:05:28 GMT -5
Jan 15, 2013 13:05:28 GMT -5
|
Post by thug626 on Feb 3, 2018 23:49:29 GMT -5
There has been progress made the last couple of days. I've gotten the secondary armaments done. Here's the Ma Deuce for the commander. The rounds are painted with Vallejo Copper and AK Brass. The Links were painted with Vallejo Tyre Black. 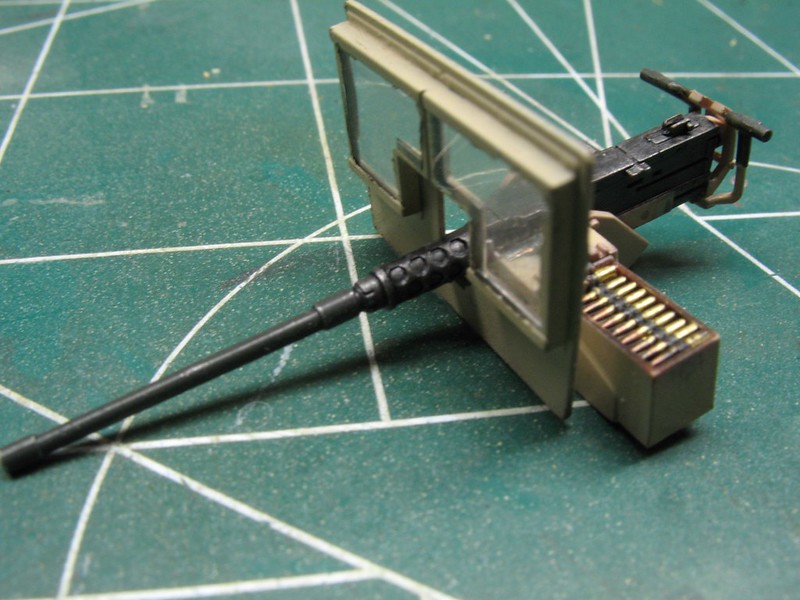
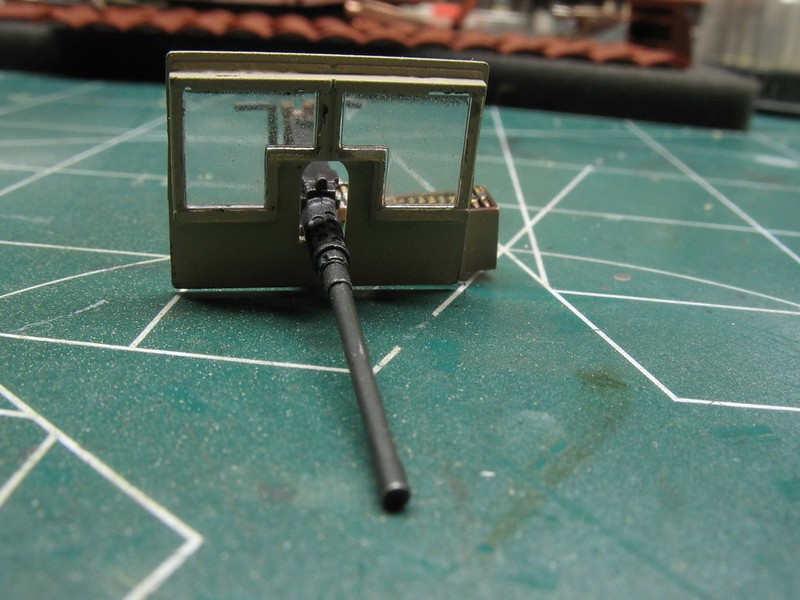
This is the coax Ma Deuce that is mounted over the main gun. 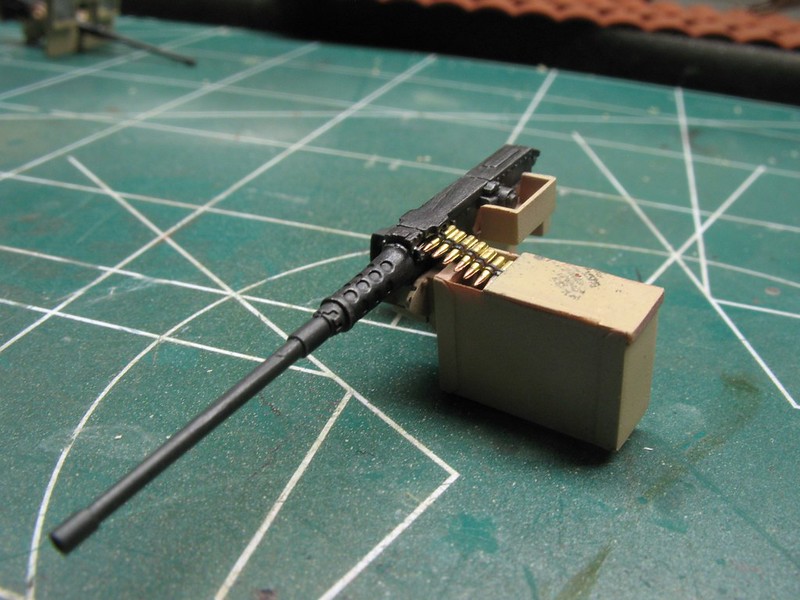 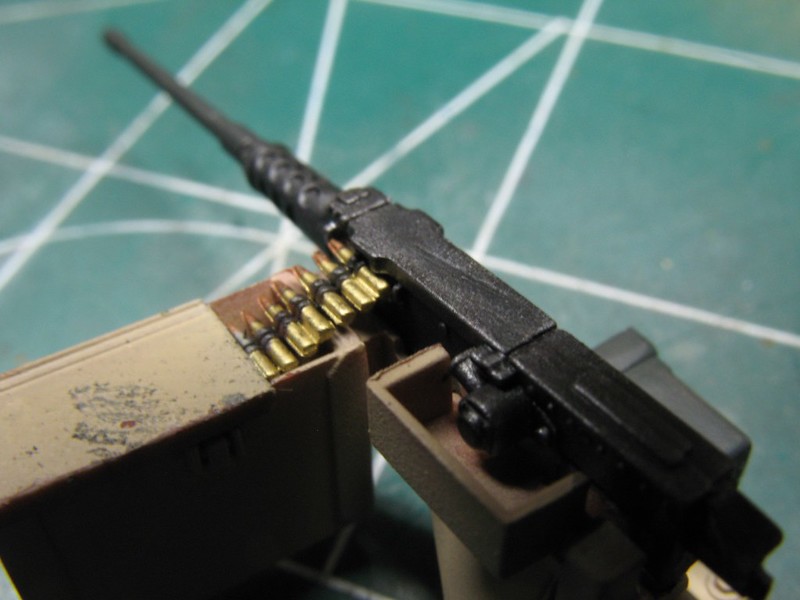
This is the search light mounted next to the coax Ma Deuce.
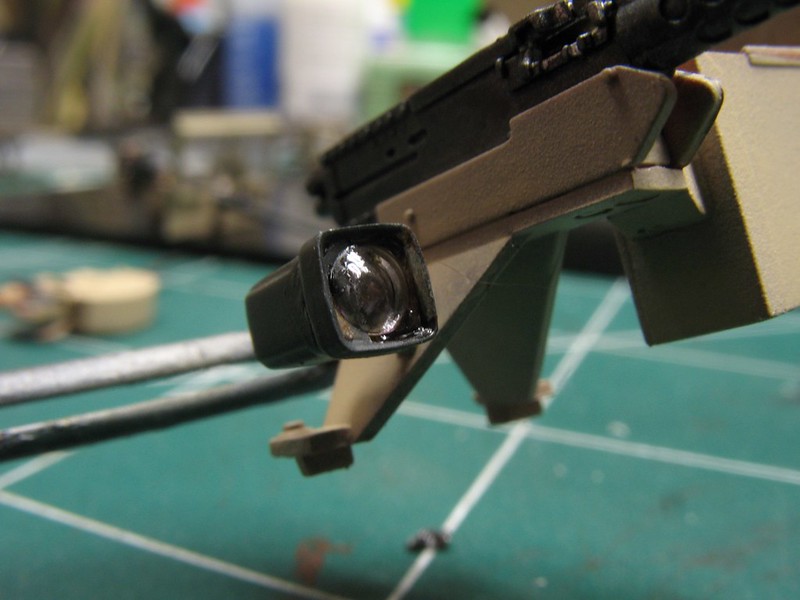 Reverside detail on the TUSK II tiles. It is hard to see when they're mounted, but if you look, it's there. 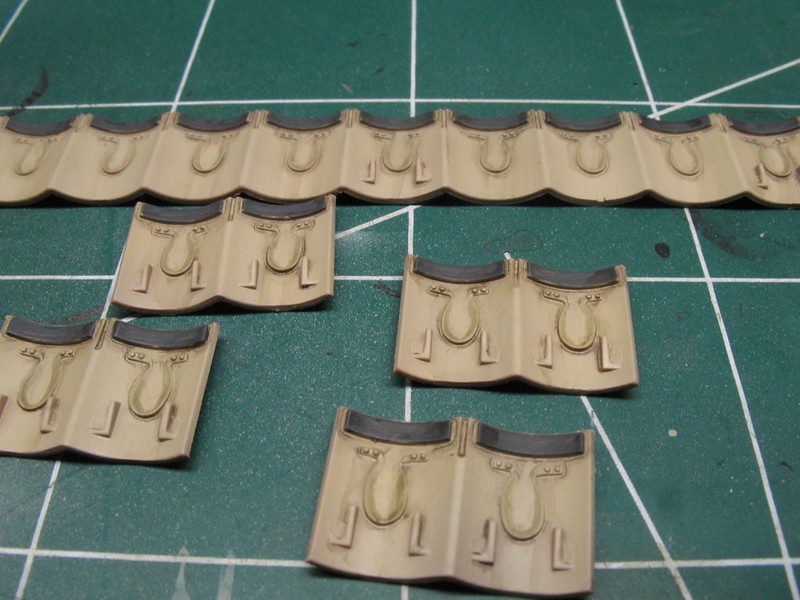 Tiles mounted. 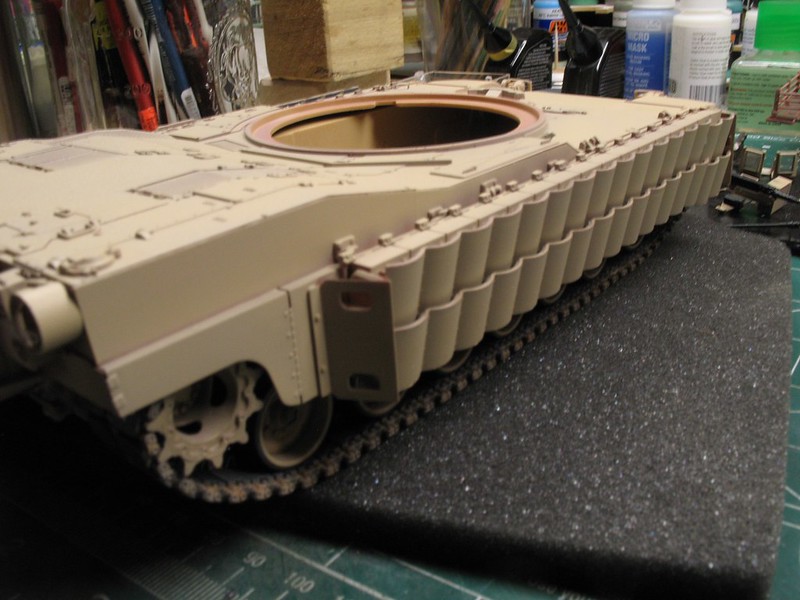 Workin' on the top coat. 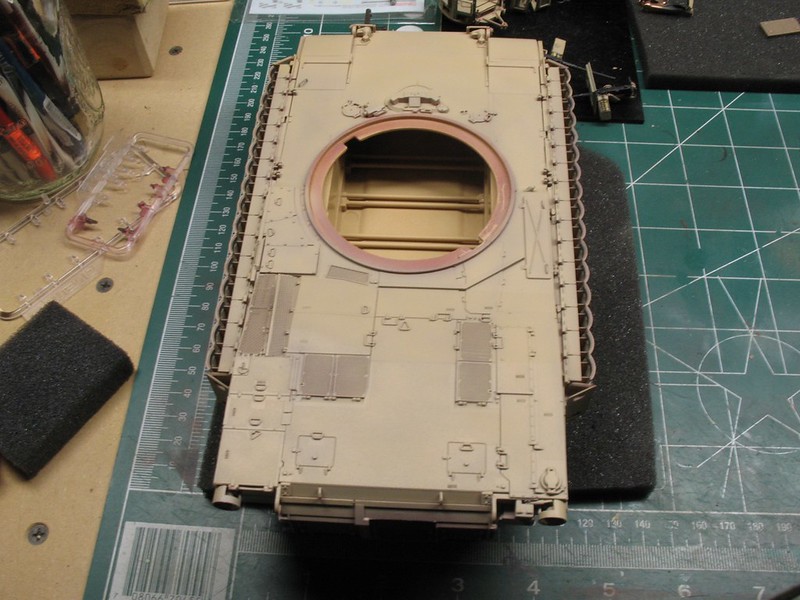 Airbrushing the heat damage from the turbine exhaust. 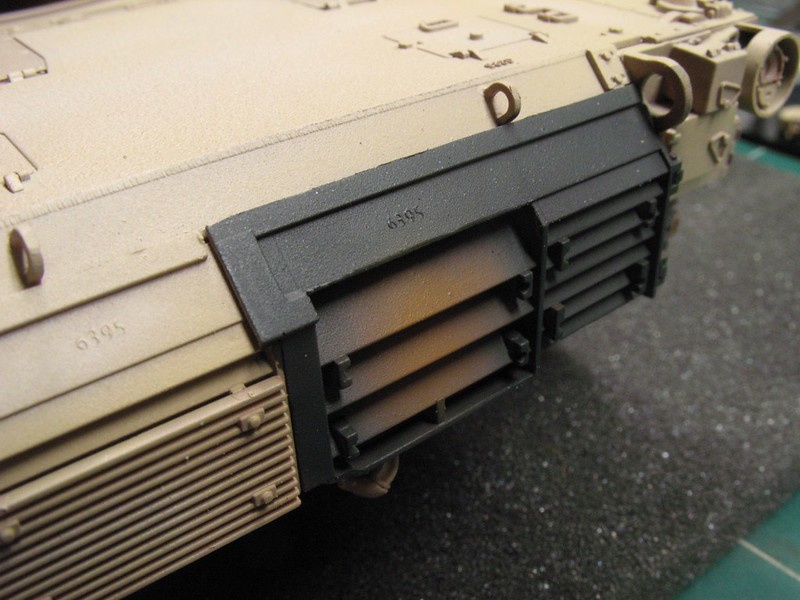 |
|
joelsmith
Full Member
  
Member since: July 2012
There no winners in war, only survivors.
Posts: 1,404
Jul 5, 2012 22:33:58 GMT -5
Jul 5, 2012 22:33:58 GMT -5
|
Post by joelsmith on Feb 4, 2018 6:35:32 GMT -5
Mighty Fine Sir!
|
|
|
|
Post by Leon on Feb 4, 2018 9:26:33 GMT -5
Looking really good Dave!
|
|
thug626
Senior Member
   
Member since: January 2013
Posts: 2,035
Jan 15, 2013 13:05:28 GMT -5
Jan 15, 2013 13:05:28 GMT -5
|
Post by thug626 on Feb 5, 2018 1:28:08 GMT -5
Good evening everyone. Joelsmith, Thank you kindly for the compliment. Leon, Thank you kindly my good man. I was able to steal away some bench time today. Weathering commenced today. There is still much to do, but this is a start. 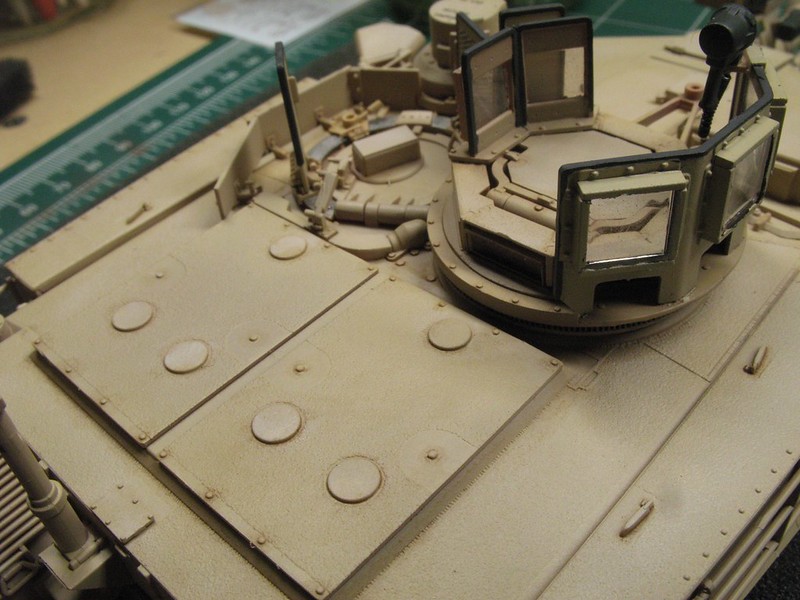 I scratched a power cord for the commanders search light. I couldn't find a reference pic for this, but I had a hard time believing that it was going to be battery powered. The cord is 0.010" lead wire wound around a drill bit. 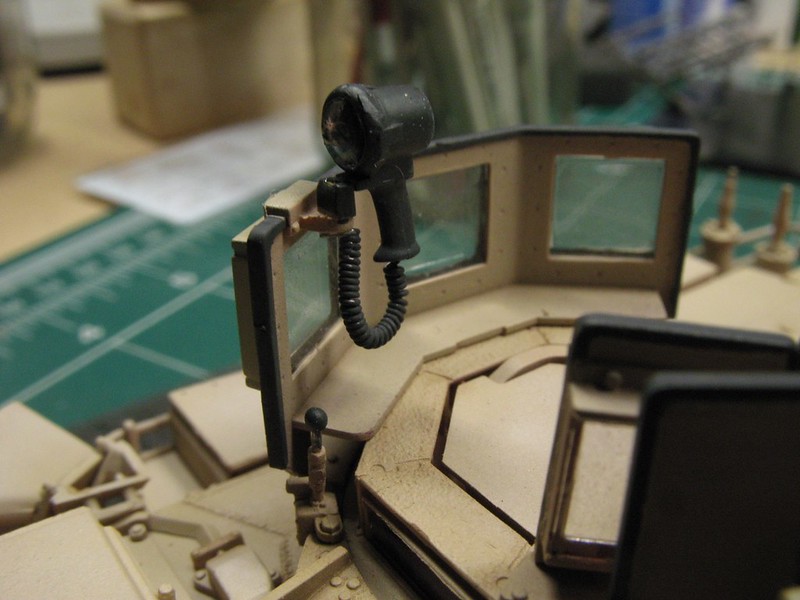 The coax Ma Deuce is now a permanent fixture. 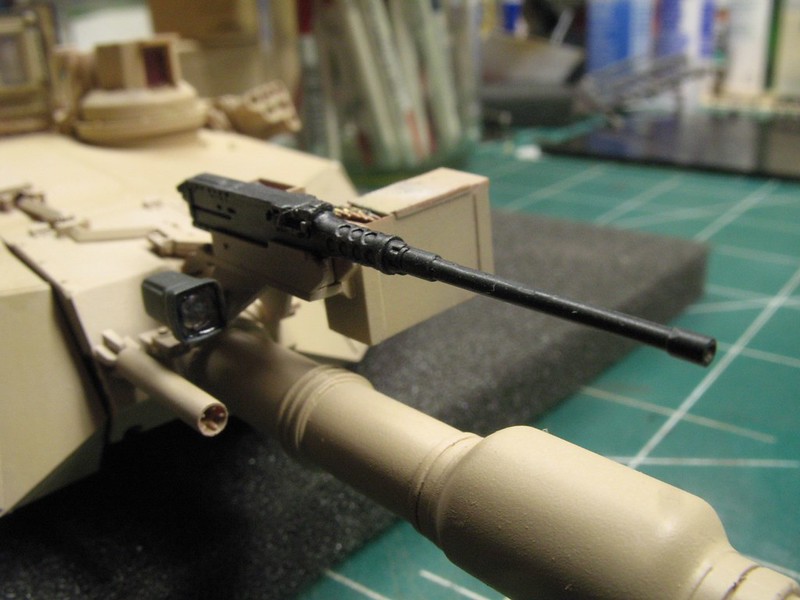 The TUSK II tiles on the right side of the turret are now glued in place. 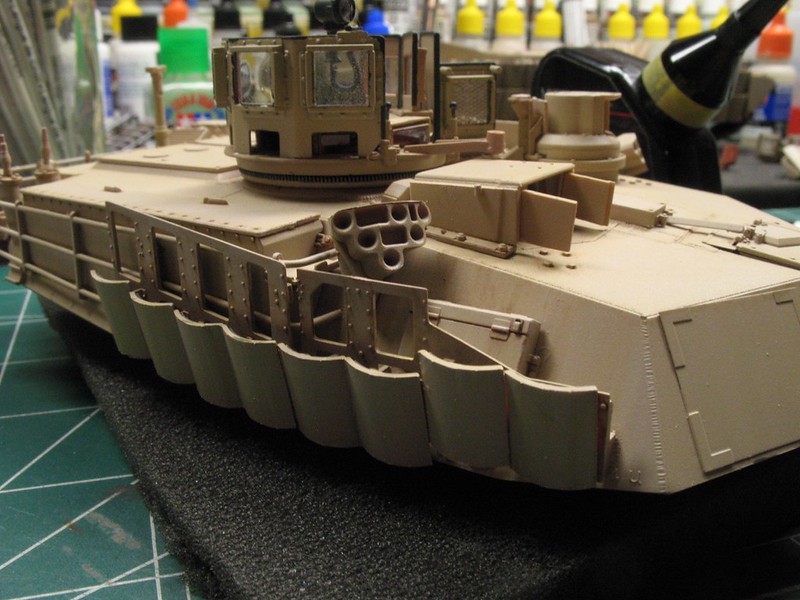 The actual armored glass panel has this diamond tread on it. It is to protect the armored glass when the panel is folded forward, to keep and errant foot from stepping on it. This part was supplied with the kit PE 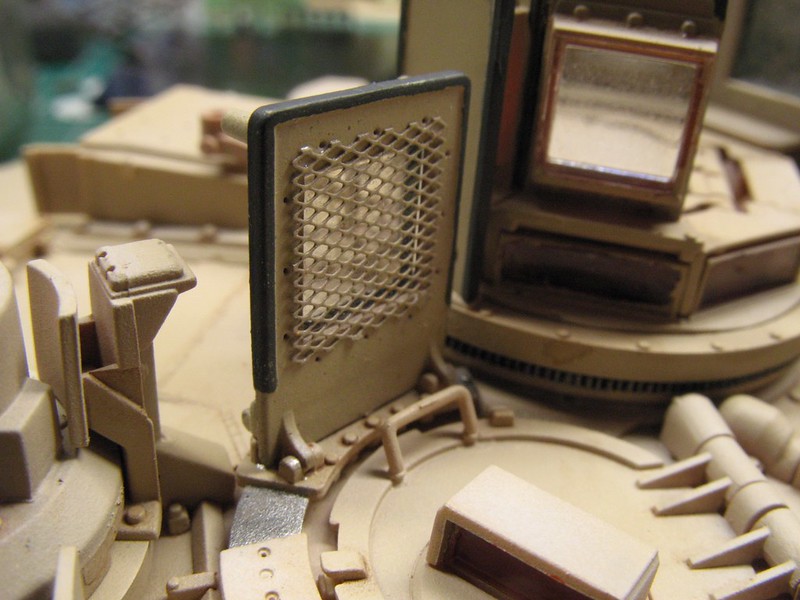 For the decals I decided to try Vallejo's decal Fix and Medium. So far so good. This is the top of the CITV. 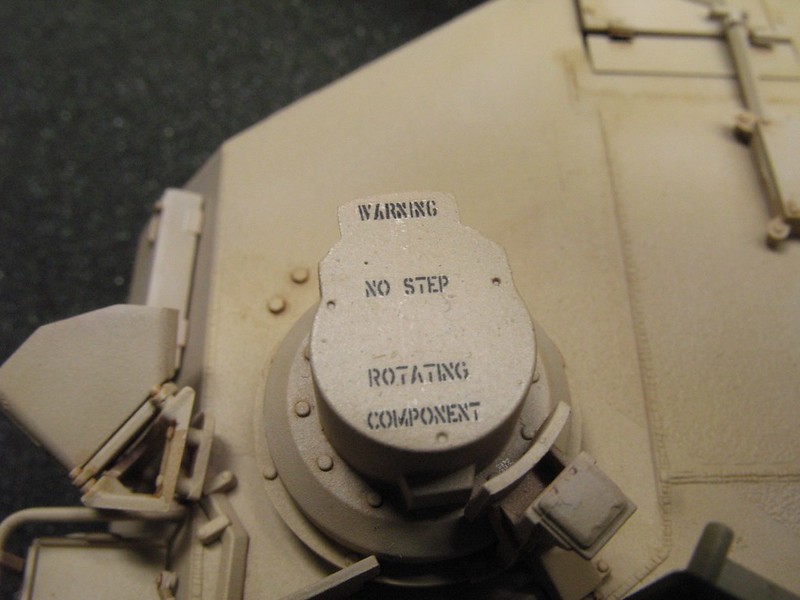 The tonnage marking on the front end. Over all it settled down rather nicely over the anti-slip texture. 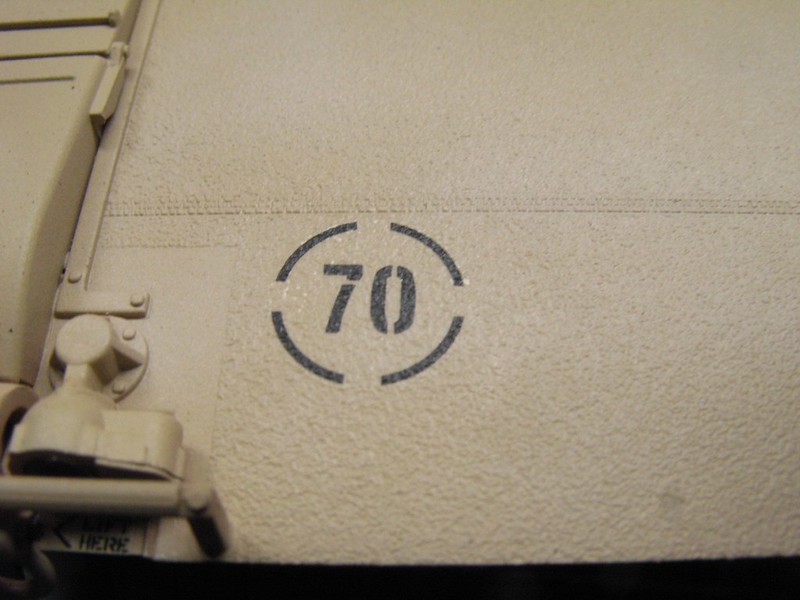 More decal shots. 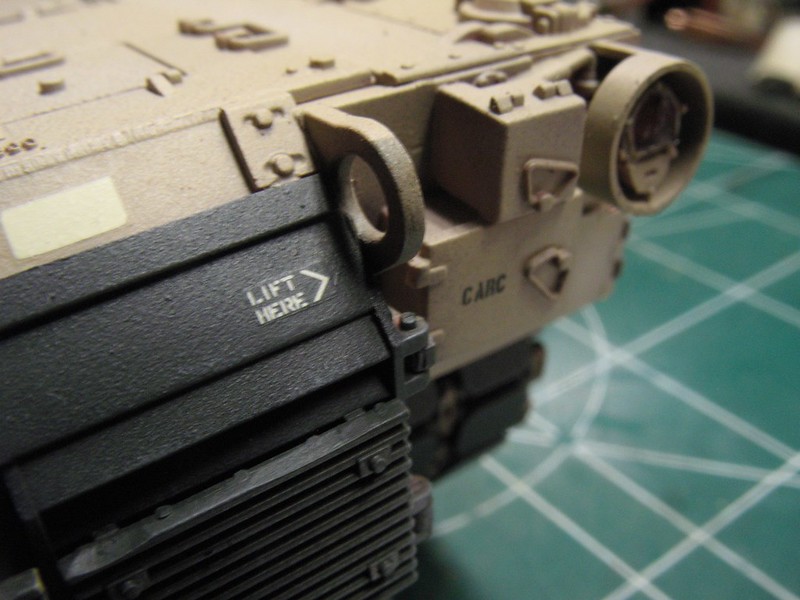 |
|
|
|
Post by 406 Silverado on Feb 5, 2018 10:43:26 GMT -5
Very nice work so far. That is a nice kit, built the same kit but she got shelved and still need to do her tracks....someday lol
|
|
|
|
Post by Leon on Feb 5, 2018 12:06:09 GMT -5
Getting close now Dave!😉
|
|
|
|
Post by deafpanzer on Feb 6, 2018 15:04:38 GMT -5
You are totally kicking ass on this one!
|
|
thug626
Senior Member
   
Member since: January 2013
Posts: 2,035
Jan 15, 2013 13:05:28 GMT -5
Jan 15, 2013 13:05:28 GMT -5
|
Post by thug626 on Feb 8, 2018 1:35:25 GMT -5
Rob Thank you very much. The tracks really are not too bad to assemble. Once together, they are a delight to work with. Leon Oh yes it is! Andy Thank you my friend. There has been a start on the weathering. I opted to go with using Abteilung oils for this part. Not getting away from acrylics, just trying out a few new things. That's all. There is a lot more layers to go with the weathering.... 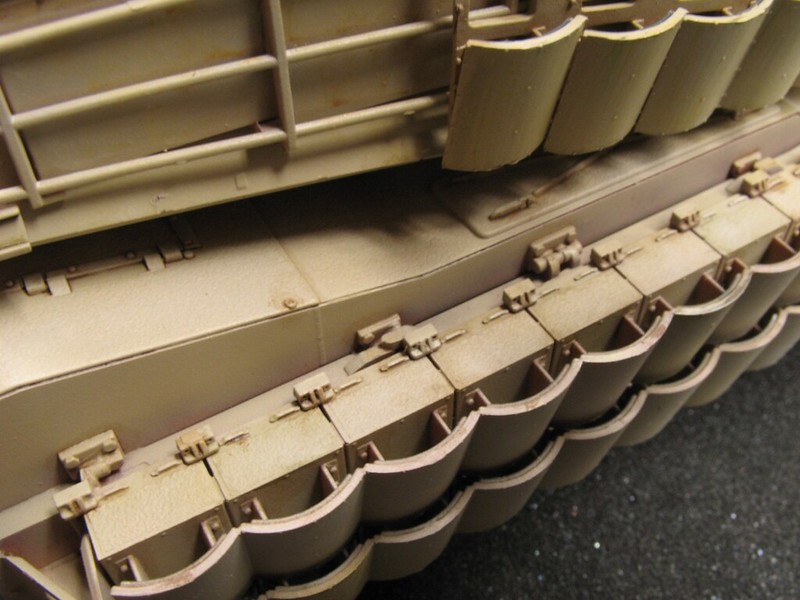 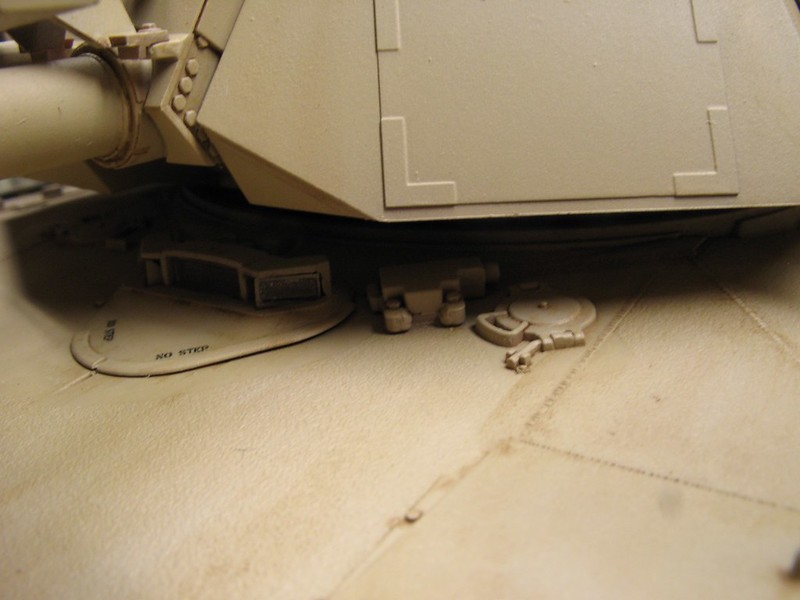 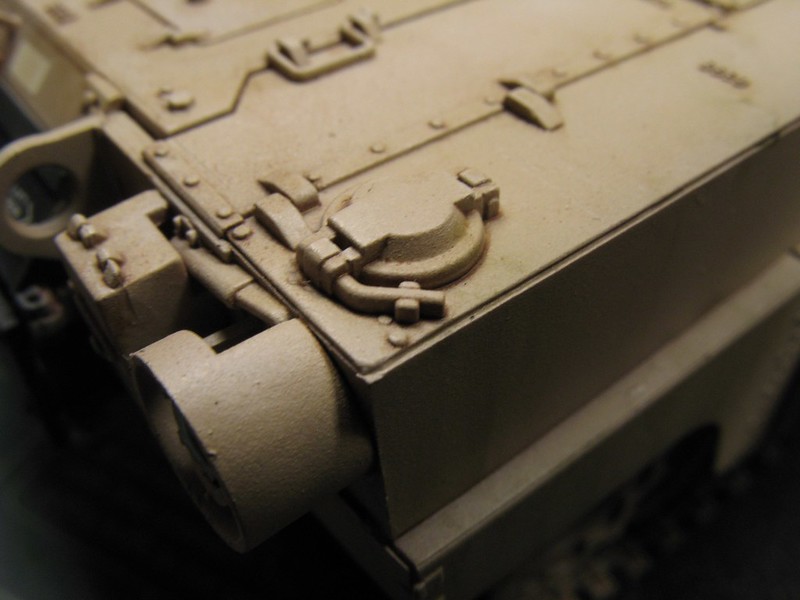 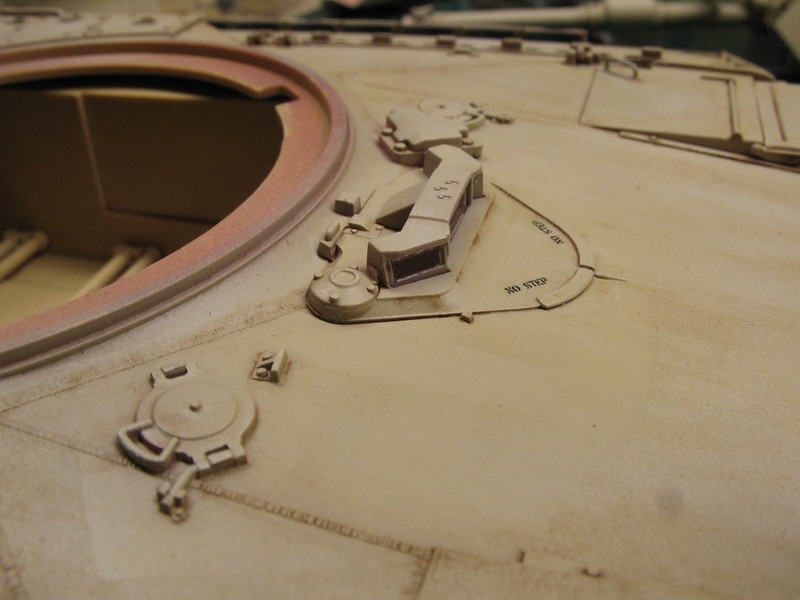 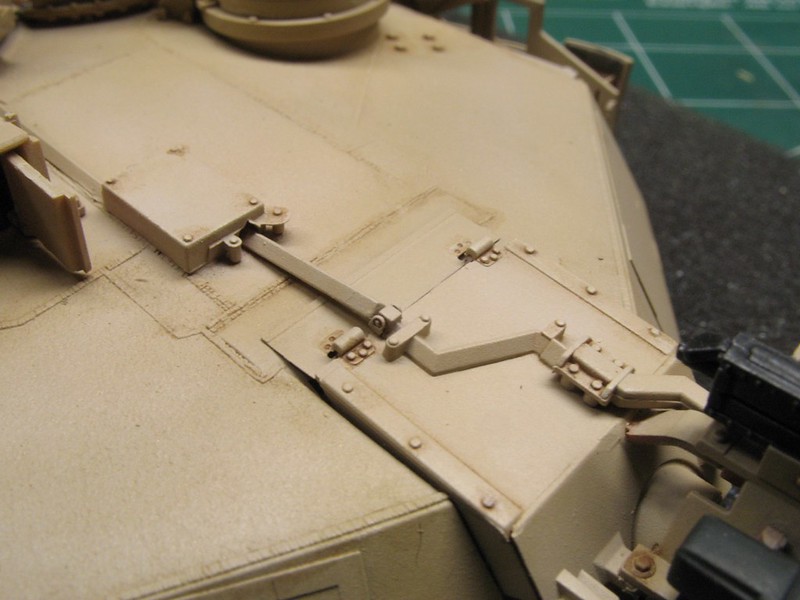
|
|
mrversatile
Full Member
   July '23 Showcased Build Awarded
Member since: January 2013
Posts: 682
Jan 20, 2013 10:52:24 GMT -5
Jan 20, 2013 10:52:24 GMT -5
|
Post by mrversatile on Feb 8, 2018 2:35:44 GMT -5
I am liking this more and more. The protective copula looks convincing
|
|
thug626
Senior Member
   
Member since: January 2013
Posts: 2,035
Jan 15, 2013 13:05:28 GMT -5
Jan 15, 2013 13:05:28 GMT -5
|
Post by thug626 on Feb 8, 2018 11:15:42 GMT -5
Good morning Gil. Thank you kindly for the compliment.
|
|
|
|
Post by deafpanzer on Feb 8, 2018 12:42:20 GMT -5
Now I see all of the details popping out!!! Love when it happens... looking good!
|
|
thug626
Senior Member
   
Member since: January 2013
Posts: 2,035
Jan 15, 2013 13:05:28 GMT -5
Jan 15, 2013 13:05:28 GMT -5
|
Post by thug626 on Feb 8, 2018 12:50:46 GMT -5
Thank you Andy. I gotta say that when I got the base coat laid down, I had to remind myself that there were many steps left to go. The monochromatic look looked like......well not very good. Then the other hemisphere kicked in and reminded the self that there is a lot left to be done.
|
|
|
|
Post by Leon on Feb 8, 2018 18:43:52 GMT -5
Dave,i have a question to ask! What color did you use for the top coat?
|
|