|
|
Post by tcoat on Mar 8, 2023 10:00:58 GMT -5
|
|
|
|
Post by mustang1989 on Mar 8, 2023 10:30:10 GMT -5
Dude...this is KILLER!!! The armor guys around here are going to love this!! Awesome work bud.
|
|
|
|
Post by chromdome35 on Mar 8, 2023 14:11:44 GMT -5
SWEET!!!! Great looking build!
A couple of questions:
1) Can you give us some details on how you painted and weathered it?
2) Did this go together easily like most Tamiya kits? What was the most challenging part?
|
|
|
|
Post by mustang1989 on Mar 8, 2023 14:23:37 GMT -5
SWEET!!!! Great looking build! A couple of questions: 1) Can you give us some details on how you painted and weathered it? 2) Did this go together easily like most Tamiya kits? What was the most challenging part? Great questions. Inquiring minds wanna know.  |
|
|
|
Post by tcoat on Mar 8, 2023 15:18:26 GMT -5
SWEET!!!! Great looking build! A couple of questions: 1) Can you give us some details on how you painted and weathered it? 2) Did this go together easily like most Tamiya kits? What was the most challenging part? It went together exactly like most older Tamiya kits. Lower parts count, no clean up and good engineering meant I just cut the parts off the sprue, threw them in the air and a Bradly IFV hit the ground. The paint is just Tamiya sand and the weathering is just one coat of black tinted Future Floor wax brushed on and coated with testers dullcoat. The self leveling properties of the Future pull it into low areas and around raised detail making them pop without changing the overall colour much. |
|
|
|
Post by chromdome35 on Mar 8, 2023 15:47:59 GMT -5
SWEET!!!! Great looking build! A couple of questions: 1) Can you give us some details on how you painted and weathered it? 2) Did this go together easily like most Tamiya kits? What was the most challenging part? It went together exactly like most older Tamiya kits. Lower parts count, no clean up and good engineering meant I just cut the parts off the sprue, threw them in the air and a Bradly IFV hit the ground. The paint is just Tamiya sand and the weathering is just one coat of black tinted Future Floor wax brushed on and coated with testers dullcoat. The self leveling properties of the Future pull it into low areas and around raised detail making them pop without changing the overall colour much. Isn't it great when they just fall out of the box assembled? |
|
|
|
Post by Leon on Mar 8, 2023 16:49:10 GMT -5
`Nice job on the Bradley!
|
|
|
|
Post by Tojo72 on Mar 8, 2023 17:03:57 GMT -5
Very nice
|
|
|
|
Post by rbaer on Mar 8, 2023 17:55:41 GMT -5
Tinted Future? New to me but it sure works good.
|
|
|
|
Post by mustang1989 on Mar 8, 2023 18:37:45 GMT -5
Tinted Future? New to me but it sure works good. I'll have to admit....it's a new one on me too but the outcome does look "all that". |
|
Whiterook
Full Member
  
Member since: March 2013
Modeler & Wargamer
Posts: 905
Mar 13, 2013 15:29:19 GMT -5
Mar 13, 2013 15:29:19 GMT -5
|
Post by Whiterook on Mar 8, 2023 19:01:11 GMT -5
‘Fridge magnets’! …I about peed my pants laughing at that one! Thank you… I needed the laugh at exactly that very moment!
You know, it’s the little things for me sometimes, and the first thing I saw were the stencils on the ammo cans! That must have been a steady handed tweezer moment on each of those! Nicely done. This is not only a very clean build, but masterfully done.
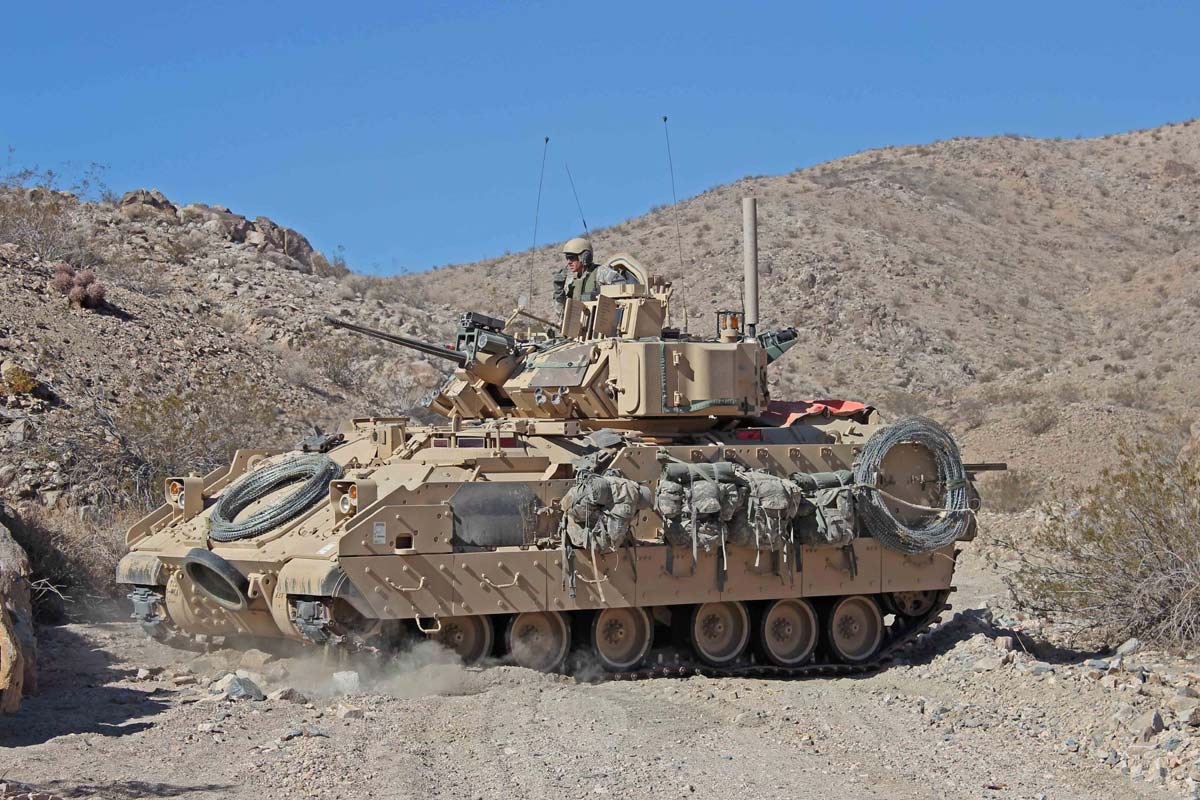
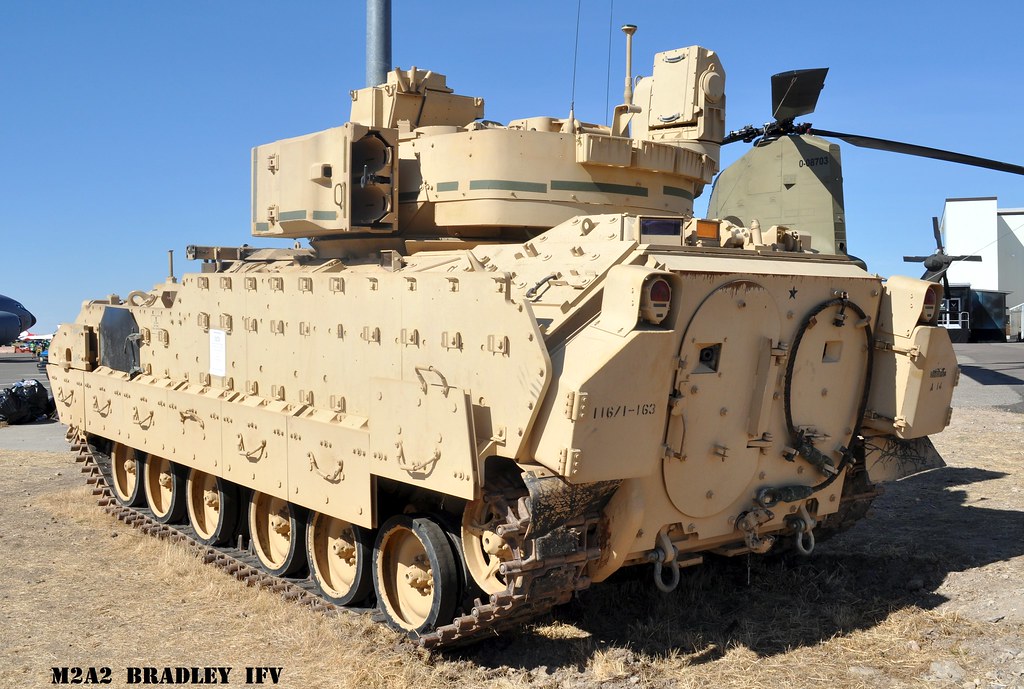
I was wondering on the stowage… it’s quite nice, really, and I love the weathering of the nooks and crannies… did you use a wash for. That effect? You mention you normally would have used attachment points and/or straps.. I’d like to see what that looks like…any quick picks from another kit? Stowage is something I need up to up my game with, so this is of definite interest to me.
I like the light weathering too… you mentioned black tinted Future… as others mentioned by others, I’ve never heard of that one, either (I use Future extensively, and rather than using DullCoat, I use my own mix made with Future …I try to stay non-toxic), but how do you blacken it…with black acrylic? I ask becisse,I’ve achieved the same look with chalk washes, but never thought of using a darkened Future coat…
BTW, for others, self leveling with Future is amazing! …I’ve brushed it on and left overnight, and the next day, like, OMG great!
|
|
|
|
Post by tcoat on Mar 9, 2023 5:01:16 GMT -5
I will do up a short tutorial on tinted Future tonight. I use it on almost everything I build.
|
|
|
|
Post by Tobi on Mar 9, 2023 5:32:00 GMT -5
In Germany we call this type of ALICE pack attachment "Siemens air hook". ;-)
|
|
|
|
Post by mrt51 on Mar 9, 2023 9:16:26 GMT -5
Very good!
|
|
|
|
Post by tcoat on Mar 9, 2023 20:02:05 GMT -5
‘Fridge magnets’! …I about peed my pants laughing at that one! Thank you… I needed the laugh at exactly that very moment! You know, it’s the little things for me sometimes, and the first thing I saw were the stencils on the ammo cans! That must have been a steady handed tweezer moment on each of those! Nicely done. This is not only a very clean build, but masterfully done. I was wondering on the stowage… it’s quite nice, really, and I love the weathering of the nooks and crannies… did you use a wash for. That effect? You mention you normally would have used attachment points and/or straps.. I’d like to see what that looks like…any quick picks from another kit? Stowage is something I need up to up my game with, so this is of definite interest to me. I like the light weathering too… you mentioned black tinted Future… as others mentioned by others, I’ve never heard of that one, either (I use Future extensively, and rather than using DullCoat, I use my own mix made with Future …I try to stay non-toxic), but how do you blacken it…with black acrylic? I ask becisse,I’ve achieved the same look with chalk washes, but never thought of using a darkened Future coat… BTW, for others, self leveling with Future is amazing! …I’ve brushed it on and left overnight, and the next day, like, OMG great! The shading on the stowage is just my basic tinted Future wash. There should be brackets and straps holding everything on. For this vehicle like this:  If you look really closely you can see the 3 rows of slotted brackets.  Anybody that has ever tried to stow anything on the outside of armour knows it must be well secured. Now they didn't seem to figure that out until more recent history though so depending on era models methods will vary. Many WW2 vehicles of all countries did field modifications for stowage. I added a wire to this Sherman.  The same can be done for smaller brackets but... Most kits represent these tie offs as raised bumps.  You can sand them down and replace with wire or use smoke and mirrors and trick the eye. By gluing a painted piece of tape or foil off center and allowing a bit of the bump to show it looks like it is through the loop. A bit of wire for a buckle and VOILA a secured strap. The chain link fence is held on by tape straps through the lifting lugs. Anyplace you can attach a strap is fair game.  Of course most WW2 stowage was held on by simple rope.  EVERYTHING not bolted on needs to be secured.  Hope this is clear and sorry for the crappy pictures I didn't bring them to the light box. |
|
brentprice
Full Member
  
Member since: May 2015
Posts: 115 
|
Post by brentprice on Mar 11, 2023 10:45:28 GMT -5
Nice, two models for the cost of one. Extra bonus material included.  |
|
roland66
Full Member
  
Member since: January 2013
at the workbench
Posts: 286
Jan 6, 2013 16:15:14 GMT -5
Jan 6, 2013 16:15:14 GMT -5
|
Post by roland66 on Mar 11, 2023 13:01:58 GMT -5
Nice Bradley.
|
|