Post by tcoat on Mar 9, 2023 9:32:31 GMT -5
Long post warning!
Last year I was working on a very ambitious project (more on this some day) that required a couple of standing Japanese pilots and after much searching decided that the best bang for my buck was to simply order the Tamiya Zero kit that included four standing pilots.
These guys (I will be repositioning a bit when I build them)

Then I had a Zero kit that I hadn’t planned on that could either languish in my stash for years or, since I would already have all the right paints loaded up, just get a quick build. Since the other project was complex a figured I may as well do the Zero as a simple wheels up, in flight, on a stand display.
The kit:
All the reviews rave about this kit as being one of the best of any aircraft ever so it should be a pretty straight forward event.
In case anybody doesn't know what a new(ish) Tamiya kit looks like it is indeed beautiful even on the sprues.

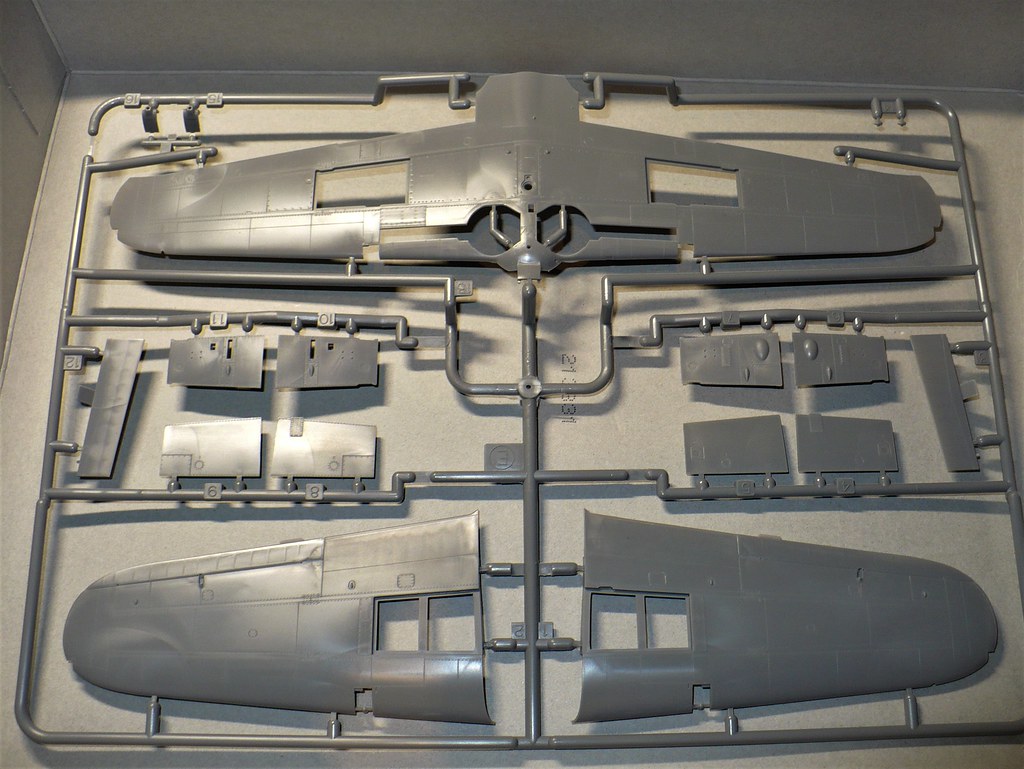


It is however also one of the few where there is no gear up optional parts so I am going to have to do some alterations to close it all up.
The reviews that said this is the best Tamiya aircraft kit made were not kidding! The engineering and detail without having a massive number of small parts is truly amazing. A perfect stress free out of the box project. Even if you are not into Japanese WW2 aircraft this is worth picking up. Sort of sad I am going to close it all up and hide everything with a pilot. May pick up another to leave open.
So enough with the sales pitch (I am in no way affiliated with Tamiya nor a distributer).
Cockpit all done and ready to button up in one evening. Don't think I have ever done that before.
Main internal assemblies assembled

Base colour

Detail painting and small parts added

Black tinted acrylic floor finish for depth

Testors Dullcoat to bring it back down. Gauges dotted with Testors clear parts cement for gloss


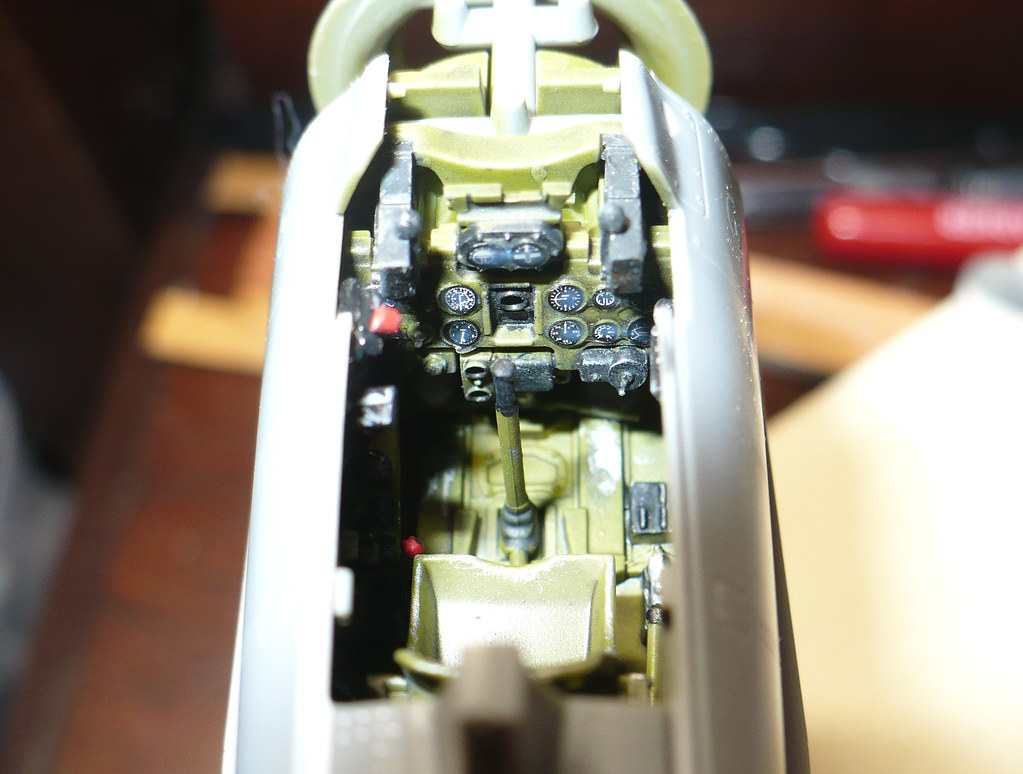
Of course this will all be invisible once closed up and pilot in place.
Almost ready to paint and since it will be an in flight display I had to do up the pilot.
He isn't exactly in a great position to be flying (maybe he had an itch and had to let go of the stick mid bank) but he will do once the canopy is on.
Base coat

![]()
Detail paint

Shading. Both detail paint and shading overstated so can stand out through closed canopy.

Flat coat to blend (no his nose is not a weird colour in real life)

In the office


While digging through my spare parts bin I found a couple of tiny B-24s. Now how could they possibly be used with an in flight Zero?

All masked up and ready for first paint.
This is my first time using premarked masks and even though I had to cut then out all I can say is what a time saver. Looks like pre cuts are in my sights for future builds
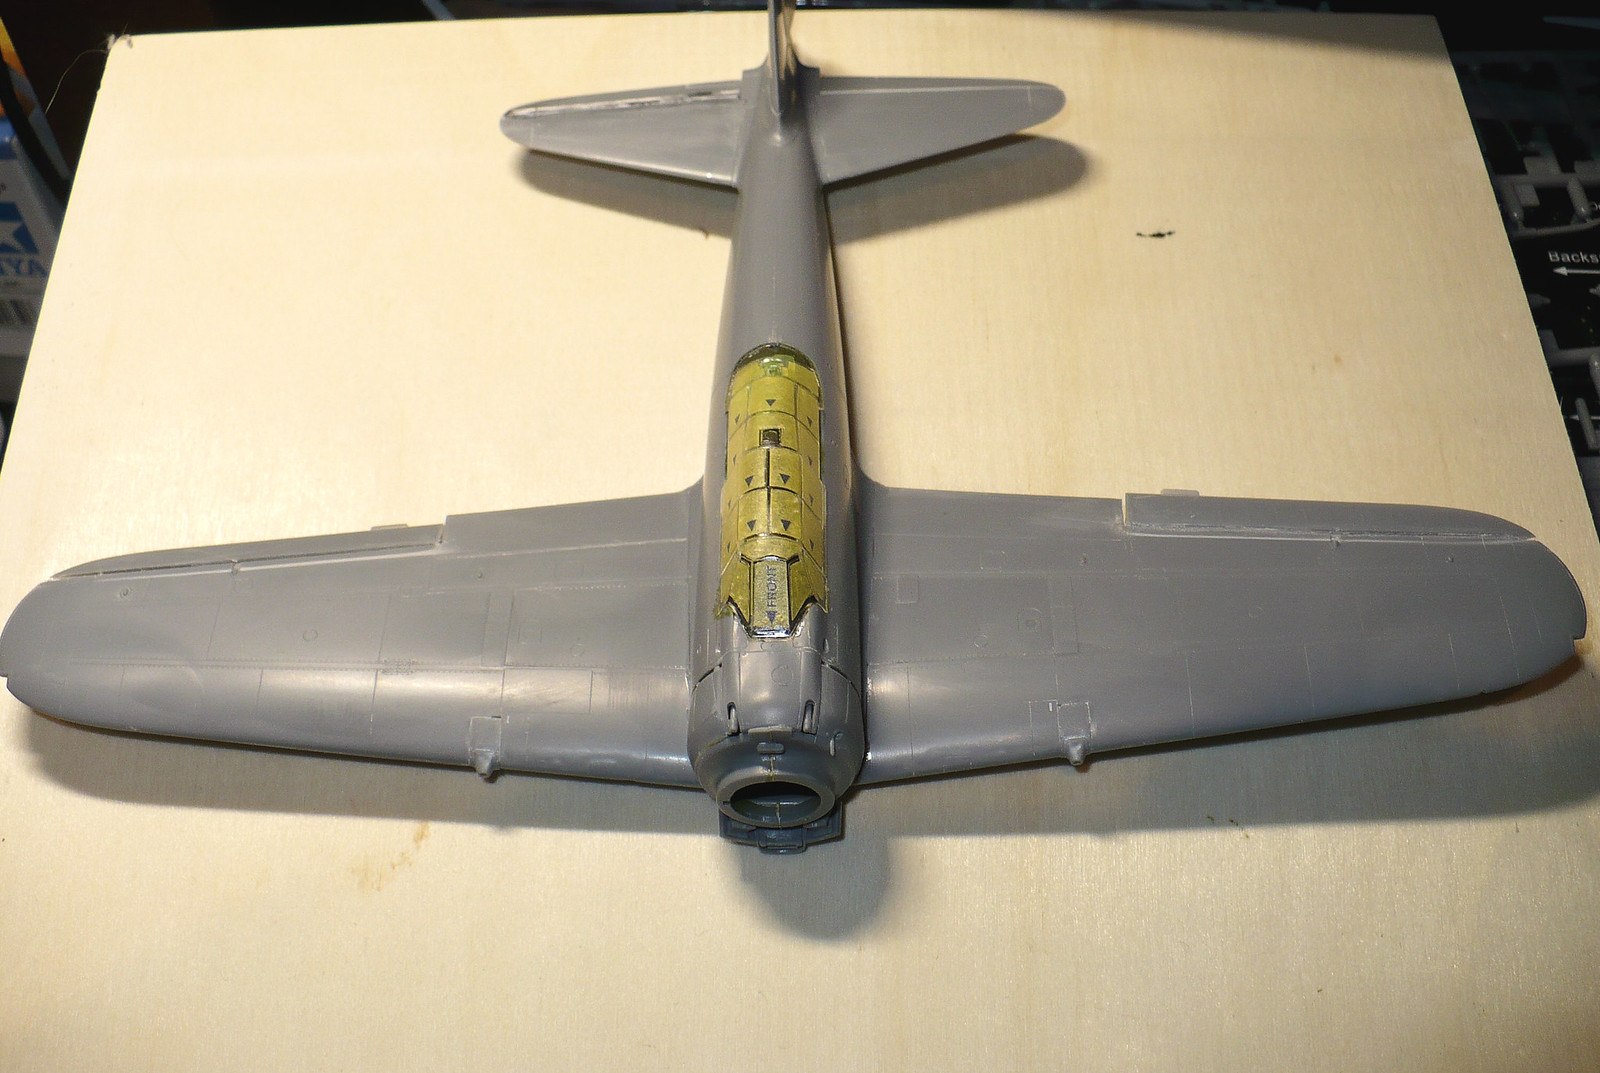
Although I always knew the Zero was a small aircraft I didn't truly realize just how small until I started this build.
The whole thing pretty much fits within the wing area of a Voodoo
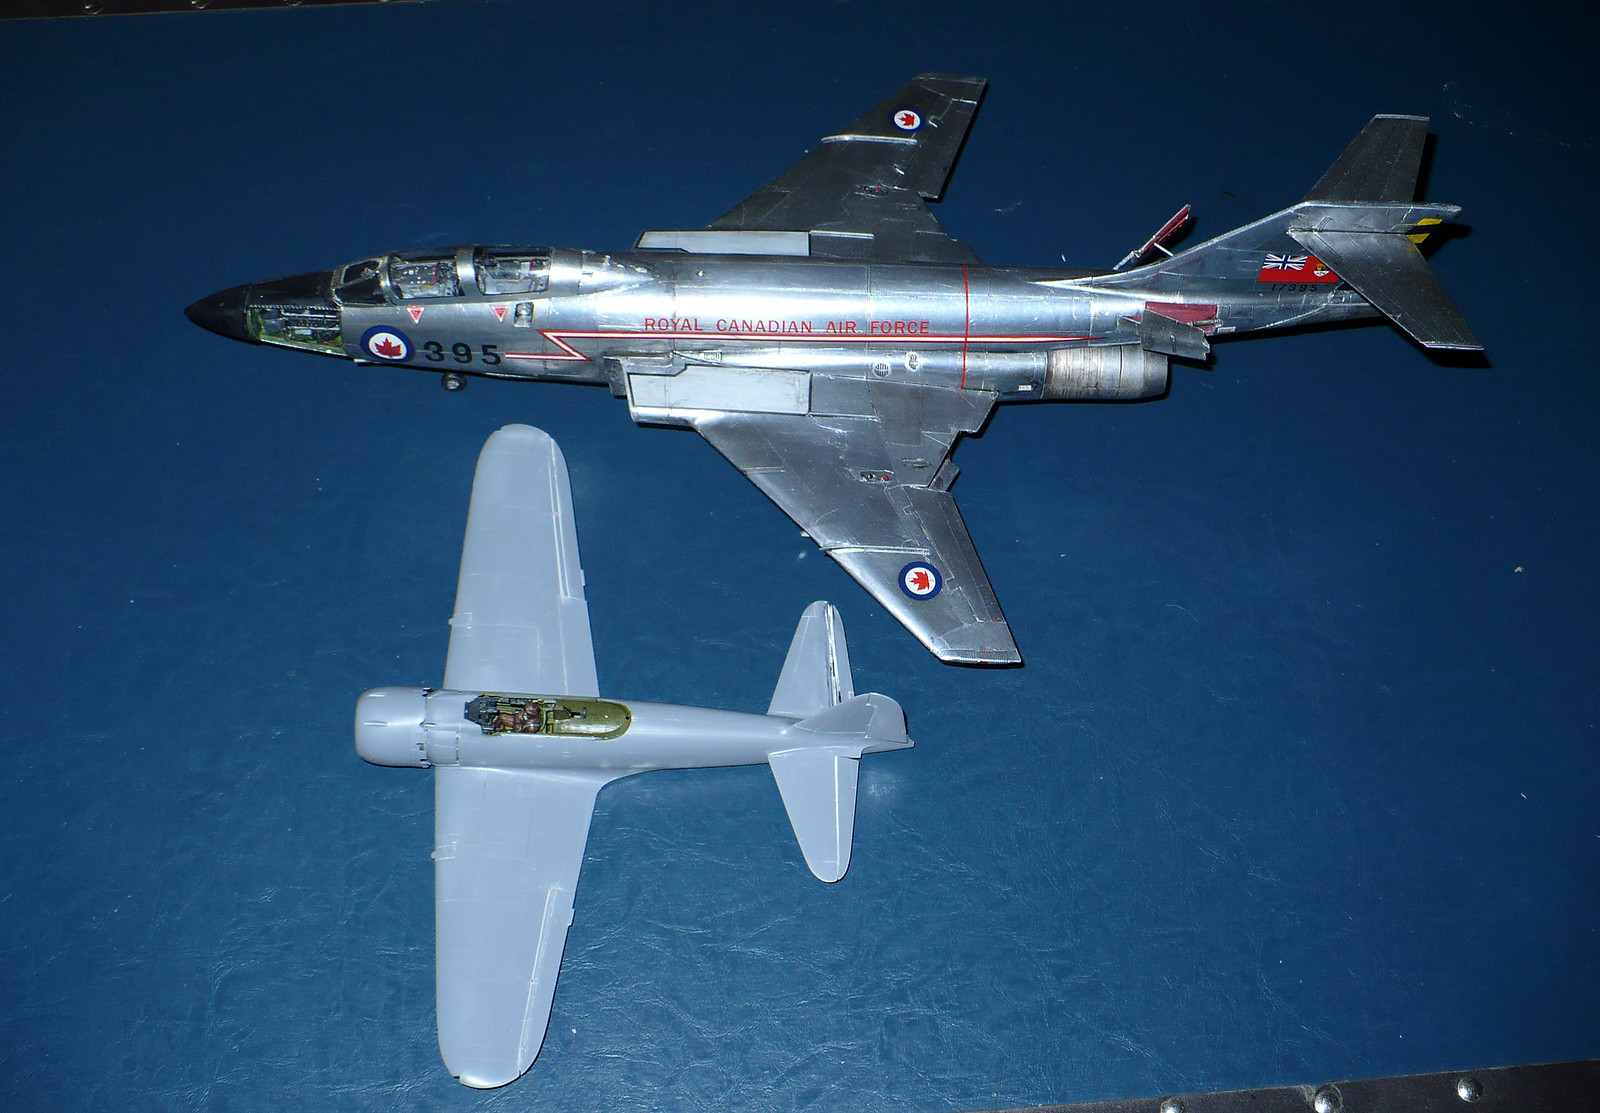
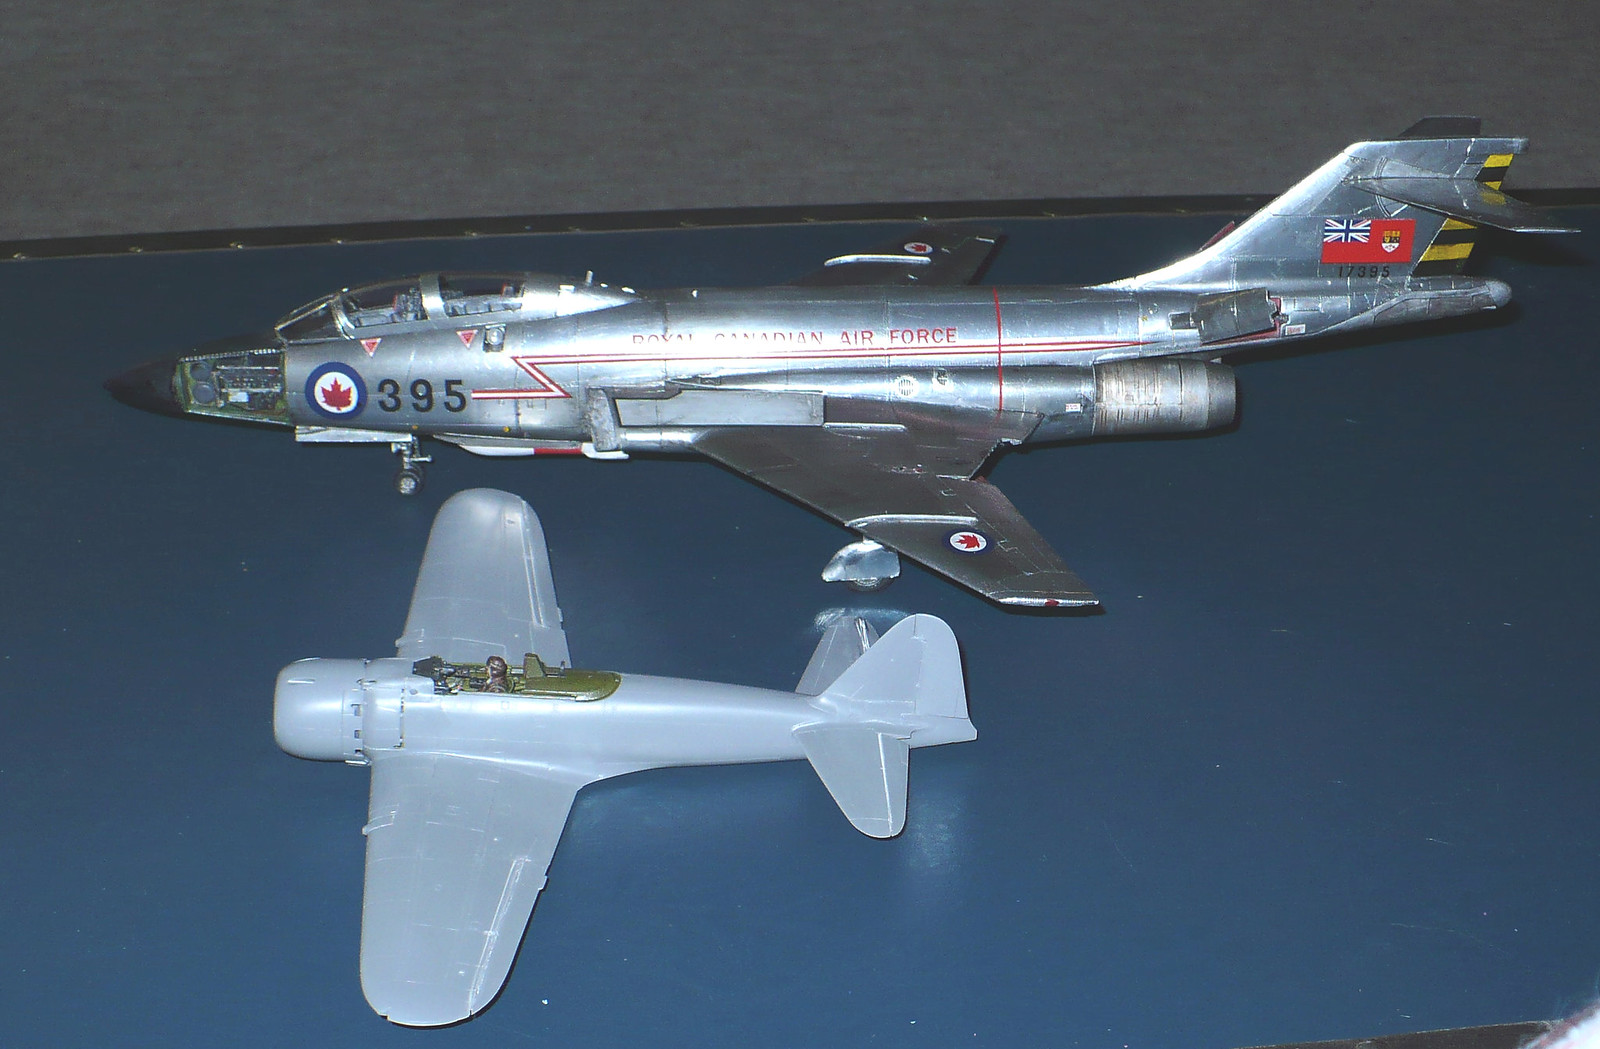
Base of Modelmaster chrome silver and hairspray for later chipping. Ready to join my other project in the paint shop.
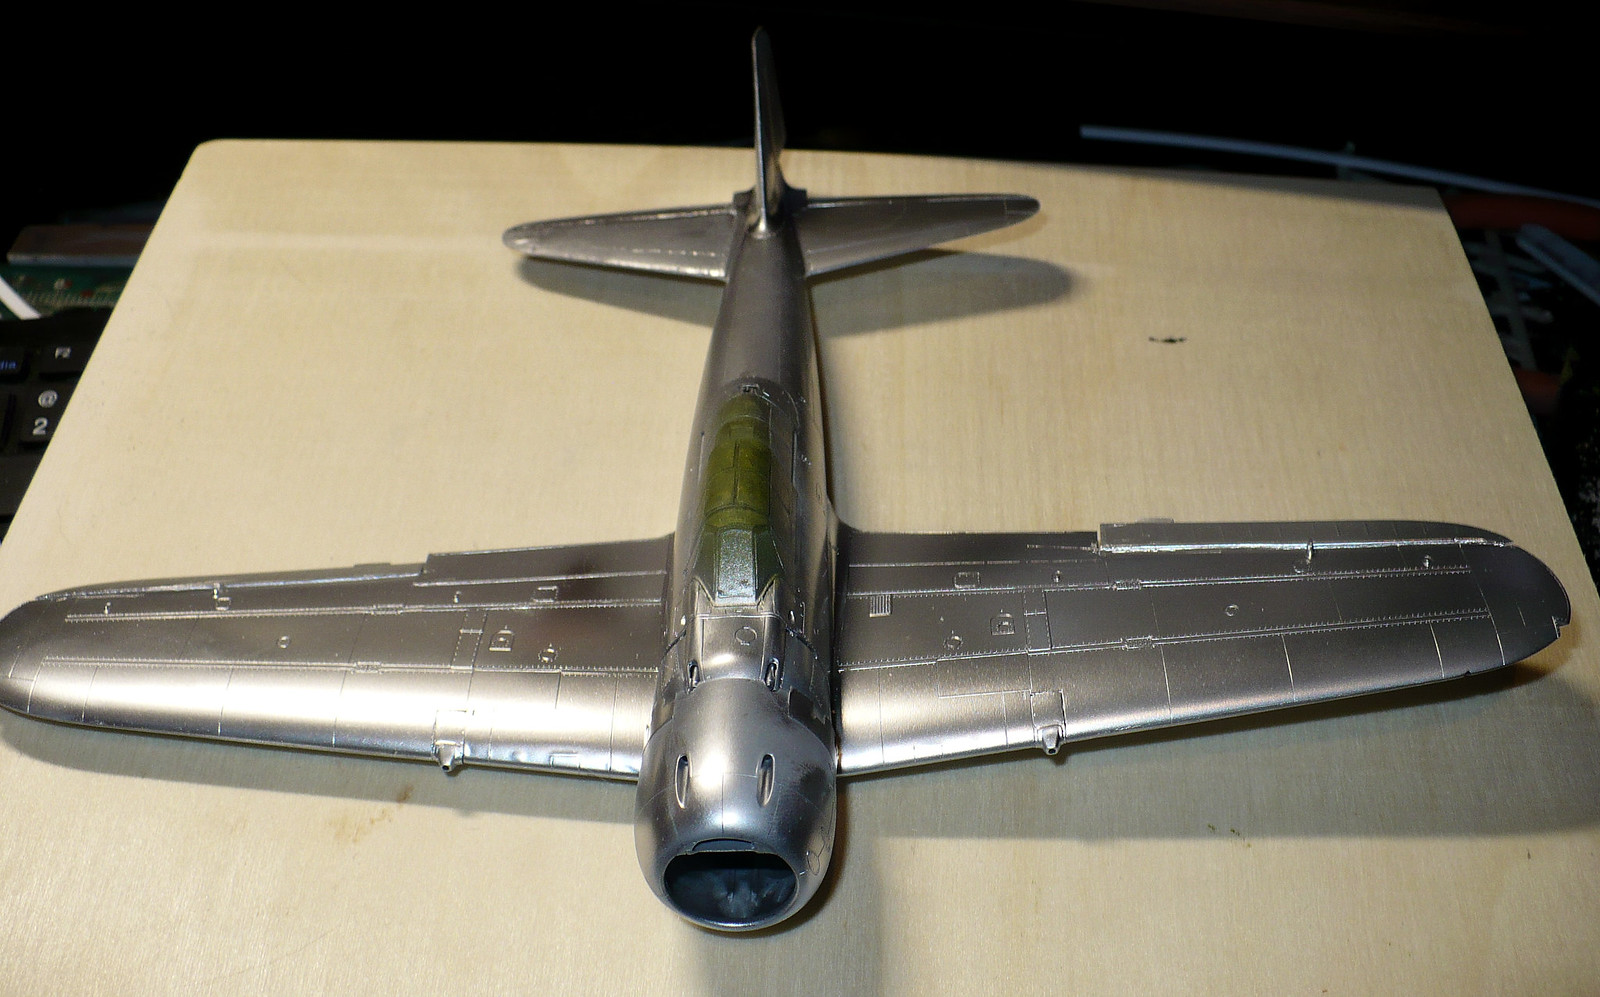

Exactly the colour I was after. Over top of some really nice smelling hairspray.

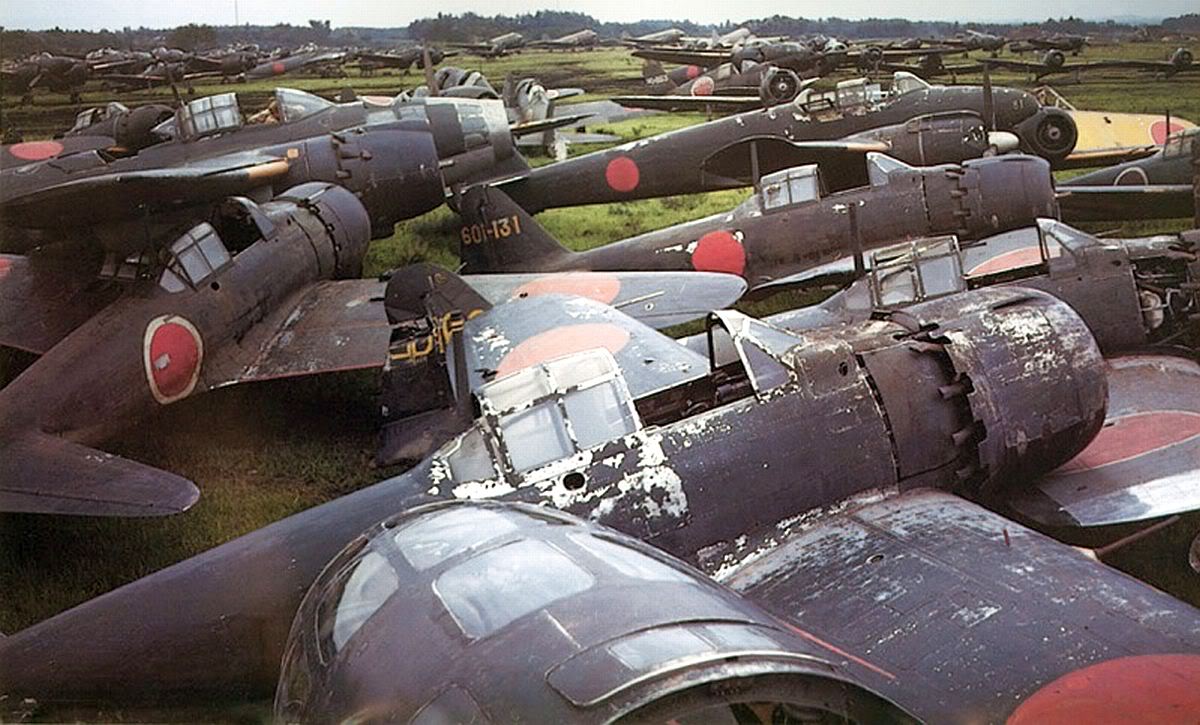
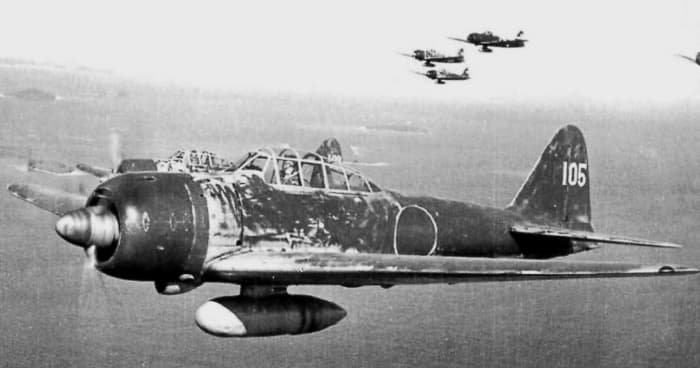
And here is the beauty of the late war Japanese aircraft. Since they ran out of primer the paint didn't last long so you can beat the crap outta the paint like no other operational equipment (well maybe some Soviet stuff)

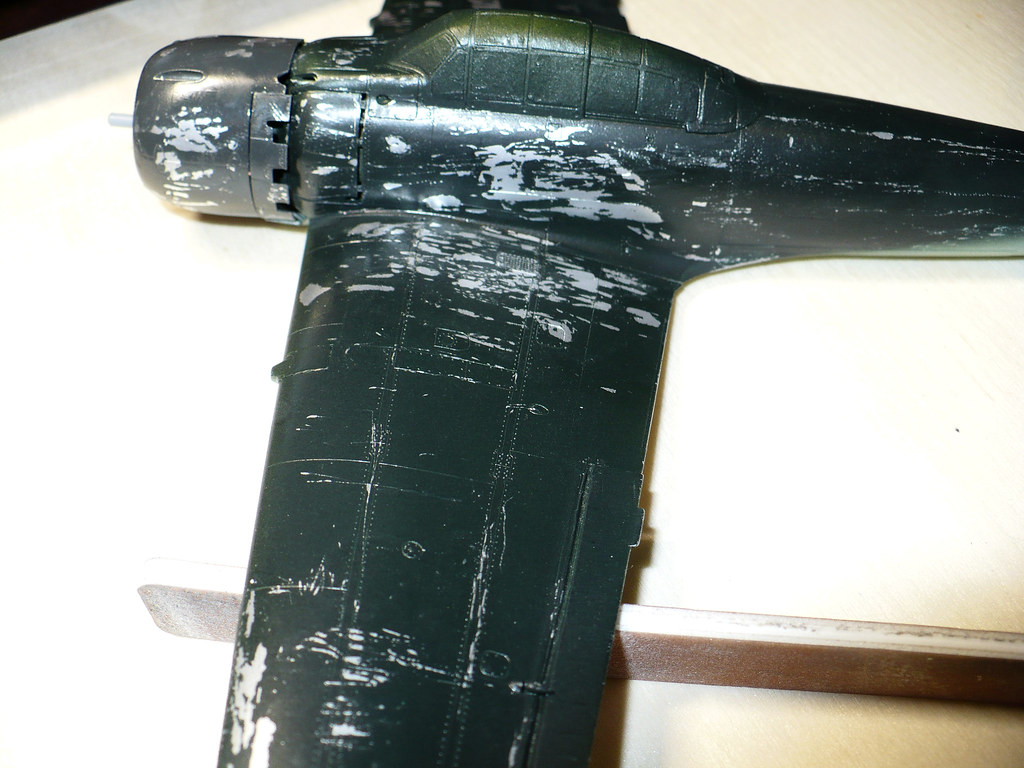
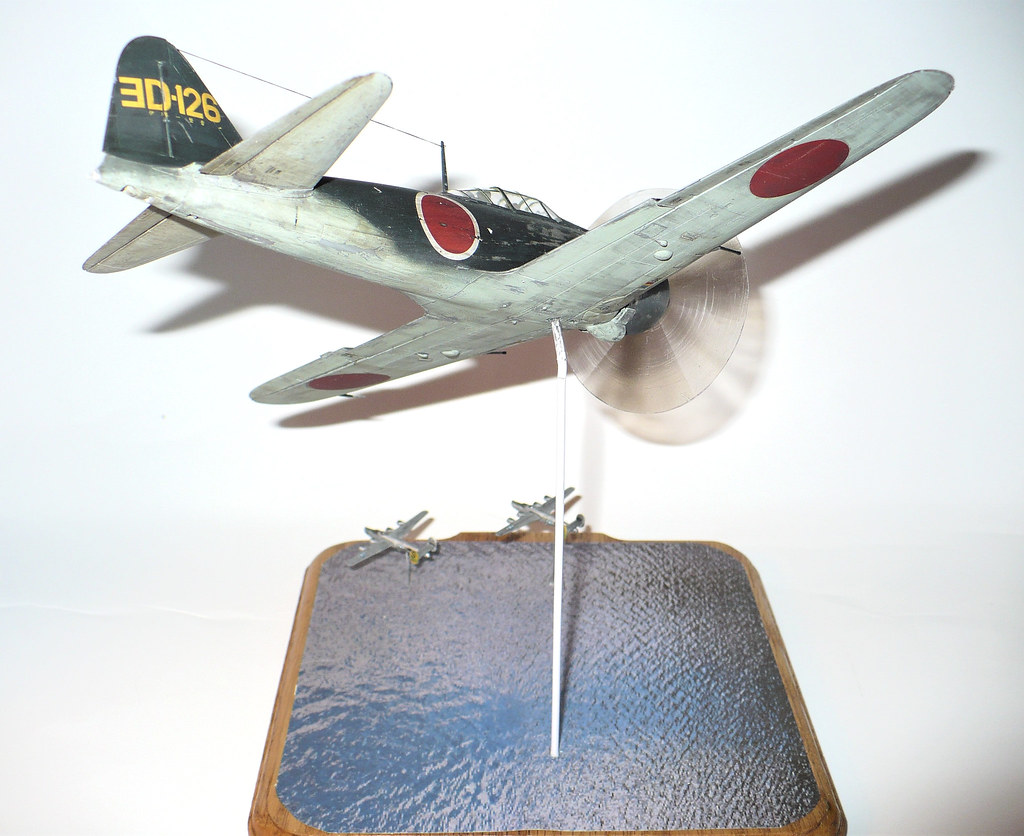
Not many reference pictures of underneath but from what i can see the grey paint stood up much better than the dark green. The condition these were operated in would have left some scars though

Marking all on over a heavy coat of tinted floor polish.
The effect will be greatly subdued once the flat coat goes on
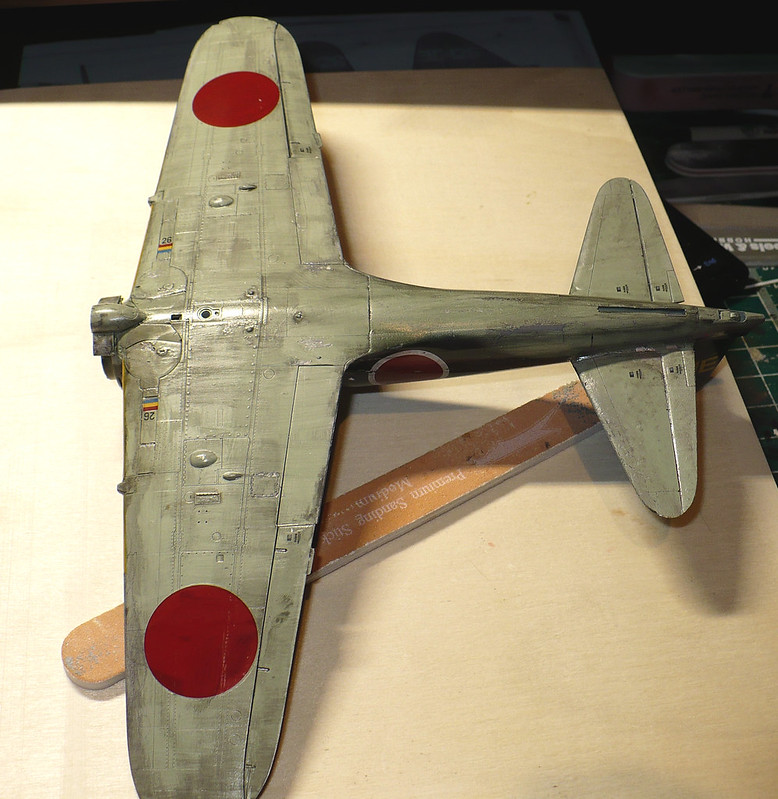


And... Dullcoated (I warned you this was long)
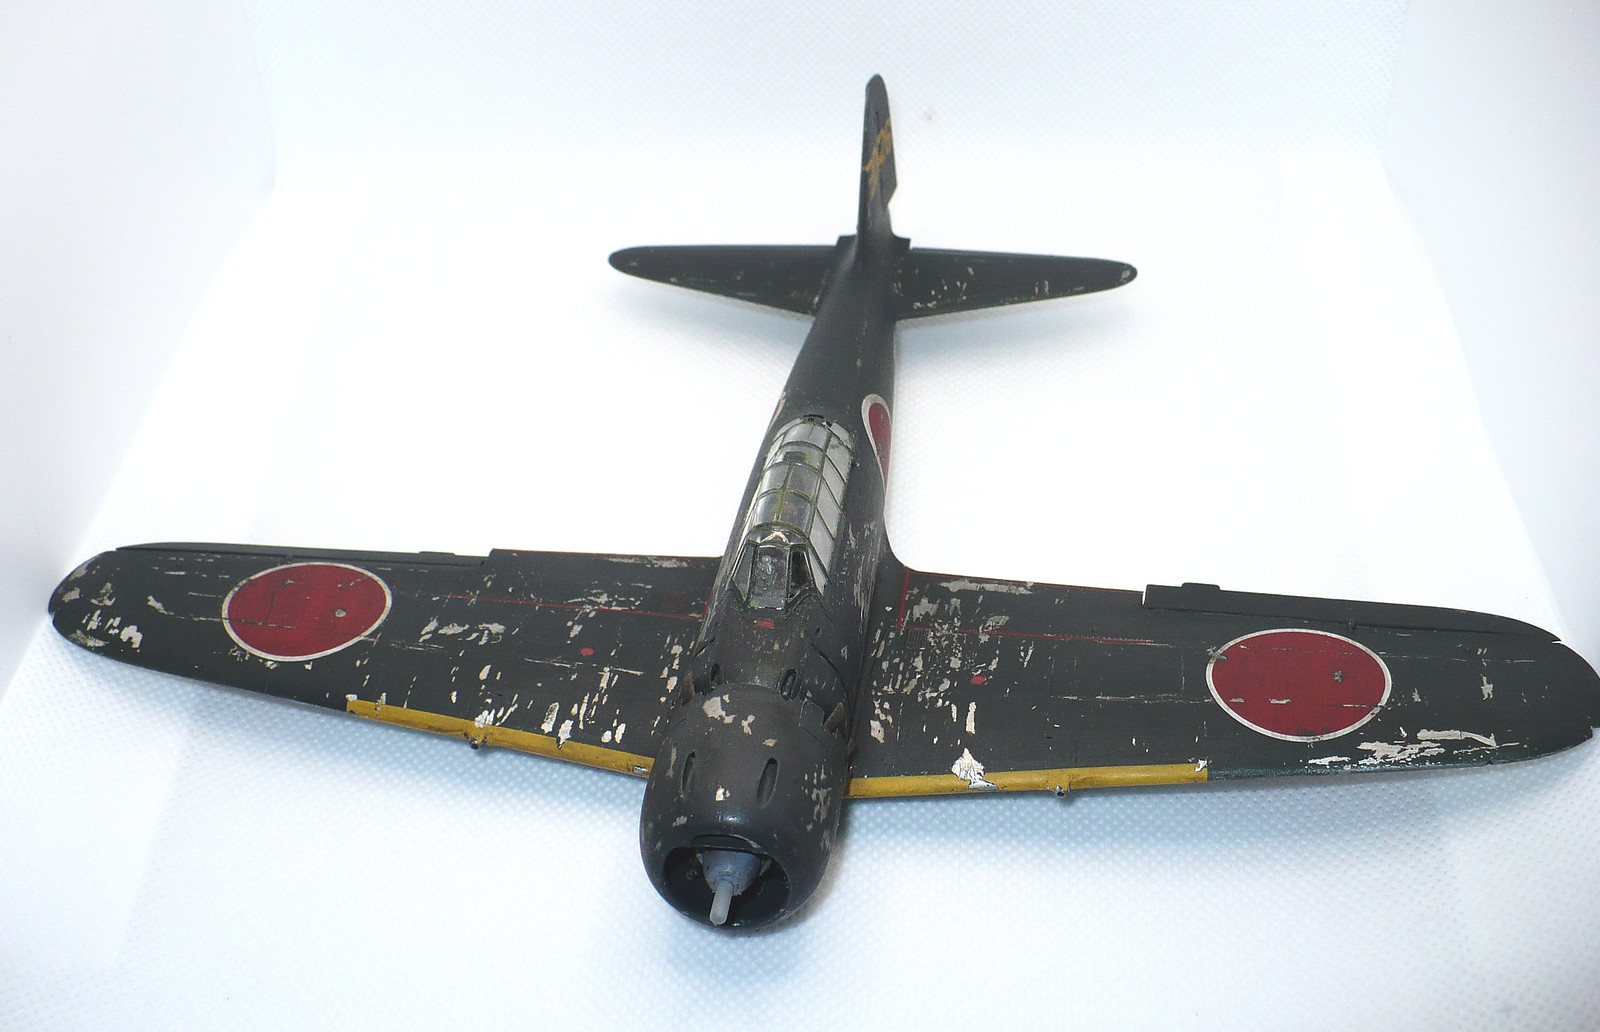
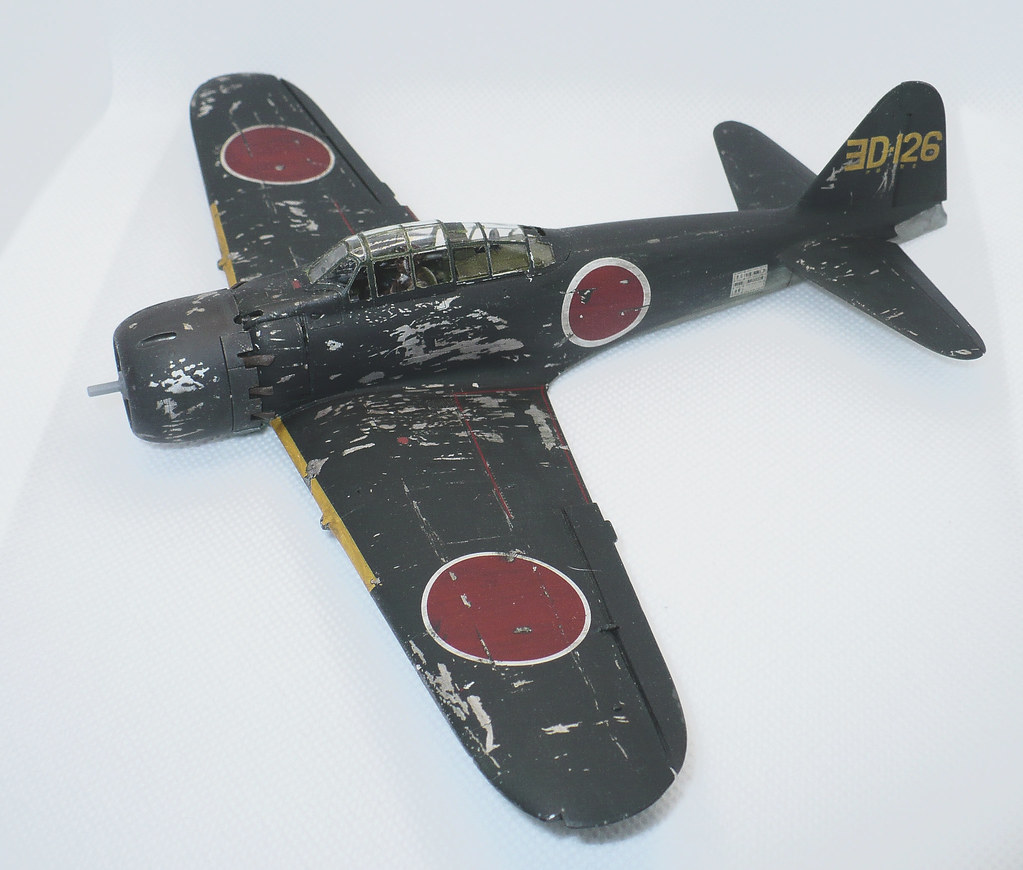

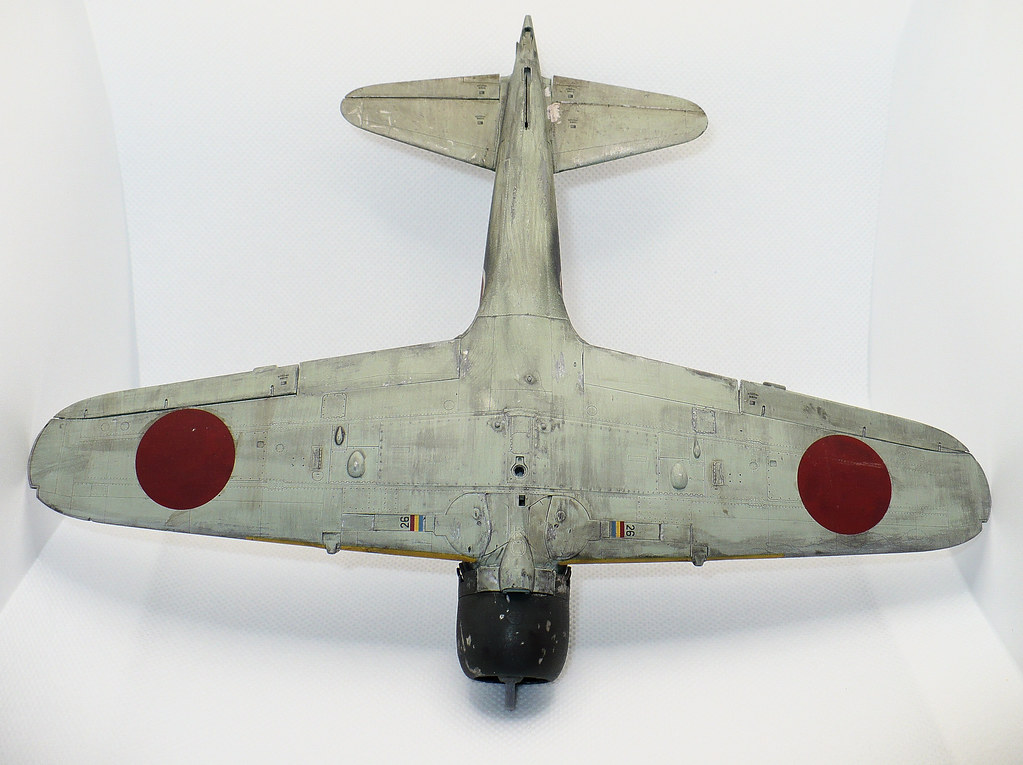
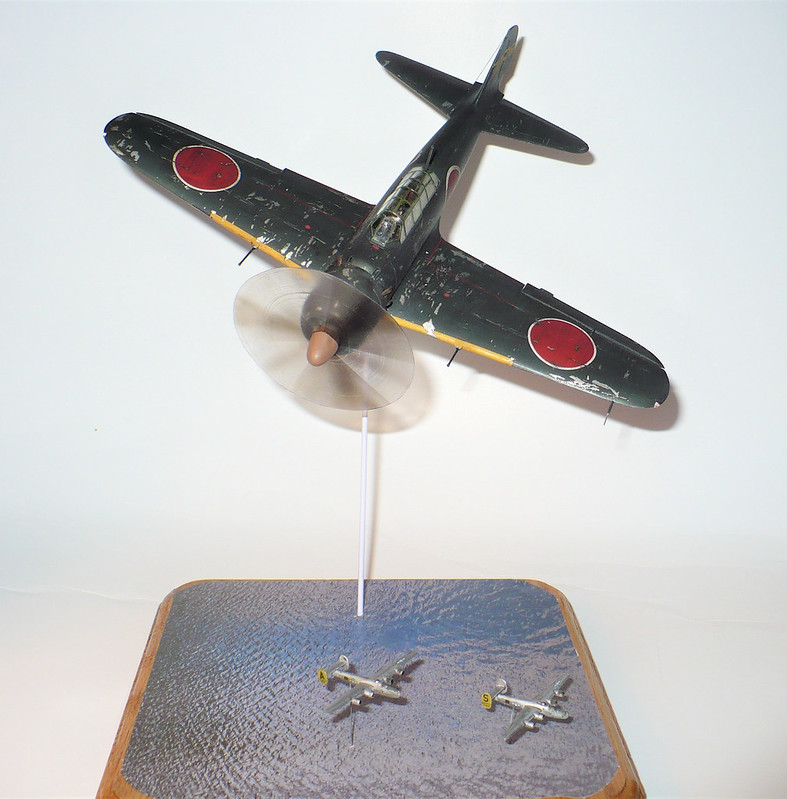
Since the wheels are up it needs to be in the air! That means a stand is in order.
Remember those tiny B-24s?

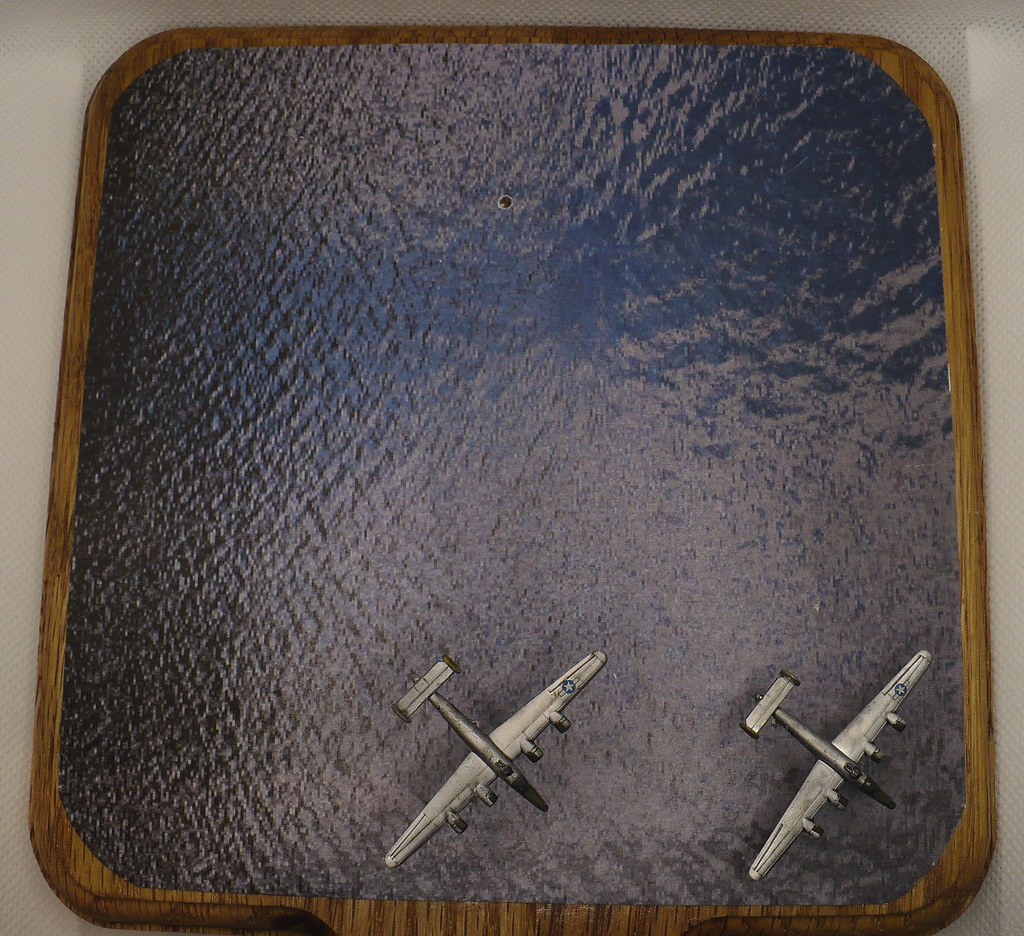
DONE!
From start to finish this only took about 24 hours of actual working time.




Congratulations on making it through this whole post!
Last year I was working on a very ambitious project (more on this some day) that required a couple of standing Japanese pilots and after much searching decided that the best bang for my buck was to simply order the Tamiya Zero kit that included four standing pilots.
These guys (I will be repositioning a bit when I build them)

Then I had a Zero kit that I hadn’t planned on that could either languish in my stash for years or, since I would already have all the right paints loaded up, just get a quick build. Since the other project was complex a figured I may as well do the Zero as a simple wheels up, in flight, on a stand display.
The kit:
All the reviews rave about this kit as being one of the best of any aircraft ever so it should be a pretty straight forward event.
In case anybody doesn't know what a new(ish) Tamiya kit looks like it is indeed beautiful even on the sprues.


It is however also one of the few where there is no gear up optional parts so I am going to have to do some alterations to close it all up.
The reviews that said this is the best Tamiya aircraft kit made were not kidding! The engineering and detail without having a massive number of small parts is truly amazing. A perfect stress free out of the box project. Even if you are not into Japanese WW2 aircraft this is worth picking up. Sort of sad I am going to close it all up and hide everything with a pilot. May pick up another to leave open.
So enough with the sales pitch (I am in no way affiliated with Tamiya nor a distributer).
Cockpit all done and ready to button up in one evening. Don't think I have ever done that before.
Main internal assemblies assembled

Base colour

Detail painting and small parts added

Black tinted acrylic floor finish for depth

Testors Dullcoat to bring it back down. Gauges dotted with Testors clear parts cement for gloss


Of course this will all be invisible once closed up and pilot in place.
Almost ready to paint and since it will be an in flight display I had to do up the pilot.
He isn't exactly in a great position to be flying (maybe he had an itch and had to let go of the stick mid bank) but he will do once the canopy is on.
Base coat

Detail paint

Shading. Both detail paint and shading overstated so can stand out through closed canopy.

Flat coat to blend (no his nose is not a weird colour in real life)

In the office


While digging through my spare parts bin I found a couple of tiny B-24s. Now how could they possibly be used with an in flight Zero?

All masked up and ready for first paint.
This is my first time using premarked masks and even though I had to cut then out all I can say is what a time saver. Looks like pre cuts are in my sights for future builds

Although I always knew the Zero was a small aircraft I didn't truly realize just how small until I started this build.
The whole thing pretty much fits within the wing area of a Voodoo


Base of Modelmaster chrome silver and hairspray for later chipping. Ready to join my other project in the paint shop.


Exactly the colour I was after. Over top of some really nice smelling hairspray.

And here is the beauty of the late war Japanese aircraft. Since they ran out of primer the paint didn't last long so you can beat the crap outta the paint like no other operational equipment (well maybe some Soviet stuff)


Not many reference pictures of underneath but from what i can see the grey paint stood up much better than the dark green. The condition these were operated in would have left some scars though

Marking all on over a heavy coat of tinted floor polish.
The effect will be greatly subdued once the flat coat goes on


And... Dullcoated (I warned you this was long)


Since the wheels are up it needs to be in the air! That means a stand is in order.
Remember those tiny B-24s?


DONE!
From start to finish this only took about 24 hours of actual working time.


Congratulations on making it through this whole post!


