roland66
Full Member
  
Member since: January 2013
at the workbench
Posts: 286
Jan 6, 2013 16:15:14 GMT -5
Jan 6, 2013 16:15:14 GMT -5
|
Post by roland66 on Mar 11, 2023 5:58:34 GMT -5
Hello everyone, in September 2021, i build this beauty. 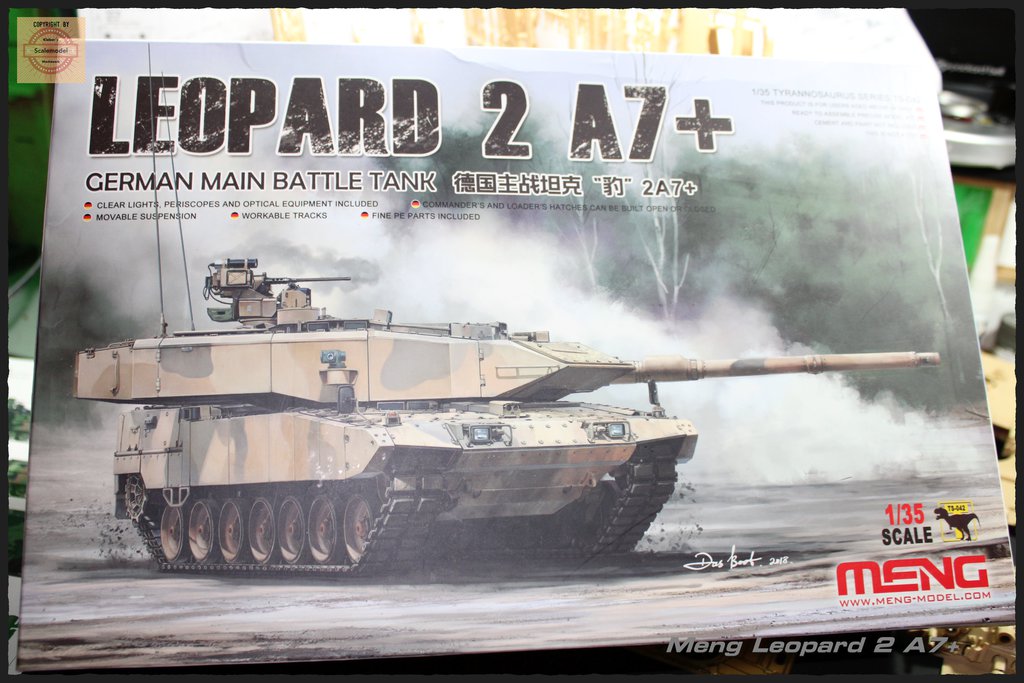 with a lot of work.....  Voyager Accessories..... 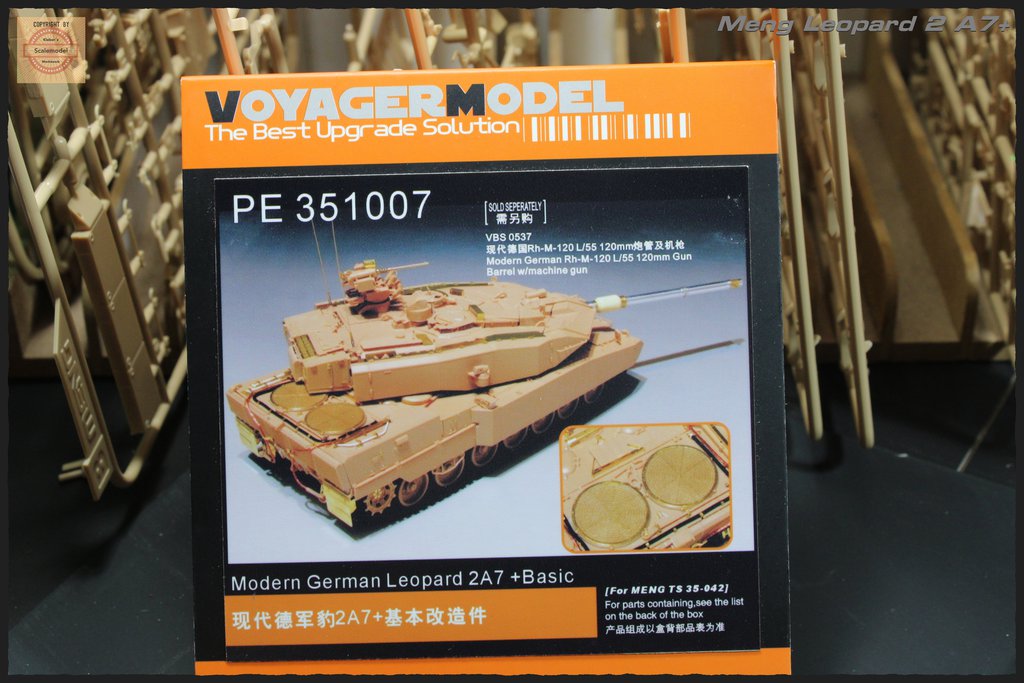 this is in the Voyager Set 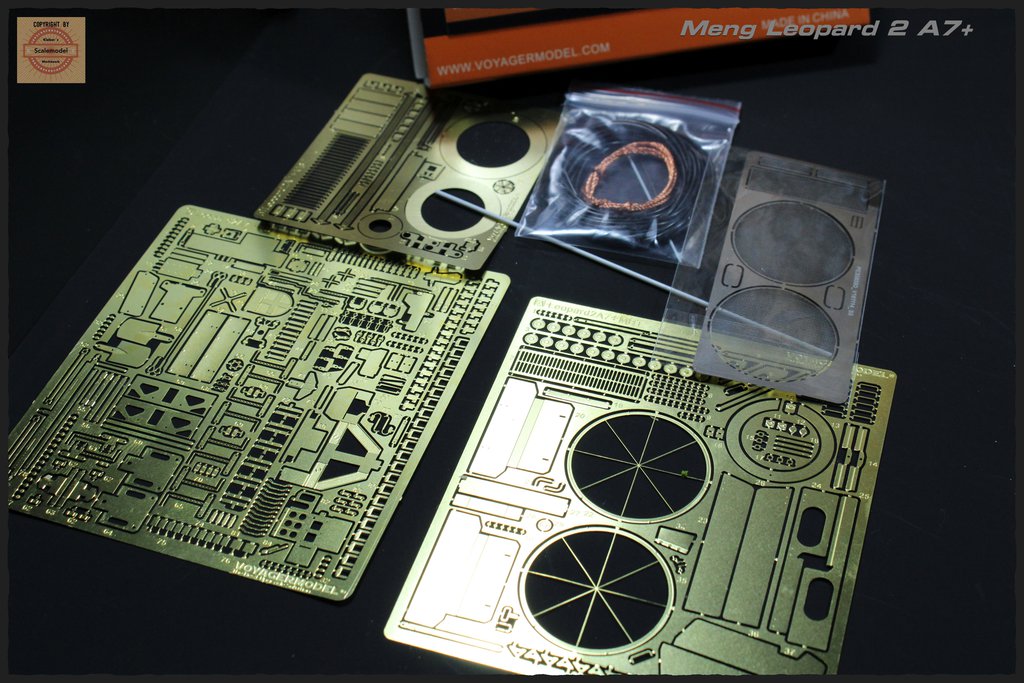 and new "Leitkreuz" in 3D printing....  and new Voyager lights and a thick fuc....gun....  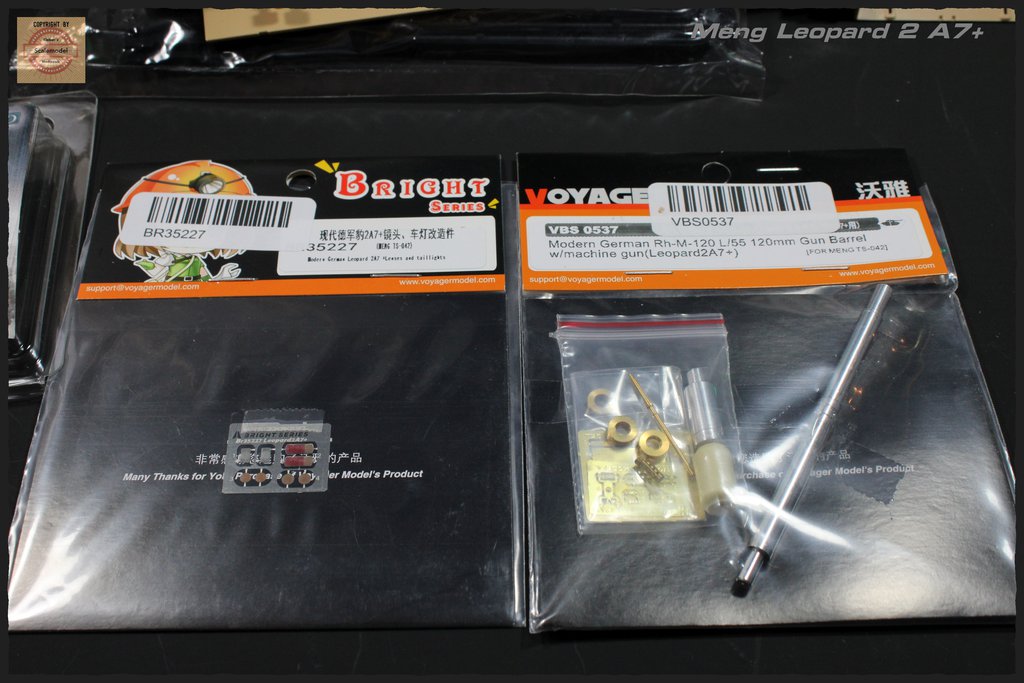 Stage 2 is finished, the lower hull with the suspension is complete. Stage 1, the wheels, will come later. I'll continue with stage 3, the tail, with the first etched parts. |
|
|
|
Post by mustang1989 on Mar 11, 2023 7:34:01 GMT -5
This is gonna be swell to watch. Just look at all those goodies you've got!! It looks like you're gonna have a ball with this one Roland and I'm looking forward to it. Already got this one bookmarked.
|
|
|
|
Post by Tojo72 on Mar 11, 2023 8:13:25 GMT -5
It's really getting the full treatment
|
|
roland66
Full Member
  
Member since: January 2013
at the workbench
Posts: 286
Jan 6, 2013 16:15:14 GMT -5
Jan 6, 2013 16:15:14 GMT -5
|
Post by roland66 on Mar 18, 2023 13:32:31 GMT -5
Hello everyone, we continue with the construction stage 3 and 4. Stage 3 deals with the rear armor. Here some plastic parts were replaced by PE parts from Voyager. All in all nothing wild. In build step 4, the tail armor is inserted into the hull, the fit is suction. Also, the torsion bar springs are inserted with their sway bars. When they all fit the same, they can be glued in place. If one breaks off during gluing, you have more on the sprue than you need. 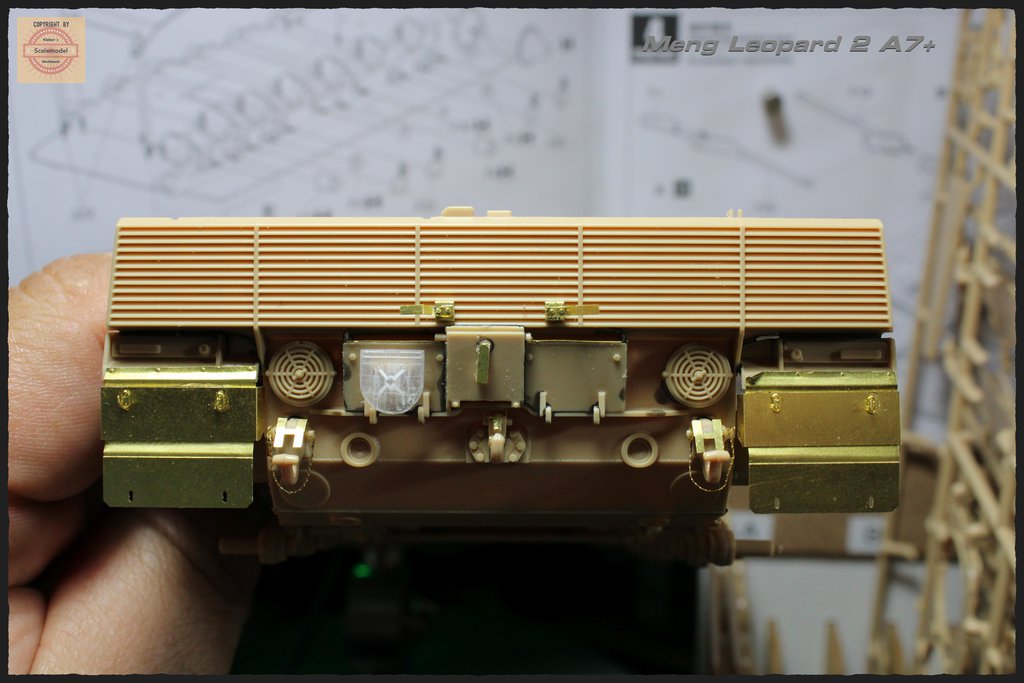 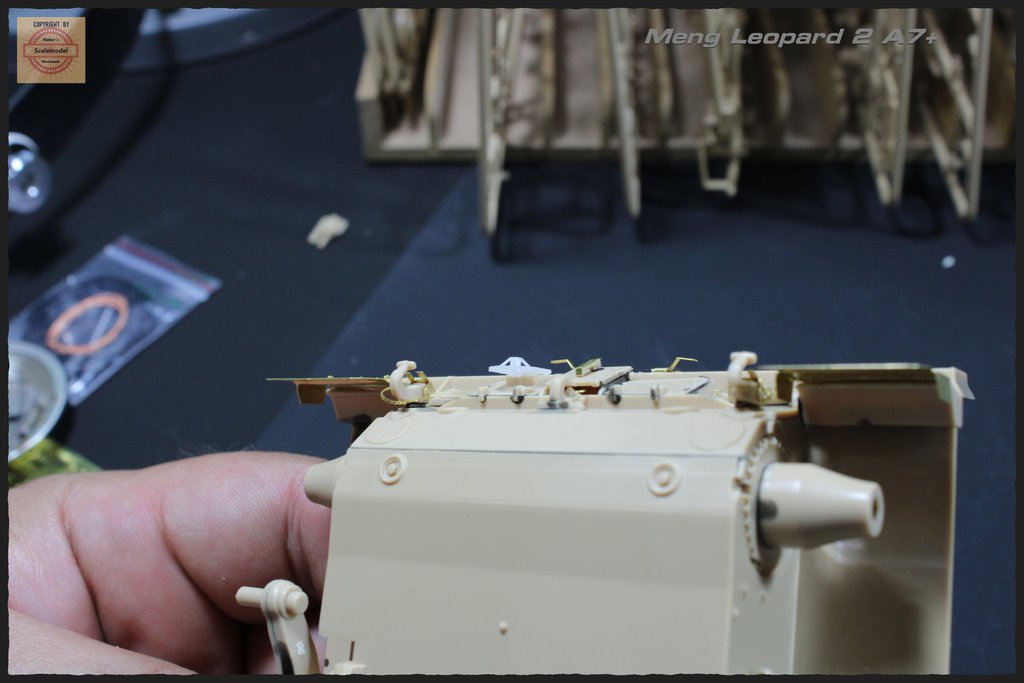 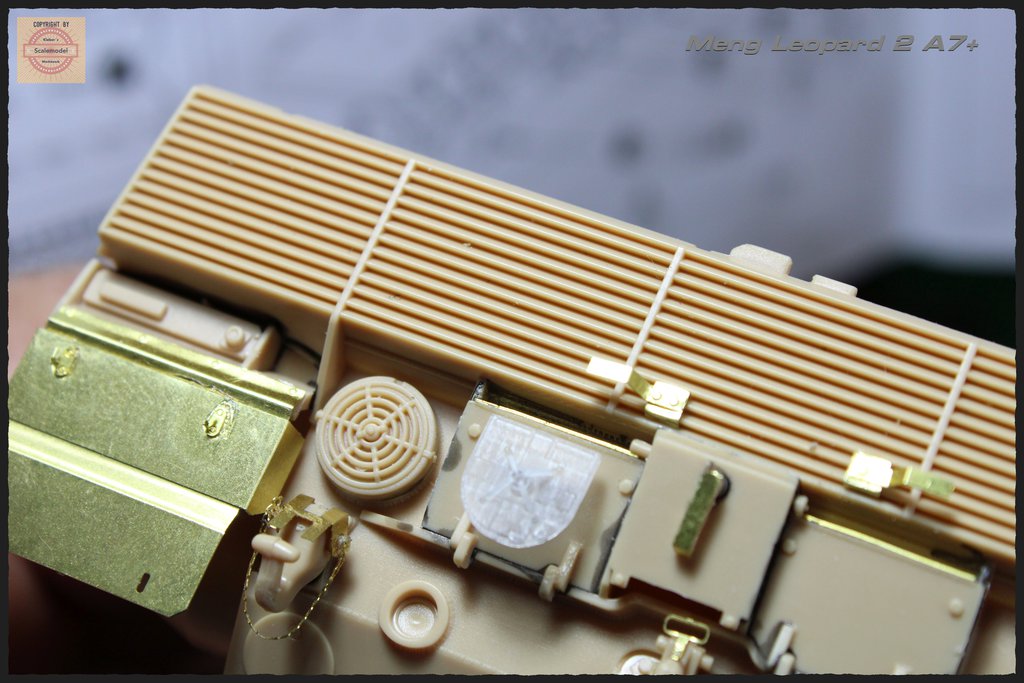 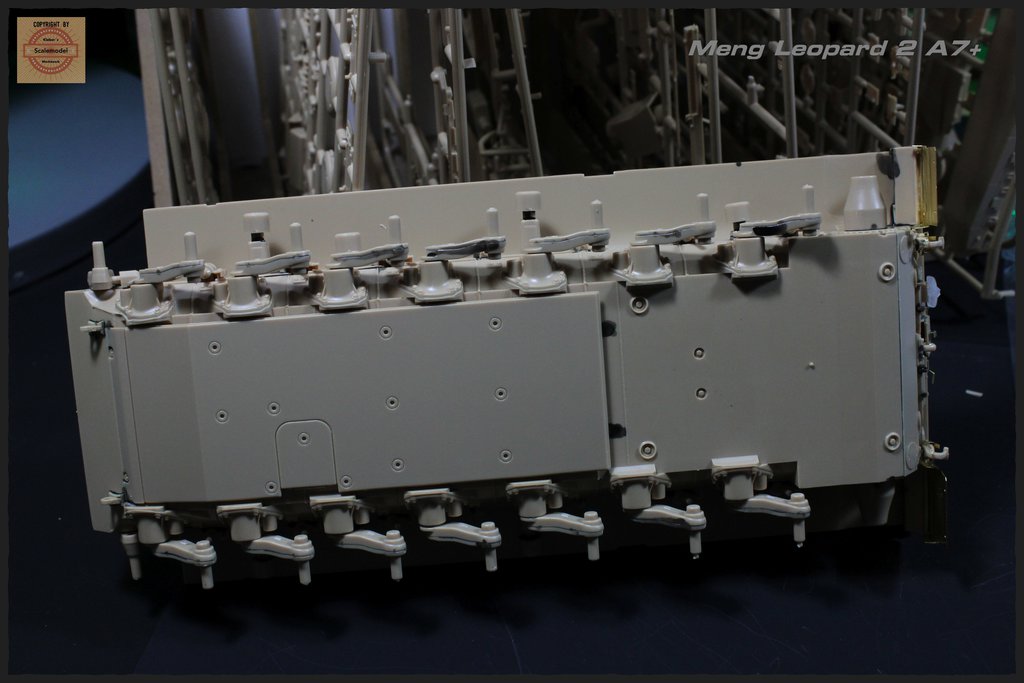 |
|
roland66
Full Member
  
Member since: January 2013
at the workbench
Posts: 286
Jan 6, 2013 16:15:14 GMT -5
Jan 6, 2013 16:15:14 GMT -5
|
Post by roland66 on Mar 18, 2023 13:34:30 GMT -5
|
|
|
|
Post by mustang1989 on Mar 18, 2023 13:35:07 GMT -5
Now that's a lot of detail packed in back there Roland. I love all the PE work you've done so far as it all adds up into alot of details!!
|
|
roland66
Full Member
  
Member since: January 2013
at the workbench
Posts: 286
Jan 6, 2013 16:15:14 GMT -5
Jan 6, 2013 16:15:14 GMT -5
|
Post by roland66 on Mar 18, 2023 15:07:06 GMT -5
Yes, but the turret covers half of it later. I noticed it too late. The work was then in vain.  |
|
|
|
Post by `Boots` on Mar 18, 2023 15:16:03 GMT -5
That is some really tidy etch work Roland....excellent work so far  |
|
|
|
Post by mustang1989 on Mar 18, 2023 16:34:59 GMT -5
Yes, but the turret covers half of it later. I noticed it too late. The work was then in vain.  To the casual onlooker it'll cover it. You get guys like us lookin' at it....we'll see it.  |
|
armornutii
Full Member
  
Member since: March 2023
crystevens@hotmail.com
Posts: 1,201
Mar 18, 2023 17:45:08 GMT -5
Mar 18, 2023 17:45:08 GMT -5
|
Post by armornutii on Mar 18, 2023 21:40:23 GMT -5
I'm going to get one of those some day soon. I built the Tamiya A6 awhile back and am " in love" with the sleek lines of the new gen Lepards. B.A.T.s. Might have to spring for the PE set too.
|
|
|
|
Post by mustang1989 on Mar 18, 2023 21:47:12 GMT -5
I'm going to get one of those some day soon. I built the Tamiya A6 awhile back and am " in love" with the sleek lines of the new gen Lepards. B.A.T.s. Might have to spring for the PE set too. I'll be looking forward to a build thread for that Perry! |
|
ogrejohn
Full Member
   Oct '23 Showcased Model Awarded
Member since: June 2012
Go away or I shall taunt you a second time!
Posts: 1,303
Jun 1, 2012 17:33:59 GMT -5
Jun 1, 2012 17:33:59 GMT -5
|
Post by ogrejohn on Mar 19, 2023 10:09:29 GMT -5
That is some dang fine etch work!
|
|
|
|
Post by Tojo72 on Mar 19, 2023 10:53:45 GMT -5
Excellent work on those details
|
|
|
|
Post by Tobi on Mar 19, 2023 11:13:46 GMT -5
I love the Leopard.
The tail louvres look sharp, far better than on the Revell or the Hobby Boss.
Interesting that the lower rear is missing the three reinforcement ribs of later hulls. Must be a refurbished chassis then?
|
|
roland66
Full Member
  
Member since: January 2013
at the workbench
Posts: 286
Jan 6, 2013 16:15:14 GMT -5
Jan 6, 2013 16:15:14 GMT -5
|
Post by roland66 on Mar 19, 2023 15:00:33 GMT -5
Maybe..... No one knows........there is no Leo as an A7+. If there is, they'll be upgraded.
You know the current discussions about the Bundeswehr. A lot of time will pass before new Leos arrive.
|
|
reserve
Senior Member
   
Member since: July 2012
Si vis pacem para bellum
Posts: 2,373
Jul 11, 2012 9:11:45 GMT -5
Jul 11, 2012 9:11:45 GMT -5
|
Post by reserve on Mar 20, 2023 0:00:44 GMT -5
Very impressive work with the PE sir.
|
|
Whiterook
Full Member
  
Member since: March 2013
Modeler & Wargamer
Posts: 905
Mar 13, 2013 15:29:19 GMT -5
Mar 13, 2013 15:29:19 GMT -5
|
Post by Whiterook on Apr 8, 2023 17:54:08 GMT -5
Hello everyone, we continue with the construction stage 3 and 4. Stage 3 deals with the rear armor. Here some plastic parts were replaced by PE parts from Voyager. All in all nothing wild. In build step 4, the tail armor is inserted into the hull, the fit is suction. Also, the torsion bar springs are inserted with their sway bars. When they all fit the same, they can be glued in place. If one breaks off during gluing, you have more on the sprue than you need.     Great build! Are the torsion bar springs and sway bars is what’s pictured in the fourth image? (…trying to learn my tank parts!). |
|
roland66
Full Member
  
Member since: January 2013
at the workbench
Posts: 286
Jan 6, 2013 16:15:14 GMT -5
Jan 6, 2013 16:15:14 GMT -5
|
Post by roland66 on Dec 6, 2023 14:38:50 GMT -5
|
|
|
|
Post by deafpanzer on Dec 6, 2023 14:47:26 GMT -5
The camo looks fantastic! I am so glad that this thread has been resurrected so I can see your early work. The glass lens look great so what did you use?
|
|
roland66
Full Member
  
Member since: January 2013
at the workbench
Posts: 286
Jan 6, 2013 16:15:14 GMT -5
Jan 6, 2013 16:15:14 GMT -5
|
Post by roland66 on Dec 6, 2023 14:58:57 GMT -5
The lenses are available from AK in different diameters.
|
|
|
|
Post by kyledehart5 on Dec 6, 2023 15:43:34 GMT -5
Yes, wonderful work here as well.
|
|
armornutii
Full Member
  
Member since: March 2023
crystevens@hotmail.com
Posts: 1,201
Mar 18, 2023 17:45:08 GMT -5
Mar 18, 2023 17:45:08 GMT -5
|
Post by armornutii on Dec 6, 2023 15:52:55 GMT -5
That is uber cool, Ibwas going to mention to turn the turret to get a look at that beautiful executed PE, and it make the tank look really bad a^^. Hope mine turns out as well.
|
|
|
|
Post by Tojo72 on Dec 6, 2023 16:32:03 GMT -5
You really took this one to the next level 👏
|
|
|
|
Post by tcoat on Dec 6, 2023 17:14:06 GMT -5
The boot prints alone take it over the top!
|
|
stikpusher
Forum Moderator      May '23 Showcased Model Awarded
Member since: April 2023
Living The Dream
Posts: 4,153 
MSC Staff
|
Post by stikpusher on Dec 7, 2023 13:18:41 GMT -5
That turned out gorgeous! I have never seen one with a remote weapons station before. That looks pretty wicked! It looks like a portion of the ammo compartment was replaced to allow for that installation on top of a blow off panel... interesting.
|
|
roland66
Full Member
  
Member since: January 2013
at the workbench
Posts: 286
Jan 6, 2013 16:15:14 GMT -5
Jan 6, 2013 16:15:14 GMT -5
|
Post by roland66 on Dec 7, 2023 14:25:04 GMT -5
|
|
ossie262
Full Member
   July '24 Showcased Build Awarded
Member since: January 2015
Posts: 320
Jan 3, 2015 15:31:27 GMT -5
Jan 3, 2015 15:31:27 GMT -5
|
Post by ossie262 on Dec 7, 2023 14:42:44 GMT -5
Hi
All that etch , man you have some patience to add all that lot
great model well done
ossie
|
|
|
|
Post by chromdome35 on Dec 7, 2023 16:56:00 GMT -5
Beautiful PE work on a beautiful build. I'm much impressed.
|
|
handiabled
Administrator      Apr '23 Showcased Build Awarded
Member since: February 2023
Posts: 4,475 
MSC Staff
|
Post by handiabled on Dec 8, 2023 2:33:41 GMT -5
What a brilliant looking build! Your paint work, weathering and attention to detail are stupendous!
|
|