|
|
Post by tcoat on Apr 1, 2023 21:50:31 GMT -5
Ran into decal issues with my latest plane build so  This is the 1/32 Hunter Killer tank from the Terminator 2 movie. As the "real" thing is described as 3 stories tall then even in 1/32 it is MASSIVE. .jpg.40da0eca1fd318f7e81a1ba338956798.jpg) .jpg.0885a8a1935e612a175ce2248dd702a8.jpg) |
|
mz3
Full Member
  
Member since: October 2012
Posts: 649
Oct 14, 2012 21:09:43 GMT -5
Oct 14, 2012 21:09:43 GMT -5
|
Post by mz3 on Apr 1, 2023 23:53:41 GMT -5
I have one of these in my stash somewhere. I'll be watching this build very closely.
|
|
|
|
Post by tcoat on Apr 2, 2023 0:49:19 GMT -5
I have one of these in my stash somewhere. I'll be watching this build very closely. Step1: Buy glue.  |
|
|
|
Post by Leon on Apr 2, 2023 3:52:09 GMT -5
I have been wanting to get one of these for awhile now.
I'll be following along closely.
|
|
Whiterook
Full Member
  
Member since: March 2013
Modeler & Wargamer
Posts: 905
Mar 13, 2013 15:29:19 GMT -5
Mar 13, 2013 15:29:19 GMT -5
|
Post by Whiterook on Apr 2, 2023 8:07:15 GMT -5
I have one of these in my stash somewhere. I'll be watching this build very closely. Step1: Buy glue.  Hmmmmm….THAT may be the winner of Best Post of All Time, in my humble opinion! Hilarious. Fantastic. Brilliant!!! |
|
|
|
Post by mustang1989 on Apr 2, 2023 8:45:35 GMT -5
So looking forward to this.
|
|
buddho
Forum Moderator     
Member since: February 2019
Posts: 1,287 
MSC Staff
|
Post by buddho on Apr 2, 2023 9:28:52 GMT -5
|
|
|
|
Post by Tobi on Apr 2, 2023 10:31:22 GMT -5
Holy cow!
|
|
Real G
Full Member
  
Member since: April 2023
Posts: 880 
|
Post by Real G on Apr 2, 2023 11:58:13 GMT -5
I also have one of these monsters. It will be interesting to see you tackle this kit.
I replaced the snap barbs on the head and torso, so they can be separated just like an armor kit. I picked up some LEDs to light the searchlights and “police lights” on the head. Man, if you see one of these in your rear view mirror, don’t pull over, speed up! I also started replacing the tracks with plastic, which is what killed my enthusiasm. Where is Friulmodelissimo, or the plethora of 3-D printing upstarts when you need them? Nevertheless, I have seen one or two at contests, and they look stunning when built.
Anyway, good luck on your build!
|
|
|
|
Post by tcoat on Apr 2, 2023 12:09:03 GMT -5
For anybody not familiar with Pegasus Hobbies kits the first thing that needs to be mentioned is that they are not styrene. The plastic they use is a heavy ABS. This means that some glues just won't work and they recommend Tamiya Extra Thin or Modelmaster liquid only. Of course you can also use super glues. I use the Tamiya and it works great. Of course this subject is modeled after a movie prop and some of the parts seem a bit simplistic when you first look at the. For example the return wheels for the tracks have no sort of suspension to them but are simply little wheels on a stick. The wheels themselves have nice detail but that is about it. This of course is fie with me since once the tracks and side panels are on you won't notice anyway but anybody that really like to go to town could easily do more with these. 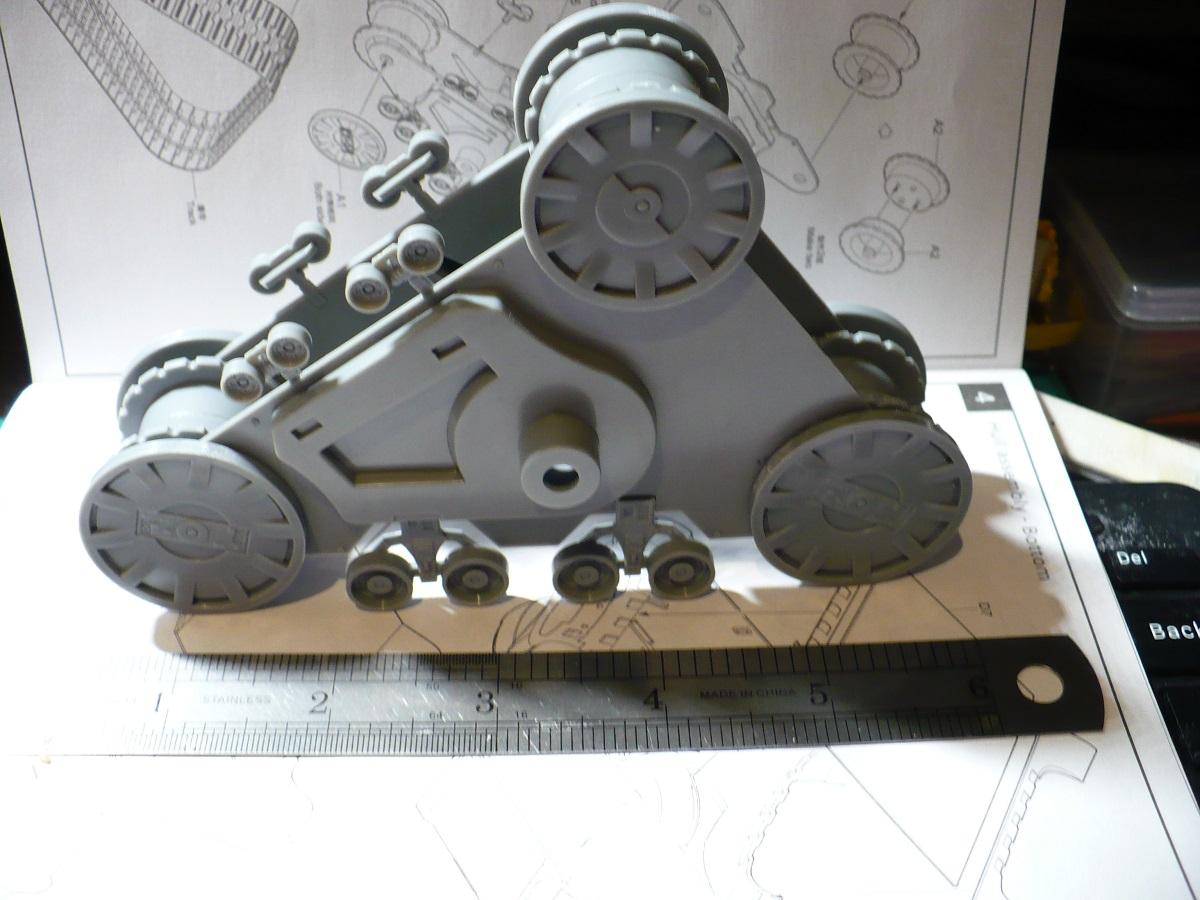 The track assemblies are huge of course but they fly together since there actually very few pieces. The pieces there are you get to do 4 times 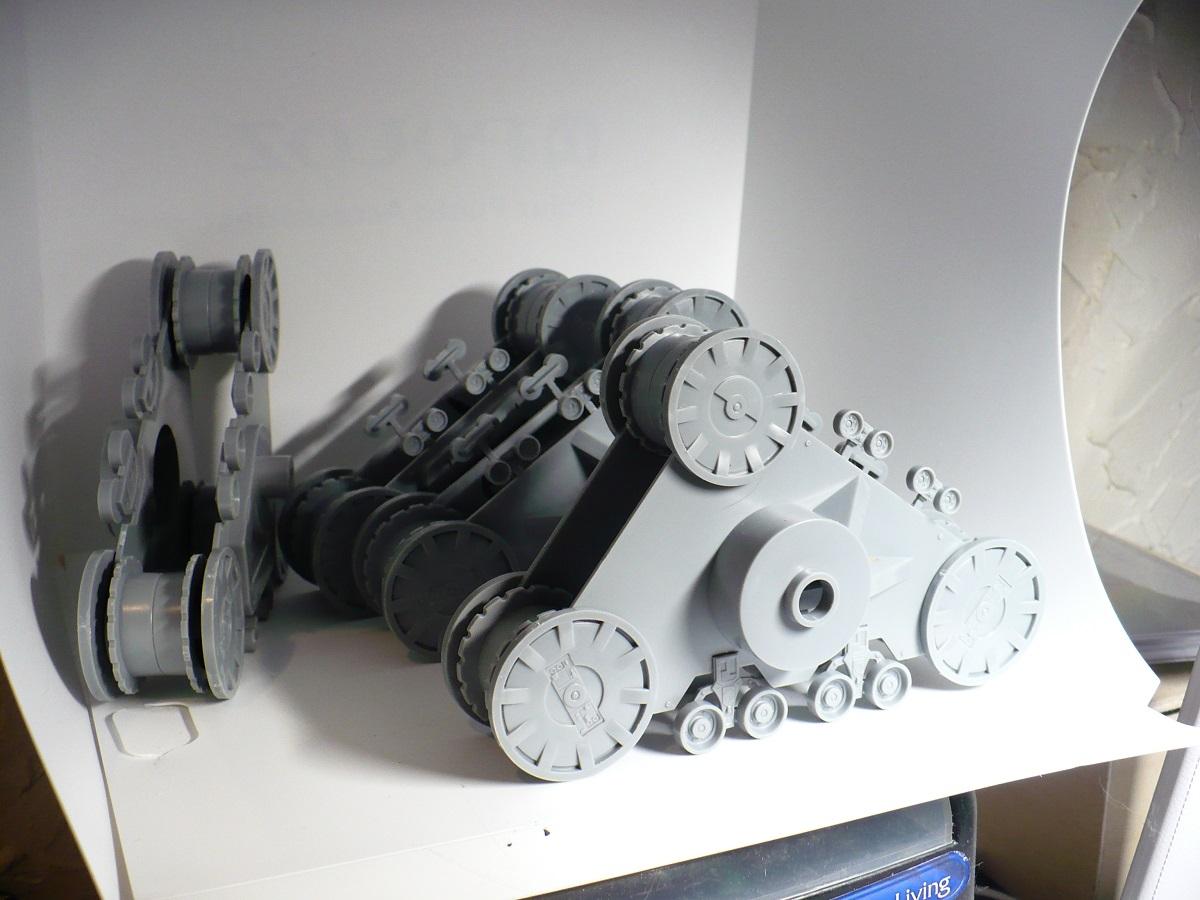 Pegasus uses a lot of slots and bevels in their design instead of locating pins. This does a good job of hiding most seams and is very strong but some of the bigger sections don't fit perfectly so there will be some filling and sanding. I understand that this can be hit and miss with the molds and was a lesser issue with the first release than this one (this is the 2021 rerelease) 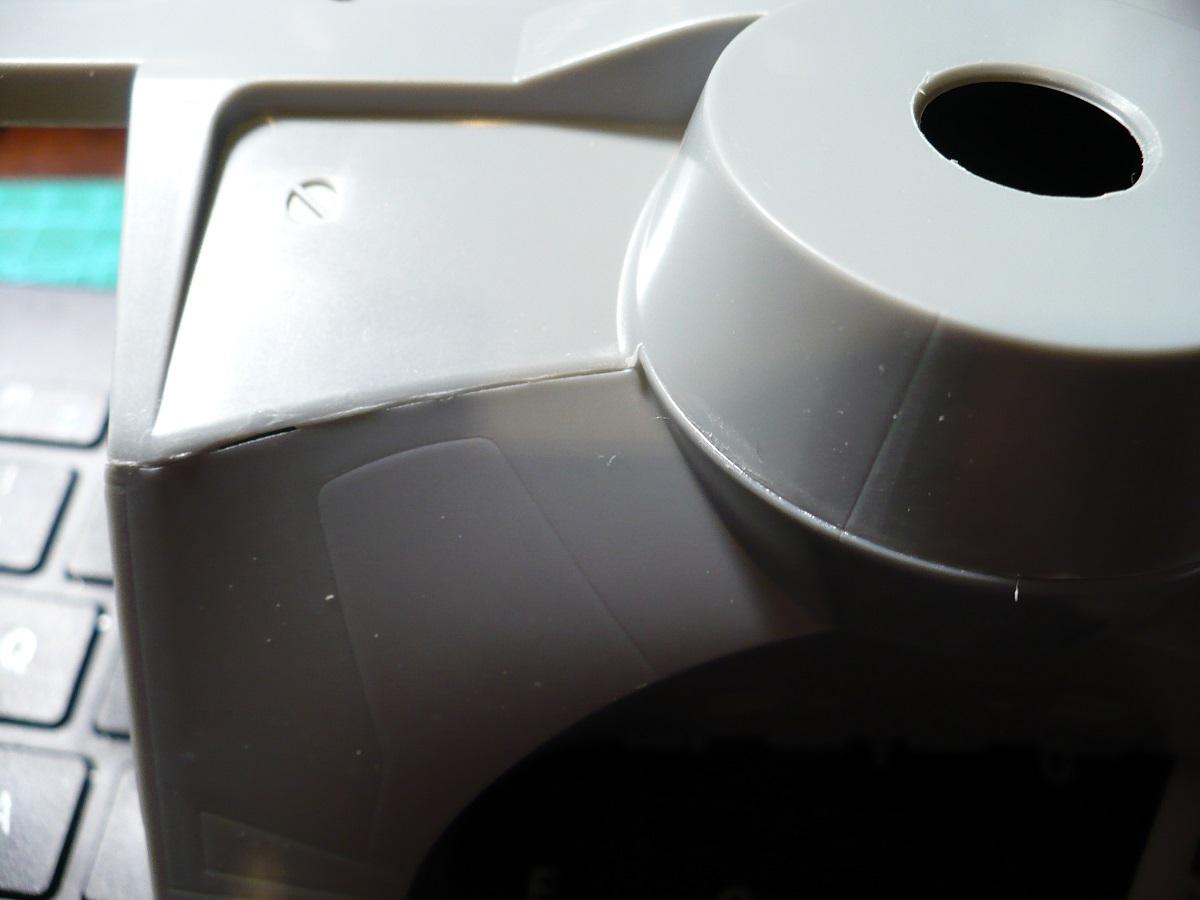 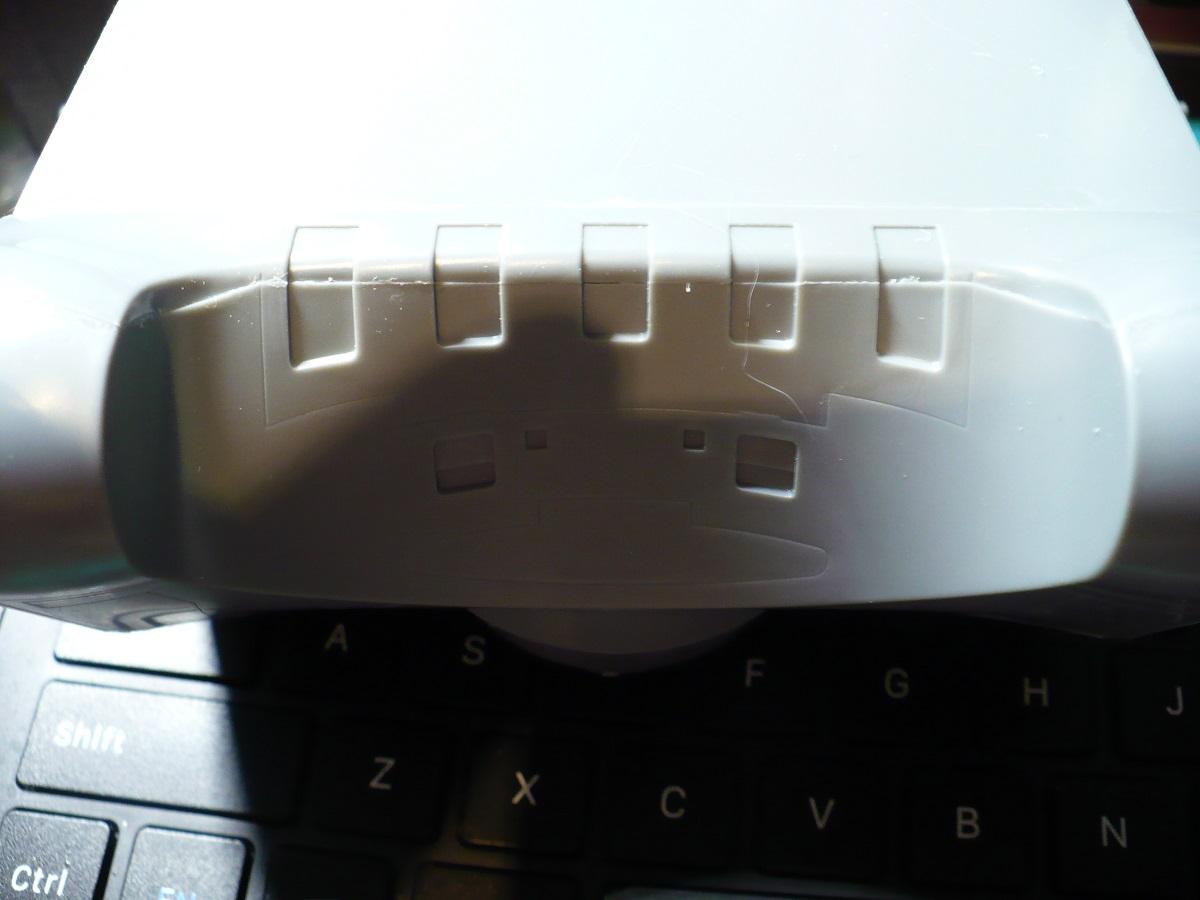 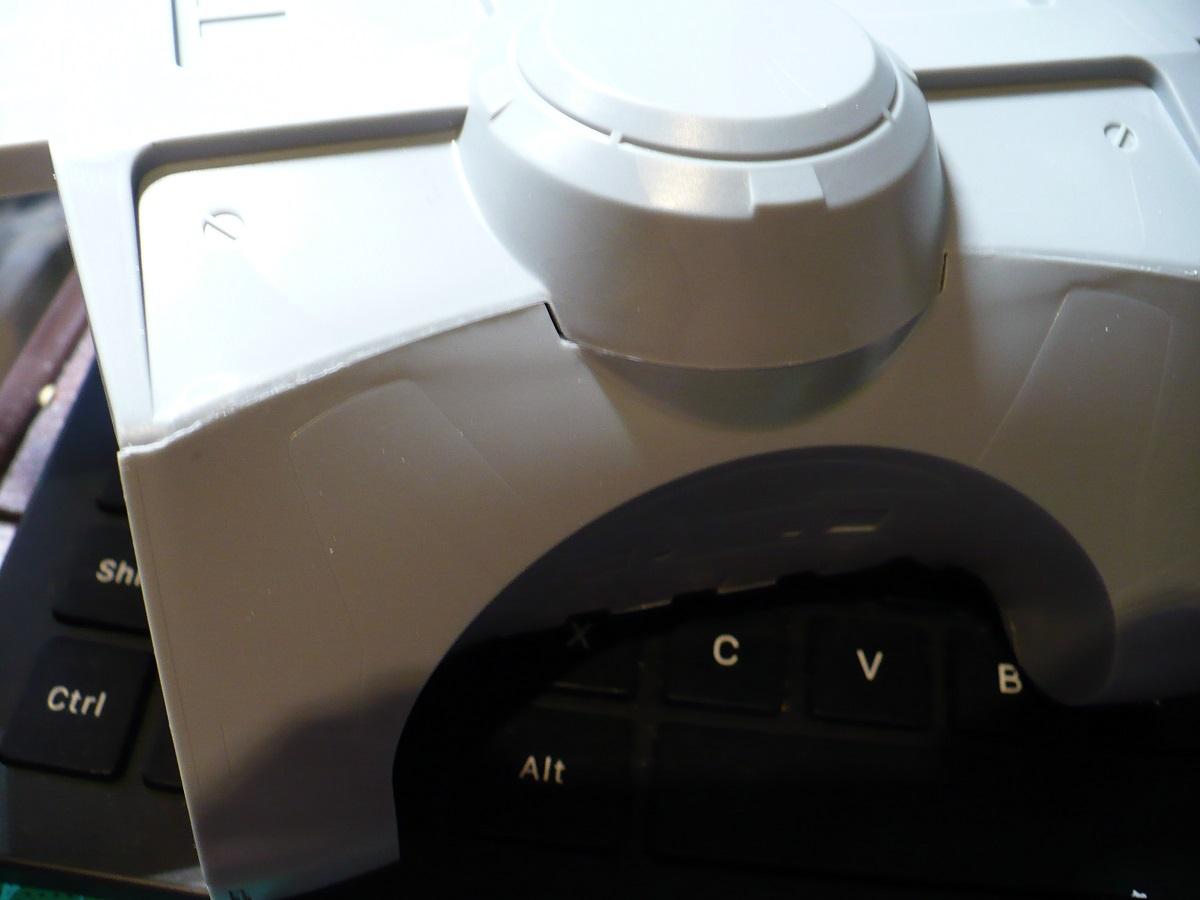 The smaller assemblies though fit really nice. 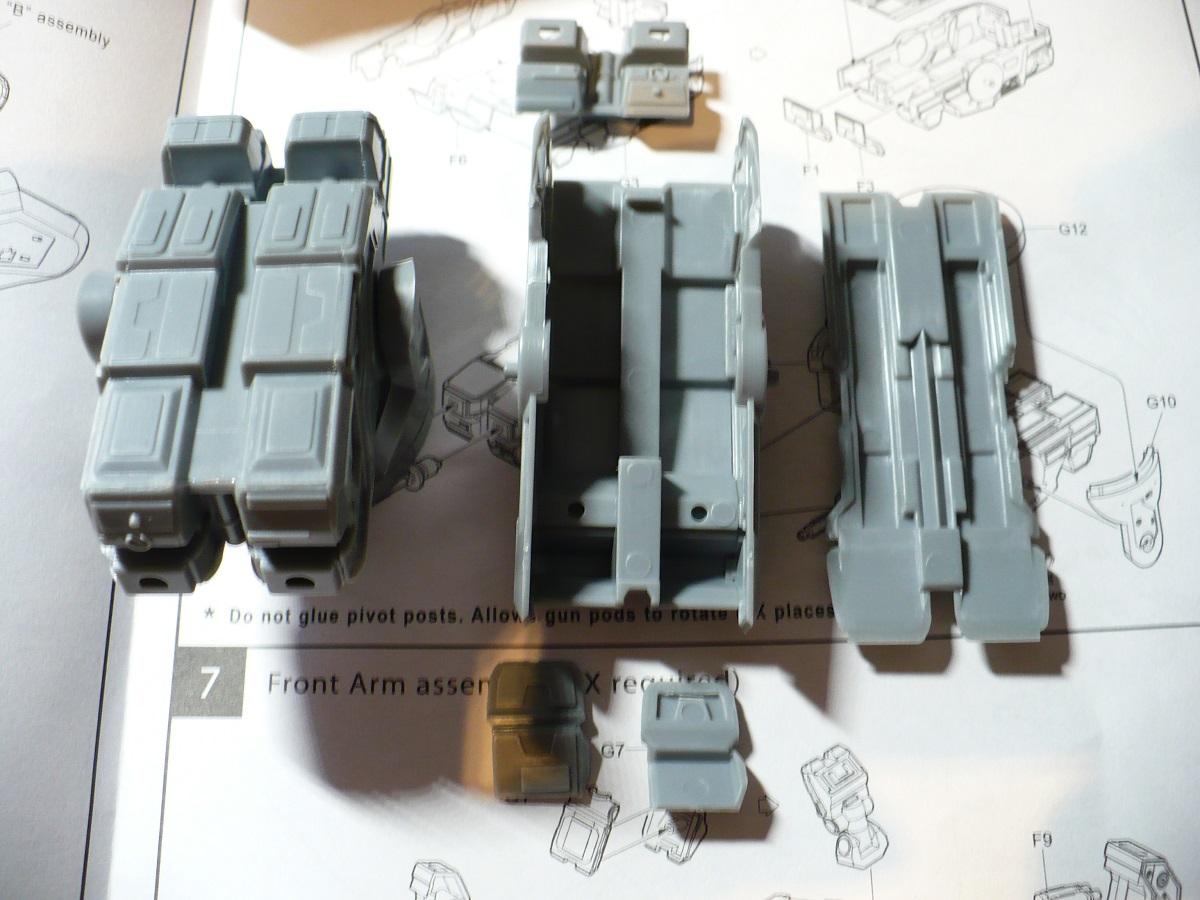 |
|
Real G
Full Member
  
Member since: April 2023
Posts: 880 
|
Post by Real G on Apr 3, 2023 19:48:55 GMT -5
Doooooooo the treads. You know you want to. You know you have to...   See? I AM a classroom disruption!  |
|
|
|
Post by tcoat on Apr 3, 2023 19:59:29 GMT -5
Doooooooo the treads. You know you want to. You know you have to... See? I AM a classroom disruption!  Not a hope! I am fine with the rubber band tracks and have zero masochistic tendencies. I will do the magic with paint and weathering.  |
|
|
|
Post by Leon on Apr 3, 2023 20:01:03 GMT -5
WOW...You're off to a good start!
|
|
|
|
Post by tcoat on Apr 3, 2023 20:23:31 GMT -5
WOW...You're off to a good start! More than you know! All assemblies done just working on seams .jpg.17c41e35b820872c487e5717bf6f63da.jpg) And for those that don't know how big these things are here we have a 1/35 Sherman lost in the middle. .jpg.8f3e4b8dbb33c215629c84651ad66b49.jpg) |
|
|
|
Post by chromdome35 on Apr 3, 2023 21:38:02 GMT -5
This is going to be awesome, I can't wait to see it. How do you plan to paint it?
|
|
|
|
Post by mustang1989 on Apr 3, 2023 21:44:19 GMT -5
Doooooooo the treads. You know you want to. You know you have to...   See? I AM a classroom disruption!  Where's Mr. Stadanko when you need 'em? lol That IS crazy!!! |
|
|
|
Post by Tobi on Apr 4, 2023 3:16:17 GMT -5
A 1/35 Sherman? Tony's 1/16 Tiger would be lost in there!
|
|
|
|
Post by tcoat on Apr 4, 2023 7:05:46 GMT -5
This is going to be awesome, I can't wait to see it. How do you plan to paint it? Ahhh therein lies the question. Not that you get a really good look in normal lighting but in the first movie they appear to be just sort of a low gloss steel color.  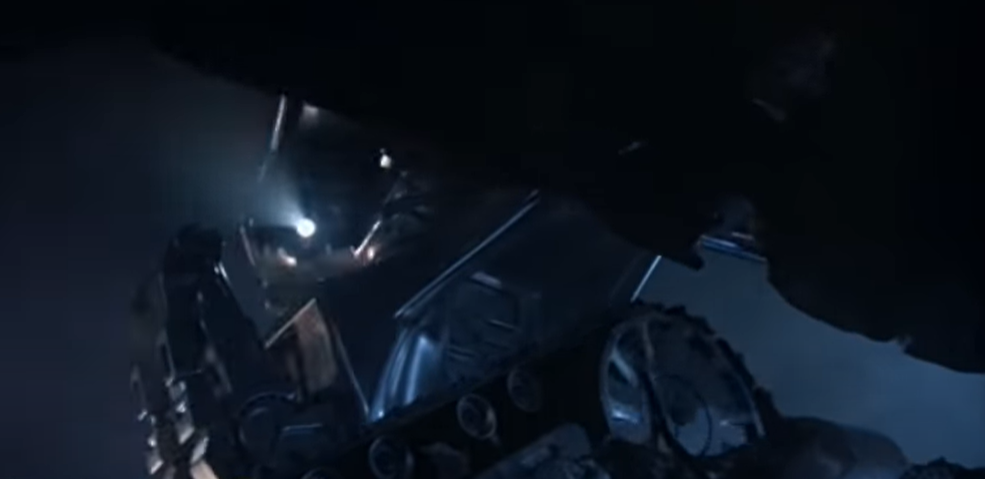 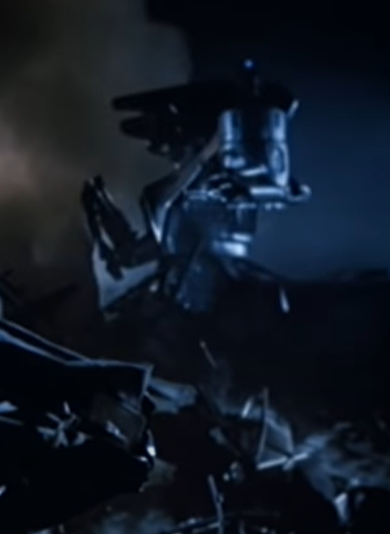 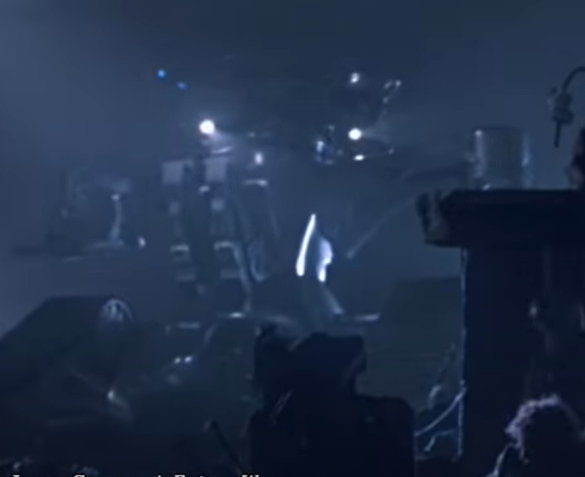 But by T2 it appears that Skynet found a good detailing shop and they are bright and shiny almost chrome like. 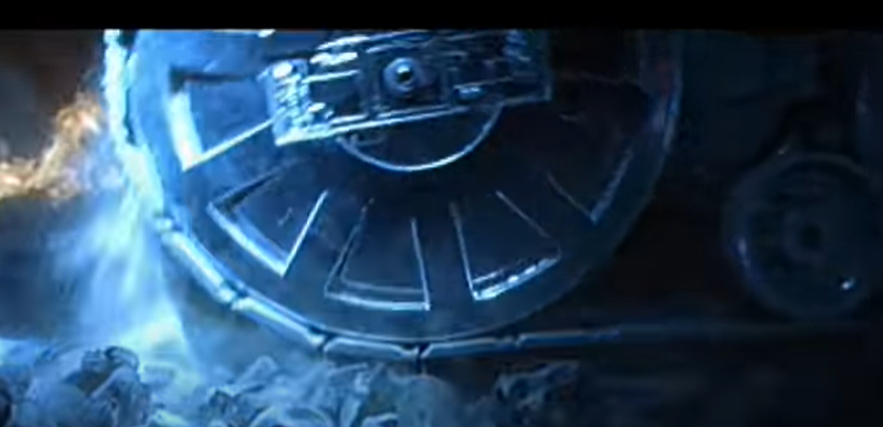  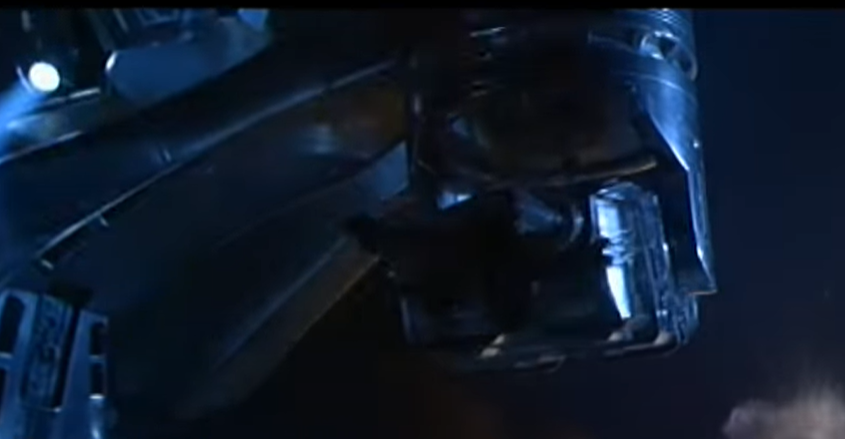 They don't show up in the later movies but all the equipment that does runs between the two finishes so I don't think there is a "right" or "wrong" answer really. www.youtube.com/watch?v=tJF9k1R0bPcI sort of like the chrome look so will go with that and just dust up the lower parts. |
|
|
|
Post by mustang1989 on Apr 4, 2023 7:30:39 GMT -5
Looking forward to seeing how you tackle it Tony.
|
|
|
|
Post by tcoat on Apr 4, 2023 9:11:33 GMT -5
Looking forward to seeing how you tackle it Tony. I may bring in Xzibit and go all chrome!  |
|
Real G
Full Member
  
Member since: April 2023
Posts: 880 
|
Post by Real G on Apr 4, 2023 13:00:55 GMT -5
Eeza very big.   |
|
|
|
Post by Tobi on Apr 4, 2023 13:15:25 GMT -5
Maybe one could make a vacuum cleaner robot out of it? I'm sure there would be a market for that.
|
|
|
|
Post by tcoat on Apr 4, 2023 13:18:58 GMT -5
|
|
Real G
Full Member
  
Member since: April 2023
Posts: 880 
|
Post by Real G on Apr 4, 2023 14:06:50 GMT -5
An HK Roomba? I like it! Not only will it vacuum up the dirt, but it will also exterminate the dust bunnies!
|
|
|
|
Post by tcoat on Apr 4, 2023 14:40:02 GMT -5
An HK Roomba? I like it! Not only will it vacuum up the dirt, but it will also exterminate the dust bunnies! I am NOT hooking my Roomba up to Skynet!  |
|
|
|
Post by Tobi on Apr 6, 2023 0:51:06 GMT -5
Roomba, what a nice new word I've learned today. I could say it all day long. Dancing with the Skynet. Roomba.  |
|
|
|
Post by tcoat on Apr 6, 2023 22:54:05 GMT -5
Step 2: Buy paint  Base coat of Tamiya "chrome" silver on all surfaces. It took two full bottles! This will be the actual main colour for things such as the guns, arms and any un armoured parts. The "specs" for these things (you can find anything on the internet) say the armour was high gloss titanium. I suppose that was too to help defect the fire from a phased plasma rifle in the 40 watt range. I haven't figured out what paint I will use for the brighter sections. Any suggestions that are not Alclad since I do not want to remortgage the house. 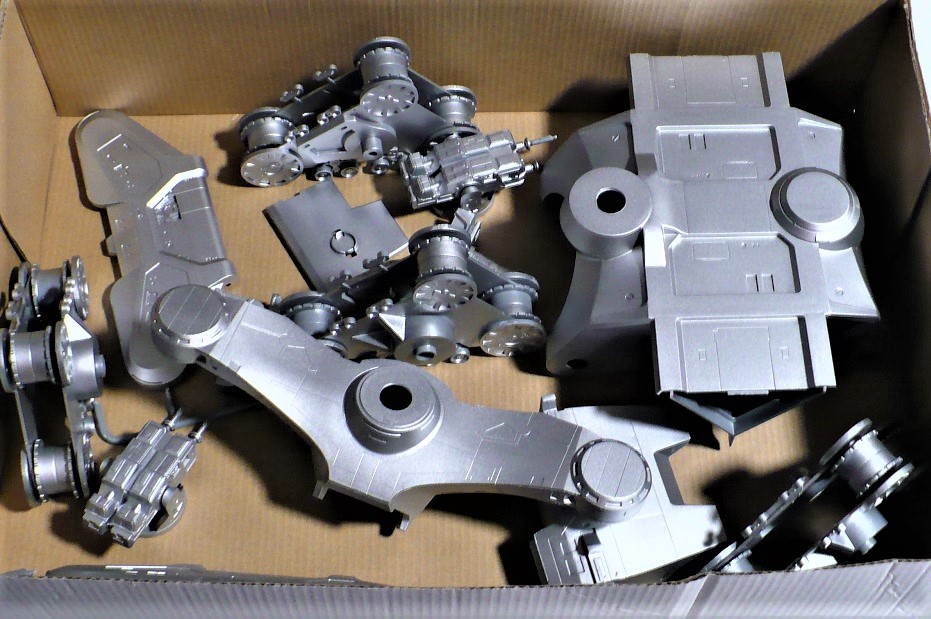 |
|
|
|
Post by Mence on Apr 7, 2023 1:10:04 GMT -5
Brilliant, I had no idea this kit was so large, I need one in my life now.
|
|
|
|
Post by mustang1989 on Apr 7, 2023 6:26:44 GMT -5
Any suggestions that are not Alclad since I do not want to remortgage the house. Try AK Super Chrome Tony. After spraying you're gonna have to wait 48 hours and use nitrile gloves when handling after that. It's just as touchy as Alclad is to handling but if you're careful you can pull it off. It's recommended by some that a high gloss black base be put down prior to applying this. Maybe save the chroming stage until you've got most of it built.  |
|
|
|
Post by tcoat on Apr 7, 2023 10:20:11 GMT -5
Any suggestions that are not Alclad since I do not want to remortgage the house. Try AK Super Chrome Tony. After spraying you're gonna have to wait 48 hours and use nitrile gloves when handling after that. It's just as touchy as Alclad is to handling but if you're careful you can pull it off. It's recommended by some that a high gloss black base be put down prior to applying this. Maybe save the chroming stage until you've got most of it built. I considered that but with the shear size of this thing I am worried that with using any of the standard, more delicate, metallizer paints is gong to end up going down a rabbit hole of chasing blemishes and marks. There are just so many big flat, shiny, surfaces to deal with. I still have a little over half a bottle of the old Modelmaster chrome enamel that would probably be prefect but I am worried I will run out and then be stuck. I may just go for it though. Even the Tamiya acrylic actually looks pretty good once the gloss and weathering goes on. Hard to see in the picture but there are three different shades here. The Tamiya chrome, old Testers small bottle steel and silver. Then my usual overall wash of tinted Future (I told you I use it on everything) finished off with a light wash of Citadel Nuln Oil shade. Normally I would do an overcoat of flat but this all needs to have at least some shine to it. 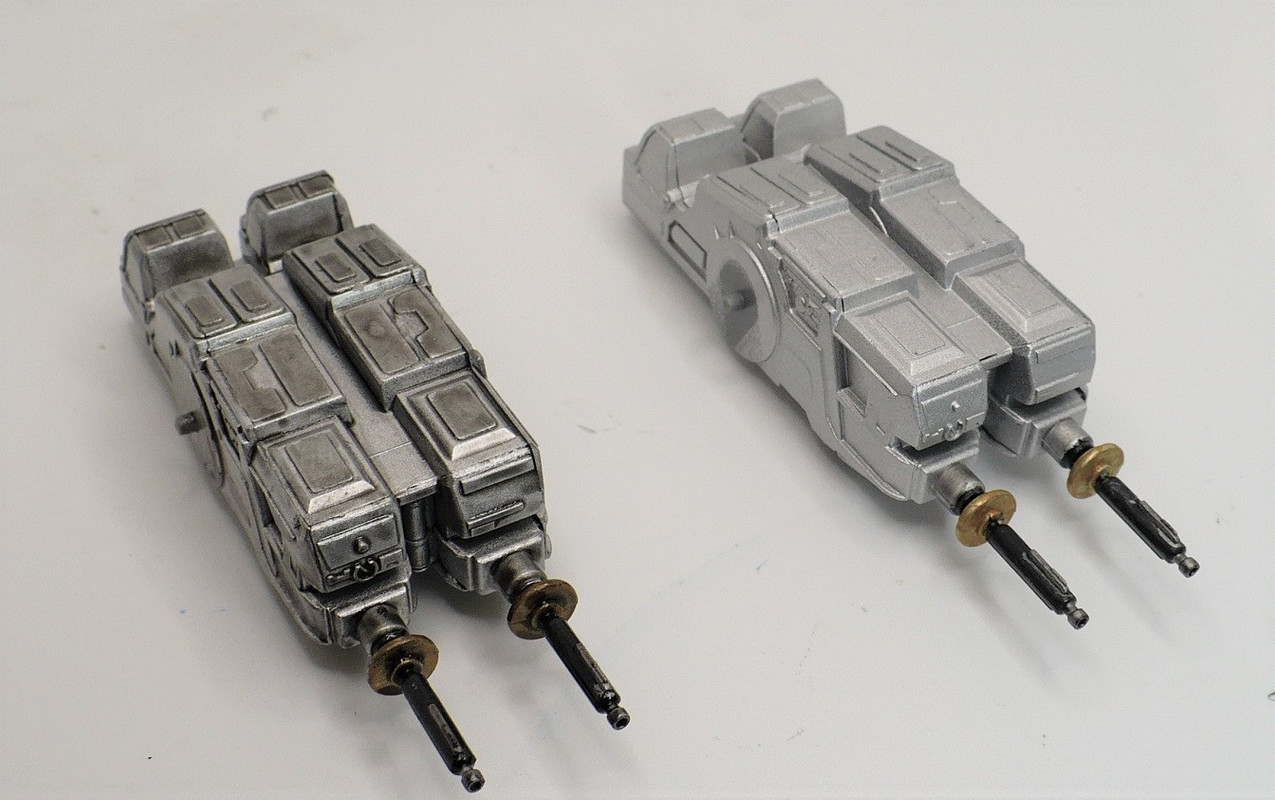 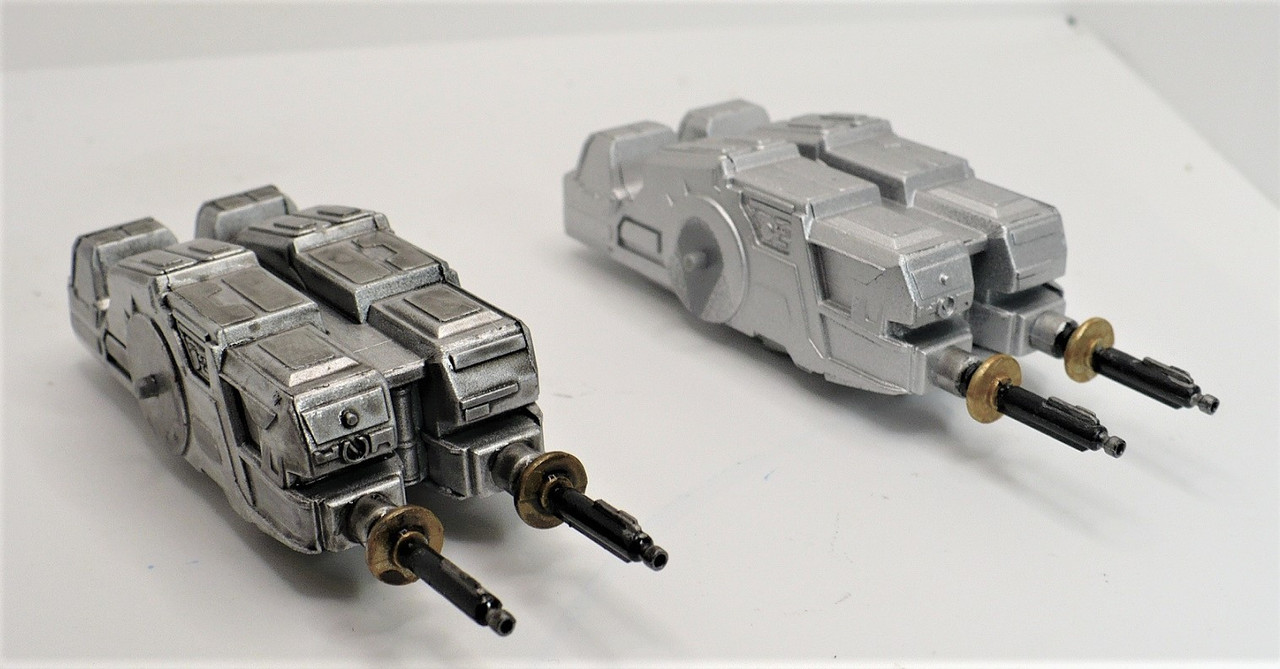 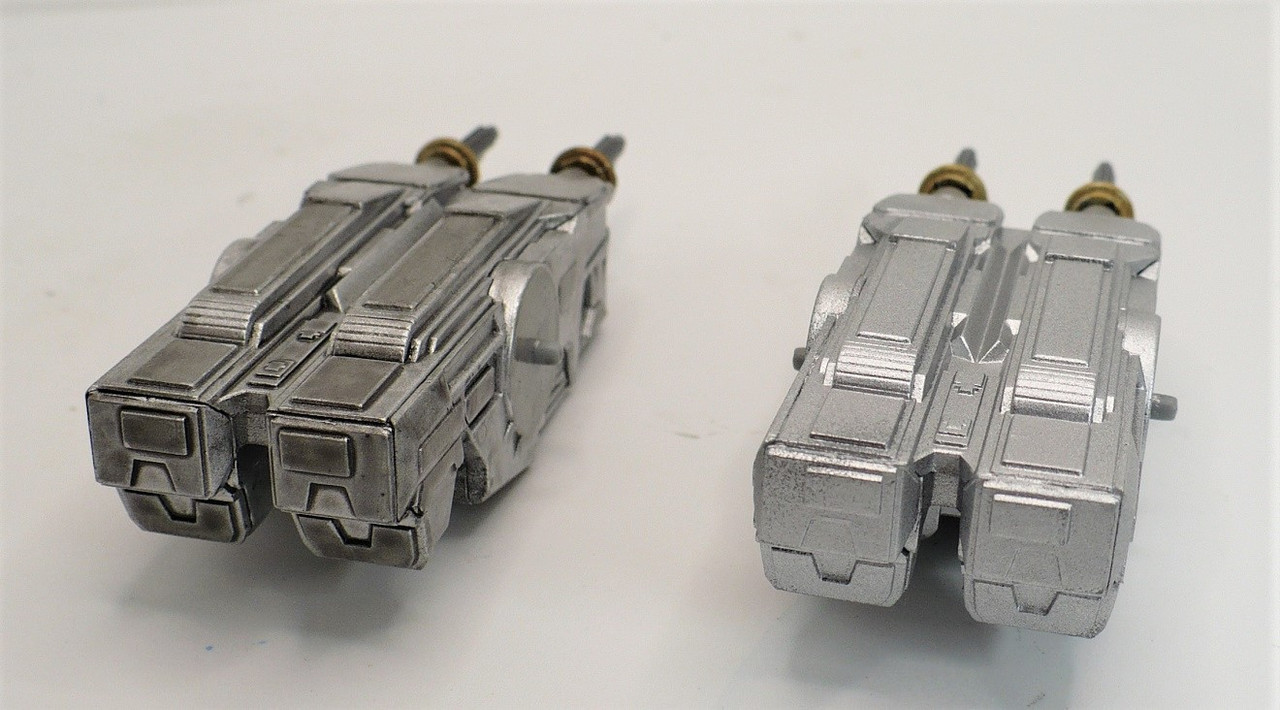 Digital photography is a harsh mistress. I assure you the highlighting of the real thing is much more subtle to the naked eye. Yes I am sitting here with my eyes naked. What are you wearing? |
|